The Confederate Navy, also known as the Separatist fleet, was a large collection of warships and other starships provided for the Separatists' armed forces by the contributing members of the Confederacy of Independent Systems.
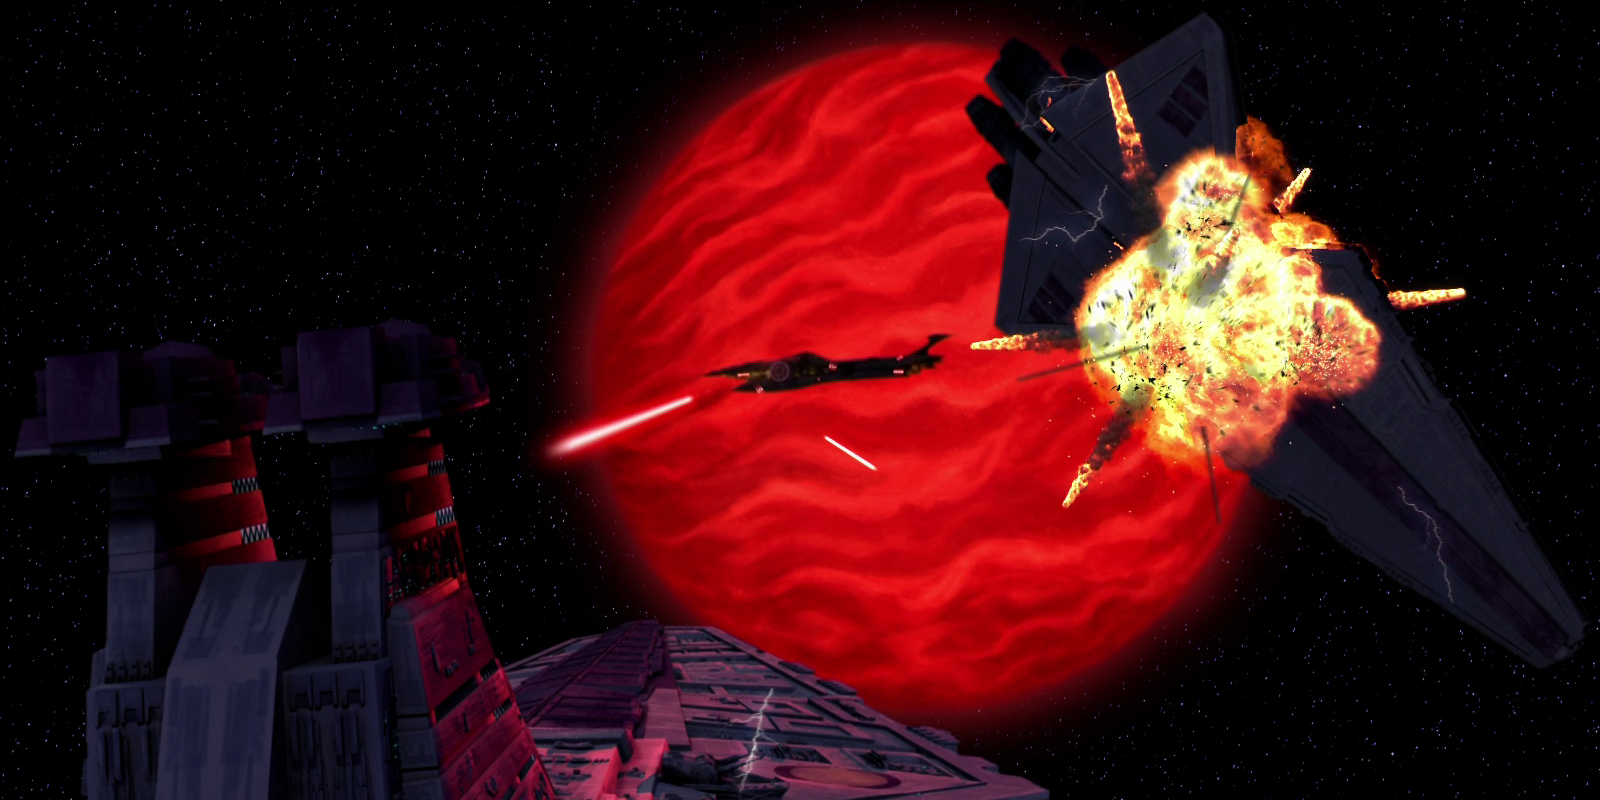
The Malevolence served as a flagship for General Grievous, destroying many Republic warships.
The navy was organized around flotillas of destroyers and frigates built by hundreds of aggressively independent star systems, who often donated them to the various commercial organizations frontlining the war. The main battleships were donated by the Trade Federation.
During the early days of the Separatist Alliance, the fledgling Confederate Navy was complemented by Sabaoth Squadron, pledged to the Separatist cause by Cavik Toth just prior to the Clone Wars. Toth led his squadron during the First Battle of Geonosis.
Although the ships were often commanded by droid officers, many fleets and blockades were placed under the command of organic Captains and Admirals. While Dooku's most trusted Commanders, such as Durge and Asajj Ventress, retained leadership positions even within the Navy, Admirals like Pors Tonith, Kirst, and Trench were responsible for leading entire fleets and were important tacticians during the war. Trench in particular was a feared admiral whose tactics tore apart Republic fleets. The famed Admiral was presumed to have perished during the Battle of Malastare Narrows prior to the Clone Wars but had survived the battle and joined the Separatist Alliance at the outset of the Clone Wars. Trench was defeated and again believed to have been killed during the Battle of Christophsis in the second year of the Clone Wars. Trench actually survived the battle thanks to cybernetics which were used to replace much of the left side of his body.
At the beginning of the war, the Subjugator-class heavy cruiser Malevolence used its deadly ion cannons to great effect, terrorizing Republic supply lines and making short work of multiple naval task forces, such as Plo Koon's fleet whilst stationed in the Abregado system. The ship was destroyed by a Jedi strike team, who reprogrammed the ship to collide with the Dead Moon of Antar. The separatists did not give up on the Malevolence, however, and it was succeeded by its sister ship, the Devastation, which Dooku placed under the command of Nightsister Sai Sircu. Grievous later attempted to rebuild his fallen flagship, dubbed the Malevolence II.
Separatist ships during the Trihexalon attack on Coruscant
The navy depended on large shipyards administered by Overseers who watched over the slaves whom they depended on to build the massive warships quickly. They made use of organic workers rather than droids so that the Republic could not bomb their shipyards without immense civilian casualties. In an effort to halt production, a team consisting of Anakin Skywalker, Obi-Wan Kenobi, and Ahsoka Tano infiltrated the Gwori shipyards and liberated the facility's slaves, allowing a strike team to bomb the shipyards. The destruction of the shipyard tipped the balance of the war away from the Separatists, allowing the Clone Wars to rage on.
During the course of the war, Separatist warships participated in various engagements, notably during the Quell, Kamino, and Umbara. Other times, such at Ryloth, Lola Sayu, and Serenno, Confederate ships served defensive purposes or blockades.

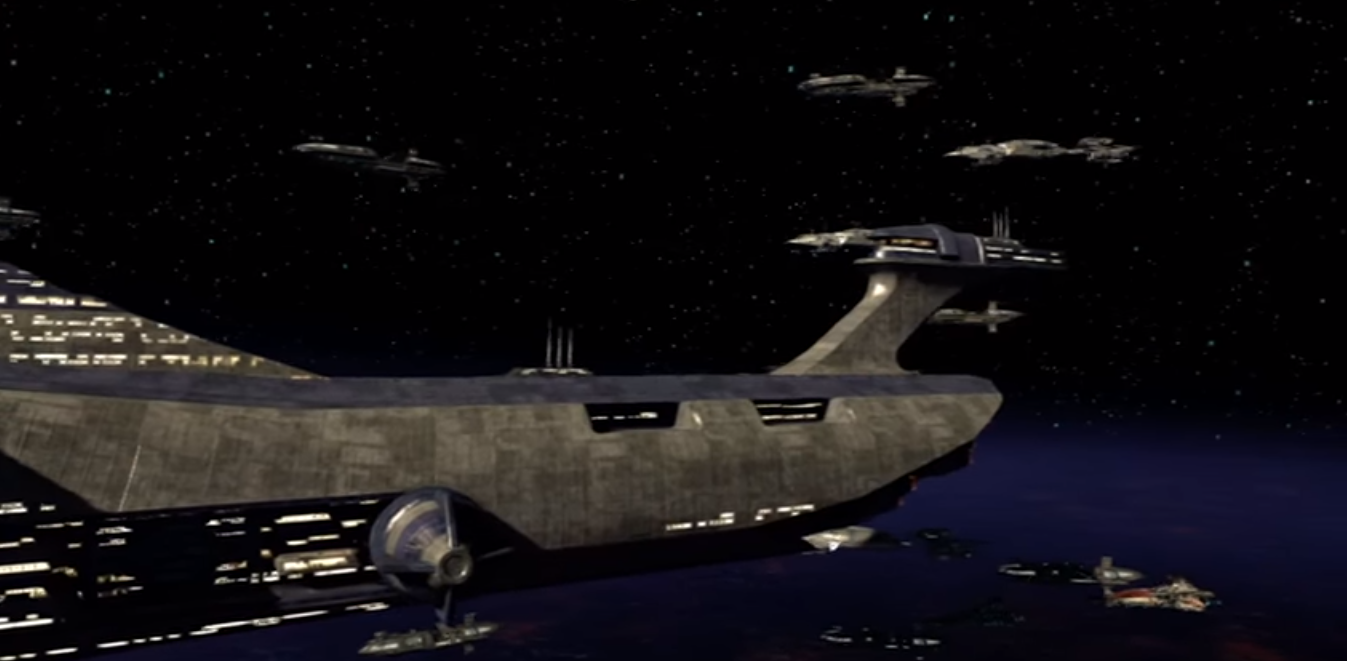
Separatists landing on Coruscant
One of General Grievous's flagships, the Invisible Hand, led the navy on a hit-and-fade campaign that disrupted travel, communication, and commerce in the Outer Rim regions, as well as mass invasions on vulnerable Outer Rim worlds.
Towards the end of the war, while millions of Separatist warships battled the Republic in vast Outer Rim campaigns, a task force led personally by General Grievous and amounting to several thousand ships made a fast snatch at Coruscant in an attempt to capture Supreme Chancellor Palpatine. This task force was defeated in the Battle of Coruscant, and its remnants retreated into hyperspace.
At the end of the war, the Confederacy still had many more armadas of ships in its holdings in the Outer Rim Territories, but these were made redundant after the deactivation of most of the droid armies.
Years later, some remaining ships appeared in Gizor Dellso's Remnant Navy, a starfleet created by Gizor Dellso for his Separatist holdout on Mustafar. This fleet was destroyed in the 501st Legion's conquest of the volcanic world.
Throughout its existence, the Confederate Navy was composed of six levels to its command structures. The structure was as follows:
The section was the smallest group in the Separatist admiralty. It was commanded by a captain and was composed of two to four vessels, as well as maintenance and support crews.
The flight was composed of two to four sections, and by extension, four to 16 vessels. It was commanded by a commodore.
The squadron was made up of three or four flights, and by extension, 12 to 64 vessels. It was commanded by a commodore and most often had a battleship leading.
The task group was composed of three to 10 squadrons, comprising 36 to 640 vessels. It was commanded by a rear admiral.
The task force was composed of two task groups, with 72 to 1,280 vessels for each task force. It was commanded by a vice admiral.
The highest of the levels, the fleet, was composed of three task groups, and 200 to 4,000 vessels among them. It was commanded by an admiral. The Confederate Navy comprised at least a hundred fleets.
- LEGO Star Wars: The Quest for R2-D2 game
- LEGO Star Wars: The Quest for R2-D2 film
- Star Wars Battlefront: Renegade Squadron
- LEGO Star Wars: The Video Game
- LEGO Star Wars: The Complete Saga
- Star Wars: Attack of the Clones Incredible Cross-Sections
- The New Essential Guide to Vehicles and Vessels
- Star Wars: Revenge of the Sith Incredible Cross-Sections
- The New Essential Chronology
- Star Wars: The Clone Wars: The Visual Guide
- The Essential Guide to Warfare
- Star Wars: Age of Rebellion Core Rulebook