The Gauntlet of Kressh the Younger was a Sith artifact created during the time of the old Sith Empire by the Sith Lord Ludo Kressh to make his son, Elcho, invincible.

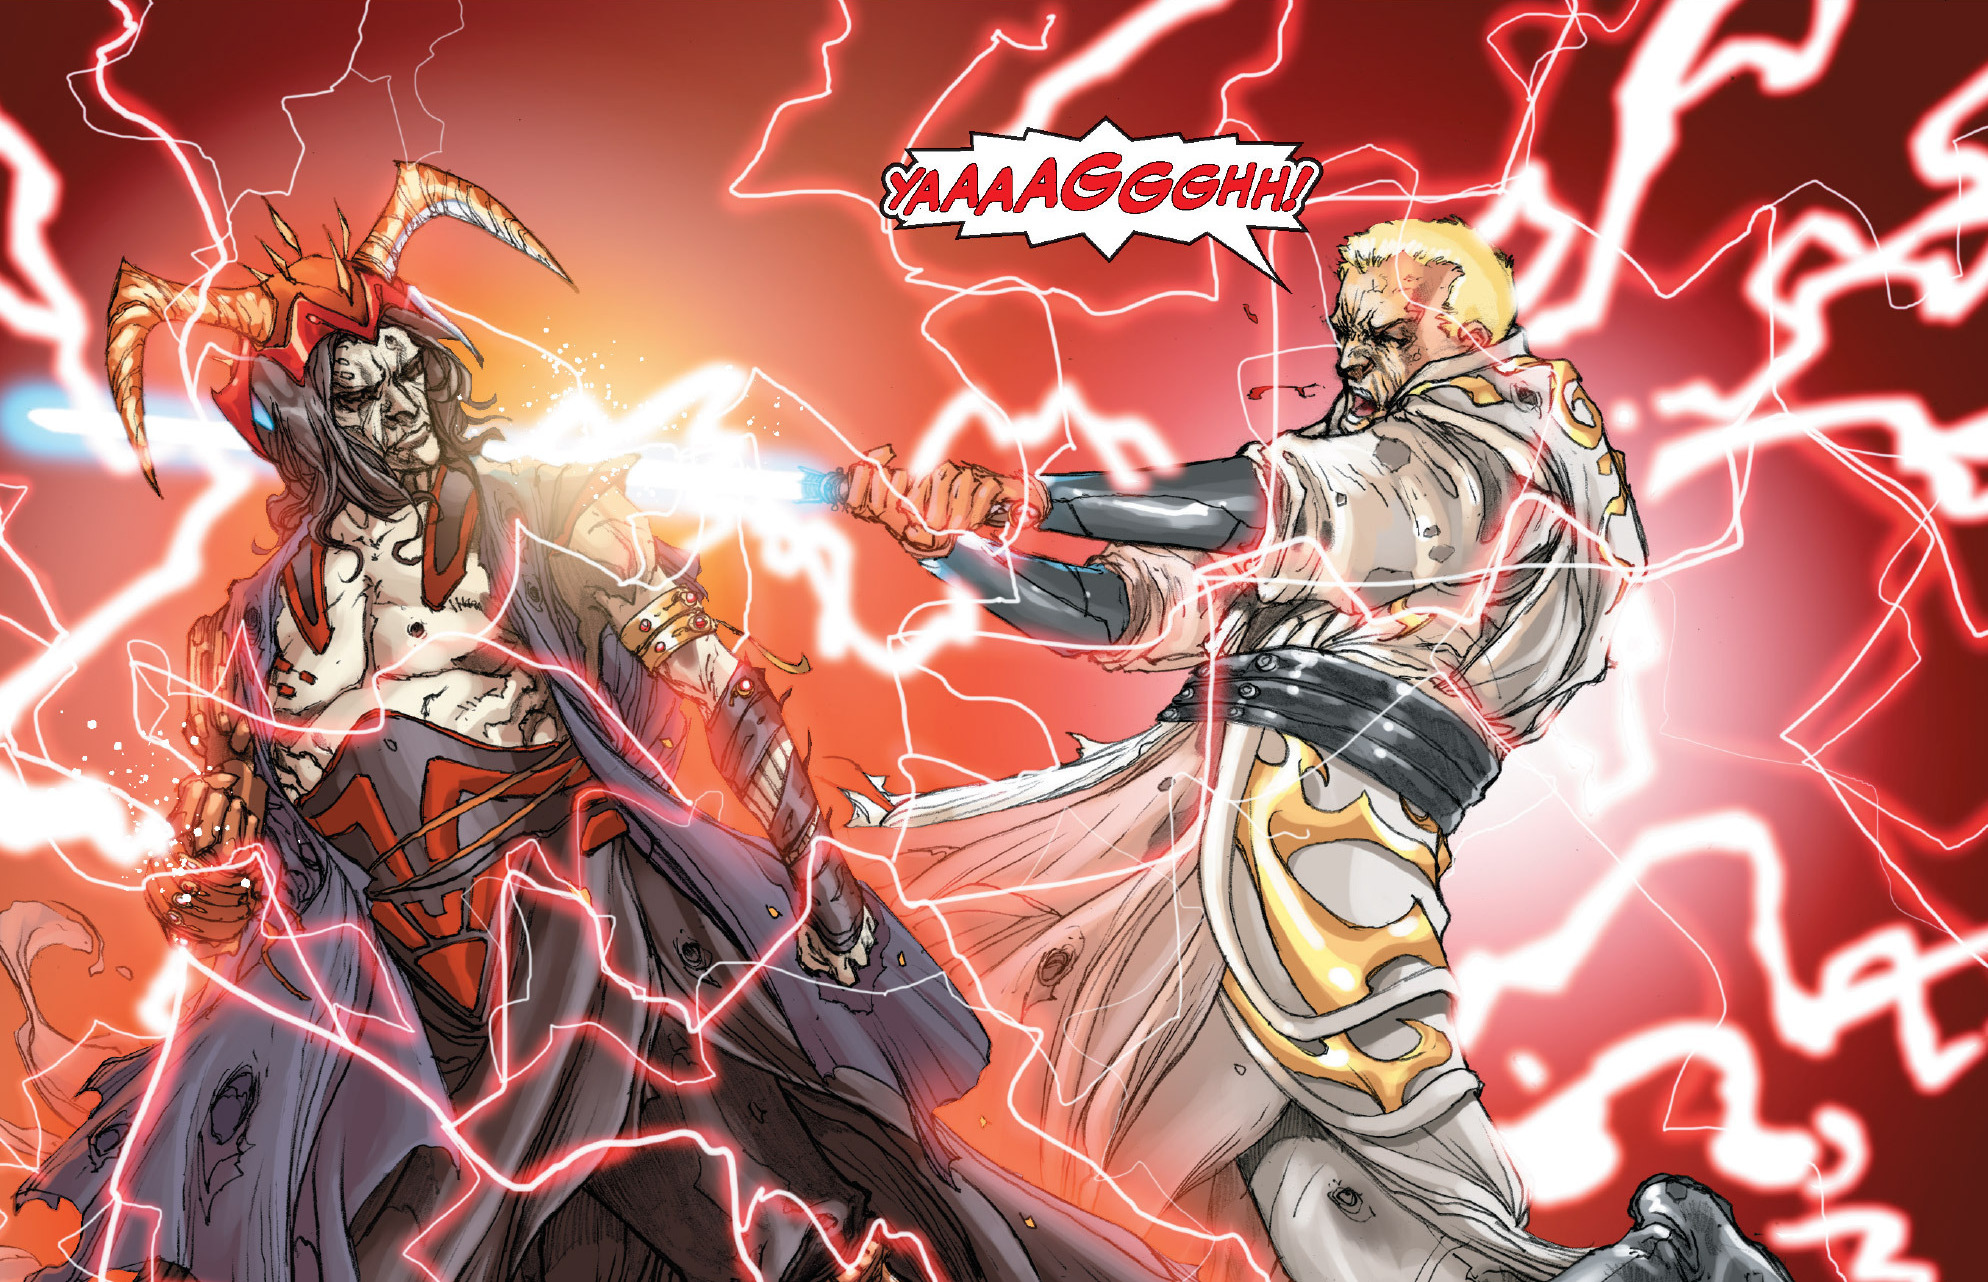
The Gauntlet protecting Haazen from a lightsaber strike.
The Gauntlet was composed of five linked oval plates composed of an unknown black material, each capped with a red gem chased with gold. The middle three plates featured gold tassels hanging from the ends.
Worn on the user's forearm, the Gauntlet had the power of preventing anything from touching the wearer without his or her consent, blasting aside anything that attempted to do so with a surge of Dark Side energy. Its protection was sufficient to defend the wearer from a lightsaber strike. In addition to providing protection, it also enabled the wearer to purposely direct such blasts towards chosen targets on a whim, without even needing to turn and face them.
However, the Gauntlet's protection was not absolute. As it only protected the wearer from things that didn't receive his consent, he could still be attacked by those who do. Also, one had to be wearing the Gauntlet for it to take full effect; simply holding it would not do.
An artifact of the Old Sith Empire, the Gauntlet was created by Sith Lord Ludo Kressh for his son, Elcho. Kressh toiled endlessly upon perfecting the device so that it would render his son invulnerable from external harm.
By 3963 BBY, the artifact was retrieved by the Jedi Covenant, a cabal of Jedi with an extremist anti-Sith attitude. It was taken from their stores by their leader, Haazen. Haazen was a failed Jedi turned Sith Acolyte who had worked with the Jedi seer, Krynda Draay, to create the Jedi Covenant, deceiving her and all others in a long running scheme for control of the Jedi Order. He concealed the Gauntlet in a large case in his office on the Draay Estate, along with numerous other Sith artifacts, claiming that it was full of diagnostic equipment.
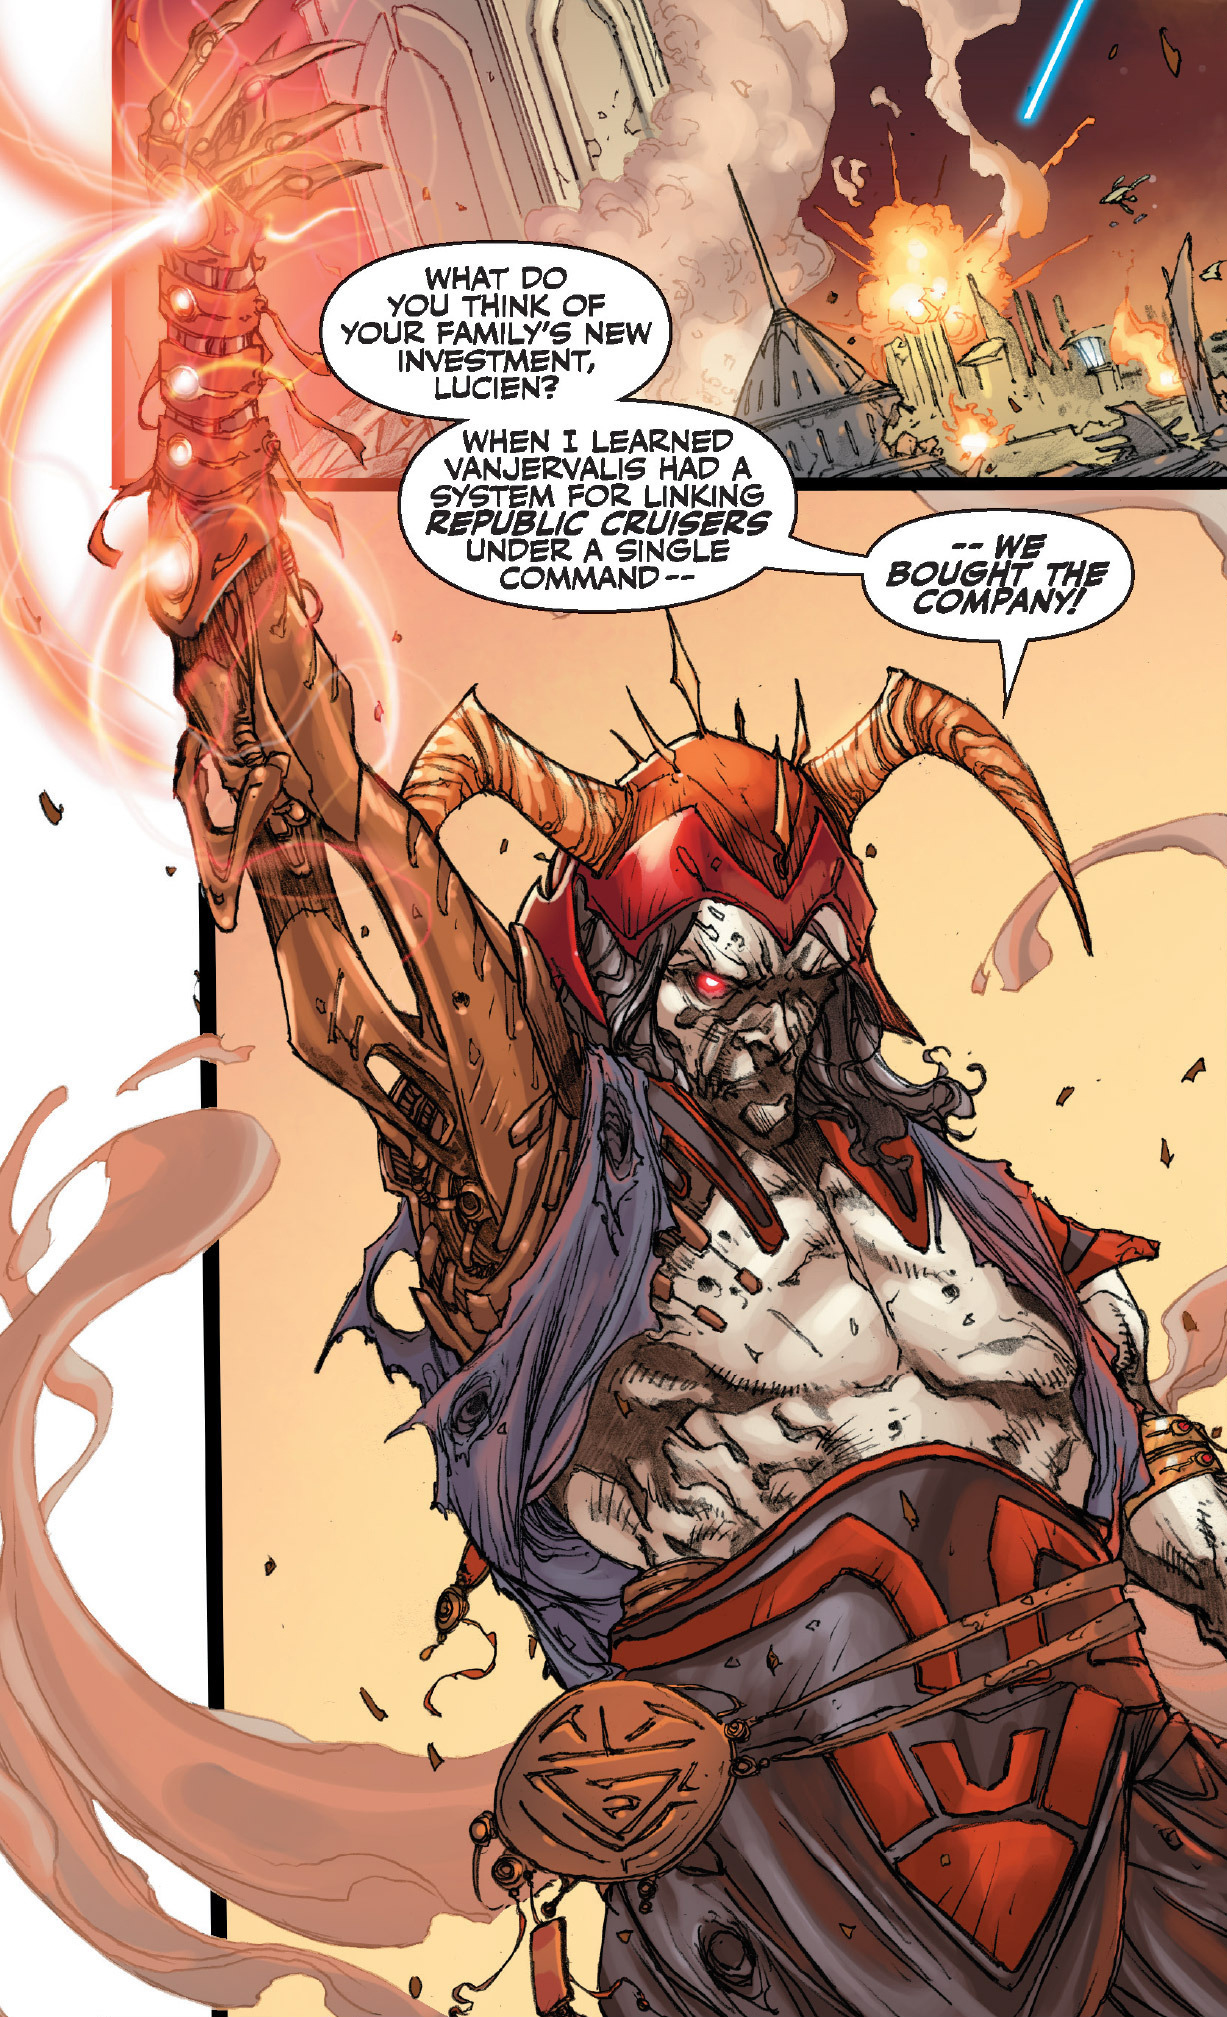
When Zayne Carrick was brought before the Covenant by Xamar, masquerading as a dark sider in a bid to rescue Krynda Draay before the Jedi Council-aligned Knights attacked the estate, Haazen had the case and the Gauntlet brought to him. As the Jedi stormed the entrance to the estate, Haazen sent a blanket transmission to all Covenant-aligned Jedi, issuing the command word; Vindication. While the Covenant Jedi secured the Jedi Temple and the Sith artifacts stored there, Haazen brandished the Gauntlet and used a command device built into his prosthetic arm to take over the Vanjervalis Chain linking the Republic fleet computers, initiating an orbital strike on the Draay Estate entrance, killing many of the Council Jedi, including the turncoat Xamar.

Haazen activating the Gauntlet.
Donning the many Sith amulets and armor pieces in his case, and revealing his cane handle to be a concealed Sith lightsaber, Haazen revealed his true allegiance to the dark side of the Force. Protected from the initial explosions of the Republic bombardment by the Gauntlet, Haazen went on to reveal his entire scheme to those present. Lucien Draay twice attacked Haazen in defiance, only to be blasted back by the Gauntlet, the second blast destroying his lightsaber.
Haazen bestowed his Sith lightsaber upon Lucien, and declaring his intention to turn the Jedi into his Sith apprentice, Haazen went outside to receive the Sith artifacts being brought from the Jedi Temple. As he inspected the artifacts, Haazen witnessed the end of the duel between Lucien Draay and Zayne Carrick. When Carrick seemingly killed Draay and bowed before Haazen, the Sith believed that he had found a new apprentice. Allowing Carrick to touch him, Haazen lowered his guard, leaving Carrick with an opening to slice off Haazen's gauntlet hand; a grisly prosthesis.
As Haazen attacked Carrick with Force lightning, Carrick and his ally, Marn Hierogryph, were sudden sent flying away by a massive surge of the Force. Lucien Draay revealed that he and Carrick had faked the duel to catch Haazen off-guard. Summoning Haazen's amputated prosthesis, Lucien used the Vanjervalis control device built in to cause the Republic fleet to fire on them.
Haazen was killed in the ensuing explosion, while Lucien Draay survived thanks to his possession of the Gauntlet. However, as he was only holding it rather than wearing it, its effects were only partial, and he was still left heavily scarred.
Millennia later, during the Clone Wars, Jedi Knight B'ink Utrila and her Padawan, Rennax Omani, following instructions from a holocron, led a clone trooper squad in an expedition to the moon Draay 2 in order to locate and retrieve the Gauntlet. Inside the moon's Jedi Temple was an statue of Lucien Draay. The statue was one of many traps set inside the temple to protect the Sith artifact, as it was revealed to be an Jedi guard droid activated by a switch that a Clone trooper accidentally stepped on. The droid was resistant to lightsaber, blasters and explosive damage. Utrila realized the only way to deactivate the droid was to use the Force, but not to attack. This method was designed by the Jedi of old in order to prevent Sith from defeating the guardian droid for they would never think of using the Force in a non violent way.
After deactivating the droid, Omani sensed something different about a wall panel made up of a multitude of small holes. Familiar with such devices, Utrila explained to her Padawan that the mechanism would open with a lightsaber blade inserted into the correct hole—an insertion into any other hole would bring the entire temple down on their heads. Using the Force to sense the correct hole, the Jedi Knight opened the path inwards the temple.
The Jedi then came across a carving in one of the walls, of Lucien Draay doing battle with Sith Acolyte Haazen, who was depicted wielding the Gauntlet of Kressh the Younger. While Master and Padawan stayed studying the carving, the Clone Troopers went ahead into a room with no exit or way to continue. The room had a pillar with glowing blue lights in its center but no sign of the Gauntlet. By touching the pillar while inspecting it, one Clone Trooper awakens the creatures who made up the pillar itself. These sarls also proved to be resistant to blaster fire as the troopers opened fire upon them. When the Jedi caught up with the squad, they realized the exposure to the Gauntlet for centuries had made the sarls invulnerable to lightsabers as well. The pillar now unmade revealed the Sith artifact sought by the team hiding in the center of the room.
Using the Force to push the creatures away from the artifact, B'ink Utrila cleared a path to it and leaped on. However, upon coming into contact with it she found herself overwhelmed with the powers of the dark side of the Force. Horrified with this, the Jedi Knight ordered immediate retreat, leaving the Gauntlet where it was as the sarls returned to their protective positions encasing it. When questioned by the clone lieutenant as of how they would extract the artifact from there, Utrila simply answered that they wouldn't, deciding they should make camp and contact the Jedi High Council for further orders.
During the night, Rennax Omani stood guard with clone trooper Glitch, when they were attacked by Pre Vizsla and a squad of Mandalorian Death Watch commandos, who long knew about the Gauntlet and followed the group to find its exact location. The Jedi and clone squad engaged the Mandalorians in battle, intentionally reactivating the guardian droid. During the battle, Glitch was faced by Vizla and, in a last attempt to keep the Gauntlet away from the Death Watch, inserted Omani's lightsaber in the wrong hole of the wall panel on purpose, activating the trap and causing the whole temple to collapse.

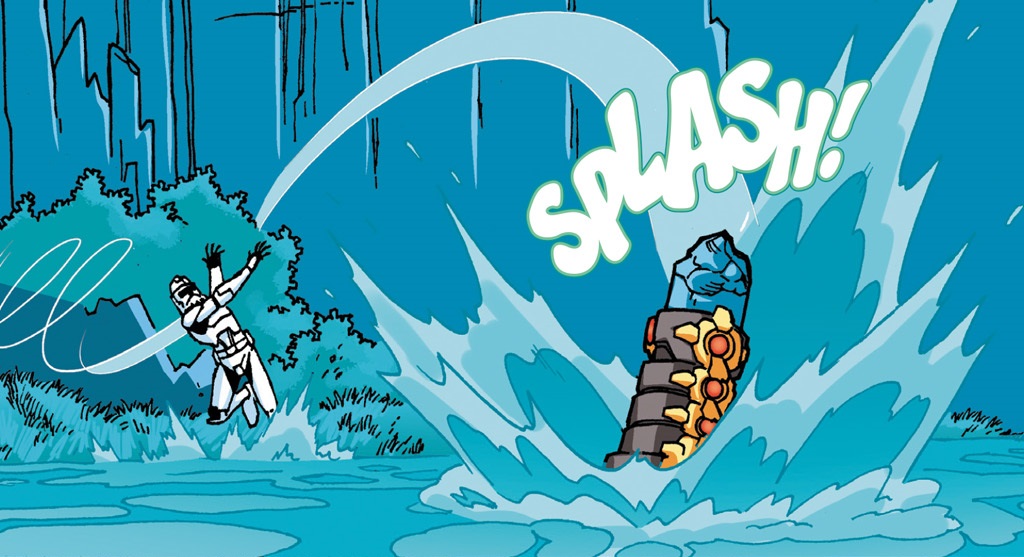
Glitch disposing of the Gauntlet in a nearby river.
Both parties fled the ruining building, but Glitch was left behind. With the temple now destroyed, Pre Vizsla decided there was no more reason to continue battle and ordered his Mandalorians to retreat back to their ship. The Jedi and surviving squad members then took a moment to honor Glitch's sacrifice and left the moon.
Later, among the debris of the Jedi Temple, Glitch arose wearing the Gauntlet, undamaged due to its protective properties. Understanding that the artifact should not be used by anyone, the clone trooper locked it onto a stone and disposed of the Gauntlet by throwing it into a nearby river.
It was revealed in Lost Tribe of the Sith: Paragon that the Gauntlet was built by Ludo Kressh himself for his son, making Kressh the Younger Ludo Kressh's son. It was later clarified that the identity of Kressh the Younger was Elcho Kressh in Knight Errant.