Hamo Blastwell was a Rebel starfighter pilot who served in Red Squadron on the Mon Calamari Star Cruiser Independence during the Galactic Civil War. He served as the squadron's orientation officer, helping to introduce new pilots to the squadron and assisting with their training. After participating in several battles, and playing an important role in helping to defeat Operation Strike Fear, Blastwell was promoted to commander. Following his promotion he became heavily involved in mission planning and special missions, spending less time flying with the squadron.
Blastwell flew in the Battle of Yavin, in which he was believed to have been killed. However, he survived and went undercover in the Imperial Navy using the alias Trace. During his time with the Galactic Empire, Blastwell assisted in bringing a resolution to the Sepan Civil War. Following the defection of Admiral Harkov, Blastwell successfully infiltrated the Secret Order of the Emperor. He eventually came to serve under Demetrius Zaarin, shortly before the Grand Admiral's coup against Emperor Palpatine. Blastwell later attempted to steal the plans to the TIE/D Defender for the Alliance. Although he was unsuccessful, he was able to evade capture.
Originally from a small outpost planet, little was known of Hamo Blastwell's life before leaving his homeworld to join the Rebel Alliance as a starfighter pilot—he did once admit to having met Princess Leia Organa of Alderaan but was reluctant to discuss any details. Within a year of joining the Alliance, and still in his early twenties, Blastwell had attained the rank of lieutenant and the status of ace pilot. Serving as a wing leader in Red Squadron aboard the Alliance flagship Independence in 1 BBY, Blastwell acted as liaison and orientation officer to new recruits, including Keyan Farlander, whose similar background led to the two quickly becoming good friends. In this role, Blastwell would prepare recruits for the pilot proving grounds, drilling them in every spare moment, until they could follow his every move without the need for verbal communication and he considered them ready to begin simulated combat training.
Blastwell and Farlander fly X-wings during the attack on the Talon.
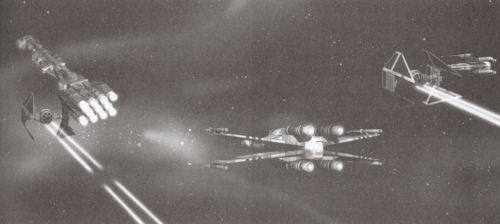
Blastwell had high hopes for Farlander early in his training, and so volunteered him for his first mission before the young pilot had completed combat training. Continuing in his role as mentor, Blastwell pulled Farlander from the simulators to get some real flight experience before the mission and selected the younger pilot to serve as his wingman. The mission, to retrieve information stored on the Imperial corvette Talon, saw Blastwell flying an X-wing as Red Leader to assist the Nebulon-B frigate Liberator in engaging TIE Fighter escorts while Y-wings from Gold Squadron disabled the Talon for boarding. Although Blastwell's R2 unit sustained damage, leaving him unable to enter hyperspace and forcing him to return to the Liberator, the mission justified Blastwell's faith in Farlander as the recruit played a vital role in capturing the data.
The Rebels' recent successes against the Empire provoked an Imperial response—a massive offensive known as Operation Strike Fear. News of what the Empire was planning came to light during a raid on an Imperial convoy in which the captain of the corvette Bixby indicated his intention to defect. While Blue Squadron's Y-wings covered the defection of the Bixby, Blastwell and Farlander were scrambled to destroy the convoy. Shortly after the capture of the Bixby, Blastwell was promoted to captain.
Blastwell would be heavily involved in the fight against Operation Strike Fear, taking part in several missions. With the Alliance running short of astromech droids, the Rebels mounted an operation to steal some R2 units from the BFF-1 bulk freighter Ars Opus, unaware that the Galactic Empire had modified them to take control of X-wings for the Empire to examine. While he was flying a mission with Blue Squadron, Blastwell's X-wing was one of three hijacked and taken to a rendezvous with the Imperial-class Star Destroyer Invincible.

Blastwell's X-wing is rescued by a shuttle.
The Rebels mounted a quick rescue mission to recover the stolen ships and their pilots before they could be delivered to the Invincible. Tracking the X-wings to the Invincibles location, three Y-wings from Red Squadron disabled them, allowing shuttles to deliver new R2 units and the pilots to take control of their ships and fly them to the waiting Mon Calamari Star Cruiser Maximus. Though two of the Y-wings entered hyperspace as soon as their targets were disabled, Keyan Farlander, aware that his friend was in one of the X-wings, engaged TIE Series fighters launched from Invincible and protected the rescue of the pilots. The incident left Blastwell with a badly sprained wrist which prevented him from flying for a time.
Though unable to fly, Blastwell remained involved with the campaign. In a private briefing with Commander S'man three days after receiving his injury, Blastwell was charged with overseeing Farlander's preparations for a mission to rescue Sullustan prisoners. The successful rescue helped gain support for the Alliance on Sullust.
Blastwell returned to active duty as Farlander's flight leader as the two flew R-22 Spearheads in defense of a diplomatic meeting between the Alliance and the Sullustans near Sullust. After the arrival of the Invincible, the two pilots held off Imperial fighters until the meeting was concluded and all ships fled into hyperspace. The Invincibles attack, however, turned out to be merely a diversion. While the meeting was taking place, stormtroopers kidnapped the Sullustan leader. Blastwell was called into action again, flying cover in a Gold Squadron X-wing while Farlander disabled the shuttle that bore the Sullustan to the Invincible, and holding off Imperial fighters until a Rebel shuttle conducted a boarding operation and escaped into hyperspace. After the mission, Blastwell helped organize a party to celebrate Farlander's promotion to captain and was later one of the senior officers called to a briefing on the Alliance's plans to destroy the Invincible.
The destruction of the Invincible put an end to Operation Strike Fear. However, Blastwell would have little time to celebrate as he was called off-ship for an assignment. The mission resulted in Blastwell receiving a promotion to commander, though after his return to the Independence, he wouldn't discuss the circumstances of his promotion with the other pilots, describing it only as "a long story."
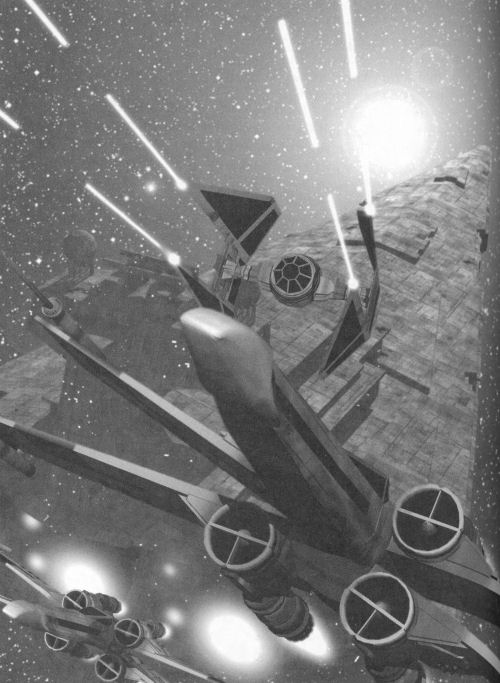
Alliance forces battle the Intrepid.
The Alliance had been investigating reports of an Imperial superweapon for some time. The weapon turned out to be the Death Star—a battlestation with enough power to destroy a planet. After managing to acquire a set of plans to the station, the Alliance planned to eliminate the Star Destroyer Intrepid in order to prevent it from reporting their accomplishment. After a previous mission left the Intrepid stranded, Blastwell joined with Farlander, Samuel Raider, and Ernek Marskan in a mission to destroy its escort of Assault Gunboats and corvettes from Viper group. With the loss of the escort leaving the ship vulnerable, a subsequent assault was launched to destroy the Intrepid itself.
The Death Star plans were to be transported to Alderaan by Princess Leia Organa. Blastwell flew protection for the transfer of the plans to her ship, Tantive IV, and was called on again when the ship came under attack from the Star Destroyer Immortal. Although he helped see her safely to hyperspace, her escape was short-lived, as Imperial forces under Darth Vader finally captured her near Tatooine.
Blastwell's promotion to commander meant that he was more heavily involved in strategic planning and often privy to information before the other pilots. When the Mon Calamari pirate Tuz brought the Alliance information on an Imperial repair facility, he delivered the information to Blastwell and S'man. A mission was promptly planned to destroy the facility. Between his mission-planning role and increasingly frequent involvement in special missions, which often took him off-ship for several days, Blastwell was spending less time flying with Red Squadron—though he officially remained a member of the squadron—and Farlander took over his role as orientation officer.
One mission planned by Blastwell was an assault on the Imperial corvette Godar, which was carrying members of the Death Star design team. After a week of planning, Blastwell selected Farlander to pilot a Y-wing to disable the vessel. Despite interference from the Immortals starfighters, a Rebel team was able to capture the design team members, and Farlander destroyed the Godar before leaving.
After another prolonged absence Blastwell returned to the Independence shortly before the Battle of Yavin to learn that Farlander's experimentation with the Force had led him dangerously close to the dark side and had alienated many of the other pilots. Blastwell waited for Farlander as he returned from a mission but, as he confronted his friend, Farlander collapsed due to a vision experienced through the Force. When he regained consciousness he refused to let Blastwell take him to a medic and asked that Blastwell not tell anybody what had happened. Though he did not really understand, Blastwell agreed and was true to his word. For his part, Farlander realized the error of his ways and resolved not to use the Force until he could control its effects.
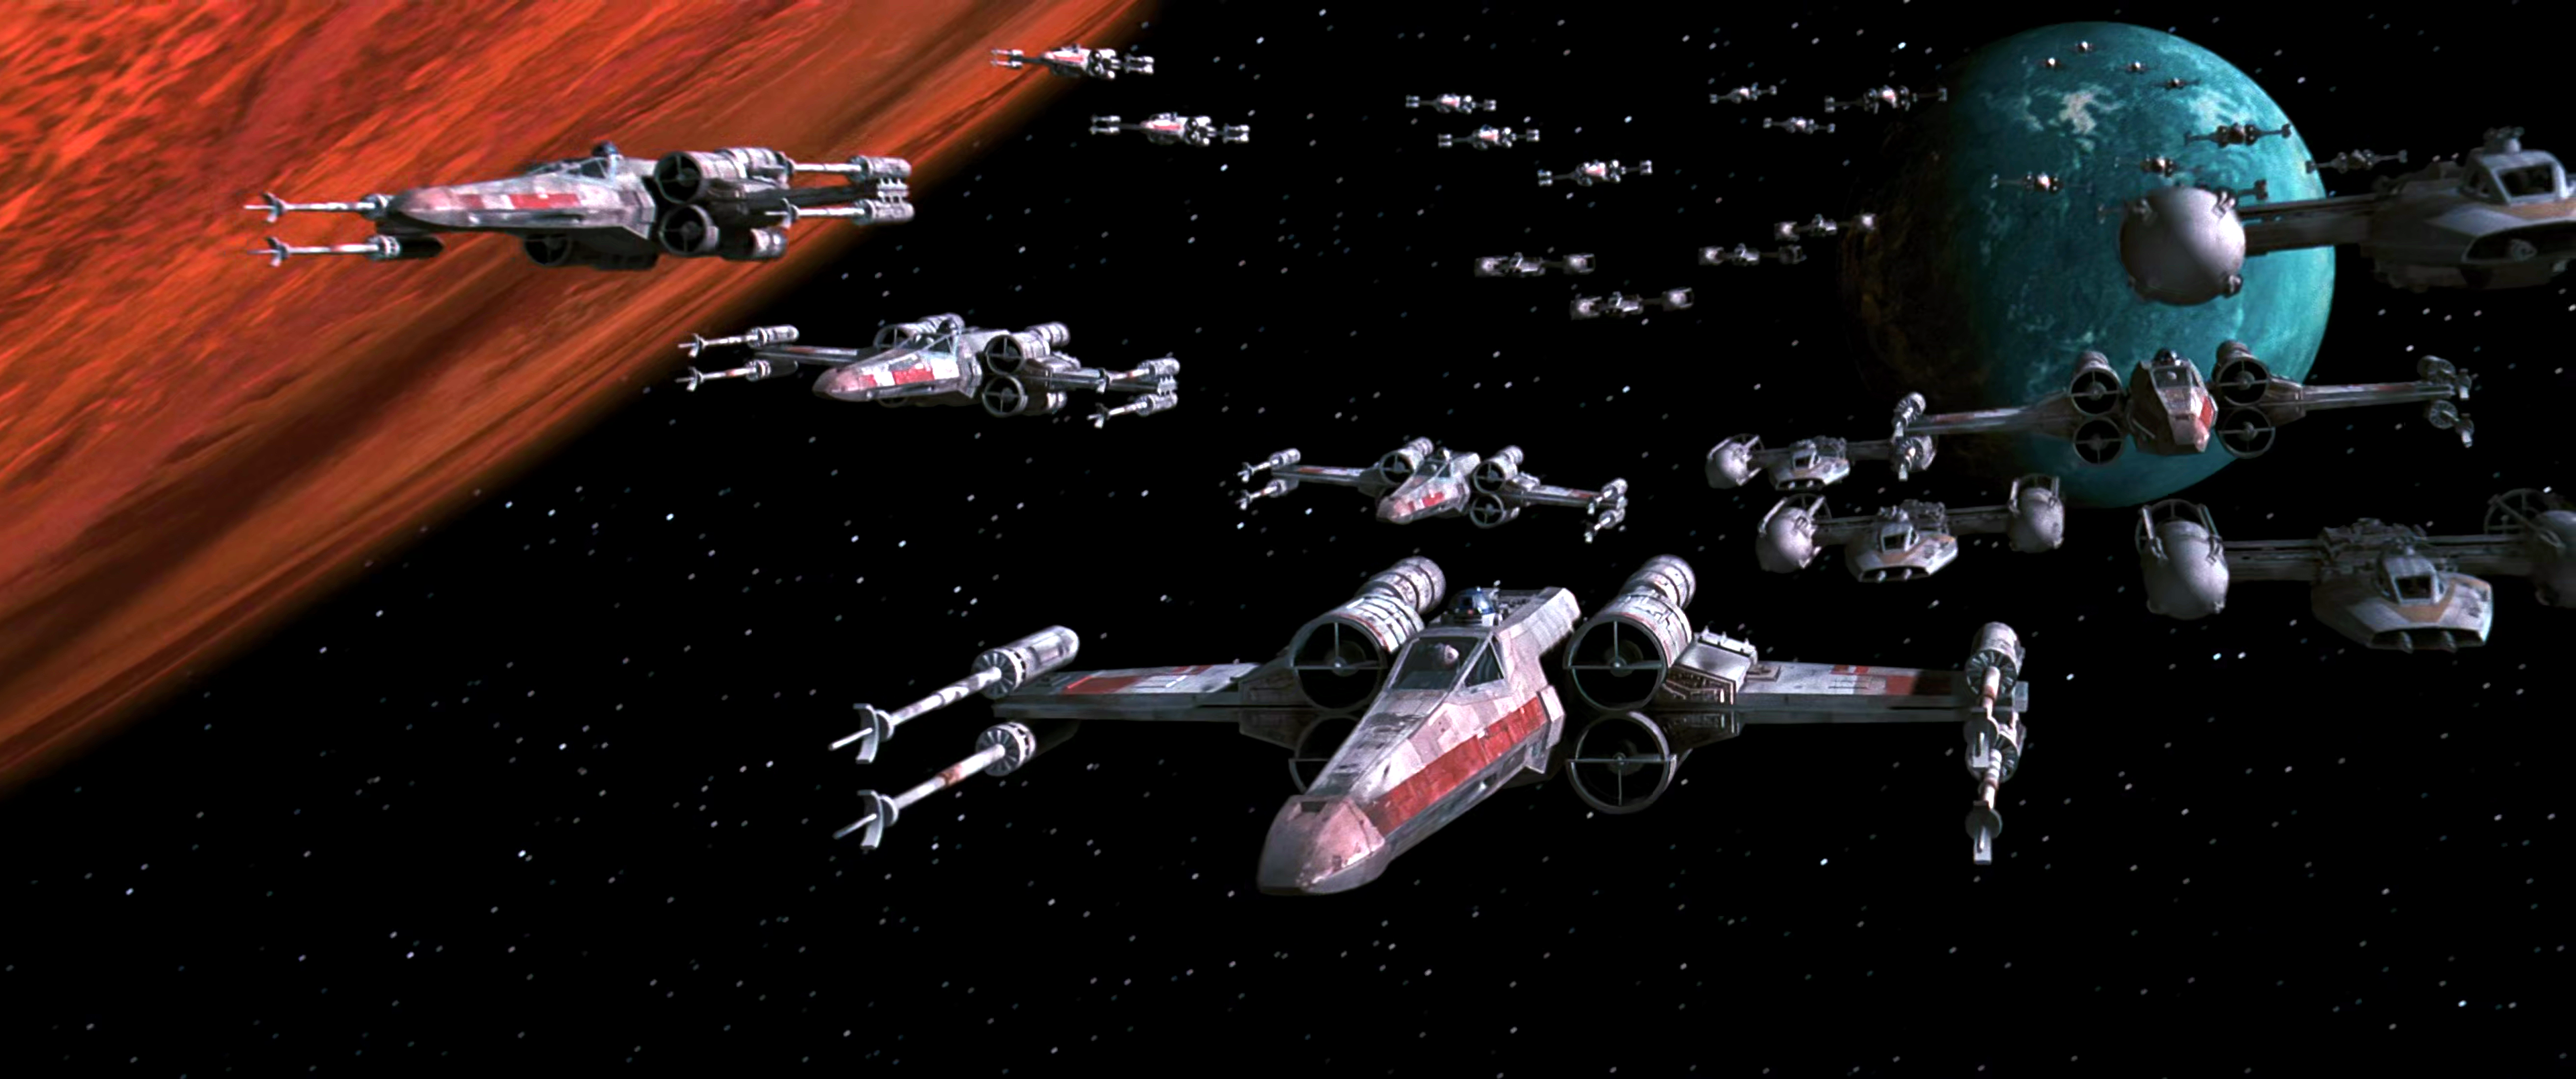
Alliance starfighters approach the Death Star.
Blastwell was one of several pilots transferred to the Rebel Base on Yavin 4 to assist in the upcoming battle against the Death Star in 0 BBY. After attending the formal briefing by General Jan Dodonna, Blastwell filled Farlander, who had been out on a preliminary mission, in on the plan. Though they would be flying in different groups for the upcoming battle, both were charged with holding off Imperial fighters while others attacked the Death Star itself. Though the Rebels suffered heavy losses, the Battle of Yavin was a resounding success for the Alliance as Luke Skywalker dealt a killing blow to the Imperial superweapon. Blastwell was believed to have been shot down in the battle and, though there were no witnesses and he was officially listed as missing, presumed killed. Blastwell's loss was particularly hard on Farlander but the young pilot was able to control his use of the Force and eventually became a Jedi Knight.
Yet, unknown to those he served with, Blastwell survived the Battle of Yavin. Operating under the false identity Trace, Blastwell embarked on an undercover operation to infiltrate the Imperial Navy. By just after the Battle of Hoth in 3 ABY, Blastwell had become a captain in the Imperial Navy and was one of the senior pilots aboard the Victory-class Star Destroyer Protector, under the command of Admiral Harkov. The Protector was sent to intervene in the Sepan Civil War and Blastwell was present at Harkov's briefing on the upcoming campaign.
Blastwell fought in at least one battle of the Sepan campaign, in which he helped rescue a Ripoblus convoy from Dimok attack. After the mission Blastwell debriefed one of the Protectors new pilots, Maarek Stele. Blastwell was impressed by Stele's piloting ability but noted that Stele had apparently exceeded orders by investigating the convoy, discovering Imperial weapons in the process. Blastwell instructed Stele to obey orders in the future and gave him a personal warning to avoid attracting the attention of Admiral Harkov.
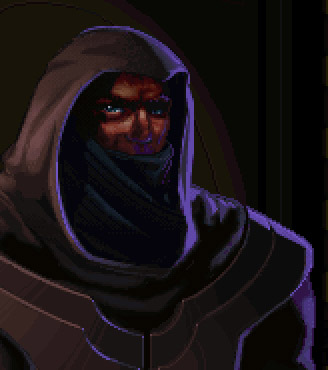
A member of the Secret Order whom Blastwell impersonated
When Stele continued to exceed orders, discovering more illegal weapons in a subsequent mission, Blastwell became suspicious. When he saw Stele conversing with a cloaked figure, he became convinced that Stele was working with the mysterious Secret Order of the Emperor and saw an opportunity to learn more about the group. Disguising himself as a member of the order, he entered Stele's quarters one night and attempted to confirm his suspicions. However, when Stele saw through the deception, Blastwell told him to forget the incident had ever happened and left. Stele only saw Blastwell once more aboard the Protector when he noticed him watching from behind a bulkhead during Stele's next meeting with his liaison in the Secret Order. When Stele mentioned Blastwell's apparent interest in the Order he was told that they were already aware of it and would "take care of him."
Soon, however, Blastwell was able to begin working for the Order himself. Soon after Admiral Harkov defected to the Rebel Alliance, the Secret Order made arrangements for Blastwell to flee the Protector. Maintaining his cover as a loyal Imperial officer, Blastwell took a TIE interceptor and rendezvoused with loyal Imperial forces on the Star Destroyer Garrett. A few days after arriving he was reunited with Stele and attempted to mend fences, though Stele was initially wary.
In time, Blastwell was promoted to major and sent to a research facility under the command of Grand Admiral Demetrius Zaarin. There, he once again encountered Stele. Stele had been having doubts about the Empire and whether he was fighting for the right side—doubts which had only increased following the recent defection of his friend Carith to the Alliance. Blastwell had long thought that Stele was a decent man who simply hadn't come to see the evils committed by the Empire, and he decided that now was the time to attempt to draw the talented young pilot to the Alliance. After making Stele promise to keep their conversation confidential, Blastwell confided that he was an Alliance officer and attempted to make Stele see the truth about the Empire. However, though Stele was disillusioned about the Empire, he was not yet prepared to abandon it and the Imperial ideals he had once believed in. Though he refused to join the Alliance and told Blastwell to leave, he did agree to think about his position and to not turn Blastwell in.
With Stele true to his word, Blastwell remained undercover in the Imperial Navy, continuing to serve under Grand Admiral Zaarin aboard his flagship, the Star Destroyer Glory and receiving a promotion to commander. Soon after Zaarin attempted a coup against Emperor Palpatine, Blastwell attempted to steal the plans for the new TIE/D Defender. Blastwell's attempt to steal the plans was thwarted but he managed to escape the Glory.
A Human male with shaggy, dark blond hair months overgrown and his uniform typically only partially buttoned up, Blastwell's somewhat scruffy appearance and general demeanor seemed in contrast to his position as a military officer. This relaxed attitude extended to his command style, and Blastwell rarely insisted on being addressed by rank, generally preferring new recruits to call him by his first name. Despite his appearance Blastwell was a dedicated orientation officer. He was happy to share his greater combat experience with his recruits and would watch over their training carefully, reassuring them when they had doubts about their abilities and helping to build their confidence while keeping them grounded and reminding them that they had much to learn. Blastwell himself had great faith in his own ability to do whatever was asked of him and his confidence seemed to grow with successive promotions.
He was also a sociable person and enjoyed spending time with the other pilots in their ready room, often partaking in games of Horansi or discussing their combat experiences. His friends were important to him and he tried to be there to help them through difficult times—when Farlander was suspended from duty pending an inquest into the loss of two wingmen, Blastwell insisted on taking him for a drink to cheer him up. Later, his concern for Farlander made him confront the younger pilot when the rest of the squadron abandoned him.
Blastwell's personality would later seem out of place in the more rigid Imperial Navy. A joke he made during Harkov's briefing on the Sepan campaign met with general laughter from the other pilots but Blastwell was called to Harkov after the conclusion of the briefing and disciplined. Harkov even went so far as to strike him for his lapse in discipline.
Hamo Blastwell was created by Rusel DeMaria for The Farlander Papers, the short novella which told the story of Keyan Farlander, the player character in the 1993 LucasArts video game Star Wars: X-Wing. DeMaria expanded the character, along with Farlander's story, in X-Wing: The Official Strategy Guide, published that same year. Blastwell appeared once more in DeMaria's TIE Fighter: The Official Strategy Guide (1994), this time as part of the story of Maarek Stele, the player character in X-Wings sequel, Star Wars: TIE Fighter.
X-Wing: The Official Strategy Guide gives the impression that Blastwell was killed at the Battle of Yavin. TIE Fighter: The Official Strategy Guide establishes that he subsequently went undercover in the Imperial Navy but gives no further details about what happened to him at the Battle of Yavin.
- TIE Fighter: The Official Strategy Guide
- TIE Fighter Collector's CD-ROM: The Official Strategy Guide
- The Complete Star Wars Encyclopedia
- The Essential Reader's Companion