The Battle of the Kaliida Nebula took place near the Kaliida Nebula in 22 BBY during the Clone Wars. Shortly after the Galactic Republic's discovery of the Confederate warship Malevolence, Jedi General Anakin Skywalker developed a plan to attack the warship and its commander, General Grievous. Confederate Head of State Count Dooku ordered Grievous to target the Republic's secret Outer Rim medical center, and the Malevolences eradication of a Republic medical convoy in the Ryndellia system identified the warship's quarry to the Republic. Skywalker planned to intercept the ship, accompanied by his Padawan, Jedi Commander Ahsoka Tano, as well as Jedi General Plo Koon.
Skywalker arrived at the medical station via a shortcut through the nebula with the starfighter unit Shadow Squadron, and engaged Vulture droids launched from the Malevolence. Suffering losses from the warship's ion pulse cannons, Skywalker led his squadron to attack the vessel's starboard cannon. When the Malevolence attempted to use the damaged weapon on the medical center, the cannon exploded, causing further damage to the ship. Admiral Wullf Yularen and High Jedi General Obi-Wan Kenobi arrived with several Venator-class Star Destroyers and engaged the fleeing Malevolence, which was unable to retreat to hyperspace because of damage to its hyperdrive.
Dooku's Sith Master, Darth Sidious, used his alter ego as Supreme Chancellor Palpatine to trick Senator Padmé Amidala into traveling to the nebula, where Grievous could use her as a hostage and escape. Amidala arrived in the system and was pulled aboard the Malevolence. Skywalker and Kenobi arrived on the warship via Skywalker's personal ship, the Twilight, and rescued Amidala. Kenobi attempted to cause further damage to the warship's hyperdrive, but was confronted by Grievous and forced to engage the cyborg general in lightsaber combat before escaping. Skywalker and Amidala sabotaged the ship's navigation computer, and the group returned to the Republic fleet. When the Malevolence attempted to jump to hyperspace, it crashed into the Dead Moon of Antar, and Grievous retreated.
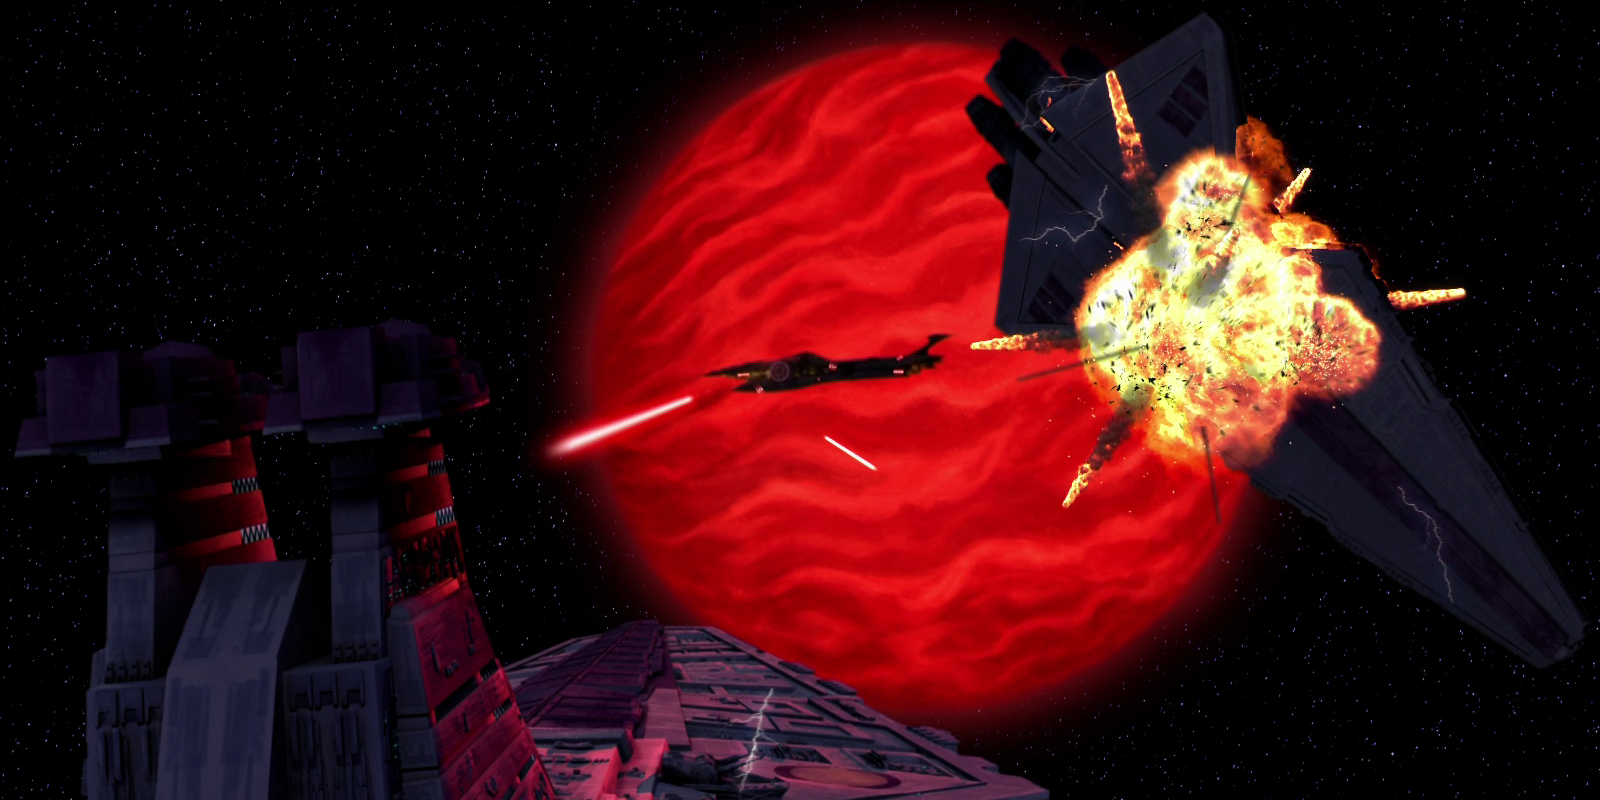
The Malevolence attacks Plo Koon's fleet in the Abregado system.
In 22 BBY, during the Clone Wars, the Confederacy of Independent Systems built a superweapon, the Subjugator-class heavy cruiser Malevolence, capable of defeating numerous Galactic Republic fleets with its ion pulse cannons. The cannons neutralized all power to their targets, leaving their prey defenseless without the ability to use deflector shields and vulnerable to fire from the Malevolences laser cannons. Under the command of General Grievous, the Confederate warship began a series of strikes on Republic task forces that left no survivors to tell the Republic of the weapon or its methods of attack, leading the Malevolence to be dubbed the "mystery weapon" for its unknown nature. The attacks formed no pattern, and the unpredictability of future targets drove fear throughout the Republic.
Jedi General Plo Koon of the Jedi High Council volunteered to lead a hunt for the mysterious weapon and took a fleet of several Venator-class Star Destroyers to the Abregado system, where the Malevolence had been located. On Grievous's order, the warship attacked the Republic fleet with its ion cannons, and the cruisers launched several escape pods. The Confederate Head of State Count Dooku was aboard the warship and ordered rocket battle droids to eliminate the pods with boarding craft, not intending to allow the Republic to learn of the warship and its weapons. However, Koon and several clone troopers were rescued by Jedi General Anakin Skywalker and his Padawan, Jedi Commander Ahsoka Tano, and were able to escape the Malevolence, taking the knowledge of the warship to the Republic. Dooku, displeased with Grievous, left to discuss the general's failure with his Sith Master, Darth Sidious.
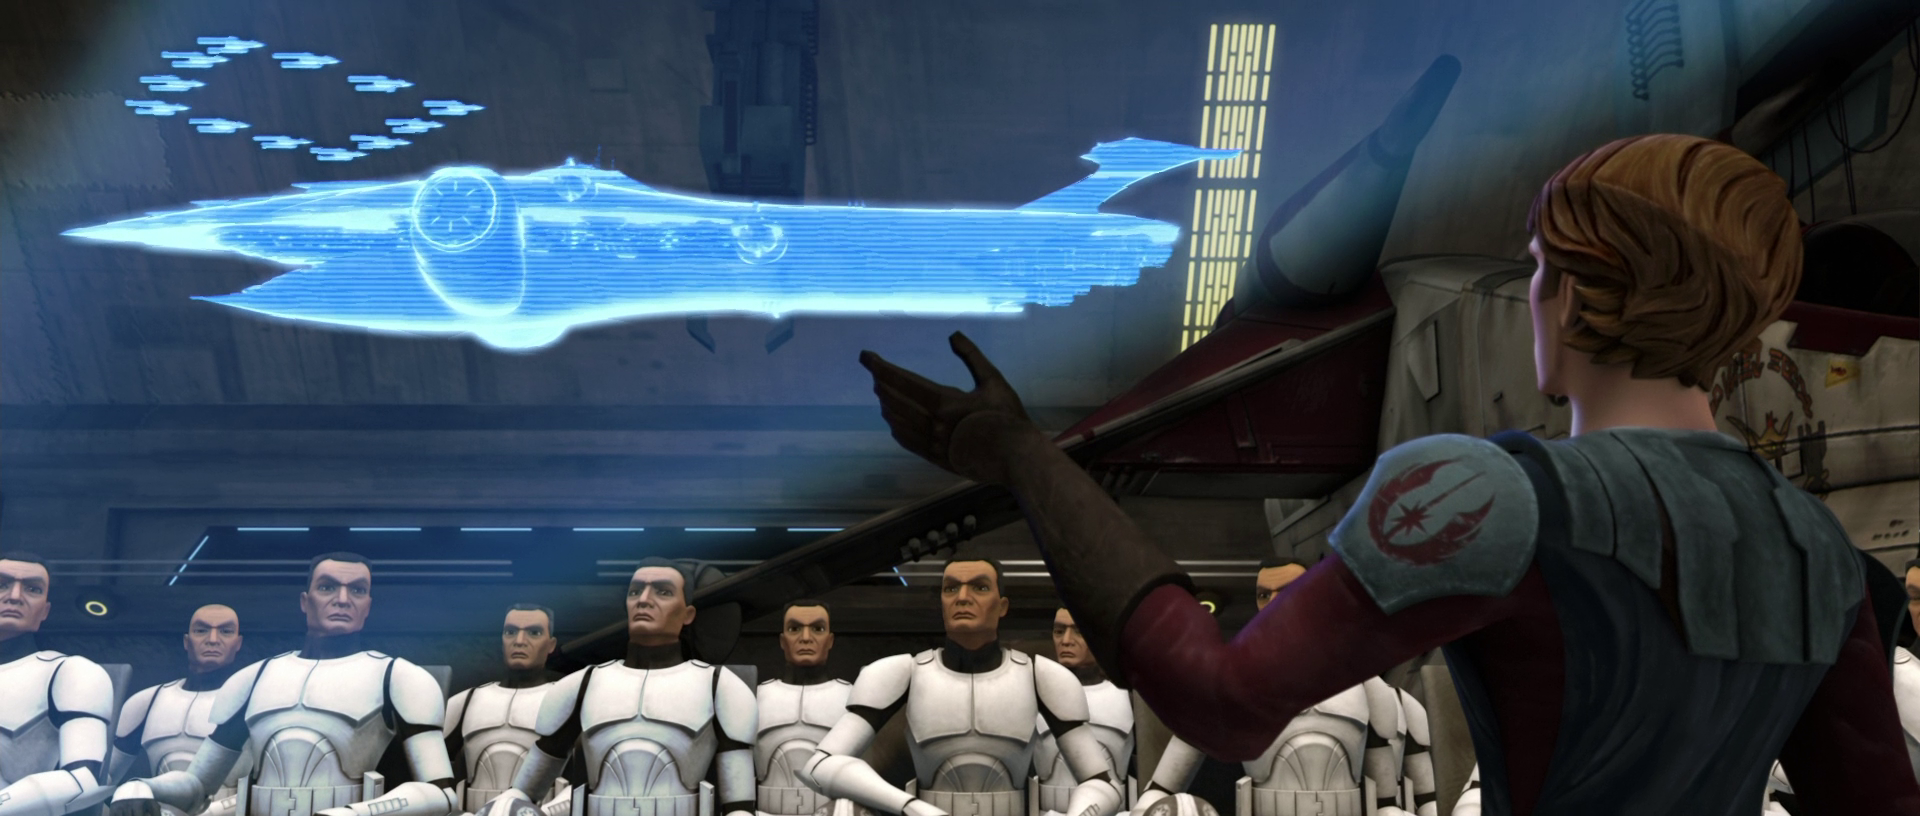
Skywalker briefs Shadow Squadron on the plan.
Following the revelation of the superweapon's nature, Skywalker planned to lead a counterattack against the Malevolence with Shadow Squadron of starfighters. The Jedi applied for several BTL-B Y-wing starfighters through Supreme Chancellor Palpatine and Senator Ask Aak, but discovered that they were still in the experimental stage. Skywalker also learned that the request had to come via a Galactic Senate Committee. Unable to obtain the bombers through official means, Skywalker traveled directly to the testing facility over the planet Bormus where the fighters were being manufactured. Arriving with Shadow Squadron aboard his personal ship, the Twilight, Skywalker took the bombers under the pretense that the request had come from Palpatine himself.
Returning to his flagship, the Resolute, Skywalker developed a plan to lead Shadow Squadron on a direct attack on the Malevolence, believing that while the larger cruisers could not outmaneuver the warship, the bombers would be able to slip through the warship's defenses. The squadron's target was the Malevolences bridge, where General Grievous would be maintaining command. With the death of Grievous, Skywalker believed that the war could be brought to a quicker end. Skywalker began preparations for his departure, and was to be accompanied by Tano and Plo Koon, the latter of whom chose to fly in Blade of Dorin, his Delta-7B starfighter.
Count Dooku met with Darth Sidious and learned of the Republic's secret Outer Rim medical station, the Kaliida Shoals Medical Center, which was treating over 60,000 wounded Republic clones. As the Malevolence ambushed a Republic medical convoy in the Ryndellia system, Dooku contacted Grievous and ordered the cyborg general to target the medical center; without the medical base, the Republic would have nowhere to send its wounded clone troopers. Grievous was pleased with this new assignment, as it showed that the count had not lost all faith in him since his failure to prevent the escape of the Jedi during the Battle of Abregado. The Malevolence eradicated the convoy and proceeded to jump to hyperspace; however, as it was unable to pass through the nearby Kaliida Nebula, the warship was forced to take a longer route around to the medical center.
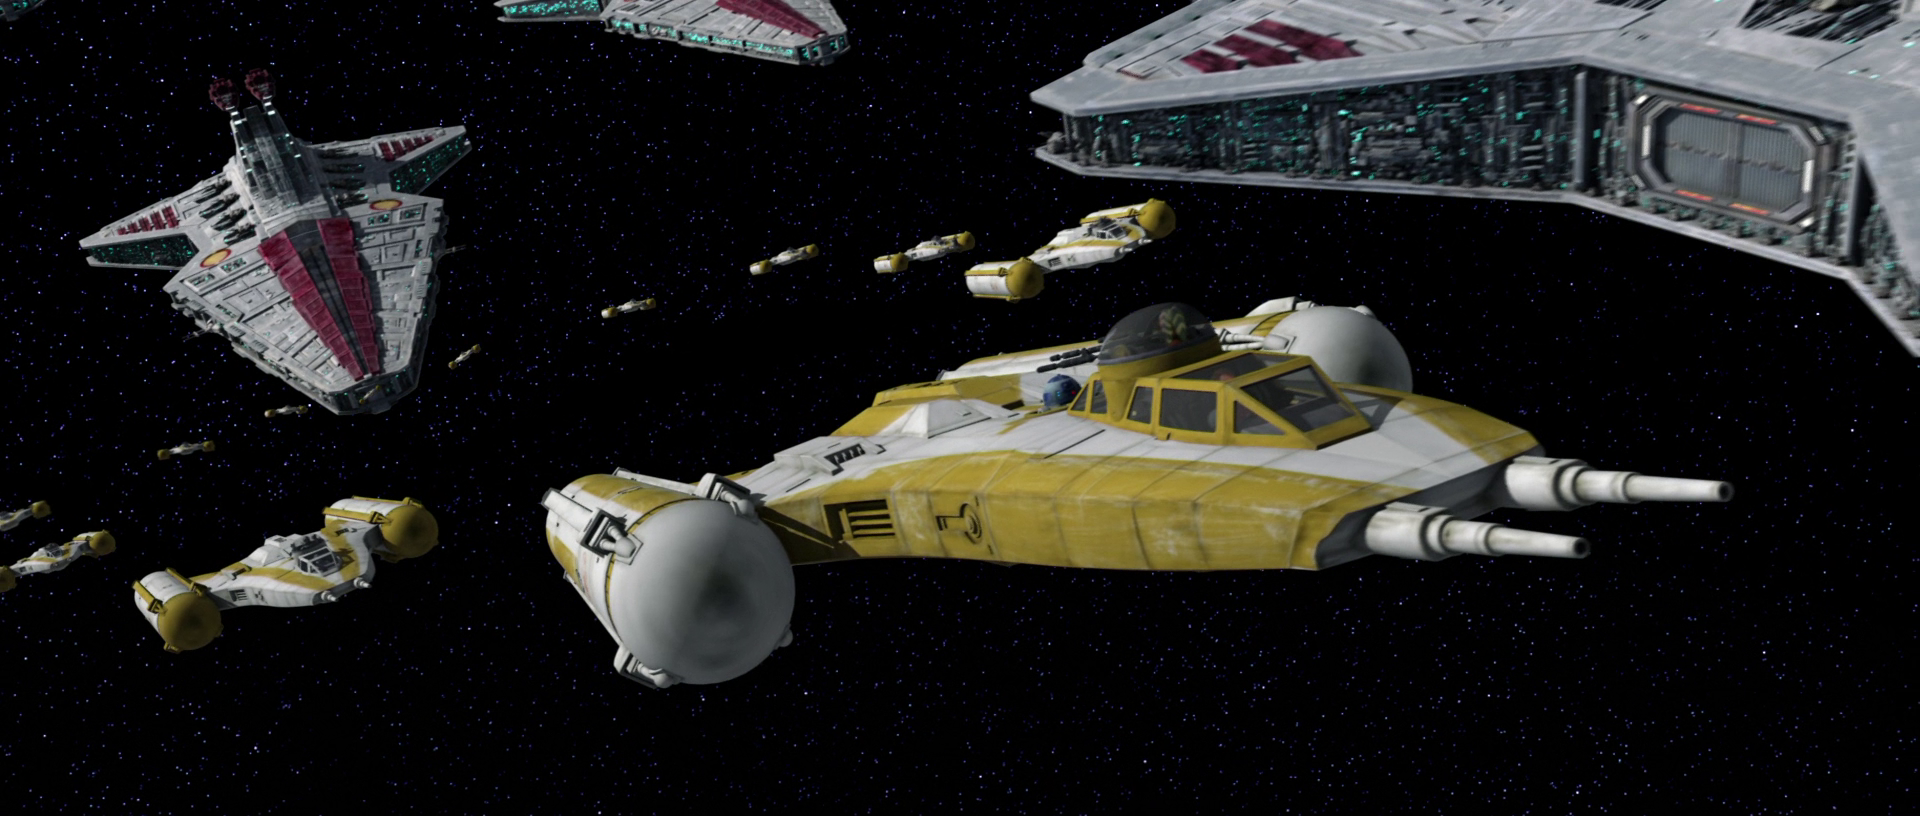
Shadow Squadron departs the Republic fleet.
As Skywalker learned of the convoy's defeat from Admiral Wullf Yularen, the Jedi deduced that the medical center was the warship's next target. Skywalker intended to take Shadow Squadron on a shortcut through the nebula in order to arrive at the medical station before the warship, and planned to attack the Malevolence before it could destroy the base. Admiral Yularen and High Jedi General Obi-Wan Kenobi resolved to take a hyperspace route around the nebula, planning to arrive at the medical center to reinforce Skywalker with several Venator-class cruisers, including the Resolute, as well as Kenobi's flagship, the Negotiator. Yularen warned the medical center's Kaminoan administrator, Nala Se, of the impending danger, and Kenobi contacted the people of the nearby planet Naboo; several Pelta-class frigates were sent to help evacuate the medical center.
Skywalker, Tano, Koon, and another Jedi Knight departed the Republic fleet with Shadow Squadron. Upon entering the nebula, they encountered several Neebray mantas, and Skywalker ordered the squadron to assume the single-file Bantha formation and follow him out of the nebula. Clone trooper pilot Matchstick's fighter was damaged, but the mantas did not cause any casualties apart from pilot Contrail's astromech droid. Shadow Squadron arrived at the medical center, located in the Ryndellia system, shortly before the Malevolence came out of hyperspace and approached the station. By this time, the medical center had evacuated half of its patients with the help of the Pelta-class frigates, but the clones being treated in bacta tanks were unable to be moved.
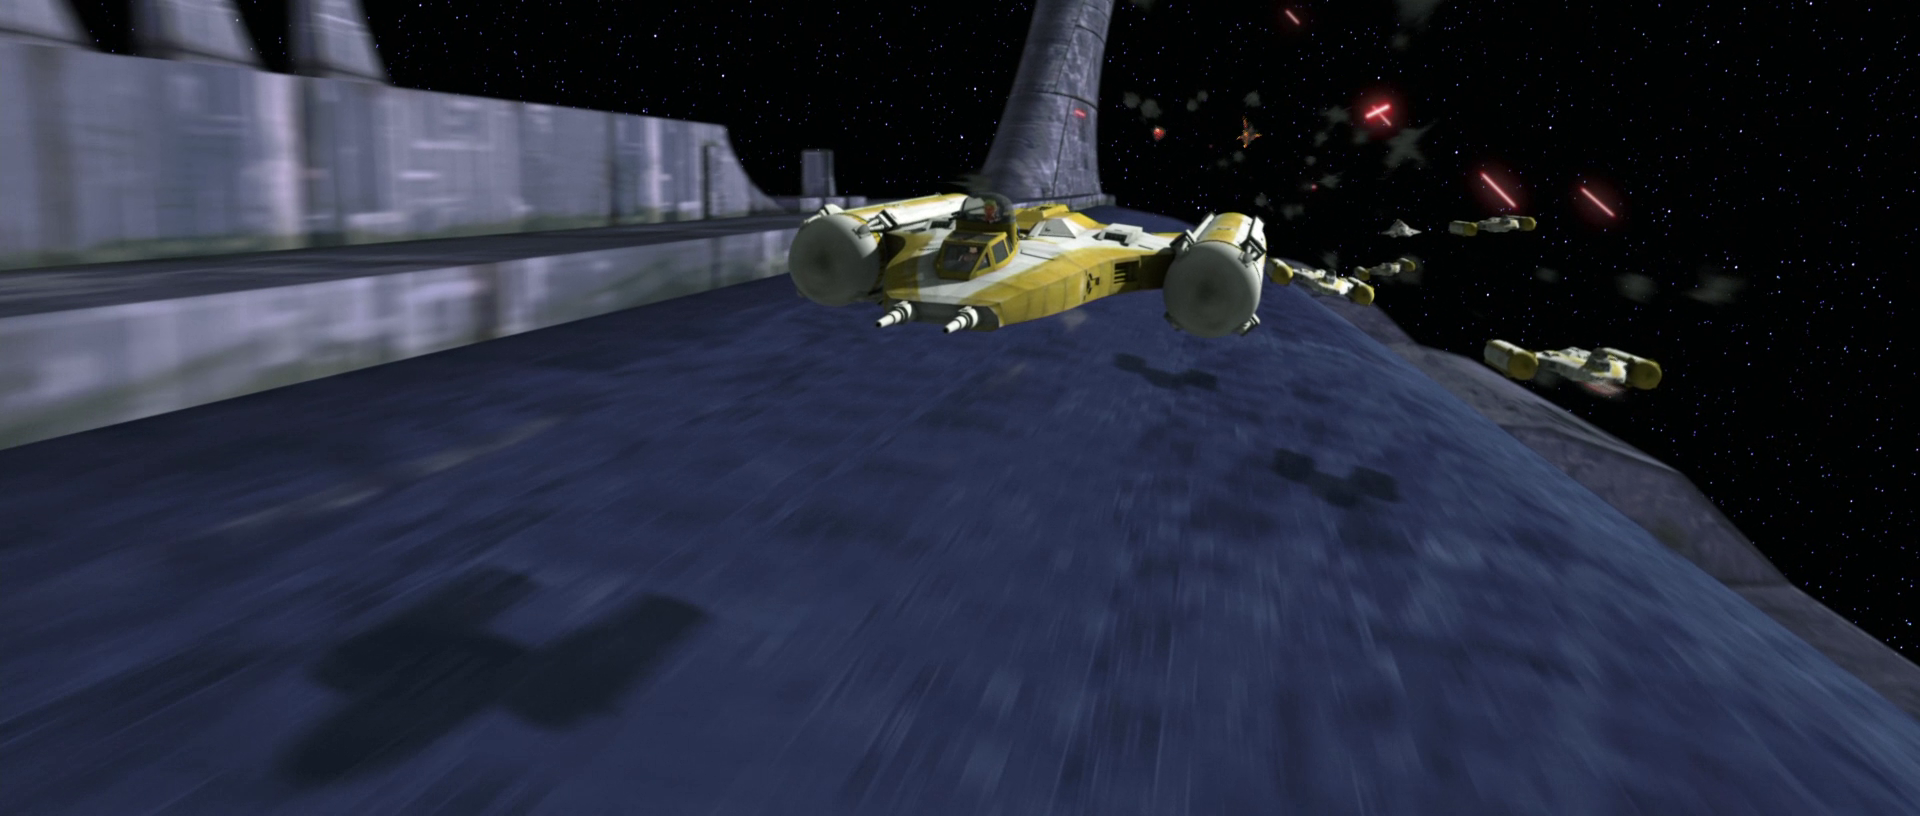
Skywalker leads the attack run on the Malevolence.
As Skywalker, Tano, Koon, the Jedi Knight—flying a Delta-7B interceptor—and Shadow Squadron approached, the Malevolence attacked the fleeing Pelta-class frigates with its ion cannons. After the frigates had been eradicated, several squadrons of Vulture droids were launched from the Malevolence, and the droid starfighters attacked the incoming Shadow Squadron. Despite the fact that his own Vulture droids would be caught in the blast, Grievous ordered the warship's ion cannon to target the approaching Y-wing bombers. As the Malevolence fired its ion cannon, Skywalker immediately ordered his squadron to head for the top edge of the ray to avoid being neutralized. However, Matchstick's fighter malfunctioned, and his fighter crashed into fellow pilot Tag's bomber, while Shadow Six, Seven, and Ten, were caught in the ion ray.
Even with its numbers cut in half, the Republic squadron continued toward the Malevolence and maneuvered through the incoming laser fire as the warship targeted the medcenter. Another of the Republic fighters had been destroyed, and Tano advised Skywalker that with their decreasing firepower, targeting the bridge was not their best option. Taking Koon's suggestion to obliterate the warship's primary weapon, Skywalker changed the target to the starboard ion cannon, and he, Koon, and the Jedi Knight spearheaded the attack on the cannon. After the cannon was hit by proton torpedoes, Grievous attempted to fire the weapon, but both cannons exploded, causing further damage to the ship and disabling the Malevolences hyperdrive.
Kenobi's fleet of Star Destroyers arrived in the star system and directed laser fire at the Confederate warship. Unable to retreat to hyperspace, Grievous ordered the Malevolence to flee to Confederate-held space. Kenobi contacted Skywalker and congratulated him on his success, and Skywalker, Tano, Koon and the Jedi Knight went to the medical station to regroup and refuel their fighters to provide support for the Republic fleet.
When Dooku learned of Grievous' failure, he was displeased, and his Sith Master, Darth Sidious, arranged a trap for an important Republic official that would provide an opportunity for Grievous to escape. Sidious, in the guise of his alter ego of Supreme Chancellor Palpatine, manipulated Senator Padmé Amidala into traveling to the nebula, under the pretense that she would be meeting with an InterGalactic Banking Clan representative that wanted to negotiate a treaty with the Republic. Amidala agreed and headed to the nebula in her H-type Nubian yacht with her protocol droid, C-3PO. As the Republic fleet continued its attack on the fleeing Malevolence, Amidala arrived out of hyperspace in front of the Malevolences bow and realized that she had been led into a trap.
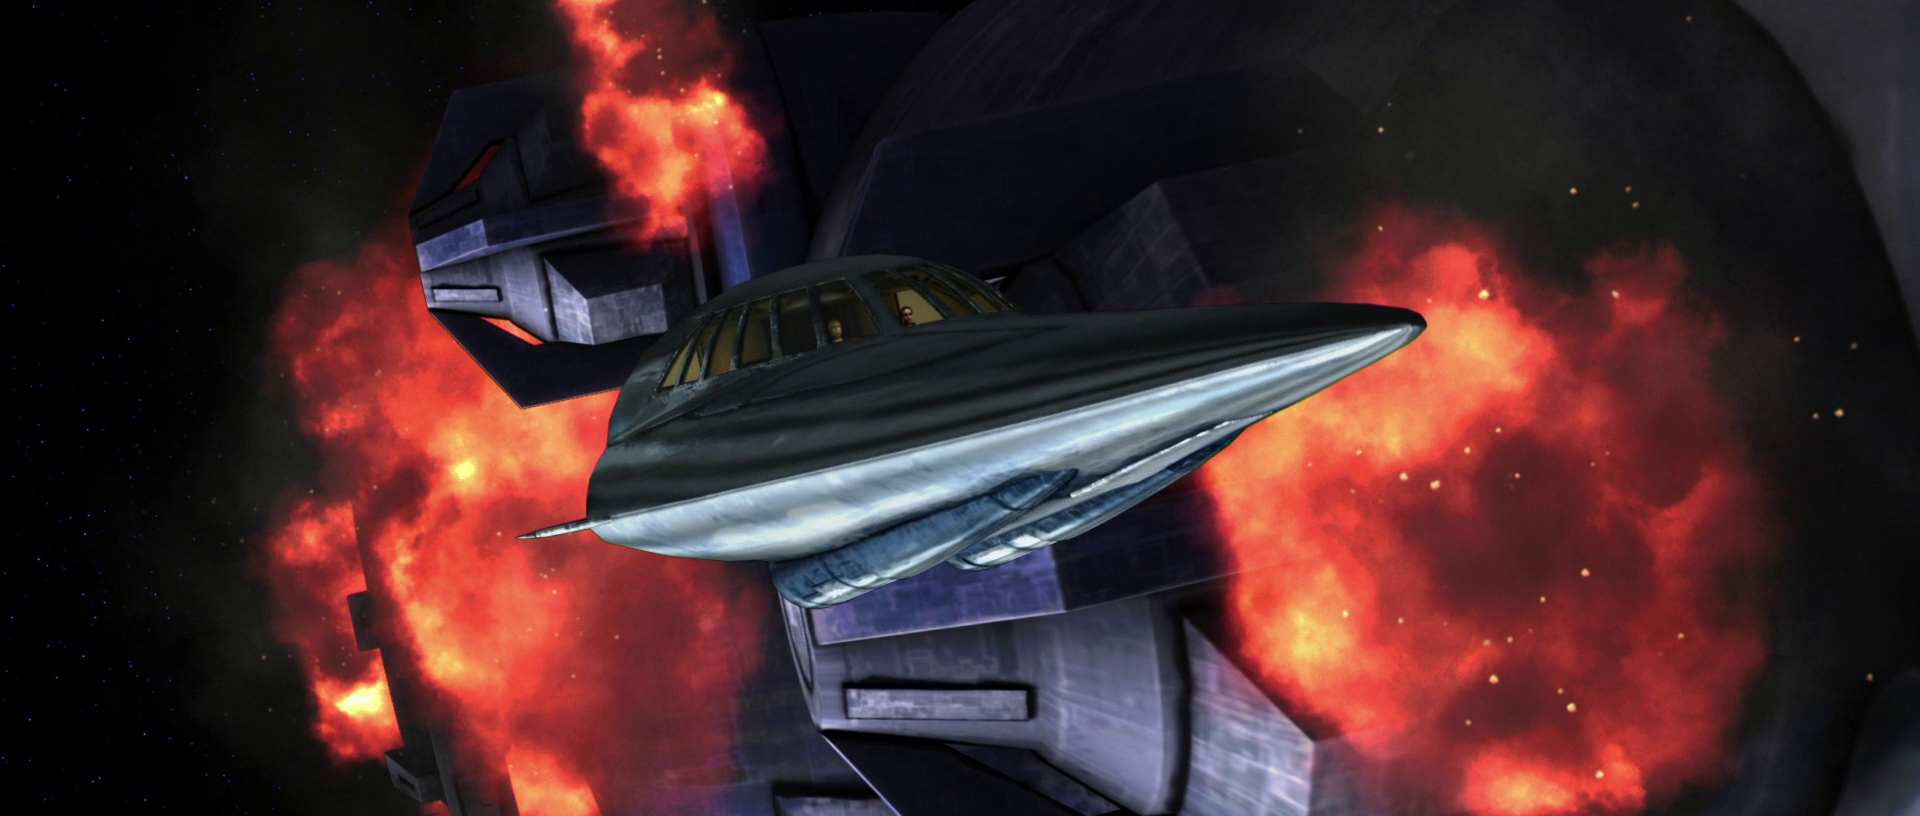
Amidala's yacht is pulled into the tractor beam of the Malevolence.
Skywalker and Tano returned to the Resolute, and Skywalker contacted Senior Jedi General Luminara Unduli for support, but discovered that she was busy fighting Confederate reinforcements nearby. Admiral Yularen deduced that the warship's hyperdrive was damaged because the Malevolence was not attempting to flee to hyperspace. Taking advantage of the warship's vulnerability, Kenobi ordered all laser fire to be directed at the Malevolences bridge. The Resolute picked up the arrival of Amidala's yacht and contacted the ship, and Skywalker was dismayed to learn of Amidala's presence, as she was his secret wife. To protect the senator, the Republic fleet was forced to cease its laser fire at the Malevolence. Amidala's ship was pulled aboard the Malevolence with a tractor beam, as Grievous intended to use the senator as a hostage to ensure the warship's escape. To rescue the senator, Skywalker and Kenobi departed in the Twilight to infiltrate the Malevolence.
Trapped in the main hangar of the warship, Amidala set her yacht's engines to self-destruct before escaping and hiding elsewhere with C-3PO, intending to delay her pursuers. As Grievous arrived to apprehend the senator, the ship discharged, but the cyborg general survived the explosion and ordered a full search of the ship. While attempting to contact the Republic fleet from a communications panel, Amidala and C-3PO were forced to hide from Grievous and a B1-Series battle droid patrol. The senator and her protocol droid learned that the damage to the warship's hyperdrive would require less time to repair than originally believed, and Grievous left to inform Dooku of the news while the droids continued the search for the senator.
As Skywalker and Kenobi arrived on the warship, they encountered several B1 battle droids and eliminated them. Back aboard the Resolute, Tano and Koon again contacted Unduli for support, and Unduli stated that she was on her way to the nebula with reinforcements. Amidala contacted the Republic fleet, and Tano patched the communication through to Skywalker and Kenobi, who arranged to rendezvous with Amidala at a rail jet junction in the middle of the ship. Upon arrival at the junction, Amidala and C-3PO were ambushed by a battle droid patrol, and the senator returned fire at the droids while she and her protocol droid backed toward the rail jets. Noticing the senator's blaster fire, Skywalker and Kenobi immediately ignited their lightsabers and Force Jumped across rail jet cars, dispatching several battle droids on their way to the senator. Amidala and C-3PO escaped onto separate rail jet cars, but a B2-HA series super battle droid fired a rocket at the junction Amidala's car was approaching, and Skywalker used the Force to pull Amidala onto his car. Kenobi attempted to telekinetically retrieve C-3PO, but the droid was caught on an oncoming car and headed off in another direction.
Upon learning from Amidala the battle droids' progress on repairing the hyperdrive, Kenobi elected to disable the hyperdrive while Skywalker and Amidala decided to sabotage the navigation computer of the Malevolence. Heading to the warship's bridge with the senator, Skywalker dispatched his astromech droid, R2-D2, to rescue C-3PO. The astromech droid halted the protocol droid's rail jet car and led him back to the Twilight. Grievous, however, was able to intercept the transmission between Kenobi, Skywalker, and Amidala, and the cyborg general proceeded to the ship's hyperdrive room to ambush Kenobi. As the Jedi entered the room and approached the battle droids guarding the hyperdrive, droid reinforcements arrived alongside Grievous and targeted Kenobi. Using several droidekas against their comrades, Kenobi Force-pushed two of the droids at the approaching battle droids behind them, then used the remaining droideka's deflector shield as protection from incoming blaster rifle fire from Grievous. Evenly matched with Grievous, Kenobi chose to escape, forcing the remaining droideka at Grievous and fleeing. Knocking a B1 battle droid aside in frustration, Grievous ordered the remaining droids to guard the hyperdrive while he personally went to deal with Kenobi.

Grievous confronts Kenobi.
As Kenobi left, he contacted Skywalker and Amidala, who were meanwhile fighting a patrol of several B2 super battle droids. Kenobi arranged to meet the pair back at the Twilight before their communications were jammed by the Malevolences droid crew. At the rail jet, Kenobi was pursued by Grievous and several battle droids. The general and the droids jumped toward the Jedi's rail jet car, but the battle droids were destroyed from an incoming rail jet. As Grievous approached, Kenobi noticed a large, mechanical arm hanging over the rail jet and used it to propel himself toward Grievous, landing a kick on the general. The Jedi and cyborg engaged in a duel before Kenobi fled to the front of the car. Grievous slashed at the Jedi, making Kenobi lose his balance, but the Jedi was able to escape onto a car below.
Skywalker and Amidala arrived on the bridge of the warship and dispatched the droids that were repairing the Malevolences hyperdrive. Two super battle droids entered the room, and Skywalker quickly Force-pushed Amidala back into the turbolift before destroying the droids. Intending to reset the navicomputer's coordinates for the hyperspace jump, Skywalker hot-wired the warship's systems while Amidala hid the disabled droids in the turbolift chamber to erase any traces of the fight and evidence of the sabotage. Meanwhile, the Republic fleet prepared to attack the Malevolence once the Jedi returned with the senator, but with communications blocked, the cruisers were unable to contact Skywalker for an update of the mission's status. Finishing their mission, Skywalker and Amidala left the bridge shortly before more battle droids arrived to take command of the Malevolence. The Jedi and senator met up with R2-D2 and C-3PO, and at the airlock where the Twilight was docked, Kenobi arrived, pursued by several droidekas. Skywalker used the Force to hover crates and provide cover for Kenobi, and the Republic group boarded the Twilight and escaped.
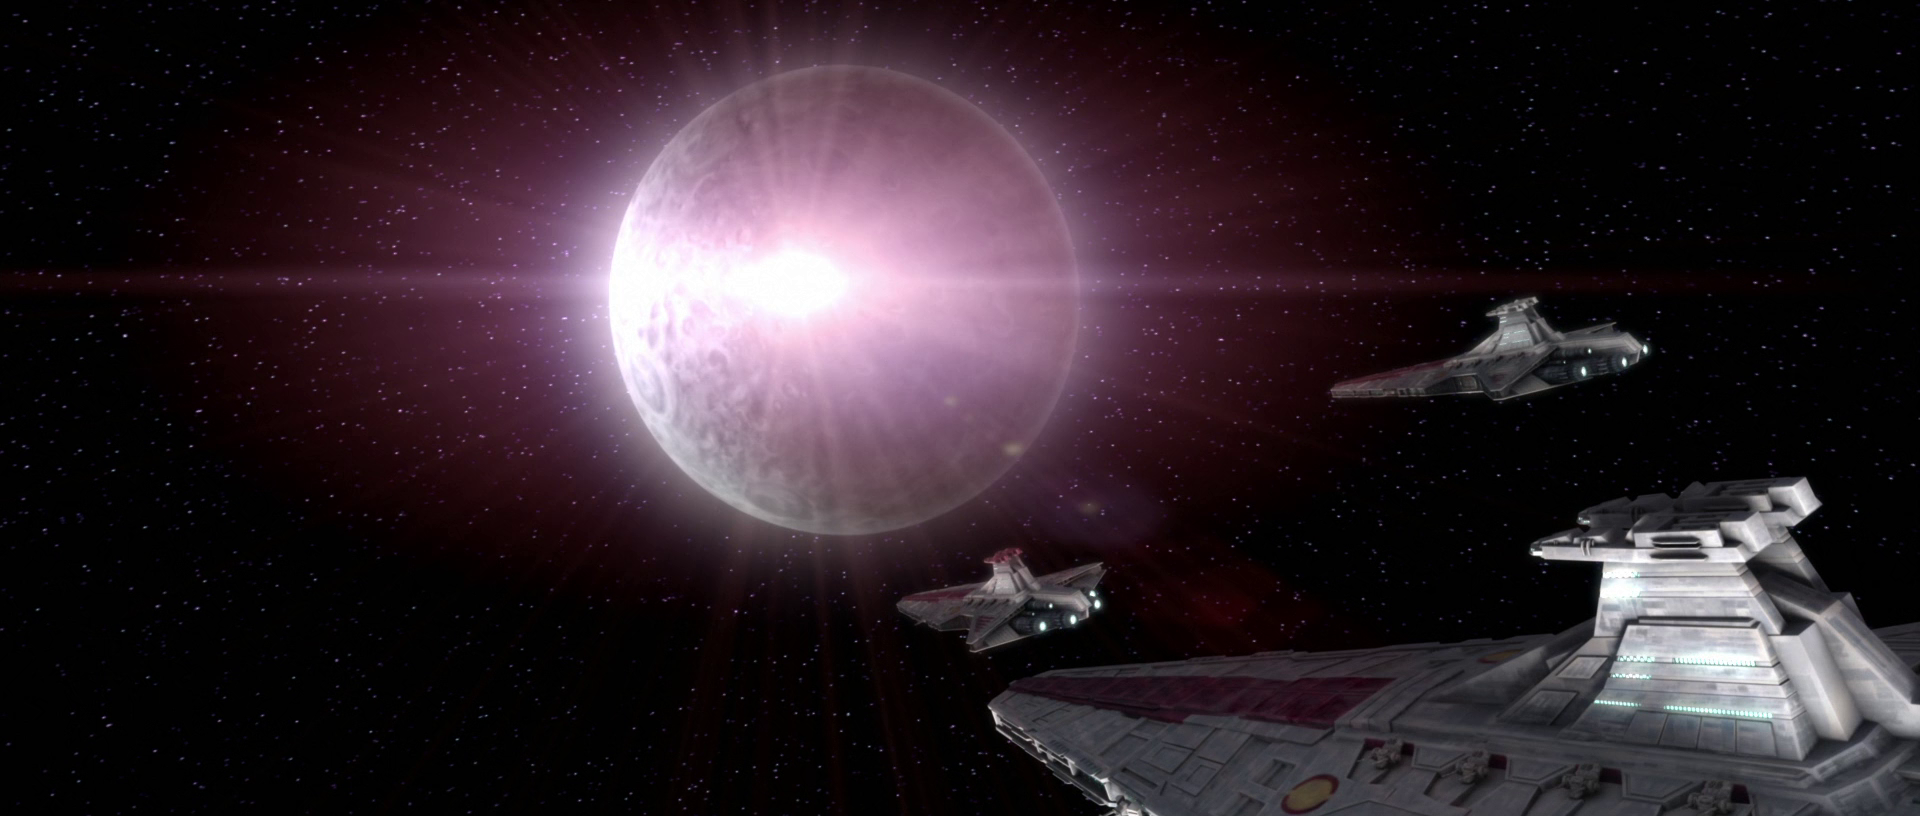
The Malevolence crashes into the Dead Moon of Antar.
By this time, the Malevolence had reached the Mid Rim's Prindaar system. The Twilight retreated to the Republic fleet, and Grievous gave pursuit in his fighter, Soulless One, accompanied by several Vulture droids. Aboard the Resolute, Koon ordered the Star Destroyers to open fire once more, and the cruisers regained their attack on the fleeing Malevolence. As Grievous landed a shot on the Twilight, Amidala took charge of the laser cannon's periscope controls and returned fire at the droid starfighters. The cyborg general ordered the Malevolence to flee to the Confederate base in Sector Four, stating that he would meet the warship there, and the Malevolence maneuvered for the jump to hyperspace.
Amidala aimed a shot at Soulless One, and Grievous moved aside, forcing a Vulture droid to take the shot. As the Malevolences crew engaged the warship's hyperdrive, the navicomputer malfunctioned and directed the warship toward the Dead Moon of Antar. Dooku made contact with Grievous, stating that the Malevolence and the general himself were being awaited at the rendezvous point, but Grievous cut off the transmission and escaped to hyperspace. The warship's battle droid crew was unable to reset the navicomputer in time, and the Malevolence crashed into the dead moon, ending the threat that the Confederate warship had posed to the Republic.
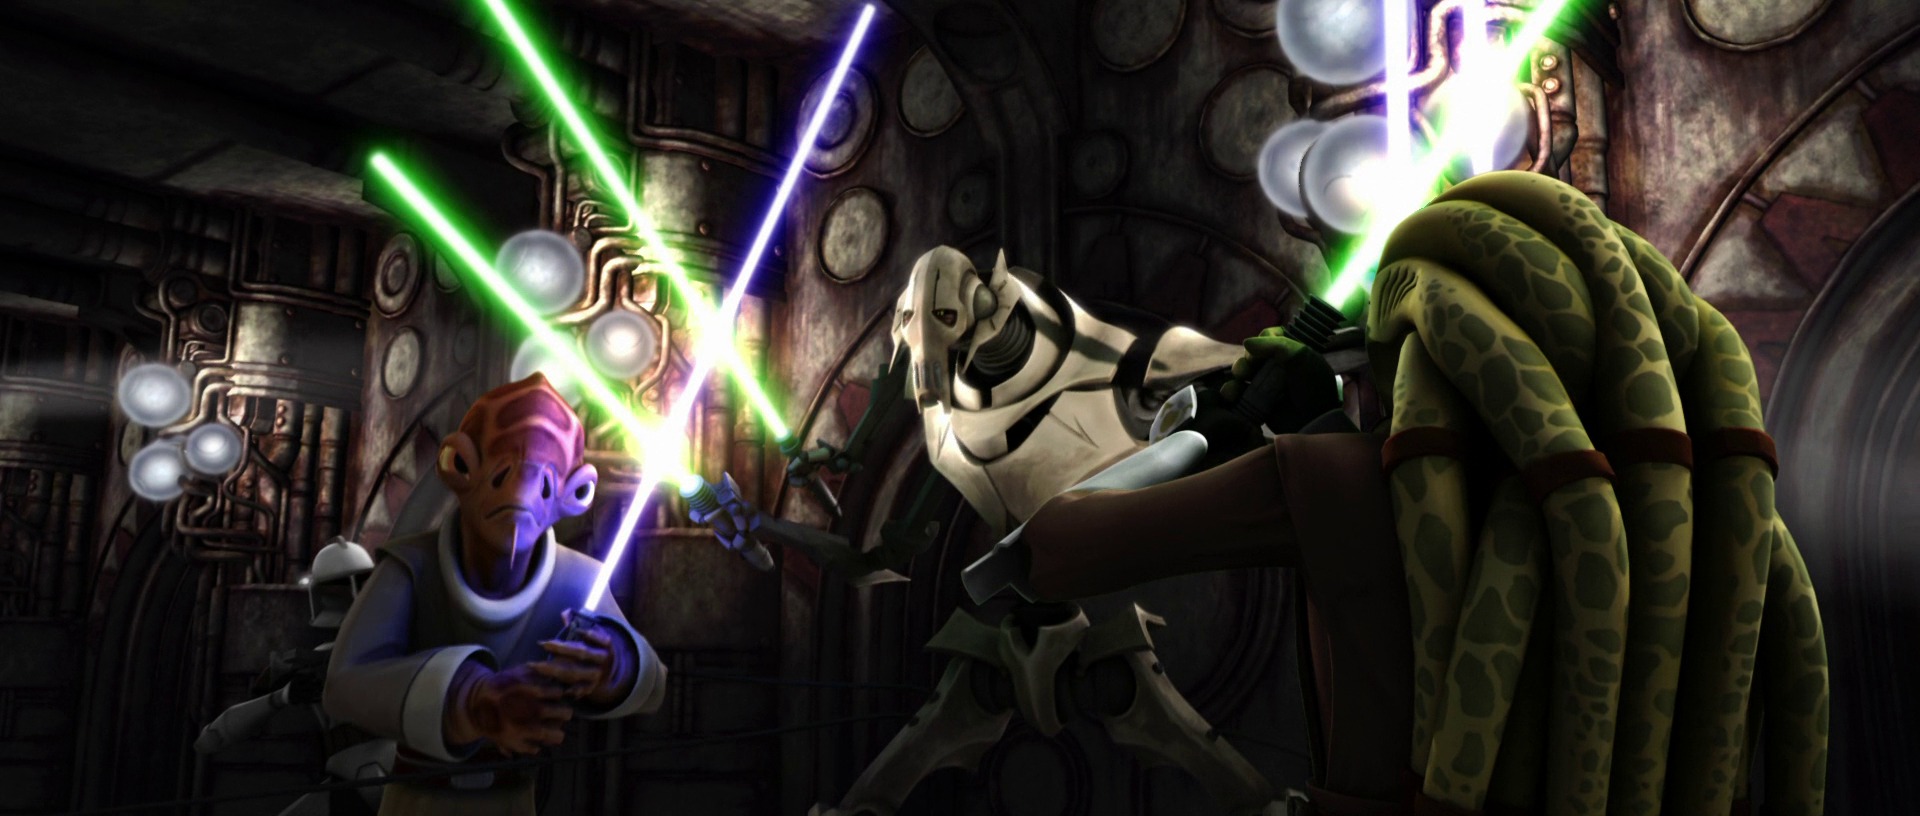
Grievous is forced to prove his worth following the loss of the Malevolence.
The destruction of the Malevolence earned a smattering applause from the crews aboard the Republic Star Destroyers. The dead moon of Antar became the resting place of the Confederacy's prized warship, and Grievous' defeat at the hands of the Republic further shook Count Dooku's faith in him. It was the destruction of the Malevolence, in addition to a number of following defeats, that prompted Dooku to arrange a test for his general later in the war.
Following the Battle of the Kaliida Nebula, a clone trooper squad under the command of Clone Captain Lock was sent to the remains of the Malevolence to confirm that it had been built by Quarren Separatists at Pammant Docks. A piece of scrap with the insignia of the Free Dac Volunteers Engineering Corps, a starship-construction organization that was based out of Pammant, was recovered from the destroyed warship, but a circuit board that had not been manufactured by the Quarrens was also found amongst the debris. After the clone squad's return to Coruscant, the piece was sent to the Jedi Archives, and Jedi Master Ring-Sol Ambase was able to confirm that the board was built by KynachTech Industries, a worker force based out of his own homeworld. Master Ambase and the clone trooper squad were dispatched to Kynachi to follow the lead, unaware that they were heading into a trap set by the Dark Lord Darth Sidious. Eventually, the Confederacy decided to rebuild the Malevolence, and Grievous personally supervised the operation. Once Grievous and a battle droid squad had eluded the Jedi Knight who had participated in the initial assault on the Malevolence, they retrieved the necessary information from the ship's crash site on the dead moon of Antar. As Pammant Docks began to reconstruct the new Malevolence, the Jedi Knight pursued Grievous to Pammant and dueled both Grievous and Count Dooku himself.
The Battle of the Kaliida Nebula was featured in the 2008 Star Wars: The Clone Wars television series. As it was spanned out over several episodes, the battle was one of the series' first major battles, appearing in the first season episodes "Shadow of Malevolence" and "Destroy Malevolence." In addition, the battle completed a three-part story arc in the series centered around the Confederate warship Malevolence, which made its first appearance in the television series in the episode "Rising Malevolence," as well as Shakedown, an issue of the series' weekly online webcomic that led into the episode. Several stories relating to the battle itself were featured in the online comic; Procedure depicted Anakin Skywalker's acquisition of the Y-wing bombers for the battle shortly before "Shadow of Malevolence," while Agenda portrayed Palpatine's deception of Padmé Amidala, leading into "Destroy Malevolence."
The Star Wars: The Clone Wars: Lightsaber Duels video game featured Obi-Wan Kenobi's duel with General Grievous aboard the Malevolence. The battle was identified by name in the 2009 Star Wars: The Clone Wars – The Official Episode Guide: Season 1. In 2010, the battle was featured in the "Starfighter" mini-game of the Star Wars: Clone Wars Adventures video game, which introduced a slight inconsistency with "Shadow of Malevolence." In the game, Skywalker pilots a Delta-7B interceptor during the initial attack on the Malevolence, while in the episode, Skywalker mans a BTL-B Y-wing starfighter with Ahsoka Tano. This article assumes that the latter's interpretation is correct. The 2011 non-canonical video game LEGO Star Wars III: The Clone Wars featured the battle in its comical depictions of "Shadow of Malevolence" and "Destroy Malevolence."
The battle depicted the BTL-B Y-wing starfighters in use, and also featured the series debut of the characters of Padmé Amidala and C-3PO. Although the 2012 The Essential Guide to Warfare claims that the battle takes place in 22 BBY, it was assumed at the time to be an error given the then-establishment of the series in 21 BBY or later. The Official Star Wars Fact File Part 24 cemented the battle's dating in 22 BBY.
- LEGO Star Wars III: The Clone Wars