Her apprentice located each artifact on different planets before the Inquisitor returned to Dromund Kaas to report to their master. But Zash had lied to them about the ritual: she wished to cheat death and used her student as a means to an end, since she hoped to inhabit them. However, their confrontation saw her apprentice's Dashade Khem Val intervene to save the Inquisitor. It resulted in Zash's consciousness transferring into Val instead; but Val being bound to the Inquisitor meant that Zash was forced to serve her apprentice with her plans to cheat death failing spectacularly.
Kallig releases Khem Val from stasis in Naga Sadow's tomb.
The Sith Lord Zash in her career delved into ancient rituals related to the dark side. Zash was an academic and was enthusiastic to seek out ancient knowledge and power that could further her ambitions. But this research into the dark side took an extreme toll on her since it started to deform her physical form. To that end, she maintained a Force illusion to hide her appearance as she searched for a cure to restore herself to a more appropriate and youthful visage.
Zash's studies led her to believe that a transfer essence ritual could be used to save her and she had to locate artifacts related to the ancient Sith Lord Tulak Hord since the ritual was related to him. This would enable her to transfer her consciousness into a younger host body and could ensure that she could cheat death. But Zash needed to collect several artifacts related to Hord and needed to select an able-bodied apprentice - or more accurately, a pawn - to take her spirit when the artifacts were collected. Zash also had a vision in which she saw her apprentice overcome the raging spirit that dwelt in the Dark Temple and that the student would therefore be granted Hord's knowledge and could in turn become her vessel.
To find an apprentice was crucial to Zash: she tasked the overseer Harkun to get prospective new students to acquire artifacts related to Hord. Zash was unable to do this herself since her superior Darth Skotia would become suspicious of her intentions. To that end, she also began to set in motion plans to kill Skotia so that she could ascend to his position and continue her search for artifacts with little concern of interference. But Zash did at one point fail to retrieve Hord's holocron from the tomb of the ancient Sith Lord Marka Ragnos and was denied access to the innermost chamber in the Dark Temple on Dromund Kaas because Skotia refused to grant her access in full awareness of her ambitions and devious nature, sentiments that his superior Darth Thanaton also harbored.
Zash monitored the progress of one particular student (a former slave) and became impressed when they managed to retrieve Hord's holocron and also an important map from the tomb of Naga Sadow (as well as Hord's former Dashade servant Khem Val). The Sith Lord took this student as her apprentice and the two proceeded to Dromund Kaas for the next stage of her plan; it was there that she informed her apprentice about the ritual, but lied about its true nature.
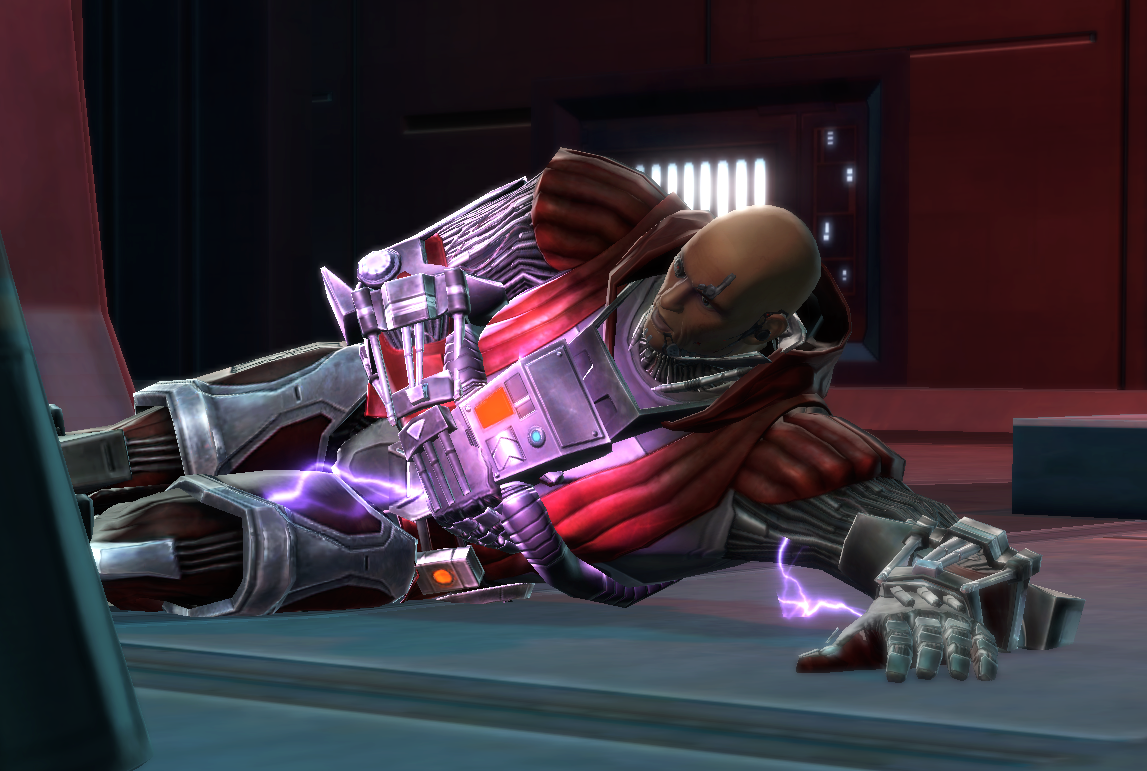
Kallig defeats Darth Skotia.
The first matter to attend to was to eliminate Darth Skotia in order to provide both master and apprentice the full freedom needed to conduct their search without interference or suspicion. Zash planned Skotia's death and tasked her apprentice to acquire a device to incapacitate Skotia and a Trandoshan tablet that would ensure that Skotia's Trandoshan bodyguards would aid in killing Skotia. The Inquisitor acquired both and was sent to confront Skotia in his bunker; the student slew the Sith Lord after the latter killed the Trandoshan guards when the tablet was used against them.
Skotia's death saw Zash made a Dark Lord and titled as a Darth. The next plan put into motion was to determine if the apprentice was the one Zash saw in her vision. Her student managed to overcome the raging spirit, which was revealed to be the Inquisitor's ancestor, Aloysius Kallig, who had served Tulak Hord before the latter killed him. Aloysius warned the apprentice to be wary of their master, Khem Val and any future apprentices, and believed they would bear his name and restore it to greatness. Zash was astounded when this was revealed to her since it also confirmed her vision that her new apprentice was the one to take part in her ritual. Her apprentice, now bearing the Kallig name, also gave her the first artifact in their hunt which was recovered from the Dark Temple after the Inquisitor confronted their ancestor's spirit.

Hazard Vault 305 on Balmorra.
Apprentice Kallig's first mission was to Balmorra to acquire the second artifact sealed in Hazard Vault 305; their master directed them to contact Major Bessiker to aid them in their search for it. Bessiker said that the vault was converted into a toxic waste storage site that colicoids had overrun and that a serum could be created to make them immune to the waste. However, Iannos Tyrek, who had recently defected, was the only one capable enough to be able to produce it. Tyrek was captured but Bessiker was reluctant to continue to provide help to Kallig unless the latter helped liberate his son, Hiran, from a Republic prison cell. The apprentice stormed the prison on the Gorinth Plateau in search of the major's son. They found and conversed with him but ultimately killed Hiran, which was witnessed by an agent sent by Bessiker.
The furious Bessiker attacked the Inquisitor but was slain in the encounter. This left Kallig free to receive the serum from Tyrek, whom they executed, and used it to move through the waste to retrieve the artifact.
The third artifact was located on Nar Shaddaa, in the possession of the Sith Lord Paladius, who ran the Cult of the Screaming Blade. Kallig arrived planetside and met with the former cultists Destris Veran and Rylee Dray; Kallig managed to secure their assistance when promising them that the pair would inherit control of the cult when Paladius was dealt with. But it was soon determined that Paladius needed to be weakened in order to be defeated. The first thing to do was for Kallig to build their reputation, doing so after killing the leaders of the infamous Krayt Gang.
The next move was to demonstrate Kallig's powers to Paladius' followers as being superior, to ensure that some would desert the Sith Lord. To do this meant to produce a groundquake beneath the ground via a controlled explosion to make it seem as if Kallig could manipulate the environment around them. Kallig obtained a detonator from Gord Madel and then showed up in the Meridian Hall where Paladius gave an address via hologram. Paladius attempted to smear Kallig as a fraud whose powers were insignificant despite the fact that the apprentice was able to demonstrate their abilities through the explosion.
Paladius contacted Kallig soon after and offered them the artifact in exchange for leaving him alone, so that he could lead his cult in peace. Veran and Dray accompanied Kallig to meet with Paladius; the elder Sith tried to double-cross Kallig but was defeated in the ensuing confrontation. Paladius immediately offered his complete loyalty to Kallig in exchange for being spared. Veran and Dray protested, but the apprentice ultimately chose to betray them and killed Veran by throwing him off the main platform. Paladius then assured Dray that she would survive, but be punished. Dray attempted to flee, but Paladius killed her with Force lightning. Kallig then left Paladius in charge of the cult in their name.
The fourth artifact was on Tatooine and in the hands of pirates who settled on that world. Zash instructed Kallig to locate the pirate Andronikos Revel but learnt from his former girlfriend Casey Rix that Revel's first mate Sylas Wilkes mutinied and stole Revel's blasters and the artifact. Rix helped Kallig locate Revel, who decided to aid the apprentice in order to get revenge against Wilkes and recover his lost blasters. It was during their search that the two learnt that Wilkes was mutinied against in turn after he ousted Revel and that the crew stole the artifact and blasters before retreating deep into the harsh desert environment.
Kallig and Revel followed the trail into the Dune Sea and found logs indicating that the artifact made the pirates go insane over time. The pair found and recovered the artifact off a dead pirate and returned to Kallig's ship before Revel announced his intention to leave Tatooine and join Kallig's crew.
The fifth and final artifact was revealed to be on Alderaan, in the possession of House Organa. Zash put Kallig in contact with Elana Thul of House Thul (a vital Imperial contact) and learnt that the artifact in question was located in the Elysium Vaults. The drawback was that the key to enter was in the possession of the Jedi Master Nomar Organa. Kallig was therefore forced to break into the library of House Alde and look through the records for information that could assist their investigation. In them Kallig learnt that Rehanna of House Rist was once engaged to Organa who cancelled their marriage so that he could become a Jedi.
This revelation prompted Kallig to visit Rist and the apprentice managed to manipulate her to contact Organa and lure him to Alderaan so that they could kill him. Organa sensed the deception but was slain in the confrontation with Kallig. This enabled for Kallig to enter the vaults and recover the artifact in question.
Kallig's ancestor, meanwhile, visited them several times during his travels to different planets in order to warn them about Zash's activities on Dromund Kaas. He told his heir not to trust Zash and that she had taken two new apprentices, Corrin and Kaal, to aid her in preparing her ritual in the Dark Temple. He believed she would cause his heir harm and advised the young Kallig to prepare for betrayal and for a manner to deal with Zash when the inevitable came.

Zash reveals her true form to Kallig.
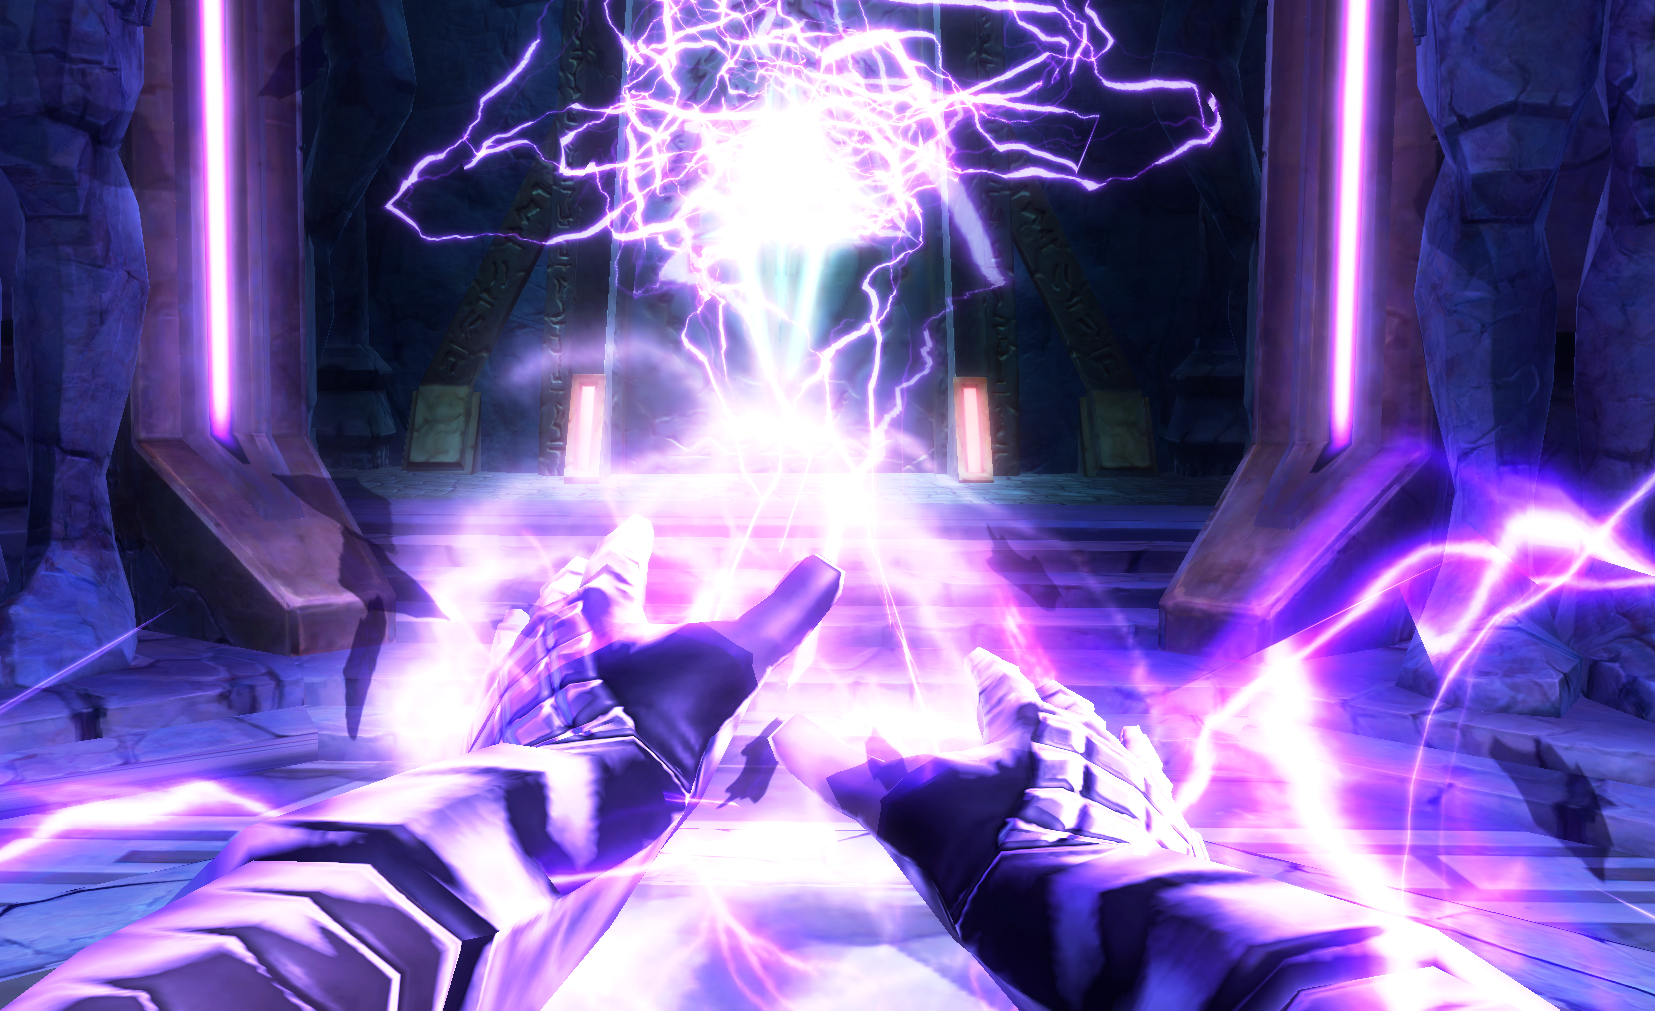
Zash's preparations on Dromund Kaas for the ritual were concluded at the time her apprentice concluded their business on Alderaan. Zash summoned them at once to meet her in the Dark Temple for the culmination of their joint ventures. But Kallig remembered their ancestor's words and took the Dashade, Khem Val, with them. It was in the Dark Temple that Zash revealed her true motives for the ritual as being her attempt to cheat death through possessing her student and transferring her consciousness into them. Their confrontation resulted in Zash gaining the upper hand and beginning the ritual; Val intervened and attacked Zash as she concentrated on the ritual knocking her backwards into the air.
In the skirmish's aftermath Zash discovered that her consciousness had in fact been transferred into the Dashade as opposed to her apprentice. In a rage she threatened to use the creature's power to exact vengeance upon Kallig, though the apprentice reminded her that Val was bound to them and, by extension, Zash too. Corrin and Kaal walked in and saw their master's body lying on the floor. Presuming Kallig had slain Zash, they bowed down to the Inquisitor, who was granted the title of Lord Kallig.
- Star Wars: The Old Republic Encyclopedia