Siege of Jabba's Palace
The assault on Jabba's Palace unfolded in 4 ABY, orchestrated by key figures from the Rebel Alliance. This group included Leia Organa, who adopted the disguise of Boushh, alongside Luke Skywalker, Chewbacca, Lando Calrissian, and Han Solo. Their primary mission was to liberate Han Solo from his carbonite imprisonment and extract him from the clutches of Jabba the Hutt.
Lead-up to the Conflict
Subsequent to the Galactic Empire's arrival on Bespin, Rebel leader Han Solo underwent carbon freezing within carbonite. He was then handed over to bounty hunter Boba Fett as a prize for the crime lord, Jabba the Hutt. Luke Skywalker journeyed back to Tatooine and made his way to the former residence of Obi-Wan Kenobi in the Jundland Wastes. There, he unearthed training materials related to the Jedi, which he used to construct a new lightsaber with a green blade. Following this, the Rebels initiated their strategy to save Solo, starting with Lando Calrissian's infiltration of Jabba's palace, masquerading as the guard Tamtel Skreej.
Executing the Rescue
Arrival of C-3PO and R2-D2
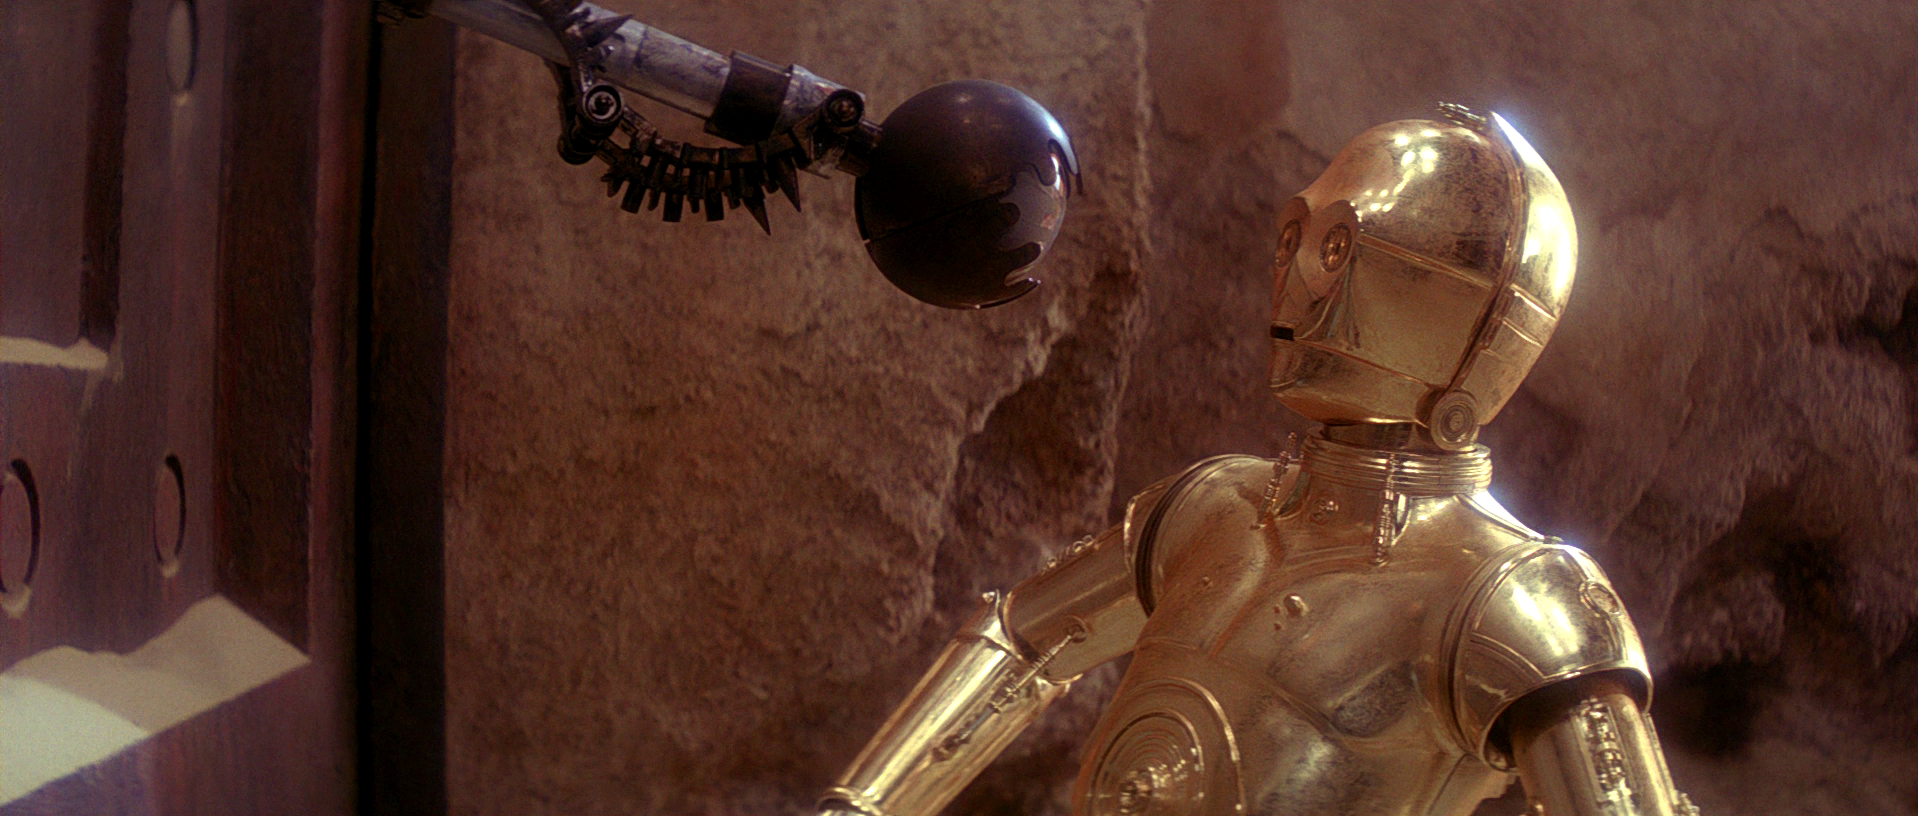
The pair of droids, specifically C-3PO and R2-D2, made their way to Jabba's Palace with a message intended for Jabba. A TT-8L/Y7 gatekeeper droid greeted them, conducting an interrogation before granting them entry. R2-D2 entered first, with C-3PO following reluctantly. Once inside, the doors sealed shut, and they were intercepted by Jabba's Gamorrean guards and welcomed by Bib Fortuna. They refused to deliver the message to Fortuna and were subsequently escorted before Jabba to present their offer.
Luke Skywalker's holographic message proposed a peaceful resolution: Jabba would release Solo, and in exchange, he would receive the two droids as a gesture of goodwill. Jabba declined the offer but decided to keep the droids regardless. C-3PO and R2-D2 were then assigned to EV-9D9 and given roles within Jabba's organization. C-3PO became Jabba's translator, while R2-D2 was tasked with serving drinks aboard the Hutt's sail barge. Around the time EV-9D9 had assigned C-3PO and R2-D2 their orders, one of the Gamorrean guards, Jubnuk, attempted to ask the droid inspector about a Tusken battle talisman that Jabba had misplaced in the palace, but his requests were ignored. He eventually rummaged through the junk, although he eventually resorted to asking the B'omarr monks about its location due to the noise driving him crazy.
Failed Rescue and Ensuing Capture
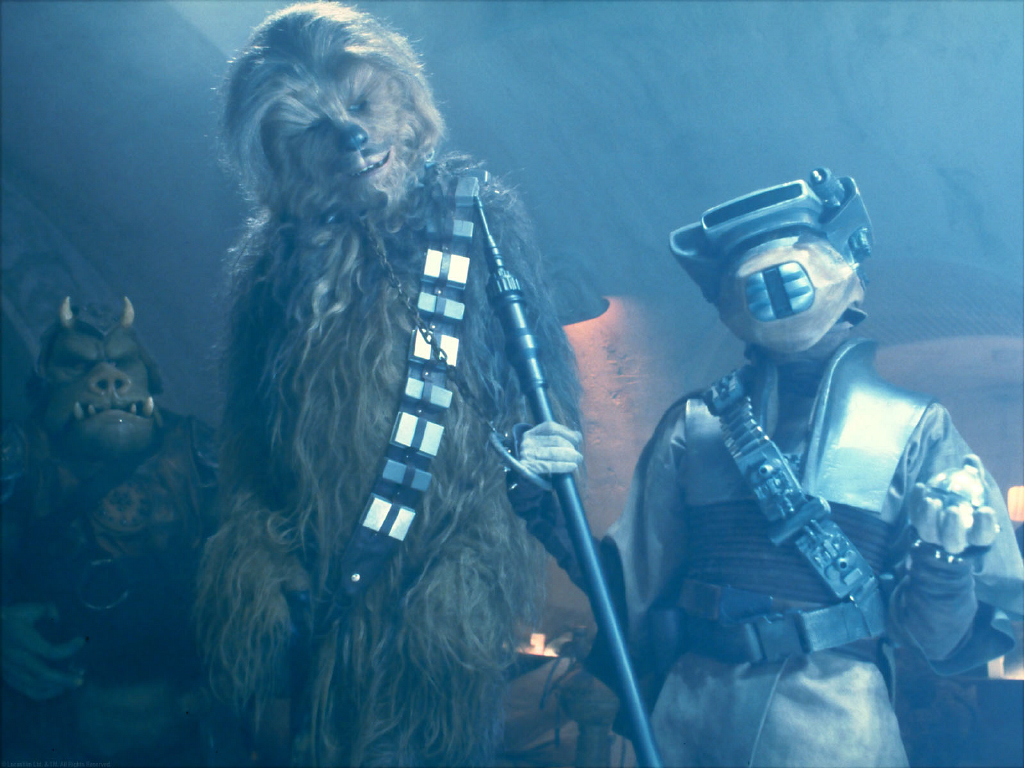
Later on, Jabba and his entourage observed a performance by the Max Rebo Band, during which Jabba callously fed the enslaved dancer Oola to his rancor. Soon after, Leia Organa, disguised as the bounty hunter Boushh (who was already deceased), entered the palace. She presented a "captured" Chewbacca in exchange for the bounty on his head. To ensure Jabba's agreement, she carried a thermal detonator, intending to detonate it if Jabba refused to pay the minimum bounty of 50,000 credits. Jabba, impressed by her audacity and resourcefulness, dismissed her threat with laughter and negotiated a reduced price of 35,000 credits. Chewbacca was imprisoned, while Organa remained within the palace.
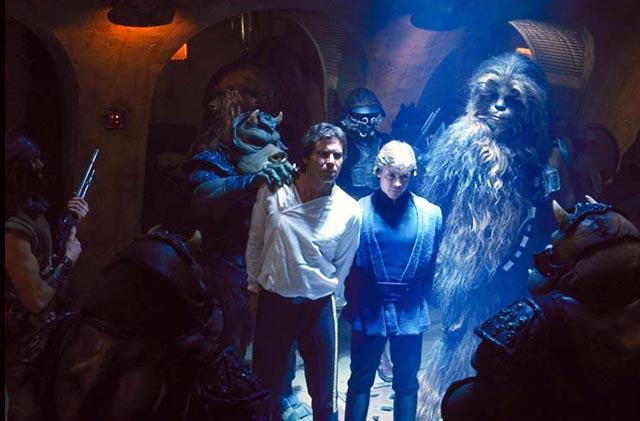
That same night, Organa stealthily entered Jabba's throne room and successfully freed Solo from his carbonite encasement. Due to hibernation sickness impairing his vision, Solo couldn't identify his rescuer, leading Organa to reveal her identity and kiss him. However, Jabba, suspecting betrayal, had been lying in wait to capture the Rebels. After Solo's failed attempt to reason with Jabba, he was taken to the dungeons and placed in a cell alongside Chewbacca. Simultaneously, Calrissian attempted to escape with Organa, but Jabba demanded that she be brought before him. Despite her attempts to threaten the crime lord, Organa recoiled in disgust as Jabba proceeded to lick her face. Jabba then instructed the Max Rebo Band to play music while his dancers stripped her down and dressed her in a Huttese slave-girl costume. Chained to the crime lord's throne, Organa was forced into servitude as Jabba's personal slave.

Following this, Boba Fett visited Solo in his prison cell. Despite Fett's claims of having defeated Solo, the smuggler responded with insults and threats. Calrissian also checked on Organa, who assured him of her well-being despite her discomfort. Calrissian decided to postpone another escape attempt until Skywalker's arrival. Both expressed hope for his imminent appearance, as Organa admitted that the thought of dancing for Jabba made her concerned for her safety.
Over the subsequent days of the Rebels' captivity, Jabba's chef Porcellus offered to discreetly provide Organa with food and prepared meals for Solo to alleviate his hibernation sickness. One night, Jabba sent Organa to Boba Fett's quarters, but the bounty hunter showed no interest in her and instead provided her with a sheet to cover herself. When Fett declined Organa's offer to assist in their escape, the two engaged in an argument about Solo and the Rebellion before Fett eventually grew tired and fell asleep. Meanwhile, Solo and Chewbacca were visited in prison by the B'omarr Monk Sai'da, who offered to do what he could to protect Organa in exchange for Solo telling him stories.
During this period, several members of Jabba's court were secretly plotting to assassinate him. The accountant Tessek arranged for a bomb to be planted on Jabba's sail barge. J'Quille, acting as a spy for Lady Valarian, bribed a kitchen boy to poison Jabba's food. When this plan failed, he acquired Organa's thermal detonator, only for Fortuna to steal it from him as part of his own scheme to kill Jabba. Ree-Yees also plotted Jabba's murder, unaware that the Hutt had implanted a bomb in his body as a safeguard against betrayal. Mara Jade was also present at the palace, disguised as a dancer named Arica. She was under orders from Emperor Palpatine to assassinate Skywalker.
Clash in the Rancor Pit
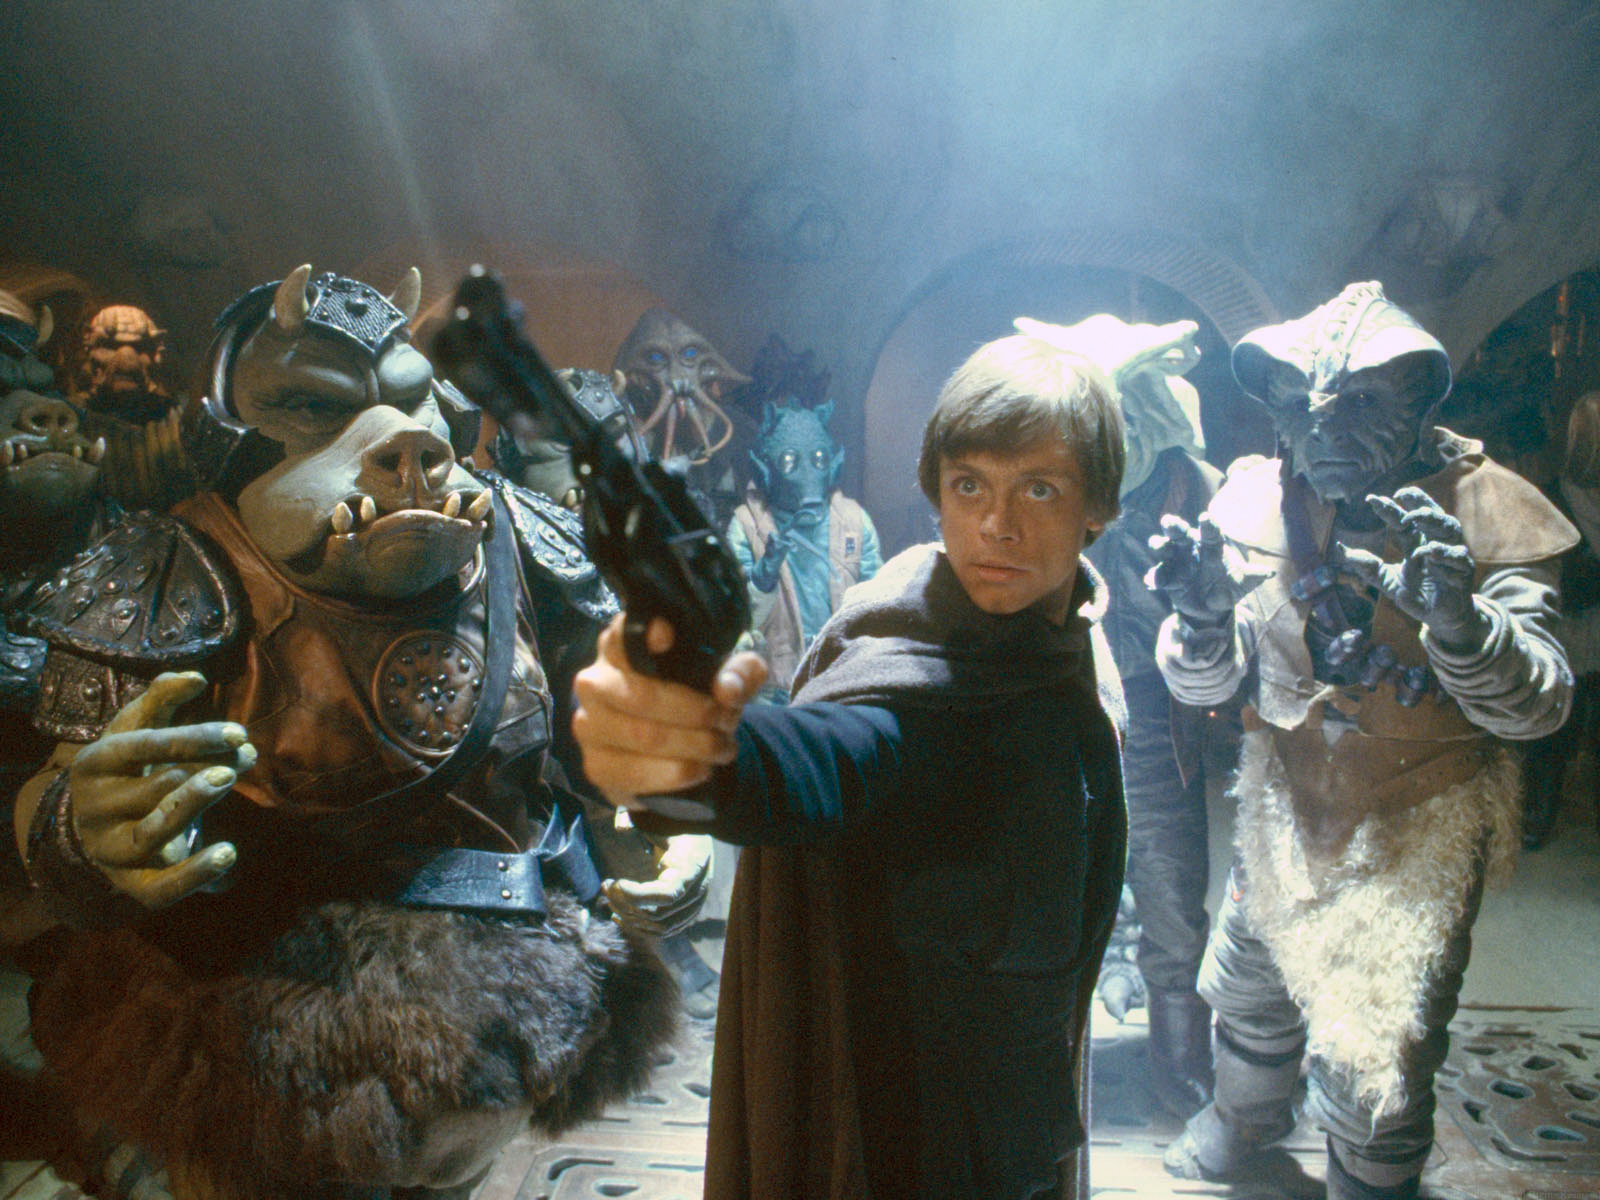
Following a late-night celebration, Jabba and his court were asleep when Skywalker infiltrated the palace. Bypassing the guards using the Force, Skywalker gained access to the throne room by mind tricking Fortuna. As Jabba awoke, Skywalker attempted to influence the Hutt to release his friends using a similar mind trick. When this failed, Skywalker tried to assassinate the crime lord with an appropriated blaster. Jubnuk, who had arrived to inform Jabba of the bad news regarding his search, witnessed this and attempted to defend Jabba. In the ensuing scuffle, Jabba activated a trap door, sending Skywalker and Jubnuk into the rancor pit.
The rancor devoured Jubnuk and then turned its attention to Skywalker. Skywalker discovered a large oblong bone and inserted it vertically into the rancor's mouth as it lifted him up. He then sought refuge in a nook in the wall before running under the rancor and over to a metal grate door in a smaller area of the pit. He attempted to open the door, but it was locked. The area was separated by an open gate through which the rancor was now approaching. Next to the gate was a switch. Skywalker picked up the skull of a previous victim and threw it at the switch. The lever broke and the gate crushed the rancor's head, killing it.
Enraged, Jabba condemned Solo, Skywalker, and Chewbacca to execution by being fed to the sarlacc located in the Great Pit of Carkoon within the Dune Sea. While Organa was spared a death sentence, Jabba intended to keep her as his companion. Tessek, believing Skywalker to be a true Jedi, implored the palace head of security Ephant Mon to persuade Jabba to release Skywalker. Mon visited Skywalker in the dungeons, and after sensing the Force in Skywalker, he decided it would be best to let him go. As Jabba boarded his sail barge, Khetanna, Mon met with the Hutt, though he was unable to change his mind about executing the Rebels. Mara Jade also tried to board the sail barge in order to fulfil her mission to assassinate Skywalker, but because she had come under suspicion by the palace security detail, she was told to leave and never return.
After the Rancor's death, its body was cut up, and Jubnuk was learned to have survived his being eaten by the Rancor, in large part due to a lucky talisman that he was tasked with finding for Jabba.
The Fallout
Jabba and his court then embarked on a journey aboard his luxurious sail barge, Khetanna, while the prisoners were transported via cargo skiff. Skywalker assured Solo that he had devised a plan to eliminate the Hutt and escape the sarlacc. Upon arriving at the Sarlacc's location, Skywalker utilized his Force abilities and lightsaber skills to liberate both Solo and Chewbacca. Aided by Calrissian on the skiff, along with R2-D2 and Organa on the barge, the Rebels successfully destroyed the Hutt crime lord and made their escape aboard a second skiff. In addition, R2-D2, as part of the Rebel's extraction plan once they rescued Solo, planted misinformation directed towards Jabba's gang that indicated that the Imperial blockade was going to descend to the planet and specifically arrest them. It worked on two fronts: It evaded the possibility of retribution from Jabba's fleet, and in addition, the massive evacuation of Jabba's criminal empire also overwhelmed the Imperial fleet, distracting the Imperials long enough for the Millennium Falcon and Luke's X-wing to escape the Tatooine system. After parting ways upon leaving Tatooine, Skywalker returned to Dagobah with R2-D2 to fulfill his commitment to Yoda and complete his training. The others rejoined the Alliance fleet, which was currently positioned near Sullust.
Production Notes
The siege of Jabba's Palace served as the opening sequence for the film Return of the Jedi, continuing the narrative from where The Empire Strikes Back concluded. Contrary to popular belief that George Lucas conceived the opening, it was actually the brainchild of writer and director Richard Marquand and Lawrence Kasdan, as revealed in meeting transcripts included in The Making of Return of the Jedi.
In Star Wars Infinities: Return of the Jedi, Leia's offering of Chewbacca to Jabba is a ploy to gain the Hutt's trust. However, events take a disastrous turn. When Jabba knocks down C-3PO following her demand of "fifty thousand, no less," the droid's head detaches, leaving her without a means of communication with the Hutt. Forced to reveal herself to the entire assembly due to the lack of a translator, she brandishes the thermal detonator and threatens to use it unless Jabba cooperates in releasing Solo. Lando Calrissian, noticing Boba Fett drawing his weapon, intervenes, causing Fett's shot to strike Leia's elbow, inadvertently activating the thermal detonator. As the crowd scatters, Fett seizes the carbonite block containing Han Solo, and Leia and Chewbacca pursue him. Leia attempts to stop him, but is unsuccessful, one shot accidentally hitting the block's control panel and two other shots missing him. With no other option, she, Lando, and Chewbacca escape the palace shortly before it blows up when the thermal detonator goes off; C-3PO is destroyed in the explosion, and Jabba and Bib Fortuna are killed. Boba Fett brings Solo aboard the Slave I and flees Tatooine.