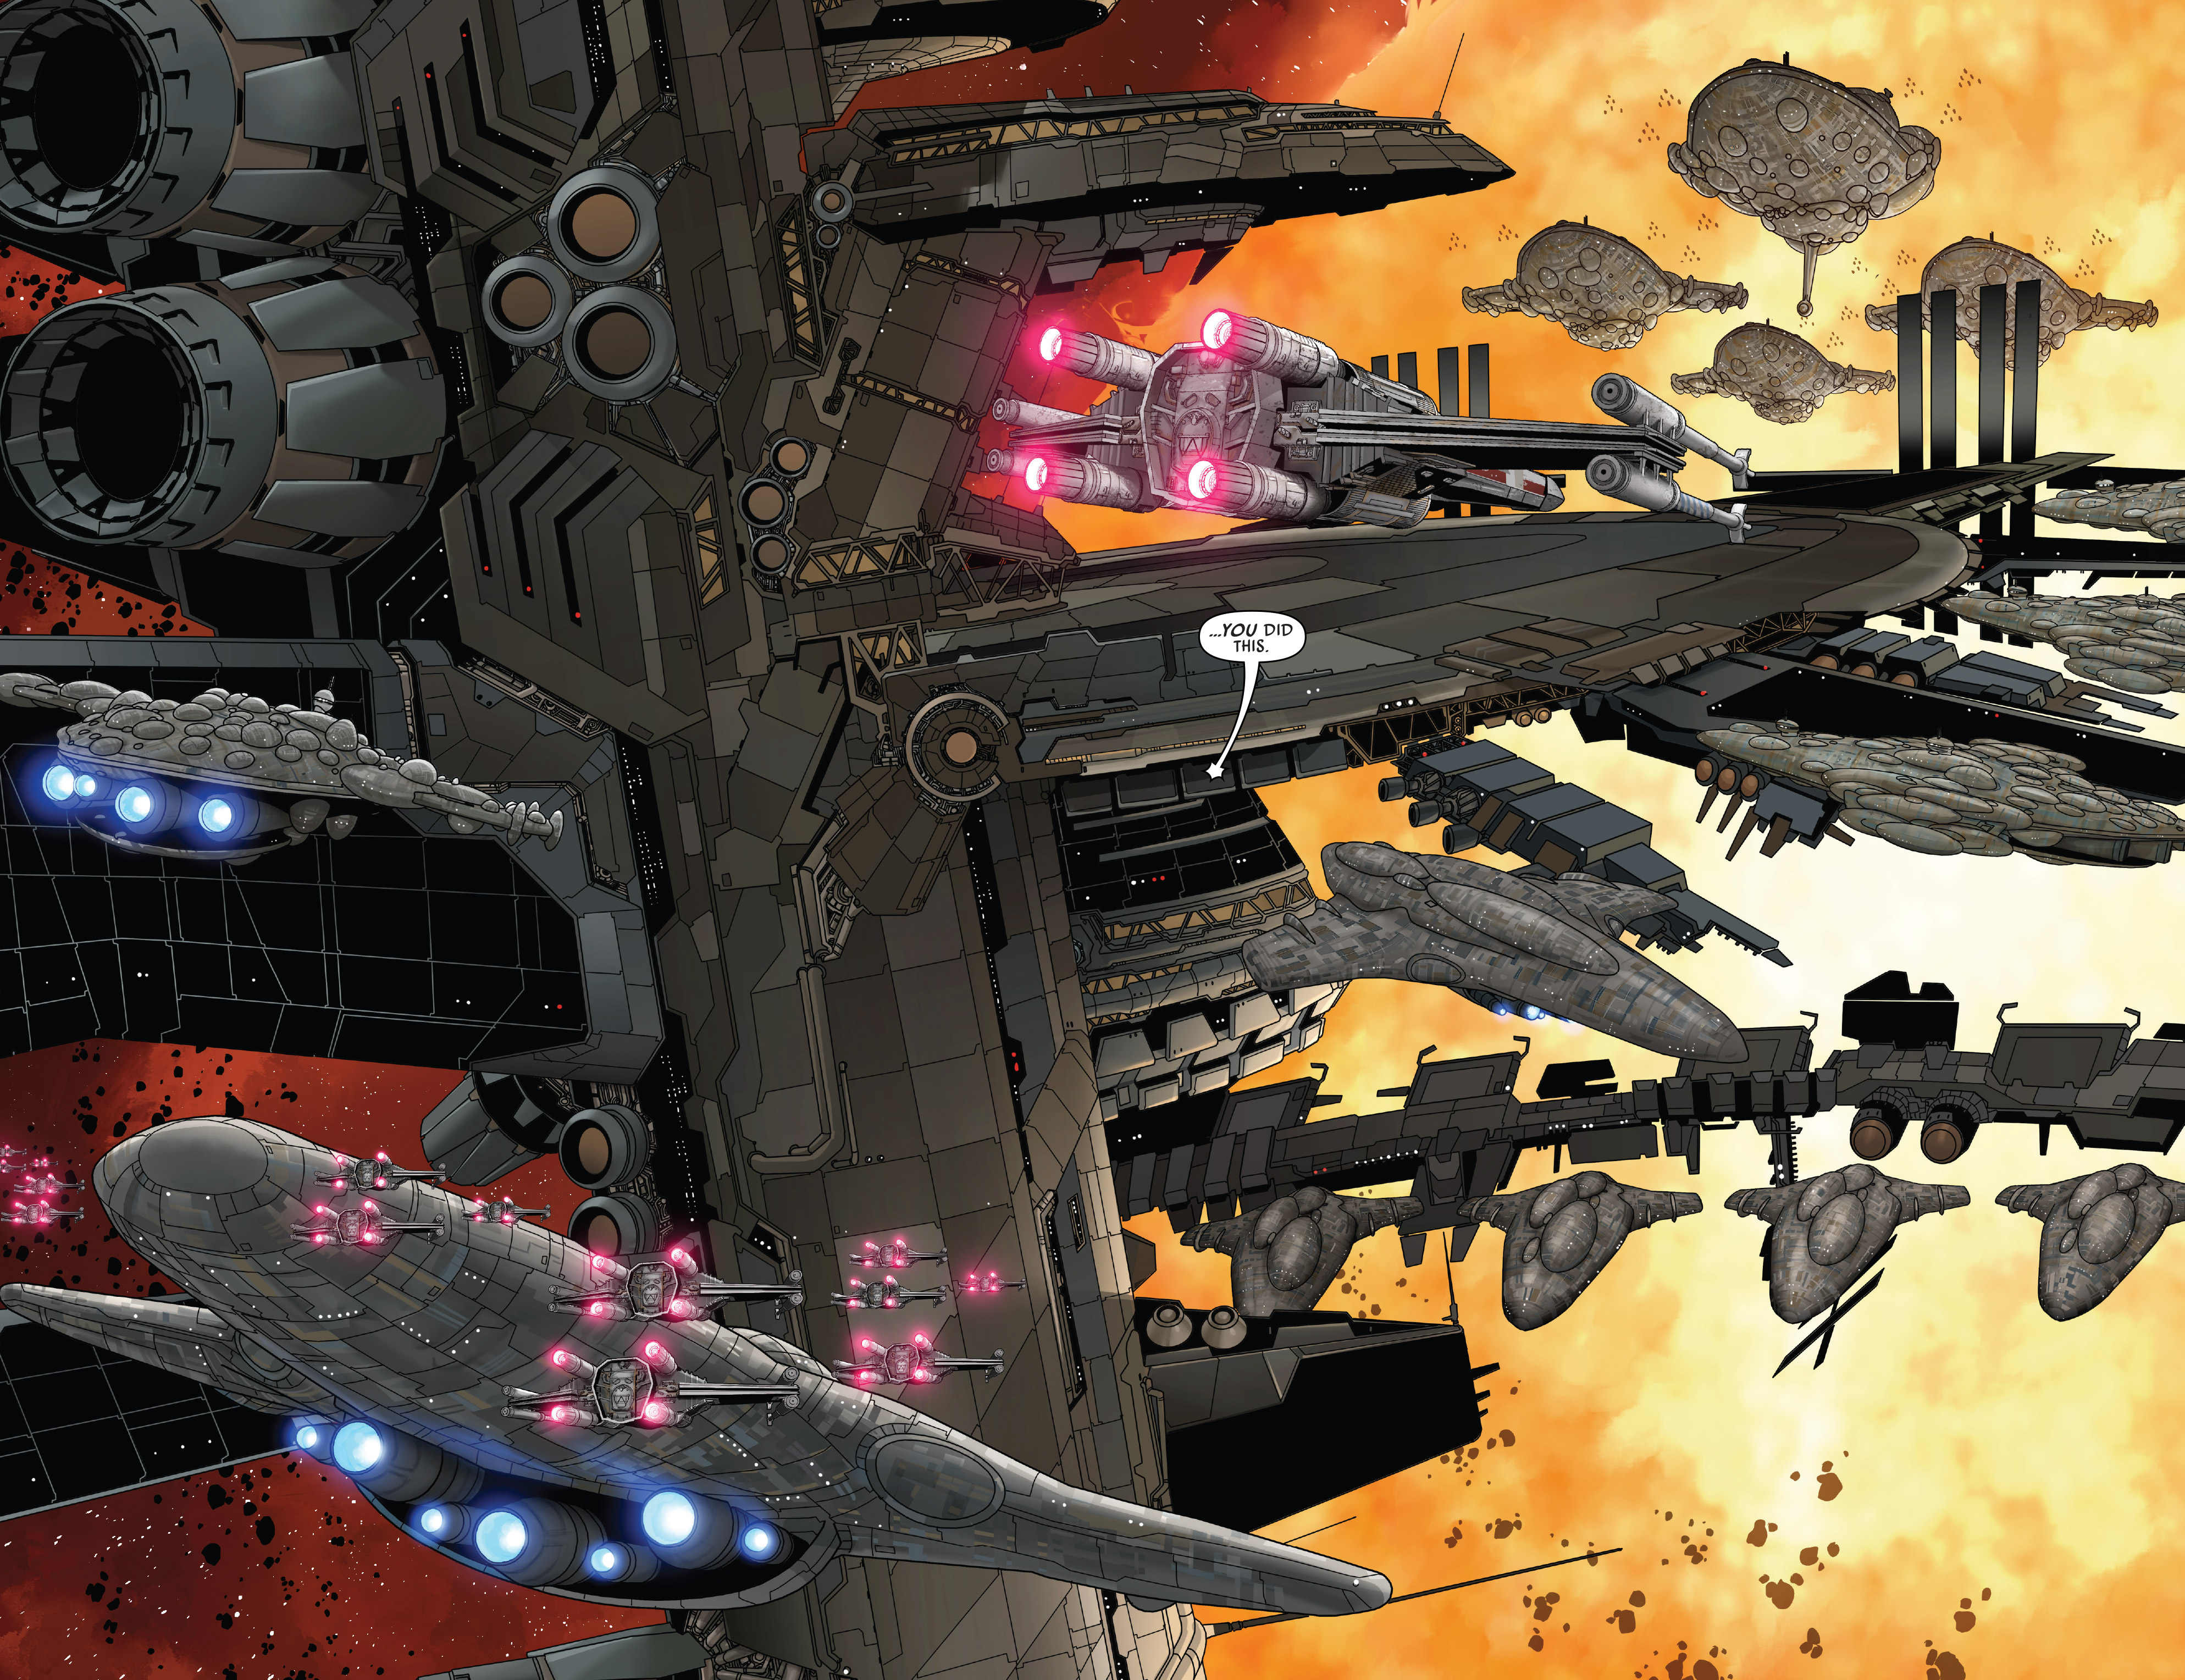
The Mako-Ta Space Docks, also known as Mako-Ta Base or just Mako-Ta, was a Rebel Alliance production center located in the galaxy's Outer Rim Territories. As the Alliance searched for a permanent base of operations, they set up in the space station and established a base there. Queen Trios of Shu-Torun secretly revealed the base's location to the Galactic Empire, who launched an attack on the space docks. The Rebellion suffered major losses at Mako-Ta, notably to the Alliance High Command, but managed to escape with a number of cruisers.
A space station located in the Outer Rim Territories of the galaxy, Mako-Ta was taller vertically than it was wide, with modules of various sizes positioned around its top end. It had at least four mess halls, one of which was Mess Hall IV.
The base served as a shipyard and production center for the Rebellion as they were on the run from the forces of the Galactic Empire. It was hidden among asteroids orbiting close to a binary star system.
Mako-Ta had at least one internal hangar and several areas for starships to dock, while other ships were left in the vicinity of the station. None of the Rebel Alliance's T-65B X-wing starfighters were stationed on Mako-Ta, though the station did have several shuttles, as well as a Quasar Fire-class cruiser-carrier.
The Mako-Ta Space Docks were constructed as an auxiliary facility by Botajef Shipyards, which eventually abandoned the facility when solar flares emitted from the binary stars Mako and Ta. Eventually, the solar activity calmed, but trading routes had changed by that point, which left the Mako-Ta docks an unprofitable endeavor for Botajef. However, the backwater placement created a perfect base for the Alliance to Restore the Republic, which restarted the shipyards for its own uses.

The Alliance fleet at Mako-Ta.
In 1 ABY, after an unsuccessful attempt at convincing Regent Dors Urtya to align his homeworld of Mon Cala with the Rebel Alliance Princess Leia Organa and her team returned to the Mako-Ta Space Docks, where Organa contacted Queen Trios of Shu-Torun, forming a plan to rescue King Lee-Char from an Imperial base on Strokill Prime. While the rebel heroes Luke Skywalker, Han Solo, and Chewbacca rested in Mess Hall IV, Organa met with the Alliance High Command, giving a report on their mission on Mon Cala and presenting her plan to rescue Lee-Char. Their mission eventually succeeded, leading to a mutiny of the Mon Calamari fleet.
Several months after the Mon Calamari rebellion, the space docks had succeeded in filling out a dozen MC-series star cruisers, forming the core of an expanded Alliance Fleet. Unknown to all, however, Trios secretly was working as a double agent for the Sith Lord Darth Vader, whom she contacted with the fleet's location.

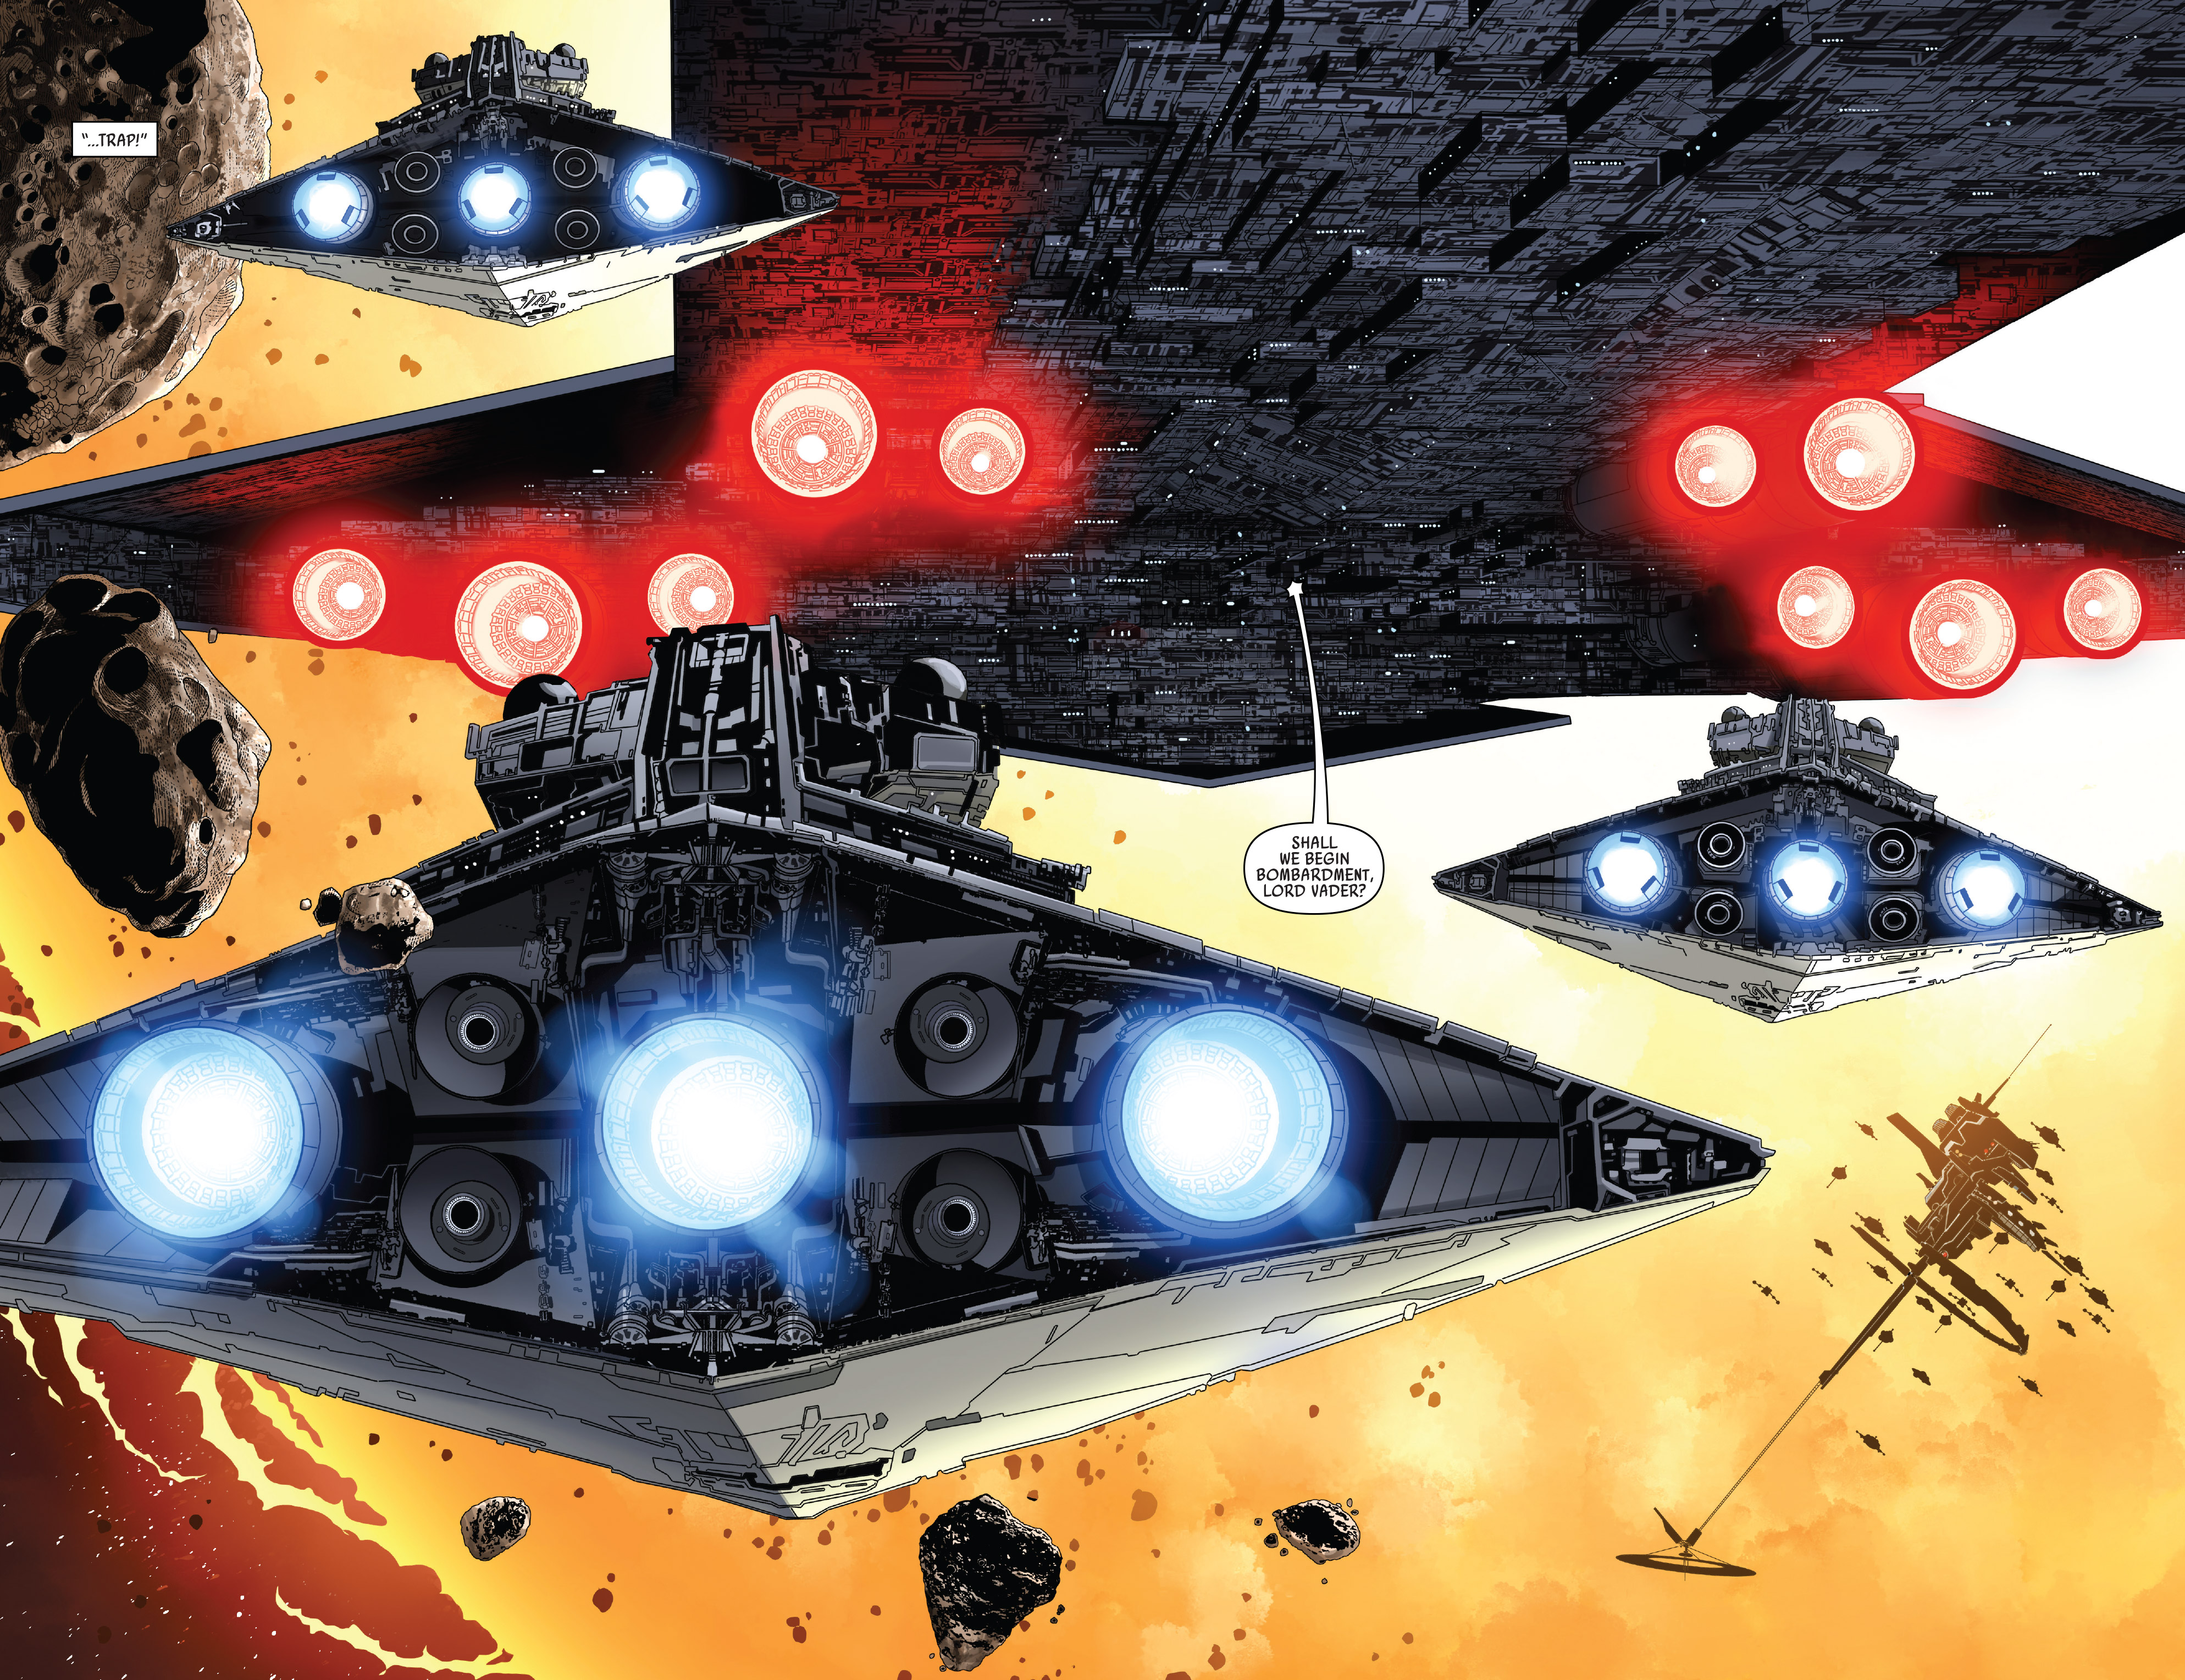
Death Squadron arrives to attack the rebel fleet.
While the rebels celebrated, the subgroups of their fleet, which had been set to disperse into hyperspace, found that the hyperdrives of their ships had been disabled. On the space station, Organa tried to contact the subgroup leaders, but received no reply. As she realized it had been a trap, Darth Vader arrived at Mako-Ta aboard his flagship, the Executor, accompanied by the rest of Death Squadron. Admiral Kendal Ozzel prepared to bombard the fleet, but Vader ordered him to wait, wishing to sense the fear of the trapped rebels. Vader ordered the destruction of Yavin's Hope, causing the death of General Vanden Willard. As the rebels watched the cruiser's destruction, Trios fled to her ship, attempting to leave the space docks. Organa and Colonel Bandwin Cor led a boarding party to Trios' ship, and successfully managed to board, but Trios herself fled in an escape pod.
Organa returned to Mako-Ta, where General Davits Draven informed her that a ship broadcasting a rebel signal could unlock the fighter bay doors. Cor attempted to use a shuttle to do so, but was shot down by several TIE fighters. Han Solo and Chewbacca, who had escaped several bounty hunters on the Ring of Kafrene, arrived at the space docks in the Millennium Falcon. The protocol droid C-3PO contacted Organa, who informed Solo of the situation, requesting that he attempt to open the bay doors. As he tried, Darth Vader chased him in his TIE Advanced. Solo managed to gain distance from Vader by flying through the wreckage of Commander Lajaie's cruiser, and launched C-3PO, inside of an escape pod, at Jan Dodonna's flagship Republic, where the fighter pilots had been trapped. Luke Skywalker flew his X-wing at the door, which opened, allowing the rest of the pilots to escape and join the battle, forming Rogue Squadron.
As Rogue Squadron alerted the other cruisers of the method to open the bay doors, one of General Draven's men sliced into Trios' files, discovering that there was an override code to the systems aboard Vader's flagship, the Executor. Organa formulated a plan to take control of Trios' ship, which was still docked at Mako-Ta, and impersonate the queen in order to receive permission to land on the Executor. Along with Draven and some of his troops, she left the space docks in Trios' ship, and was allowed to land on the Star Dreadnought. Organa managed to return the override codes to the Republic, which was then able to jump to hyperspace and escape the Imperials. Once the cruiser had escaped, General Dodonna had the codes distributed to smaller ships so they could return to Mako-Ta and rescue the rest of the fleet. However, Organa and Skywalker persuaded Dodonna to assist them using the cruiser itself.

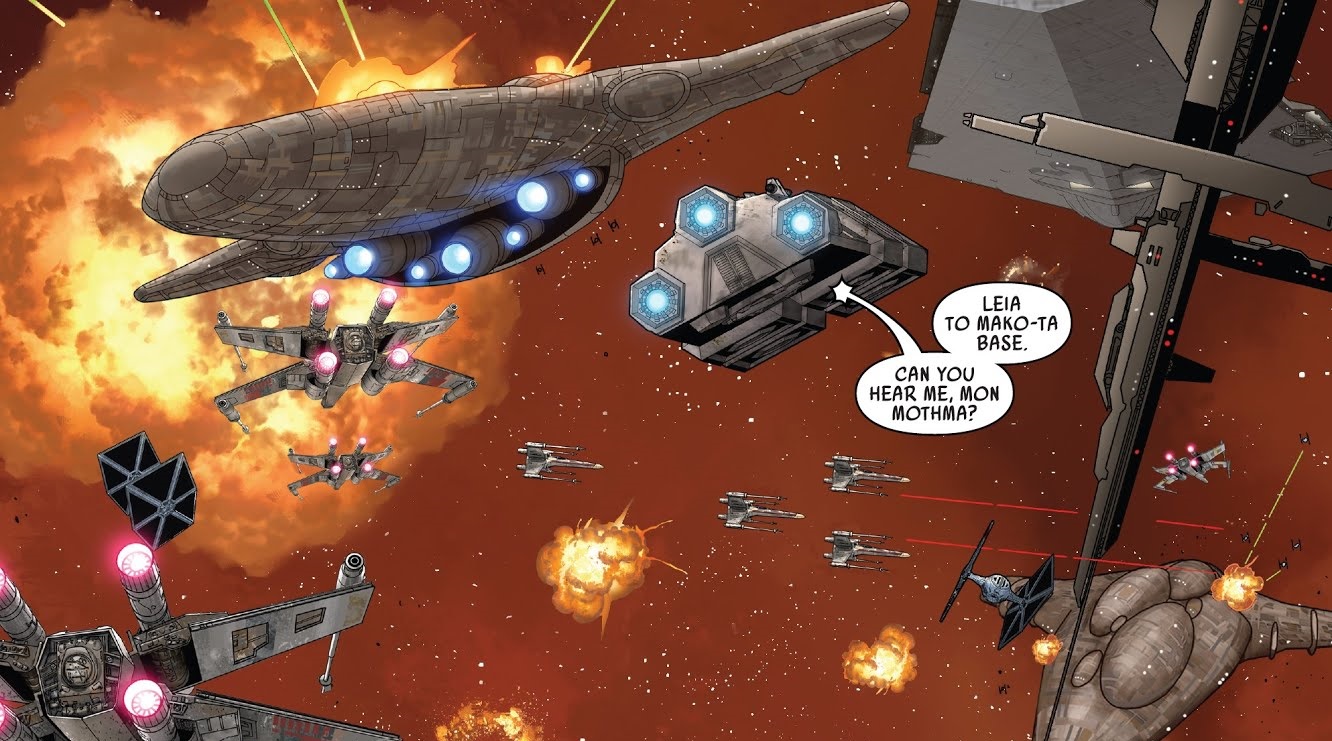
Organa and Skywalker's transport returns to Mako-Ta.
The Republic returned to Mako-Ta, bombarding the Executor. As the Star Destroyers converged on the cruiser, several small rebel transports jumped from hyperspace, guarded by Rogue Squadron. From one of the transports, Organa contacted Chancellor Mon Mothma aboard Mako-Ta Base. She and Skywalker landed their transport in a docking bay on Mako-Ta, collecting the rebels who remained on the station. As the other ships landed on each cruiser, broadcasting the override code, the rebel ambassadors made their way aboard Organa's transport. Mothma took the transport and left while Organa and Skywalker rescued Solo, who was stuck aboard a damaged X-wing. The reactivated cruisers escaped Mako-Ta, dispersing into hyperspace, and Solo was rescued by a Quasar Fire-class cruiser-carrier that had been left at the base. Piloted by Skywalker, the carrier landed on the moon Corosi 7, leaving the abandoned Mako-Ta Space Docks behind.
The Mako-Ta Space Docks first appeared in Star Wars (2015) 44, a canon comic written by Kieron Gillen, illustrated by Salvador Larroca, and published on March 7, 2018.
- Star Wars: Build Your Own X-Wing 20
- Ultimate Star Wars, New Edition
- Star Wars: Build Your Own X-Wing 62
- Star Wars: Battles that Changed the Galaxy
- Star Wars: Timelines
- Star Wars: The Rise and Fall of the Galactic Empire