Battle near the Maw
Rogue Squadron was dispatched to conduct patrols in the vicinity of The Maw to investigate potential evidence of a suspected Imperial detention center, ultimately finding themselves embroiled in active combat there.
Prelude
Following the Battle of Hoth which transpired in 3 ABY, the Rebel Alliance suffered a major setback, despite the continuation of the conflict. Alliance command had reason to believe that a secret Imperial base was concealed within an asteroid belt close to the Maw. Three members of Rogue Squadron were tasked with reconnaissance, and as they neared the asteroid field, General Carlist Rieekan advised them to maintain heightened vigilance. Wedge Antilles, in his capacity as Rogue Leader, employed his fighter's ion cannon to neutralize a mine obstructing their path.
The battle
Space battle
Wedge Antilles, along with the two other aviators, piloted their Y-wings into the asteroid field. One of the pilots detected an unusual sensor reading, prompting Antilles to caution them about potential Imperial signals. Subsequently, the Rogues identified a formation consisting of seven Imperial tankers accompanied by a Lambda-class shuttle, thus revealing their presence. TIE/LN starfighter wings moved to engage the Rebel fighters, and an Imperial demanded their immediate surrender. The Rebel pilots ignored the Imperial demands, pressing onward toward their objective: a shield surrounding the asteroid which concealed the facility. Antilles successfully disabled three of the projectors, creating an opening in the shield, allowing the Rogues to descend toward the base situated on the asteroid's surface, carefully navigating around the mines scattered around the facility.
Engaging facility defense forces
Antilles communicated their progress to Rieekan and then intercepted a transmission originating from the surface. Rebel Karie Neth, along with a group of other captives taken during the Imperial assault on Hoth, had managed to escape the facility but urgently needed assistance to ensure their safe extraction. Neth broadcast a plea for help, hoping someone would hear her. Neth identified herself to Antilles as the leader of the prisoners and requested that Antilles and his colleagues eliminate the turrets safeguarding the prison structure. Neth then provided targeting data for the Y-wings.
Rebel prison escape
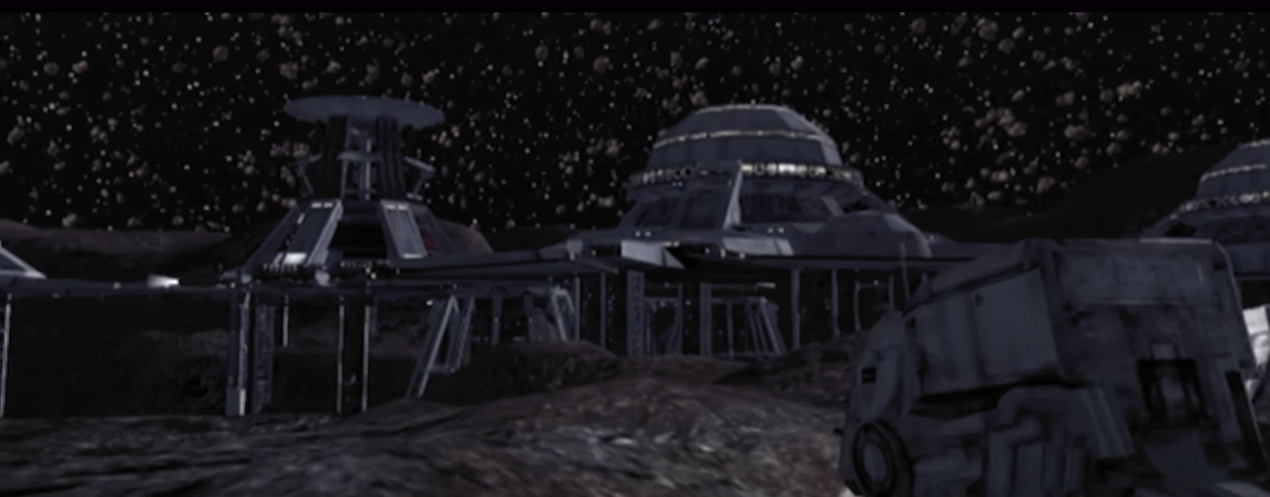
Antilles instructed his wingmen to commence their attack while he focused on destroying the five towers protecting the prison, enabling the armored hovertrain commandeered by the escapees to advance. Subsequently, a Rebel reported their need for weaponry, transmitting additional targeting information concerning the weapons storage building to enable Antilles to bomb the guard towers. Neth then instructed them to eliminate the comm relay before the Star Destroyer patrol arrived. Antilles then proceeded to the opposite side of the base, targeting the hangars and destroying the five gun emplacements there to facilitate the prisoners' hijacking of an escape craft. He also deployed bombs against Imperial walkers, further contributing to the overall chaos. While flying over the prison's command buildings, he bombed them as well, managing to recover technology of strategic value to the Rebellion within an atmospheric dome. The remaining prisoners successfully reached the landing platform and escaped aboard a Sentinel-class landing craft. Antilles engaged TIE Interceptors that were attacking the shuttle until it successfully entered hyperspace.
Aftermath
Antilles informed General Rieekan that their objective had been achieved, and he and his wingmen jumped to hyperspace to rejoin the fleet in the Outer Rim Territories. As the Rogues departed, the facility was engulfed in explosions behind them. Karie Neth eventually became a member of Rogue Squadron and later participated in the Battle of Endor.
Behind the scenes
The confrontation near the Maw is depicted in a mission featured in the 2001 computer game Star Wars: Rogue Squadron II: Rogue Leader. The mission is also incorporated into the co-op campaign of Star Wars: Rogue Squadron III: Rebel Strike. Acquiring the upgrade will satisfy the mission's bonus objective. The player has the option to instruct their wingman to engage targets, and this article assumes the player did so instead of ordering them to retreat. During the race to the landing platforms, the strategy guide suggests either following the train or proceeding directly. The player is not required to destroy all guns and AT-PTs, although the strategy guide recommends doing so.