The Battle of Vrogas Vas was fought during the Galactic Civil War on the planet Vrogas Vas between Darth Vader, Imperial Commander Karbin and his forces, and the Alliance to Restore the Republic. Using intelligence provided by the rogue archaeologist Dr. Aphra, Vader traveled to Vrogas Vas in search of Luke Skywalker. Lord Vader inflicted heavy casualties on Alliance starfighters before being rammed into and crash-landing on Vrogas Vas.
Using his mastery of the dark side of the Force, Lord Vader inflicted heavy casualties on rebel space and ground forces and confronted Princess Leia Organa. Before Vader could finish off the Alderaanian princess and rebel leader, he was attacked by Commander Karbin and his Imperial forces, who had come to claim Skywalker for themselves in order to curry the Emperor's favor.
Skywalker and his comrades Han Solo, Chewbacca, R2-D2, and C-3PO saw action against both Karbin's Imperial forces and Dr Aphra's crew: the murderous droids Triple Zero and Beete, and the Wookiee bounty hunter Krrsantan. Skywalker was captured by Karbin's forces but Solo and the others managed to defeat Dr Aphra's crew. With the help of Dr Aphra, Vader managed to defeat and kill Karbin, eliminating a threat to his place in the Empire.
Vader then used the Force to crash Karbin's shuttle, which was carrying Skywalker. Skywalker reunited with his rebel comrades but were ambushed by Dr Aphra. However, Dr Aphra was knocked unconscious by Princess Leia and taken prisoner by the rebels. The rebels then escaped offworld.
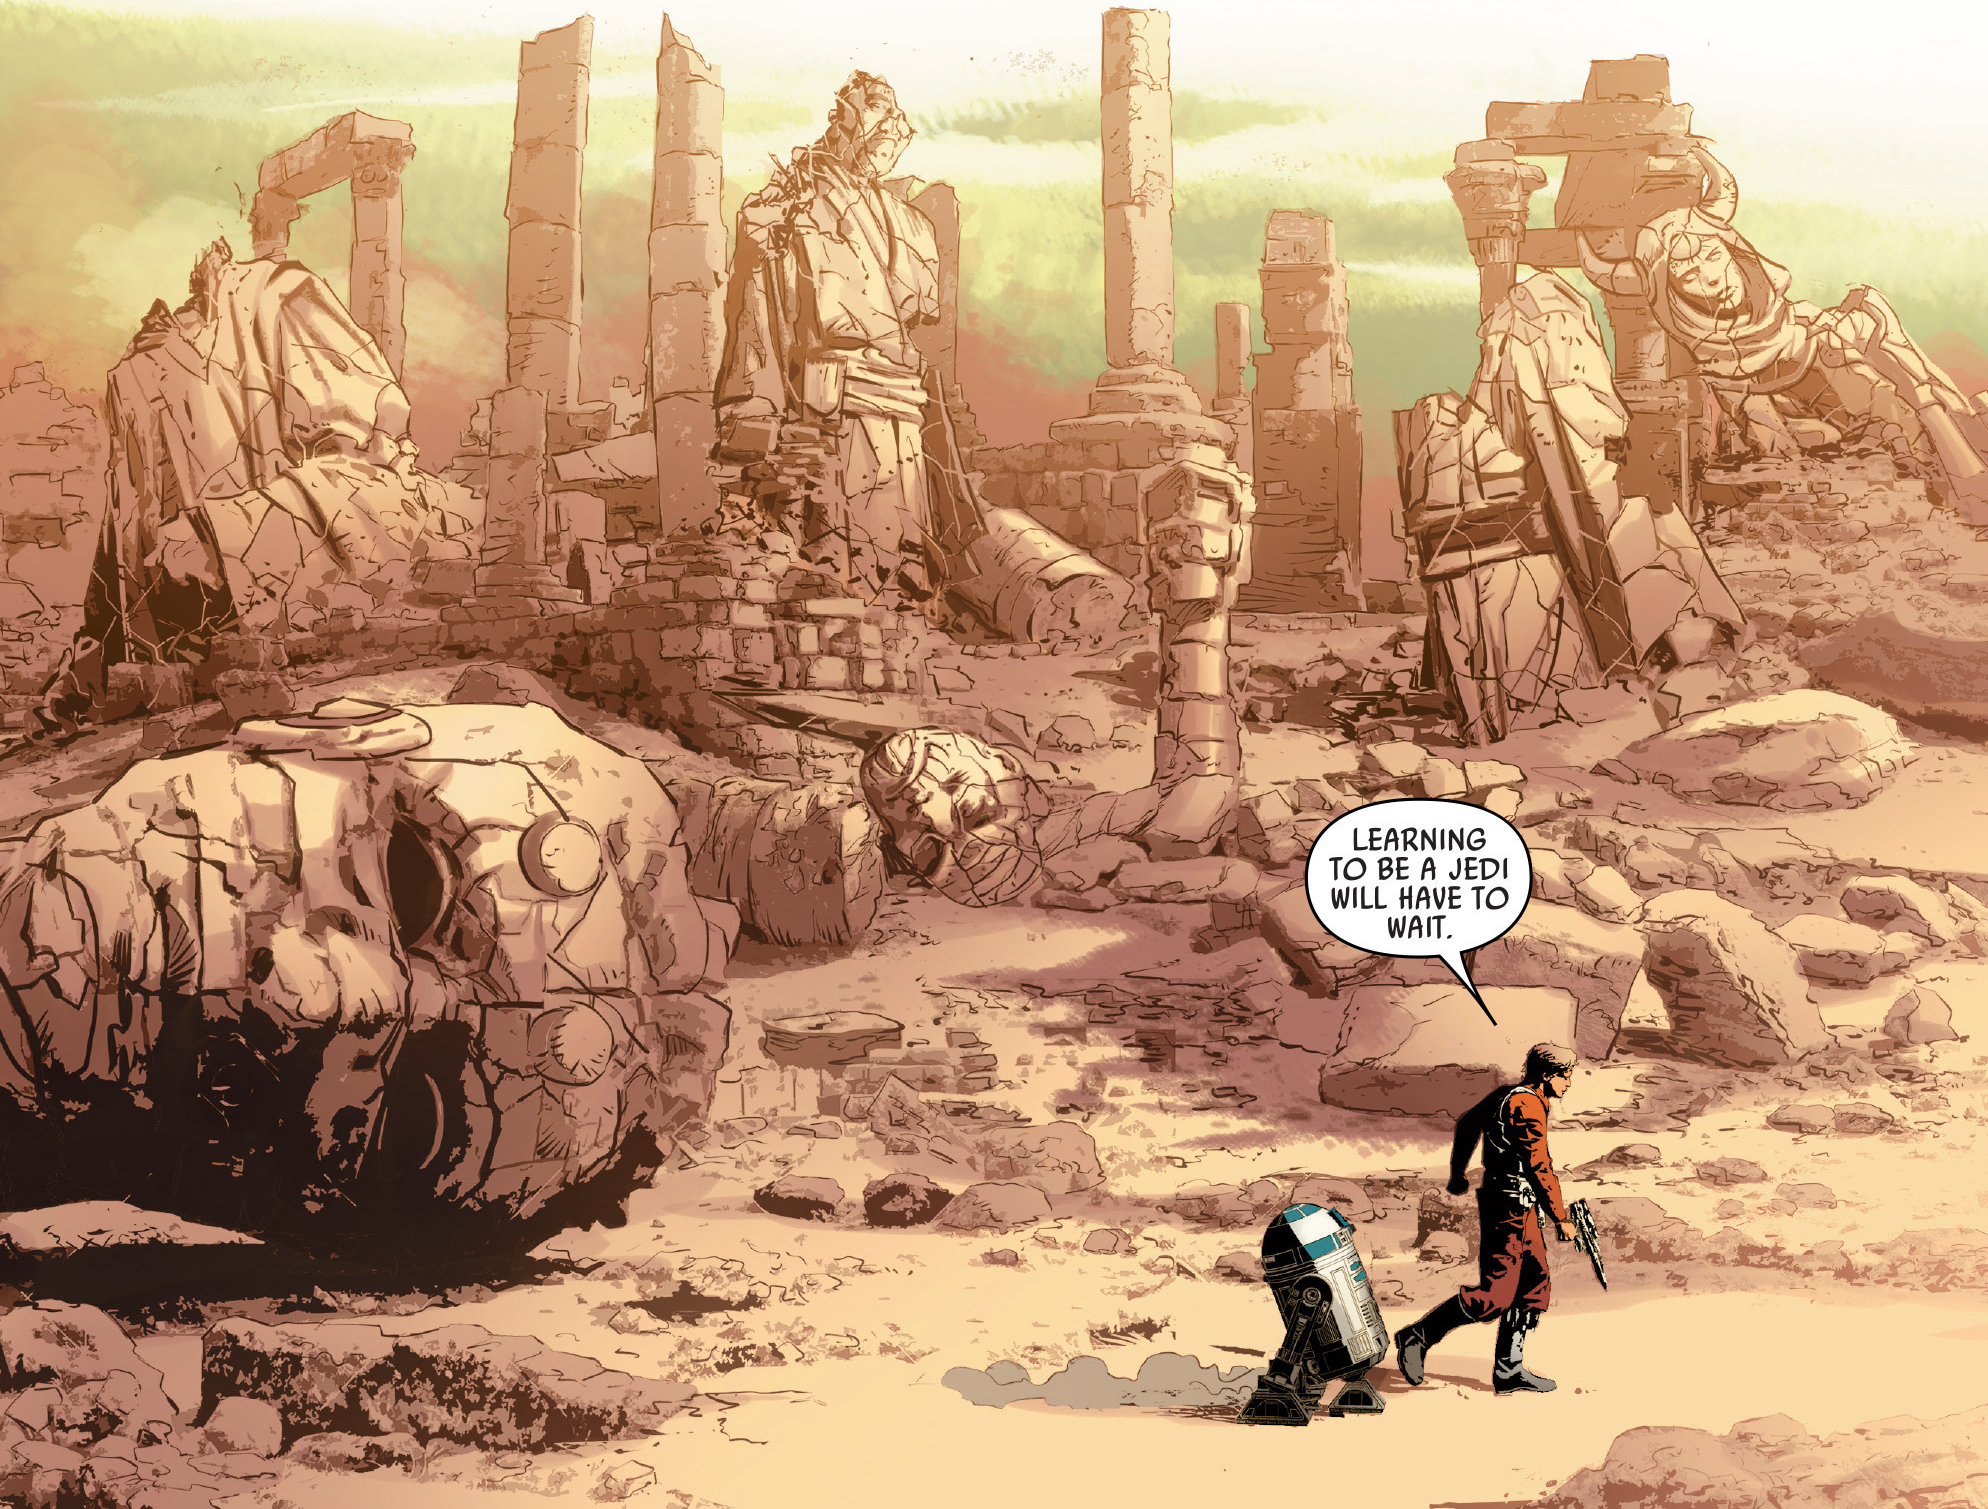
Luke Skywalker was interested in the Jedi Temple on Vrogas Vas
Following the Battle of Yavin, the Sith Lord Darth Vader sought to hunt down the Rebel Alliance pilot who destroyed the Death Star. During the rebel attack on Cymoon 1, Vader encountered Luke Skywalker, who revealed that he was at the Battle of Yavin. Vader continued his hunt for Skywalker, questioning Sergeant Kreel who had briefly encountered Skywalker while the two were in Grakkus the Hutt's service on Nar Shaddaa.
Luke Skywalker, who had learned of the existence of a Jedi Temple on the planet Vrogas Vas, traveled to the planet, where a Rebel Refueling Base was located. Skywalker was stationed in orbit with Red Squadron. Blue and Yellow Squadrons accompanied him. During training exercises, Lord Vader, who had been looking for Skywalker since the Battle of Yavin, exited hyperspace, having learned of Skywalker's location from Chelli Lona Aphra.
Unknown to Aphra and Lord Vader, this information had been leaked by Vader's rival Commander Karbin, a Mon Calamari cyborg who intended to use Vader to eliminate the rebels of Vrogas Vas so that he could claim Skywalker for the Emperor Palpatine.
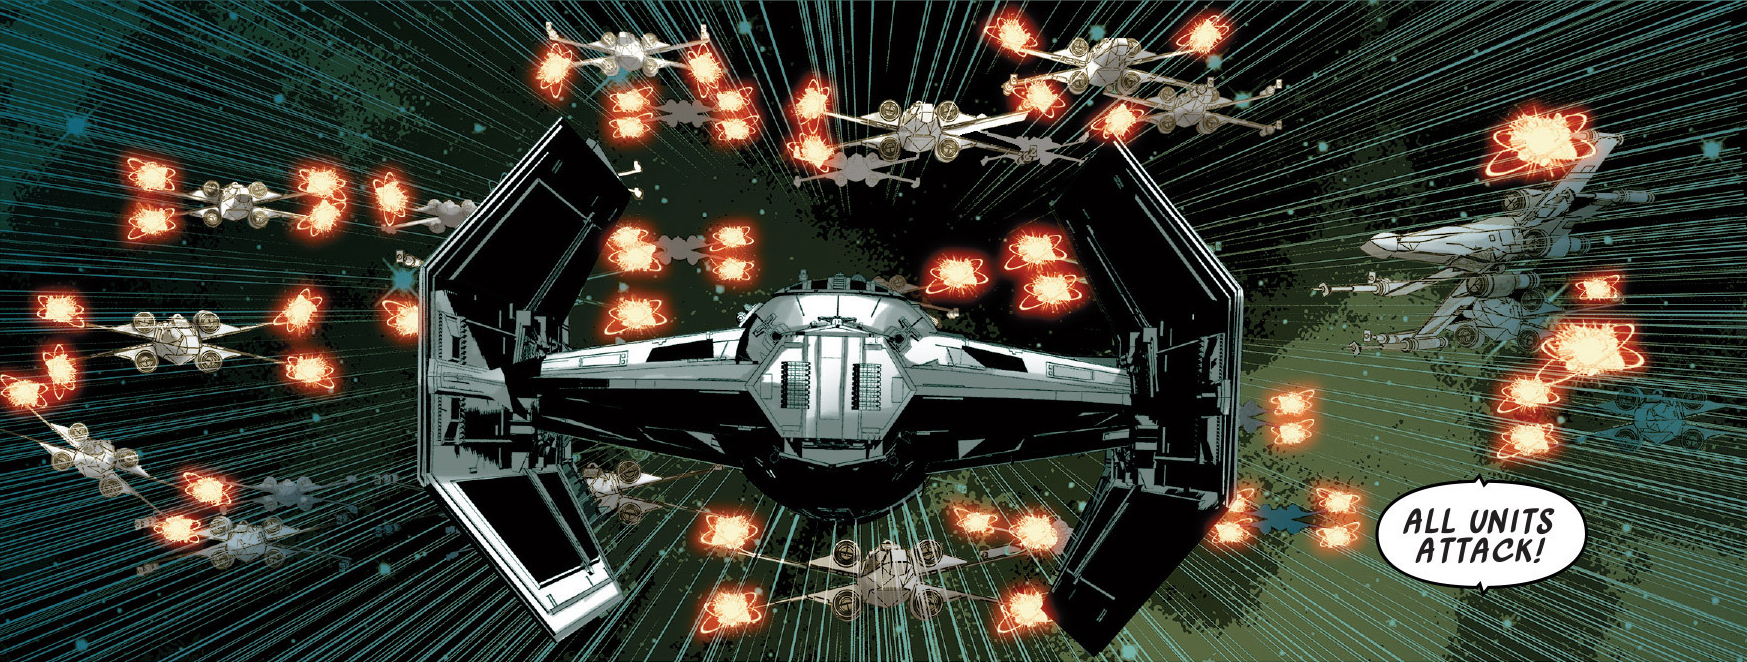
Yellow Squadron attacks Darth Vader's TIE Advanced.
After exiting hyperspace, Lord Vader encountered the Blue, Yellow, and Red Squadrons. Believing Vader to be a scout fighter, the X-wings of Blue Squadron charged at him. However, the Sith Lord's TIE Advanced evaded the rebels' laser fire due to its powerful deflector shields and wiped out the entire squadron. The rebel commander then ordered all units to attack.
The X-wing Yellow Squadron targeted Vader with proton torpedoes, but he detonated them early with the Force before they could hit his fighter. Vader then easily wiped out Yellow Squadron. During the dogfight, Luke Skywalker, who had engaged Vader with Red Squadron, could sense the Dark Lord's presence. Vader could likewise sense Skywalker, noting his strength in the Force.
Realizing that his wingmates could not stop Vader through conventional means, Skywalker broke formation and charged at Vader's TIE Advanced. He collided his X-wing head-on into Vader, sending both pilots crashing down onto the surface of the planet. Red Leader then informed the Alliance forces that they had shot down Lord Vader at a great force and called for assistance in apprehending the Emperor's second in command.

A Gray Squadron Y-wing with a target lock on Darth Vader.
The rebels regrouped, desperate to take advantage of their opportunity to kill Darth Vader. At the refueling base on the planet's surface, the local infantry garrison stationed there rallied for a ground assault on the Sith Lord. At the Alliance Fleet, Princess Leia Organa and Han Solo were informed of the situation. An entire company was mobilized against Vader, and General Doddana had dispatched a battalion to back them up. Organa, Solo, Chewbacca, and C-3PO departed for Vrogas Vas to assist Skywalker. Aphra, fearing Vader's wrath, made her way to the planet as well, along with her droids Triple-Zero and Beetee.
The Alliance command dispatched the Y-wing Gray Squadron to bomb Vader's wrecked TIE Advanced. However, the Sith Lord destroyed the fighter-bombers by hurling debris at them. The rebel infantry company caught up with Vader and had him surrounded, demanding his surrender. The Sith refused, engaging them in battle and instead used the Force to activate their grenades, wiping out much of the unit.
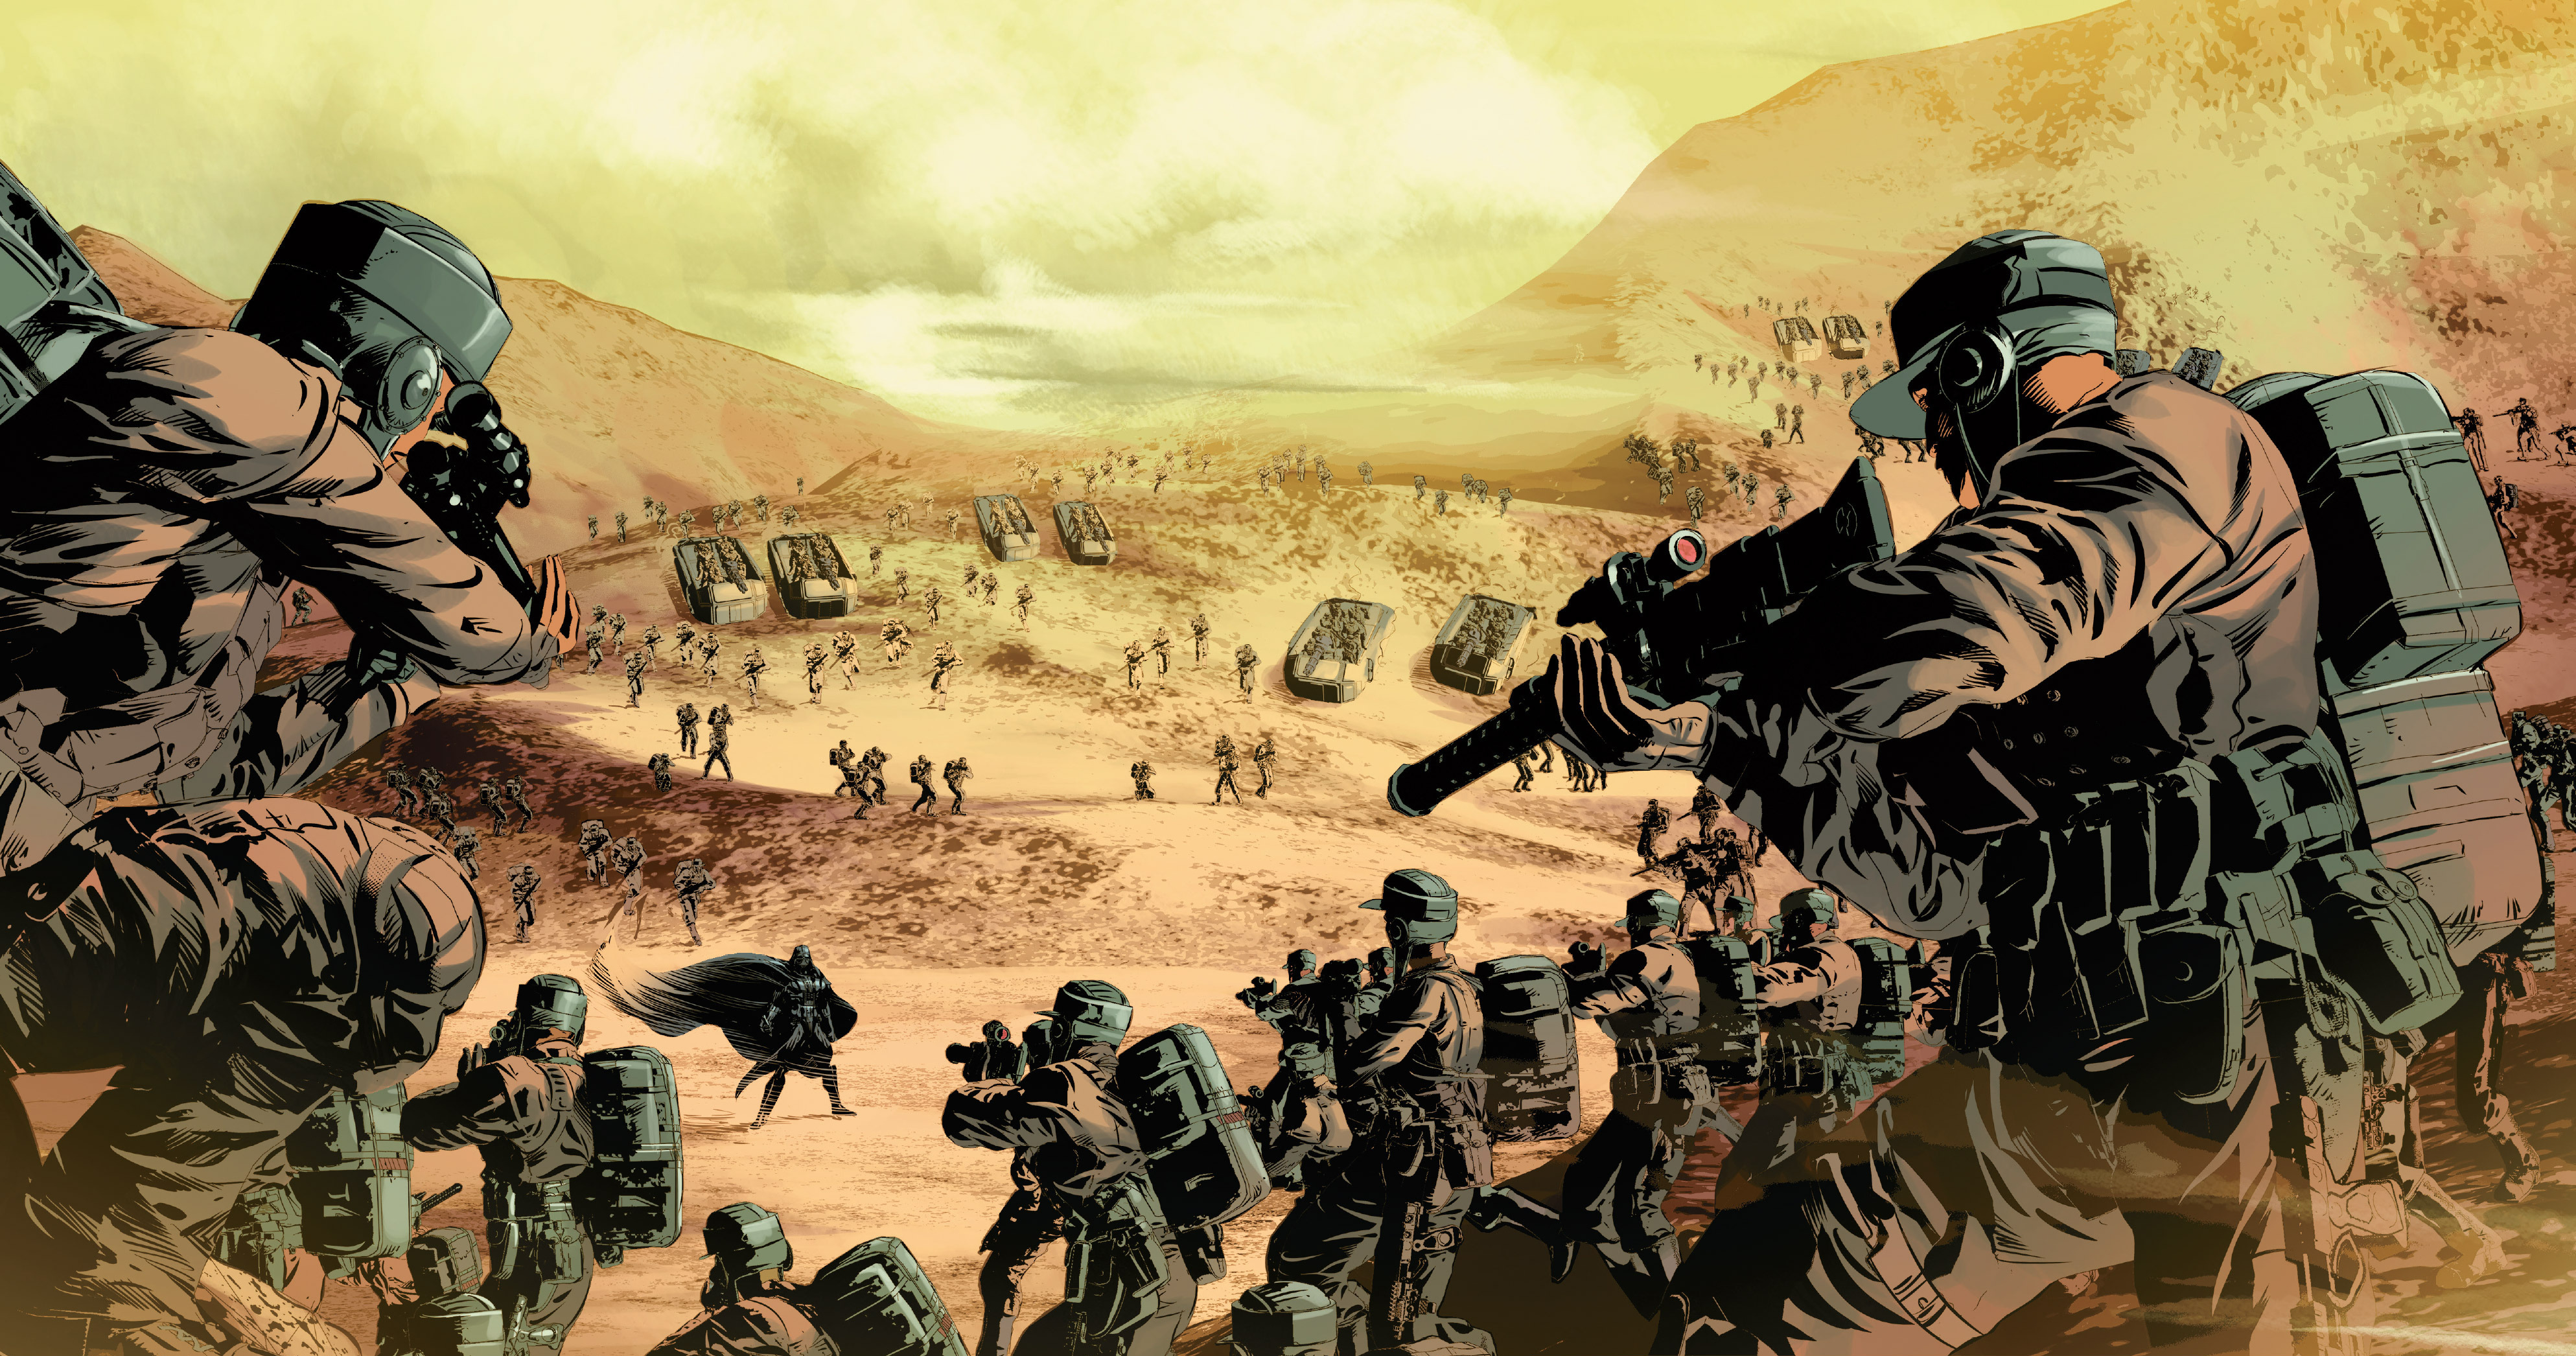
Darth Vader surrounded by Rebel troops on the surface.
Lord Vader then killed many rebel troopers with his lightsaber. He also took out several tanks as well. During the fighting, Organa, Solo, Chewbacca, and C-3PO arrived on the Millennium Falcon at the Vrogas Vas base. Following an argument, Organa stayed at the base to command rebel operations while while Solo and Chewbacca left on the Falcon to rescue Skywalker, who had crash-landed on the planet.
Later, Commander Organa dispatched the T-47 airspeeders of Cyan Squadron to hunt down Vader. However, the Sith Lord used his TIE Advanced's blaster array to shoot them down. Later, Commander Organa led Delta Squad into the battlefield, accompanied by C-3PO. However, the unit was ambushed by Lord Vader, who Force choked the entire squad with the exception of Leia and C-3PO.
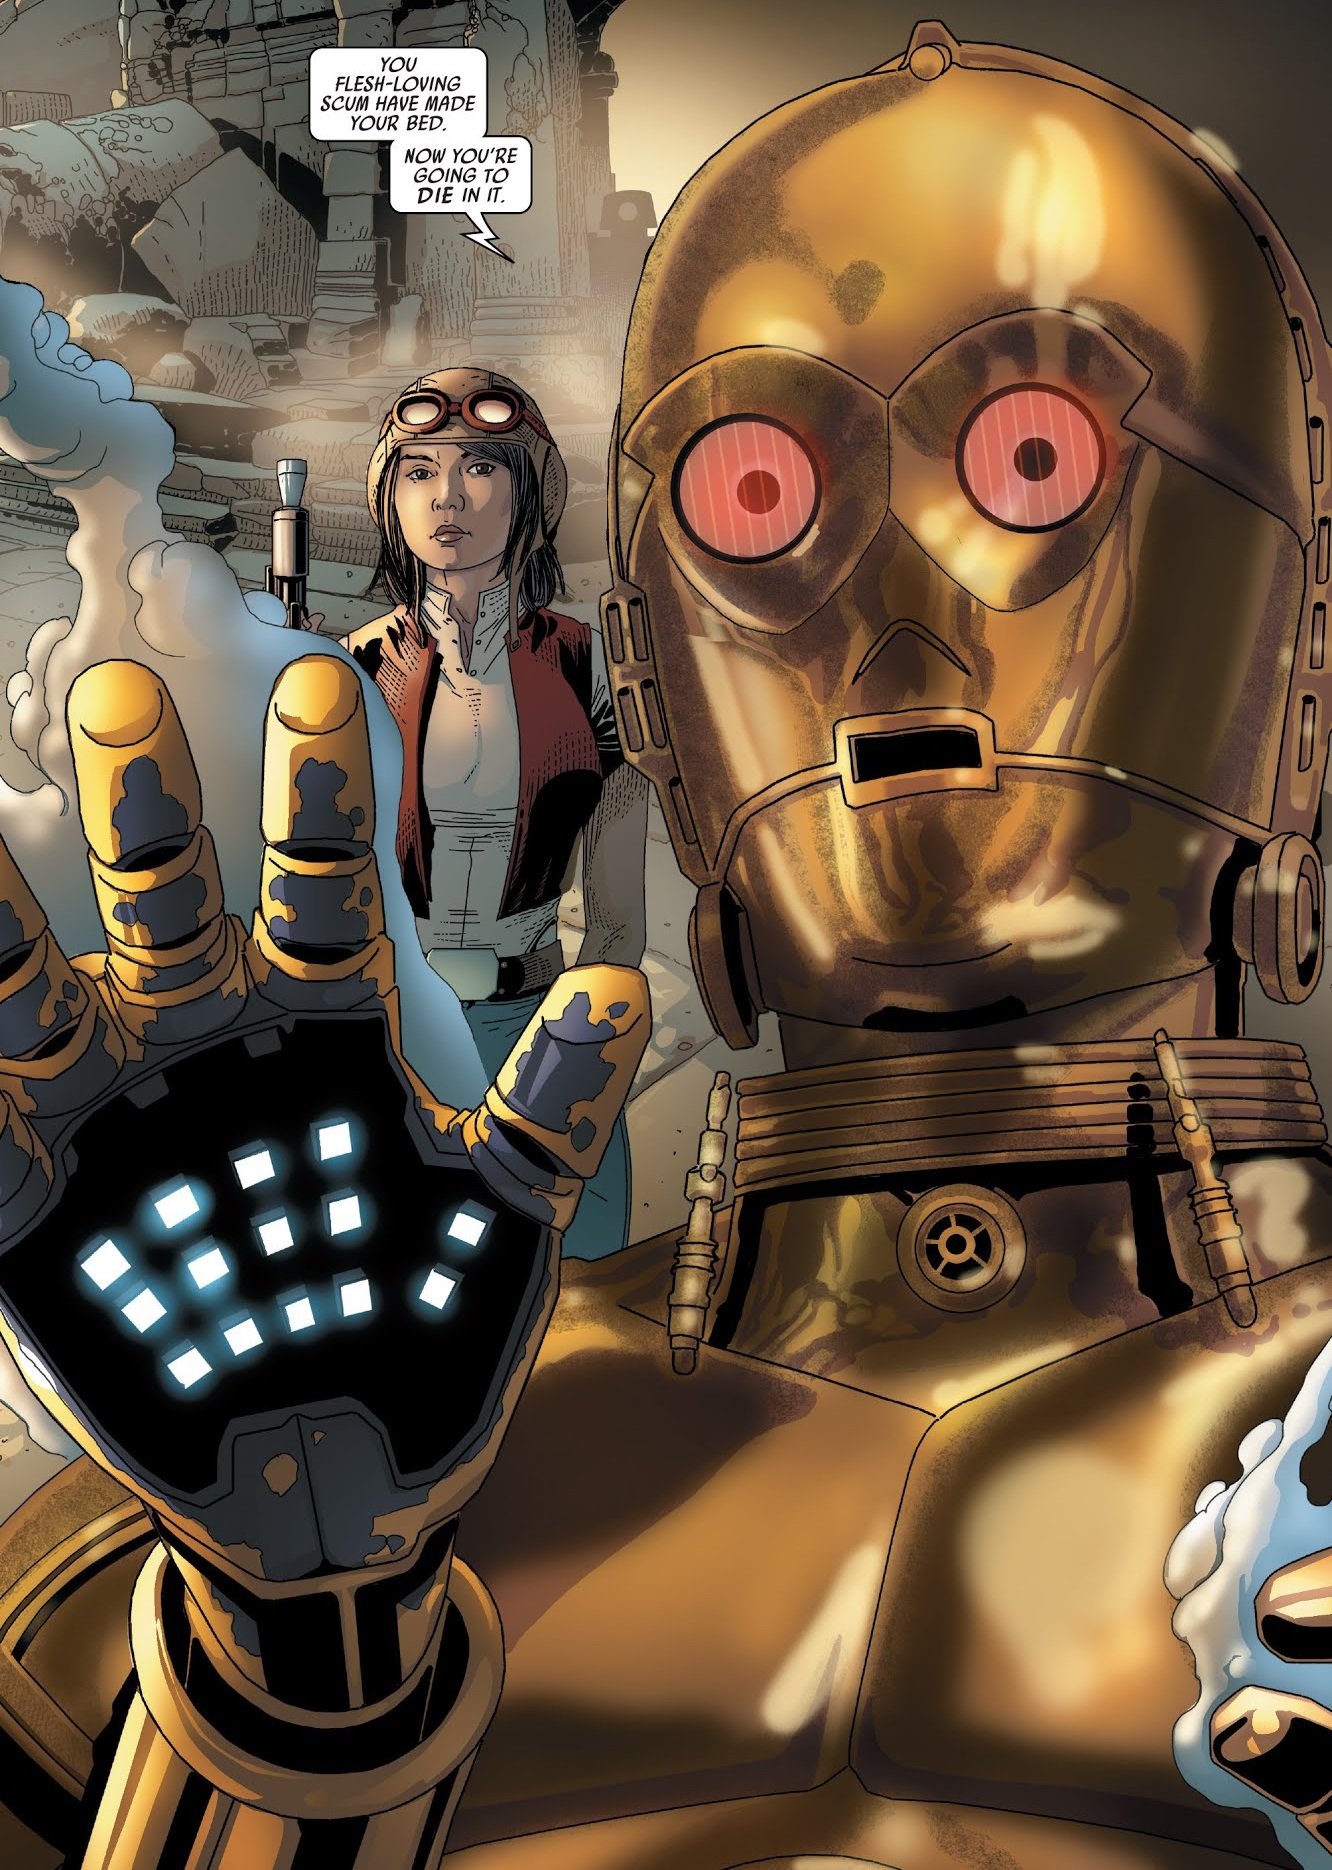
A disguised Triple Zero and Dr Aphra trap Skywalker
Arriving in-system around this time aboard her starship Ark Angel, Aphra took her two murderous droids, the protocol droid Triple Zero and Beetee, along with her on a journey to the surface of Vrogas Vas to find and capture Skywalker and bring him to Vader. Triple Zero and Dr Aphra also discussed Skywalker's rebel associates and decided them should they pose a threat.
After using an airbrush to disguise Triple Zero as C-3PO, Aphra and her droids managed to capture Skywalker. R2-D2 tried to defend his master but was no matched for Beetee's weaponry and was forced to retreat. Before Aphra and her team could return to their ship, they were ambushed by Han Solo and Chewbacca. While Solo exchanged fire with Aphra, Chewbacca ripped off one of Triple Zero's arms but was incapacitated by Mandalorian xenotox.
During the fighting, Solo and Aphra disturbed two nest of wasp-worms and were incapacitated by the creatures. Before Triple Zero could eliminate Chewbacca, Skywalker cut off his remaining arm with a lightsaber and impaled him through the chest. Skywalker, Solo, Chewbacca, and R2-D2 then escaped Beetee, who unleashed his flamethrower but was blinded by a paint bomb fired by R2-D2.
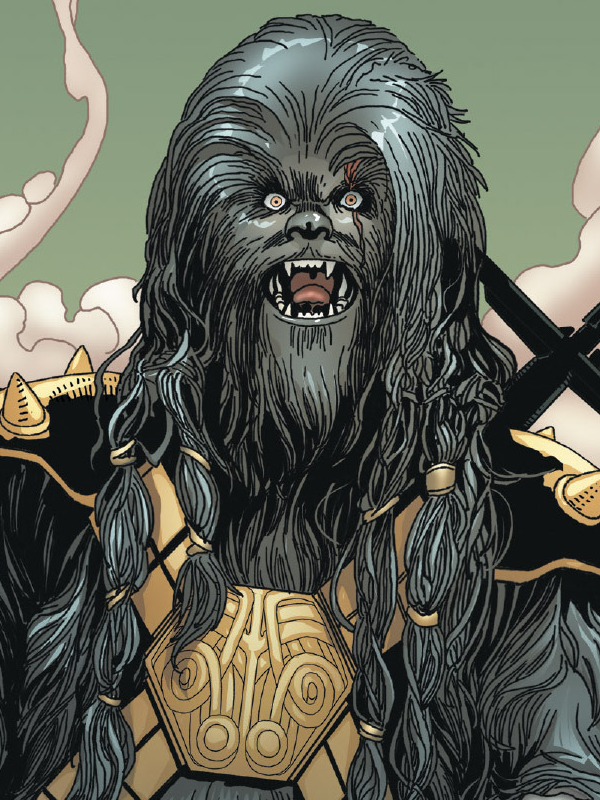
Black Krrsantan, one of Dr Aphra's henchmen
Elsewhere in the battlefield, Lord Vader confronted Organa but sensed a new threat through the Force. While Lord Vader was distracted, Princess Leia returned to C-3PO and told him to find Skywalker and get out of here. Leia planned to order a bombing run by Amber Wing on her position, hoping to kill Vader in the process.
Meanwhile, Skywalker, Solo, Chewbacca, and R2-D2 returned to the Falcon and decided to rescue Princess Leia after learning of her planned last stand via R2-D2's transmitter. Before they could assist Leia, the Wookiee bounty hunter Krrsantan, who was in the service of Dr Aphra, rammed his Auzituck anti-slaver gunship into the Falcon. While Chewbacca and Krrsantan grappled with each other, Skywalker was sent by Solo to save Organa.
In the midst of the fighting, Triple Zero and Beetee encountered C-3PO. After incapacitating him, the two droids stole his arms and rotated his head, leaving him standing in the mist alone. Elsewhere, Lord Vader caught up with Princess Leia at a speeder. Princess Leia then transmitted her coordinates to Amber Wing.
However, Amber Wing was unable to carry out her orders when they were intercepted and shot down by a TIE fighter squadron under the command of Imperial Commander Karbin, who wanted to kill Lord Vader and curry the Emperor's favor by capturing Skywalker. Karbin revealed his plans to a surviving Amber Wing pilot before killing him.
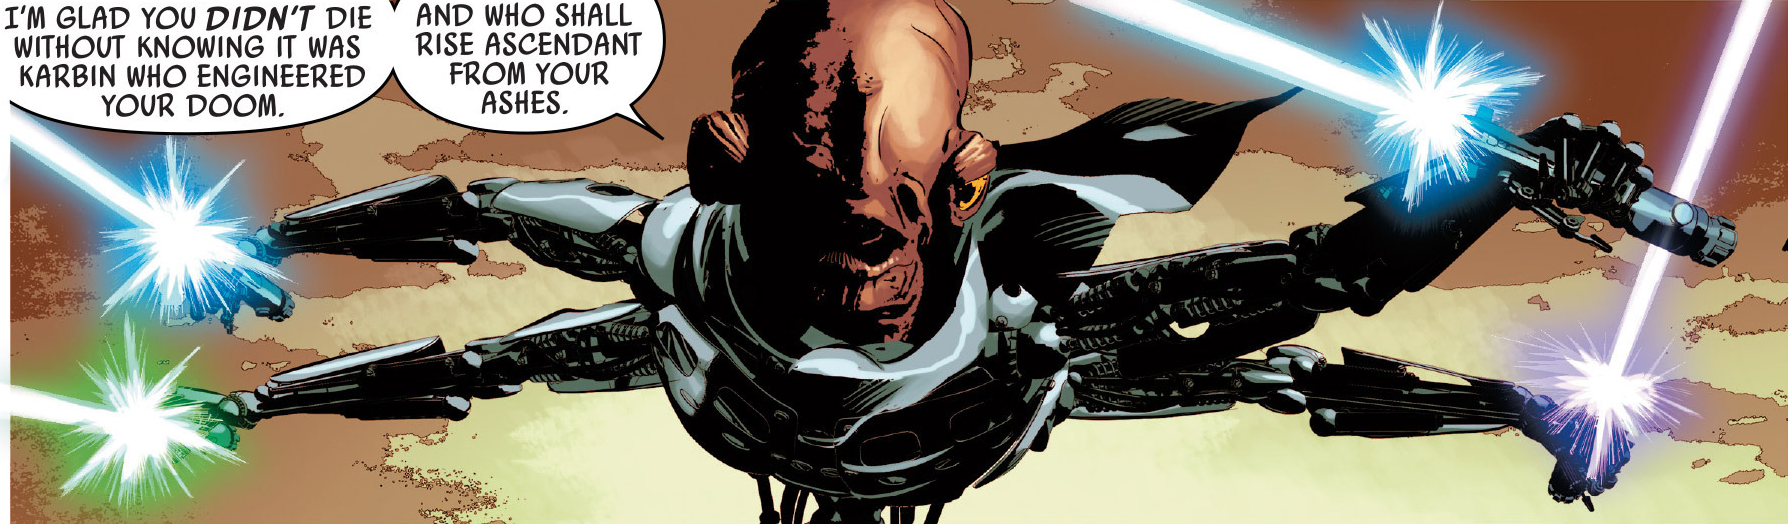
Commander Karbin brandishing his sabers.
Interrupting Lord Vader's argument with Leia, Karbin confronted Vader, telling him of his plan to take Skywalker and Princess Leia and to usurp his position with the Emperor. He then engaged Vader in a lightsaber duel. Princess Leia took the opportunity to flee. Vader managed to cut off one of Karbin's limbs. The cyborg retreated into the Jedi Temple where he ambushed Vader.
Meanwhile, Black Krrsantan overpowered both Chewbacca and Han Solo. Solo managed to get R2-D2 to inject Chewbacca with a drug that counteracted the effects of the Mandalorian xenotox, allowing Chewbacca to stop Krrsantan from crushing him with a rock. However, Krrsantan was still too strong and managed to gain the upper hand over both Chewbacca and Skywalker.
Near the ruins of the Jedi Temple, Skywalker was fired upon by a squad of stormtroopers, but the troopers were attacked by BT-1, on orders from Aphra to capture Skywalker for Vader, allowing the rebel pilot to flee unharmed. However, Karbin's troops eventually caught up with Skywalker and apprehended him.
Shortly later, a damaged C-3PO arrived at the Falcon where Black Krrsantan was choking Solo. Unable to help, C-3PO got R2-D2 to record a distress call to Princess Leia. Hearing C-3PO's message, Leia abandoned her plan to kill Vader told C-3PO to do all he could to help Han and promised to rejoin them. C-3PO attempted to reason with Black Krrsantan but the Wookiee punched him. However, C-3PO's circuits had been damaged during his encounter with Aphra's droids and the Wookiee was electrocuted. This allowed Solo, Chewbacca, C-3PO, and R2-D2 respite from Black Krrsantan.
After sighting Karbin's forces loading Skywalker aboard a shuttle, Dr Aphra contacted Vader and offered her services as compensation for her failure to capture Skywalker. Under Vader's instructions, Aphra rammed the Ark Angel onto a natural stone bridge that Vader had maneuvered Karbin into. The ensuing crash destroyed the ship and badly wounded Karbin. Lord Vader then killed Karbin but not before telling the Mon Calamari cyborg of his deep interest in Skywalker.
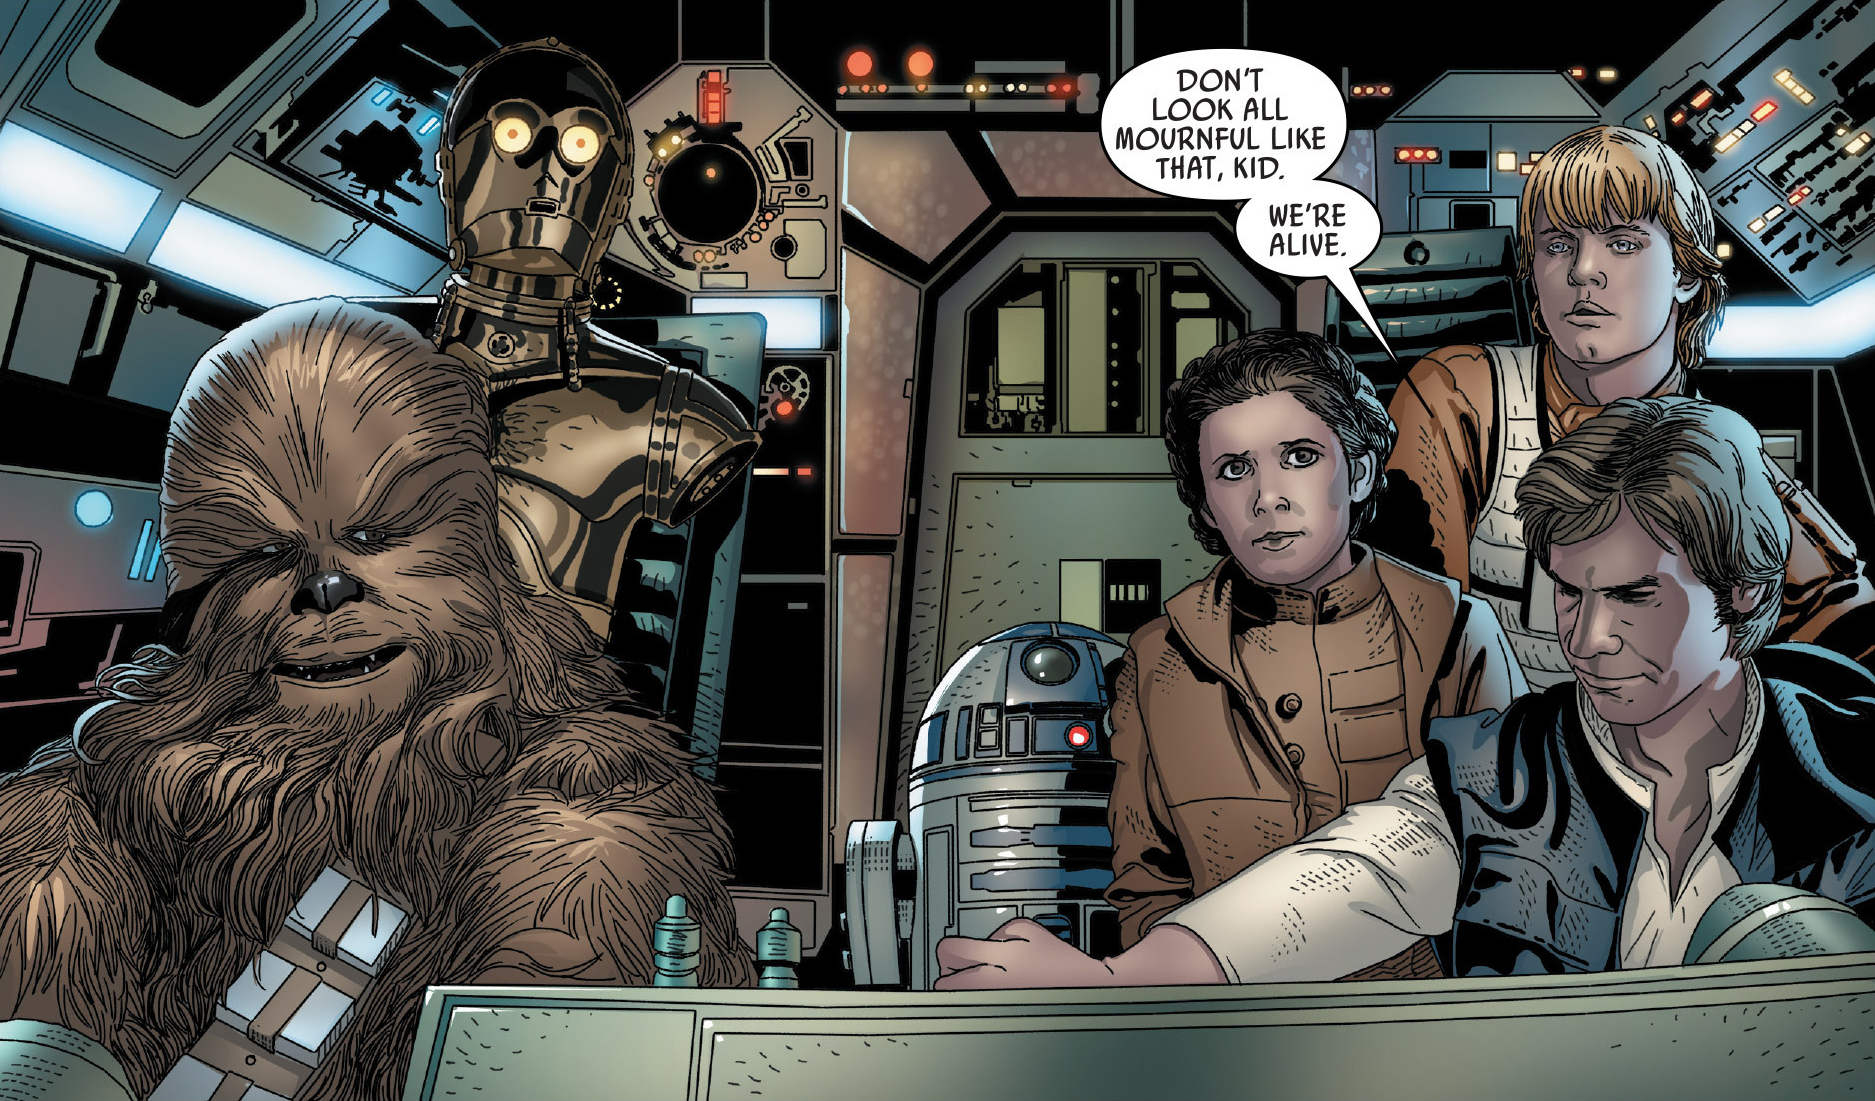
Han and friends escape Vrogas Vas with Aphra as their captive.
The Battle of Vrogas Vas was a heavy defeat for the Rebel Alliance which lost considerable space and ground forces on the planet. After repairing C-3PO, Solo and his team sighted Karbin's shuttle departing with the captive Skywalker. However, Vader brought down the shuttle Karbin's forces and Skywalker, allowing the young Jedi to make his escape. Beetee killed the surviving Imperial guards under Triple Zero's orders.
Returning to the Falcon, the rebels met Dr Aphra who attempted to force them to surrender by threatening to activate micro-mines buried beneath then. While Dr Aphra was distracted by a verbal argument with Skywalker and Solo, Princess Leia knocked her unconscious with a sucker punch. Since Dr Aphra had valuable information, Leia decided to take her prisoner. The rebels escaped aboard the Falcon after exchanging fire with a stormtrooper patrol.
Following the battle, Princess Leia transferred Dr Aphra aboard the rebel ally Sana Starros' ship Volt Cobra. Dr Aphra was transported to Sunspot Prison, a secret rebel prison for Imperials. After the prison was attacked by a vengeful rebel named Eneb Ray, Aphra joined forces with her captors in defeating Ray. She subsequently escaped with the help of Starros, who shoved her into an escape pod.
In 28 ABY, Organa's bravery at the battle was mentioned by New Republic senator Varish Vicly in a New Republic Senate session during Organa's campaign to become First Senator.
At some point after the battle, Resistance pilot Poe Dameron read reports of the battle and noted in The Rebel Files that no pilot, including himself, should ever be as skilled as Vader had been during the battle.
- Star Wars Helmet Collection 31
- Star Wars: The Rebel Files
- Star Wars: The Complete Visual Dictionary, New Edition
- Star Wars: Build Your Own X-Wing 12
- Ultimate Star Wars, New Edition
- The Star Wars Book
- Star Wars: Battles that Changed the Galaxy
- Star Wars: The Secrets of the Bounty Hunters
- Star Wars: Timelines