Boba Fett's Palace, formerly Jabba's Palace and briefly Bib Fortuna's palace, was located at the fringes of the Northern Dune Sea in Mos Espa on the planet of Tatooine. Originally erected as a monastery for the B'omarr Order, it became a base of operations for the Hutt crime lord Jabba Desilijic Tiure. After his death, it was taken over by his majordomo, the Twi'lek Bib Fortuna, before he was killed and replaced by the famed bounty hunter Boba Fett.
Jabba's Palace
Boba Fett's Palace, also known as Boba's Palace, formerly Jabba the Hutt's Palace or Jabba's Palace, was located in the Northern Dune Sea, a region of the Dune Sea on Tatooine, and was accessible on land by a single dirt road that stretched through a canyon. The palace, constructed with sandblasted metal and stone, was where Jabba conducted illicit business deals. The structure was a fortress, with a defensive design that focused primarily on protection from attack. The palace included a garage.
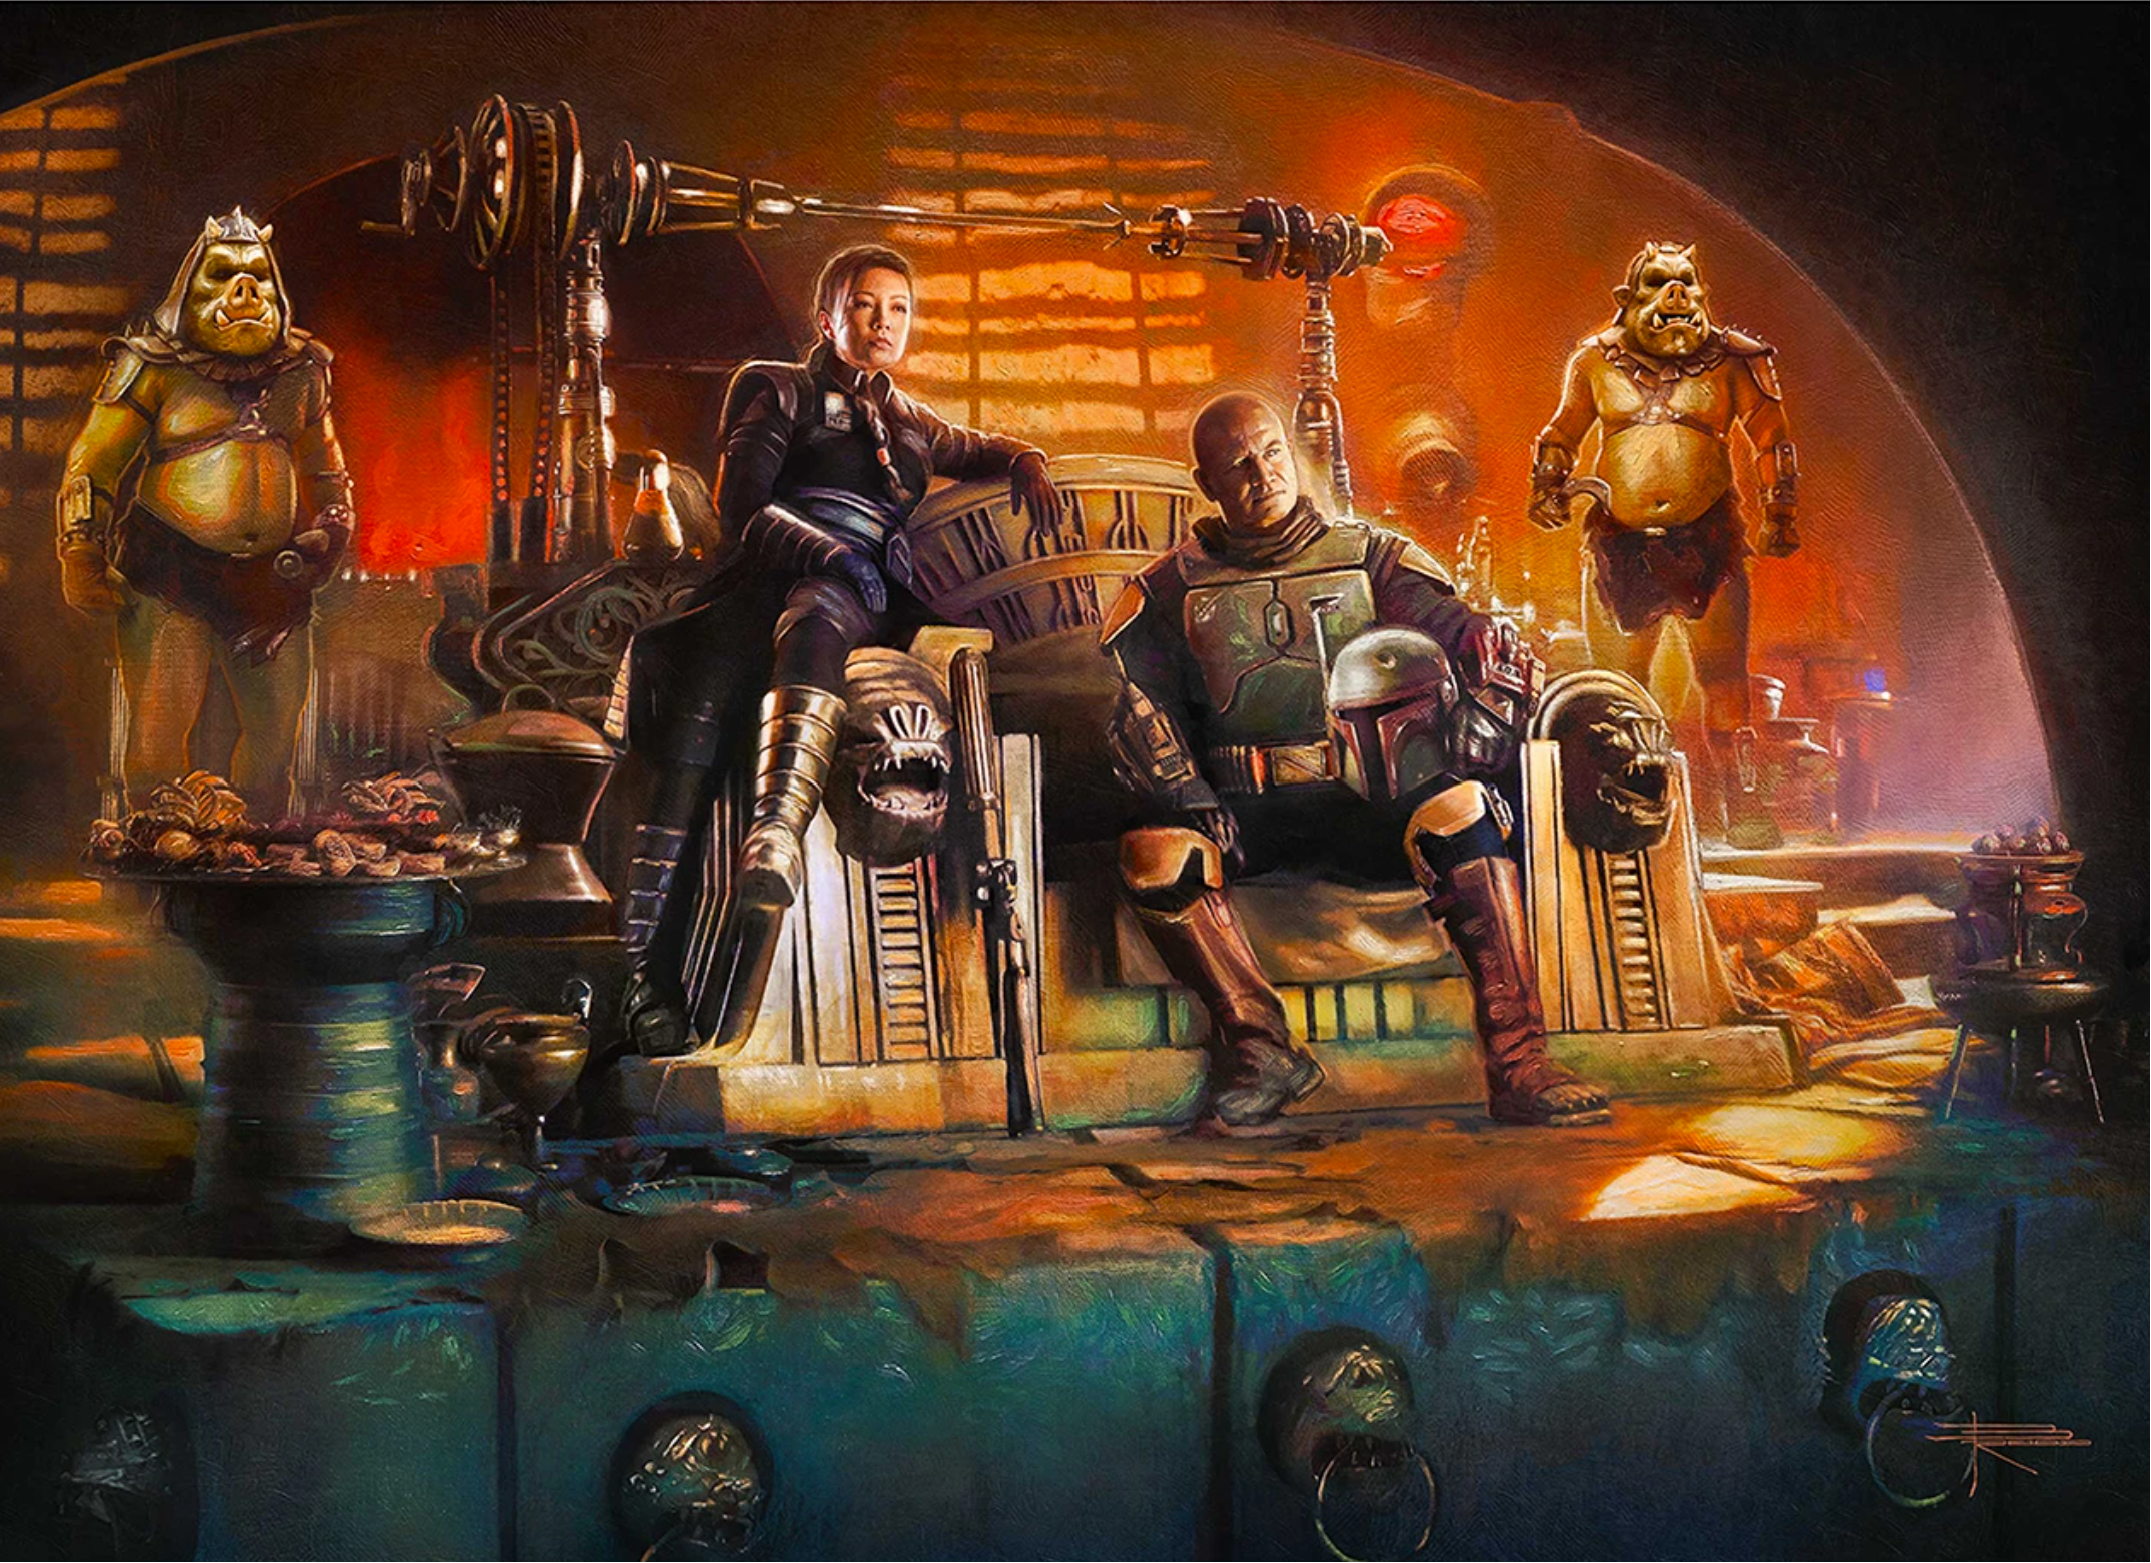
Boba Fett in the throne room.
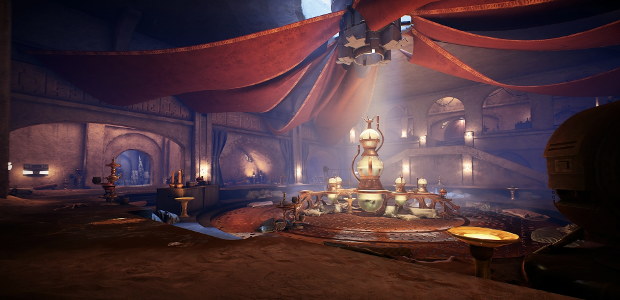
Jabba would entertain guests in a throne room, which also had a live band led by Max Rebo and overlooked a pit that contained a rancor by the last days of the Hutt's criminal empire. Bib Fortuna later took over the throne room but eventually lost it to Boba Fett. Both ruled from the room, but Fett also adopted a hands on approach to controlling the criminal underworld instead of remaining locked away in the Palace.
A huge subterranean complex existed under the palace. The complex included Jabba's throne room, workshops, animal pens, the sail barge Khetanna, and spice farms.
The main tower that rose from the building housed communication, surveillance, and defense systems including anti-aircraft emplacements and shield generators.
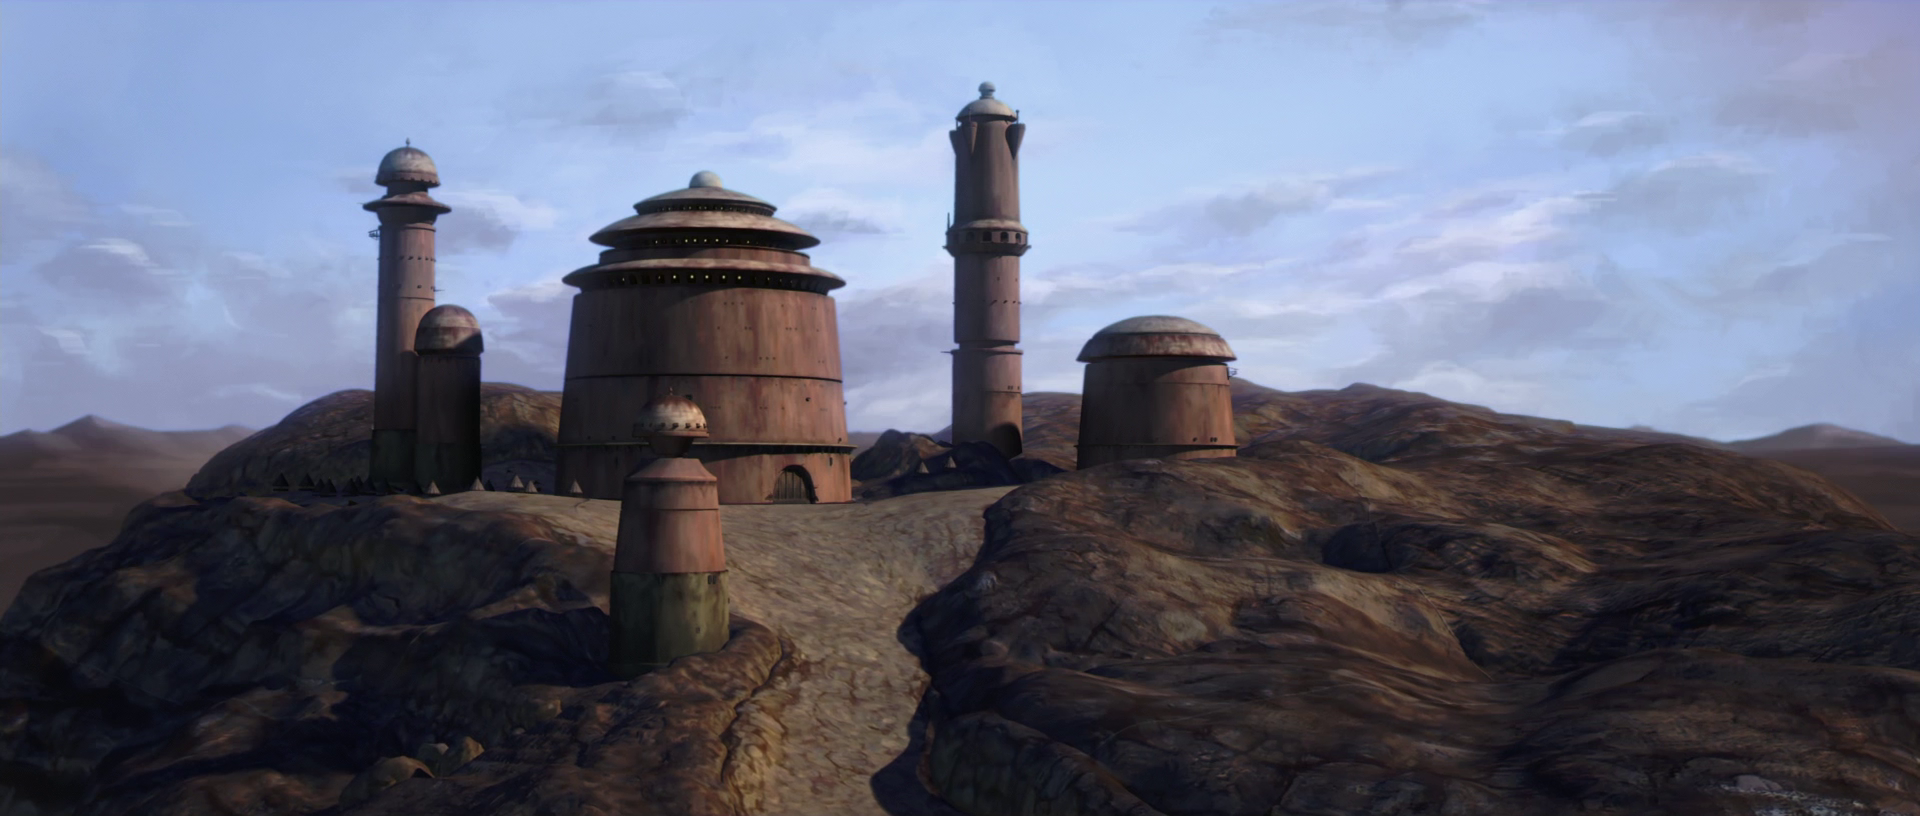
Jabba's Palace in 22 BBY
Built by the monks in a long-forgotten era, Jabba's Palace was a monastery that belonged to the B'omarr Order, a religious community who believed in isolating themselves from all physical stimuli to enhance their mental powers. To fulfill as such, the monks removed their brains and placed them into nutrient jars, which were carried around the monastery in droid walkers they controlled. The earliest parts of the monastery were underground, and included a mine. At one point, a bandit named Alkhara appropriated the monastery for himself. He occupied it for 34 years, during which he added battlements, dungeons, and a nine-story tower, and also cut a road from the citadel to the Western Dune Sea and Great Pit of Carkoon. Eventually, he was driven off by Jabba.
After taking over the monastery, Jabba had it further fortified by master armorers. After presenting the Hutt with the bill for their services, the said armorers became the first prisoners of the crime lord. Despite having designed them all, they were never able to escape the thick walls and cruel traps of the palace. It was said that the area that became the rancor pit in Jabba's Palace was once a sacred grotto for the B'omarr monks, who continued to roam the palace in their droid forms during Jabba's reign.
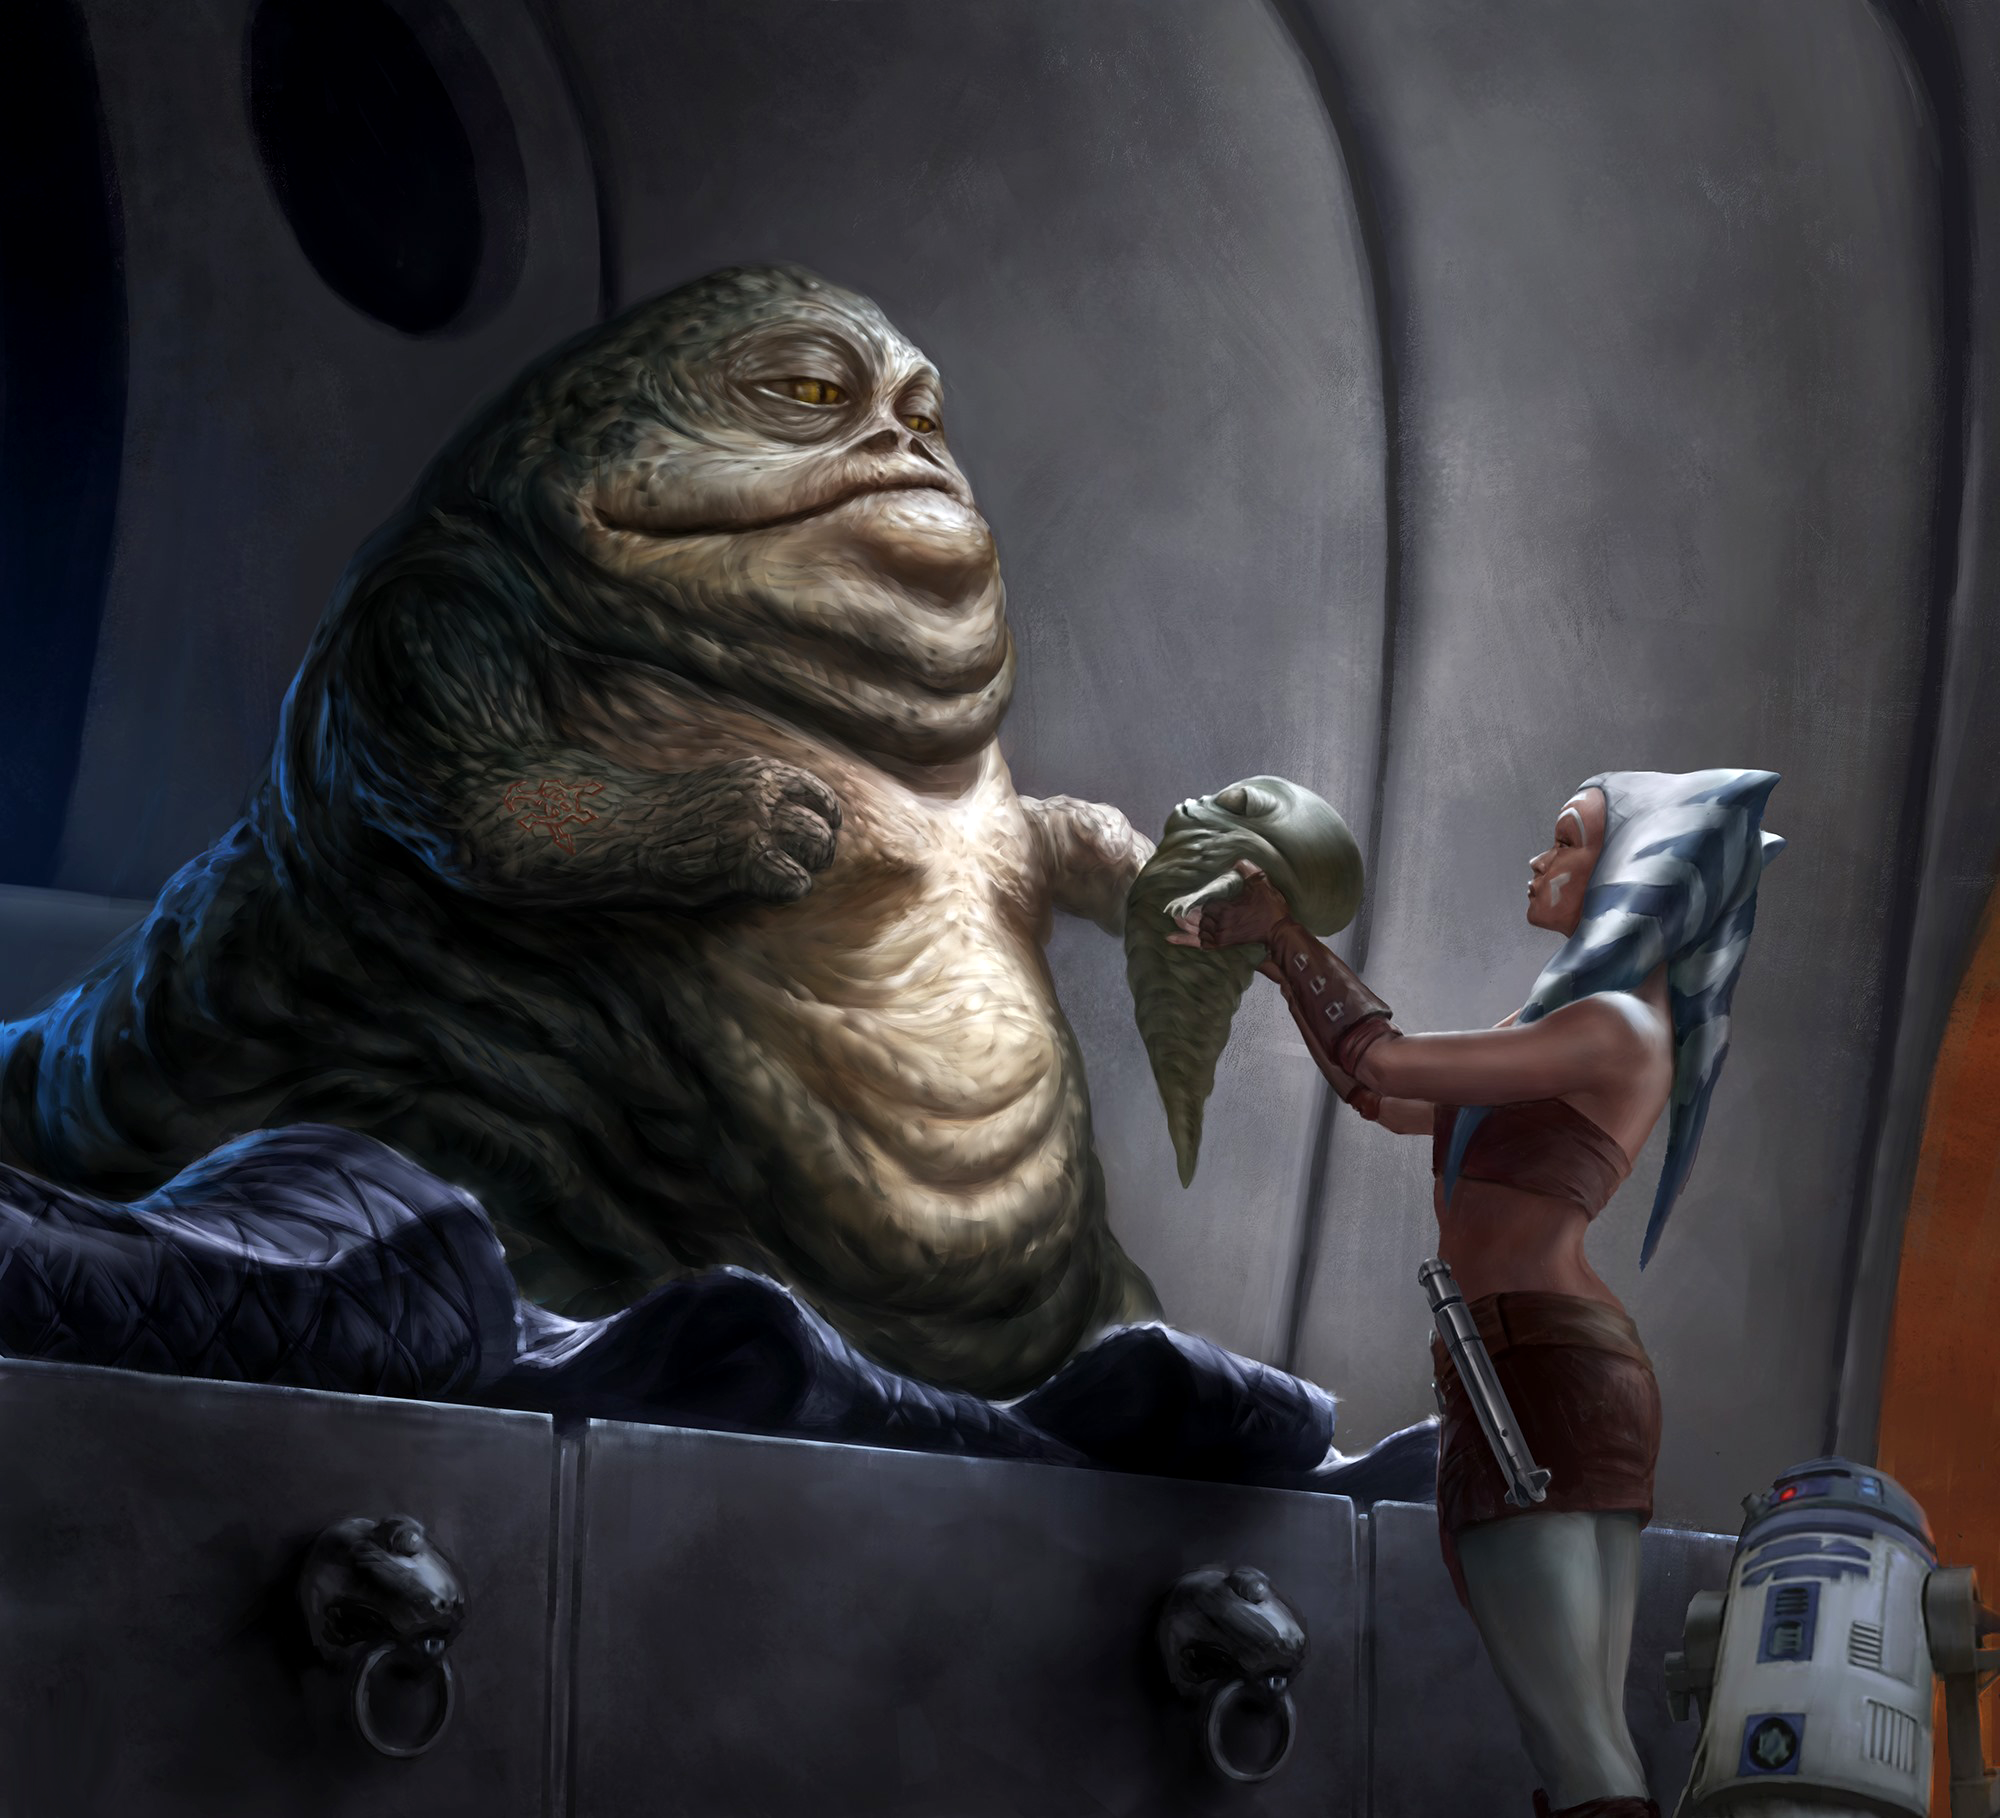
Ahsoka Tano reunited Jabba with his son
In 22 BBY, Jedi Master and Jedi General Obi-Wan Kenobi traveled to Jabba's Palace to assure Jabba that the Galactic Republic would rescue his son Rotta and to secure a promise from the Hutts for safe passage for Republic ships through the Outer Rim Territories. After rescuing Rotta from Separatist forces, Jedi Knight Anakin Skywalker and his Padawan Ahsoka Tano brought him back to Jabba's palace. Since they had failed to deliver the kidnapper, Jabba wanted to execute Skywalker and Tano as well. However, Senator Padmé Amidala managed to save her comrades' lives by exposing Jabba's uncle Ziro as the instigator behind Rotta's kidnapping.
Following the kidnapping of his daughters in 21 BBY, Senator Papanoida and his son Ion traveled to Jabba's Palace to confront the Rodian bounty hunter Greedo, who was implicated in the kidnapping of the Papanoida girls. After a confrontation, Greedo agreed to lead Papanoida and Ion to Chalmun's Spaceport Cantina in Mos Eisley where one of Papanoida's daughters, Che Amanwe, was rescued and reunited with her family.
After kidnapping the droids R2-D2 and C-3PO, stealing the Senate Building's schematics, and wiping their memories, the Duros bounty hunter Cad Bane traveled to Jabba's Palace to deliver the plans to Jabba. There, the crime lord assigned Jabba on a mission to free Ziro from Republic imprisonment. Ziro had classified information which the Grand Hutt Council did not want to fall into the hands of the Republic. After assassinating Ziro, the Pa'lowick singer Sy Snootles returned with Ziro's holo-diary to Jabba, keeping Ziro's secrets from both the Republic and the Grand Hutt Council.
In 19 BBY, former Sith apprentice Maul and his Shadow Collective traveled to Jabba's Palace. After killing most of Jabba's guards, the Shadow Collective forced their way into Jabba's throne. Faced with overwhelming force, Jabba and Gorga Desilijic Aarrpo decided to join Maul's Shadow Collective.

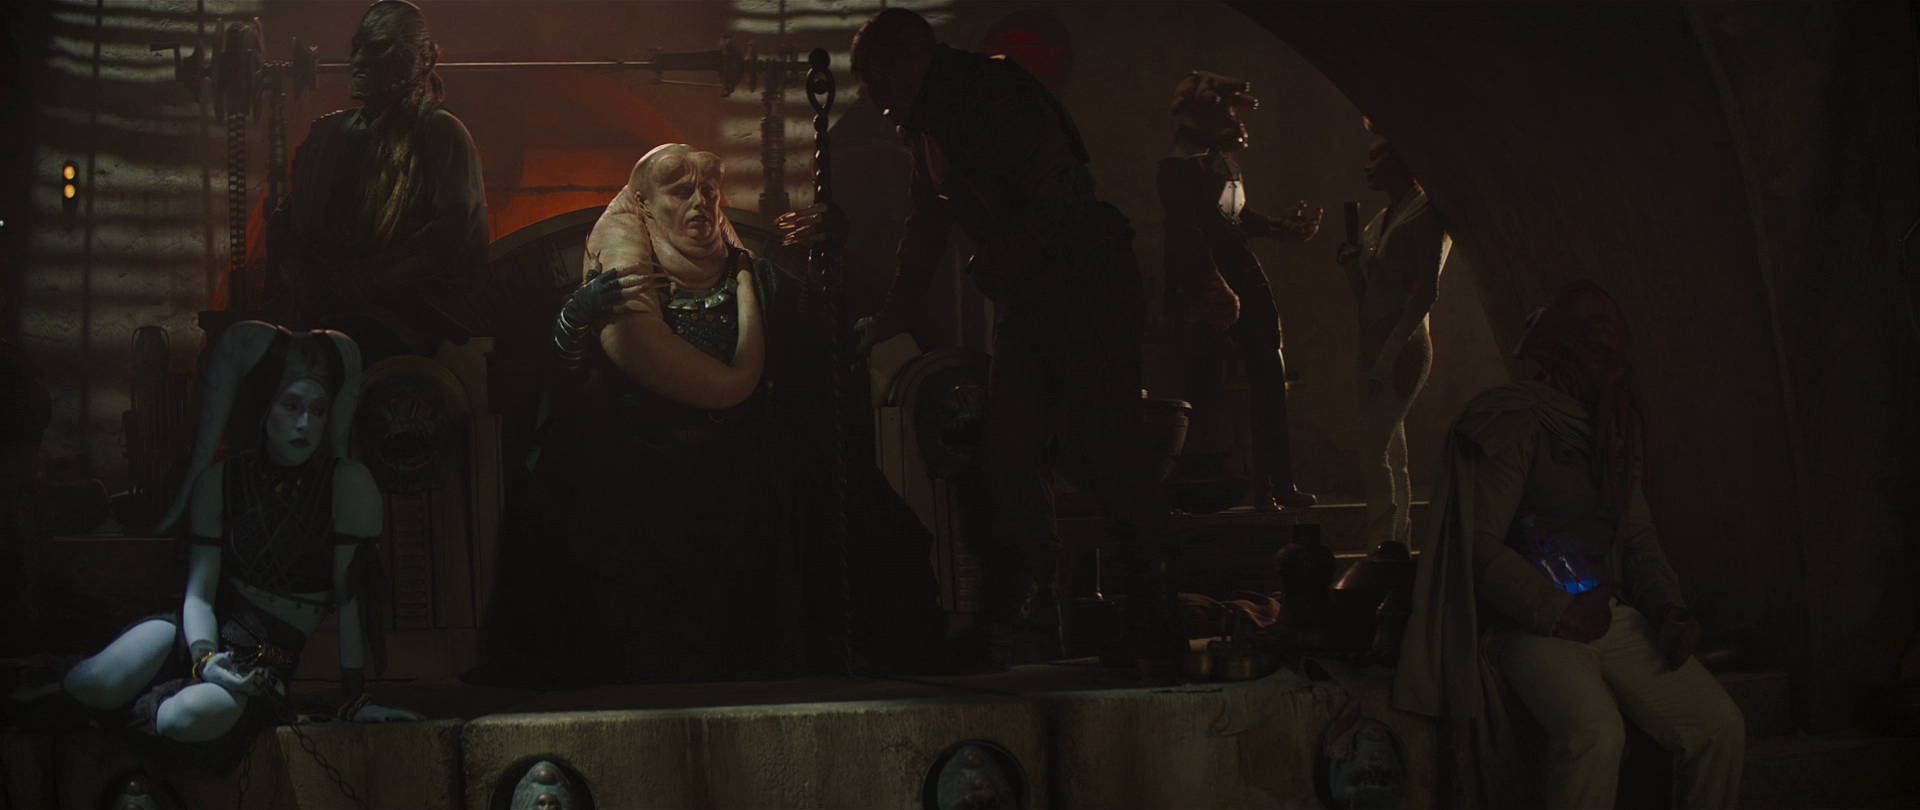
Jabba's entourage surrounds his dais in the palace throne room.
During the Imperial Era, Jabba the Hutt hosted the Wookiee bounty hunter Krrsantan, whom he hired to hunt down the Great Jedi Purge survivor Obi-Wan Kenobi, who had attacked his water tax collectors during the Great Drought. As a display of his fighting prowess, Krssantan single-handedly shot several of Jabba's guards in his throne room. Krrsantan tracked down Kenobi but failed to kill him. Fearing Jabba's wrath, the Wookiee fled Tatooine.
Following the Battle of Yavin, Darth Vader visited Jabba's Palace in 0 ABY to conclude negotiations regarding the transportation of supplies through Hutt Space to Weapons Factory Alpha on the moon Cymoon 1. Jabba attempted to claim a bounty on Vader's head and had his underlings attack the Sith Lord. Using his Force powers and lightsaber skills, Vader slaughtered Jabba's guards and Force choked the Hutt crime lord.
To mend bridges, Jabba agreed to provide Vader with two bounty hunters: Boba Fett and Black Krssantan. Fett was tasked with hunting down Luke Skywalker, the Rebel Alliance pilot who destroyed the Death Star, while Krssantan was assigned to bring the Emperor's agent Cylo to him. The following day, Vader returned to Jabba's palace and concluded negotiations. Jabba agreed to permit the Empire access to Hutt Space in return for financial compensation. Jabba then took Vader on a tour of Tatooine's Dune Sea aboard the sail barge Khetanna.
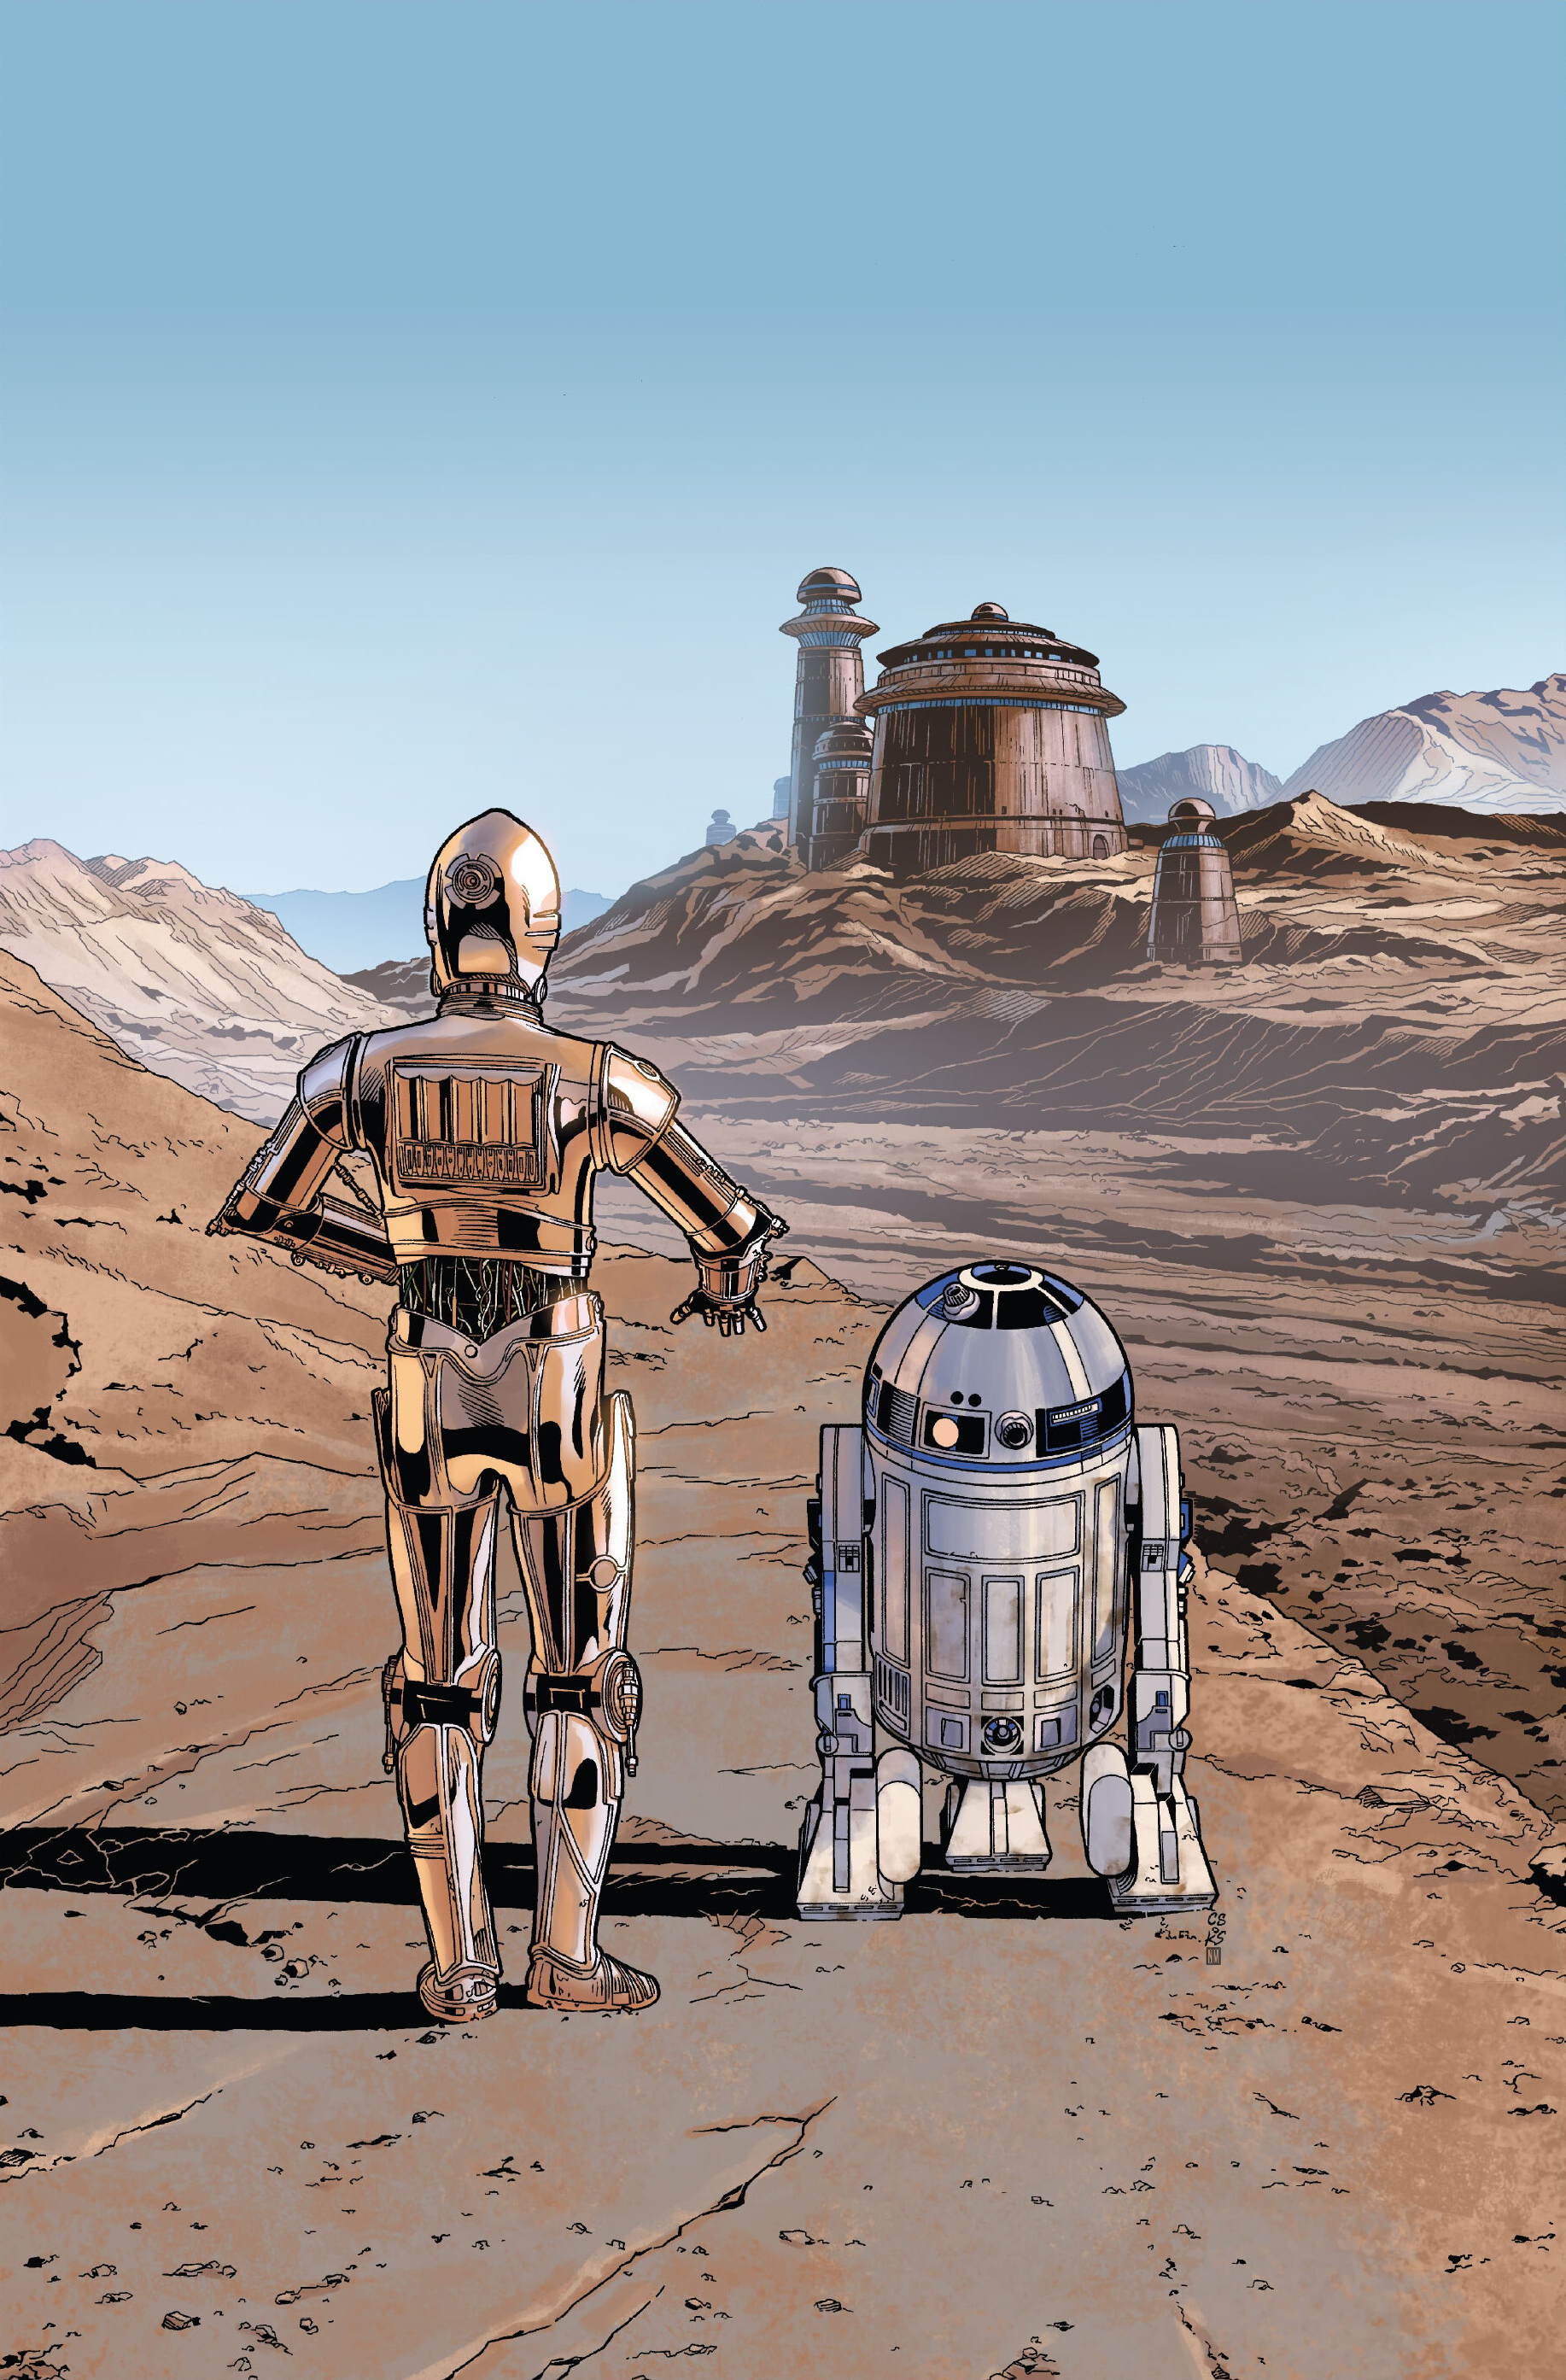
C-3PO and R2-D2 approach Jabba's Palace
Luke Skywalker and his friends hatched a plan to rescue Han Solo, who was frozen in carbonite and kept by Jabba as a wall decoration in the palace. First, bounty hunter Beilert Valance openly attacked Jabba's Palace to trick the Hutt into unleashing his Megadroid guardian. With the droid destroyed in the ensuing Death Match on Tatooine by Valance and T'onga's crew, Skywalker and company were set to have an easier time breaking Solo out. In time, a disguised Lando Calrissian infiltrated the palace as a new skiff guard. Shortly into his stay at the palace, Calrissian allowed , a waitresses forced into Jabba's service, to escape his watch with a set of valuable gems stolen from the Hutt's tribute. While they lost the gems in a struggle with the Rodian enforcer , Nai and her friend both managed to escape the palace for new horizons.
In time, the rebel droids C-3PO and R2-D2 traveled to Jabba's Palace under Luke Skywalker's instructions as part of the rescue plan. Via hologram, Skywalker offered the droids as a gift in an attempt to secure the release of Solo. As expected, Jabba refused and pressed the droids into his service. Later, Leia Organa arrived disguised as the bounty hunter Boushh with the captive Wookiee Chewbacca, Solo's co-pilot.
Leia managed to free Han from carbonite but was captured by Jabba. The following day, Skywalker arrived and reiterated his demand to free Solo and his friends. Jabba refused and threw Skywalker down the trapdoor to the rancor Pateesa, who also killed the Gamorrean guard Jubnuk. Skywalker managed to kill Pateesa by collapsing the dividing door on top of the rancor. Jabba attempted to feed Skywalker, Solo, and Chewbacca to the sarlacc at the Great Pit of Carkoon. However, the rebels escaped and killed Jabba and his henchmen, dealing a blow to his criminal empire.
Bib Fortuna took Jabba's place as lord of the palace for a time.
Following the death of Jabba, several of his employees including the beastmaster Malakili stayed at the palace waiting for a new Hutt to occupy the dais. As the food dwindled and water ran out, many of Jabba's former employees abandoned the castle. Malakili was one of the last to leave. He subsequently joined a community called Freetown, which was led by the lawman and Mayor Cobb Vanth, who enlisted Malakili's services in taming two rontos and a Huttlet named Borgo. The Red Key crime syndicate had attempted to install the Huttlet in Jabba's palace but Cobb foiled their plan.
The B'omarr Order was known to have reinstated control over the Palace sometime after Jabba's death. They allowed the bounty hunter J'Quille to join them during that time.
By around 9 ABY, Bib Fortuna had succeeded Jabba as master of the palace. Boba Fett and his partner Fennec Shand infiltrated the palace and retrieved his ship, the Slave I, which was kept in the garage of the palace. Later, after settling their debt to Din Djarin, Fett and Shand attacked the palace again, killing Fortuna and the guards, before Fett took the throne.

Boba Fett took the throne at Jabba's Palace after killing Bib Fortuna
The B'omarr Monks continued to walk about the Palace premises during Fett's reign. Fett, who became the Daimyo of Mos Espa, received guests and accepted tributes in the throne room with Shand by his side. Fett utilized a bacta tank in the palace to heal from his scars. After Fett and Shand were ambushed in Mos Espa by six assassins of the Order of the Night Wind. Shand captured one of the attackers alive and brought him to the palace. After the assassin refused to give up any information to Fett, Shand dropped the prisoner to the rancor pit. The assassin, believing a rancor was in the pit, succumbed to his fear and claimed that Mayor Mok Shaiz hired him. The Night Wind assassin, though, had been fooled, as there was no rancor behind the door.
Later on, 8D8 gave Fett a presentation on the history of the territories of Jabba the Hutt and Bib Fortuna. As Fett and Shand discussed the assassin attack before, one of the Gamorrean guards came with news that one of Fett's vassals was wanting to speak with the Daimyo. Fett let the visitor enter the thrown room. The visitor introduced himself as a water-monger named Lortha Peel. 8D8 asked what Peel's petition to Fett was, to which Peel claimed that no one respected the new Daimyo. The droid angrily stopped the vendor, but Fett told his assistant to let Peel speak. Peel and the Daimyo then discussed the disorder amongst the residents of Mos Espa and the water-monger asked for Fett to help get rid of the Mods, a group of cybernetically enhanced individuals that were stealing from him. Fett visited the mods, but after hearing their situation, he chose to hire the gang members instead.
Later, the bounty hunter Krrsantan infiltrated the palace while Fett was in his bacta tank and attempted to assassinate Fett. Krrsantan failed and was captured.
Jabba's card from the digital card game Star Wars: Force Collection described Jabba's Palace as having been built by Jabba himself using his cleverness and wealth. In contrast, the 2015 book Return of the Jedi: Beware the Power of the Dark Side! described Jabba's Palace as having been an old monastery of the B'omarr Order which Jabba fortified and refitted, thus creating a continuity error. Star Wars: Complete Locations, published in 2016, supports the latter history, as does the The Clone Wars film.
- Disney Infinity 3.0
- Star Wars Epic Yarns: Return of the Jedi
- LEGO STAR WARS: Celebrate the Season — "Boba Fett's Throne Room Party"
- LEGO STAR WARS: Celebrate the Season — "Gifting With Grogu"
- LEGO Star Wars Summer Vacation
- LEGO Star Wars: The Skywalker Saga
- The Art of Star Wars: Visions