The Malevolence Campaign, also known as the Malevolence crisis, was a multi–month campaign launched by Count Dooku and General Grievous during the Clone Wars using Grievous's flagship, the Subjugator-class heavy cruiser Malevolence. The starship featured two mega-ion cannons, which could be used to knock out entire Galactic Republic fleets. The weapon remained unseen by the Republic, until the survivors of the Battle of Abregado, Plo Koon, Clone Commander Wolffe, clone troopers Boost and Sinker, Anakin Skywalker, and Ahsoka Tano, were witness to it. Knowing what the weapon now was, the Republic made a plan to destroy it.
Shadow Squadron was sent to take out the ships bridge, but due to heavy laser fire the squad changed course and attacked one of the ion cannons, which caused heavy damage. Obi-Wan Kenobi's taskforce then arrived as reinforcements, and fired upon the Malevolence. The ship was finally destroyed when Skywalker, Obi-Wan Kenobi, and R2-D2 boarded it to rescue the trapped Padmé Amidala and C-3PO. During their time on the ship, Skywalker reprogrammed the navigation computer to send the ship into the Dead Moon of Antar, causing the ships destruction. Despite this victory, Grievous escaped in his personal starfighter, Soulless One.
Early in the Clone Wars, the Confederacy of Independent Systems' Droid Army Supreme Commander, General Grievous, was given command of his new flagship, the Subjugator-class heavy cruiser, Malevolence. The Malevolence was armed with a pair of mega-ion cannons. With the Malevolence, Grievous and Count Dooku laid siege to the Galactic Republic's starfleet for months. Grievous, under orders from Dooku, kept the Malevolences secret by leaving no survivors of its attacks. Other than the fact that the weapon was under the command of Grievous, the Republic knew little of what the general's mysterious weapon was.
Combined with knowledge of Grievous's personality, fears over the weapon grew for months, with unverified rumors about the colossal weapon growing for that same time because no witnesses survived an attack from the Malevolence. Using formidable ambush tactics followed by blasts from its ion cannons, the warship could disarm enemy vessels, ensuring they were unable to escape, defend themselves, or send out distress signals. As such, the disarmed ships were left to be torn apart by the hundreds of weapons that adorned the Malevolence. For months, Grievous led the Malevolence to stalk and destroy Republic fleets, also using the ship to disrupt Republic trade. The Fourth Fleet was all but destroyed by the Malevolence. In response to the rumors of Grievous' secret weapon and after the Battle of the Phu system, the Jedi Council sent Master Plo Koon to find the super weapon.
Master Koon, in command of the Venator-class Star Destroyer Triumphant and two other cruisers as part of his fleet, was then able to track the Malevolence to the Abregado system. Before attacking the Malevolence, Koon and Commander Wolffe contacted General Anakin Skywalker and Commander Ahsoka Tano for aid from their task force in the Bith system. However, the Jedi Council ordered Skywalker to stay in the system to protect the Republic's staging area. Skywalker then told Koon he would ask the Council to allow his taskforce to reinforce Koon's taskforce. Unfortunately, Koon's communications were then jammed by the Malevolence.
Destruction of Koon's fleet
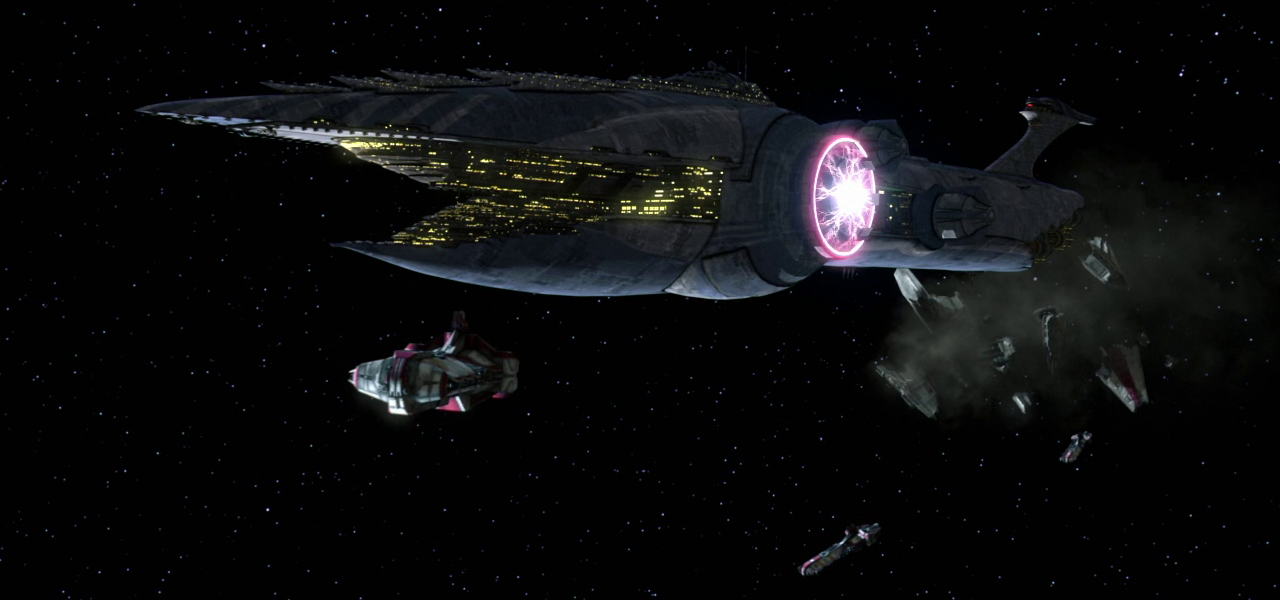
The Malevolence then open fired and neutralized the Triumphant and the two other cruisers. The Malevelonce then fired its turbolasers and point-defense laser cannons at Koon's fleet. Without power and shields, Koon, Wolffe, and their crew were forced to abandon their ships. Koon, Wolffe, Sergeant Sinker and Boost were then able to abandon the Triumphant in an escape pod. Dooku then had Grievous send out a pod-hunter with several rocket battle droids to hunt the remaining survivors in order to keep the Malevolences ion cannons a secret.
Skywalker, despite having orders to protect the Republic supply lines, took the Twilight and Tano to search for any survivors in the Abregado system. At first, Skywalker and his apprentice were unable to find any survivors and were ordered to return to the fleet by Master Kenobi and Chancellor Palpatine. During this time, Koon and his men fought off the rocket droids. Tano was then able to sense Koon and found their pod. Koon then told them that the weapon was an enormous ship mounted ion cannons. The Twilights medical droid, TB-2 was then detected by the Malevolence and Grievous attempted to stop them. However, the Twilight was able to make its escape. Despite Grievous' failure, Dooku decided to contact Lord Sidious.
Malevolence finishing off a medical convoy.
Grievous then attacked several medical convoys near Ryndellia system. Following his attack, Dooku then gave Grievous the coordinates to Kaliida Shoals Medical Center that was treating over 60,000 wounded clones. Skywalker's taskforce and Shadow Squadron's BTL-B Y-wing starfighter/bombers were then commissioned by the Galactic Senate to destroy both the Malevolence and General Grievous. Upon hearing of Grievous' attack on the medical convoy, Skywalker, Koon, and Yularen then deduced that his next target would be the Medical Center near there. Koon knew that due to the Kaliida Nebula, the Malevolence would be unable to chart a course less than 10 parsecs. Koon, flying a blue Delta-7B Aethersprite-class light interceptor given to him by Skywalker, served as a starfighter escort for Shadow Squadron.
Thus, Skywalker decided to take Shadow Squadron through a shortcut in the nebula. Yularen and Kenobi then warned the medical center's chief, Nala Se about the attack and had her evacuate as many of her patients as she could before the Malevolences arrival. Skywalker, Koon, and Shadow squadron then took Balmorra Run in order to beat Grievous to the Medical Center. Despite running into several Neebray mantras, Skywalker, Koon and Shadow Squadron were then able to reach the Center just before the Malevolence arrived.
Shadow Squadron's attack run on the Malevolence.
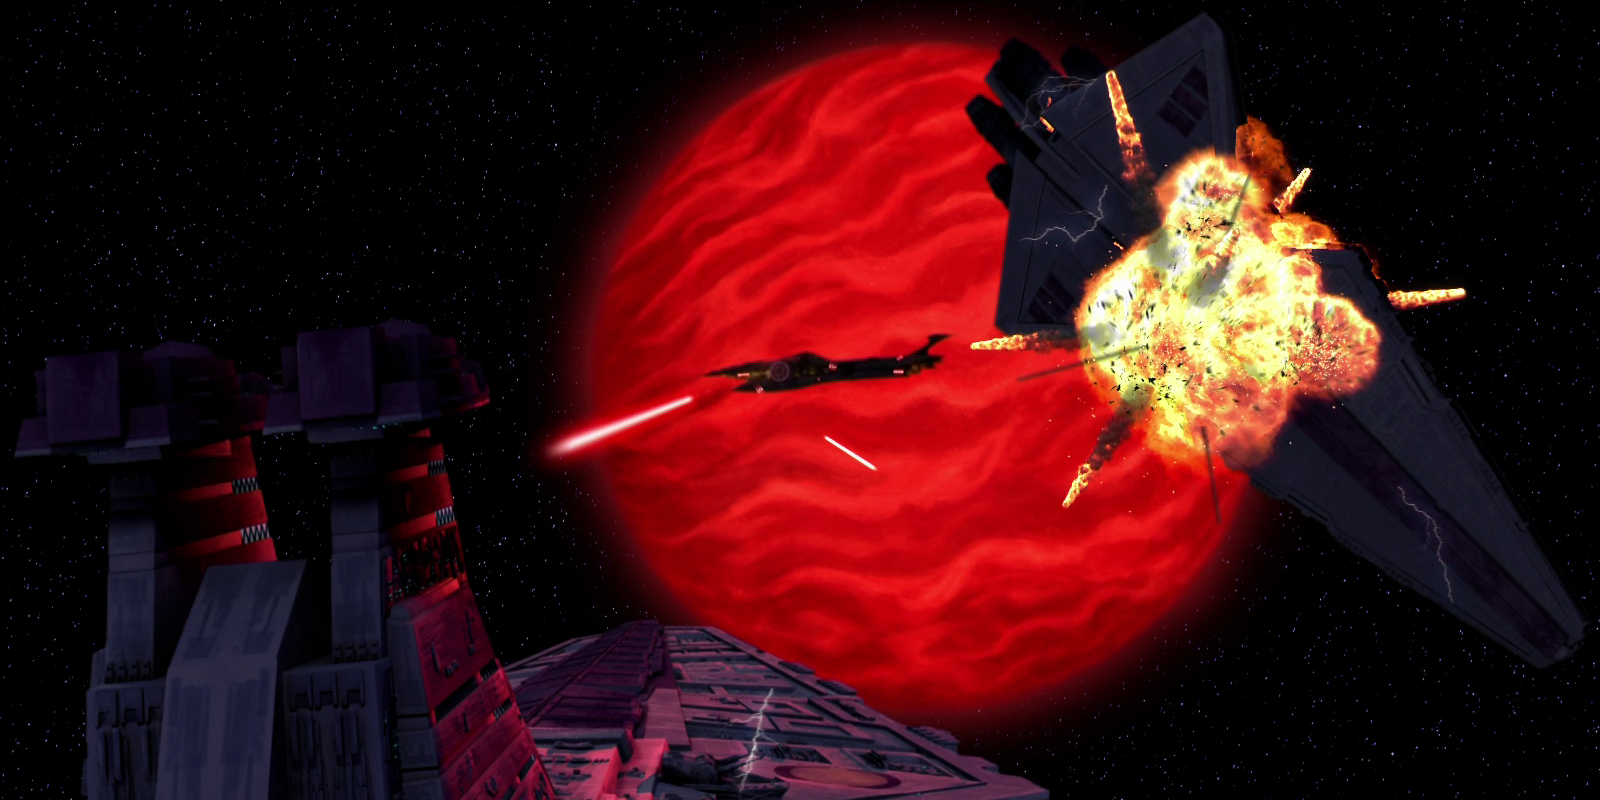
As Grievous moved in to attack the medical center, Skywalker and Shadow squadron started their attack run towards the Malevolence and its bridge. However, Shadow squadron lost half its pilots during their attack run. Thus, Skywalker decided to attack the ion cannon. As the ion-cannon charged up, Skywalker and Shadow squadron were then able to overload the cannon as Grievous prepare to fire at the medical center. The ion-cannons' explosion then crippled the Malevolence and its hyperdrive. General Kenobi's taskforce then arrived and pursued Grievous as he attempted to escape to Separatist space.
Kenobi's and Skywalker's task force then continued their pursuit and attack on the Malevolence. They then asked for reinforcements from Master Luminara Unduli, but was unable to aid them, because she had to deal with Separatist reinforcements nearby. As Skywalker and Kenobi ordered their cruisers to continue the attack, Grievous was then contacted by Dooku. Not wanting the General to lose the Malevolence, Dooku told Grievous that an important senator would be arriving and if captured the Republic would cease their attack. The Senator, Padmé Amidala of Naboo, and her protocol droid, C-3PO then arrived aboard her Nubian starship under the false pretense of meeting with the InterGalactic Banking Clan's San Hill. However, upon arrival near the Malevolence, Grievous then had her ship tractor beamed into the Malevolence. Amidala was then able to contact inform Kenobi and Skywalker of her predicament. Upon hearing this Skywalker ordered their ships to cease fire.
As her ship entered the Malevolence, Amidala then rigged her ship to explode. Thus, as Grievous came to collect her, Amidala's ship exploded but Grievous survived. Grievous and his droids searched the ship for Amidala and 3PO. During this time, Skywalker, Kenobi and R2 were able to use the Twilight to board the Malevolence. As Amidala evaded the droids, she overheard the droids saying that the hyperdrive was not that badly damaged. Amidala then tapped into comm line and was able to contact the Resolute. She told Kenobi and Skywalker about the hyperdrive. Kenobi decided to disable the hyperdrive while Skywalker rescued the Senator. Unfortunately, Grievous' droids were able to monitor their communications and ambush Kenobi in the engine room.
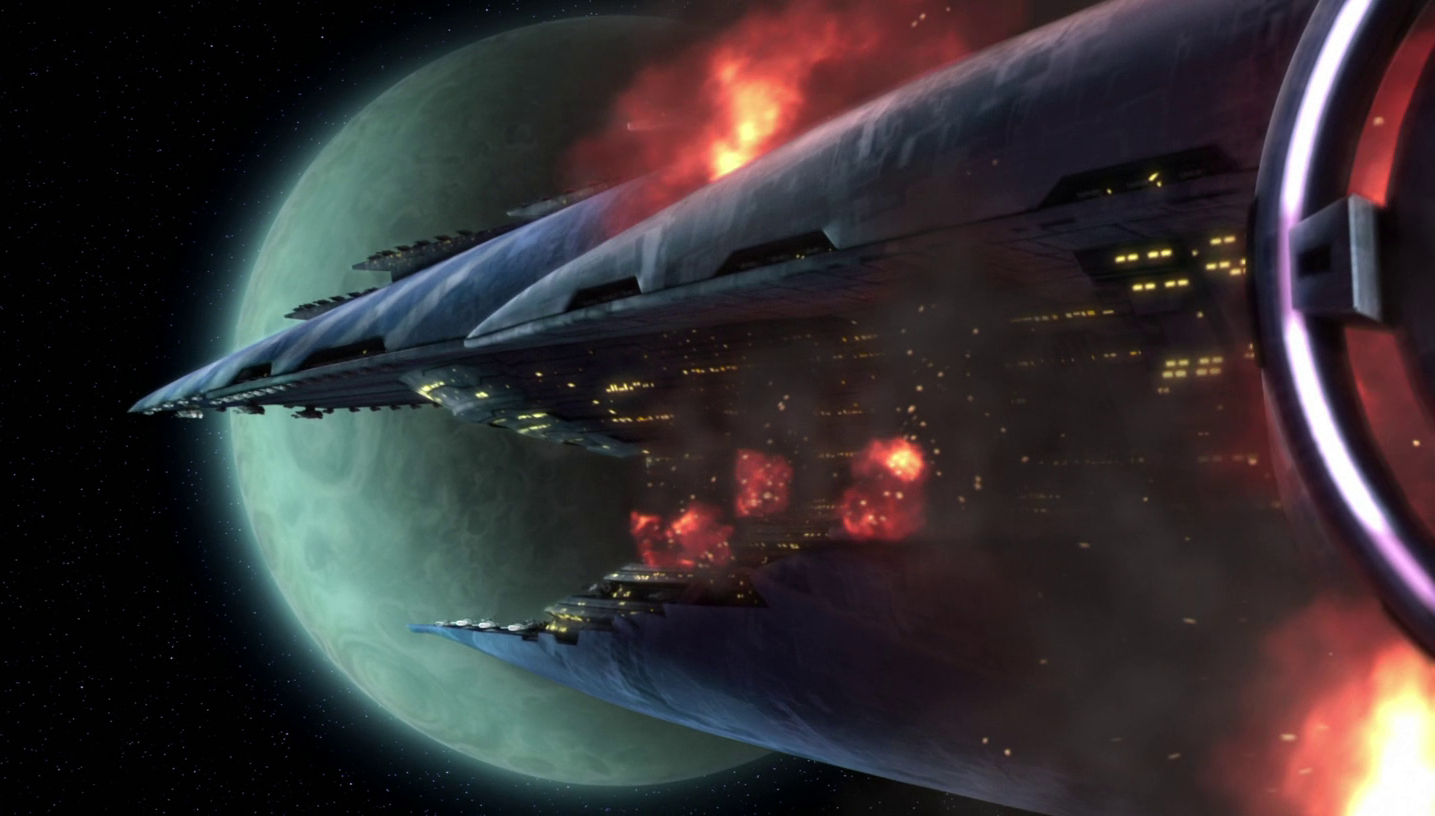
The Malevolence in flames shortly before its destruction
Kenobi fought Grievous and informed Skywalker that the droids were monitoring them. When communications were jammed, Skywalker and Amidala decided to go to the bridge. Once there, Skywalker hot-wired the computer system and left it for the droids. After Kenobi escaped from his duel with Grievous, Skywalker and Amidala were able to meet up with 3PO and R2. As they boarded the Twilight, Kenobi arrived and they left the ship. As they made their way back to the Resolute, Grievous took the Soulless One, and several vulture droids with him as he pursued the Twilight. Grievous then told the Malevolences crew to activate the hyperdrive and retreat to the Sector Four base. As the droids activated the Malevolences hyperdrive, they discovered that coordinates were set for the nearby moon. The Malevolence was destroyed and Grievous, to Dooku's chagrin, retreated.
Despite the loss of his flagship, Grievous's escape enabled him to launch another military campaign a short time later. Nevertheless, he was not trusted with a vessel like the Malevolence for some time, instead being given command over disposable Munificent-class star frigates. However, he was eventually given command over the Providence-class Dreadnought Invisible Hand.
While Star Wars: Build Your Own X-Wing 47 states that the Malevolence Campaign lasted for weeks, the Star Wars Encyclopedia "Darth Maul and Other Followers of the Dark Side" later stated that the campaign lasted for months. This article reflects the wording used in the more recent source.
- Star Wars: X-Wing Second Edition — Servants of Strife Squadron Pack
- Star Wars: Build Your Own X-Wing 47
- Star Wars: Battles that Changed the Galaxy