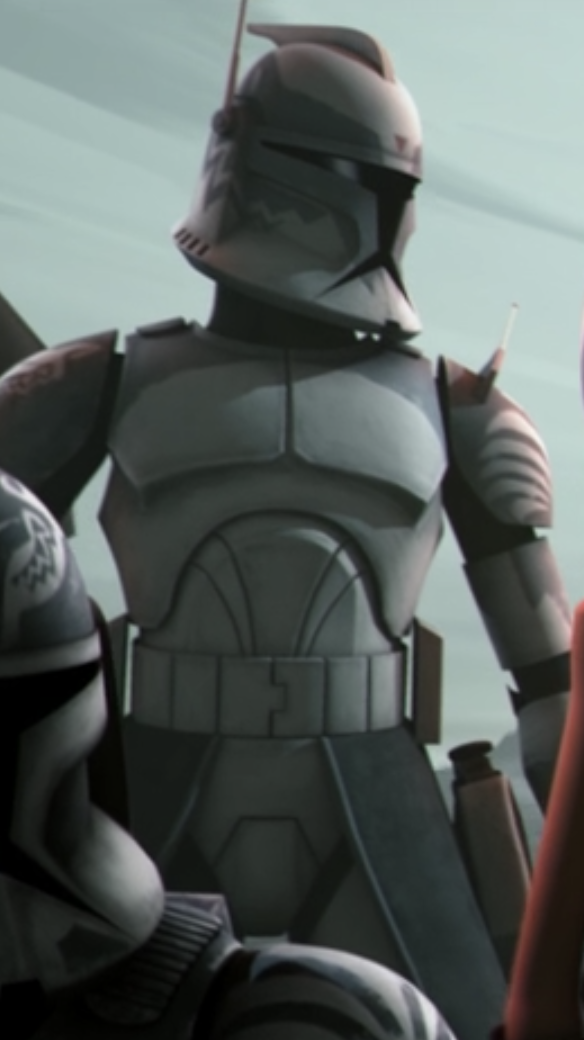
Wolffe, formerly designated CC-3636, was a veteran Clone Commander in the Grand Army of the Republic who served with Jedi General Plo Koon during the Clone Wars. The leader of the 104th Battalion's famed Wolfpack squad, Commander Wolffe proved to be tireless in his efforts against the Confederacy of Independent Systems, displaying an affinity for strategy. On his first mission with Koon, Wolffe served on board the Jedi Master's flagship, the Triumphant, when Koon led a task force to eliminate the Separatist warship Malevolence. While confronting the Malevolence in the Abregado system, all the troopers from the Wolfpack who were on board the ship were eliminated, save for Koon, Wolffe, Clone Sergeant Sinker, and trooper Boost. The four were rescued by Jedi General Anakin Skywalker and his Padawan, Ahsoka Tano, and Wolffe had his unit adopt new clone trooper armor in honor of his fallen comrades. Refusing to let the loss of the Wolfpack deter him from his service, he inspired loyalty amongst his men.
During the Battle of Khorm, Wolffe lost his right eye in a fight with the Sith apprentice Asajj Ventress, and he subsequently wore a cybernetic eye replacement and retained facial scars. Wolffe continued his military service to the Republic, undertaking several key missions with Koon, working with Skywalker and Tano again during a battle on Felucia, rescuing Skywalker and Jedi Master Mace Windu on Vanqor, and helping a Republic strike team escape with rescued prisoners from Lola Sayu. He personally oversaw a supply mission to the groundquake-devastated planet Aleen, assisting in liberating Togruta slaves from the Zygerrian Slave Empire on Kadavo, and took part in a mission that recovered the lightsaber of the late Jedi Master Sifo-Dyas.
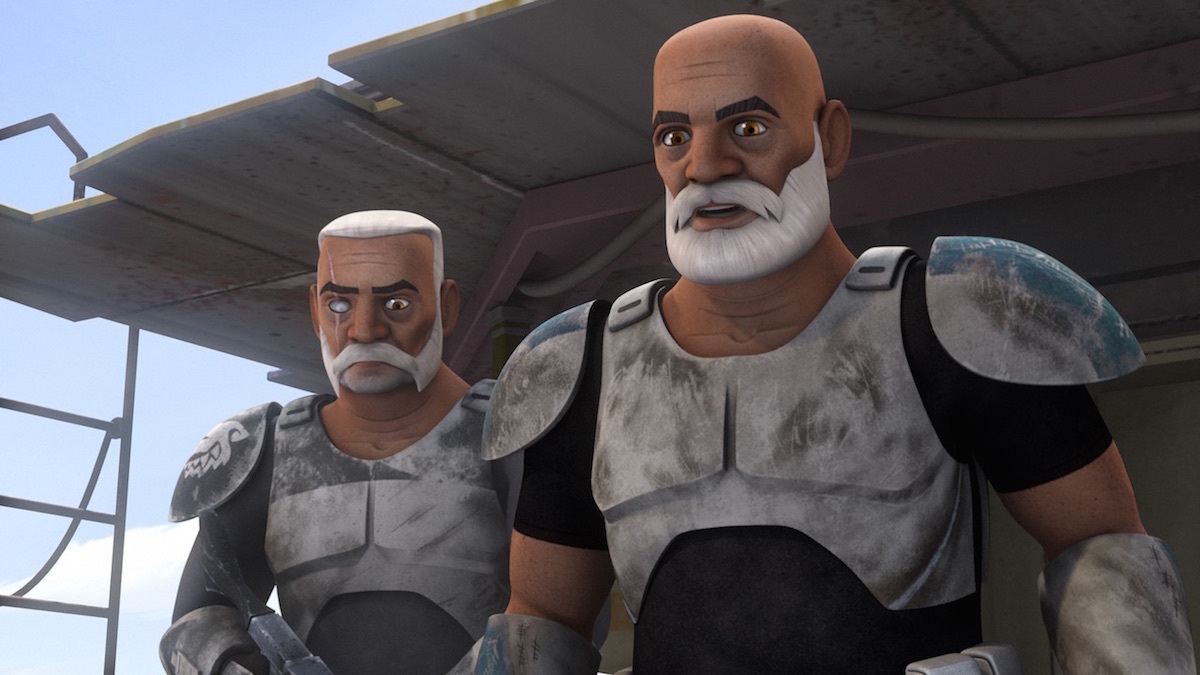
Fifteen years after the end of the Clone Wars, Wolffe was still alive and was living in a modified AT-TE on Seelos with Captain Rex and Clone commando Gregor. At one point, the group was visited by the Spectres, a Rebel group that was combating the Galactic Empire. Wolffe initially distrusted the group, which included the Great Jedi Purge survivor Kanan Jarrus among their number. Believing that the rebels were a threat, Wolffe sent a transmission that was picked up by the Imperial Agent Kallus, alerting the Empire of the rebel presence. However, Wolffe came to see reason when Rex spoke up for the rebels and told him they were not a threat. Under Rex's command, Wolffe and Gregor held back Kallus's AT-AT walkers so that the rebels could escape. Following the battle, he and Gregor stayed behind on Seelos while Rex joined the rebellion. In 1 BBY, Wolffe and Gregor joined rebel forces on Lothal and contributed to the liberation of the planet.
CC-3636, eventually known by the name Wolffe, was cloned on the planet Kamino like every clone in the Grand Army of the Republic. By the early days of the Clone Wars, he was stationed on Kamino and served as a Clone Captain. He broke up a fight between Heater, a trooper who had at one point deserted the army, and another trooper who had called him a coward for doing so. Wolffe talked with Heater and gave him command of a squad of deserters, including clone troopers Sync, Charlie, and Racetrack, telling them they would be free to make their decision concerning their continued service after they completed one mission together. The unit was sent to attack and destroy a Separatist weapons depot, where the squad came together, completed the mission, and decided to continue serving the Republic.
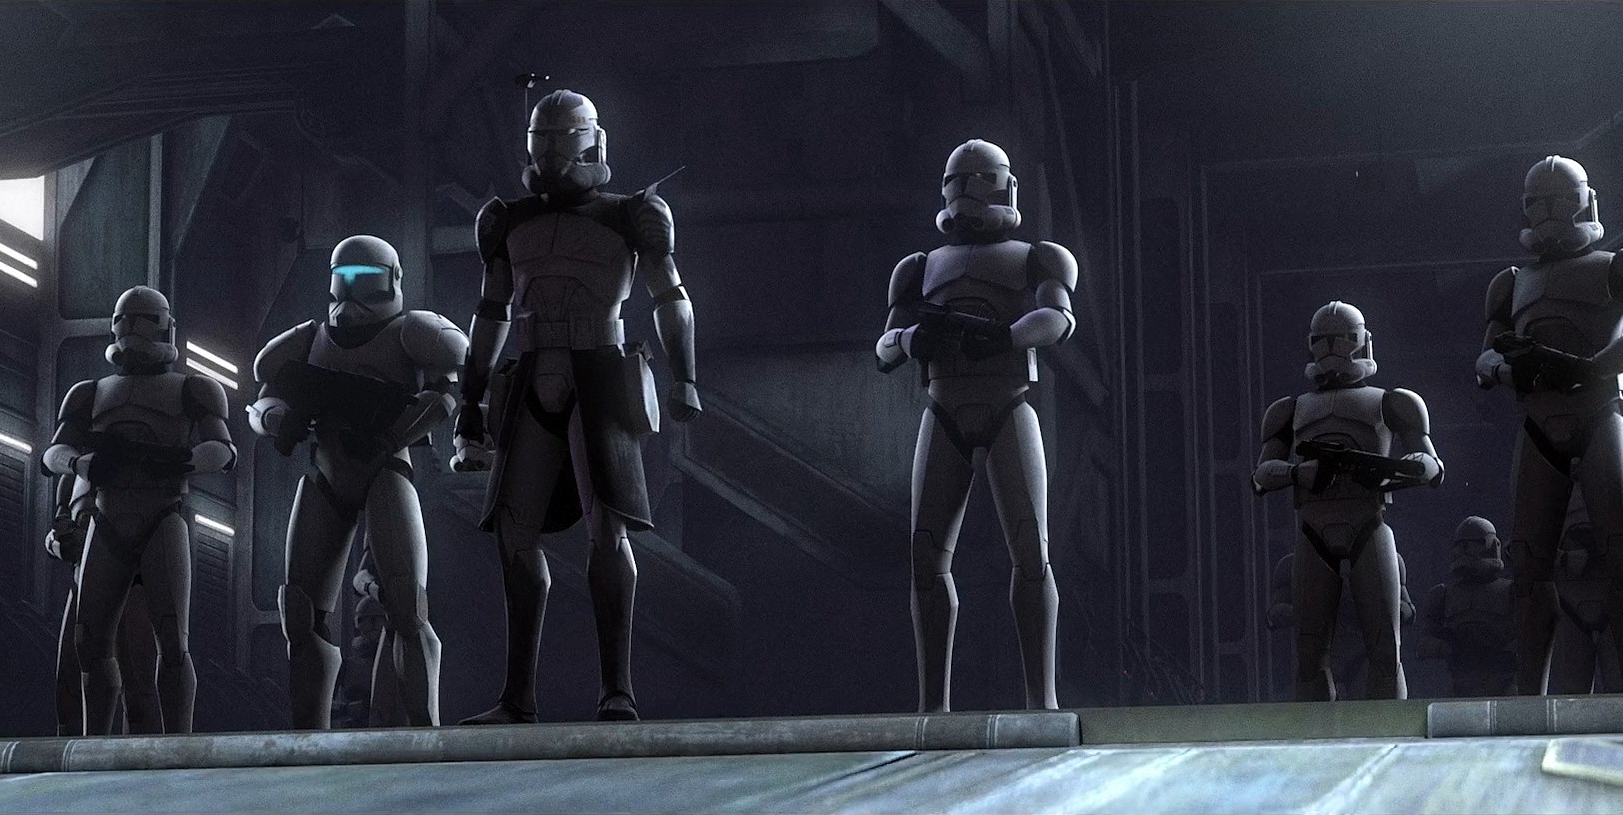
Some time later, Wolffe became a Clone Commander and served under Jedi General Plo Koon. Wolffe led the 104th Battalion and its Wolfpack squad. At some point, Wolffe flew an Aggressive ReConnaissance-170 starfighter near asteroids and in space combat. Wolffe and his troops fought in many battles over the course of the war. The unit was also given missions that pulled them to non-frontline duties at times as well.
Wolffe leading his men to attack the Nexus
Early on in the Clone Wars, Koon sent Wolffe and three Wolfpack troopers Boost, Clone Sergeant Sinker, and Clone Corporal Comet on a mission to infiltrate the Nexus, a floating city and trading outpost that had fallen to Separatist forces led by Emir Wat Tambor. Dropped off by Low Altitude Assault Transport pilot Corvis, they approached the Nexus with JT-12 jetpacks. However, when Tambor's forces were breached by their incursion, he destroyed the city as to not allow it to be controlled by the Republic. Despite the loss, Koon showed gratitude to Wolffe for making sure all members of the squad survived and for rescuing a citizen from the city, Orkle.
Some time later, Wolffe, Koon, and the Wolfpack were sent as part of the Republic's Siege of Hisseen alongside Jedi Generals Anakin Skywalker and Obi-Wan Kenobi and their clone commanders, Commander Cody and Captain Rex. When the Jedi were drawn away from the battle to confront Count Dooku and his Sith apprentice Asajj Ventress, Koon attempted to contact Wolffe, but his communication was obstructed by the mountain range. After Wolffe only heard garbled instructions about the Hisseenian parliament, Koon instead sent coordinates to Boost, and Wolffe deduced that they were being sent to rescue the parliament members.

Wolffe alongside Captain Rex and Commander Cody
Joined by Cody, "Boil," "Waxer," and members of the 212th Attack Battalion, Wolffe and the others successfully freed the prisoners. However, in the meantime, Rex and the others were being overrun. Just as their lines were breached, Wolffe and the others arrived to temporarily salvage their position, but the droids captured them. As they were about to fire, Skywalker, Kenobi, and Koon arrived to save them. With the battle won, the Republic forces returned to Coruscant at the request of Master Yoda.

Wolffe and Koon plan their attack on the Malevolence.
Some months into the Clone Wars, Wolffe and Koon were dispatched by the Jedi Council to investigate a series of surprise attacks on Republic fleets which always left no survivors by the Separatist military leader, General Grievous, in his Subjugator-class heavy cruiser, the Malevolence. Wolffe, the 104th, and Koon set out aboard the Triumphant, with two other Venator-class Star Destroyers as support, and soon tracked the Malevolence to the Abregado system. Wolffe informed Koon that the Malevolence had spotted them and had reduced its speed, prompting Koon and Wolffe to report their position and request reinforcements from the nearest Republic military presence: the fleet of Jedi General Anakin Skywalker and his Padawan Ahsoka Tano, who were in the nearby Bith system.
However, the HoloNet signal was lost when the Separatists jammed the signal shortly before they began their surprise attack in what became known as the Battle of Abregado. The Malevolence fired its secret superweapon: a massive ion cannon. The ion blast engulfed all three Star Destroyers and shut down all the systems and equipment; leaving them dead in space. The now defenseless fleet fell under turbolaser fire from the Malevolence. Koon, realizing the fleet was lost, ordered the evacuation of the Triumphants crew to its escape pods. Wolffe, Koon, Sinker, and Boost boarded an escape pod and ejected into space just as the Triumphant exploded; turning the fleet into a graveyard and killing all of the Wolfpack—save Wolffe, Sinker, and Boost.

Wolffe, Plo Koon, and his squad trapped inside one of the escape shuttles
The group, alone drifting in the debris field, were unsure that anyone would come rescue them, except Koon, who maintained faith. Soon thereafter, Wolffe learned the pod's power grid was down, leaving them with little air and no way to contact help. Koon reasoned that if they got the power restored they would survive long enough to be found, assuring them that if they worked together they would survive. Just then, another pod appeared through their pod's viewport, but the group realized that the clones within had already perished—their pod had been breached by rocket battle droids manning a boarding ship. The clones were floating dead in the vacuum of space. Disturbed by the sight, Boost and Sinker quickly restored the power, so Wolffe could man the comm system to search for rescue craft. However, he quickly picked up a distress signal from another pod, Pod 1977. The clone officer on the comm only had a second to shout that the battle droids were attacking them and hunting down survivors. Wolffe made visual contact with the pod just as the droids cut into the pod and killed the troopers; leaving only Koon, Wolffe, Sinker, and Boost as the sole survivors of the battle.
The droids spotted the group's pod and headed towards it, forcing Koon to quickly decide to meet the enemy face-to-face—his breath mask and Boost and Sinker's armor would protect them from the airless environment. Wolffe, however, who was wearing no armor, remained inside the pod to ensure the distress signal would continue broadcasting. The Jedi and the two troopers fought the droids, who had latched on to the pod with the boarding craft's pincers and activated the "squeeze" feature on the boarding craft that began to damage the pod. Wolffe picked up a signal from Commander Ahsoka Tano and her master General Skywalker, who had come to search for survivors. Wolffe informed Koon that the Jedi were coming, and Koon then ordered him not to lose the signal as the droid's craft damaged the pod enough that it began to lose pressure. Koon destroyed the craft using his lightsaber and the Force, defeating the droids. Koon, Boost, and Sinker remained outside of the doomed pod to allow Wolffe more oxygen as he used his connection to the Force to relay their position to Tano. She and Skywalker quickly located them, and Skywalker used a tow cable to pull the pod into the hold of his freighter, the Twilight.
Wolffe recovering aboard the Twilight
Skywalker popped the viewport from the pod using the Force, allowing Wolffe, who was coughing and weak from a lack of oxygen, to sit and rest while a 2-1B-series medical droid tended to the weakened clones. Grievous, at the helm of the Malevolence, after learning the rocket droids had been killed, returned to the debris field to locate the survivors, wanting to prevent Republic forces from communicating information about his warship. Koon, Skywalker, and Tano, in the Twilight's bridge, shut down all the ship's systems and Skywalker's astromech droid, R2-D2. However, the 2-1B surgical droid, TB-2, was not shut down and remained tending to Wolffe, and the Malevolence picked up the signal from the droid and fired an ion blast at the Twilight as a result. Skywalker, however, a prestigious pilot, used his skills to escape the debris field, evade the ion blast, and enter hyperspace just in time. The Twilight rendezvoused with Skywalker's fleet, and aboard the Resolute, Wolffe thanked Tano and Skywalker for rescuing them, glad that Koon's faith had come to pass.
Some time later, the Wolfpack Battalion's ranks were replenished with new troopers. Wolffe and his battalion participated in a battle on Khorm, where he fought alongside Skywalker. During the fighting, Wolffe was permanently scarred when Ventress cut his right eye, leaving a long scar across the right side of his face. He later had a silver cybernetic replacement installed. Despite his injury, Wolffe continued to serve and lead his troops.
Wolffe giving orders
Following the Battle of Khorm, the Wolfpack and Koon were deployed on the Venator-class Star Destroyer Negotiator to break the Separatist navy's blockade of the planet Felucia. The Republic forces, led by Obi-Wan Kenobi, Skywalker, and Tano, had been overwhelmed by the droid army, so Koon led a group of Low Altitude Assault/infantry gunships and V-19 Torrent starfighters through the blockade in order to rescue Skywalker and his troops. Meanwhile, Wolffe oversaw the space battle against the Separatist battleships and starfighters. Wolffe directed the clone gunners to target and destroy the Confederate Munificent-class star frigates. Meanwhile, Koon and the rest of the Wolfpack extracted Skywalker, Tano, Kenobi, and the clone troopers, bringing them to safety aboard the Negotiator. They then returned to Coruscant, having completed the rescue mission.
Sometime after that mission, despite the maroon markings used before the massive blow to their ranks by the Malevolence having been retained up to that point, Wolffe and the 104th decided to adopt an armor color scheme of blue-grey instead of retaining the maroon. The new grey markings served as remembrance of those lost in the Battle of Abregado. Following's Grievous's capture of Eeth Koth, Wolffe discovered a coded message from Koth that told him that Grievous was heading to Saleucami. Wolffe then assisted Plo Koon and Ahsoka in rescuing Windu and Skywalker from the wreckage of the Endurance on Vanqor. He also went with Koon to rescue Skywalker's, Kenobi's, and Ahsoka's team from the Citadel on Lola Sayu. The strike team was successfully rescued, giving the Republic access to the Nexus Route coordinates.
Skywalker, Koon, Wolffe, and Tano plan their attack on the Separatist outpost
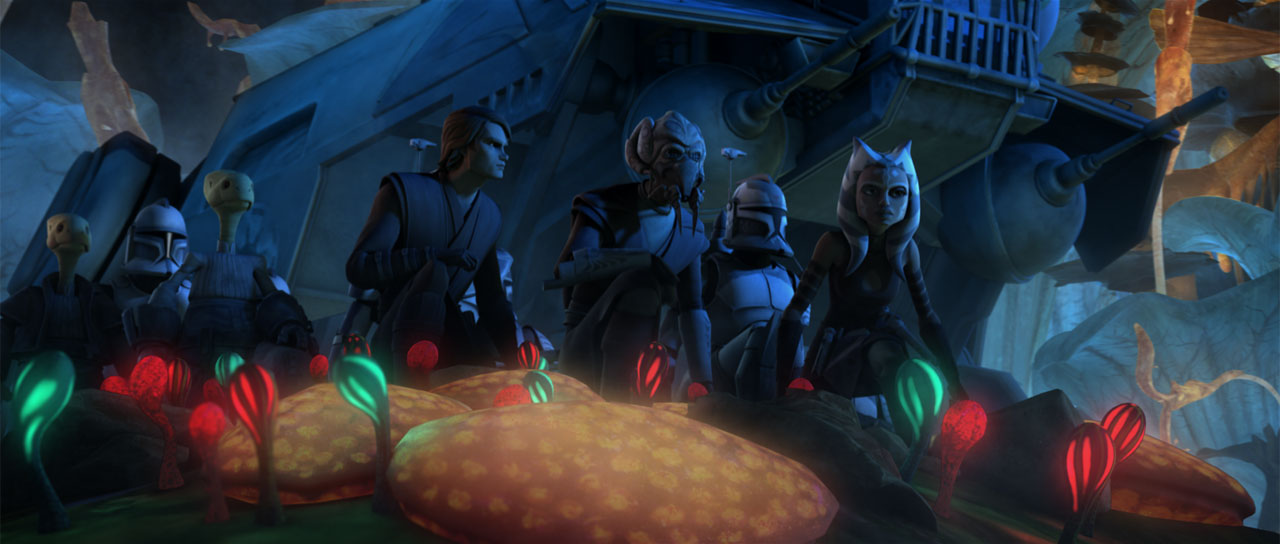
Some time later, Wolffe and his squad received some armor upgrades and took part in a attack on a Separatist outpost on Felucia, commanded by Grievous. However, while everyone was distracted by the ongoing battle, Commander Tano was captured by a Trandoshan hunter and was brought to the Trandoshan moon Wasskah, where the Trandoshans used to hunt sentient beings for sport. After the battle on Felucia was over, the group noticed Commander Tano was missing and Anakin launched a search to find her, with no results. Much to Skywalker's dismay, Koon had their forces pull out of the area, with Wolffe and the other clones loading into gunships and departing. However, a Wookiee relief force aided by bounty hunters rescued Tano and her fellow Jedi friends and brought them back to the Jedi Temple on Coruscant.
Wolffe on Aleen
En route to stop the Confederacy's annexation of the Qiilura system, Wolffe was ordered by Senator Padmé Amidala and Master Yoda to drop off relief supplies to Aleen to help the Aleena. Wolffe also had Amidala's protocol droid, C-3PO and Skywalker's astromech, R2-D2, much to his annoyance. Once on Aleen, Wolffe spoke with King Manchucho and set up stations for their supplies. After the mission, Wolffe and his men then dropped the droids off with Master Adi Gallia. Wolffe then boarded General Grievous' ship with Plo Koon and his men to rescue Gallia. Wolffe then found C-3PO and R2-D2 and took them back to their ship.
Wolffe following the rescue mission of Kadavo
Wolffe then went to the Zygerrian Slave Empire's processing facility on Kadavo with Koon and Admiral Barton Coburn. He then assisted in rescuing Kenobi, Rex, Skywalker, Tano, and Kiros's Togrutas from plunging to their deaths. Upon Tano's recommendation to bring the Arquitens-class light cruiser Hand of Justice under the facility, Coburn instructed Wolffe, Sinker, Comet, and a few other Wolfpack troopers to head to the top of the Hand of Justice, with jetpacks and cabled guns. While Skywalker, Kenobi and Rex fled the facility on a gunship, the Togrutas climbed down the Wolfpack's ascension cables to the top of Hand of Justice. However, a few Togrutas did not grab the cables and started to freefall, only for Tano, Wolffe and the Wolfpack to catch them, landing them safely on the Hand of Justice. They all fled safely to the interior of the cruiser, with Koon ordering the remaining gunships to open fire on the facility after the Hand of Justice departed.
Wolffe then attended the Republic's strategy conference at Valor along with Jedi Master Mace Windu, Kenobi, Skywalker, Commander Cody, Clone Commander Neyo, and several Republic admirals.
Wolffe and his Coruscant Guard troopers corner Tano and Ventress.
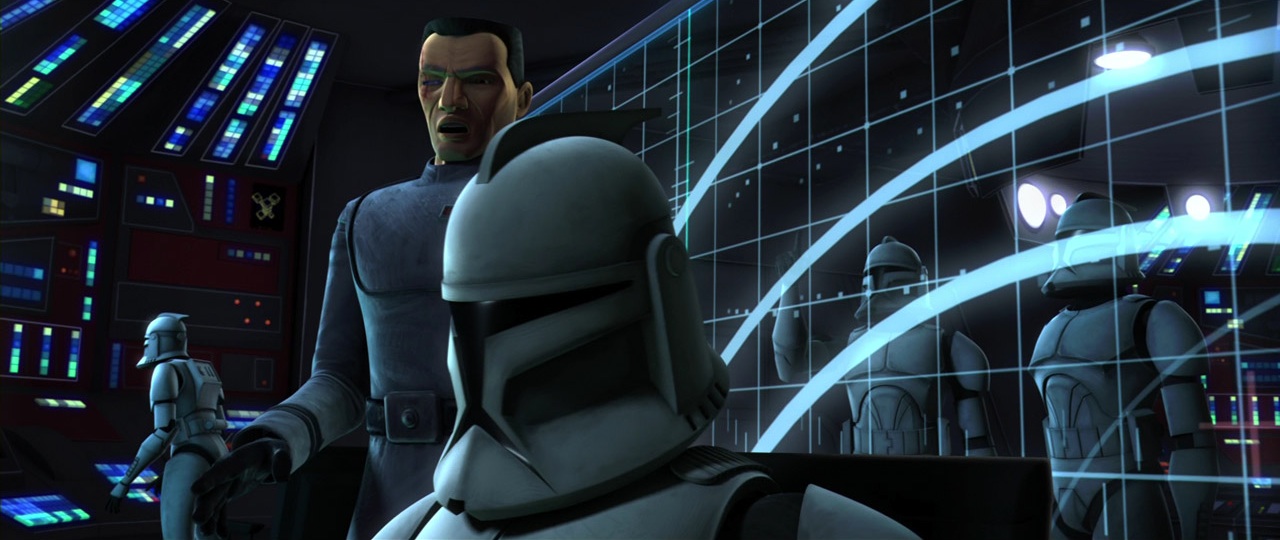
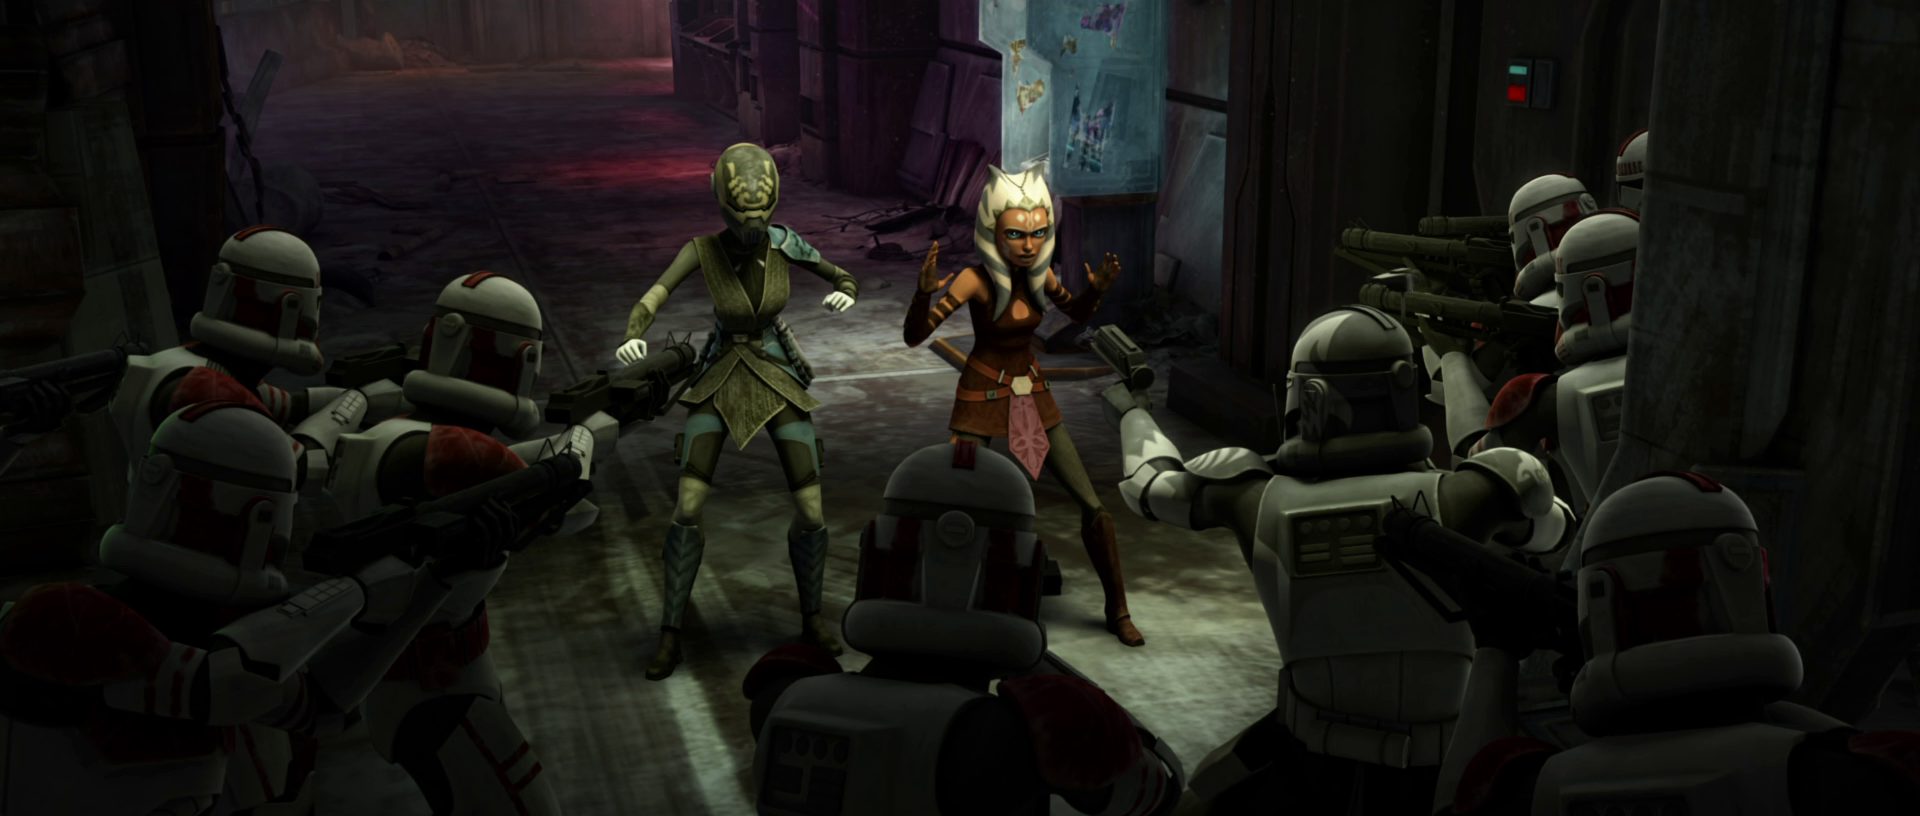
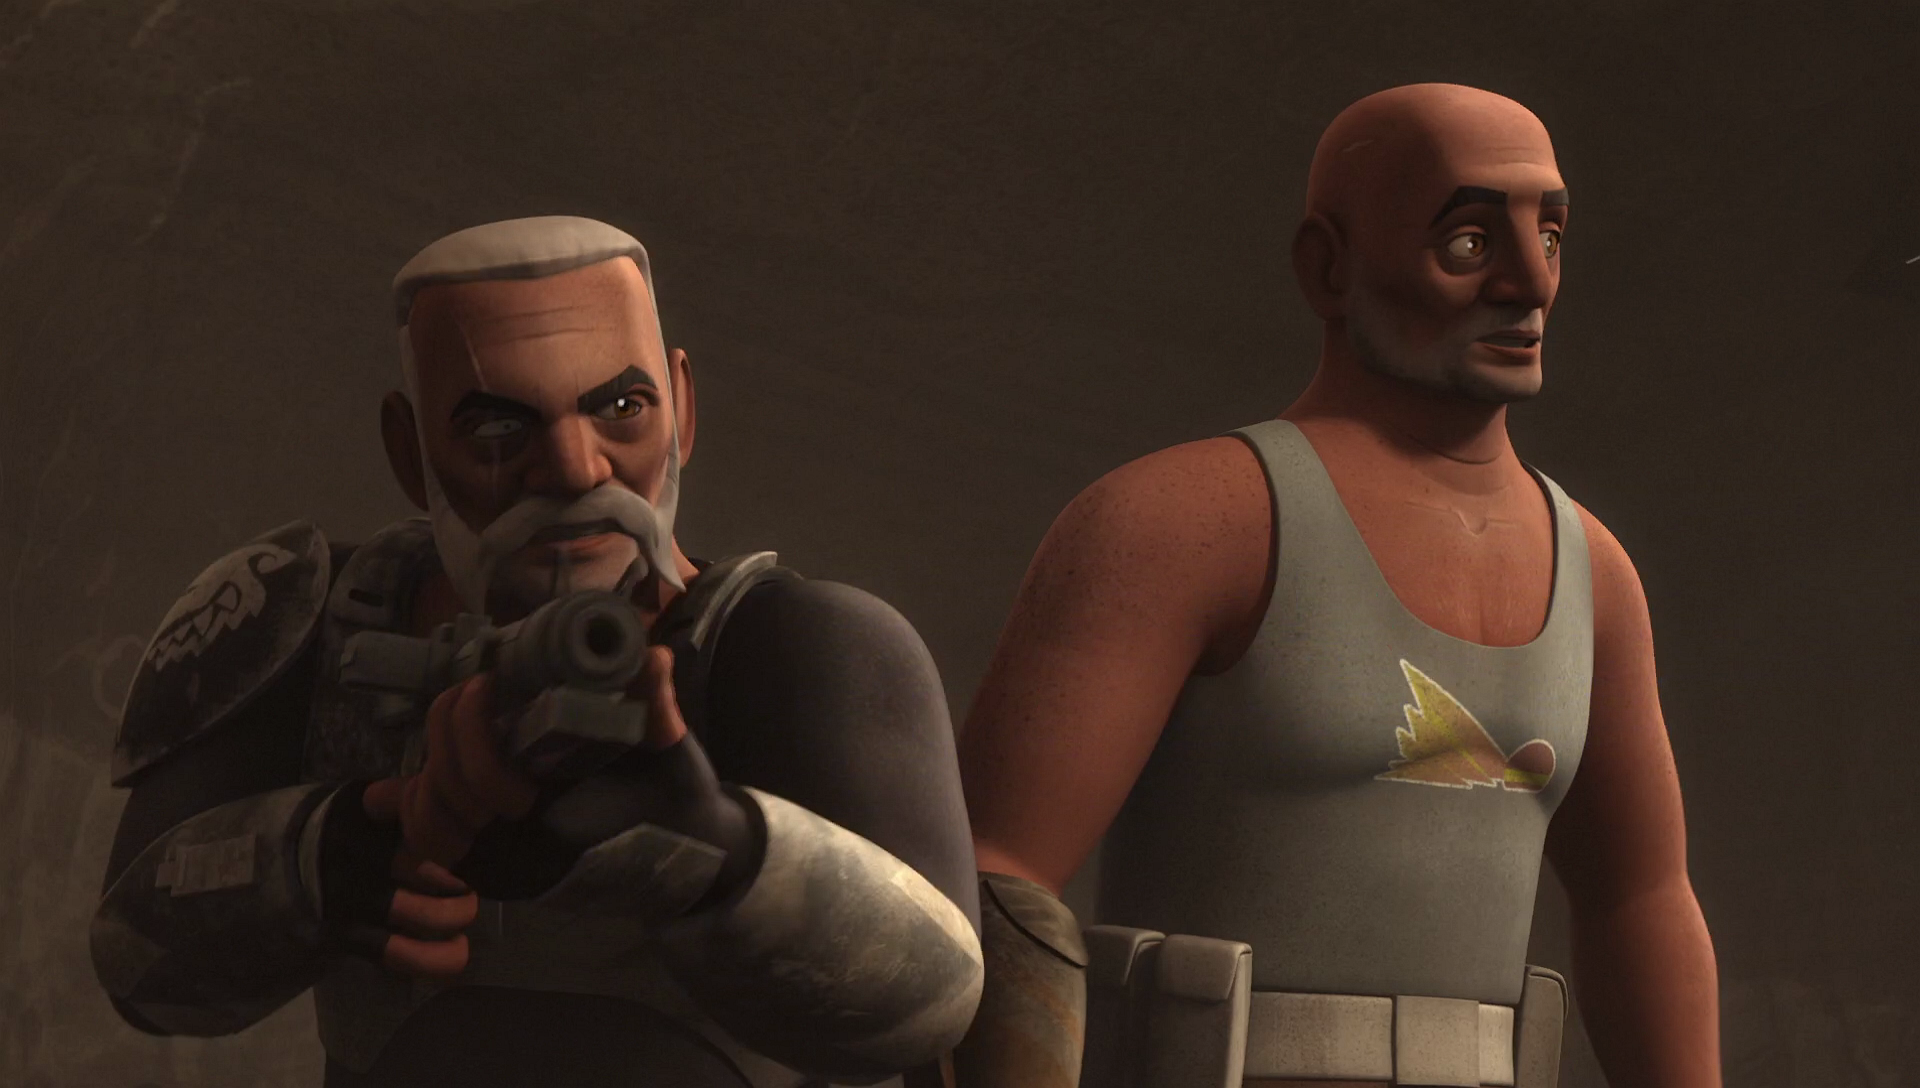
Wolffe then took a squad of shock troopers to Coruscant's underworld to find Ahsoka Tano and ascertain if she was really behind the bombing at the Jedi Temple. Although Tano had saved his life earlier in the war, he was determined to follow orders. During his search, he found Tano with Dooku's former assassin Asajj Ventress, who had since become a bounty hunter. He tried to take them both, but was subdued by Ventress.
Wolffe later found Tano at Level 1315's warehouse and stunned her. Nearby, he found a crate full of nano-droids, the same devices used in the bombing of the Jedi Temple, leading him to assume that Tano was the one responsible. Tano was expelled from the Jedi Order and turned over to the Republic for trial, but was ultimately cleared of any wrongdoing after Anakin Skywalker identified Padawan Barriss Offee as the true culprit.
Koon and Wolffe examine the wreckage of Sifo-Dyas's T-6 shuttle on the Oba Diah moon.
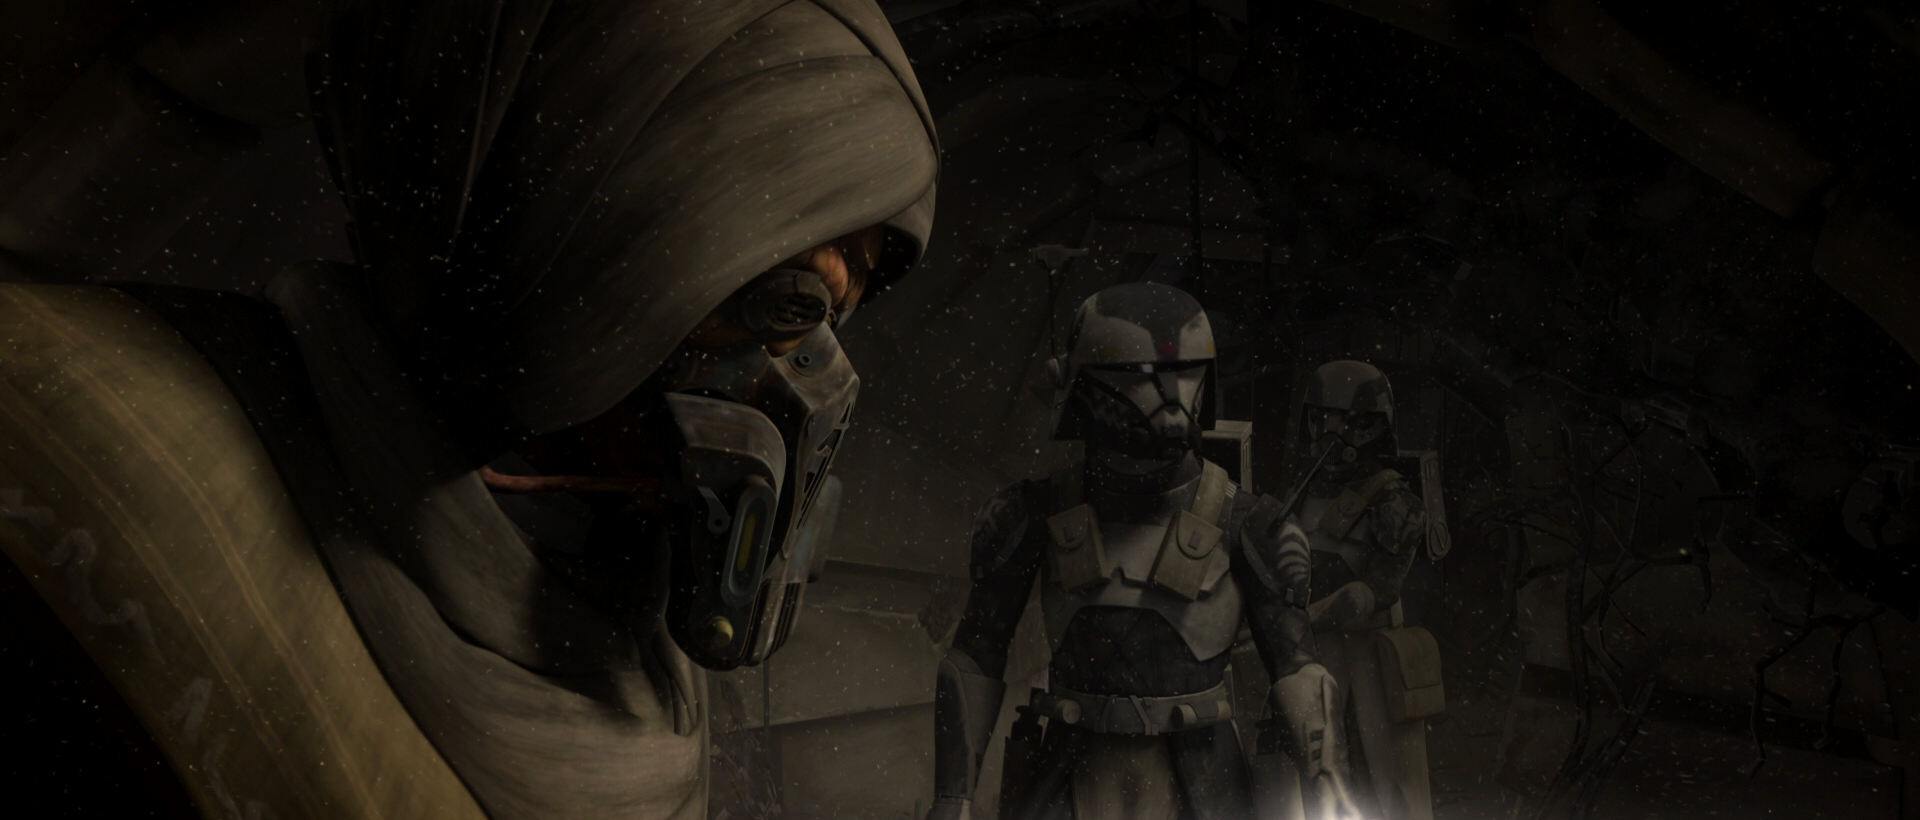
When a distress signal was picked up from the ship thoguht to have belonged to Jedi Master Sifo-Dyas, Plo Koon, Wolffe and the Wolfpack were dispatched to the desert moon of Oba Diah. There they fought their way through the howling winds of severe sandstorm in search of the shuttle that once belonged to the Jedi Master. As they searched, Comet insisted over comlink that the moon was a wasteland and there was nothing there. Wolffe replied that all their intel pinpointed to the shuttle being there and they needed to continue their search. Soon after, Sinker detected a faint signal on the scanners inside a clone turbo tank. Standing behind Wolffe and Sinker, Koon confirmed that was Sifo-Dyas's shuttle. As they fought their way through the sandstorm and the remains of the shuttle, Wolffe remarked the shuttle showed substantial scoring and wear. He also confirmed that the shuttle had been there for a long time. Koon found Sifo-Dyas's lightsaber and told Wolffe he wanted the entire area cleared, with everything being brought back to Coruscant. He then went to Ord Mantell with Aayla Secura where they found evidence linking the recent battle to former Sith Lord Maul's Shadow Collective.
Wolffe and his team confronting Clone Force 99 on Teth
Around 18 BBY, Wolffe led a mission to the planet Teth in order to assist the clone assassin CX-2 recover a high-value Imperial target, a young clone named Omega. CX-2 had discovered the Clone Underground's base of operations at the B'omarr Order Monastery, and Wolffe led a Recovery Strike Team of clone commandos, TK stormtroopers, and clone stormtroopers to assist in Omega's capture. Wolffe was unaware that the insurgents that he had been sent to capture were clones, specifically members of the Underground and the rogue clone squad known as the Bad Batch. Arriving on Teth, Wolffe did not appreciate CX-2's unwillingness to obey his orders, but he nonetheless made progress in pursuing the clones, performing a pincer maneuver on the enemy as they tried to escape. Omega and members of the Underground and the rogue clone squad known as the Bad Batch eventually fled into the jungle, but when they were ultimately caught, Wolffe realized the nature of their enemy, seeing the group of clones and even recognizing Rex, who removed his helmet and pleaded with Wolffe to let them go. Rex insisted that Wolffe knew that his orders were wrong, and that Omega was just a kid and did not deserve to be hunted. Wolffe argued with Rex initially, but eventually ordered the clones under his command to stand down, allowing the rogue clones to leave the planet.
Wolffe, Rex, and Gregor go outside to meet the rebels
Wolffe eventually removed his behavioral modification biochip. In the years after the Empire's birth, Wolffe was living with Captains Rex and Gregor in a modified AT-TE on Seelos, having managed to remove their control chips that forced them to follow Order 66.
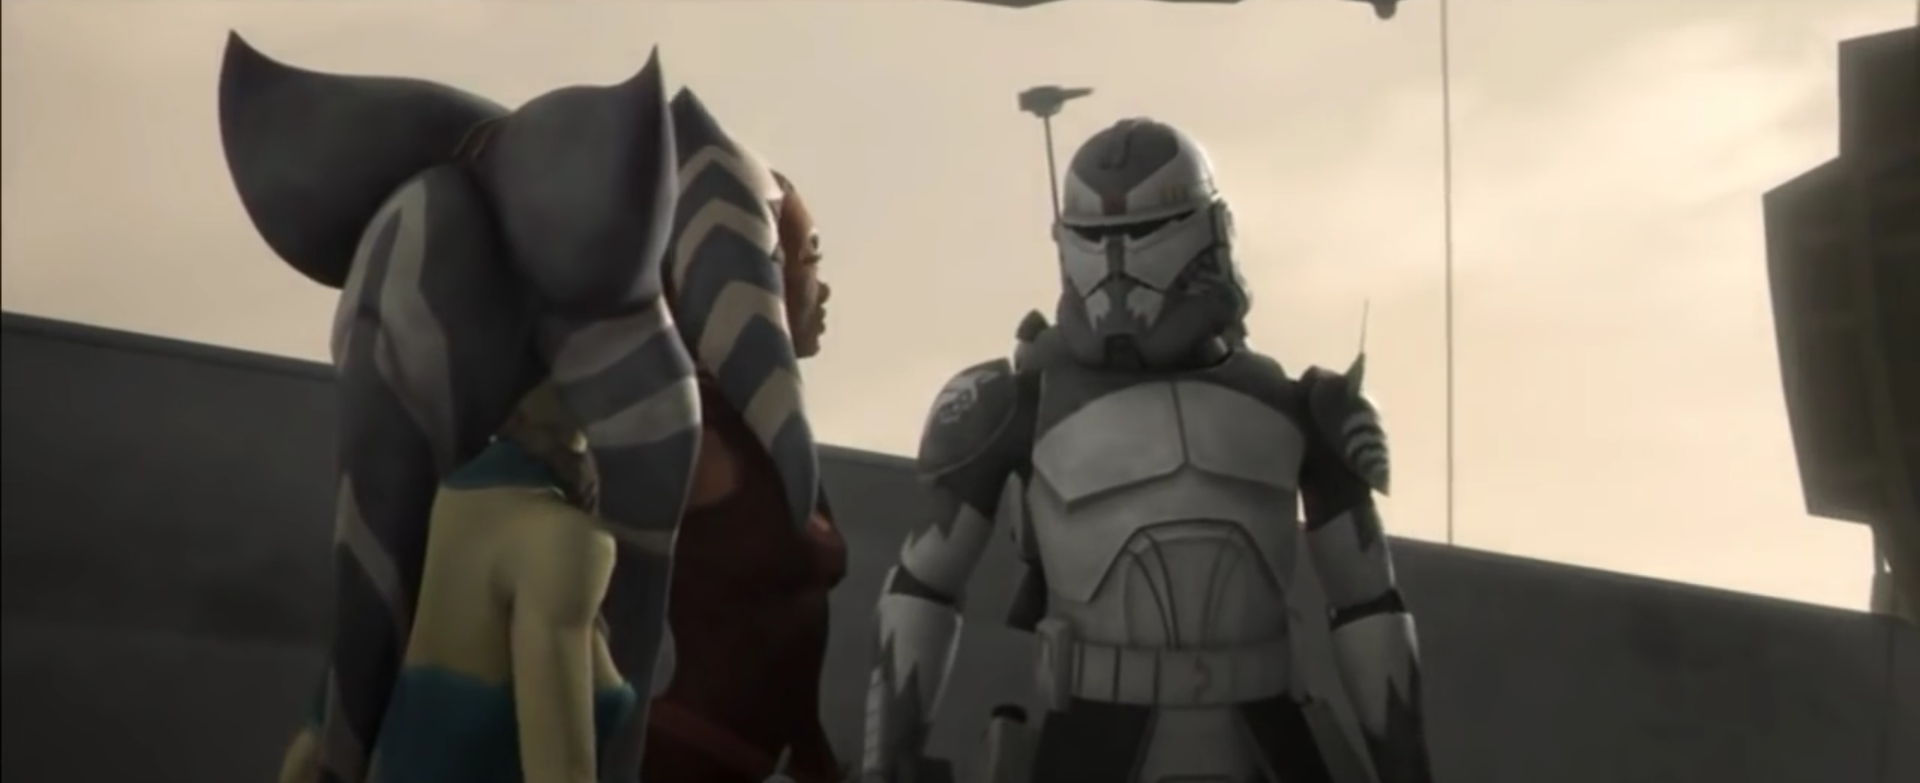
Several years before the Battle of Yavin, Wolffe made sure that Rex was unaware of transmissions from his old friend, Commander Tano. They were then contacted and approached by the Spectres rebel cell, who had been sent by Ahsoka Tano to acquire locations of Outer Rim bases for the rebellion. When Kanan Jarrus identified the clones and drew his lightsaber, Wolffe identified him as a Jedi and assumed he had come for revenge, prompting him to open fire on the Jedi. Rex managed to break up the fight before Ezra Bridger revealed that Ahsoka Tano sent them. Wolffe later privately discussed whether or not to aid the rebels with his brothers, fearing retribution from the Empire if they did so. Unbeknownst to his brothers, Wolffe secretly tipped off the Empire to the presence of a Jedi on Seelos, believing the rebel presence was a threat to them.
Wolffe charges the AT-TE towards Kallus' AT-AT's legs
Subsequently, Wolffe drove the AT-TE as the clones and Ghost crew went hunting for joopas, using Garazeb Orrelios as bait. After successfully luring and killing the joopa, Jarrus desired to get their intel and leave, though Rex convinced him to stay for dinner. As Sabine Wren was granted access to the clones' database, she discovered that one of them has alerted the Empire. Rex realized Wolffe tipped them off, who regretfully admitted to alerting the Empire to protect his comrades from persecution for helping the Jedi, as well as having hidden the messages that Tano had sent Rex. Rex then managed to convince him that the Empire was the enemy. Subsequently, they discovered a probe droid had been spying on them before Rex shot it down. Afterwards, the group prepared for an imminent attack from the Empire.
While the Spectres urged the clones to come with them and join the Rebellion, Wolffe and his fellow clones insisted on staying behind to delay the Imperials so that the Ghost crew could escape. During the Imperial assault on Seelos, Wolffe and his companions rode their AT-TE into battle against Agent Kallus' three AT-AT walkers. Despite being outnumbered and outgunned, the clones were determined to go down in a blaze of glory. However, Bridger convinced his fellow rebels to turn around and help the clones. Flying the Phantom, the rebels succeeded in hijacking one of the AT-AT walkers and used it to immobilize the other Imperial walkers; forcing Agent Kallus and his surviving crew to retreat into the desert. Following the battle, Rex joined the Rebellion whilst Wolffe and Gregor stayed behind on Seelos, taking the remaining AT-AT walker for their new home. Wolffe and Gregor continued to live on Seelos in their new AT-AT, naming it Joopa Base.

Wolffe joins Hera to help liberate Lothal
In 1 BBY, Wolffe and Gregor then met with Rebel Alliance General Hera Syndulla, Captains Kallus, Hondo Ohnaka, Rex, and bounty hunter Ketsu Onyo. There they asked them to join them in liberating Lothal from the Empire. Both Wolffe and Gregor agreed to join them, with Wolffe reasoning that he had followed Jedi into battle before. After sneaking past the Lothal's blockade, Wolffe, Gregor, and Kallus then assisted Ezra and the others in capturing Governor Arihnda Pryce and defeating her forces, who had assaulted the Lothal resistance group's cliff base.
During the liberation of Lothal, Wolffe stayed behind at the Lothal rebel base with Mart Mattin and Cikatro Vizago in order to pick up General Syndulla and the other rebels once they had completed their mission to launch and destroy the Dome, the center of Imperial power on Lothal. Wolffe and his comrades were attacked and knocked out by Grand Admiral Thrawn's "pet," Rukh. However, they were saved by the White Loth-wolf. However, Rukh stole their patrol transport.
Gregor and Wolffe watch as the Loth-wolves help route the Imperial forces.
After awakening, Mart revealed to Wolffe and Vizago that Ezra had assigned him a secret mission. The rebels departed aboard the Ghost and flew into Lothal's upper atmosphere where they transmitted a signal on Frequency Zero. Though Wolffe expressed skepticism, Mart convinced him and Vizago to trust Ezra's plan. This drew a large pod of purrgil, which wiped out Thrawn's Seventh Fleet. While Wolffe and Vizago initially did not grasp Ezra's plan, they believed that it would work because it had "Ezra written all over it." After the purrgil carried Ezra, Thrawn, and the Chimaera away into the depths of space, Wolffe informed Sabine that there were no Imperial ships left in space.
Wolffe, Mart, and Vizago then evacuated the surviving rebel strike team after they succeeded launching the Dome, a mobile Imperial Planetary Occupation Facility, into Lothal's atmosphere and detonating the Imperial base. This ushered the end of Imperial rule on Lothal. Despite this victory, Wolffe and Rex's comrade Gregor perished during the fighting in the Dome.
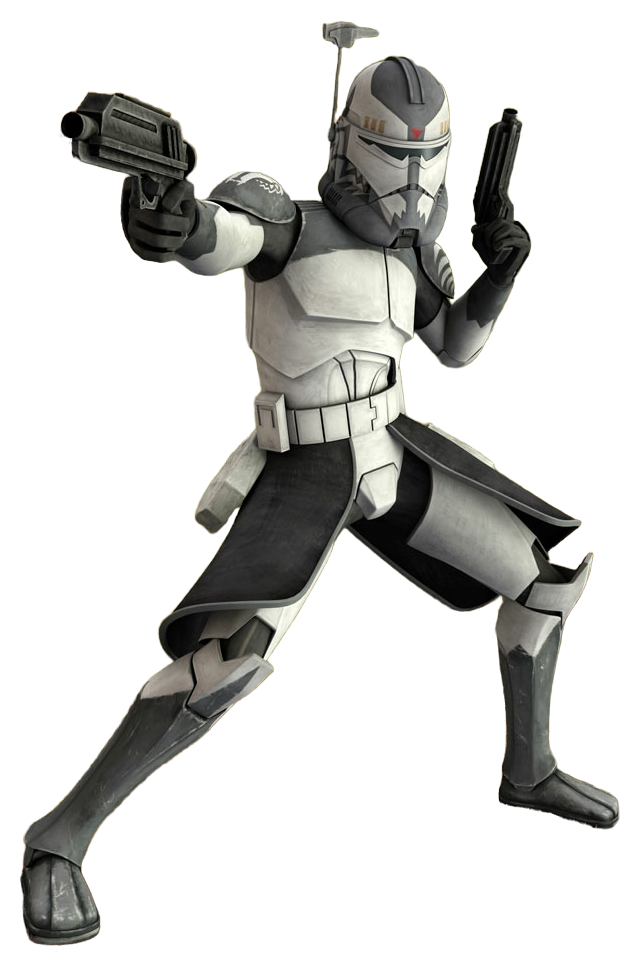
Wolffe in his custom Phase I armor.
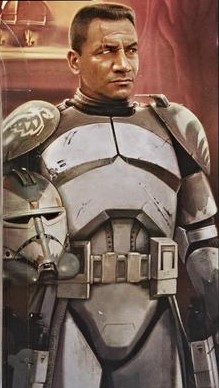
Wolffe was a Clone Commander who was bred from a template of the bounty hunter Jango Fett. Standing at 1.83 meters (6 feet) tall, he had black hair and brown eyes. He lost his right eye during a skirmish with the Sith apprentice Asajj Ventress. and covered it with a silver patch.
Wolffe was a practical strategist and competent commander with naval combat experience, having served aboard the Venator-class Star Destroyer Triumphant. Wolffe was also calm and displayed fortitude even in the midst of crisis. Despite being wounded, Wolffe refused to abandon his duty as a soldier. He often used dual DC-17 hand blasters in combat.
Wolffe developed a sense of respect for the Jedi Knight Anakin Skywalker and his Padawan Ahsoka Tano after they saved his life during the Battle of Abregado. As a clone commander, Wolffe was bred for combat and naturally favored combat operations over relief missions. Wolffe complied with orders to lead a relief mission to Aleen, but found his escort the protocol droid C-3PO annoying and fastidious. Wolffe also had little appreciation for the eccentric customs of the Aleena species and disregarded King Manchucho's beliefs in the underground Kindalo dwellers as nonsense. Following the bombing of the Jedi Temple hangar, Wolffe and his men took part in a manhunt for Tano through Coruscant's Underworld. Upon discovering the Padawan near a crate of nano-droids, he assumed she was guilty and stunned her with his blaster, despite her pleas for him to let her explain.
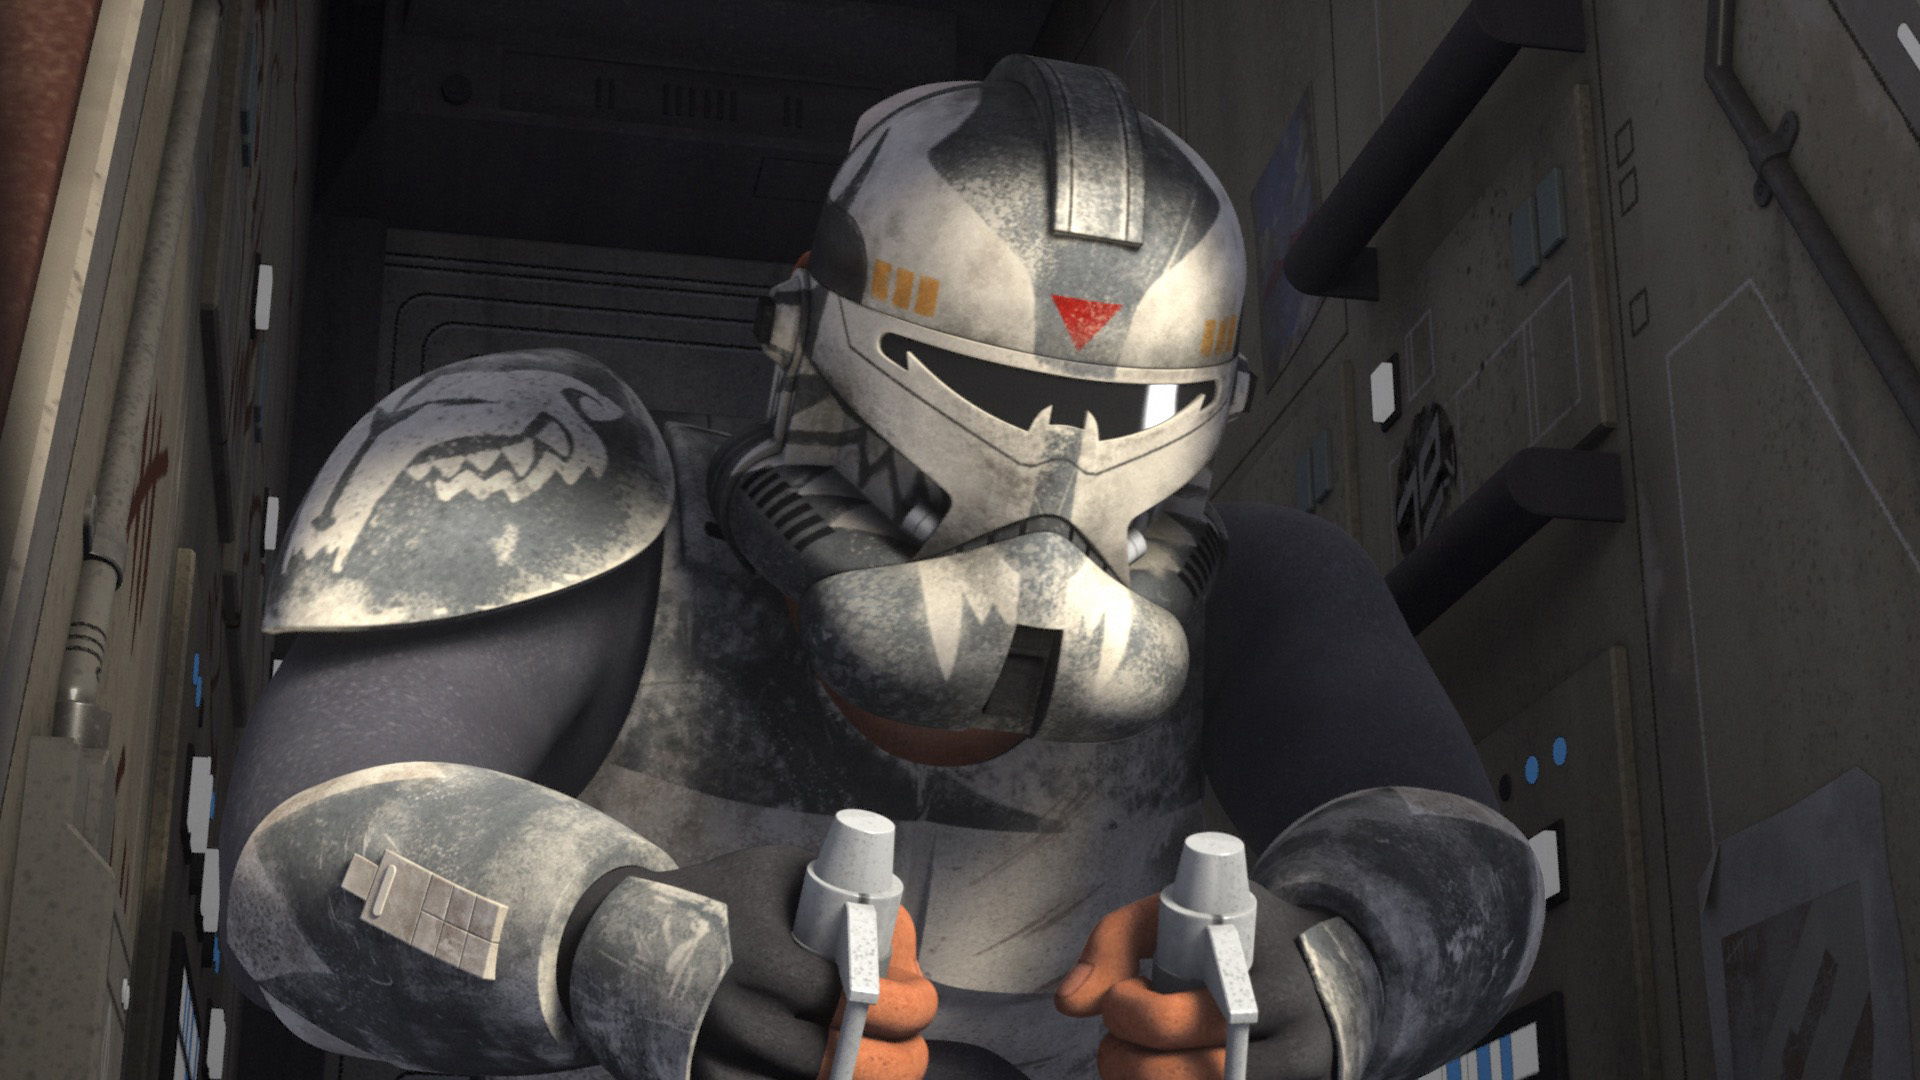
Wolffe's fourth armor set was his upgrade to Phase II.
Since he removed his control implant, Wolffe was no longer able to be forced into complying with Order 66. Following the Clone Wars, Wolffe and his two comrades Rex and Gregor settled on Seelos and lived in a vintage AT-TE walker. He and Gregor looked up to Rex as their natural leader. Wolffe did not want to have any dealings with the wide galaxy and hid messages that Tano had sent to Rex. Wolffe had an unpleasant initial encounter with the former Great Jedi Purge survivor Kanan Jarrus and believed that the Jedi had come for revenge; only the timely intervention of Rex prevented the escalation of hostilities.
While Rex and Gregor befriended Jarrus and his rebel comrades, Wolffe remained aloof and suspicious of the newcomers. Believing that the presence of Jarrus and his Jedi apprentice Ezra Bridger endangered him and his fellow clone veterans, Wolffe secretly contacted the Empire. When Rex pointed out the errors of his way, Wolffe ultimately accepted Rex's chastisement without bitterness. He made up for his transgression by joining forces with Rex and Gregor to hold back Agent Kallus's AT-AT walkers so that the Spectres could escape. Wolffe came to respect Bridger and Jarrus after the two returned to save him and his clone comrades from being destroyed by Kallus.
Wolffe's sense of loyalty to the Jedi led him, Gregor, and Rex to participate in Ezra's plan to liberate Lothal. While Wolffe initially did not grasp Ezra's plan to use a pod of purrgil to attack Thrawn's fleet, he believed that it would work because it had "Ezra written all over it."
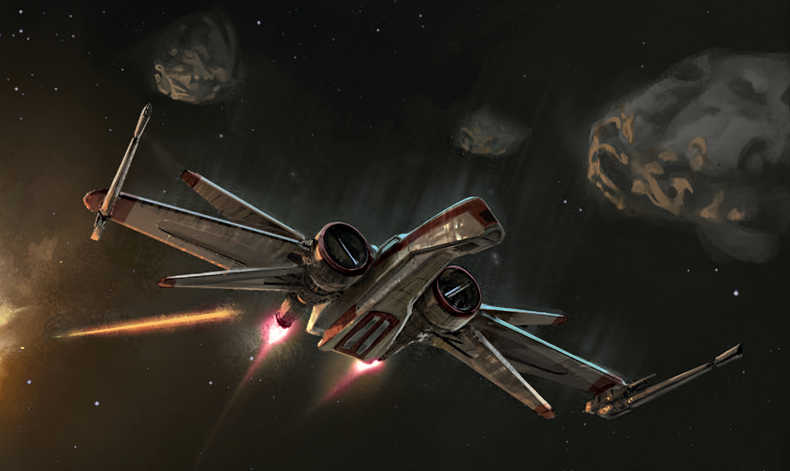
Wolffe piloted an ARC-170 starfighter.
As a clone commander, Wolffe knew how to operate a blaster rifle and an AT-TE walker. He also wore a jetpack during the Battle of Felucia. While Wolffe was a seasoned soldier, he was no match for the Force powers of Asajj Ventress, who trounced him and his men.
Wolffe was also a competent pilot and was able to pilot an Aggressive ReConnaissance-170 starfighter at one point and the VCX-100 light freighter Ghost during the Liberation of Lothal.
Wolffe was created for the Cartoon Network animated television series Star Wars: The Clone Wars, which ran from 2008 to 2013. He was voiced by Dee Bradley Baker, who also voiced all the other clone troopers in the series. Wolffe first appeared in the episode "Rising Malevolence," which premiered on October 3, 2008. Baker reprised his role as Wolffe in the animated television series Star Wars Rebels.
Though Rebels confirmed that as with Rex and Gregor, Wolffe was able to remove his control chip and was not forced to follow Order 66, The Clone Wars writer Henry Gilroy speculated at Dragon Con 2018 that Wolffe likely followed the command for a while. According to Gilroy, Wolffe removed his chip after the event was done, but the programming and the trauma were still inside him, explaining his aggressive reaction upon seeing Kanan Jarrus for the first time.
- Fortnite