Mission to Ord Mantell (0 ABY)
The Ord Mantell mission unfolded concurrently with the Yavin blockade.
Beginning Events
Following the Mission to Jarnollen, the Millennium Falcon sustained damages, compelling its crew to journey to Ord Mantell for necessary repairs.
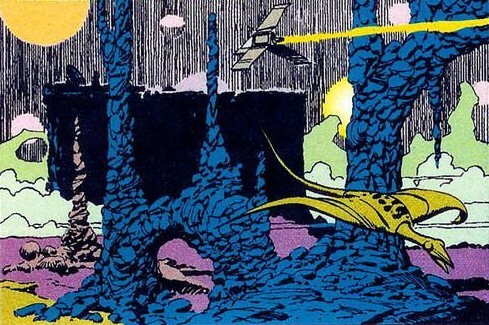
Events on Ord Mantell
Once the Millennium Falcon had been repaired, Skorr and Gribbet, who were bounty hunters, detected Han Solo's presence in Worlport. They then resolved to seize him in order to claim the reward offered by Jabba Desilijic Tiure for his capture.
Under the cover of darkness, they took Luke Skywalker and Leia Organa captive and proposed an exchange to Solo. Their intention was to capture Han Solo during this exchange. This exchange took place at the Stellar-energy station situated on top of the Ten Mile Plateau. Ultimately, Chewbacca rescued them using a cargo flyer.
Events in Space
The rebels made their escape from the planet aboard the Millennium Falcon. Within the Bright Jewel system, they found themselves caught between an Imperial fleet engaged in maneuvers and Skorr's starship. In the end, the rebels successfully lured the Imperials, leading to the capture of the bounty hunters by an Imperial I-class Star Destroyer.

Following this, Darth Vader appeared in his TIE Advanced x1 and launched an attack on the Millennium Falcon, but the rebels were able to evade him.
Subsequent Events
The rebels departed from the system and rejoined the forces at Yavin 4. The two bounty hunters were subsequently dispatched to the Spice Mines of Kessel.
Production Notes
Archie Goodwin conceived this narrative based on a statement made by Han Solo at the start of The Empire Strikes Back: ...the bounty hunter we ran into on Ord Mantell changed my mind.