Star Wars: The Force Unleashed: Ultimate Sith Edition
The Star Wars The Force Unleashed: Ultimate Sith Edition represents the complete package for the video game Star Wars: The Force Unleashed. It encompasses not only the core narrative but also expands upon it with three distinct levels: one set within the hallowed grounds of the Jedi Temple, and two additional campaigns that delve into the experiences of Starkiller following his transformation into the Emperor's apprentice, now known as Lord Starkiller. Furthermore, the Ultimate Sith Edition incorporates all previously released downloadable content, enriching the game with a variety of character appearances, outfits, data entries, and other enhancements.
Content
The Ultimate Sith Edition incorporates all original outfits, alongside downloadable costumes and character skins. Fresh additions include the Desert Survival Gear and Starkiller's Dark Lord's Armor; however, the latter two are unavailable within the main campaign on the Xbox 360 version. Players can also access two Luke Skywalker and two Obi-Wan Kenobi costumes, among numerous others.
Packaging

The Ultimate Sith Edition is presented in a metallic container, housing two discs for the Xbox 360 and PC versions, and a single Blu-ray disc for the PlayStation 3 version. Accompanying the game is a character card booklet featuring a foreword penned by Haden Blackman, along with a collectible lithograph showcasing one of the character cards. In the UK, the Ultimate Sith Edition is distributed in a standard Xbox 360 case containing two discs.
Bonus levels
Jedi Temple
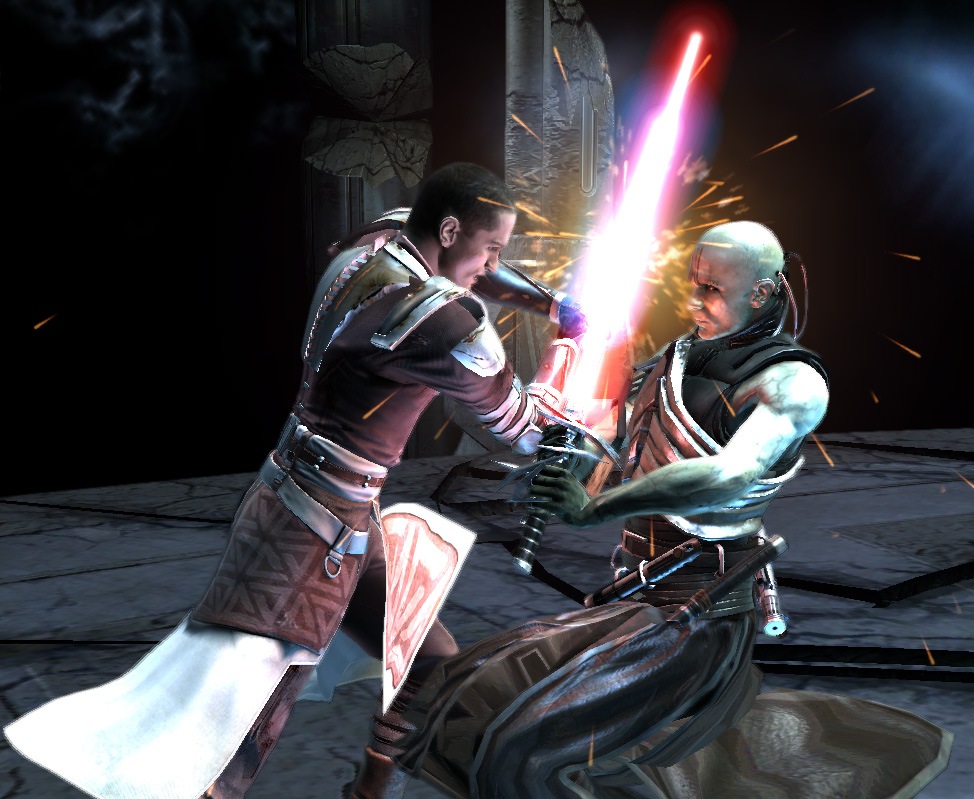
The first additional mission takes place before the original game's conclusion. This was the Jedi Temple level, initially offered as downloadable content. Galen Marek infiltrated the Jedi Temple on Coruscant, battling through waves of Stormtroopers, Jedi training droids, and overcoming various obstacles in his quest to locate the Great Holocron. Upon finding it, an image of his father, Kento Marek, transported Galen into the Holocron, where he was tasked with completing the Jedi Trials.
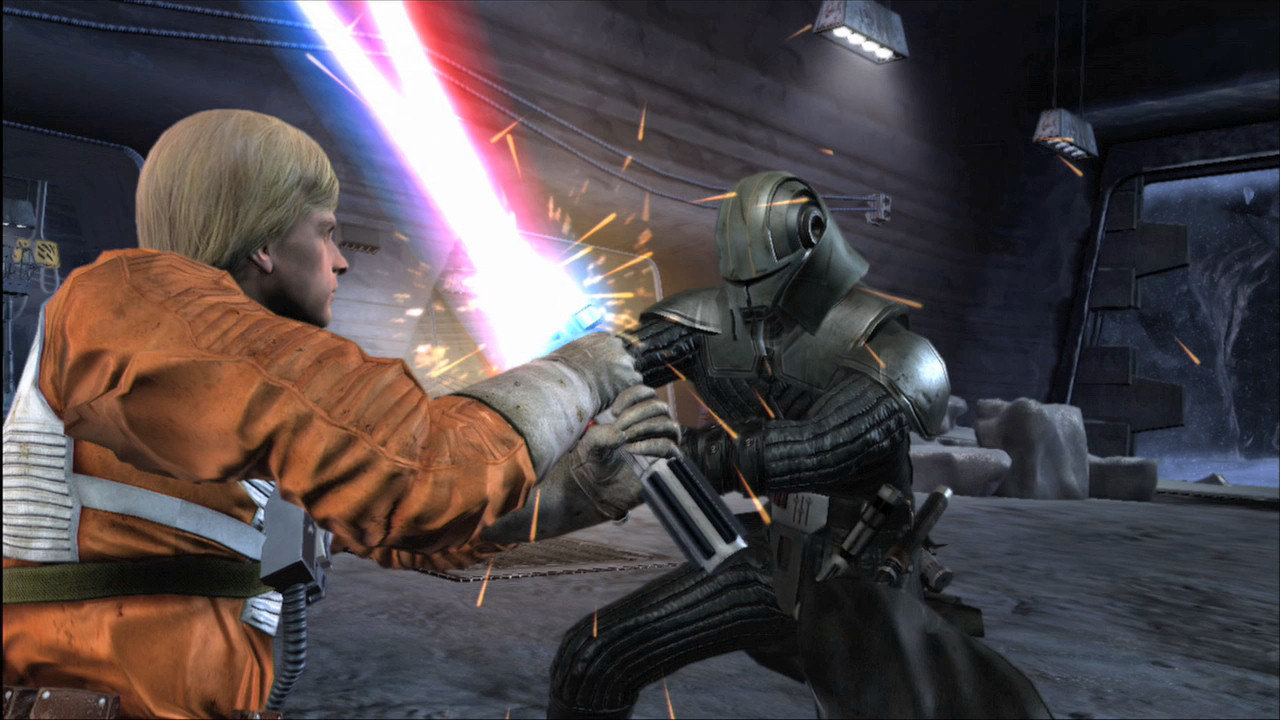
After successfully navigating the trials, Galen faced a vision of a masked Sith Warrior. A fierce battle ensued, during which Galen struck the warrior's mask off with his lightsaber. The unmasked warrior was revealed to be Galen Marek's dark counterpart, Lord Starkiller. Their duel continued, with Starkiller briefly transforming into a noble Jedi figure in death robes before reverting to his dark form. Starkiller hurled broken pillars at Galen, who scaled them to impale Starkiller and kick him into the abyss below.
Galen awoke, momentarily seeing his hand as a clawed Sith appendage, and receiving a message from Starkiller, warning him of his inescapable Sith destiny. Rahm Kota then snapped him out of it, and he departed the temple.
Tatooine
The second mission unfolded during the timeline of A New Hope, but was retitled A Fragile Hope. Starkiller and his Imperials successfully captured the Tantive IV and Princess Leia Organa. Leia was imprisoned, and the Tantive was destroyed. Starkiller, disguised as a Tusken Raider, then journeyed to Tatooine to find the stolen Death Star plans, believed to be in the possession of two droids. His master contacted him, inquiring with Jabba the Hutt about information on the droids.
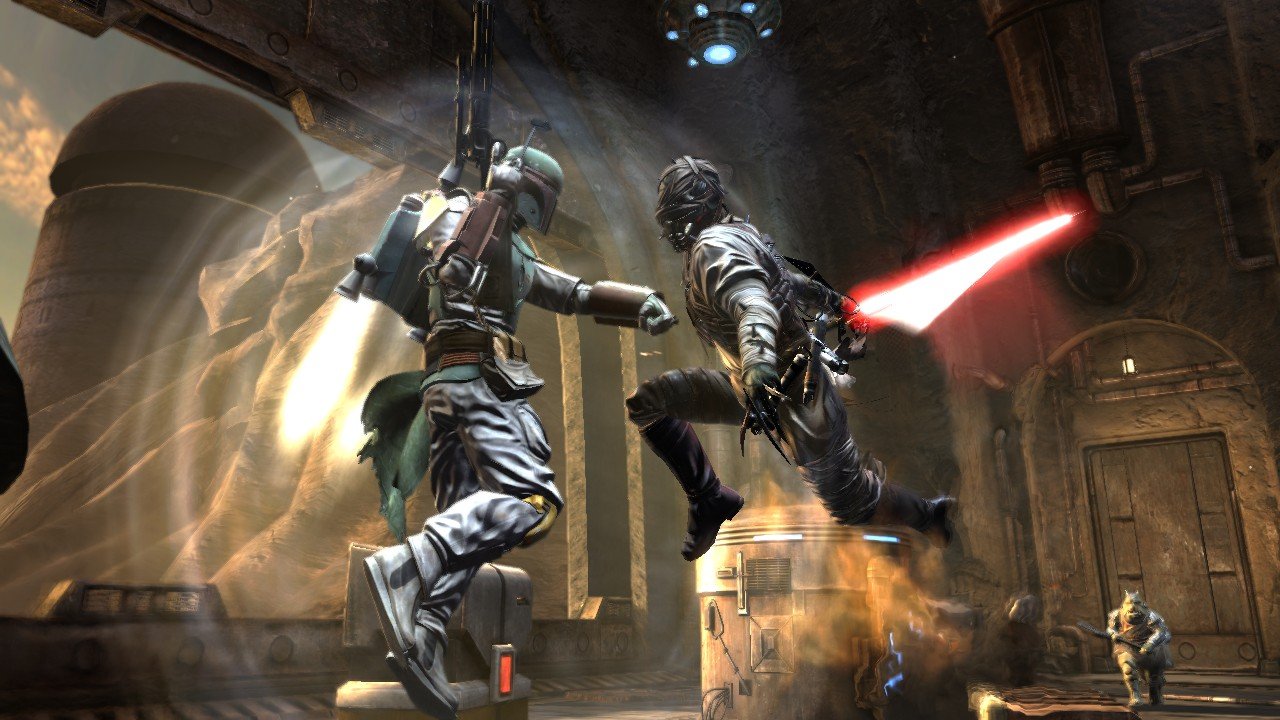
After eliminating Jawas and Tuskens, and even throwing a Sandcrawler off a cliff, Starkiller arrived at Jabba's Palace, gaining entry by overloading the Palace Security droid. Impressed by his slaughter of numerous Gamorrean guards, Jabba invited Starkiller to discuss business. Starkiller inquired about two droids, an astromech and a protocol, promising compensation for information. Jabba feigned ignorance, but his translator droid's blunder revealed the droids' location at Docking Bay 94, Mos Eisley. Enraged, Jabba dropped Starkiller into the Rancor pit, as the Sith Lord realized his treachery. Starkiller fought and killed Jabba's rancor. Jabba then called his guards to kill him and even placed a bounty on his head. He eventually reached the Palace Incinerator, where he met a damaged PROXY, who assisted him in bypassing the Incinerator Security. Before PROXY shut down permanently, Starkiller expressed his gratitude. Before leaving the Palace, Boba Fett confronted Starkiller, seeking the bounty placed by Jabba. After a brutal fight, Fett launched a missile from his jetpack, which Starkiller caught and hurled back, seemingly killing Fett.
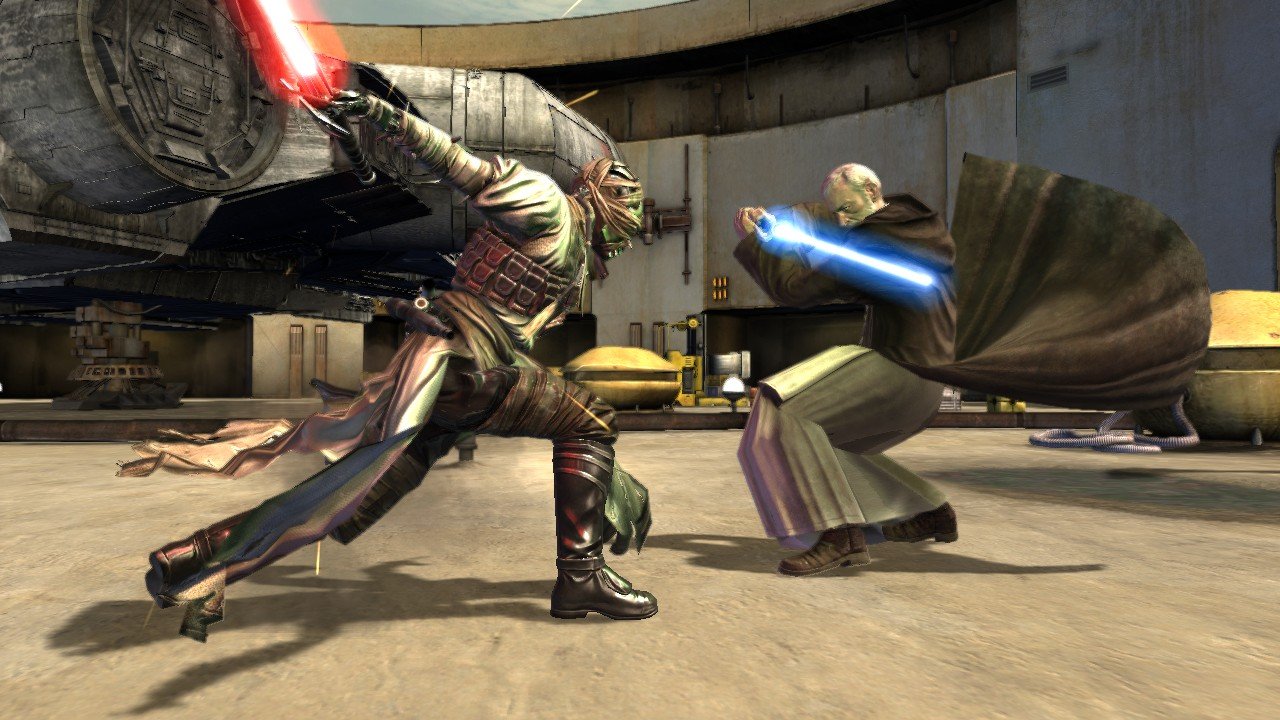
Starkiller departed on a desert skiff and reached Docking Bay 94, where he witnessed Luke Skywalker and the droids escaping on the Millennium Falcon. Obi-Wan Kenobi remained to confront Starkiller, who was eager to defeat the legendary Jedi Master. Despite Kenobi's experience, Starkiller's power overwhelmed him, piercing his shoulder and throwing him into the Falcon's engine. However, before he could capture the droids, Kenobi's Force ghost attacked him. Starkiller used Force lightning to banish Kenobi's spirit. Before fading away, Kenobi urged Luke to escape. As the Falcon took off, Starkiller leaped onto the hull and planted a tracking beacon before falling, watching the ship escape, and clutching another tracking beacon in his fist.
Hoth
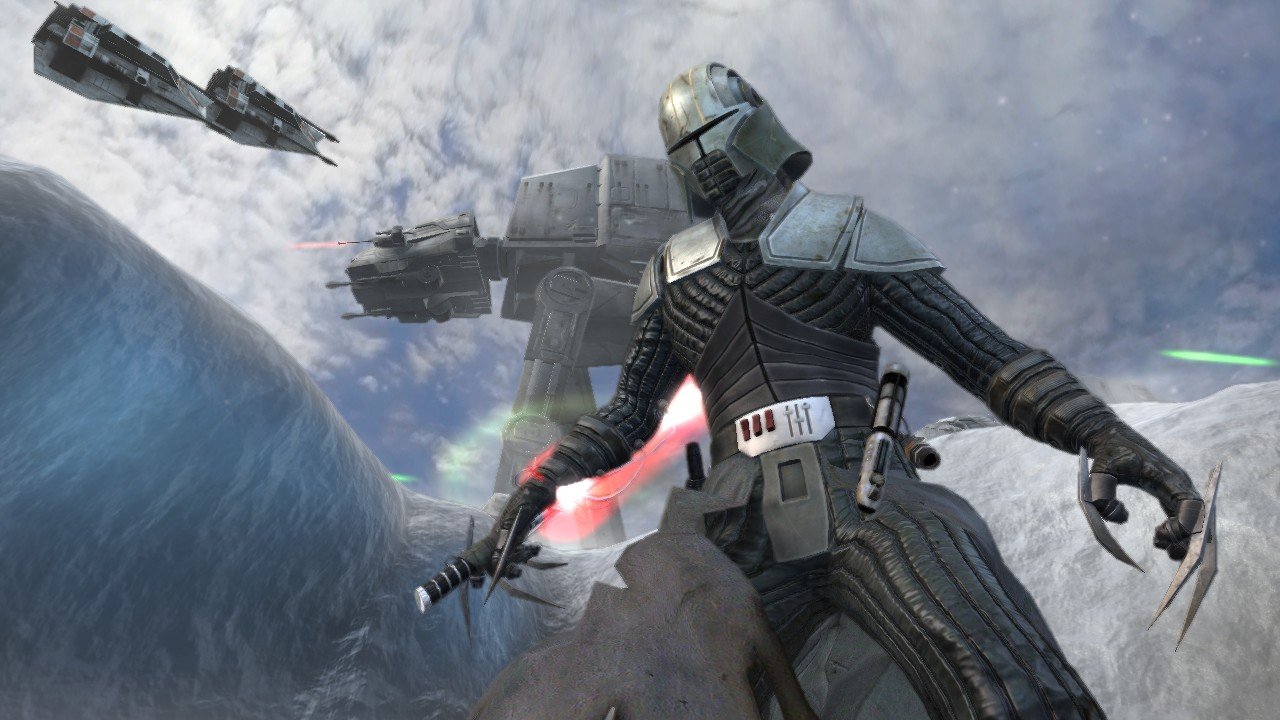
Even though Starkiller successfully attached the homing device to the Millennium Falcon, the Death Star was still destroyed by the Rebels. Following the battle, Obi-Wan's ghost began training Luke in the Force. Years later, Starkiller tracked Skywalker and the Rebels to Hoth. After destroying a snowspeeder with his lightsaber and exiting his AT-AT, Starkiller commenced his attack on Echo Base. Captain Keenah, intended as Starkiller's liaison, planned an infiltration route through ice caverns near the base. These caverns were infested with wampas, which he easily defeated. As the ice columns the Sith had been jumping across began to collapse, Captain Keenah contacted Starkiller on his comlink to inform him of the cavern's instability and admitted that the most likely cause was the walker invasion force. Although the captain claimed the mistake to be unintentional and Starkiller was unharmed from the experience, the Sith Lord reached out with the Force to strangle the captain for his failure. Lieutenant Marsen became Starkiller's new liaison and attempted to aid the Sith Lord throughout the rest of the invasion.
Within the ice caverns connected to the Rebel base, the Rebels had established a sentry auto turret defense, presumably to prevent wampa attacks. Easily destroying the turret, the Sith Lord encountered Rebel troops investigating the disturbance. They were no match for Starkiller, who continued his assault on the base, violently killing Rebels and wampas that entered the base during the battle. Lieutenant Marsen informed Starkiller of a group of Rebels ahead, likely including an officer, and Lord Starkiller had finally found the young Force-user he was after. Upon confronting Luke Skywalker alone, Starkiller revealed the truth about Luke's father to provoke and confuse him, although he denied it. Despite the chaos of the invasion, Luke remained composed during their duel. Luke even attempted to turn Marek away from the dark side, sensing the good within him, but his efforts failed, and Luke released three wampas to cover his escape. This did not deter Starkiller for long, and he continued his pursuit through the base to trap Skywalker.
When Starkiller disabled the force field generator protecting the Millennium Falcon in the Echo Base hangar, the blast doors were closed to protect the ship and Princess Leia. Starkiller tried to force the doors open, but Skywalker was waiting and Force-pushed him away, stepping through and resealing the doors. Luke declared he would not run from Starkiller or his destiny. Another duel ensued, amidst the fighting between Rebel and Imperial soldiers in the hangar. Starkiller overpowered and humiliated Luke, drawing him toward the dark side. As snowtroopers moved to capture Skywalker, he tapped into the dark side to defeat them and was reinvigorated for battle against Starkiller. Skywalker began using red Force lightning, reckless lightsaber attacks, and boasting that even though Obi-Wan could not defeat Starkiller, he could.
Despite Luke's aggressive powers, Starkiller absorbed his lightning into his lightsaber and redirected it throughout the battle, defeating him in lightsaber combat. Starkiller threw Luke into the path of a departing snowspeeder. Recovering, Luke attacked Starkiller wildly. After blocking an attack, Starkiller cut Luke's right hand. As the Sith Lord prepared a final strike, the blast doors protecting the Millennium Falcon opened, and the ship sped off. Starkiller reacted quickly, catching the ship with the Force. Starkiller told Luke that he could only save his friends with the power of the dark side of the Force and the now-fallen Jedi quickly obliged by shooting Force lightning out again which Starkiller blocked with his lightsaber and sent it back to Luke pushing him across the hangar floor. Although Luke had succeeded in distracting Starkiller with the attack, allowing the Millennium Falcon to escape, he was beaten and had embraced the power of the dark side. Lord Starkiller congratulated his new apprentice.
Continuity
Discrepancies exist between the game's dark side ending and the Hoth and Tatooine missions. For example, Rebel pilots display the Alliance Starbird on their helmets, despite the symbol's origin in Starkiller's heroic sacrifice in the canonical Light Side ending. Additionally, the Tatooine mission implies that Jabba the Hutt possessed a rancor in 0 ABY, contradicting the 2002 comic Star Wars Infinities: The Empire Strikes Back, where Jabba only had a pair of Nexus until at least 3 ABY. However, both stories are "what if" scenarios and are not considered canon.
In the Hoth mission, Starkiller says, "You have failed me for the last time, Captain Keenah.", and strangles Keenah with the Force. This a reference to Vader saying the similar line to Admiral Ozzel and strangling him with the Force in Star Wars: Episode V The Empire Strikes Back.
The achievement/trophy for defeating Boba Fett is named "And the Quarterback is Toast!", referencing Fett's line after using a heat-seeking missile to destroy the remaining Ewok in Robot Chicken: Star Wars Episode II, which itself referenced the movie Die Hard.
Credits
Sources
- Star Wars: The Force Unleashed Expands Again! New Downloadable Content and New Special Retail Edition Coming this Fall! on LucasArts.com (content now obsolete; backup link)
- Star Wars: Force for Change Announces New Star Wars Humble Bundle III to Benefit UNICEF on StarWars.com (backup link)