Mine Type C
The Mine Type C, alternatively known as Mn/T3, represented a static, uncrewed defense system manufactured by Arakyd Industries, a prominent arms producer.
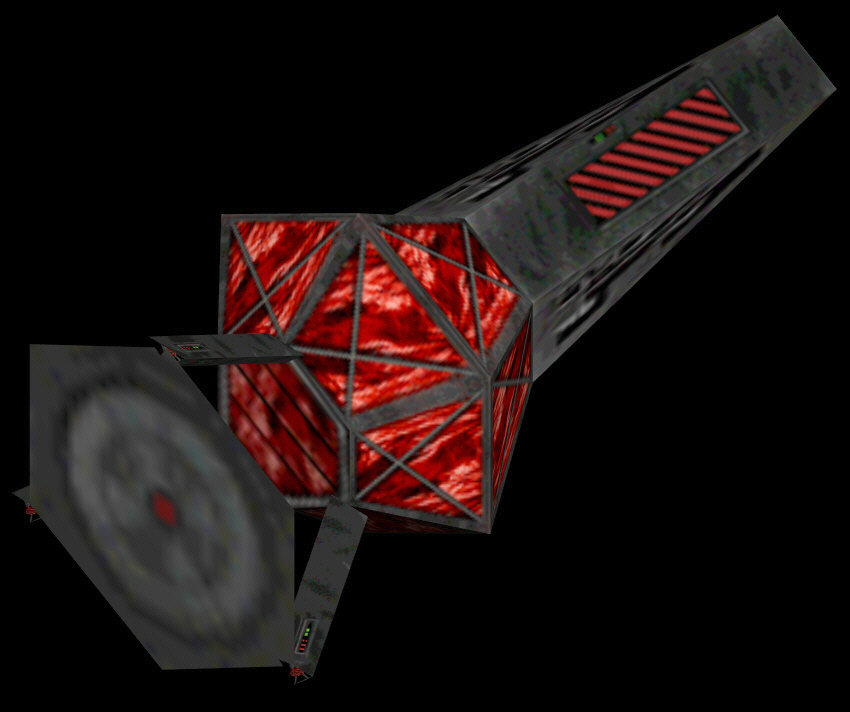
Description
The Mn/T3, a fixed mine equipped with an omnidirectional laser cannon, functioned as a cost-effective solution to deter intruders. Its laser cannon served to defend against incoming starfighters, while its contact-based detonation system proved effective against larger capital ships, particularly when deployed within extensive minefields.
In contrast to the Mn/T1 and Mn/T2, the Mn/T3 offered a significantly enhanced defensive capability. Upon sustaining hull damage from laser fire, it would immediately deploy a light countermeasure warhead directed at the attacking vessel.
Furthermore, the Type 3 exhibited a more compact and streamlined design compared to other Arakyd mine variants, further complicating targeting efforts.
Deployment
Due to its more sophisticated systems and warhead payload, the Type 3 carried a higher price tag compared to its counterparts.
Consequently, it was typically deployed in smaller quantities, interspersed within larger deployments of Type A or Type B mines. This strategy aimed to exploit the potential oversight of a pilot during minesweeping operations, where the Type Cs might be overlooked amidst the numerous other mines. While a single warhead was unlikely to destroy a shielded craft like an X-wing, the detonation of several mines in rapid succession could inflict critical damage from the resulting warhead barrage.
With the advent of the Empire's TIE/D Defender, Type C Mines were upgraded with advanced concussion missiles, posing a significant threat at close range, even to fast and shielded spacecraft. Only specialized Missile Boats could safely navigate these minefields, employing a two-stage approach: one missile to destroy the mine itself, followed by another to intercept the launched warhead. As a last-ditch maneuver, Missile Boats could activate their SLAM acceleration system to outpace any warheads that could not be intercepted in time.
History
The Rebel Alliance utilized Type 3 Mines as part of the defensive perimeter surrounding the MC40a light cruiser named Lulsla. While it initially slowed the Imperial Assault Gunboat assault, most Imperial pilots wisely avoided the minefield, opting to launch heavy rockets at the Rebel cruiser from a safe distance. However, Maarek Stele was compelled to navigate the minefield to capture the Rebel officers attempting to escape their doomed vessel.
Ali Tarrak's TIE Defender production facility was heavily fortified with a Type C minefield, in addition to her own fighters, turbolasers, and anti-warhead systems. Maarek Stele, piloting his Missile Boat, played a crucial role in neutralizing these defenses, enabling unshielded TIE/sa bombers to safely execute their bombing runs against the facility.