Capture of Eeth Koth
In 21 BBY, within the Clone Wars, Confederate General Grievous took Jedi General Eeth Koth as a prisoner. This occurred during a conflict far into the Outer Rim Territories, in proximity to the Arda system. Grievous led a fleet of warships that overwhelmed Koth's fleet, including his Star Destroyer, the Steadfast. Grievous, along with his battle droid forces, boarded the Steadfast. Super battle droids clashed with clone troopers under the command of Captain Lock on the lower decks of the cruiser, while Grievous, accompanied by droid commandos and IG-100 MagnaGuards, advanced to the bridge. The droid commandos killed all present on the bridge, except Master Koth, who was ultimately defeated and captured by Grievous and his MagnaGuards. Grievous then broadcast a transmission to the Jedi High Council, showcasing Koth as his hostage. This prompted the Jedi Order to attempt a rescue of Koth, leading to a conflict on Saleucami and an effort to capture Grievous.
Prelude
During the Clone Wars in 21 BBY, Eeth Koth, a member of the Jedi High Council and a Grand Army General, journeyed through the Outer Rim Territories of the galaxy in search of agents of the Confederacy of Independent Systems. Simultaneously, General Grievous, the Supreme Commander of the Confederacy, plotted to seize a member of the High Council to demonstrate his animosity towards the Jedi Order to its leadership.
The capture
General Grievous, a cyborg, commanding a fleet consisting of five Munificent-class star frigates and his personal Recusant-class light destroyer, intercepted Eeth Koth's Venator-class Star Destroyer, the Steadfast, not far from the Arda system in the deep Outer Rim. The starships of Grievous and Koth engaged in a heavy exchange of broadside fire, inflicting substantial damage on both sides. However, the warship commanded by Grievous swiftly gained the upper hand, compelling the Star Destroyer to surrender.
On the bridge of the Steadfast, Eeth Koth and a group of clone troopers prepared for the inevitable boarding by Grievous. At a lower-level airlock on the Star Destroyer, Clone Captain Lock and the troopers of Horn Company established defensive positions just before B2 super battle droids utilized an armored docking tube to board the cruiser and flood the Republic vessel. During this boarding action, Koth contacted the Captain, who reported that the overwhelming number of battle droids made repelling them impossible. The Jedi General instructed Lock to lead his men to the ship's escape pods, while he took on the responsibility of confronting Grievous on the bridge. The clones obeyed, successfully evacuating the Steadfast before it was overrun.
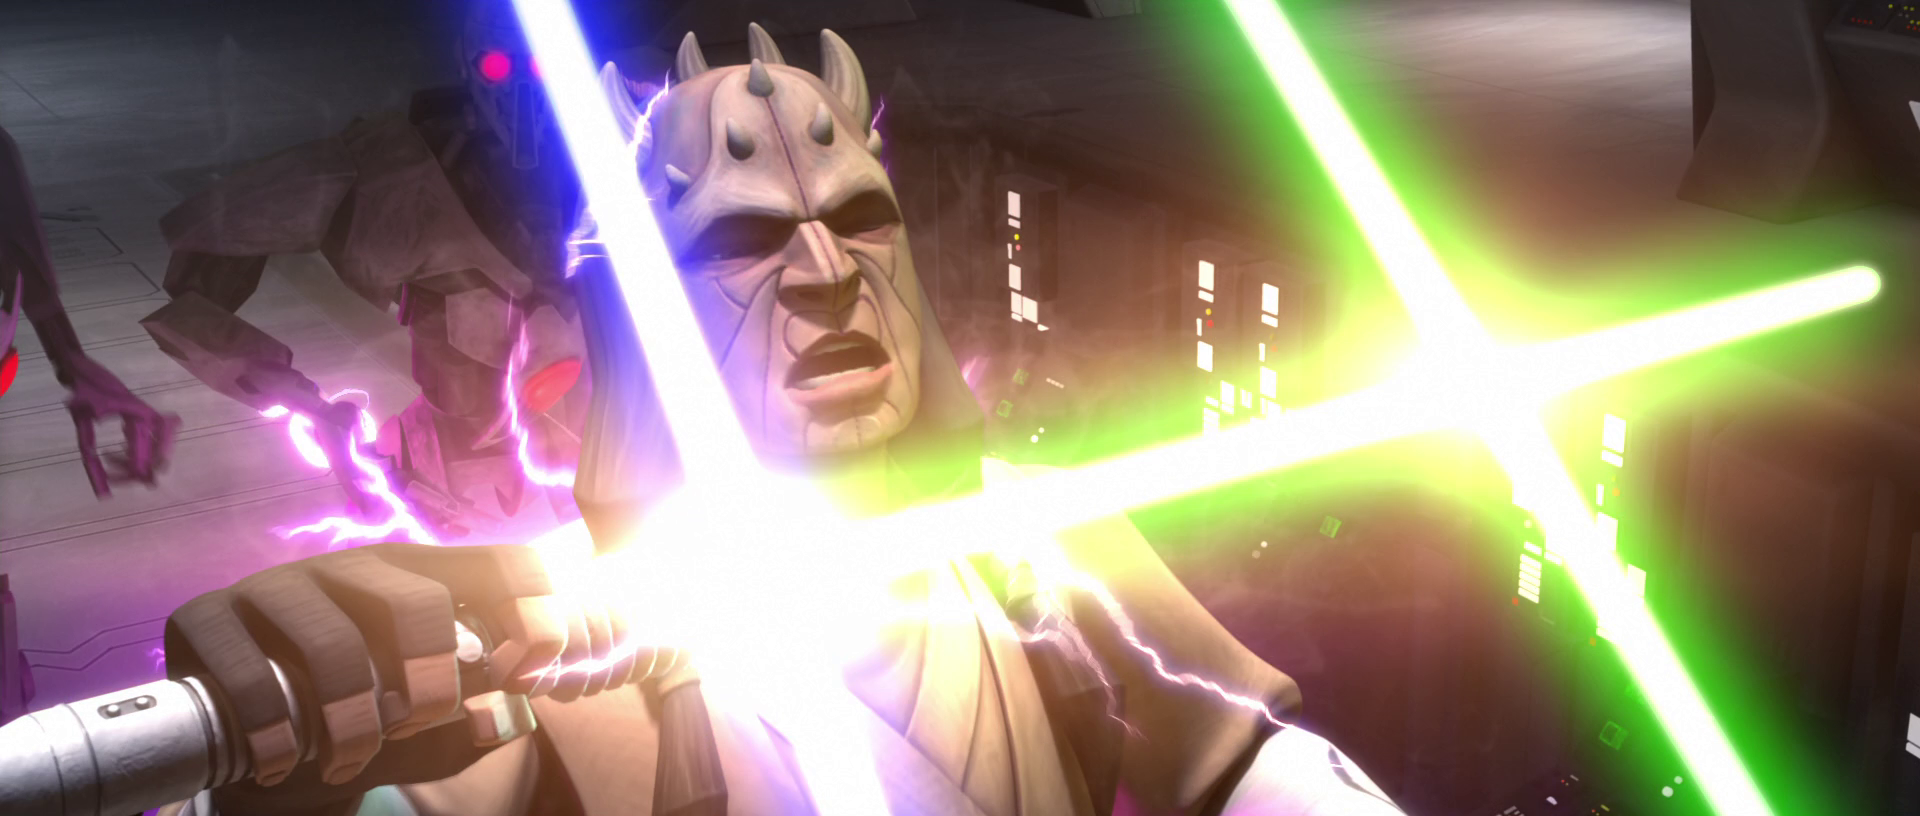
Communication between Koth and Lock was abruptly severed just before the Confederate general reached the blast door of the bridge and began cutting into it with one of his many lightsabers. Once a significant portion of the door was removed, Grievous kicked it into the bridge, causing the metal fragments to strike an unsuspecting clone. The general entered the bridge, accompanied by a squad of four BX-series droid commandos, who promptly eliminated Koth's troopers. The four droids then attacked the Jedi Master, hitting Koth's elbow and causing him to lose his lightsaber. As the droids attempted to kill the unarmed Koth, a surviving clone intervened, shooting one of the droid commandos in the head. Koth destroyed the remaining commandos before Grievous was joined by four IG-100 MagnaGuards, who killed the last clone and surrounded the Jedi.
With Koth surrounded, Grievous jumped onto a communications console and addressed the Jedi Master, who criticized the general for his cowardice and murderous nature. Grievous responded that his sole purpose was to eliminate Jedi and ignited two lightsabers before kicking Koth directly in the chest. The Jedi Master was thrown toward the bridge's command walkway, closely followed by Grievous and the MagnaGuards. Grievous lunged at Koth, who parried the attacks as he retreated toward the main viewports of the bridge. When sufficient distance had been created between the two combatants, Koth used the Force to telekinetically throw the general into a viewport. However, before the Jedi could capitalize on the attack, two of the MagnaGuards struck him in the back with their electrostaffs, halting his advance. Grievous recovered from the impact and locked sabers with the weakened Koth, who was again electrocuted by the MagnaGuards. The Jedi Master fell to his knees and was electrocuted again, and Grievous seized the opportunity by grabbing Koth by the neck and lifting him off the ground. Defeated, Koth was taken aboard Grievous's destroyer as a hostage.
Aftermath

Grievous later presented Koth, his captive, in a transmission to the Jedi Temple, articulating that his entire existence revolved around ending the lives of Jedi. In the transmission, the cyborg subjected Koth to brutal torture, witnessed by members of the High Council and other Jedi, including several younglings. Despite his ordeal, Koth managed to convey coded hand signals during the transmission, indicating that Grievous was headed for the Saleucami system. Obi-Wan Kenobi and Adi Gallia, members of the Jedi Council, along with Jedi Knight Anakin Skywalker, used this information to devise an assault on Grievous's forces in an effort to liberate the captive Jedi Master and capture the general. Unbeknownst to the Jedi, Grievous was merely using Koth as bait in a trap designed to ensnare his two most despised adversaries: Generals Kenobi and Skywalker.
Behind the scenes
The capture of Eeth Koth was depicted in the ninth episode of the second season of the Star Wars: The Clone Wars television series, entitled "Grievous Intrigue." Koth, who had previously been established as having perished during the First Battle of Geonosis, was retconned to have survived the battle to facilitate his appearance in the episode. The original narrative for the episode involved Grievous killing the Jedi Master during the battle, rather than capturing him. This was later altered, as Series Director Dave Filoni desired to retain the option of utilizing Koth in subsequent episodes.