Battle of Korriban (Galactic Civil War)
This conflict unfolded during the era of the Galactic Civil War, occurring in close proximity to the Battle of Endor. The instigation of this battle was the assault on the Sith planet of Korriban by Renegade Squadron, an elite fighting force of the Rebel Alliance established by General Han Solo. Under the leadership of Commander Col Serra, Renegade Squadron's objective was to seize data pertaining to the Galactic Empire's second Death Star from Emperor Palpatine during his visit to Korriban. Following a swift clash with Imperial forces, Renegade Squadron successfully acquired a data holocron from the Emperor's shuttle. The battle on Korriban was recognized as one of the most perilous and demanding encounters faced by Renegade Squadron, with Serra later sharing details of the conflict with Jedi archivist Tionne Solusar in the years following the Empire's downfall.
Prelude
During the time of the Galactic Civil War, shortly after the events of the Battle of the Great Pit of Carkoon and the rescue of Han Solo from the clutches of Jabba the Hutt, the Rebel Alliance initiated planning for an attack on the recently discovered second Death Star, which was positioned above the forest moon of Endor. To facilitate this, the Alliance needed to gather further intelligence on the Imperial superweapon. Commander Col Serra, who was the second-in-command of Renegade Squadron – an elite fighting squadron comprised of smugglers and spacers and founded by the newly appointed general, Han Solo – put forward an idea. Emperor Palpatine, the Dark Lord of the Sith and Imperial ruler of the galaxy, was scheduled to undertake a pilgrimage to the Sith tomb world of Korriban. Serra surmised that the Sith Lord would likely be carrying some information pertaining to the Death Star, leading the Alliance to devise a plan to ensnare the Emperor in a trap and contain him while they extracted his confidential data.
The battle
Setting the trap
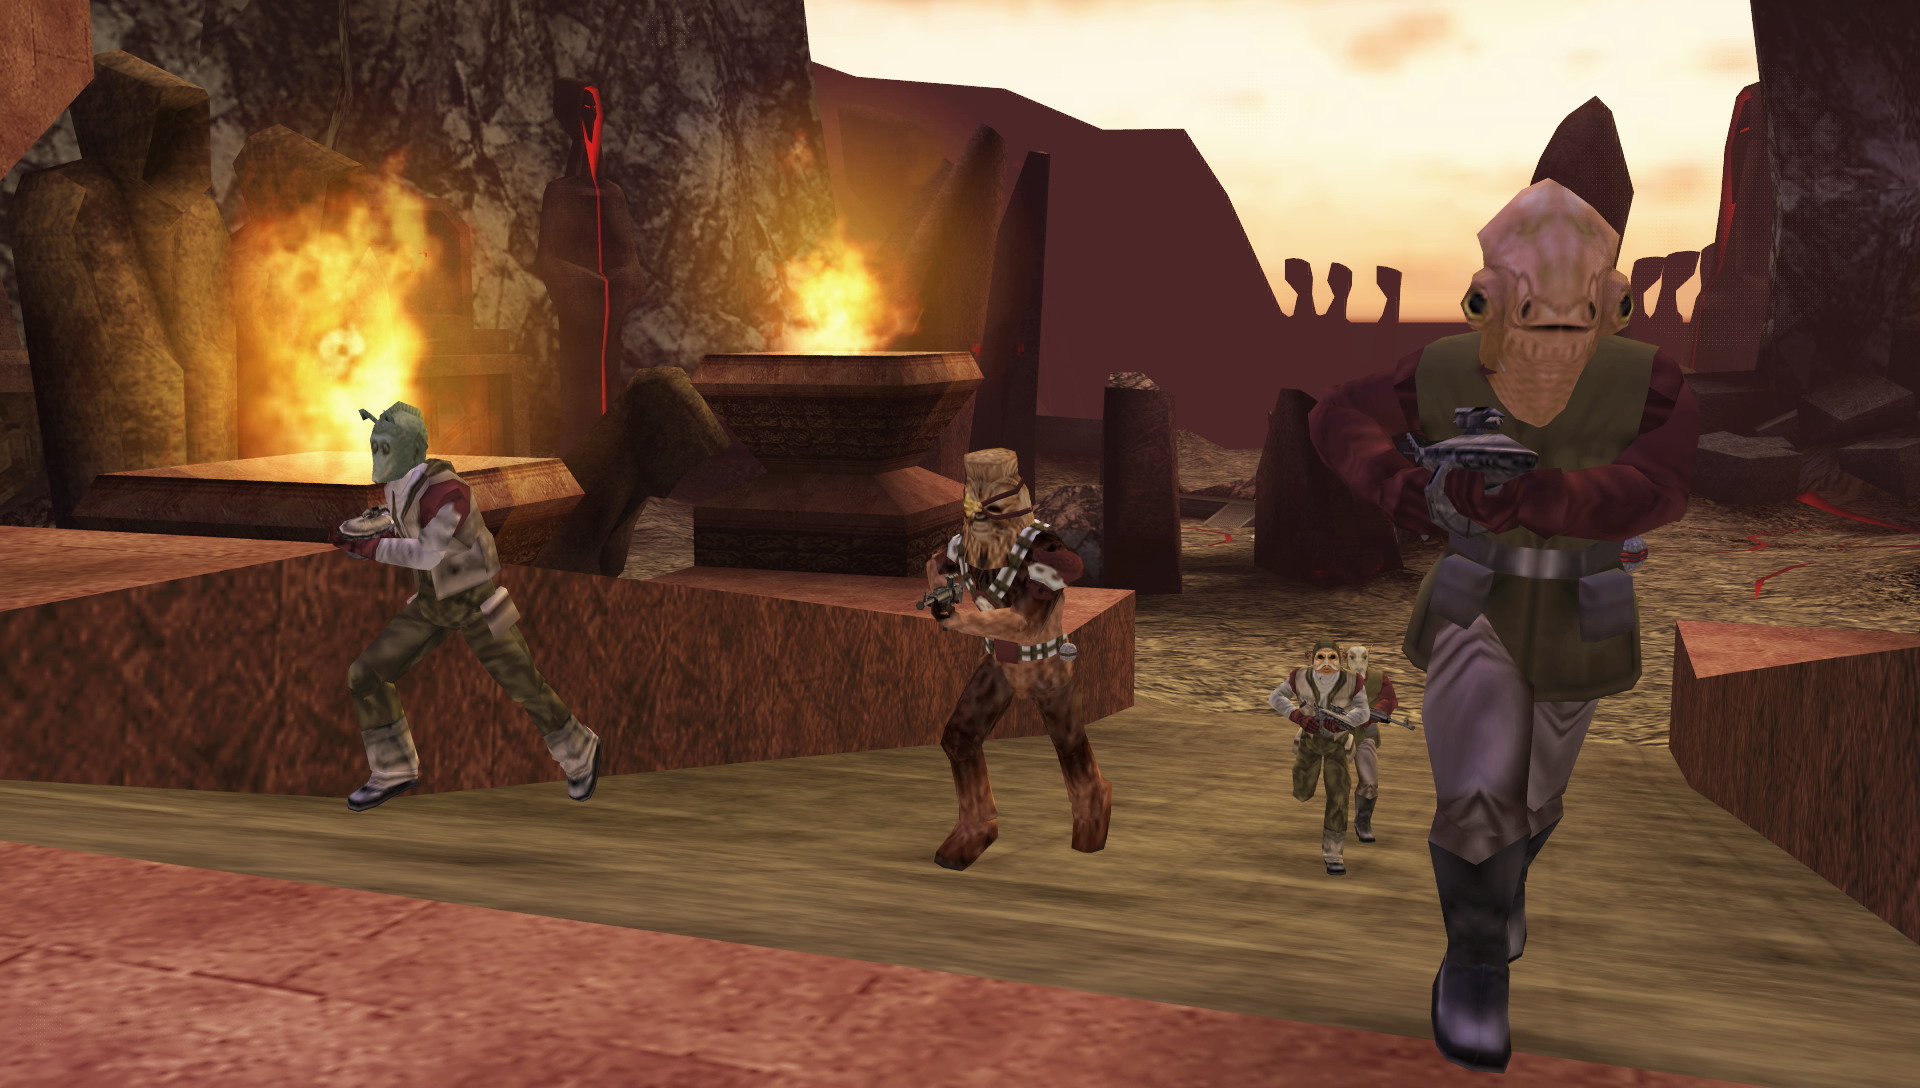
Shortly before Palpatine's arrival, Renegade Squadron made planetfall on Korriban in the Valley of the Dark Lords, situated near the ancient Sith academy. Serra swiftly executed his strategy, instructing his unit to seize control of the old Sith academy and the communications station. The aim was to prevent the Imperial garrison from alerting Palpatine to the Rebel presence. Serra was aware that the Sith Lord had likely already sensed Renegade Squadron, but he hoped that Palpatine would perceive them as an insignificant threat, assuming his stormtroopers could easily handle the Rebels.
Following the Rebels' capture of the academy, the Imperial soldiers regrouped to launch a counter-attack against the invaders, coinciding with the Emperor's entry into the atmosphere of Korriban aboard his Lambda-class shuttle. After Palpatine's landing, the stormtroopers initiated a series of large-scale attacks aimed at crippling Renegade Squadron. However, the Rebels managed to hold their ground, pushing the Imperial forces back toward the nearby tombs. In pursuit of a more secure foothold, Commander Serra instructed his men to capture the Sith tombs. As Renegade Squadron advanced, the Imperials were gradually forced deeper into the tombs. After a brief period of combat, Serra's men successfully captured the small atrium room, along with two of the three primary entrances to the tombs. The Imperials maintained control of the larger room adjacent to the atrium, which housed all the valuable Sith artifacts, and the small in-ground enclosure behind the tombs that contained the landing pad onto which Palpatine's shuttle had landed.
Serra proceeded with the second phase of his plan, which was essential for the Alliance to acquire the information. The Rebels intended to trap the Emperor within the Sith burial chambers by luring him inside and then destroying the three entrances. Serra had already strategically placed explosives at all three entrances before Palpatine's arrival and now dispatched a member of Renegade Squadron to detonate them. The first two sets of explosives were placed with relative ease, as they were located in the atrium, which the Alliance had already secured. The final set of explosives posed a challenge due to their placement at the back entrance, connecting the Imperial control main room with the shuttle landing pad. There were two possible routes to reach the explosives—one through the tombs and the other through the small cave system leading to Palpatine's landing site—both heavily guarded by Imperial troops. Renegade Squadron successfully armed the explosives and proceeded with their plan.
Springing the trap
To entice the Emperor into the tombs, Serra instructed his men to destroy several ancient and valuable Sith artifacts scattered throughout the main room of the tomb, believing that the destruction would enrage the Sith Lord and compel him to enter the tombs to salvage the priceless relics. Renegade Squadron then began to advance further into the main room, employing their blasters and grenades. To further provoke Palpatine, they detonated the largest and most valuable Sith artifact, a large statue of a hooded figure positioned in the center of the tomb, using a detpack. Enraged, Palpatine stormed into the tomb, killing a Mon Calamari Rebel vanguard and any other Rebels he encountered with Force lightning. Renegade Squadron was unable to inflict any harm on Palpatine, as he had erected a strong Force barrier around himself that none of their attacks could penetrate. However, this was of little consequence, as the Emperor was now inside the tombs.
This played directly into Serra's strategy, allowing Renegade Squadron to finally spring the trap. Serra ordered the remaining members of Renegade Squadron to evacuate the tombs, and as soon as everyone was safely outside, he detonated all three explosives. The doors collapsed, temporarily trapping the Emperor and the majority of his forces inside the tomb. Aware that the rocks would not contain a powerful Force-sensitive like Palpatine for long, Serra instructed Renegade Squadron to retrieve the data holocron that he had located inside Palpatine's shuttle.
Navigating through the cave system to the landing site, the Rebels encountered the few Imperial troops who had not been trapped with Palpatine. The Imperials attempted to defend the holocron; nevertheless, a member of Renegade Squadron managed to extract it from the shuttle and transport it back to the LAAT gunship awaiting them at the evacuation zone. Upon the Rebel's return with the holocron, Serra quickly examined the data, revealing that the Emperor was planning to travel to the Endor system to oversee the final construction of the Death Star. Serra suggested that the Alliance might be able to "kill two birds with one stone" by destroying both the Death Star and the Emperor simultaneously. The surviving members of Renegade Squadron swiftly departed Korriban and the Valley of the Dark Lords after everyone was safely aboard the evacuation ships.
Aftermath
Renegade Squadron promptly returned to the Alliance fleet and presented the holocron to Mon Mothma, a prominent founder of the Rebel movement. It revealed crucial information to the Alliance regarding the second Death Star and the Emperor's critical misjudgment in his plans. However, this was, in actuality, a ruse orchestrated by Palpatine to lure the Rebel Alliance into his own trap, which would later be known as the Battle of Endor. Despite this, the Alliance would ultimately triumph, resulting in the destruction of the Death Star and the Emperor himself.
Shortly before the attack on the second Death Star, Renegade Squadron and Commander Serra were ordered to Sullust to divert the Imperial fleet and draw them away from Endor. This proved to be a futile effort, as the Empire was not deceived and instead dispatched the bounty hunter/assassin droid IG-88 to stop Renegade Squadron.
Years after the Battle of Endor and the establishment of the New Republic, Jedi archivist Tionne Solusar sought out Serra to inquire about Renegade Squadron for her archives. Serra recounted numerous battles to her, including the ambush on Korriban.
Behind the scenes
The battle made its debut appearance in the video game Star Wars Battlefront: Renegade Squadron, which chronicles the various battles and exploits of Renegade Squadron during the Galactic Civil War. The battle constitutes the ninth level in the game's campaign mode.