Battle of Rugosa
A skirmish unfolded in 22 BBY amid the Clone Wars. The Galactic Republic, alongside the Jedi High Council, aimed to establish a strategic outpost within the Outer Rim Territories to escalate their conflict with the Confederacy of Independent Systems. To this end, Grand Master Yoda was dispatched with a convoy of clone troopers to Rugosa, a coral moon, with the task of engaging in diplomatic talks with Katuunko, the king ruling Toydaria. However, Asajj Ventress, a Dark Acolyte, preempted their arrival, seeking to secure an alliance with Katuunko on behalf of the Confederacy and its Head of State, Count Dooku. Confederate frigates ambushed the Republic convoy; however, Yoda managed to land on the moon in an escape pod with three clones.
Ventress presented the Jedi with a challenge: she would deploy her elite battle droid forces to try and capture him. If Yoda triumphed against the droids, Toydaria would have sufficient cause to align with the Republic. Conversely, should Yoda be defeated, Toydaria would pledge its allegiance to the Confederacy. Yoda accepted these terms, and he, together with the clone shock troopers Lieutenant CC-4477, known as "Thire," Jek, and Rys, independently confronted the droids. The three clones overcame a squad of B1-Series battle droids, but Yoda intervened to save them from an approaching group of B2 super battle droids. Following their escape, they found refuge in a cave, where the Jedi Master shared his insights with the clones, aiming to bolster their resolve.
Yoda then proceeded to defeat multiple Confederate droid squads and three Armored Assault Tanks by himself. Ventress violated the agreed-upon rules, sending droideka reinforcements to eliminate the Jedi. Thire launched a rocket, triggering an avalanche that crushed the droids. With the Confederacy's attempt at forging a treaty thwarted, Dooku, via a hololink, instructed his apprentice to assassinate Katuunko. Yoda and the clones arrived just in time to prevent the assassination. Ventress was then compelled to detonate pre-set explosives, causing a rockfall that allowed her to escape. Yoda used his abilities to stop the falling debris, and Katuunko then pledged Toydaria's allegiance to the Republic before departing aboard an LAAT/i gunship with the Republic's diplomatic personnel.
Prelude
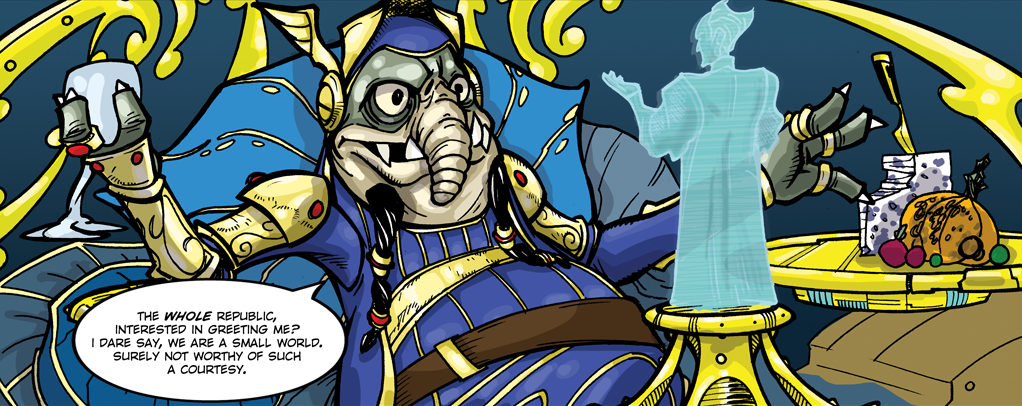
In the year 22 BBY, as the widespread conflict of the Clone Wars persisted across the galaxy, the Galactic Republic sought to secure a foothold in the Outer Rim Territories to further their campaign against the Confederacy of Independent Systems. Supreme Chancellor Palpatine made contact with Katuunko, the neutral king of Toydaria, aboard his personal Peregrine-class star yacht, named the Thief's Eye. Katuunko, a potentially vital ally for the Republic in the ongoing war, had personally witnessed the Republic's empathy for civilian refugees during previous negotiations with Republic representatives. He had even secretly aided Republic relief operations during the Battle of Ryloth. Consequently, Katuunko agreed to engage in discussions with the Republic.
The Toydarian monarch specifically requested the presence of a Jedi, as he had always desired to meet one. In response to this request, the neutral moon of Rugosa was selected as the venue. The Republic then tasked Grand Master Yoda with serving as its ambassador for these diplomatic talks. Upon receiving this assignment, Yoda departed from Coruscant, the galactic capital, accompanied by clone troopers Lieutenant CC-4477, Jek, and Rys. However, the Confederacy utilized its recently constructed listening post, Skytop Station, to intercept the communications between Katuunko and the Chancellor. They then deployed several Munificent-class frigates to await the Republic convoy. The Confederacy's objective was to prevent the Republic convoy from reaching Rugosa, thus disrupting any potential negotiations between Katuunko and the Republic. Simultaneously, Asajj Ventress, a Dark Acolyte, was dispatched to Rugosa with orders to persuade Katuunko to align with the Confederacy, employing any means necessary to achieve this goal.
The mission
Confederate ambush
Upon arriving on the moon first aboard the Thief's Eye, Katuunko and his guards were surprised by the arrival of Asajj Ventress and two B1-Series battle droids, whom Katuunko did not recognize. The Dark Acolyte identified herself as an emissary of her Master and presented a holoprojector, enabling communication between the king and the Sith Lord Count Dooku, the Confederate Head of State. The count was aware of the Republic's ambition to establish a base in Hutt-controlled space and asserted the Jedi Order's inability to protect others, as the Jedi could not even protect themselves.
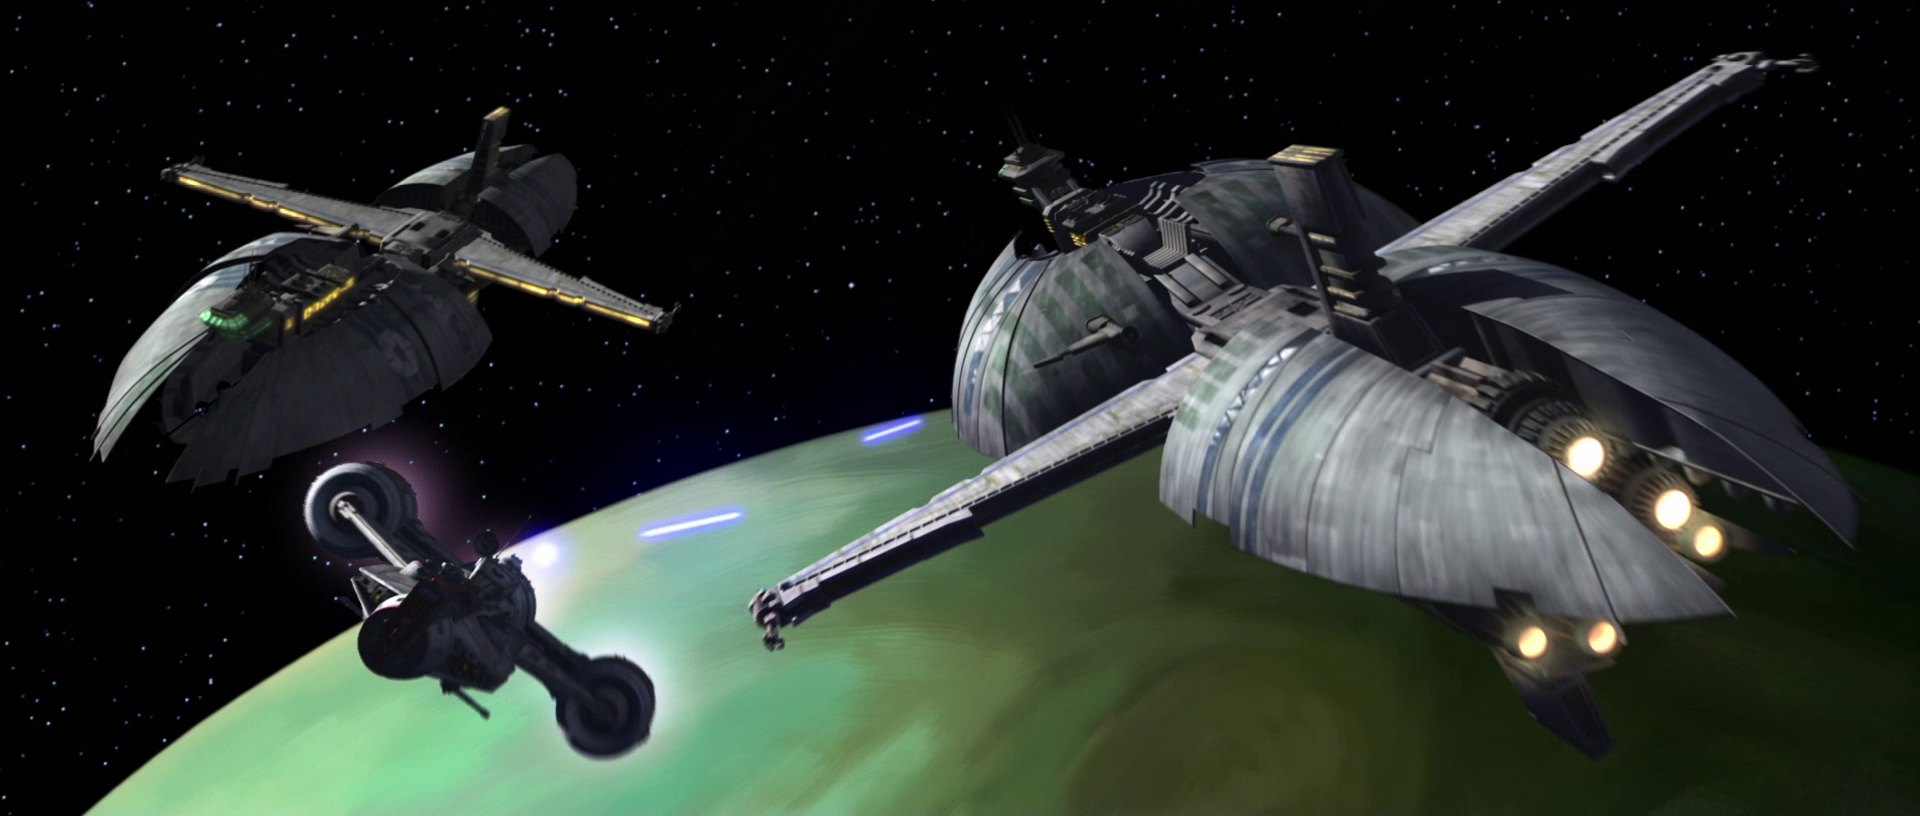
The Republic Consular-class frigate, carrying Yoda and several clone troopers, arrived in orbit above the moon. The convoy hailed the Toydarian royal delegation, but received no response. Subsequently, two Confederate Munificent-class frigates emerged from hyperspace and began firing upon the vessel. Clone Captain Zak expressed his willingness to abort the mission to ensure Yoda's safety by returning him to Coruscant. However, Yoda insisted that his mission lay on the moon's surface and instructed the convoy to flee while he, accompanied by three clone troopers, descended to Rugosa in an escape pod. To maximize the chances of success, the convoy launched all of its escape pods.
On the moon's surface, Dooku claimed that the Separatist Droid Army could provide superior protection to Toydaria, outnumbering the Grand Army of the Republic by a ratio of 100 to 1. However, Katuunko expressed skepticism, having heard that a single Jedi was worth a hundred battle droids. Meanwhile, with all escape pods deployed, the Republic convoy departed from the system. The Confederate warships attempted to destroy the escape pods, but failed to hit Yoda's.
The trial
Katuunko observed the Republic ship's retreat through his rangefinder, and Ventress attempted to use this as evidence of the Republic's weakness. Elsewhere in the jungle, CC-4477—nicknamed "Thire"—managed to connect to the king's communication system, enabling Yoda to speak with Katuunko via a holotransmission. The king was pleased to see the Jedi Master, having previously believed that Dooku had scared him off. Yoda became aware of Ventress's presence as the Dark Acolyte proposed a contest to determine which side was stronger. Ventress planned to send her forces from the T81 Division to capture Yoda. If he defeated them, the Toydarians would join the Republic. However, if the droid forces defeated Yoda, the king should consider joining the Confederacy. Katuunko opposed the contest because he had not asked for a meeting with the Jedi Master to have him engage in a fight. Despite this, Yoda promised to reach the rendezvous point by nightfall, and Ventress agreed with the king's demand that the Jedi be given a fair fight.
After returning to her base, Ventress contacted Dooku and said that her forces were being deployed. As Supreme Leader of the Confederate delegation, she did not intend for Yoda to get his fair fight and dispatched the recently promoted 224 with the task of leading the droid forces, and the battle droids prepared to ambush the Republic's diplomatic squad. Led by 224 in his Armored Assault Tank, the main column of Confederate forces advanced into the jungle. Yoda and his men made their way to the rendezvous position on a different path, as the Jedi Master was certain that their enemies were already heading toward them. The droids began to go through the coral of the jungle, but the dense foliage prevented the tanks from advancing.
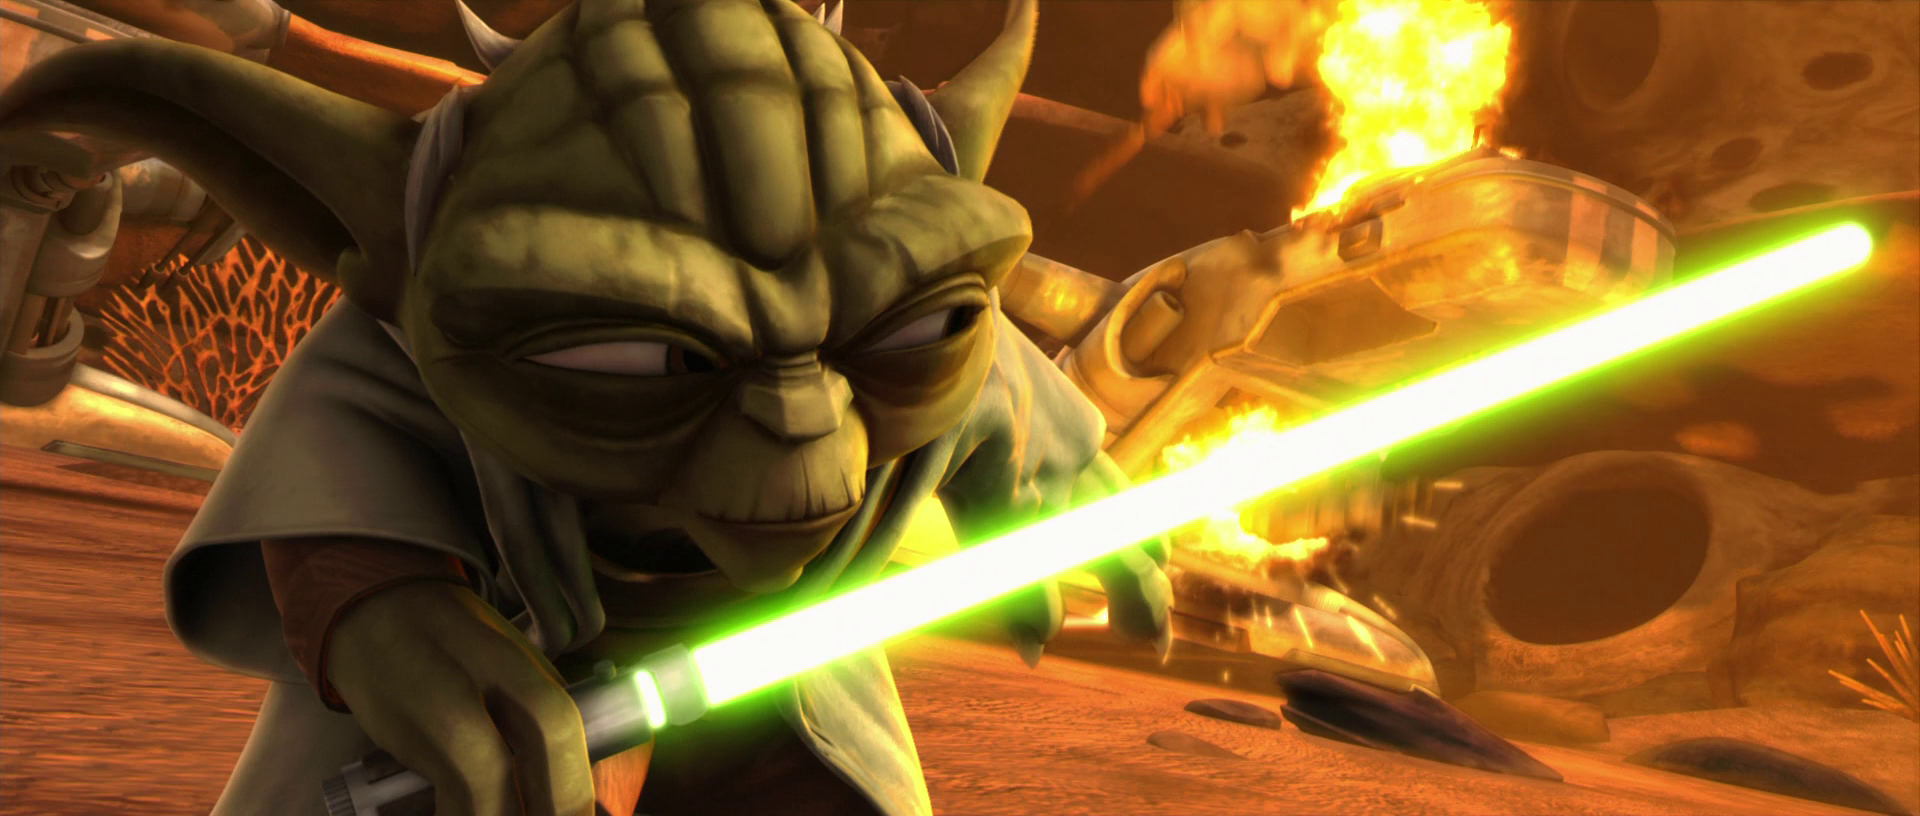
Yoda and the clones split up, seeking to use their surroundings to their advantage. The clones engaged a squad of B1 battle droids from the south and managed to defeat them, but B2 super battle droids then came to attack the clones, and the three were forced to flee. Yoda, meanwhile, was able to defeat an entire squad of droids on his own without even using his lightsaber. CC-4477 was hit by a rocket fired by a B2-HA series super battle droid and was wounded in the leg. Yoda appeared and aided the clones, using the Force to turn around a battle droid and destroy the rest of the squad. Droidekas soon appeared, and the Republic forces fled. Yoda, clinging onto CC-4477's back, deflected the lasers at a nearby tall formation of land coral, causing the droids to be crushed, and the four escaped to a cave to rest. The clones learned that they were low on ammunition, but the Jedi Master imparted his wisdom on the clone troopers to further inspire their efforts.
After hearing the sounds of the droids approaching in the distance, Yoda and the clones exited the cave. The Jedi and his men arrived on a ridge to observe the advancing droids below, which were passing through a narrow pathway. Yoda left the clones on the ridge and faced three tanks and a large number of droids alone. The Jedi Master destroyed all of them, along with 224, leaving Katuunko amused and Ventress angry. However, Ventress did not give up easily; the Dark Acolyte broke the terms of the competition and secretly sent several droidekas to deal with the Jedi Master. As Yoda destroyed the last Confederate tank, the droidekas arrived, and the Jedi Master began blocking their laser attacks. CC-4477 launched the last of the rockets at an overhanging rock above the canyon, causing an avalanche to crush the droids. Yoda then led the clones to the rendezvous point, remarking that it was not polite to be late.
Endgame
Katuunko was greatly amused by the droids' defeat. Through a holotransmission, he informed Dooku that one Jedi was not worth a hundred battle droids, but rather a thousand, and stated that he would be joining the Republic. Dooku urged him to reconsider, but the Toydarian king refused to deal with those who went back on their promises, as Ventress had broken the terms of the competition. Seeing that his plan had failed, Dooku ordered Ventress to kill the king, believing that negotiations might go smoother with his successor. Katuunko's guards tried to stop the Dark Acolyte, but Ventress merely Force-pushed them aside, knocking them unconscious. As Ventress attacked Katuunko with her paired lightsabers, she found herself confronted by Yoda, having arrived in time to save the king.
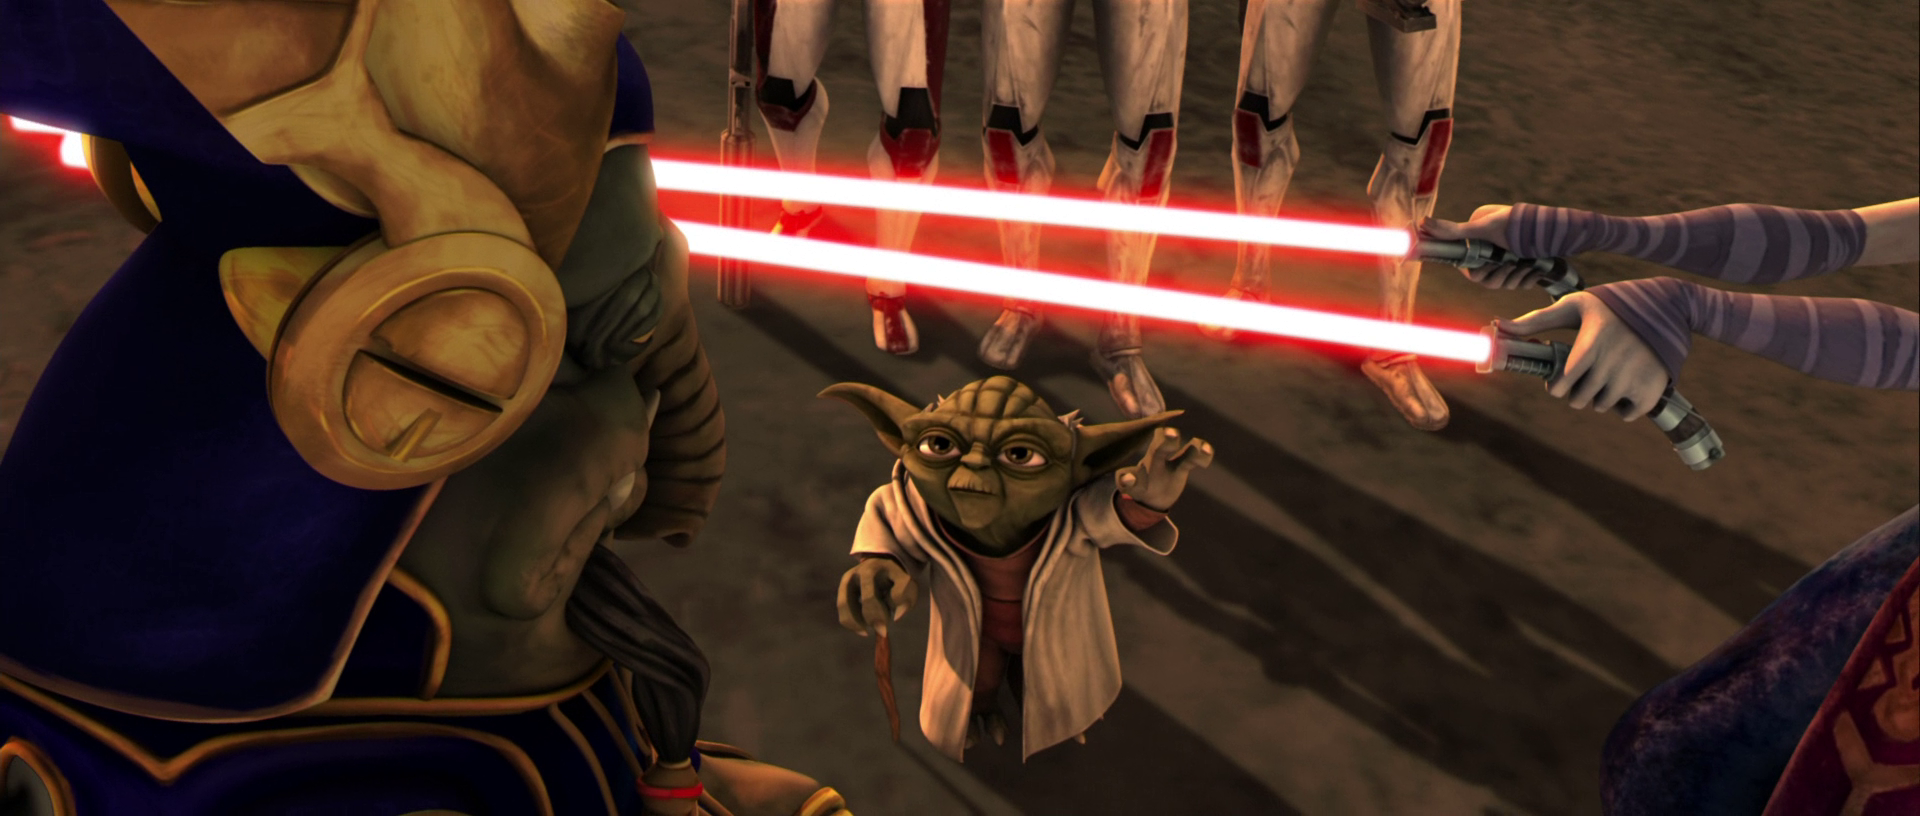
Yoda used the Force to stop the Dark Acolyte's death blow from being struck. As Ventress' droid escorts were dispatched by the clones, Yoda disarmed Ventress herself, and after examining her lightsabers, the Jedi returned them to her, having proven they were useless against his telekinesis, while commenting that she still had much to learn. Ventress was outnumbered, and Yoda suggested that she surrender. In order to escape, Ventress detonated pre-planted explosives at the Thief's Eye and caused the hillside adjacent to the Republic forces to collapse. Yoda was forced to telekinetically stop the rocks from crushing all of them, and as he did so, Ventress seized the opportunity and fled to her ship. Dooku, watching the events unfold through the holoprojector, commented before taking his leave that it was a pity that he had not been there himself.
With the Confederate threat over, Yoda was able to enter into negotiations with Katuunko. The king stated that discussions were unnecessary, however, as the Jedi had already proven his worth. Katuunko presented his ceremonial sword to Yoda and entrusted him with his planet's protection while pledging Toydaria's support to the Republic, declaring that it would be an honor to fight on their side. A Republic Venator-class Star Destroyer arrived in Rugosa's orbit, sending down an LAAT/i gunship to pick up the victors, now that their mission was complete.
Aftermath
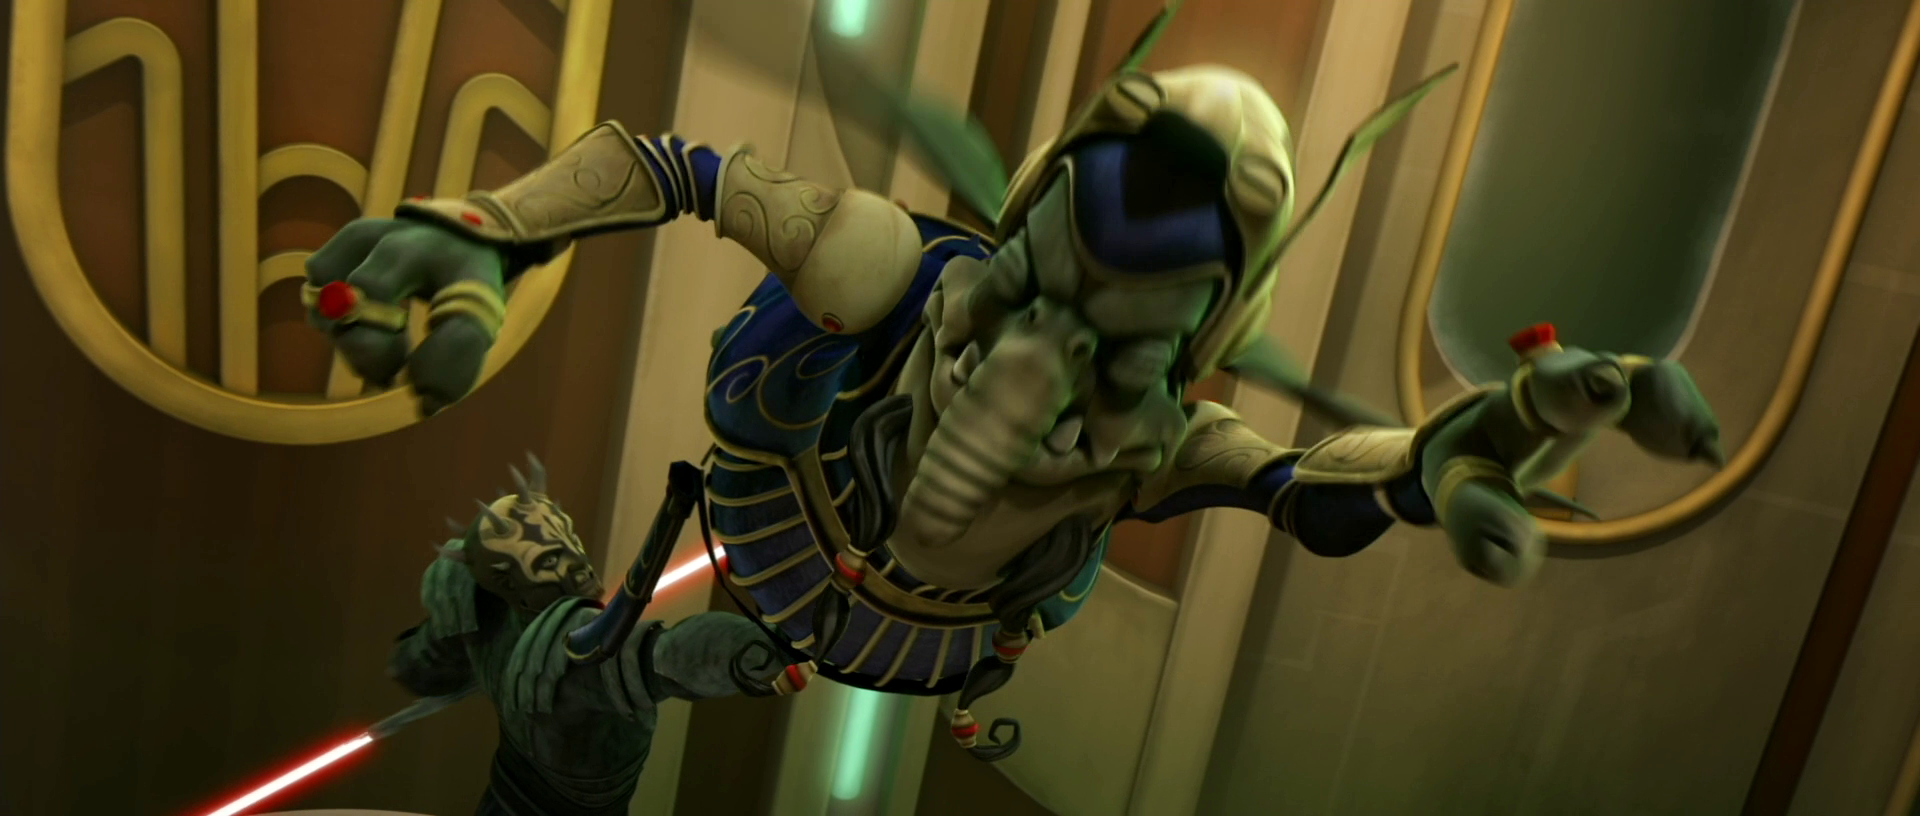
The Thief's Eye, which had been destroyed on Rugosa, was eventually repaired. As the war continued, Dooku proved to hold a grudge against Katuunko for his refusal to join the Separatists, and the Toydarian king became a target for abduction when Dooku sent his new Sith apprentice, Savage Opress, to kidnap him at the king's palace on Toydaria. By doing so, Dooku hoped to force Katuunko into allying with the Separatists. However, this would ultimately end in failure when Opress murdered Katuunko by snapping his neck with a Force choke.
Behind the scenes
The mission was featured in the October 3, 2008 premiere of the Star Wars: The Clone Wars television series on Cartoon Network and appeared in "Ambush," the first episode of the series' first season. The events leading up to the mission appeared in the webcomic Prelude, which led into the episode. It later appeared in the young readers book Ambush. In September 2010, nearly two years after "Ambush" was released, the episode "Supply Lines" of The Clone Wars television series' third season was released as a prequel to "Ambush" and explained why King Katuunko had been so willing to enter into negotiations with the Republic on Rugosa.
The entry for Clone Commander CC-1010, nicknamed "Fox," in the December 2008 The Complete Star Wars Encyclopedia incorrectly stated that Fox participated in the mission to Rugosa. Some of Hasbro's 2009 Star Wars: The Clone Wars toy line incorrectly stated that Yoda's mission took place to the Toydaria system and on Toydaria itself. The 2011 non-canonical video game LEGO Star Wars III: The Clone Wars features the mission in its depiction of "Ambush." Besides being much more humorous and comical than the episode, the game slightly modifies the mission's storyline; instead of splitting up at the beginning of the mission, Yoda and the clone troopers stay together and engage the battle droids as a group.
The young readers' book Who Are the Jedi? erroneously classified Yoda's three accompanying clone troopers during the mission as an "army" of troopers.