Battle of Zanbar
A significant conflict transpired on Zanbar amidst the Clone Wars. This clash pitted the Death Watch warriors of the Shadow Collective against the military might of the Confederacy of Independent Systems. This confrontation unfolded following Maul's escape from Sith confinement on Stygeon Prime. It was strategically orchestrated by the Sith, who aimed to exploit Maul's actions to draw the Dathomir witch Mother Talzin from her hidden location, with the intention of eliminating her.
The Sith Lord Count Dooku devised a scheme to engage Maul sufficiently, compelling him to seek Talzin's assistance. Consequently, he dispatched General Grievous and his Separatist forces to Zanbar, the designated rendezvous point for Maul and his rescuers following the prison break. Grievous unleashed his entire military force upon Maul and the Mandalorians, well aware of the Mandalorian warriors' formidable fighting abilities. Maul and Grievous engaged in direct combat, while the opposing armies clashed, both incurring substantial casualties. As the battle concluded, Maul issued a retreat order to his forces, while the Sith awaited his inevitable pursuit of Mother Talzin.
Prelude
During the period of the Clone Wars, Maul forged an alliance with the Mandalorian splinter group known as Death Watch, integrating them into his Shadow Collective. Collaboratively, they seized control of Mandalore, establishing Maul as its supreme leader. However, his reign was short-lived, as he was subsequently captured by his former Sith master, Darth Sidious, and incarcerated on Stygeon Prime. Sidious intended to utilize Maul as bait, enticing Mother [Talzin], a Dathomir witch and adversary of the Sith, to emerge from hiding, thereby facilitating her destruction. Furthermore, Sidious sought to gain deeper insights into the Shadow Collective and the extent of Maul's accumulated power.
Under the instructions of Mandalore's Prime Minister, Almec, two Death Watch warriors, Rook Kast and Gar Saxon, pursued the Sith to Stygeon. Their objective was to liberate Maul from his Separatist imprisonment. Successfully freeing Maul after his interrogation by the Sith Lord Count Dooku, the trio reunited with additional Death Watch forces on the moon of Zanbar. Maul reassumed command of his troops, assuring them that the conflict they had eagerly anticipated was imminent.
The battle
General Grievous, the commander of the Separatist military, along with a Separatist fleet, tracked Maul to Zanbar. Dooku instructed Grievous to refrain from killing Maul, instead focusing on inflicting sufficient damage to his forces to compel Maul to seek assistance from Mother Talzin. Grievous launched his forces towards the planet's surface, prompting Maul's troops to immediately deploy anti-aircraft weaponry. However, the intensity of the fire proved insufficient to deter the incoming ships, leading the Separatists to intensify their assault and deploy their entire military strength. Grievous recognized the formidable challenge posed by the Mandalorian warriors and acknowledged the unfavorable odds facing the Separatist army.
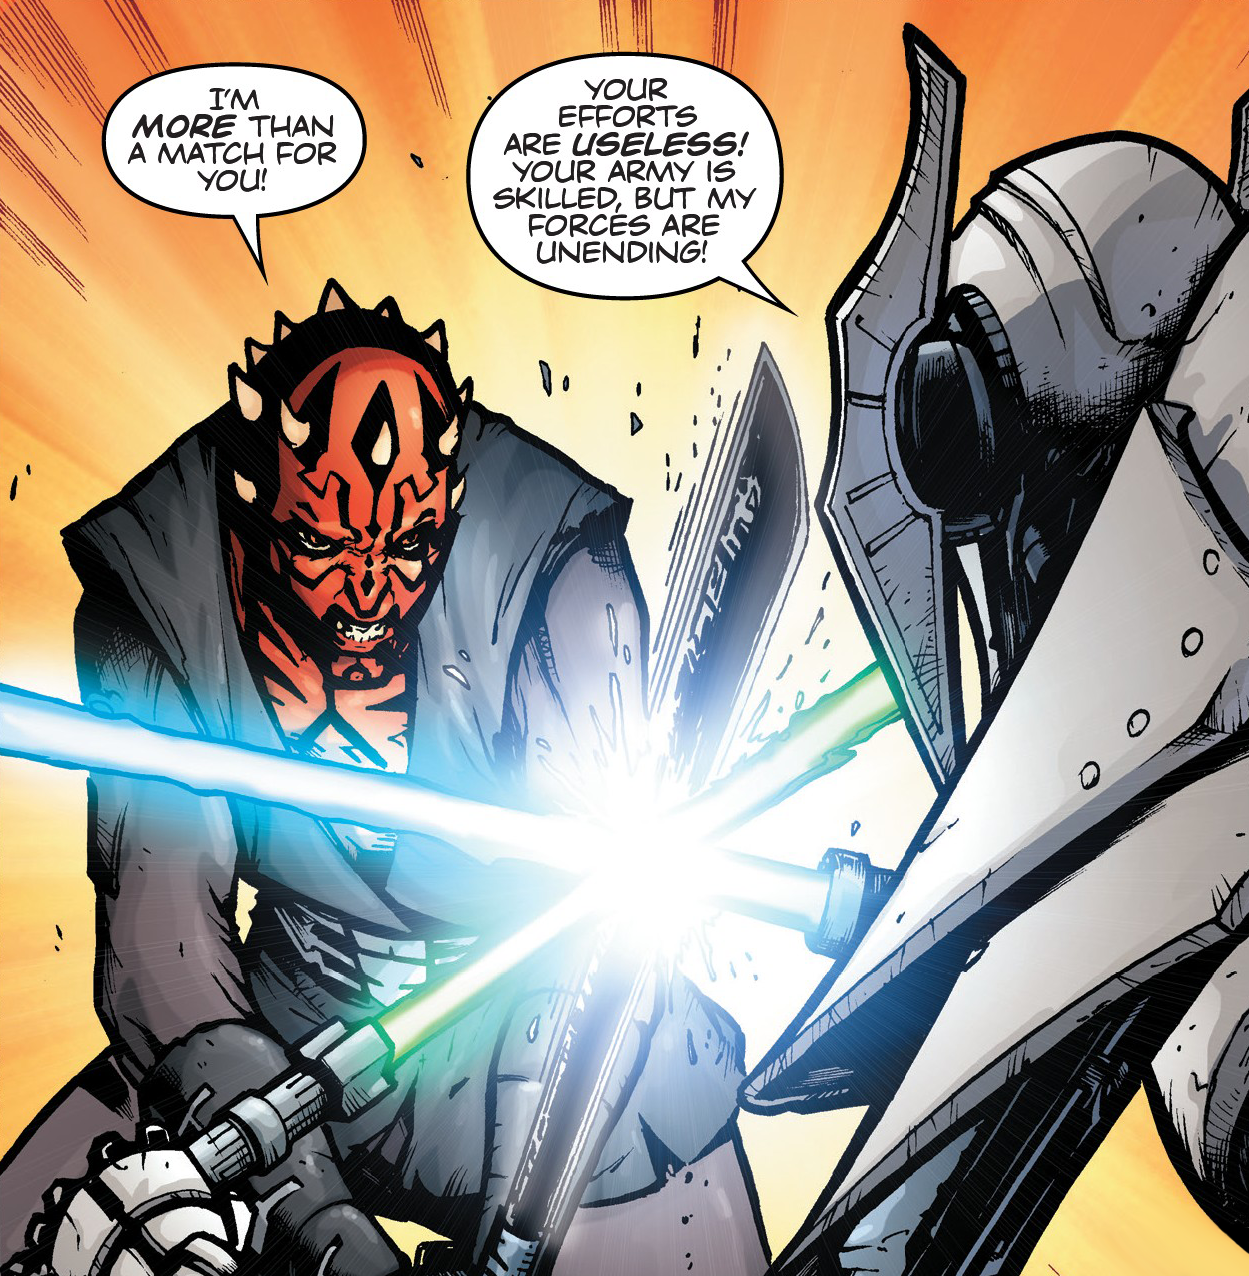
The landing forces engaged the Mandalorians in intense combat. Grievous deployed a multitude of droids against Maul and Death Watch, and Maul swiftly dispatched those he personally confronted. Grievous himself entered the fray, targeting Death Watch forces and eliminating at least one Mandalorian. During this engagement, Grievous was attacked by Maul, who engaged the cyborg general in a lightsaber duel. Grievous wielded two lightsabers, while Maul brandished his Darksaber.
As the two leaders clashed, Grievous mocked Maul about the overwhelming droid assault, making Maul realize the extent of his forces' losses. Grievous then gained the upper hand in their duel, forcing Maul backwards. Recognizing the impending defeat, Maul deployed his Gauntlet fighters, which bombarded the battlefield, destroying numerous Separatist battle droids. Maul capitalized on the resulting chaos by escaping aboard one of the fighters, before ordering his remaining forces to retreat.
Aftermath
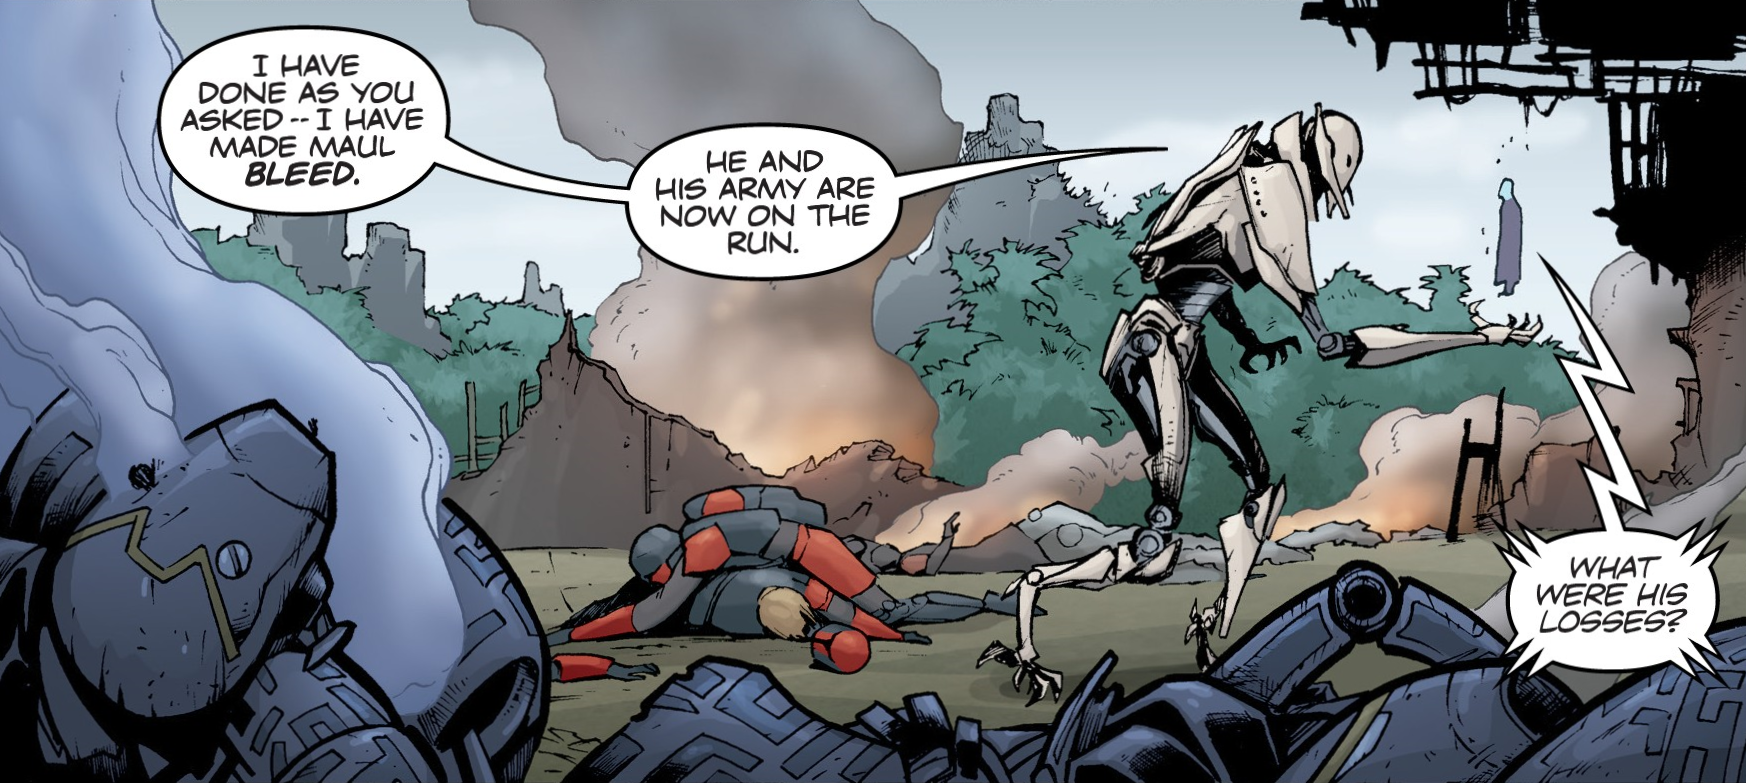
The Separatists suffered substantial casualties, losing a significant portion of their droids during the battle. Following the battle's conclusion, Grievous contacted Count Dooku, providing him with a report on the outcome. Dooku deemed these losses acceptable, emphasizing the necessity for Maul to believe that the Sith and Separatists were actively attempting to dismantle the Shadow Collective, thereby prompting him to seek out Mother Talzin.