Command Sector (North)
The Northern Command Sector was a region located along the equatorial trench of the second Death Star.
Description
This sector stretched along the equatorial trench of the Death Star II. Within it were hangars, an armory, a conference room, access points to the shafts of one of the superlaser's tributary laser streams, and control panels for both the station's tractor beam and the sector's own weapons systems. The hangars provided docking for TIE fighters and Lambda-class T-4a shuttles. Furthermore, the command sector was equipped with several Super Blaster 920 laser cannons and Imperial work stations of the “Tulip” style. Command Sector South served as its counterpart on the southern side.
History
Construction of the command sector occurred between 0 and 4 ABY, situated along the equatorial trench of the Death Star II. During the Battle of Endor in 4 ABY, it met its end when the Alliance to Restore the Republic targeted the Death Star II's primary reactor, triggering an explosion that obliterated the entire battle station.
Behind the scenes
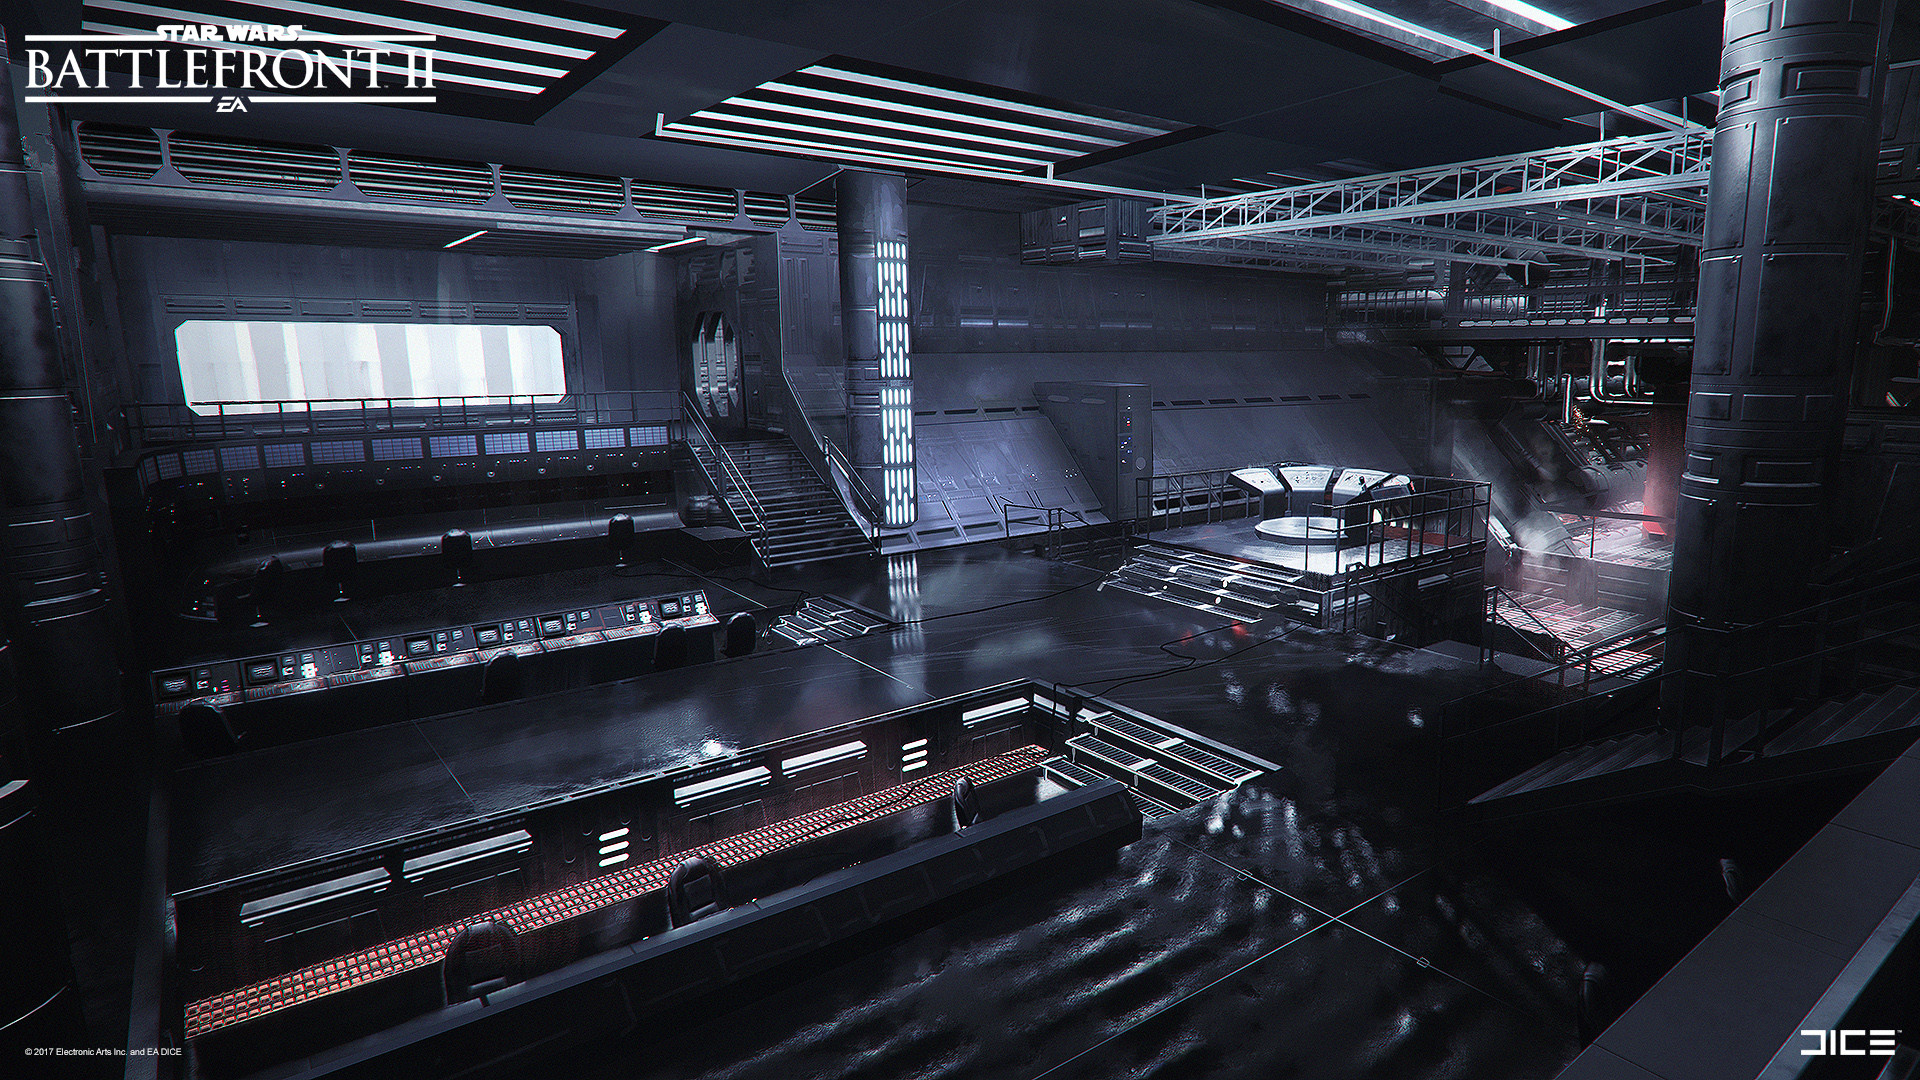
Command Sector North is featured in Star Wars Battlefront II as a playable map in Galactic Assault, Heroes vs. Villains, Hero Showdown, Supremacy, Co-Op Missions, Blast, Instant Action, and Arcade modes. In the Galactic Assault mode, the map's narrative unfolds during the Battle of Endor, where a Rebel Alliance CR90 corvette crashes within Command Sector North. The surviving Rebel crew, led by Major Shin, then engage in combat with Imperial forces commanded by Colonel Brenna. The initial phase of the game requires the Rebels to seize control of the battle station's tractor beam generator and control stations. The second phase involves disabling the Death Star II's primary weapons and superlaser controls. Finally, the third phase requires the Rebels to gain control of a hangar and its shuttle bay elevator to secure a shuttle for escape. The Imperial players are tasked with thwarting the Rebels' attempts to achieve these objectives. If the Rebels emerge victorious, they are depicted escaping in a Lambda-class shuttle as the Death Star explodes in the background. Conversely, if the Imperials prevail, they are shown capturing the Rebels and securing the command sector.
Continuity
Battlefront II depicts Command Sector North as being located along the equatorial trench. However, the Star Wars: Card Trader app's blueprints of the Death Star II place it near the top of the battle station.