Battle in Brentaal space
In the year 0 ABY, as recorded in legends, the Alliance to Restore the Republic's privateer frigate, known as the Far Orbit, made an attempt to seize the Imperial freighter identified as SPF 14897 in the vicinity of the planet Brentaal IV. Unbeknownst to them, the freighter was intentionally placed as a trap orchestrated by Imperial Captain Vocis Kenit. Troopers concealed within SPF 14897 initiated a counter-boarding maneuver. Simultaneously, Kenit's naval task force materialized. During the ensuing battle, the Imperial forces sought to capture the Far Orbit, but the vessel successfully evaded capture. This escape was achieved by inflicting damage upon one of the gravity wells of the Interdictor, which was responsible for preventing the Far Orbit's withdrawal.
Prelude
In the historical context of 0 ABY, amidst the ongoing Galactic Civil War between the Galactic Empire and the Alliance to Restore the Republic, Dhas Fenoep Vedij, who held the rank of second-officer aboard the Imperial Navy's EF76 Nebulon-B escort frigate named Far Orbit, orchestrated a mutiny with the support of some of the crew. They wrested control of the frigate from Captain Vocis Kenit, motivated by Vedij's growing disillusionment with the Empire. Vedij then assumed command of the Far Orbit, transforming it into a privateer ship aligned with the Alliance. Subsequently, Kenit was assigned the responsibility of leading Imperial forces tasked with recapturing the renegade vessel. The stakes were high for Kenit, as Emperor Palpatine himself had been informed of Kenit's loss of the Far Orbit, and the Emperor was known for his intolerance of failure. Kenit's initial attempt to exact revenge on the Far Orbit involved manipulating the pirate group known as the Solar Terrors into attacking the Far Orbit, as seen against, but the Far Orbit emerged victorious.
Kenit devised a subsequent scheme to ensnare the Far Orbit, utilizing the Imperial Mark III bulk transport SPF 14897 as a lure. The crew of SPF 14897 consisted entirely of expendable CompForce Observers, while the cargo hold concealed twenty-four stormtroopers, ten SpecNav Force troopers, and eight storm commandos. The stormtroopers possessed expertise in counter-boarding operations, while the commandos specialized in a range of skills, including technical proficiency, assault tactics, and sabotage. These troopers were under the supervision of three Imperial officers and Bannish Kolow, an agent from the Imperial Security Bureau. Meanwhile, an Imperial task force under Kenit's command remained in close proximity, merely minutes away at lightspeed, awaiting the Far Orbit's arrival.
The Far Orbit indeed encountered the bait. In the space surrounding the planet Brentaal IV, situated within the Core Worlds' Ringali Shell, the Far Orbit discovered SPF 14897. Assuming Imperial identities, the crew of the privateering frigate received a cargo manifest from the ship's captain, Mils Lolinc, before docking with the Mark III and initiating a raid.
The battle
Upon the privateers opening the cargo bay doors of SPF 14897, a hypertransceiver signal was activated, which served as an alert to the Imperial task force, indicating that the trap had been triggered. Simultaneously, the troopers stationed in the cargo bay, under the command of Kolow and the officers, launched a counter-boarding operation against the privateering frigate.
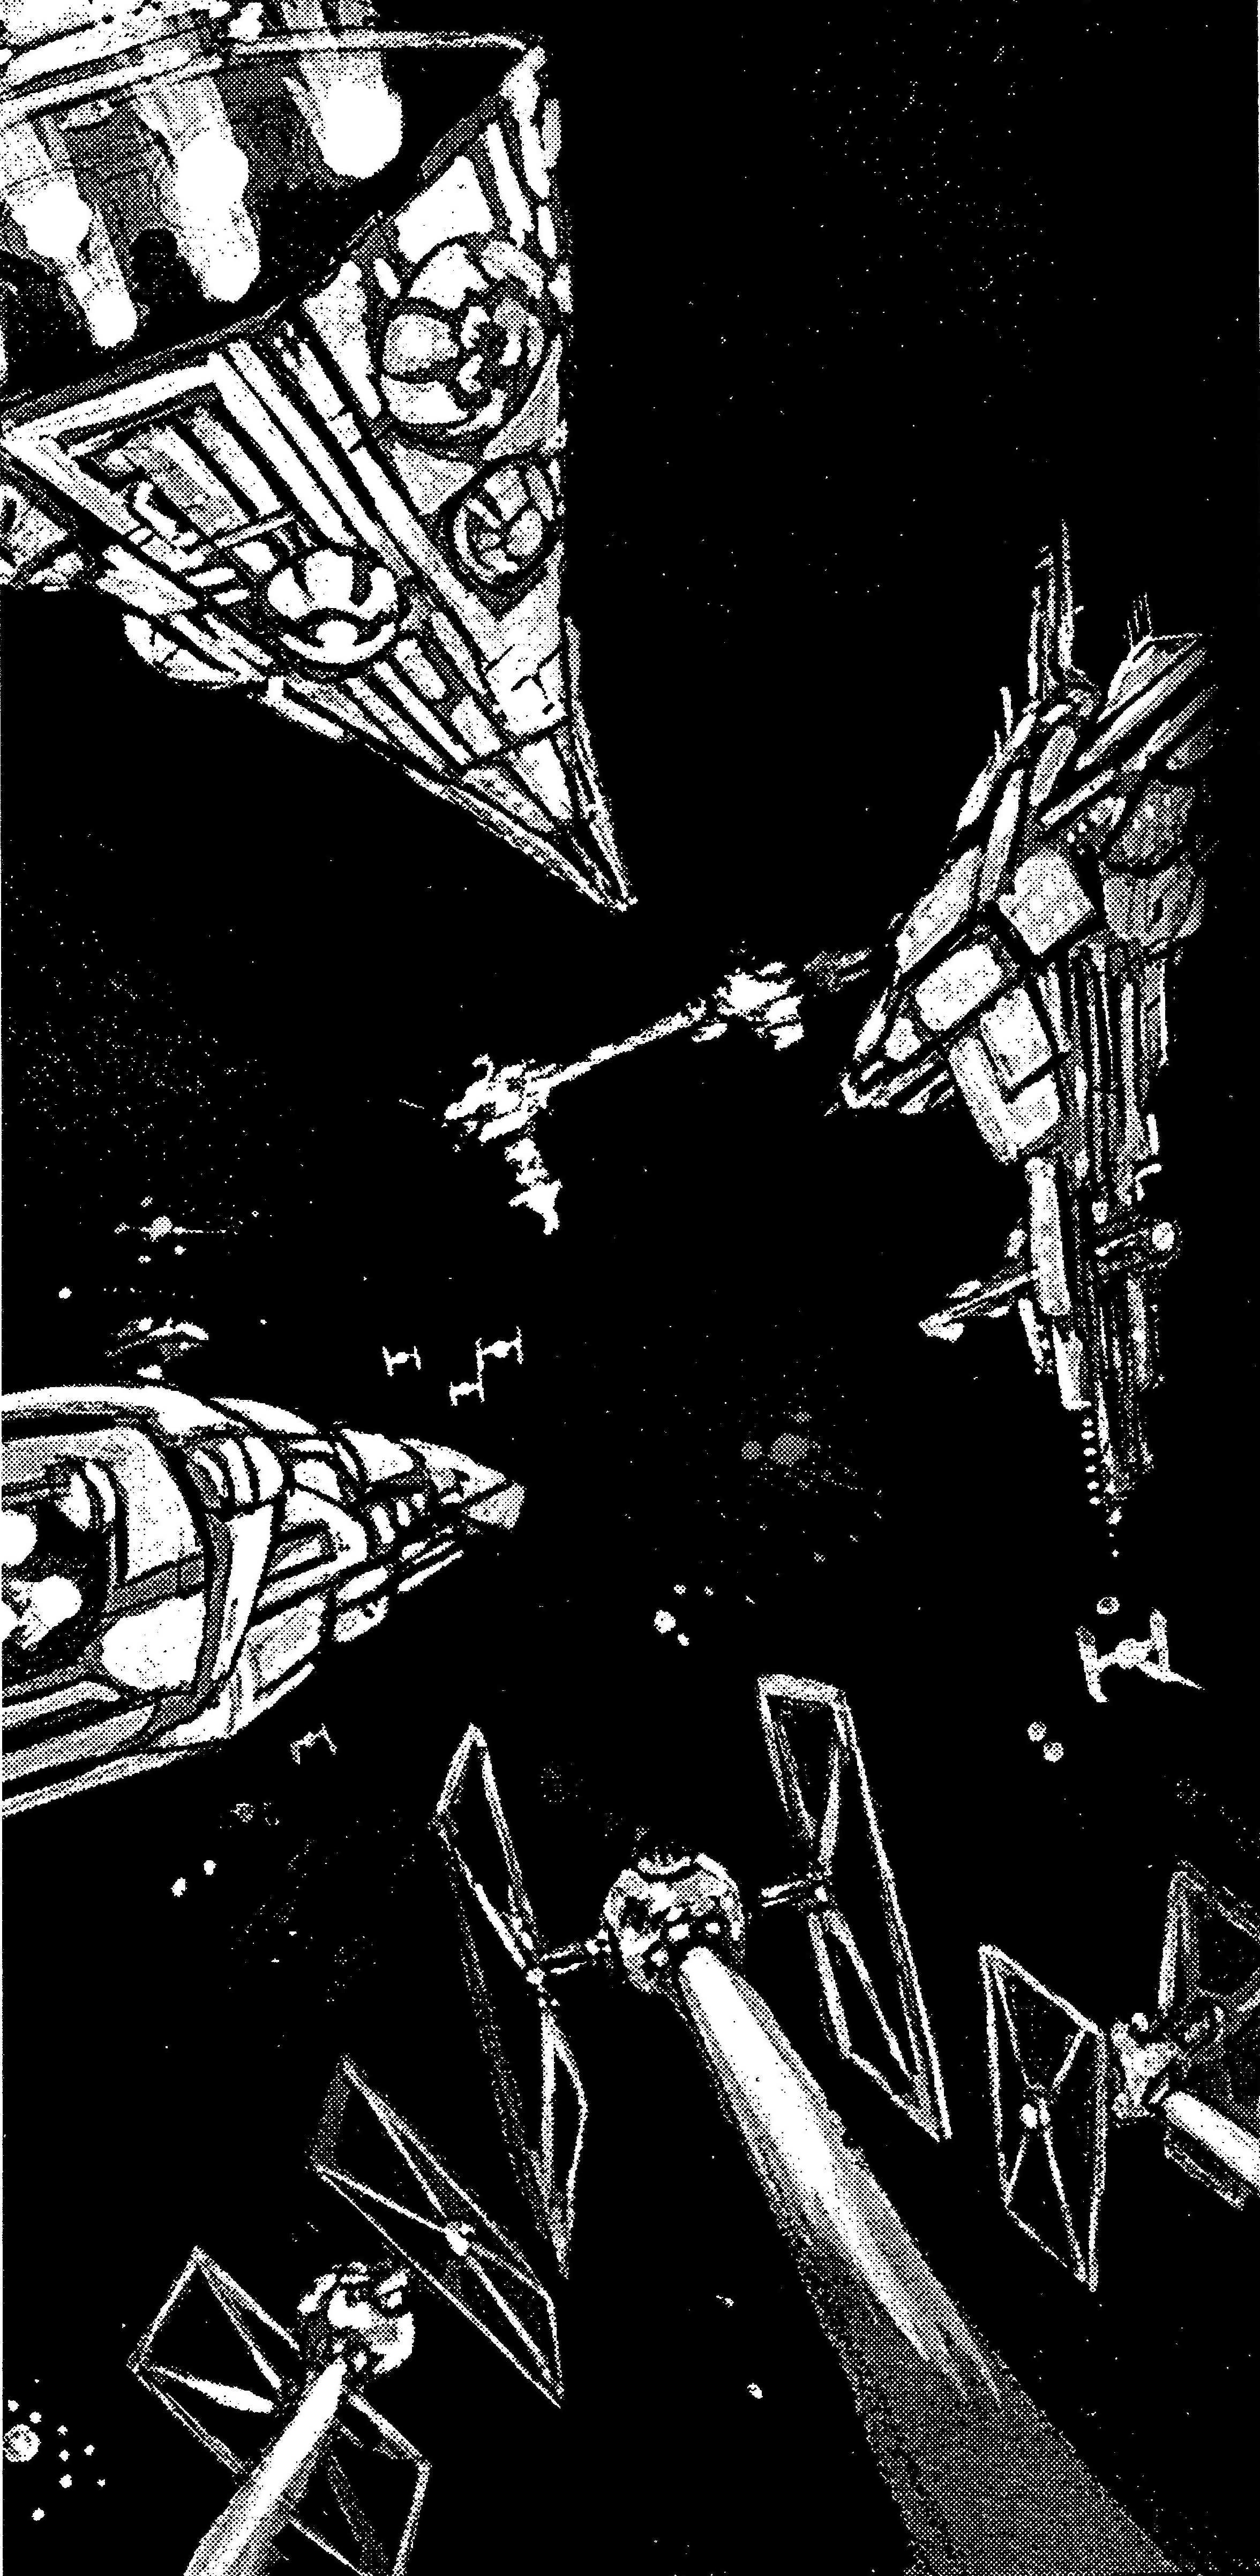
In the ensuing conflict, the officers of the Far Orbit dispatched reinforcements to facilitate the retreat of their privateer boarders, who were rapidly losing ground to the Imperials and their tactics. Despite the arrival of reinforcements, the stormtroopers managed to deploy some of their troops onto the Far Orbit in a counter-boarding maneuver. At that moment, the Imperials' fleet arrived, consisting of Kenit's Nebulon-B Stalwart, the Strike-class medium cruiser Hammer, two GAT-12 Skipray Blastboats designated SB-109 and SB-32, and the Immobilizier 418 Interdictor Claw. The fleet's objective was to capture the Far Orbit if possible.
The Imperial ships approached the privateers, with the Interdictor's gravity wells focused on the Far Orbit to prevent the frigate from entering hyperspace and escaping. Kenit contacted the Far Orbit, demanding that the crew surrender Vedij to the Imperials in exchange for leniency during the privateers' trial. However, this prompted Vedij to order the Far Orbit's crew to prepare for battle and repel boarders. With no alternative to seizing the rogue frigate by force, the Hammer and the Stalwart launched their complements of TIE/LN starfighters, resulting in a combined force of thirty-six fighters in space, while the two Skiprays flanked the Far Orbit. The entire taskforce began pummeling the Far Orbit with ion cannon fire, with the exception of the TIEs and the Stalwart, which lacked ion cannons but instead utilized its tractor beams to immobilize the Far Orbit. Despite employing its tractor beams on the Far Orbit, the Stalwart and its commander, Kenit, remained at a distance while the other ships engaged the privateers.
Facing an overwhelming force and with stormtroopers from SPF 14897 in its corridors, the Far Orbit attempted to breach the Claw's defenses to disable it and facilitate its escape. The Far Orbit employed its own tractor beams to seize several TIEs, using them as shields to protect itself from the Skiprays. This forced the Imperials to switch from ion cannons to turbolasers, targeting the rogue Nebulon-B's shield module and engines, while the TIEs were also deployed. The Far Orbit managed to approach the Interdictor and, after withstanding the Claw's firepower, successfully destroyed one of the gravity wells. This enabled the Far Orbit to swiftly enter hyperspace and evade the trap.
Aftermath
Although the Far Orbit escaped, it sustained significant damage, prompting Vedij to direct the privateers to a nearby shadowport for repairs and restoration. The ship later returned to Brentaal space after undergoing complete repairs and dispatched a landing party to retrieve a valuable datacard from an Alliance contact on Brentaal IV.
Behind the scenes
The battle was initially depicted in The Trap, an adventure scenario featured in 1998's The Far Orbit Project, authored by Timothy S. O'Brien. This book served as a supplement to West End Games's Star Wars: The Roleplaying Game and shared the thematic elements of the preceding publication Pirates & Privateers, focusing on the privateering vessel Far Orbit. The narrative does not specify how the crew of the Far Orbit dealt with the stormtrooper boarders during the engagement with Kenit's fleet.
During the initial confrontation with the troopers from SPF 14897, the players controlling the officers of the Far Orbit have the option to retract the docking tubes used to board the Mark III, effectively abandoning the privateer boarders. While this action protects the ship from Imperial troops, it negatively impacts the crew's morale. Alternatively, the officers can choose to send reinforcements to extract the privateer boarders, which boosts crew morale but exposes the ship to counter-boarding attempts. The battle with the fleet offers multiple possible outcomes. One such outcome involves Vedij surrendering himself to Kenit in exchange for the freedom of his privateer crew, although Kenit intends to betray Vedij and kill them regardless. However, in this particular scenario, this does not occur, as the Far Orbit launches another attack as Vedij is being transferred, successfully escaping the trap. The privateers then pledge to rescue their captain.
Another possibility is that the privateers fight to the bitter end, managing to destroy or repel all opposing ships. However, this outcome is unlikely and results in severe damage to the Far Orbit. Nevertheless, the privateers can salvage spare parts from the destroyed Imperial vessels. This course of action attracts significant Imperial attention, leading to the deployment of an entire fleet, including several Star Destroyers, in pursuit of the Far Orbit. Consequently, the relief and supply station they rely on, StarForge Station, prohibits them from docking to prevent the Imperials from discovering its location. In another scenario, the Alliance dispatches a task force to rescue the Far Orbit, consisting of twenty-four X-wing starfighters and ten CR90 corvettes. They provide the Far Orbit with time to escape, but the cost of the rescue means that the Alliance will not offer assistance again.
The final possible outcome, which aligns with the events described in this article, involves the Far Orbit damaging the Interdictor to facilitate its escape. This choice avoids negative consequences for the Far Orbit's subsequent adventures, such as Vedij's capture by the Imperials or the closure of StarForge Station. The scenario can be further developed, with the Far Orbit potentially neutralizing all of the Claw's weaponry by ramming the fighters held in its tractor beams into the Claw's armaments. The Far Orbit can then use the crippled Interdictor as cover. However, this aspect of the scenario is omitted to prevent significant damage or destruction to the Claw, which later appears in canon in the 1999 video game Star Wars: X-Wing Alliance.