Crimson Jack's crew
During the Galactic Civil War period, Crimson Jack, the Pirate Master, commanded a group that gained infamy along the starlanes of the Outer Rim. This group started as mere outlaws, preying on spice transports at the edge of the galaxy. Their operations escalated significantly when they acquired a damaged Imperial Star Destroyer following the Battle of Toprawa, enabling them to expand their reach.
In the year 0 ABY, the group successfully captured Han Solo, the well-known smuggler and Rebel hero. Solo promised to guide them to a valuable Rebel treasure located on Drexel. However, Solo and his allies managed to escape from the battlecruiser upon reaching the Drexel system, triggering an intense battle. During a dogfight involving Jack's starfighters and Solo's Millennium Falcon, Jack callously abandoned his trusted lieutenant, Jolli, after her Y-wing sustained critical damage. Enraged by this act of betrayal, Jolli deliberately crashed her failing ship into the cruiser's armory, causing a massive explosion that obliterated Jack's entire operation. Amidst the resulting chaos, Solo shot and killed Jack, effectively ending his reign and dismantling his group.
Description
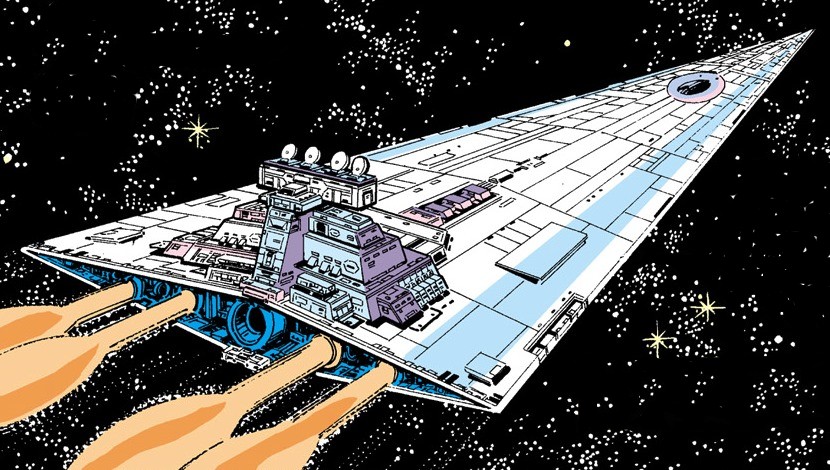
Crimson Jack, a Pirate Master with a notable red beard, was the figurehead of a pirate organization that thrived on raiding starships in the Outer Rim Territories during the Galactic Civil War. This gang, led by Jack, controlled a specific region within the Outer Rim, including the planet Aduba-3, which they considered their territory. By 0 ABY, Jack's operations were based out of a massive Imperial Star Destroyer, a relic he had discovered following a battle of the Galactic Civil War. The acquisition of this battlecruiser forced Jack to change his strategy, seeking external funding to repair the damaged warship, promising investors a share of future profits. What began as ambushes on spice caravans along the galactic frontier evolved into a business with actual shareholders.
Jack located the battlecruiser adrift in space and often employed a similar tactic to ensnare passing ships. He would make the cruiser appear as a derelict, luring unsuspecting pilots before launching his starfighters to surprise them. However, Jack preferred capture over outright combat, using his fighters to guide ships into his cruiser's tractor beam, boarding them to steal their cargo. He also preferred to keep his targets alive, viewing killing as a wasteful loss of potential income, although he would not hesitate to order brutal executions if he deemed it necessary.
By 0 ABY, Jack's gang consisted of numerous individuals, all Human but from diverse backgrounds, equipped with an assortment of arms and armor. Crew members armed themselves with blasters, old-fashioned cutlasses, and other weapons. One member was even known to wear full Imperial stormtrooper armor during boarding actions. The gang's starfighter fleet was equally diverse, including X-wings, Y-wings, TIE fighters, and various other craft.
History
Meeting Han Solo
The gang under Crimson Jack began by attacking spice caravans in the Outer Rim, which led to encounters with criminals such as the Corellian smuggler Han Solo. Initially operating from a single DP20 frigate, the gang received a significant upgrade during the Galactic Civil War. Following a key Rebel victory at the Battle of Toprawa, they discovered a badly damaged Imperial Star Destroyer adrift. After dealing with a few TIE fighters, the gang boarded the cruiser, initially planning only to scavenge what they could. However, Jack realized that the damage was mostly superficial and, after eliminating the remaining defenders, decided to claim the Star Destroyer as his new flagship. Repairing the cruiser was expensive, but Jack secured funding from several wealthy backers, including the notorious Hutt crime lord Jabba Desilijic Tiure, who agreed to finance the repairs in exchange for a share of future profits.
In 0 ABY, this included ambushing Solo, who had become a Rebel hero for his actions during the Battle of Yavin. Jack disguised his battlecruiser as an abandoned vessel, luring Solo's Millennium Falcon before launching his starfighters and pulling Solo into his tractor beam. Jack, Jolli, a recent recruit who quickly became a trusted member, and a large boarding party thoroughly searched the ship, finding a large amount of treasure hidden in Solo's smuggling compartments. Jack then released Solo, but not before planting a homing beacon on the ship. Soon after, Jack's gang captured an even more valuable prize: Princess Leia Organa of Alderaan, a major Rebel leader, traveling alone.
Although Jack believed he could demand a large ransom for Organa, he couldn't get her to reveal the location of the Rebel base. However, the reappearance of Han Solo gave Crimson Jack an idea. With his tracer still on the Millennium Falcon, Jack had planned to recapture Solo if he found him in his territory. He soon captured the Falcon again near Aduba-3. This time, Solo allowed himself to be tractor beamed without resistance. Jack planned to use Solo and his Wookiee companion Chewbacca to force Organa to cooperate, intending to torture them in front of her to demonstrate the consequences of her defiance.
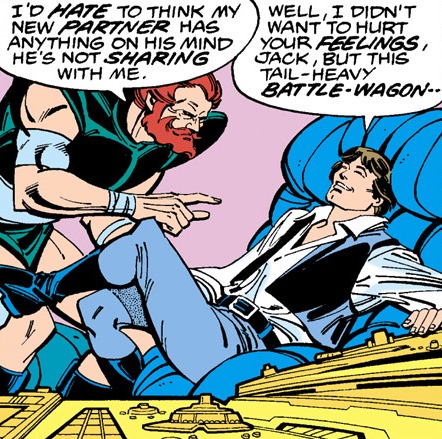
However, the execution did not go as planned. Jack's gang underestimated Chewbacca's strength, as he withstood the blaster fire and disarmed several of Jack's men. A stalemate ensued, and Solo offered to negotiate with Jack, promising to help them acquire a greater treasure than what they had previously taken from the Millennium Falcon. Intrigued, Jack accepted Solo's offer, meeting him for a meal in his quarters. There, Solo revealed that he and the Princess were acquainted and that the treasure Jack had stolen was a reward from the Rebels for rescuing Organa from Imperial captivity. Solo offered to lead Jack and his gang to the supposed Rebel treasury in the Drexel system in exchange for a share of the loot. Despite his reservations about trusting Solo, the promise of Rebel riches was too tempting for the pirate to resist, and he ordered his ship to head to the Drexel system at full speed.
Chaos in the Drexel system
Because Drexel was outside Jack's usual hunting grounds, their navicomputer lacked detailed information about the destination. However, Solo had more detailed charts on the Millennium Falcon, and Jack allowed Chewbacca to connect to his battlecruiser's computer system to transfer the data. The connection was completed as the battlecruiser arrived out of hyperspace at Drexel. There, Jack discovered, to his dismay, that Drexel was a waterworld, which meant the Rebel treasury could not be on the planet. A heated argument on the ship's bridge was interrupted by a sudden gravity disturbance that began pulling the cruiser towards Drexel's surface, caused by planetside ship-wreckers using a sonic jammer to ensnare visiting vessels. In the chaos, Solo, Organa, and Chewbacca managed to reach the Millennium Falcon and escape to the planet's surface, taking out several crewmembers and damaging the gang's starfighter arsenal in the process.
Although Jack was furious at Solo's escape, his gang had to focus on preventing the cruiser from being dragged down to the planet. With the ship's emergency drive barely holding against the sonic jammer, Jack tasked Jolli with overseeing repairs to the sabotaged starfighters. The sonic jammer problem was resolved when Solo and his friends disabled the device. Although Jack's chief engineer suggested leaving Drexel with the jammer deactivated, Jack was determined to confront Solo. Meanwhile, Jolli managed to repair three of the gang's starfighters, and Jack assigned her to lead the three-person Raider Squadron to pursue the Millennium Falcon off Drexel's surface. Although Jolli managed to engage the Falcon in a dogfight, Raider Squadron was unable to bring the ship into the cruiser's tractor beam. Instead, Solo evaded pursuit with a sudden maneuver, destroying two of his pursuers and severely damaging Jolli's Y-wing.
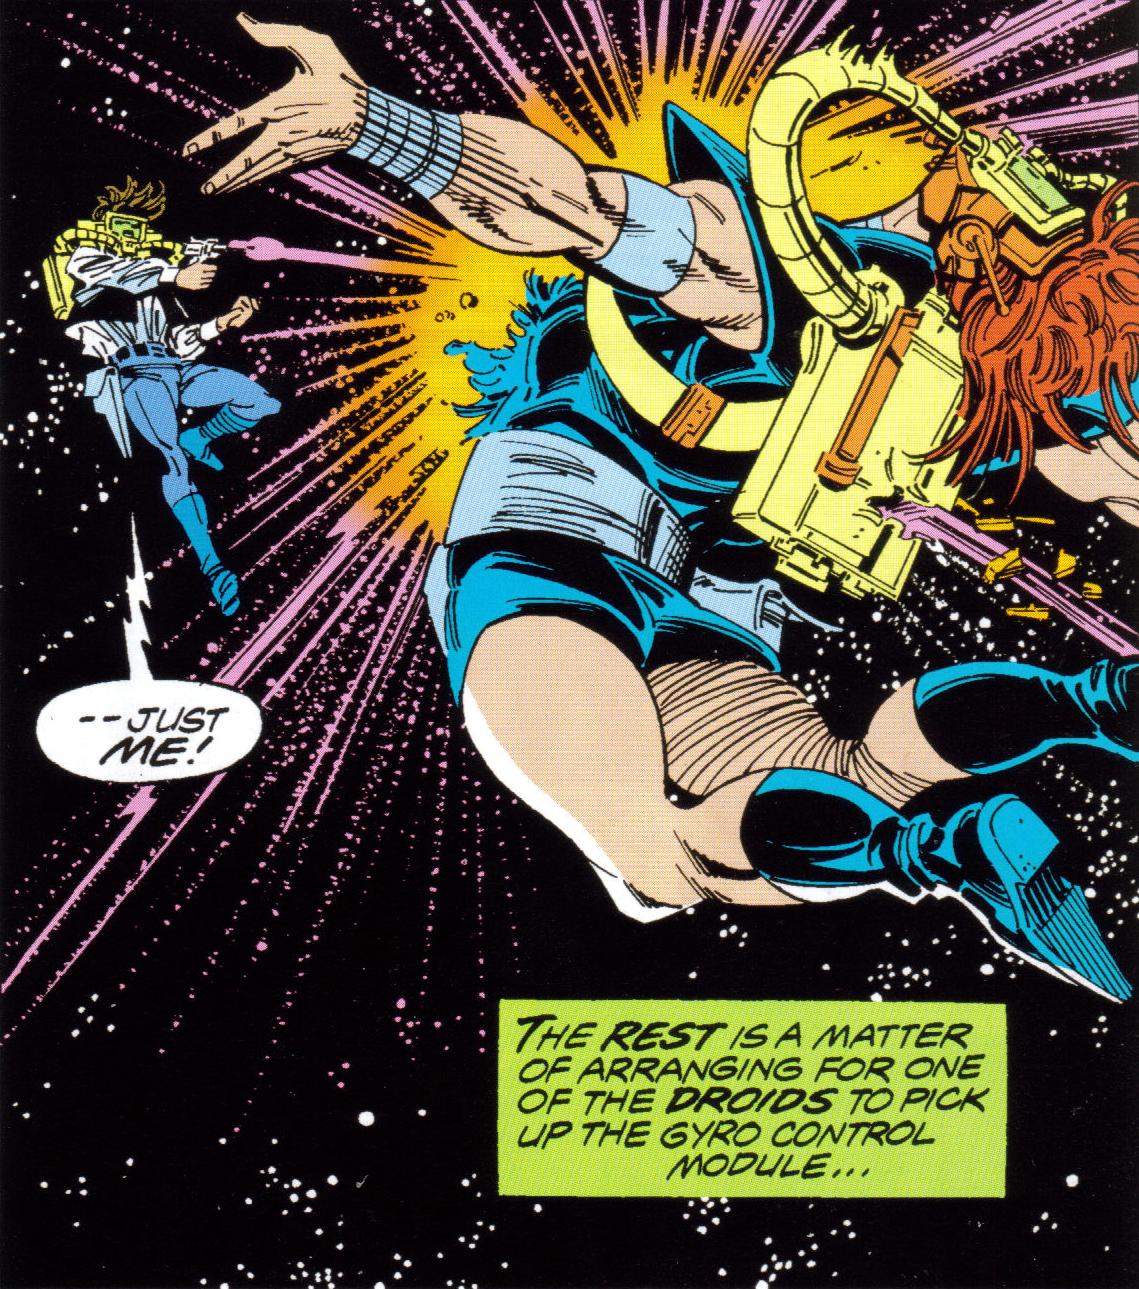
Still outgunned, Solo had one last advantage: he still maintained a connection to Jack's battlecruiser's computer systems, allowing him to erase all the star charts in the ship's navicomputer, effectively trapping the gang in the Drexel system. Forced into a corner, Jack agreed to negotiate with Solo, supposedly to arrange an exchange of Solo's Rebel treasure for the return of his star charts. As Jack prepared to meet with Solo, he received a desperate message from Jolli, whose damaged Y-wing was falling apart. Jack denied Jolli's request for a magnetic pulse beam to retrieve her, fearing it would interfere with his signal system, and then quickly forgot about her as she faced death in space. Jack then put on a breath mask and met Solo in space, protected by the cruiser's magnetic field. Both were armed, and neither intended to negotiate.
Jack had brought plenty of backup, and it seemed Solo was outmatched, until a badly damaged Y-wing appeared. Enraged by Jack's betrayal, Jolli flew her dying starfighter on a suicide run towards the cruiser, using her guns to eliminate Jack's backup. She then crashed her Y-wing into the cruiser's munitions deck, causing a massive explosion that destroyed the ship. Solo shot and killed Crimson Jack in the chaos, ending his life and dismantling his gang. Some time later, associates of Jabba Desilijic Tiure discovered the wreckage of Jack's cruiser and found the ship's log intact. The log revealed that Han Solo was responsible for the destruction of Jack's gang. Because financing the repairs to Jack's cruiser was a major investment for the Hutt, Jabba was furious and placed a large bounty on Solo's head.
Members
Crimson Jack
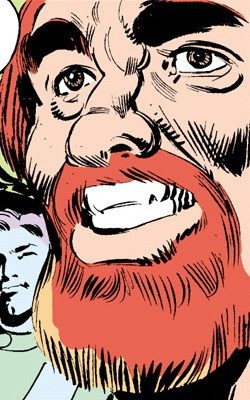
Crimson Jack, the gang's charismatic leader, was known for his red beard and ruthless ambition. He sought to elevate the gang beyond simple piracy, transforming it into a legitimate enterprise by securing investments in exchange for a share of profits. Jack was cunning but showed little regard for his subordinates, including Jolli. He held a grudge against Han Solo, seeing him as an equal in cunning. However, Jack's decision to trust Solo in the pursuit of the Rebel treasury on Drexel proved to be a fatal error. Although Jack had the upper hand in their final confrontation, his neglect of his subordinates led Jolli, whom he had left to die, to sacrifice herself, destroying Jack's cruiser and ending his life.
Jolli
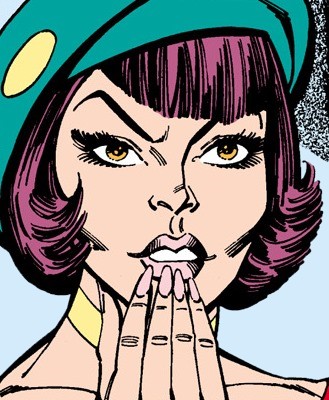
Jolli, the daughter of an Imperial fugitive, was orphaned and left to survive on her own on the galactic frontier. She became skilled with a blaster and a capable starfighter pilot before joining Jack's gang shortly before their journey to the Drexel system. Impressed by her skills and temper, Jack quickly made Jolli a trusted lieutenant. However, after meeting Han Solo, Jolli developed an unwanted attraction to him, causing her to act erratically as she struggled to reconcile her feelings for Solo with her deep-seated hatred of men, stemming from her father's abandonment. Driven by a need to prove herself, Jolli led the gang's starfighter group against the Millennium Falcon, but her Y-wing was severely damaged. Enraged by Jack's betrayal, Jolli retaliated with a suicide attack on the cruiser, leading to the gang's destruction.
Behind the scenes
Crimson Jack's pirate gang first appeared in Star Wars (1977) 7, written by Roy Thomas and released in 1977. The gang reappeared in Star Wars (1977) 11, and featured heavily in the next several issues until the group was destroyed in Star Wars (1977) 15. During its appearances in the Marvel Star Wars series, the gang was illustrated by Howard Chaykin and Carmine Infantino.