Death Star II plans
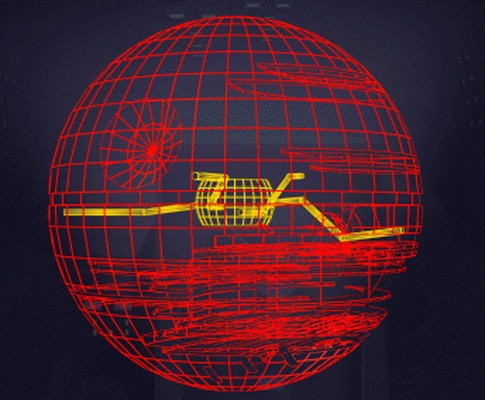
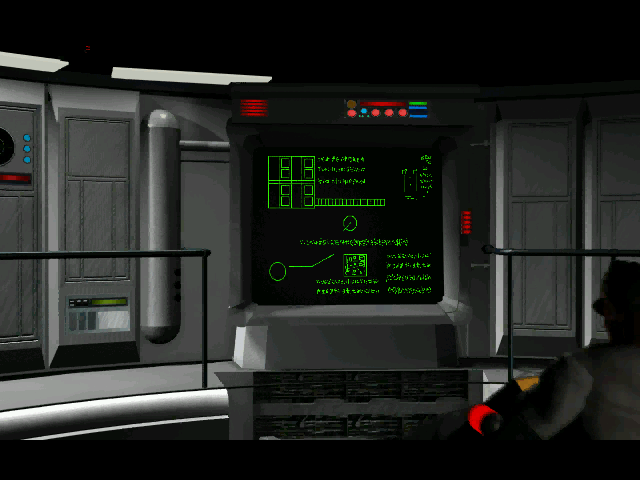
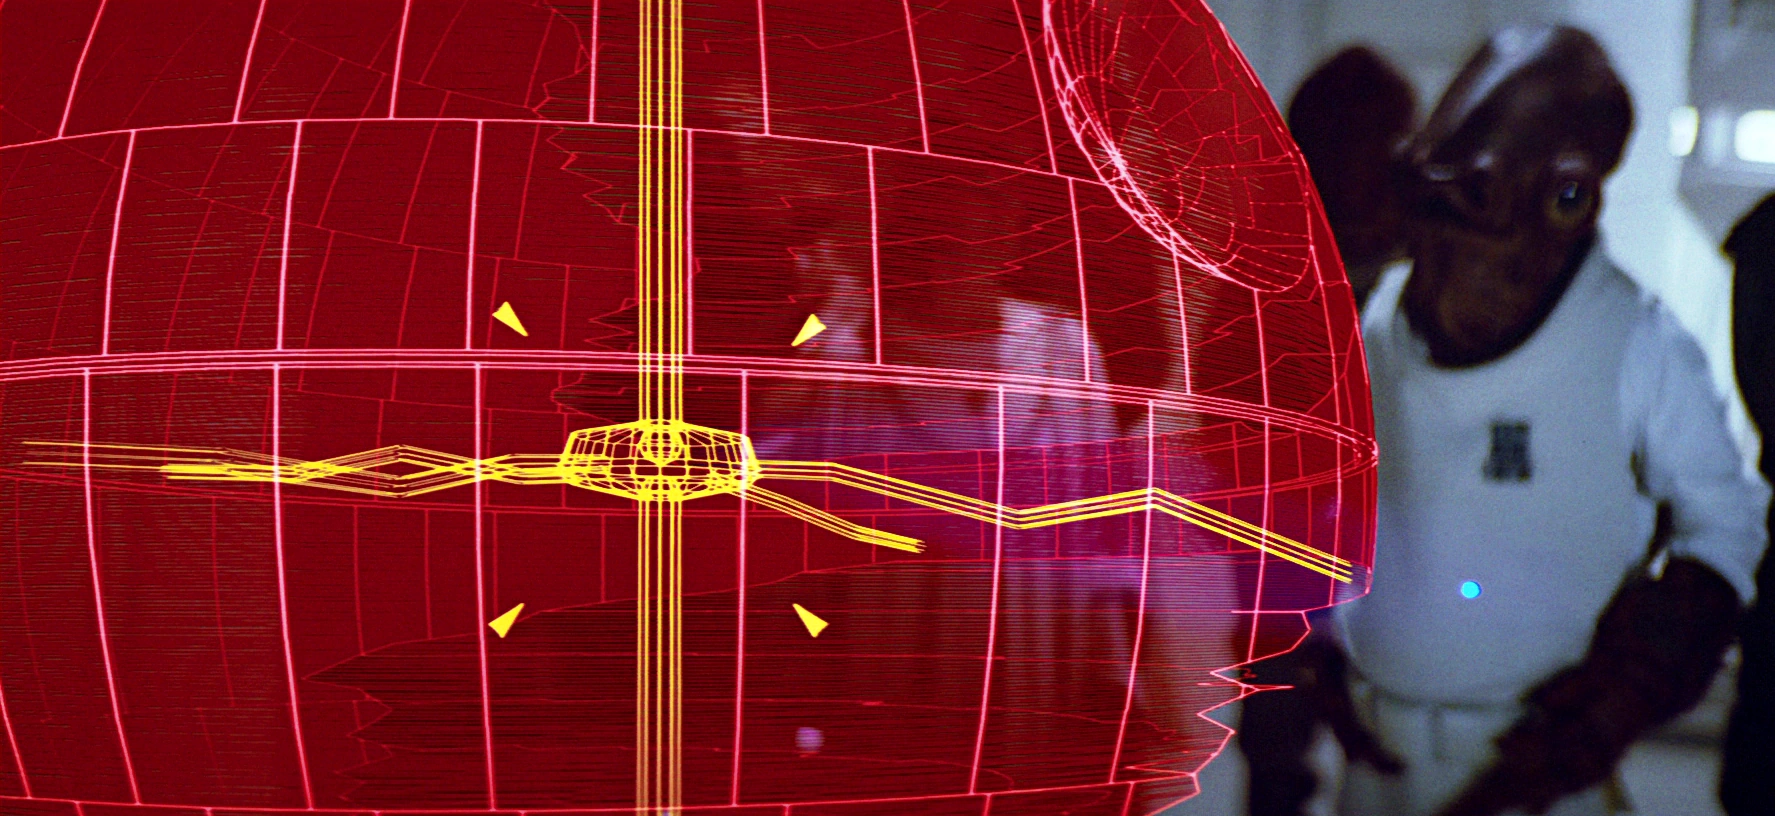 This is a holographic representation of the second Death Star's structure, shown during the Rebel briefing that preceded the Battle of Endor.
The highly classified construction specifications for the Empire's planet-destroying superweapon, known as the second Death Star, were called the Death Star II plans. These plans were intentionally given to the Alliance as part of a complex strategy created by Emperor Palpatine with the goal of wiping out the Rebel Alliance. The Black Sun leader, Prince Xizor, delivered them to the Alliance under the pretense that they had been stolen. This provided the Rebels with the necessary technical information to plan their attack on the Death Star, which led to the Battle of Endor.
History
Background
After the first Death Star was destroyed in the Battle of Yavin, the Emperor immediately gave orders to build a new battle station. This new station was designed to be even bigger and more destructive than the original. He intended to use this weapon to permanently eliminate the Rebellion from the galaxy and establish the New Order as the unquestioned ruling power of the galaxy.
At some point, the Emperor came up with a scheme to use the Rebellion's own tactics against them. Instead of Rebel spies stealing the plans to the first Death Star to plan the assault that destroyed it, the Emperor would make sure the plans for his second battle station were intentionally obtained by the Rebels. This was designed to lure them into a trap where the Empire could finally destroy them once and for all.
In 3 ABY, as the new Death Star approached completion, the Emperor began to set his plan in motion. The Falleen Xizor, the Dark Prince who led the Black Sun criminal organization, was essential to his plans. Xizor would ultimately be the Emperor's most important instrument. The criminal leader's immense wealth and influence, second only to the Emperor and Darth Vader, would be used to create a false sense of security for the Alliance. Despite being cunning and unreliable, as most criminal organizations were, the Alliance didn't necessarily see Black Sun as an enemy. It was reasonable to assume that Black Sun, as a criminal organization, would naturally oppose the Empire. The Emperor anticipated this assumption and intended to take advantage of it.
The Emperor had maintained a working relationship with Xizor for a number of years, but his usefulness reached its peak after the Battle of Hoth. Xizor served the Emperor in two key ways: first, the Dark Prince and Lord Vader were fierce rivals, constantly competing for Palpatine's favor. Palpatine intentionally revealed to Xizor that Luke Skywalker was Vader's son and that the Emperor and Vader intended to convert him to the dark side of the Force. The Emperor knew that while Vader wanted to keep Skywalker alive, Xizor would try to kill him to permanently damage Vader's reputation with the Emperor, possibly replacing him at Palpatine's side. If Xizor succeeded in killing Skywalker, the Emperor wouldn't mind, as it would prove that the boy wasn't strong enough to be worth corrupting, and his growing abilities in the Force would no longer pose a threat. Second, the Emperor would use Xizor to deliver the Rebels to him. To gain more favor with the Emperor, Xizor proposed a plan to let the Alliance obtain the plans for the unfinished Death Star. Knowing the location of the Death Star construction site and the construction schedule, the Rebels would likely attack, and the Empire would be ready to ambush and destroy them.
Darth Vader was suspicious of Xizor and advised the Emperor against his plans. Xizor really wanted to gain the Emperor's favor and see the Alliance defeated. However, his backup plan was that, if the Rebels somehow won, the future new order would remember Black Sun's "generous contribution" to their victory. However, it's likely that the Emperor conceived this plan first and only allowed Xizor to believe it was his own idea to use him as a tool.
The Alliance is informed
The initial intelligence regarding the construction of the second Death Star came from Commander Zaletta, an Imperial defector seeking to prove his loyalty to the Alliance. Zaletta, who held a high position in the Imperial command structure, possessed extensive knowledge of classified Imperial projects. He informed the Alliance about a secret Imperial research facility in the Kuat system that was testing a new experimental reactor system, which he believed was related to the Death Star. He also alerted the Alliance to a large Imperial convoy passing through the Eidoloni system. The Alliance discovered that the convoy, made up of XTS cargo freighters and heavily guarded by Victory II-class Star Destroyers like the Protector and Vanguard, was transporting construction materials. Unbeknownst to the Alliance at the time, the convoy was headed to the Death Star II construction site above the forest moon of Endor.
Xizor leaked information about a massive construction project being carried out by the Empire to the Bothan Spynet through a female Black Sun contact, likely his personal assistant, Guri. The Bothans initially attempted to uncover the project's details by bribing a high-ranking Imperial officer to insert a slicer droid into the Coruscant computer network to find and copy the plans, but this effort failed. However, they learned that the project details were stored in heavily protected special computers, one of which was being secretly transported from Coruscant to Bothawui disguised as a simple freighter carrying fertilizer.
Capture of the Suprosa

Koth Melan, a leader within the Bothan Spynet, chose to share this information with the Alliance for free, rather than selling it as Bothans were known to do, because he was disgusted by the Empire's execution of his father. Luke Skywalker and Dash Rendar, along with a group of Bothans sympathetic to the Alliance, planned to intercept the Imperial freighter Suprosa at Bothawui and steal the secret computer.
Skywalker, flying his personal X-wing, and Rendar, piloting his YT-2400 light freighter called the Outrider, were joined by a dozen BTL-S3 Y-wing starfighters flown by the Bothan squadron and Alliance pilot Ace Azzameen. They successfully intercepted the Suprosa as it emerged from hyperspace, but quickly realized that the seemingly defenseless freighter was actually heavily armed and shielded, and under orders not to surrender its cargo without a fight. The freighter managed to launch a single Diamond Boron Missile, which destroyed four of the Y-wings. Before Skywalker and Azzameen could subdue the freighter, a total of six Y-wings were destroyed, including all twelve Bothan pilots on board. Rendar then boarded the Suprosa with a group of Bothans led by Melan to seize the computer.
The Suprosa's resistance was deliberately staged to prevent the Alliance from suspecting that they had obtained the information too easily.
Battle of Kothlis
To prevent the supercomputer from being destroyed by a self-destruct mechanism, Melan transported it to the Bothan colony world of Kothlis for decryption by a specialized team.
However, while on the way to Kothlis, the group was attacked by the Immobilizer 418 cruiser Claw and the Victory I-class Star Destroyer Hunter. Blue Squadron drove off the Claw, allowing the Rebels to reach Kothlis.
While decoding the data in a safehouse on the planet, Koth Melan and Skywalker were attacked by a team of Barabel bounty hunters led by Skahtul, who were after the bounty on Skywalker. Melan was killed and Skywalker was captured.
During the assault, a single Bothan managed to escape the safehouse and the planet with the computer, along with Borsk Fey'lya aboard his personal shuttle, Fey'lya's Pride, just as Darth Vader and his personal flagship Executor arrived in the system, accompanied by the Imperial II-class Star Destroyer Avenger.
Two Rebel spies
At the same time, Rebel agents Tay Vanis, also known as Tiree, and Yom Argo were supposed to receive the plans from the Bothans and deliver them to central command. Unfortunately, Tiree was captured on an unnamed planet. He left a message in his wrecked X-wing to inform any Rebel sent to rescue him that the plans were hidden in the memory banks of droid LE-914. Argo fled, intending to report to Rebel command and organize a rescue mission for Tiree. He flew in his ship with his astromech droid. Sadly, Argo crashed on Lahsbane shortly after leaving the Bothans, killing himself and a Lashbee.
The fate of Razor
Meanwhile, the surviving Bothan spies escaped from Kothlis aboard Fey'lya's Pride, carrying the stolen Imperial computer to Kothlis II, a space station orbiting Kothlis. Around that time, Darth Vader's Death Squadron, including the Executor and supported by the Avenger, arrived and began attacking Kothlis II. The computer was then transferred to the Razor. Under covering fire from Liberty, the Razor successfully jumped to hyperspace.
Vader had come to Kothlis to retrieve Skywalker and to create the impression that the Empire was genuinely concerned about the "loss" of the plans.
While en route to its meeting with the Independence, the Razor was attacked by an Imperial pursuit group. The Avenger eventually captured the corvette, but it managed to launch an escape pod that was picked up by the civilian Dreadnaught Mercury. The Mercury rescued an escape pod carrying a lone Rebel crewman, who had the plans for the second Death Star.
Reclaim
The Mercury then transported the escape pod to the rendezvous point with the Independence and launched it again towards the cruiser. However, the Avenger reappeared along with the Executor. The crew of the Independence managed to protect the pod while transferring it to the cruiser.
Meanwhile, Luke Skywalker and Leia Organa searched for Tiree and found his clue, but Darth Vader was already torturing Tiree and left him to die, hoping to lure Skywalker into a trap. However, when LE-914 saw Tiree, she gave the plans to Luke and self-destructed, giving the Skywalkers time to escape.
Analyzing the plans helped the Alliance develop their attack strategy against the new Death Star. This also led them into a trap, as the station was fully armed and operational. The Emperor foresaw the attack, and the fleet was surrounded during the Battle of Endor. Ironically, the plans ultimately led to the Emperor's and, to a lesser extent, the Empire's downfall. Despite being caught off guard and losing several critical ships to the Death Star's operational superlaser (including the medical frigate Redemption and the command cruiser Liberty), the Rebels managed to defeat the Emperor and destroy the powerful battle station, dealing a devastating blow to the Empire.
Behind the scenes
While the story of the first Death Star plans and Operation Skyhook has been thoroughly detailed in the Expanded Universe, the story of how the Alliance obtained the plans for the Death Star II was initially presented in the post–Return of the Jedi Marvel Star Wars comics, with further details provided later in Star Wars: Shadows of the Empire.
Unlike the common term "Death Star plans" used for the first Death Star, the plans for the second Death Star are only vaguely referred to as "structure data" or "blueprints"; therefore, the name "Death Star II plans" is speculative.
Different sources offer varying accounts of what happened to the plans during the Battle of Kothlis. Although the plans ultimately ended up in the Rebels' possession in all versions, this article describes the events as they are portrayed in X-wing Alliance.
- Alternatively, in Rogue Leader, the data is still transferred to the Razor, but the Star Destroyer Motivator attacks the ship over Kothlis instead of the Avenger. The frigate Redemption attacks the Motivator, causing it to crash onto the surface of Kothlis. Crix Madine then retrieves the computer and presumably delivers it to the Independence.