R5-K6
R5-K6, an R5 unit, played a role within the Alliance to Restore the Republic's Red Squadron during the Galactic Civil War against the forces of the Galactic Empire. Stationed on the moon Yavin 4, this droid was among those mobilized to engage the Empire in the Scarif system. This occurred as a Rebel strike team was in the process of attempting to extract the critical Death Star plans from the planet Scarif below. Piloting a T-65B X-wing starfighter alongside Red Leader Garven Dreis, R5-K6 battled enemy starships in the expanse of space while the strike team successfully accomplished their mission of stealing the plans, following which R5-K6 and Dreis withdrew from the battle.
Not long after the plans had been successfully acquired, the Empire's formidable Death Star superweapon made its way to the Yavin system with the intent to obliterate the Rebel base and Yavin 4 entirely. R5-K6 once more joined Dreis as part of the forces that mounted an assault on the Death Star, engaging opposing starfighters while the BTL-A4 Y-wing assault starfighter/bombers of Gold Squadron made attempts to exploit the vulnerable thermal exhaust port, a weakness the Alliance had discovered thanks to the stolen Death Star plans. With Gold Squadron suffering heavy losses, R5-K6 and Dreis executed their own attack run targeting the port, but were unsuccessful in hitting the target. Subsequently, both were killed when Darth Vader, the Sith Lord, destroyed their X-wing starfighter.
Biography
Red Rebel
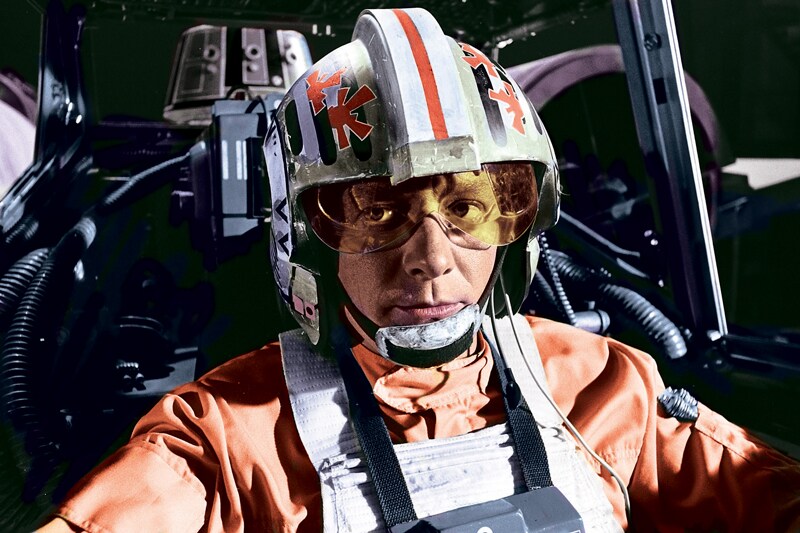
An astromech droid of the R5 unit variety, R5-K6 was produced by Industrial Automaton and provided service to the Alliance to Restore the Republic during the Galactic Civil War against the Galactic Empire. This particular droid was a member of the Massassi Group, which operated from the Great Temple, the Alliance's main headquarters located on the moon Yavin 4. It served as the astromech for Garven Dreis, a pilot who flew his T-65B X-wing starfighter under the callsign Red Leader within the Rebel Alliance Starfighter Corps' Red Squadron.
Battle of Scarif
In the year 0 BBY, the Rebel forces stationed at Yavin were rapidly mobilized upon the discovery that a Rebel strike team had gone against direct orders and infiltrated the Imperial security complex on the planet Scarif. Their objective was to steal the plans for the Empire's Death Star superweapon. Red Squadron, which included both Dreis and R5-K6, was among the forces that accompanied Admiral Raddus to the Scarif system with the intention of providing support to the strike team.
Upon their arrival in the star system, the Rebels immediately engaged the Imperial forces that were present above the planet. R5-K6, along with the other members of Red Squadron, fought alongside Gold Squadron in combat against the Imperial starships in the vastness of space, while Blue Squadron attempted to penetrate the planet's atmosphere to offer aerial support. Despite suffering significant losses, the Rebels ultimately achieved victory and successfully stole the plans before the surviving forces, including Dreis and R5-K6, retreated from the area.
Battle of Yavin
In the aftermath of the Battle of Scarif, the Empire uncovered the location of the Rebel base situated on Yavin 4 and dispatched the Death Star to the Yavin system with the intention of destroying it. To prepare for the impending conflict, General Jan Dodonna conducted a briefing for the rebel pilots within the temple, focusing on the Death Star's vulnerable thermal exhaust port. R5-K6 was present at this meeting, standing next to the Wookiee Chewbacca. Armed with the crucial knowledge of the Death Star's weakness, R5-K6 and Dreis once again took to the skies as part of Red Squadron, working in conjunction with Gold Squadron to attempt to destroy the superweapon looming over the moon before it could obliterate the moon itself. Initially, Dreis and the rest of Red Squadron focused on drawing fire away from the Imperial TIE/ln space superiority starfighters and turret emplacements. This was to allow the BTL-A4 Y-wing assault starfighter/bombers of Gold Squadron to attempt to strike the Death Star's vulnerable thermal exhaust port.
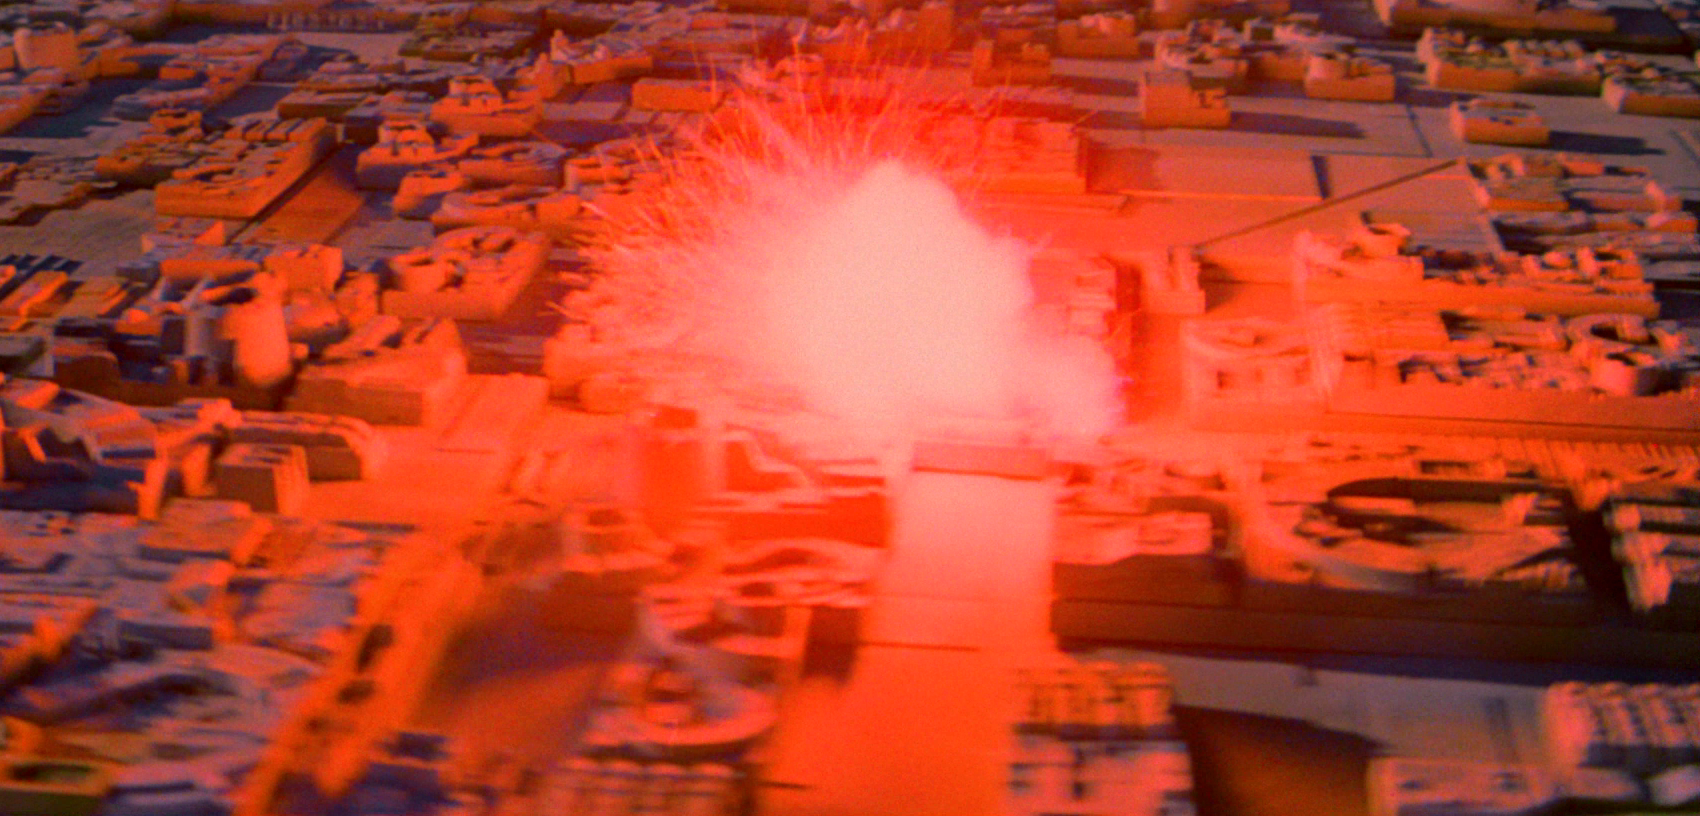
However, after Gold Squadron suffered devastating losses, Dreis and R5-K6 initiated their own attack run on the port, accompanied by two wingmen. Both of these other pilots were killed during the attempt. Although Dreis managed to get a shot off, it only impacted the surface of the Death Star instead of penetrating the port. Subsequently, Dreis and R5-K6 met their demise when the Sith Lord Darth Vader personally shot down their craft, causing it to crash onto the surface of the Death Star and explode. Despite this loss, Red Squadron ultimately succeeded in destroying the Death Star and securing victory in the battle.
Description
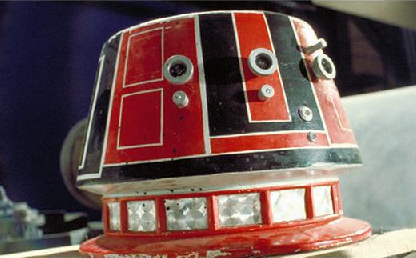
R5-K6 featured paneling in shades of red and black, along with black sensors. Consistent with all R5 units of the R-series, its height was 97 centimeters.
Behind the scenes
R5-K6's initial appearance was in the 1977 film, Star Wars: Episode IV A New Hope, part of the original trilogy. Footage of Dreis and R5-K6 that was originally filmed for A New Hope was later utilized in the 2016 Anthology film, Rogue One: A Star Wars Story. Within the current canon, the droid's identification was first established on an action figure set from Star Wars: The Black Series, released in 2018 by Hasbro. The name itself originated within the Star Wars Legends continuity, initially appearing in a 2009 Hasbro action figure set titled "Scramble on Yavin."