Red Squadron (Rebel Alliance)
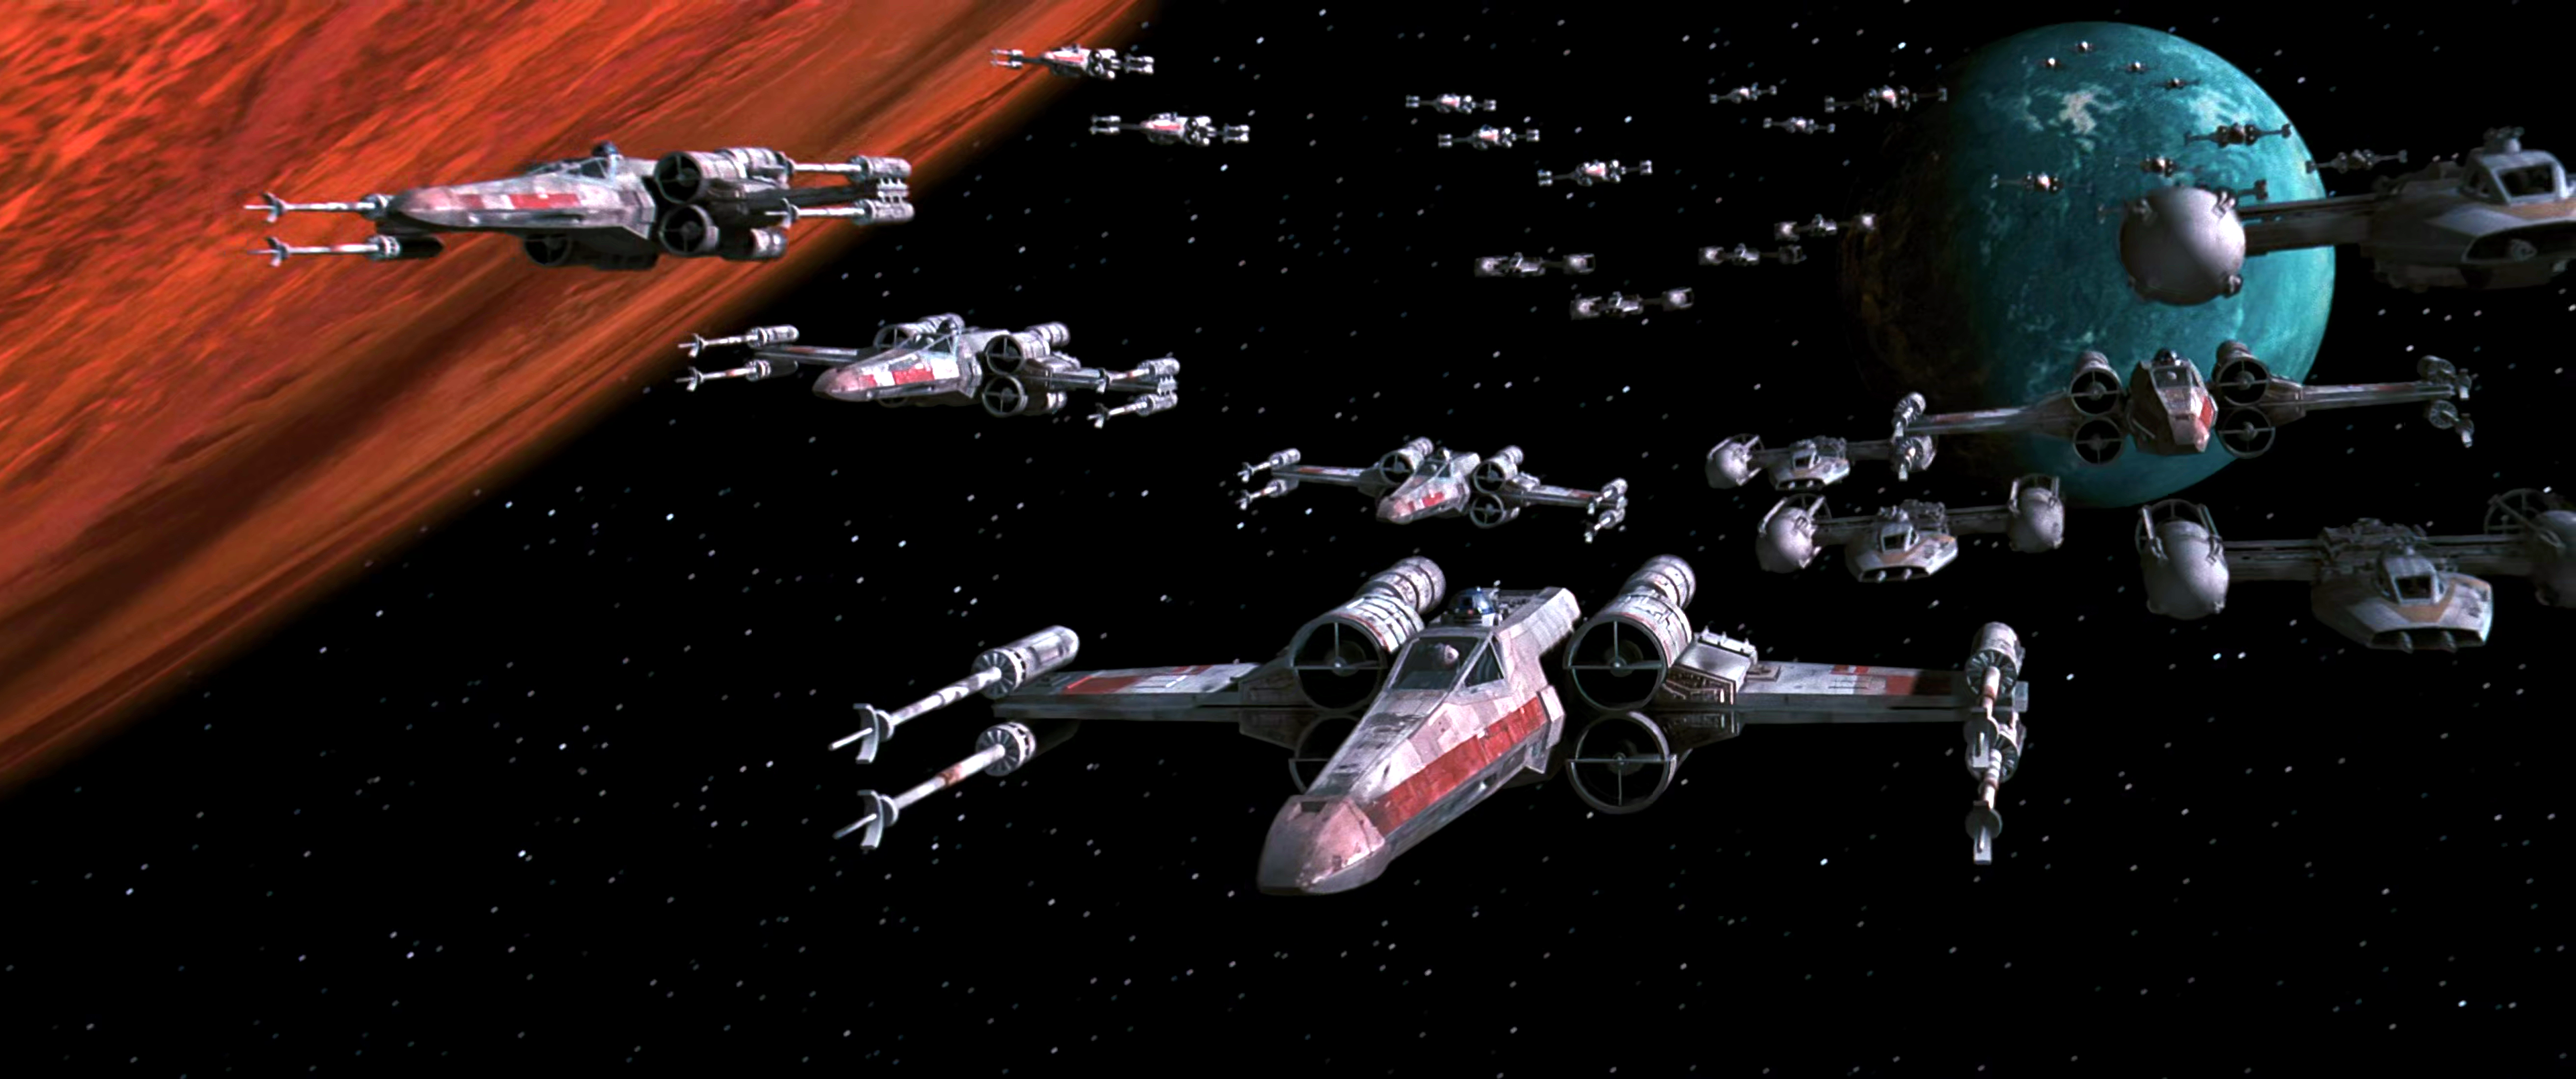
Red Squadron, also known as Red Group, was a squadron of starfighters, specifically X-wing starfighters, that fought for the Rebel Alliance's starfighter corps during the Galactic Civil War. This squadron saw action in notable engagements like the Battle of Scarif, the Battle of Yavin, and the Battle of Endor. After the rebellion's triumph and the Republic's re-establishment, Red Squadron was integrated into the New Republic Defense Fleet.
Description
During the Galactic Civil War, Red Squadron functioned as a starfighter squadron within the Rebel Alliance, operating under both the Massassi Group and the Rebel Alliance Starfighter Corps. Later, it became part of the New Republic.
Red Squadron, like many Rebel starfighter squadrons, typically had a complement of twelve ships. However, on some occasions, its size could increase to include fifteen, or as many as ships. Throughout its history, the squadron was led by several commanders, including Commander Garven Dreis, Commander Arhul Narra, Commander Wedge Antilles, and Commander Luke Skywalker.
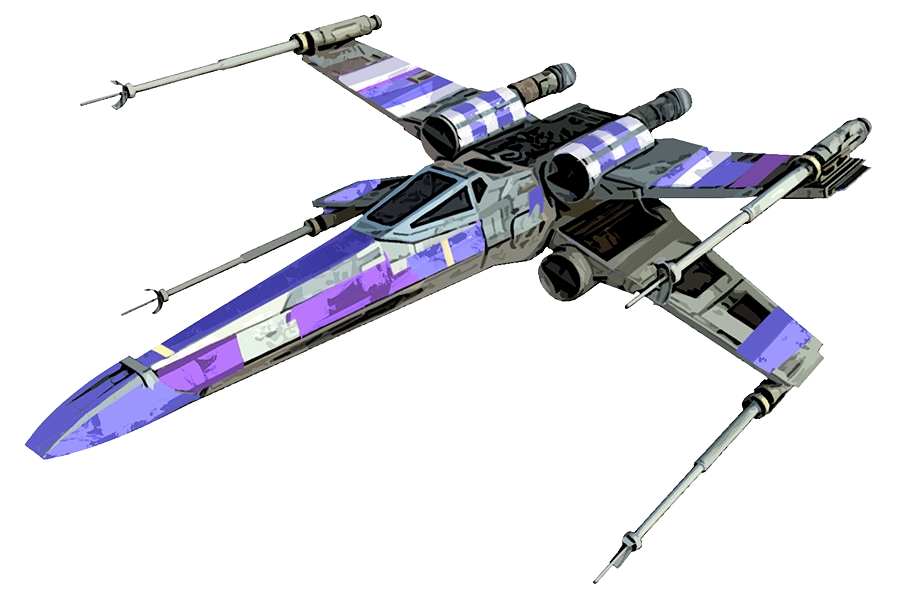
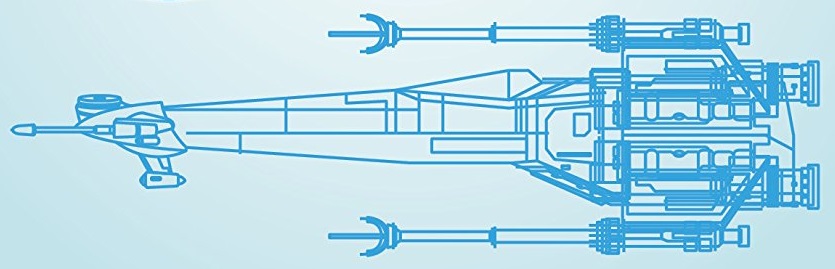
The squadron utilized a variety of starfighters, and sometimes airspeeders. These included the Aggressive ReConnaissance-170 starfighter, which Garven Dreis flew at least once, BTL-A4 Y-wing assault starfighter/bombers, RZ-1 A-wing interceptors, and V-4X-D ski speeders. However, their preferred starfighter was the T-65B X-wing starfighter, because it was capable of engaging TIEs, Star Destroyers, and everything else. Garven Dreis, an early commander of the squadron, also favored the X-wing and refused to fly anything else. Colonel Bandwin Cor suggested that the X-wing's handling might be similar to that of a bush hopper, a type of aircraft commonly used by pilots from Virujansi. The squadron's starfighters were distinguished by red stripes or other markings.
History
Skirmish with Darth Vader
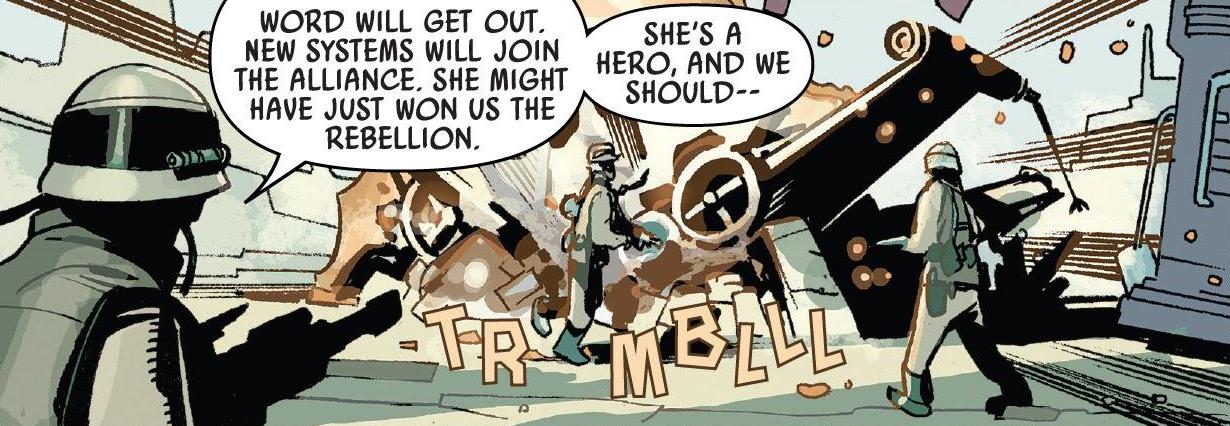
During a battle in 1 BBY that involved Darth Vader, Micha (Red Four) made the ultimate sacrifice by piloting her X-wing starfighter directly into the Sith Lord. Rebel troopers who witnessed Micha's actions considered them heroic, believing that the elimination of Emperor Palpatine's primary enforcer was a significant blow against the Empire. However, Vader survived, emerging from the wreckage of the X-wing and activating his lightsaber.
Operation Buckler
Red Squadron participated in Operation Buckler, with the goal of acquiring decommissioned Y-wing starfighters from the orbital scrapyard located at Ord Biniir. Garven Dreis' plan involved using deception to prevent the enemy from suspecting rebel activity in the Void of Chopani. Because X-wings were sometimes found in the hands of pirates in certain Rim sectors, they decided to pose as pirates, imitating their appearance and flight patterns. Several of the squadron's X-wings were temporarily painted with pirate markings. Two proposed designs were called "Exterior Variant /1" and "Exterior Variant /2". Ultimately, the operation was successful.
Routine patrols around Yavin
Before the Battle of Scarif, Red Squadron conducted routine patrols while the Alliance was stationed at the Great Temple on Yavin. Colonel Bandwin Cor scheduled pairs of pilots in X-wings for shift cycles. Their mission was to fly from Yavin to various Gordian Trace Relays, conduct a flyby of the surrounding space, and then, after confirming that everything was clear visually and with sensors, perform a close uplink of passive relay recordings. Shift Cycle 1 consisted of Commander Garven Dreis (Red Leader) and Major Ralo Surrel (Red Eleven). Shift Cycle 2 consisted of Cadet Harb Binli (Red Seven) and Cadet Pedrin Gaul (Red Five), accompanied by Lieutenant Nozzo Naytaan (Red Nine). Shift Cycle 3 consisted of Lieutenant Attico Wred (Green Four) and Lieutenant Wion Dillems (Green Twelve).
Battle of Scarif
Red Squadron, led by Commander Garven Dreis (Red Leader), participated in the Battle of Scarif alongside Blue Squadron, Green Squadron, and Gold Squadron. Their X-wings assisted the rest of the Alliance fleet in engaging Imperial ships above the planet, fighting numerous TIE fighters, and attacking the Shield Gate and the two Imperial I-class Star Destroyers guarding it. During the battle, Pedrin Gaul (Red Five) was killed by TIEs after straying too far from the group. Later, another pilot was also killed by TIEs.
Battle of Yavin
After successfully retrieving the Death Star plans and suffering significant losses at Scarif, Red Squadron, along with Gold Squadron, participated in the Battle of Yavin under the command of Commander Garven Dreis (Red Leader). X-wings from Red Squadron made the second and third trench runs on the Death Star's thermal exhaust port, following a failed attempt by a trio of Gold Squadron's Y-wings.
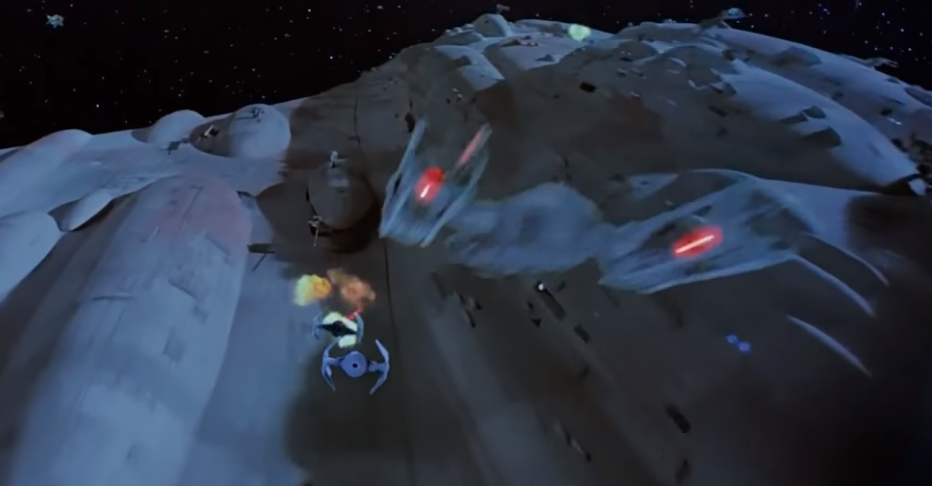
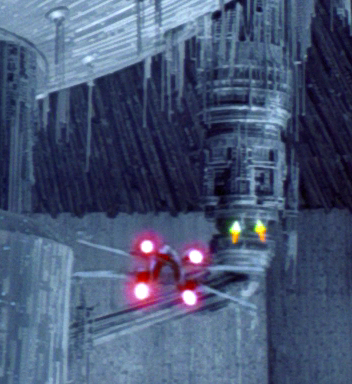
Dreis led the second trench run with wingmen Theron Nett (Red Ten) and Puck Naeco (Red Twelve), but they were all destroyed by Darth Vader in his TIE Advanced x1. Luke Skywalker (Red Five) led the third trench run with wingmen Wedge Antilles (Red Two) and Biggs Darklighter (Red Three), but Darklighter was killed by Vader, and Antilles' X-wing was damaged, leaving Skywalker vulnerable. At the last moment, the Millennium Falcon, piloted by Han Solo and Chewbacca, destroyed two of the TIE fighters and damaged Vader's TIE, allowing Skywalker to score the critical hit that destroyed the Death Star and saved the Alliance forces on Yavin 4 from complete destruction.
Chasing after a Princess
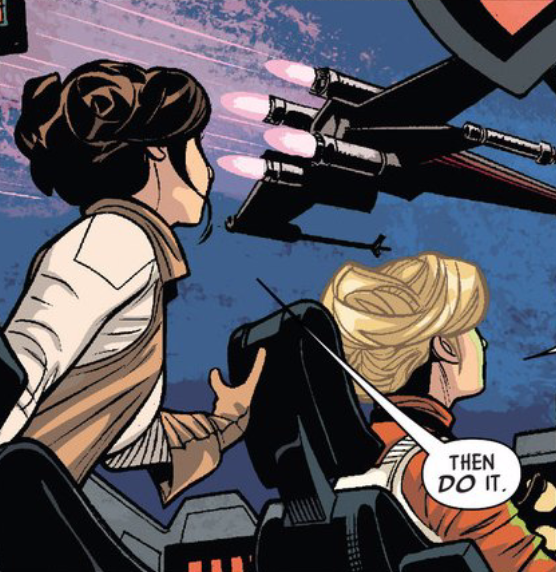
Following the destruction of the Death Star, the Rebel Alliance decided to evacuate their base on Yavin 4. Princess Leia Organa, along with Evaan Verlaine, a fellow Alderaanian rebel pilot, and R2-D2, decided to disobey General Dodonna's orders and embark on a mission to locate and protect surviving Alderaanians from the Empire. Organa sent Dodonna a holo-message informing him of her decision to leave on this mission, but it was too late to stop her, as she had already departed in his personal T-1 shuttle, piloted by Verlaine.
Before they could jump to hyperspace, Wedge Antilles (Red Two) and Luke Skywalker (Red Five), the only two Red Squadron members who survived the Battle of Yavin, intercepted the shuttle and ordered them to return, which Organa refused. The two X-wings moved in front of the shuttle in a herding maneuver, which Verlaine had previously heard Skywalker and Antilles discuss, designed to slow them down and prevent their ship from jumping to hyperspace without crashing into them.

Unable to avoid the faster X-wings, Verlaine had an idea: she collided their shuttle with one of the X-wings, dislodging a component from their ship and claiming it was a piece of their hyperdrive over the comm. Another X-wing pilot visually confirmed the shuttle, and saw what appeared to be an alluvial damper malfunction, telling Red Five that the shuttle looked unstable and to give it a wide berth. Organa was unimpressed with Verlaine's actions, accusing her of sabotaging the mission because she disagreed with it. As soon as the X-wings backed off, the shuttle jumped to hyperspace and escaped. Verlaine had tricked everyone into believing the hyperdrive had failed, when the lost component was actually a useless decoy that she and R2-D2 had created, which she couldn't reveal to Organa while Skywalker and Antilles were listening.
Patrol sweeps around Yavin
During the evacuation of Yavin, Lieutenant Wedge Antilles (Red Two) was assigned a mission in a Patrol X-wing (Snoop 2), equipped with a high-gain Fabritech recon sensor package, to scan the Yavin perimeter. After clearing orbit, Antilles completed a full perimeter circuit, scanning for signs of Imperial intrusion or passive observation devices. Sweep One, focused on the far side of Yavin's sensor shadow, received extra attention due to unconfirmed sightings of an Imperial scout ship in the area the previous day, but it found no foreign objects or signals. Sweep Two, concentrated on the near spinward arc, and also returned negative for foreign objects or signals. Sweep Three, concentrated on the far spinward arc, where a long-range threat appeared, matching the profile of an Imperial probe droid. By the time Antilles reached the halfway point, where the sensors could create a more accurate model, it turned out to be a metal-rich asteroid three meters in diameter. Mirrored facets had reflected Snoop 2's own pings, causing the sensors to trigger a false alarm. Soon after, Alliance Intelligence received multiple confirmed reports of an imminent Imperial threat.
Post-Battle of Yavin
Shortly afterward, Luke Skywalker became an officer in the Alliance, receiving the rank of Lieutenant and being regularly assigned numerous independent missions.
Alliance High Command tasked veteran pilot Commander Arhul Narra with leading Red Squadron. Upon assuming command, Narra asked Luke Skywalker and Wedge Antilles to continue flying with Red Squadron. Narra emphasized that neither of them would receive special treatment for surviving an encounter with the Death Star, even if they were the ones who destroyed it. The experienced commander constantly pushed Skywalker, demanding more from him than anyone else, including Antilles.
Skirmish in the Kiax Nebula
Not long after the Battle of Yavin, Red Squadron, led by Commander Arhul Narra (Red Leader), was assigned to escort the Rebel Alliance transport Nema, which was carrying vital medical supplies. The Imperial Navy would stop at nothing to destroy such a valuable resource, so the Alliance Council plotted a course through the Kiax Nebula, a region avoided by most spacefarers, hoping to evade Imperial detection. The nebula's dense cloud of swirling space dust disrupted sensor readings, and Han Solo warned Mon Mothma that flying through it was a bad idea.
Pirates serving the Tech Masters attacked the Alliance forces using modified TIEs, killing Jamman (Red Three), a Duros pilot and a new member of the squadron. Lieutenant Luke Skywalker (Red Five) managed to destroy three of the TIEs. The pirates employed surprise hit-and-fade tactics, striking the X-wings and then disappearing into the nebula's thick cloud. Skywalker insisted on pursuing the pirates into the cloud, so Red Squadron followed him, leaving the Nema unprotected. While the X-wings were distracted, the pirates hijacked the Nema and took it to Trionak. It was later discovered that this was the third transport to go missing, so Skywalker and Leia Organa took the Millennium Falcon to Trionak to investigate. They successfully recovered the Nema and returned it to Home One.
Mission to Giju
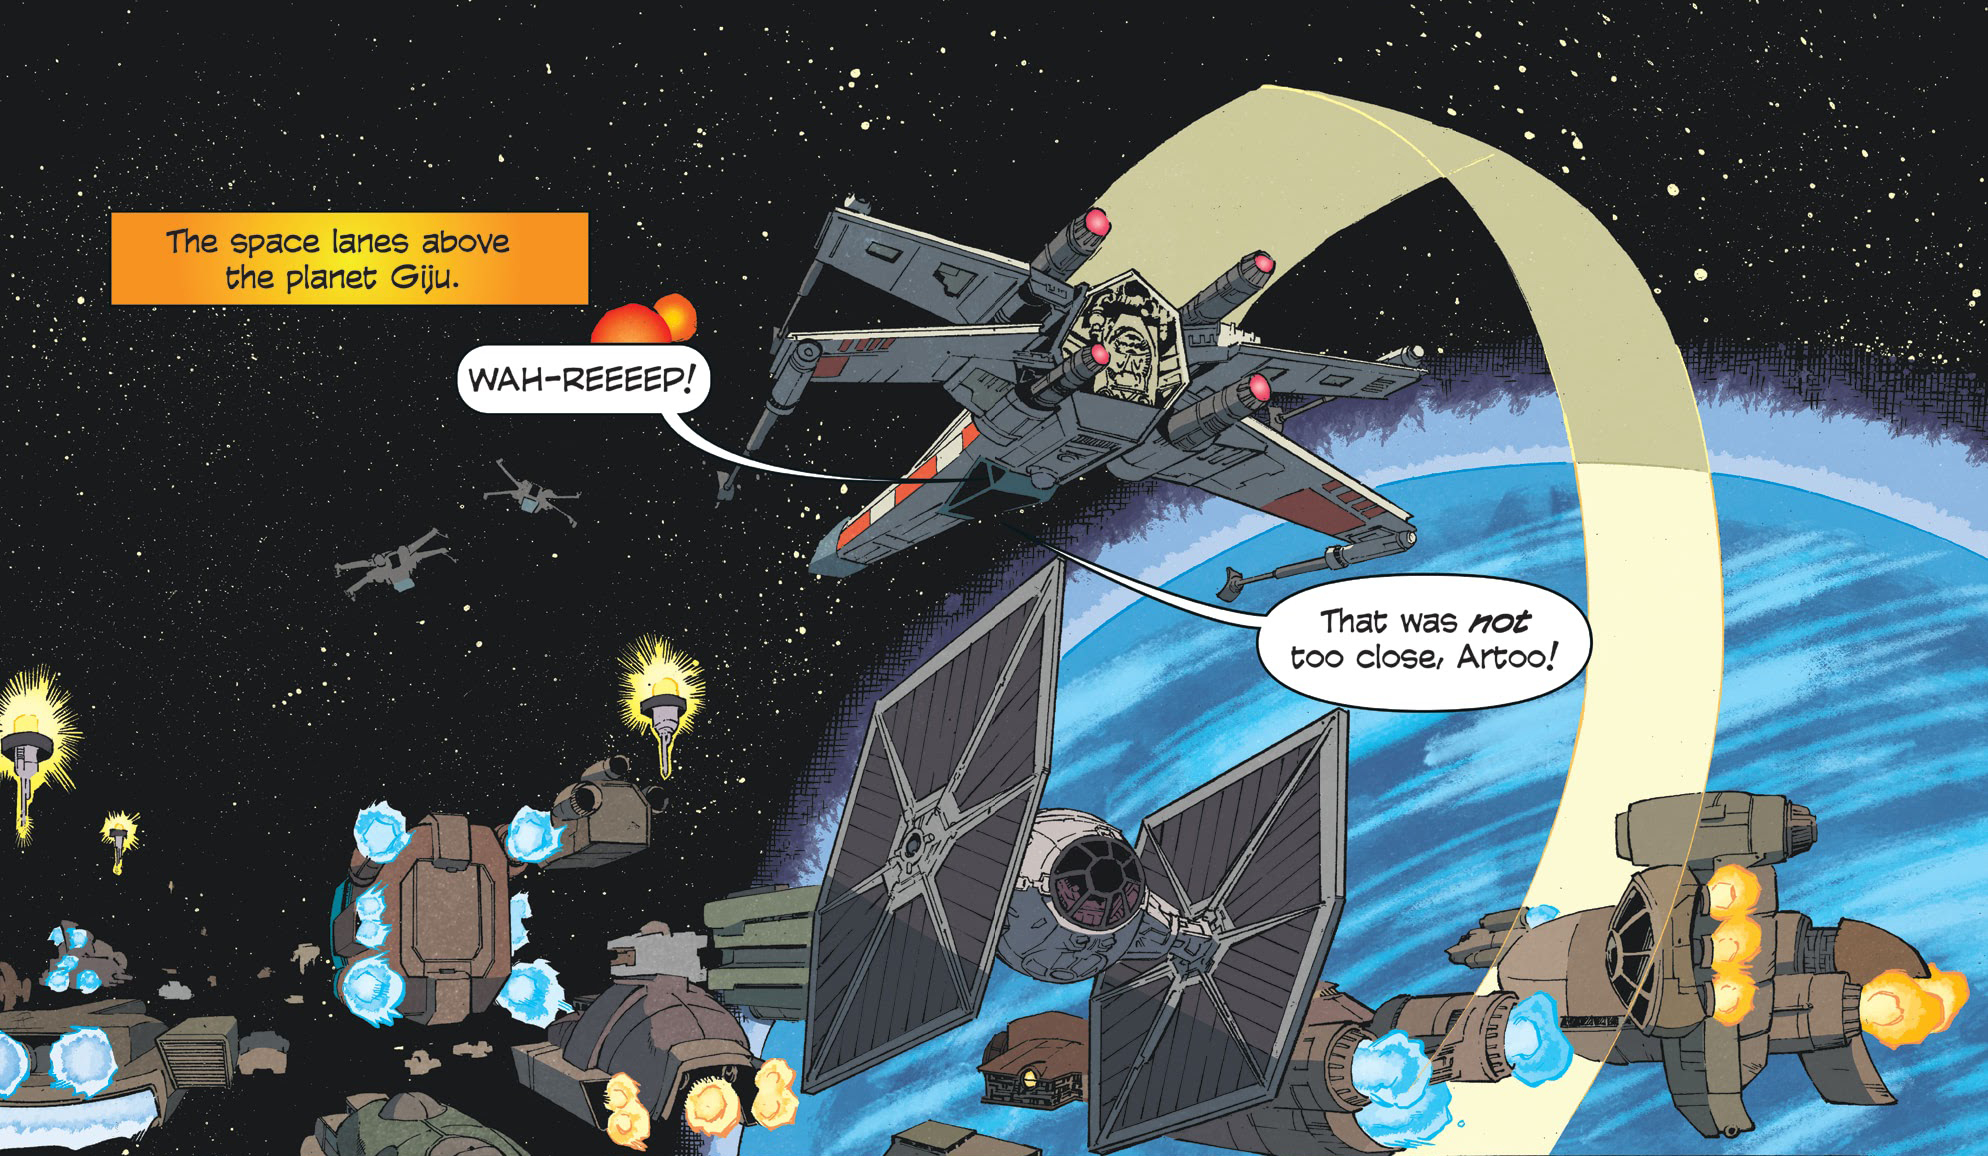
Several months after the Battle of Yavin, the Alliance sent three members of Red Squadron, led by Commander Narra, on a mission to protect a transport evacuating underground rebel leaders from the planet Giju before Imperial agents arrived. Narra (Red Leader) led the transport away from the planet, while Wedge Antilles (Red Three) and Luke Skywalker (Red Five) covered the rear, engaging the TIEs. Initially, they encountered a patrol of TIE fighters, which they eliminated, but then it seemed as though the Empire sent every fighter in the system to engage the rebel raiders.
While maneuvering through the convoy of other bulk freighters leaving the planet, the two X-wings employed a "scoot and shoot" maneuver, with Skywalker in the lead and Antilles directly behind him. Inbound enemies could only target Skywalker, while Antilles moved up and down, emerging from cover to fire at the attackers. This allowed them to destroy three TIE fighters, but four more TIE fighters were hidden within the freighter convoy, waiting in ambush. Skywalker was distracted at the time, but the TIEs were eventually destroyed. Once the transport was clear, Narra ordered his pilots to activate scatter protocols, where each pilot followed a randomly chosen zigzag path through hyperspace, making multiple jumps to prevent anyone from tracking them back to the fleet above Devaron.
Battle of Vrogas Vas
In 0 ABY, Darth Vader, pursuing his son Luke after the Battle of Yavin, tracked him to the planet Vrogas Vas, where the Rebel Alliance had established a refueling base. He immediately encountered three squadrons of X-wings, including Red Squadron. Vader completely destroyed the other two squadrons before Luke Skywalker (Red Five) intentionally rammed his X-wing into him. Both father and son crashed to the planet's surface, initiating the Battle of Vrogas Vas.
In a report to General Jan Dodonna, Commander Narra described the event as one of the worst starfighter pilot losses he had ever witnessed, with the destruction of Blue, Gray, and Yellow Squadrons, as well as the abandonment of their starfighter outpost following the arrival of the Imperial fleet. Darth Vader escaped capture, but all Alliance command staff members escaped, and all sensitive information stored at the outpost was either recovered or intentionally destroyed. The Alliance captured Dr. Chelli Lona Aphra, a high-value prisoner, who was remanded to a max security penitentiary at Sunspot.
Hijacking the Harbinger
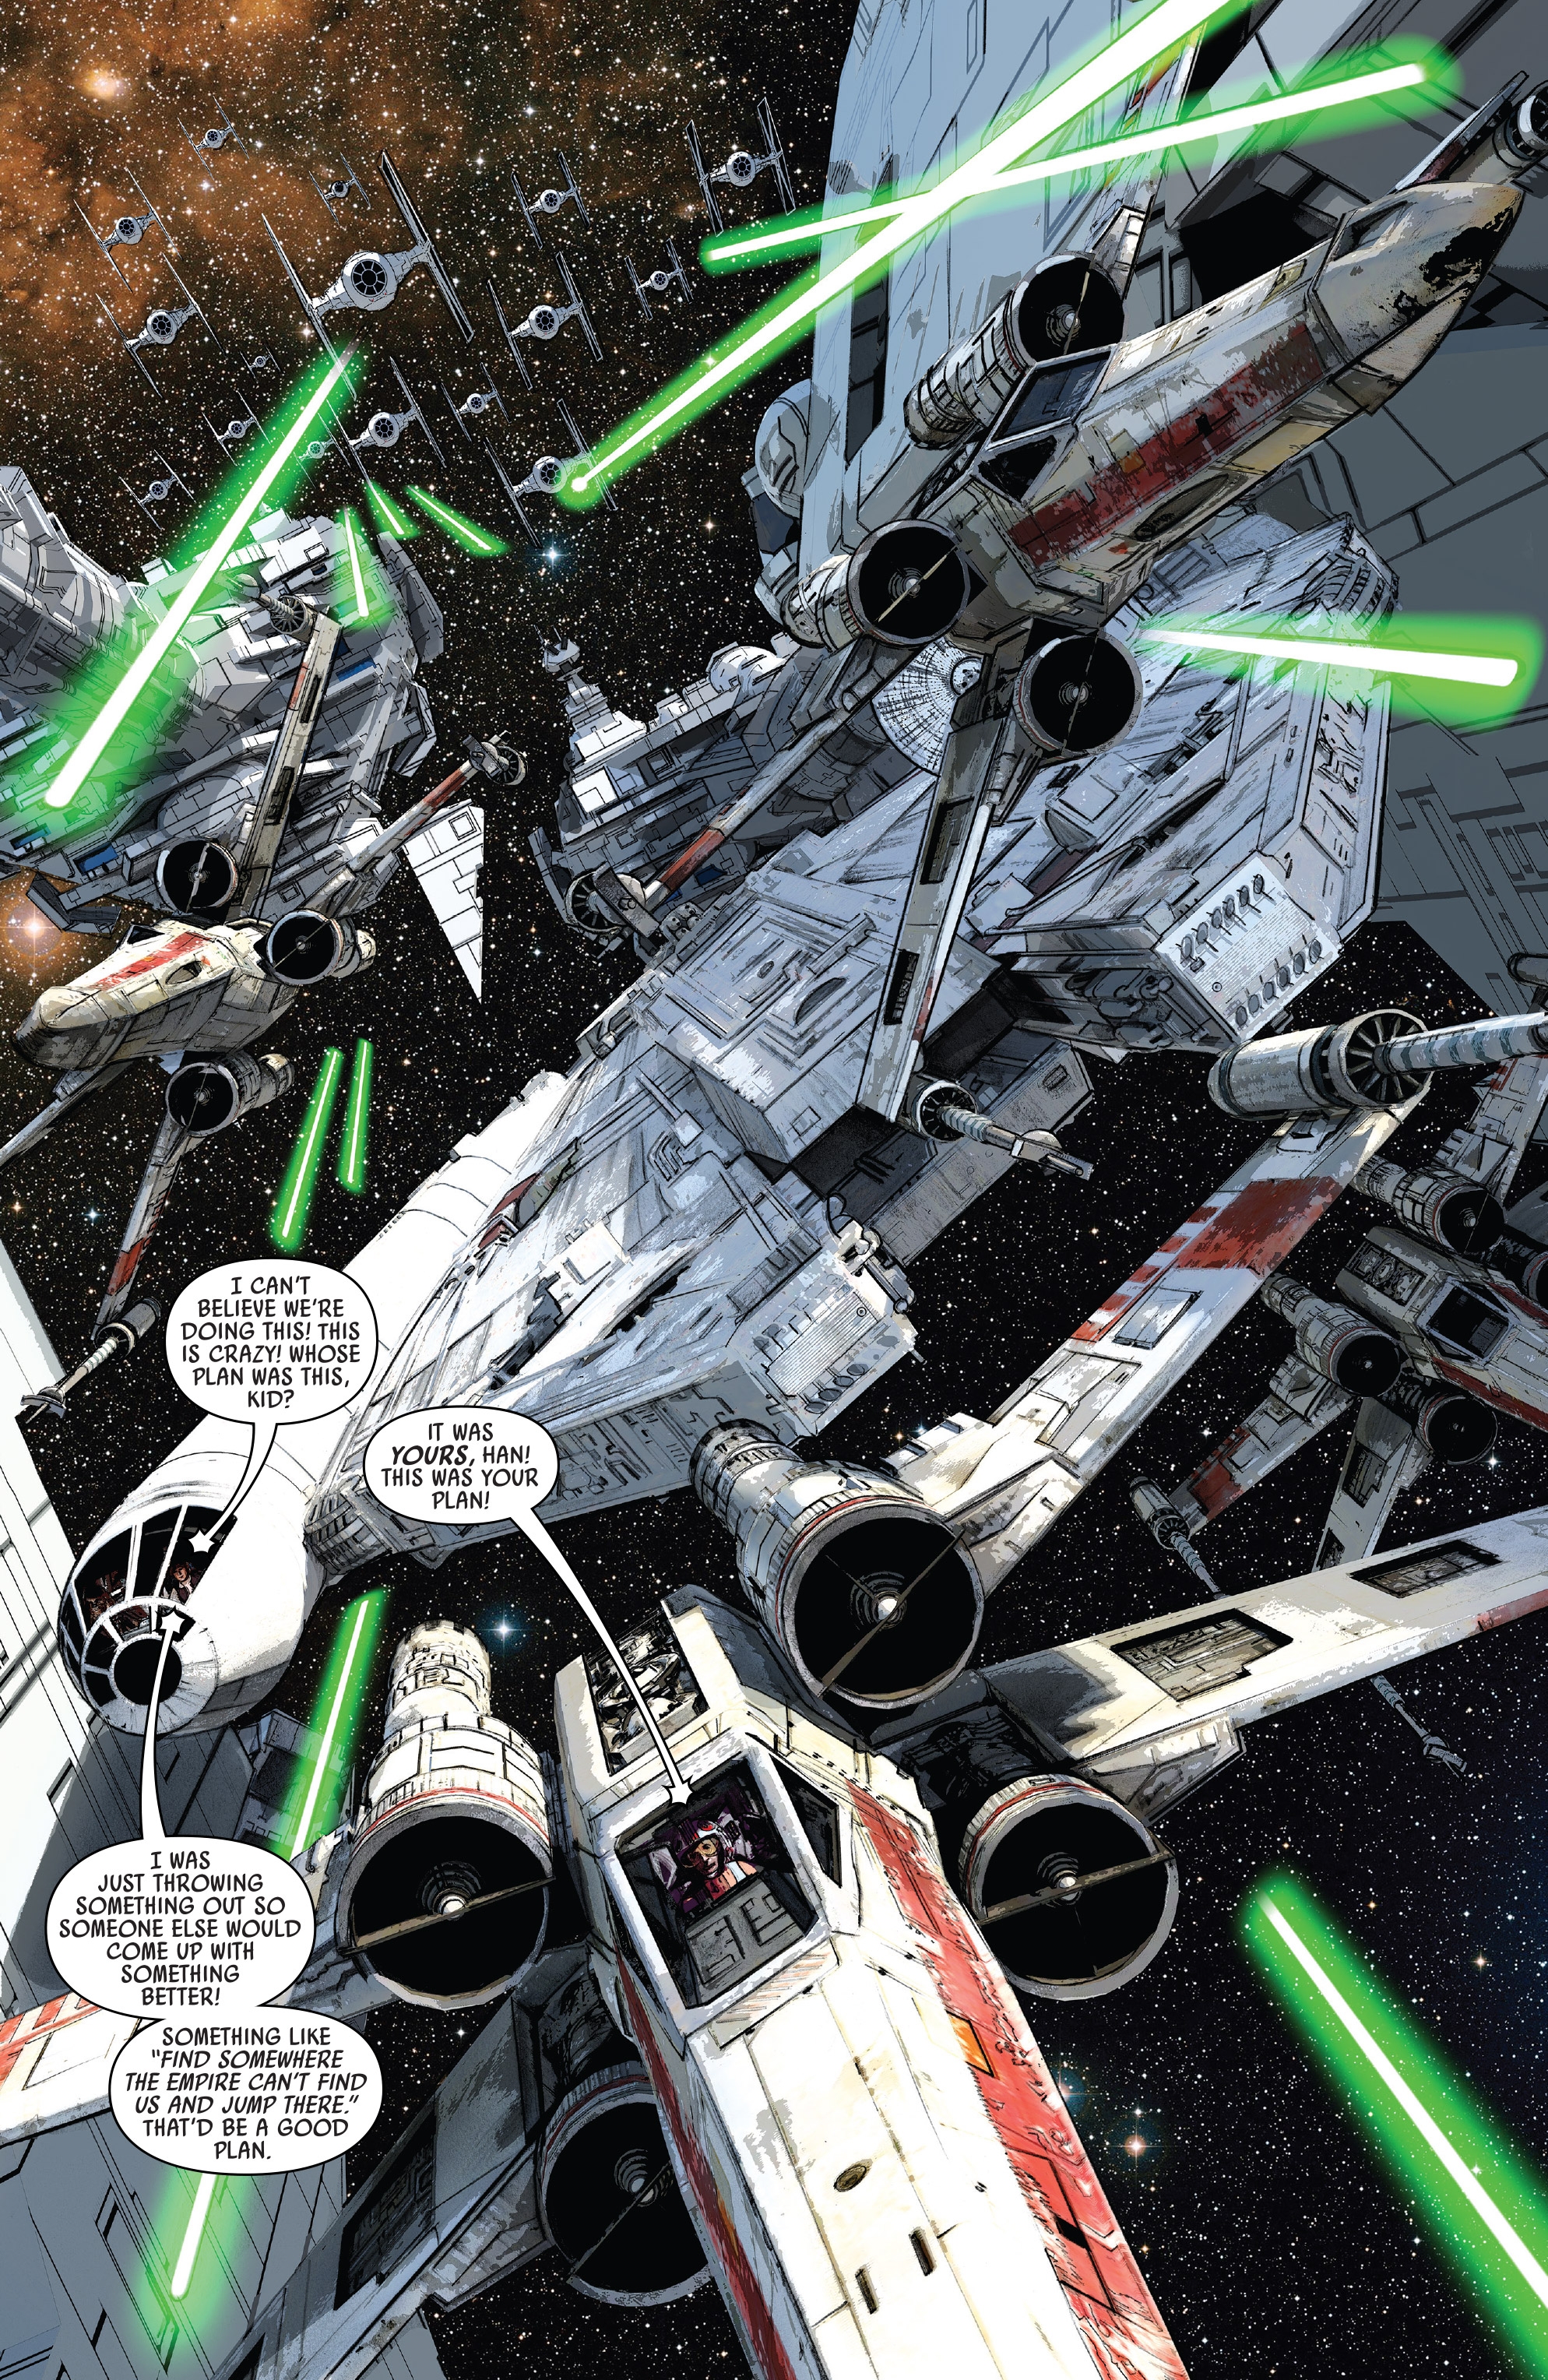
In 0 ABY, the Empire discovered that Tureen VII sympathized with the Rebel cause and established a blockade around the planet. Three previous attempts to break through the blockade had failed because the Imperials had established bases on the planet's twin moons, and the orbit was swarming with TIE fighters. Using the Alliance fleet was too risky, so Luke Skywalker suggested stealing an Imperial Star Destroyer instead.
A hijack crew aboard the Millennium Falcon, consisting of Han Solo, Leia Organa, Chewbacca, Sana Starros, and C-3PO, led the hijacking of the Imperial I-class Star Destroyer Harbinger, supported by Red Squadron's X-wings, which engaged TIE fighters. The Millennium Falcon conducted bombing runs on the Harbinger, creating a small breach in Sector 19-A. This opened a path to the Star Destroyer's main engine reactor. Wedge Antilles (Red Three) made another bombing run, intending to strike the reactor and overload it, but his torpedoes missed. This was followed by the deaths of Red Seven and Red Nine. Skywalker (Red Five) then flew into the breach and scored several hits with his laser cannons, causing the reactor to overload.

With the reactor minutes from total overload and not enough time for emergency engineers to shut it down, the Harbinger's admiral ordered the crew to abandon ship. Red Squadron, including Antilles (Red Three) and Red Six, intercepted shuttles leaving the Harbinger, while the Falcon and Skywalker (Red Five) landed in the hangar. The hijackers jettisoned the reactor, and as it exploded, the departing shuttles reported to Imperial Command that the Harbinger had been destroyed. The admiral considered suicide, realizing that Darth Vader would hold him personally responsible.
After a week of operating on the backup reactor, an Alliance admiral was supposed to rendezvous with the Harbinger, but he was killed, after being strapped to the nose of his shuttle, as a warning from Task Force 99, which Darth Vader had sent to recapture the Star Destroyer.
Breaking the blockade of Tureen VII
With the Harbinger and its skeleton crew under attack from Task Force 99, Leia Organa continued her mission to Tureen VII, ordering full speed ahead. Despite being in poor condition, the Harbinger managed to break through the Imperial blockade, initially giving the Imperial forces the impression that Coruscant had sent reinforcements. As the Harbinger approached at high speed, it collided with two Imperial Star Destroyers in orbit, disabling its own front shield and one of its engines. With the Harbinger's cannons offline, X-wings from Red Squadron (Red Team) and Blue Squadron (Blue Group) launched from the hangar. While Blue Group kept the TIEs occupied, the rest attacked the moon bases, which were heavily defended by TIE fighters, led by Darth Vader in his TIE Advanced x1, who inflicted heavy losses on the Alliance forces.
Organa ordered Red Team to create more space so the supplies could reach the surface, but Vader was making it difficult. Skywalker returned to his X-wing to assist the squadron and was able to eliminate the moon bases. He wanted to pursue Vader, but he was urged to stay on mission because there were wounded to evacuate. The battle left the Harbinger as a burning wreck, and the crew had to abandon ship.
Mission to Crait
In the time frame between 0 ABY and 1 ABY, before the Rebel Alliance established Echo Base on the ice planet Hoth, Captain Luke Skywalker, leading Red Squadron, accompanied Leia Organa's exploration group, which included the duo Han Solo and Chewbacca, to the mineral planet Crait. The purpose of this mission was to assess a derelict mining facility for its potential as a new clandestine base for the Alliance, a necessity after their departure from Yavin and ongoing Imperial threats to the Rebel fleet.
Leia placed her trust in Trusk Berinato, a long-time acquaintance of her father who had previously suggested the location. However, Berinato betrayed the Rebels, leading to an ambush by Task Force 99. Red Squadron, with Wedge Antilles among its members, intervened using V-4X-D ski speeders, facilitating the team's escape. Ultimately, the planet proved unsuitable for their needs.
Honoring the Departed
Before the mutiny on Mon Cala, Luke Skywalker, along with fellow rebels Han Solo, Wedge Antilles, Zev Senesca, Derek Klivian, and Chewbacca, gathered at Mess Hall IV within the Mako-Ta Space Docks to raise a glass in remembrance of Red Squadron members who had perished, including Dreis, Branon, Porkins, Rue, Dinnes, Naytaan, Nett, Surrel, Naeco, and Darklighter.
Imperial Ambush
Around 3 ABY, while Skywalker and Antilles were stationed at Echo Base on Hoth, Narra, along with numerous other squadron members, met their end in an Imperial ambush.
Re-establishing the Squadron Post-Hoth
Following the evacuation from Hoth in 3 ABY, the Rebel Alliance had dispersed its forces throughout the galaxy, with the Seventh Division reconvening at a designated meeting point. With Luke Skywalker's whereabouts unknown, Alliance High Command had to consider the possibility of his absence. The Contessa called upon Lieutenant Commander Wedge Antilles to discuss the situation, highlighting the current void in leadership and the squadron's depleted state, and subsequently promoted him to commander, to take Skywalker's place. She tasked Antilles with rebuilding his squadron to its original strength. Antilles, along with his newly appointed executive officer Lieutenant Wes Janson, faced the challenge of recruiting from the limited pool of pilots within the Division. Despite the scarcity of exceptional candidates, they managed to assemble enough qualified pilots to form a complete squadron of twelve.
High on their list were Bela Elar and Will Scotian, both seasoned pilots with whom they had previously flown. They were each given command of their own flights within the squadron. Antilles deemed it premature to revive the Rogue Group name, given the recent losses at Hoth, and instead chose to resurrect the Red Squadron moniker. The new recruits underwent two days of intense simulator training, during which Antilles voiced his concerns to The Contessa. However, she remained unconcerned and questioned Antilles if he, Red Leader, was prepared for a mission, to which he instinctively affirmed, surprising himself with his conviction.
Assault on an Asteroid Mining Facility
The newly reformed Red Squadron, under the command of Commander Wedge Antilles, undertook an initial reconnaissance mission, uncovering an old asteroid mining station in the vicinity being utilized as a base by bandits, along with multiple ships in the area. The presence of these pirates posed a threat to the safety of their rendezvous point. They deployed sensor buoys to track activity. After reviewing the intelligence with Mon Mothma, Antilles proposed that the pirates likely originated from the Vosch Cluster, having established a hyperspace route to the trade worlds surrounding Caldra Prime and Caldra Tertius, placing the Alliance rendezvous point directly in their path. Antilles informed Mon Mothma that his squadron could eliminate the pirates, but acknowledged the squadron's inexperience and the potential for complications. Mon Mothma agreed to grant the squadron one more day to gather sensor data and test an attack plan in the simulator. If the pirate nest could not be destroyed, the fleet would jump to hyperspace.
The following day, Antilles led the squadron in an attack on the pirate base. The squadron executed a pincer movement, employing two flights of three X-wings converging from opposite directions with the aim of total destruction. The squadron was divided into four flights: Antilles' and Wes Janson's flights targeted the landing field, while Scotian's and Elar's flights provided cover for Antilles' and Janson's flights, respectively. Sila Kott and Tomer Darpen served as Antilles' wingmates, Keyser Salm and Barlon Hightower were Janson's, Ix Ixstra and Cinda Tarheel were Will Scotian's, and Grizz Frix and Penn Zowlie were Bela Elar's. The pirates launched Z-95 Headhunters, a Nighthawk fighter and an interceptor, leading to a dogfight with the squadron's X-wing cover. Janson's torpedoes destroyed the hangar, but Elar noticed a modified freighter, the pirate mothership, attempting to escape. Antilles intervened, destroying it before it could jump to hyperspace. Of the twelve pilots who participated, only nine returned to Home One, with Barlon Hightower, Ix Ixstra, and Penn Zowlie among the casualties.
Skirmish at Elessia
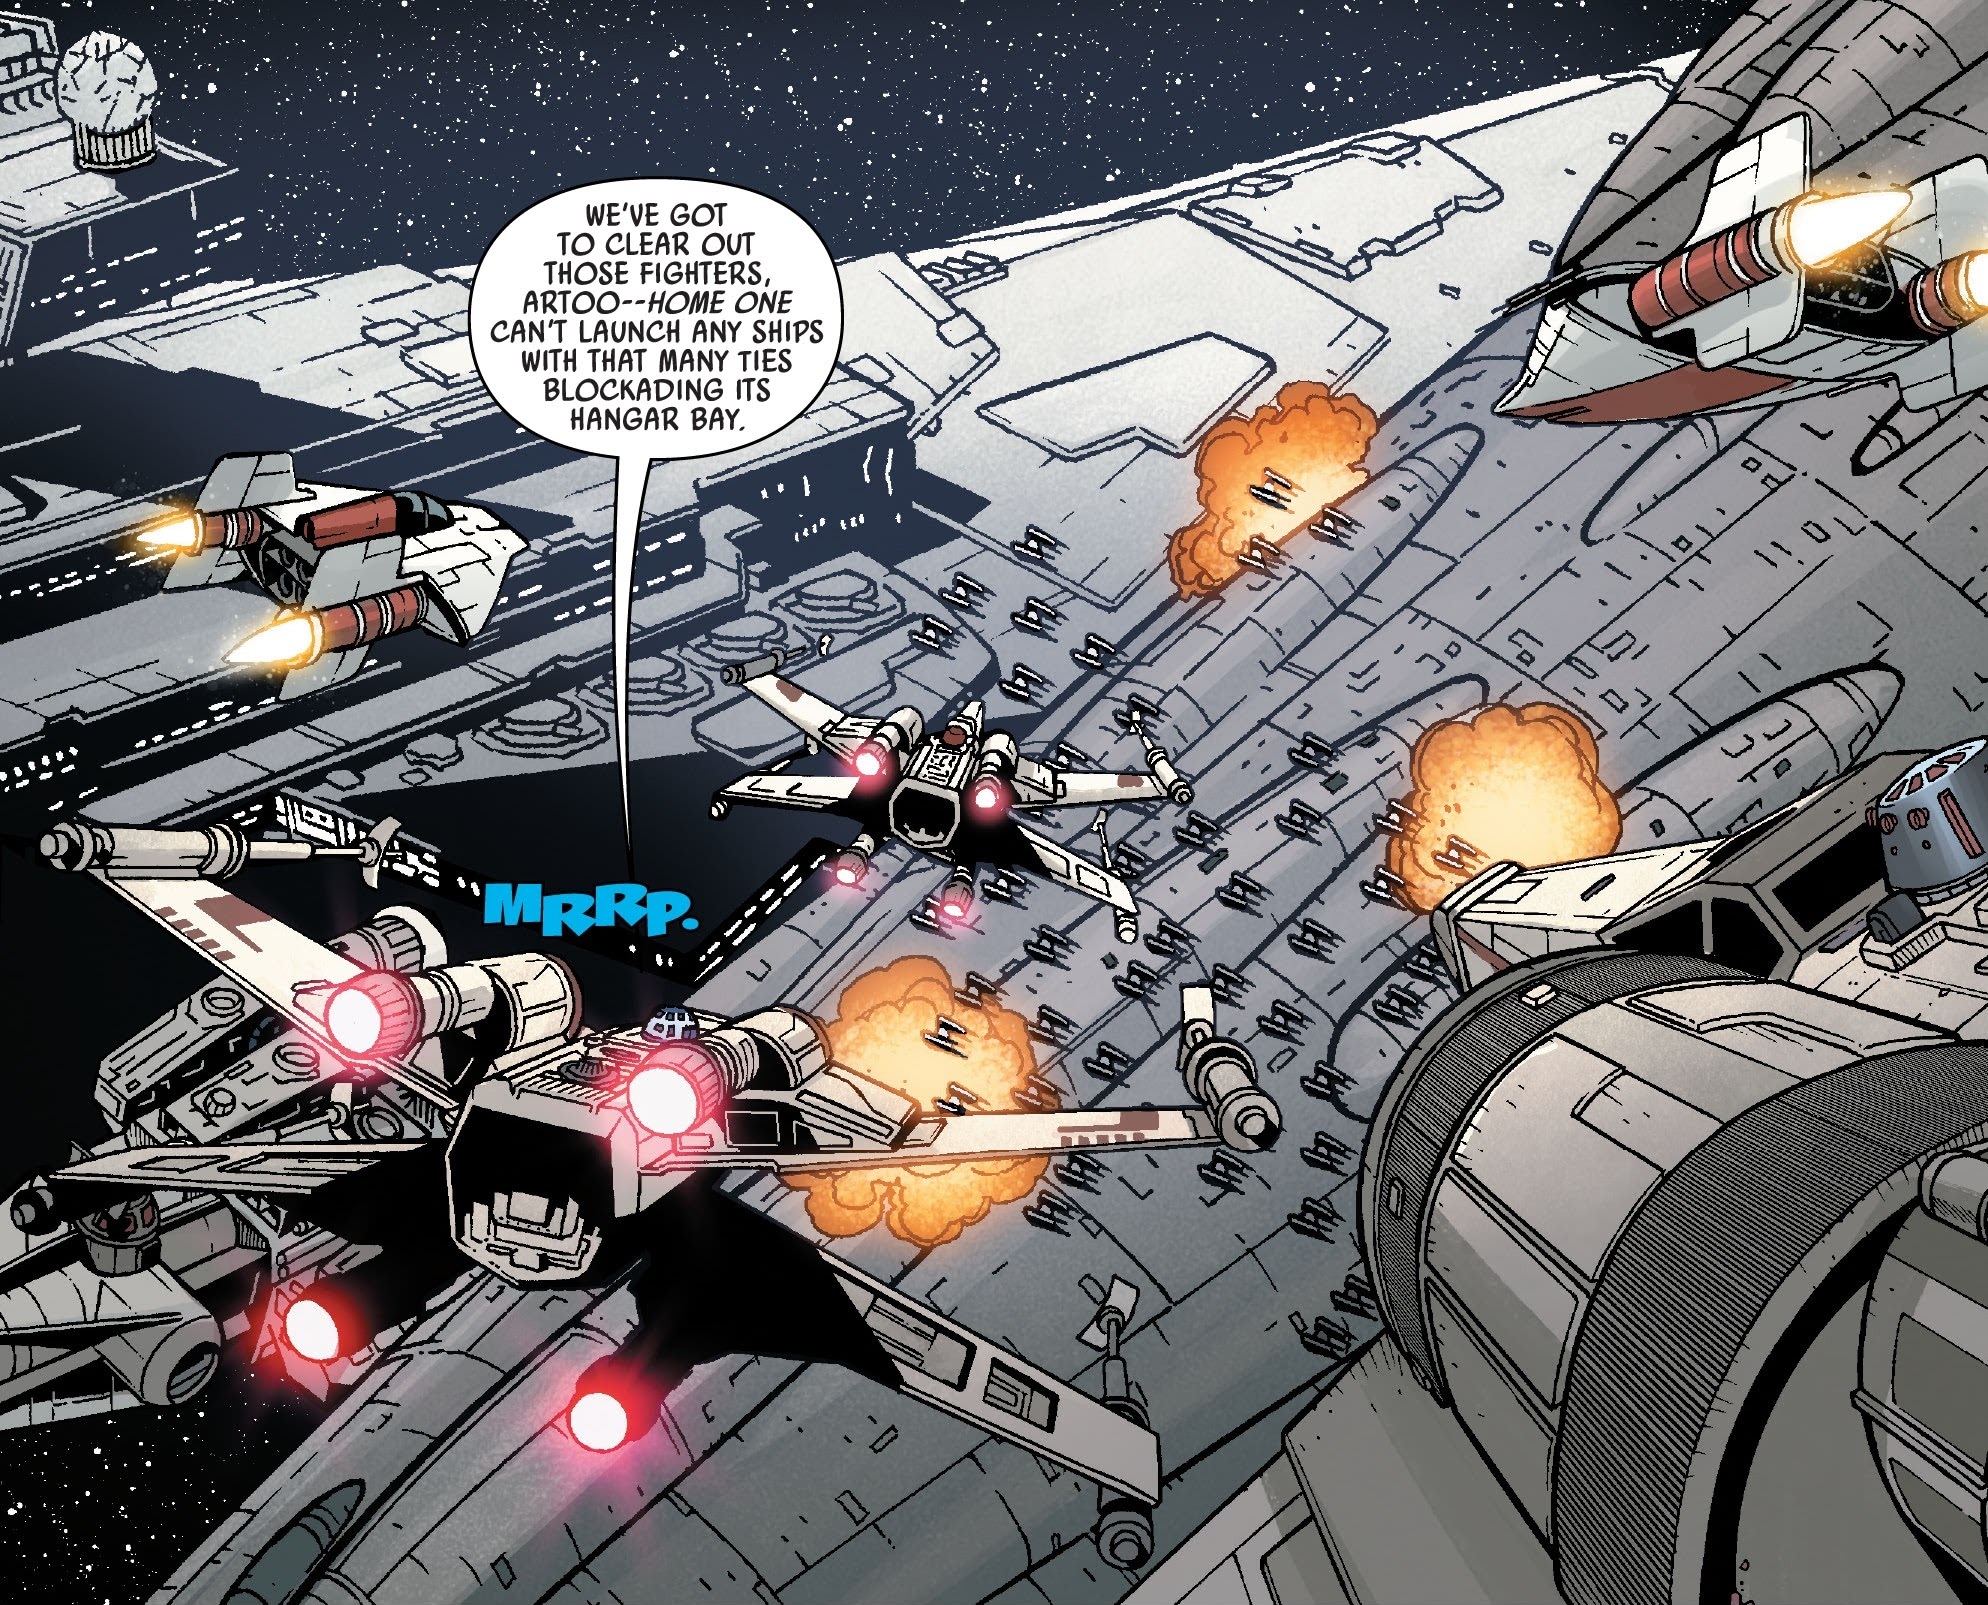
The Empire's Commander Ellian Zahra intercepted a transmission revealing that the Alliance's Fourth and Seventh Divisions were planning to meet at Elessia. Zahra launched an attack, splitting her forces to strike simultaneously. Zahra's primary force attacked the Alliance's Seventh Division, while her secondary force targeted Leia Organa's Fourth Division. However, the Fourth had already left their rendezvous point before the strike force arrived. The Imperial forces overwhelmed the Seventh Division's capital ships. TIE interceptors blockaded Home One's hangar bay, preventing the launch of Alliance starfighters, including Red Squadron.
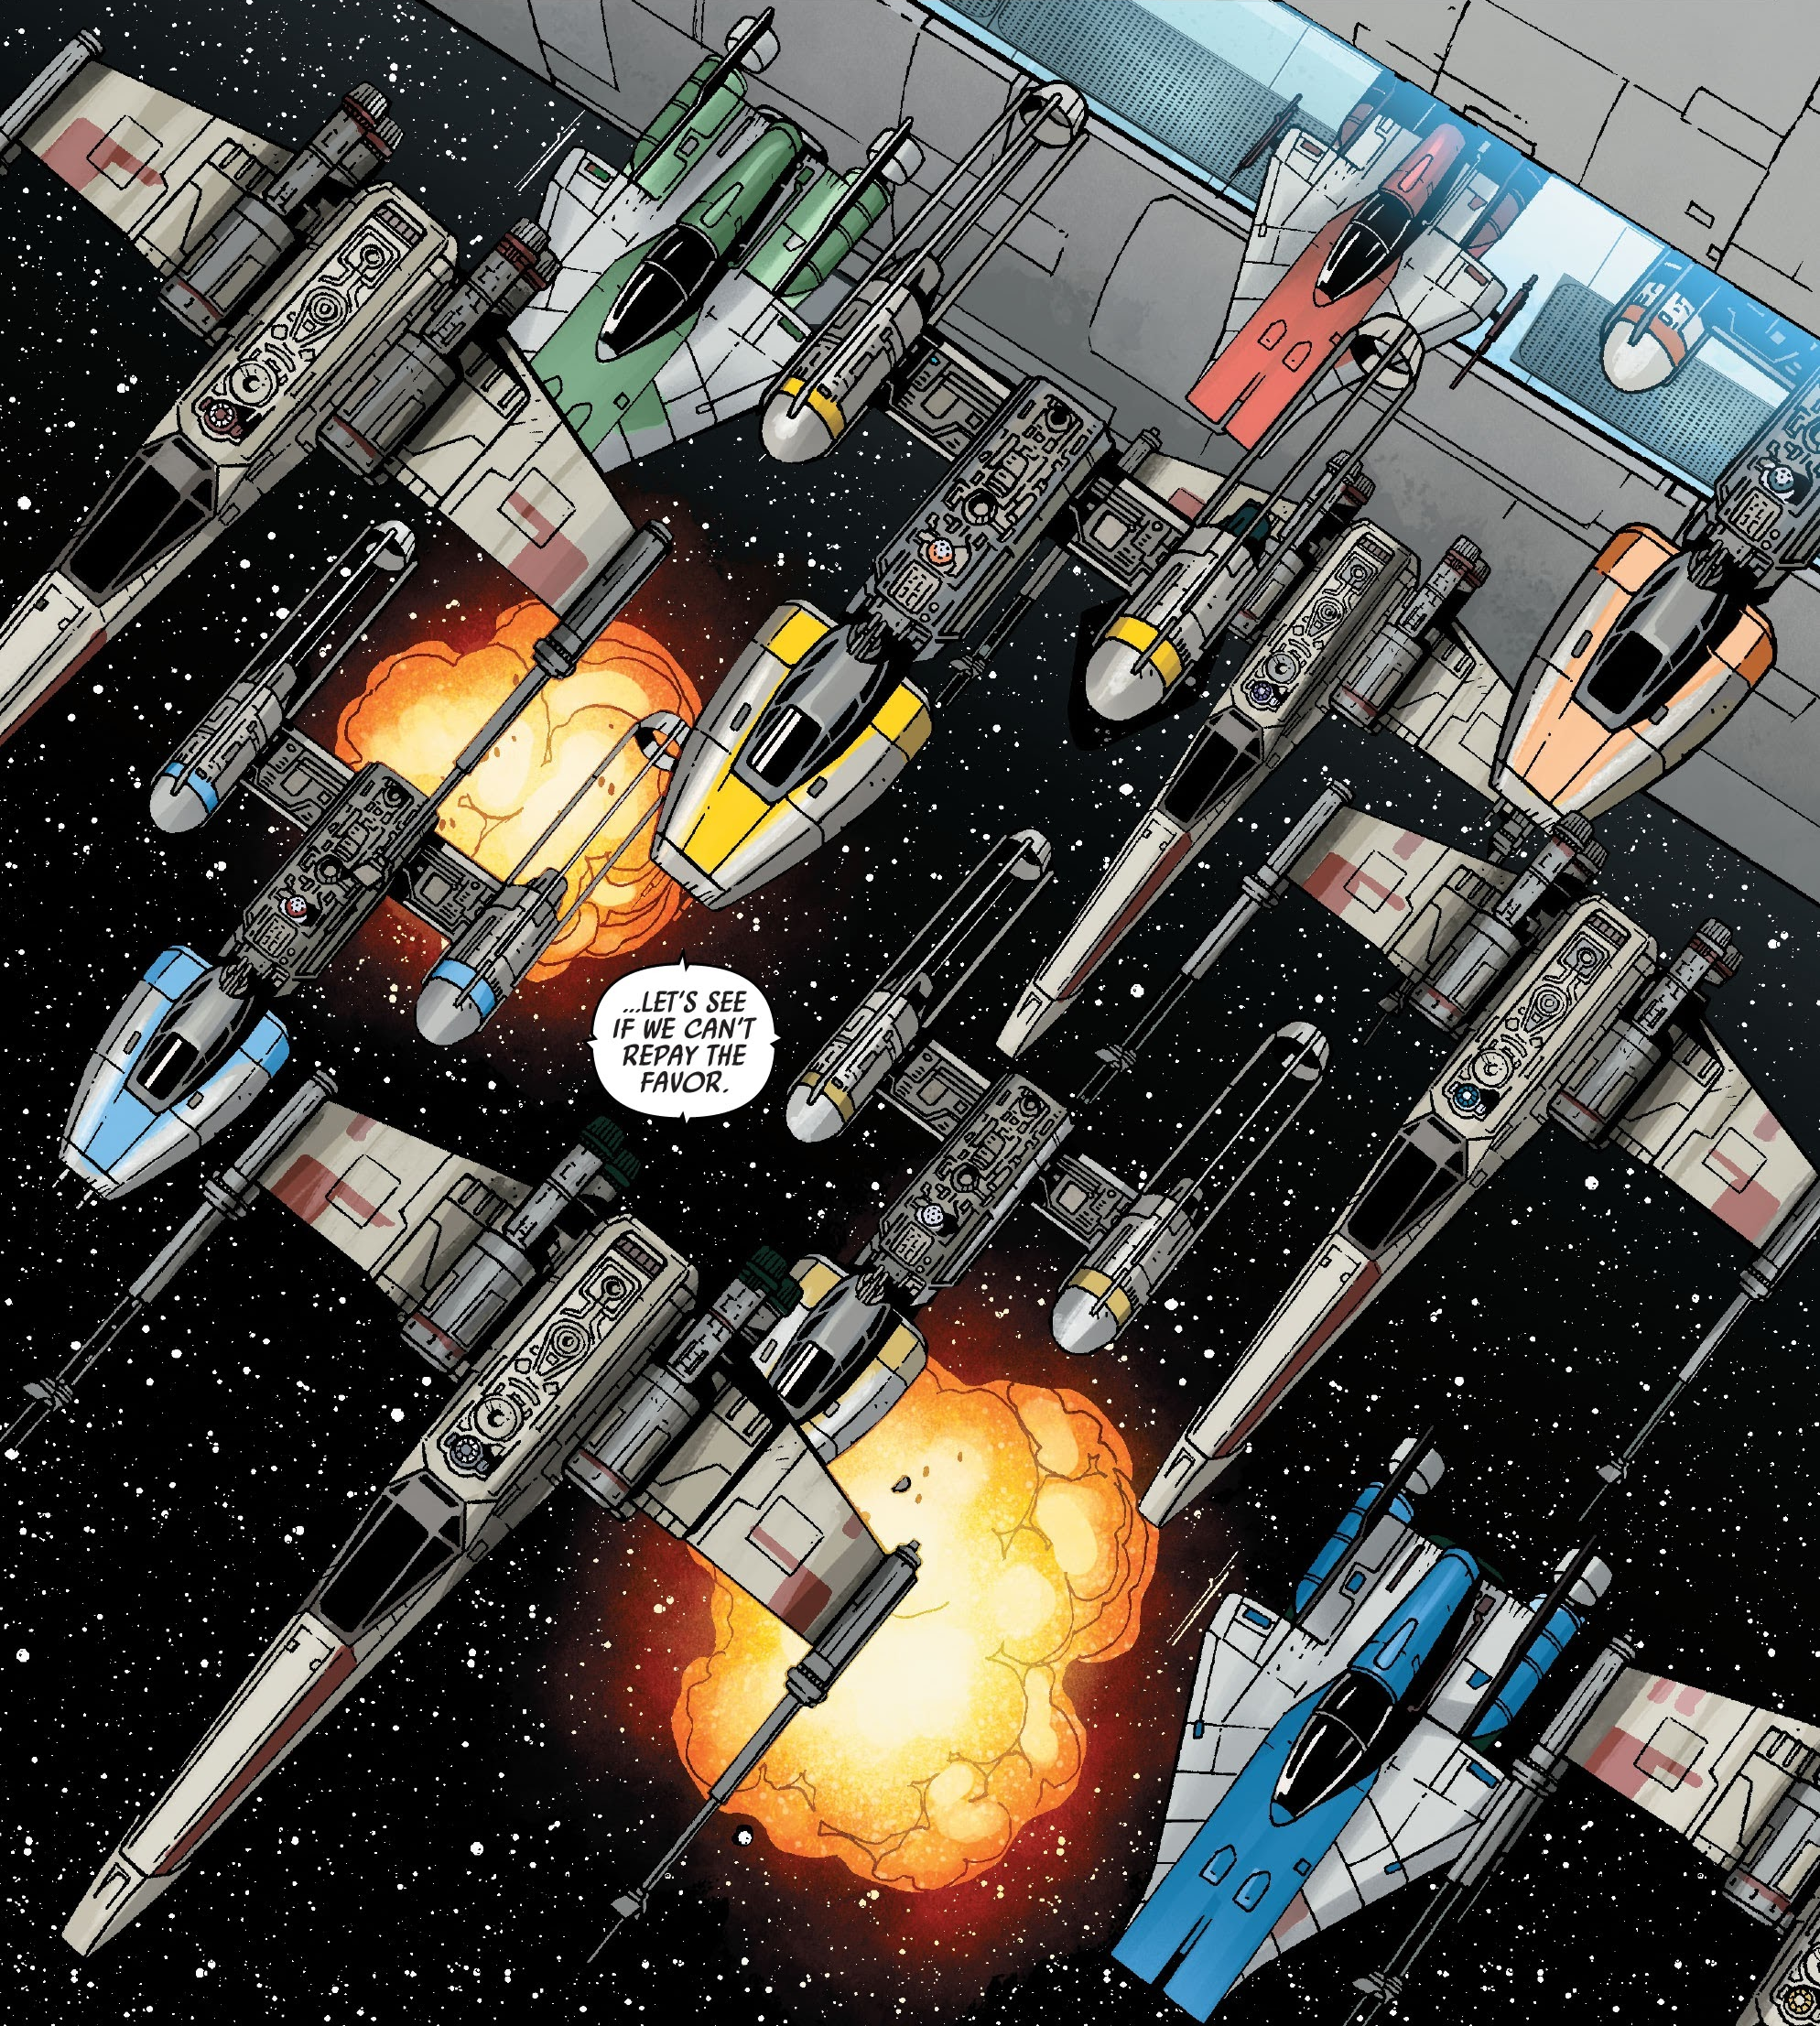
Shortly after the battle began, the Fourth Division's ships emerged from hyperspace and immediately deployed their starfighters, led by Commander Luke Skywalker, who took the callsign Red Leader. Skywalker was accompanied by other starfighters, including Green Squadron's Shara Bey (Green Three), along with Lando Calrissian and Chewbacca in the Millennium Falcon. Skywalker ordered all Fourth Division fighters to form up on him for an attack run on Home One's blockade to push back the TIEs, while the starfighters trapped in the hangar bays prepared to launch, including Wedge Antilles (Red Two). Once Skywalker cleared the TIEs, all the Alliance starfighters aboard Home One launched to return the favor. Skywalker then left the space battle to board the frigate where Leia Organa was under attack from an Imperial boarding party, led personally by Zahra.
Prior to Endor
Sometime before the Battle of Endor, Wedge Antilles extended an invitation to Luke Skywalker to rejoin Red Squadron, which he turned down. Skywalker even discussed his decision with Leia Organa, explaining that the squadron belonged to Antilles and it would be unfair to take it away from him.
The Battle of Endor
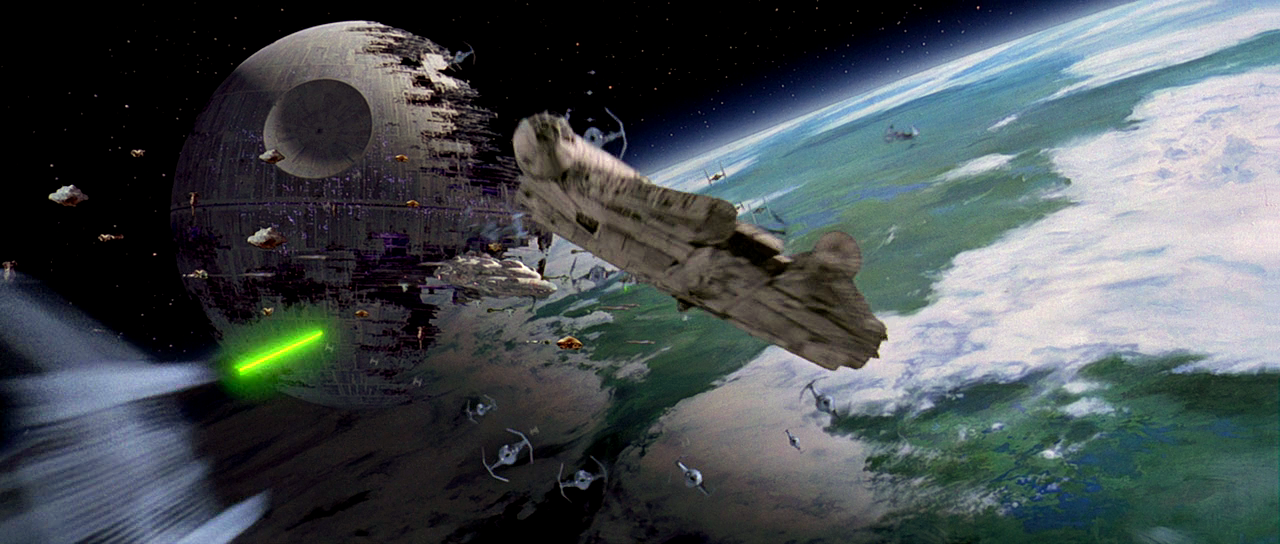
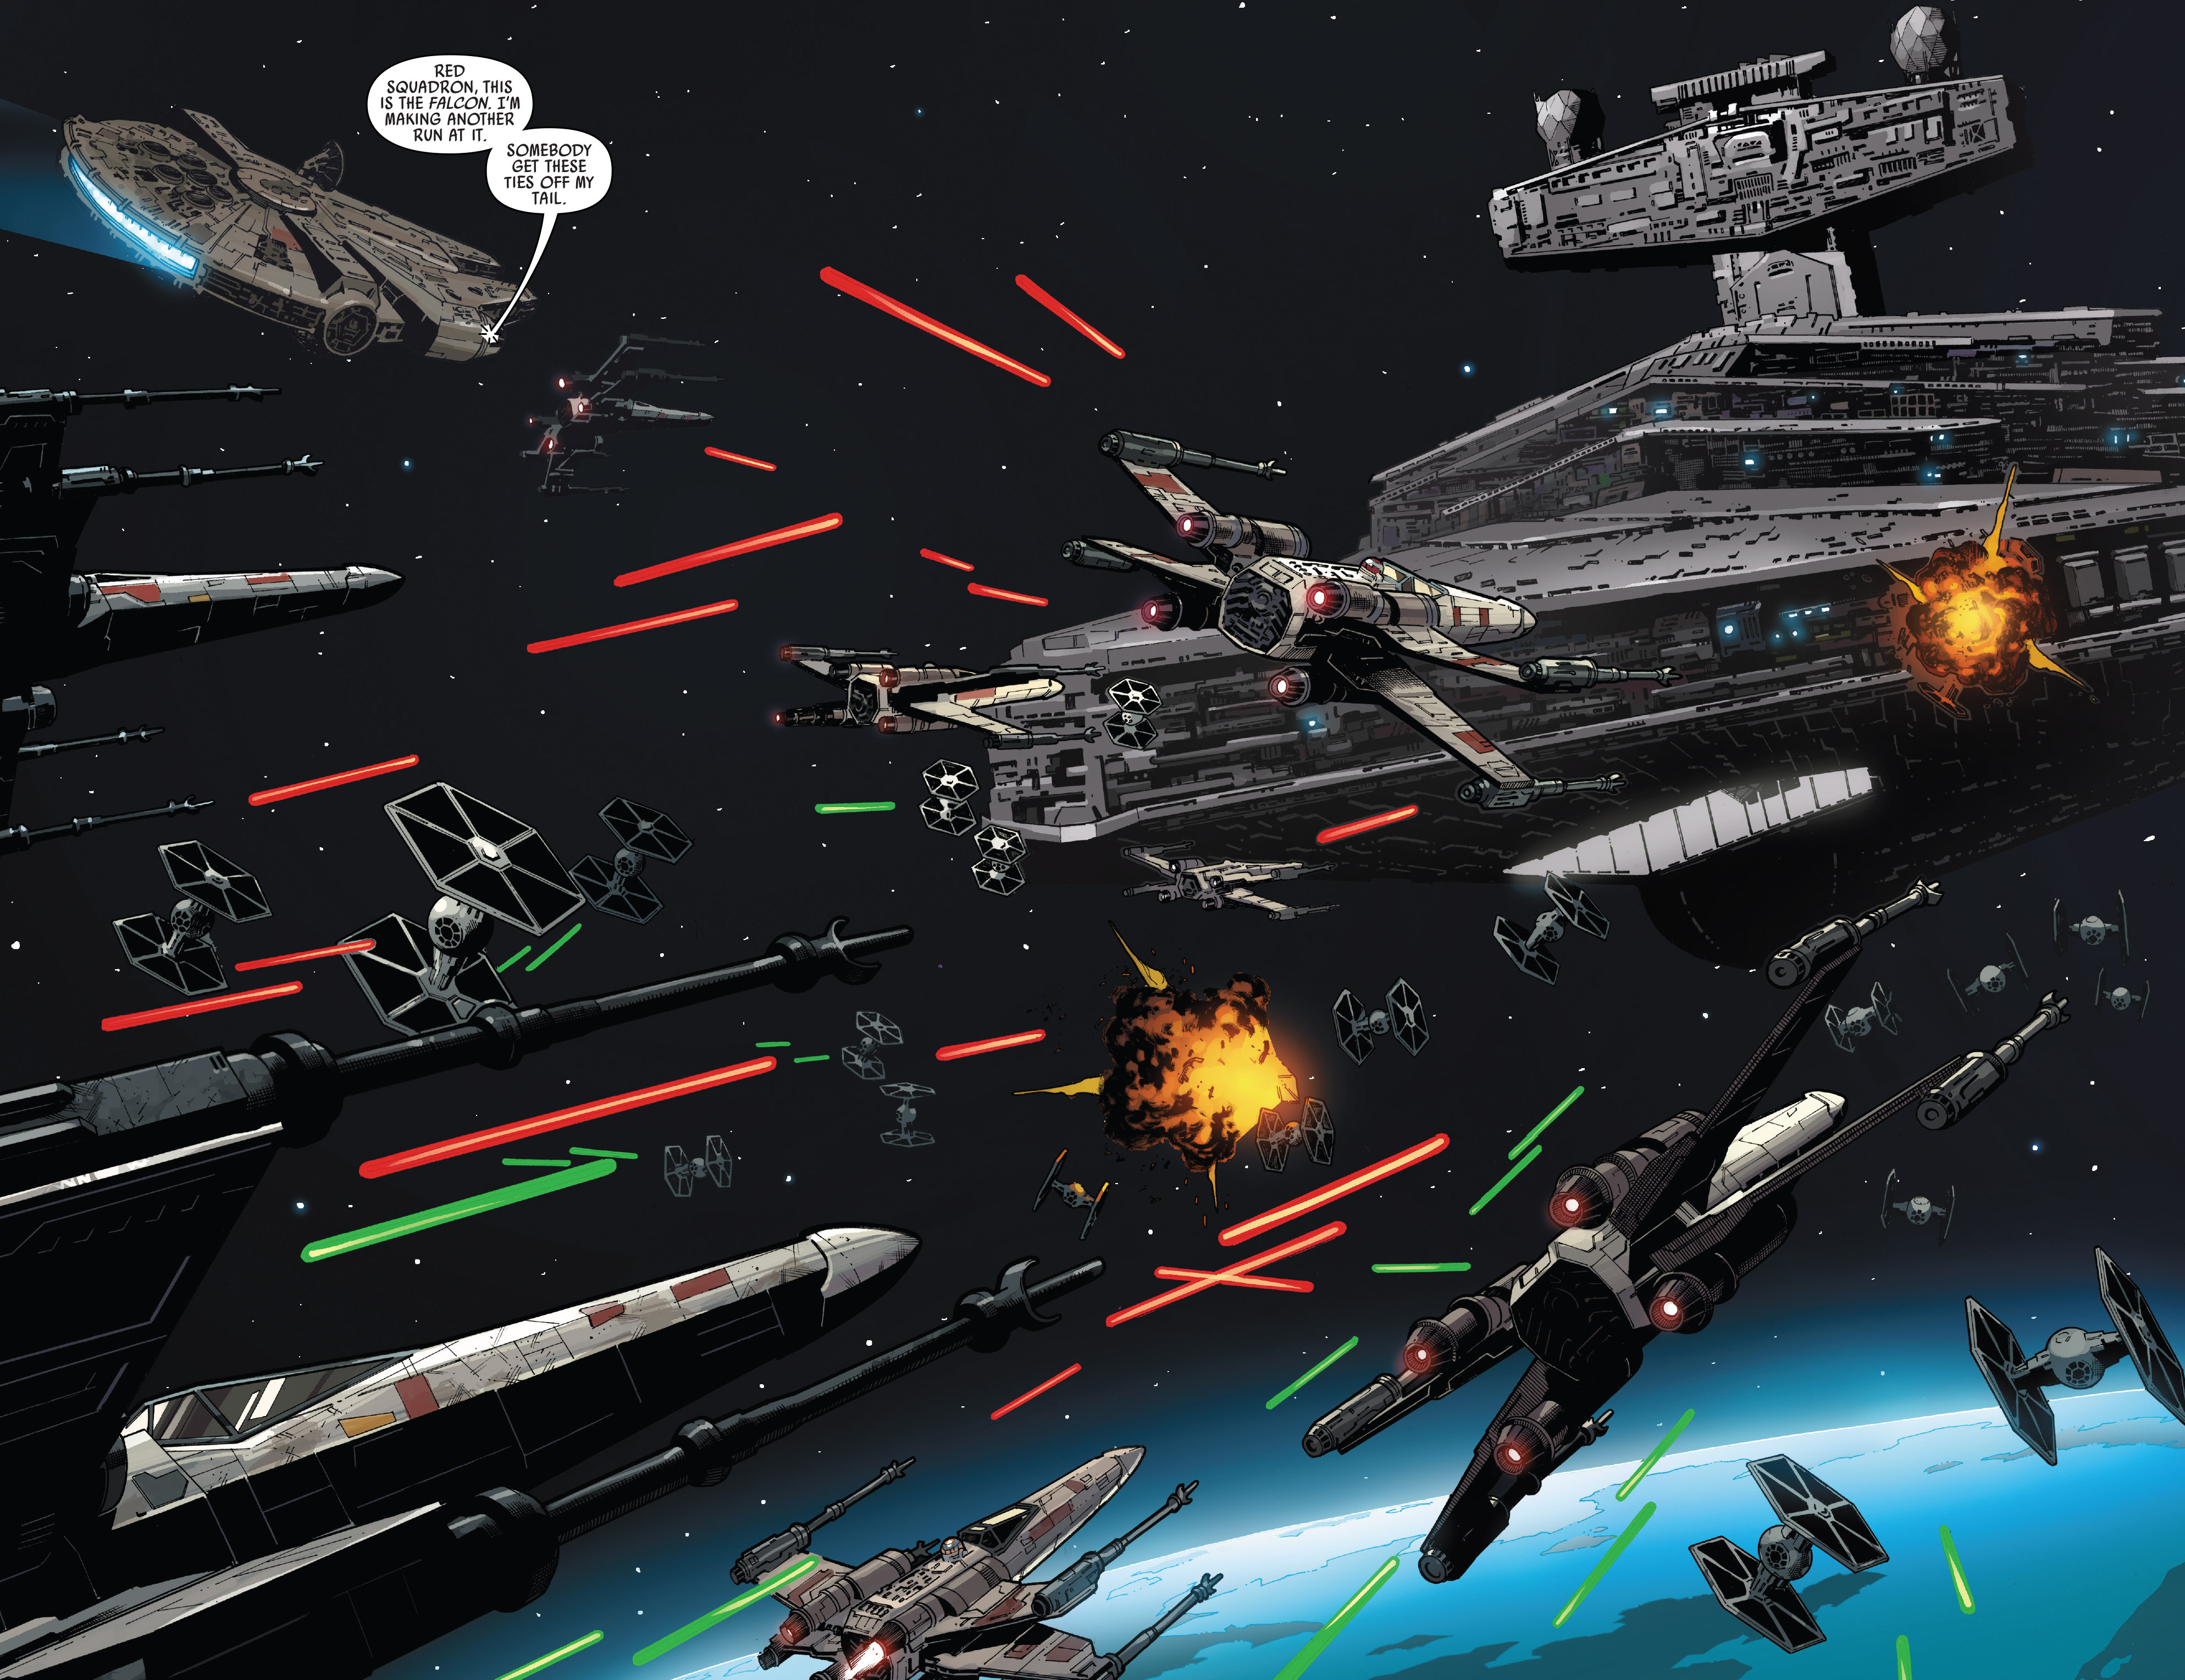
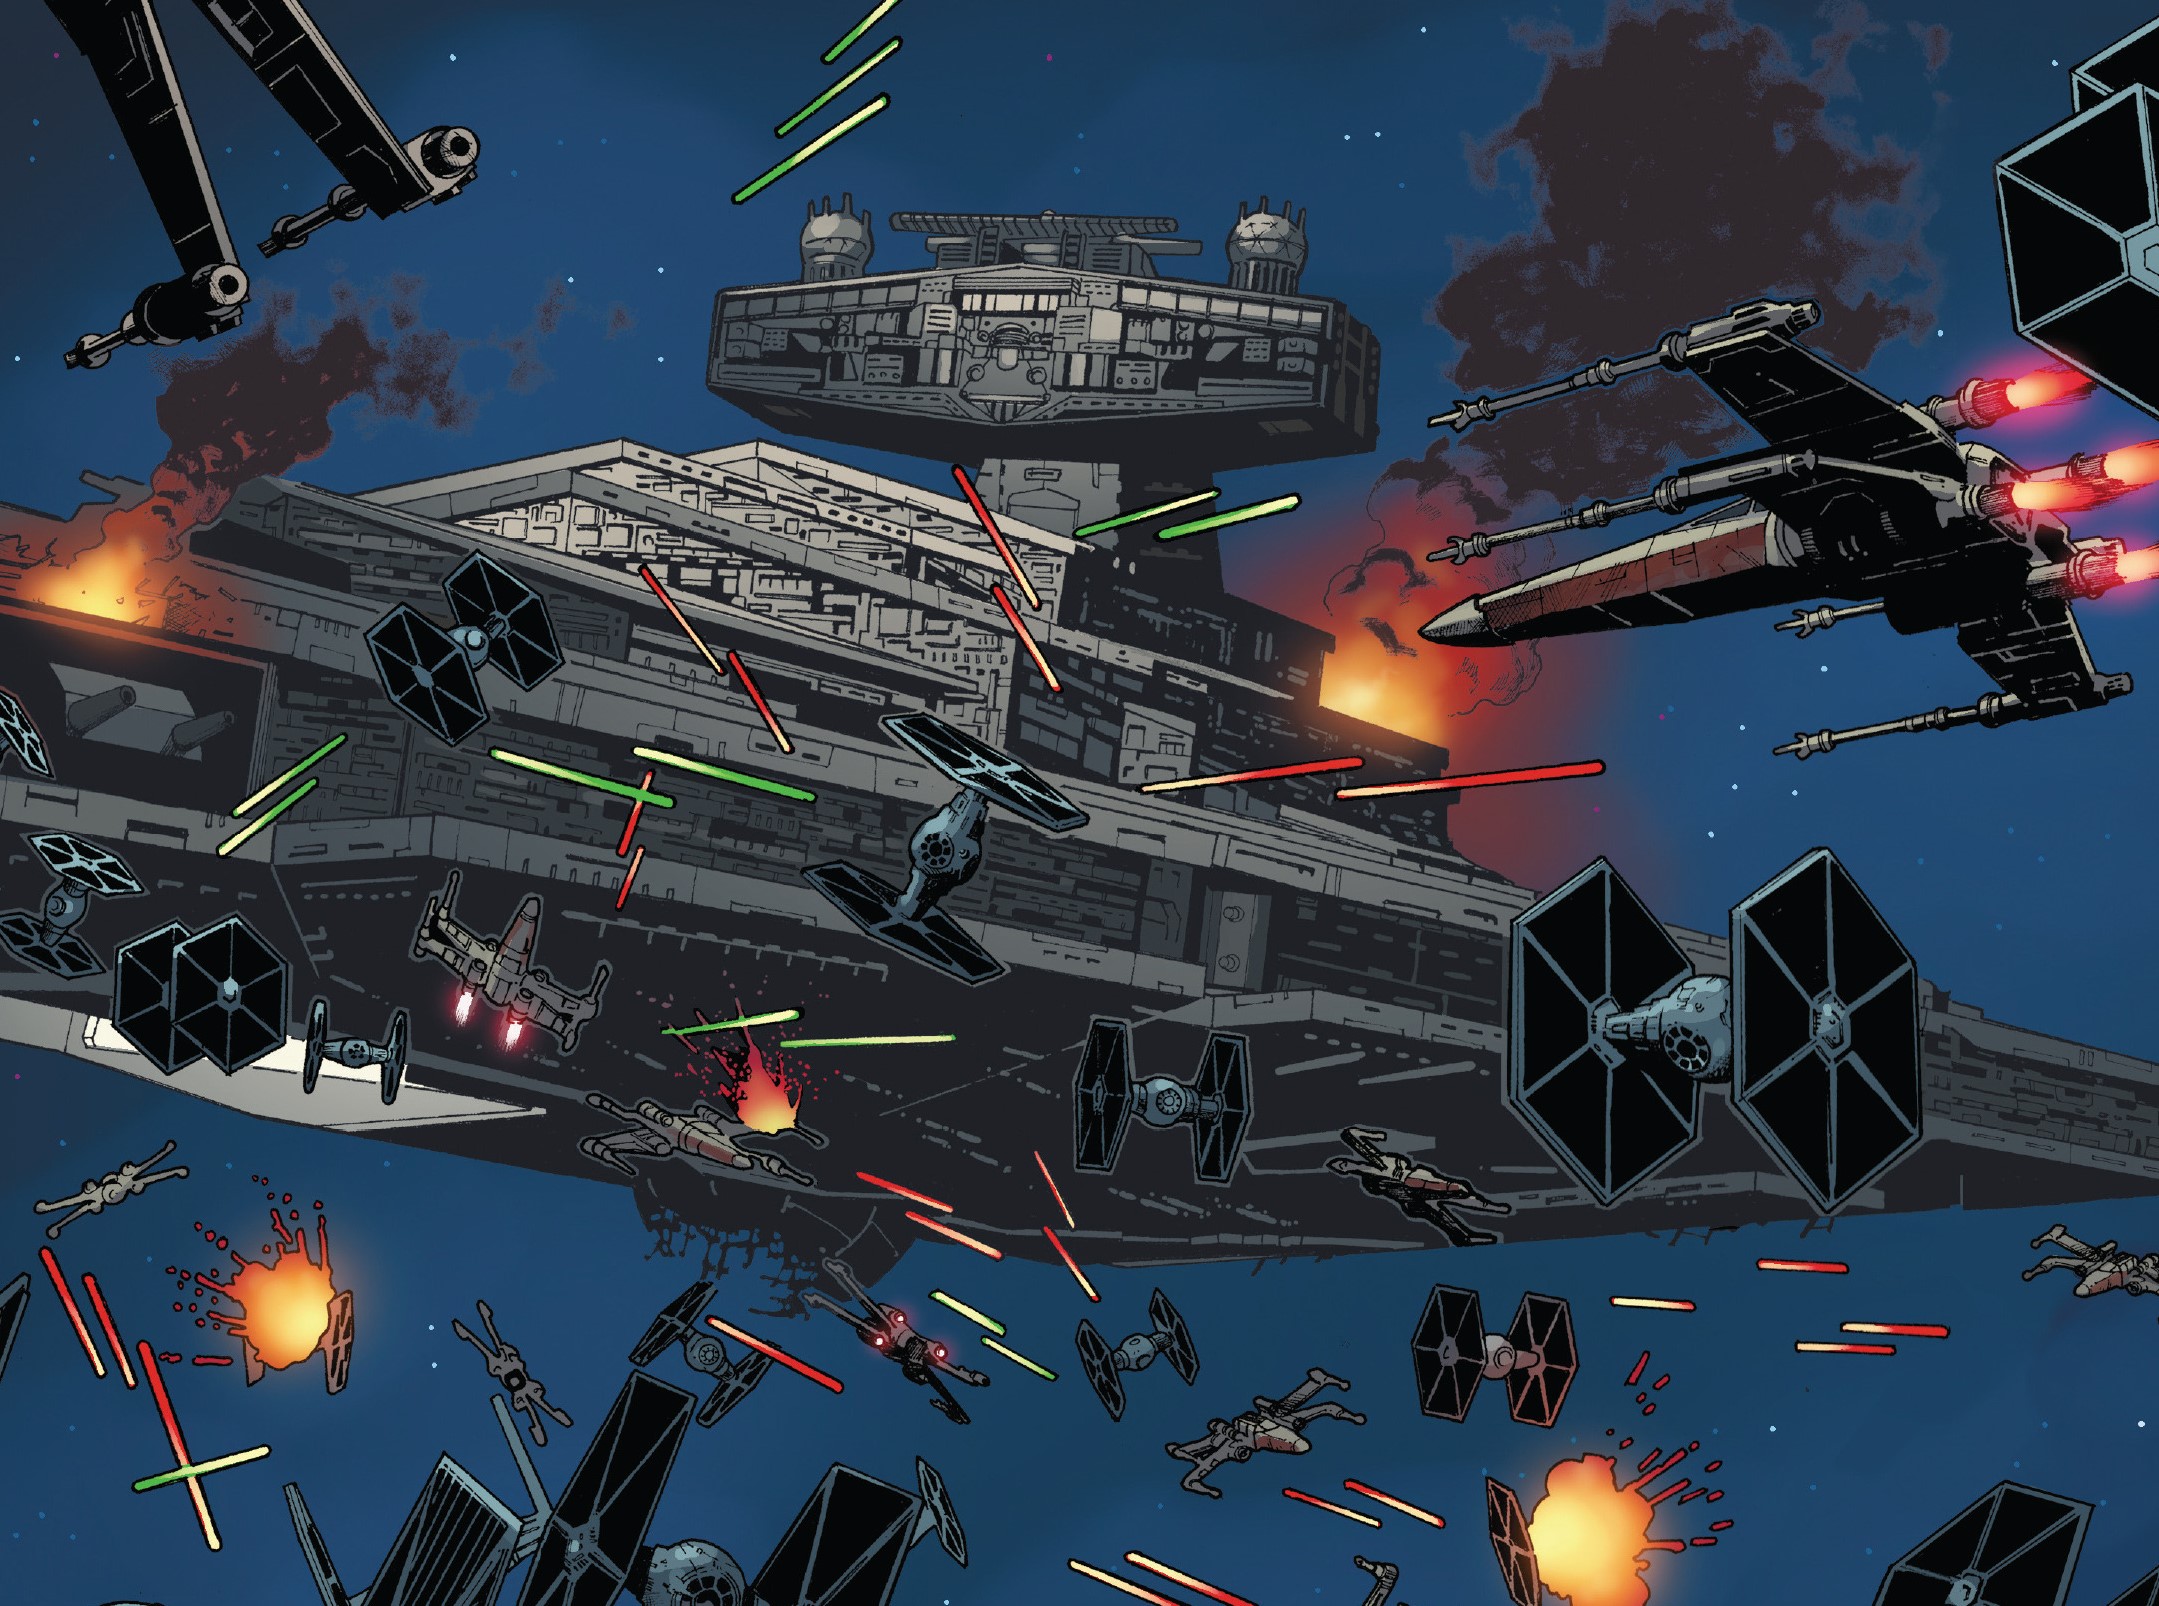
In 4 ABY, Red Squadron, under the leadership of Commander Wedge Antilles, participated in the Battle of Endor. The squadron consisted of a diverse mix of starfighters, including A-wings, X-wings, and Y-wings. When the Alliance fleet exited hyperspace and initiated their assault on the second Death Star, no one could obtain readings on the battle station's shield status. General Lando Calrissian (Gold Leader) realized the shield was still active and ordered all craft to pull back, as Han Solo's strike team had not yet disabled it. As the fleet retreated from the Death Star, a massive Imperial fleet, composed of numerous Star Destroyers, emerged from behind the sanctuary moon of [Endor](/article/endor], blocking their escape. Admiral Gial Ackbar recognized it as a trap. The Alliance ships were overwhelmed by Imperial TIEs, resulting in the loss of many rebel starfighters.
Antilles and his fighters played a crucial role in preventing TIE/IN interceptors from destroying the medical frigate Redemption, but Sila Kott (Red Three) was killed by TIEs during the engagement. Shortly after, the Death Star unleashed its superlaser on the MC80 Star Cruisers, obliterating ships such as the Liberty. This development caught the Rebels by surprise, as their intelligence indicated that the superlaser was not yet operational. Calrissian suggested that the fleet move closer to the Imperial capital ships to diminish the effectiveness of the Death Star's superlaser. Grizz Frix (Red Five) was killed when his X-wing was struck after the deflector shield generator dome from a Star Destroyer exploded.
After Han Solo's strike team successfully destroyed the shield generator on Endor and deactivated the shield, Red and Gold Squadrons initiated their attack run into the depths of the Death Star, with Antilles leading the charge. They were closely pursued by TIE Interceptors and TIE fighters, who shot down one of their X-wings, piloted by Keir Santage. Calrissian ordered the starfighters to split up and return to the surface to draw away any pursuing TIEs. Upon reaching the main reactor core, after navigating the increasingly narrow tunnels, Antilles fired the first shot, launching a pair of proton torpedoes at the power regulator on the reactor's north tower. This was followed by a shot from Gold Leader into the main reactor, resulting in its destruction. Both Antilles and Calrissian raced back to the surface, narrowly escaping an expanding fireball that consumed one of the pursuing TIE interceptors. Once clear, the Death Star exploded with a massive shockwave, forcing the retreat of Imperial forces and marking the end of the battle. Antilles celebrated on the forest moon below with the Ewoks and his Rebel comrades.