Battle of Scarif
The Battle of Scarif marked the initial large-scale conflict of the Galactic Civil War, occurring in 1 BBY. It pitted the Alliance to Restore the Republic against the Galactic Empire. This confrontation followed years of rebel attacks on the Empire and inaugurated a five-year period where the Alliance fought successfully to replace the Empire, ultimately leading to the New Republic.
Before this pivotal battle, the Rebel Alliance Intelligence Service obtained intelligence indicating that the esteemed scientist Galen Erso was constructing an Imperial superweapon with the potential to obliterate entire planets. Consequently, the Alliance leadership dispatched Jyn Erso, Galen Erso's daughter, along with Captain Cassian Andor, to investigate her father's involvement. Their subsequent endeavors led the Alliance to uncover the existence of the Death Star and a critical flaw in its design, intentionally implemented by Galen Erso.
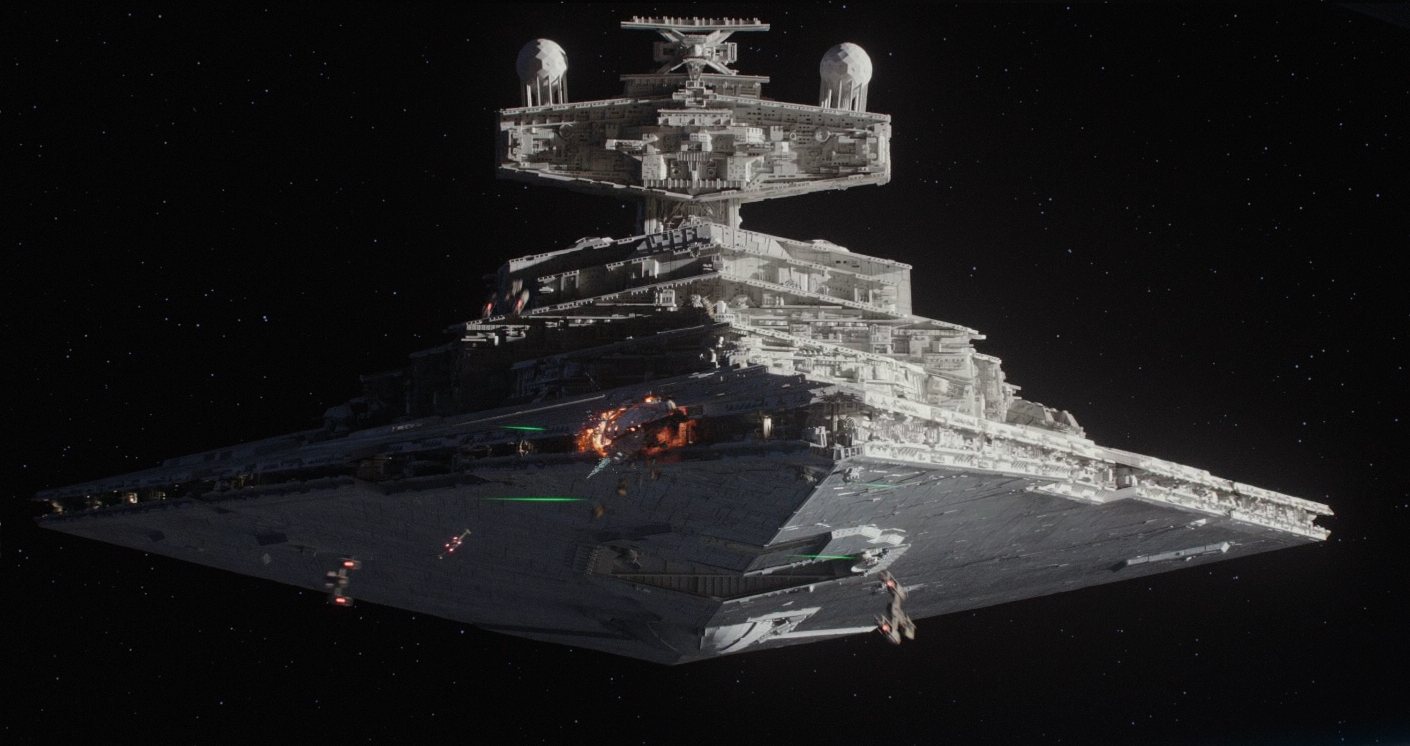
Despite the Alliance High Command's reluctance to openly challenge the Empire, Erso and Andor, leading a small team of the Marine Corps and other allies, defied orders and initiated an incursion of the Scarif Citadel. The rebels aimed to infiltrate the heavily fortified Citadel Tower base located on Scarif to secure the Death Star plans. Operating under the designation Rogue One, the unit breached Scarif's planetary shield aboard a captured Zeta-class Heavy Cargo Shuttle. They then launched a guerrilla-style assault on the Citadel's periphery, diverting Imperial forces to allow Andor, Erso, and the droid K-2SO to infiltrate the facility. Director Orson Krennic, the former commander of the Death Star, attempted to thwart Erso and Andor's mission to steal the plans. However, the outnumbered Rebels received support from the Alliance Fleet under Admiral [Raddus], whose forces engaged the Imperial Star Destroyers above Scarif and worked to destroy the Shield Gate protecting the planet.
Once the Shield Gate was destroyed, Rogue One successfully transmitted the stolen schematics to the fleet orbiting above. However, the remaining Rebel ground forces were decimated by a low-power strike from the newly arrived Death Star, which obliterated the Citadel and the surrounding area. The arrival of forces under the command of the Dark Lord of the Sith, Darth Vader, quickly overwhelmed the Rebel ships that failed to escape. Nevertheless, Princess Leia Organa managed to flee the battle aboard the Tantive IV. Lord Vader pursued her to Tatooine and captured her, but the plans were already beyond his reach. Ultimately, the plans reached the Alliance, enabling them to identify the Death Star's vulnerability and destroy it during the Battle of Yavin.
Prelude
Revelation on Jedha
Galen Walton Erso, an expert in kyber crystals, was recruited by Orson Krennic, who held the position of Director within the Imperial Military Department of Advanced Weapons Research for the Galactic Empire, to work on Project Celestial Power. Krennic presented this project as an endeavor to generate limitless energy. Erso soon discovered that his research was being weaponized to create a superweapon, the Death Star, prompting him to flee to the remote planet of Lah'mu. In 13 BBY, Krennic, frustrated by the project's delays, located Erso and forcibly returned him to the project after killing his wife Lyra. However Erso's daughter Jyn escaped and joined Saw Gerrera's Partisans before being abandoned at the age of 16. Erso, though compelled to continue his research, subtly incorporated a weakness into the Death Star's design that could lead to its complete destruction.
In 1 BBY, as the Death Star's construction approached completion, Galen began to fear the consequences of unleashing the superweapon upon the galaxy. He entrusted a message to Bodhi Rook, an Imperial cargo pilot seeking to defect, instructing him to deliver it to the Alliance. He directed Rook to seek out Saw Gerrera, an old friend residing on Jedha. Gerrera, however, had become increasingly paranoid and doubted the sincerity of Rook's defection, subjecting him to torture (via Bor Gullet) and imprisoning him.
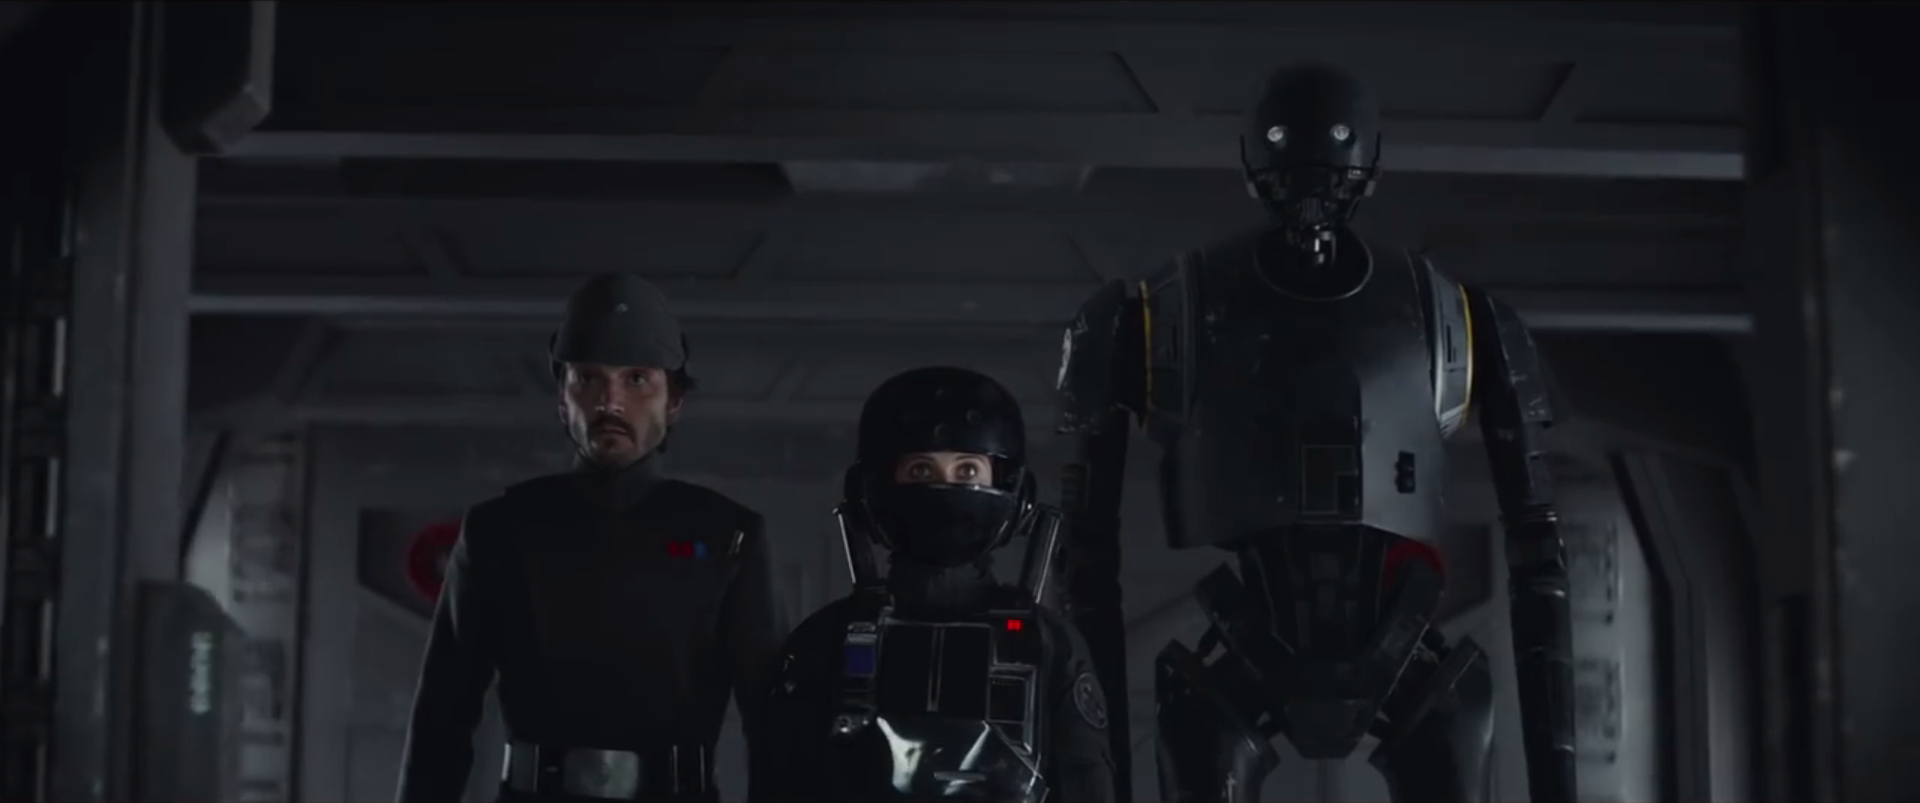
Through contacts within the Partisans, Alliance intelligence operative Cassian Andor learned about Galen's message and Gerrera's capture of Rook. The Rebel Alliance, now two years old, recruited Jyn to persuade Gerrera to hand over the message. Accompanied by Andor and his droid K-2SO, she traveled to Jedha and was captured by the Partisans during an ambush on Imperial forces in Jedha City. Also captured were the Guardians of the Whills Chirrut Îmwe and Baze Malbus. Jyn encountered Gerrera, who eventually showed her the message.
In the message, Galen explained that he had intentionally designed the Death Star's reactor module to be unstable, ensuring that any pressurized explosion within the module would trigger a chain reaction leading to the station's complete destruction. However, to pinpoint the reactor's location, they would need a complete set of plans, stored in the data vault of the Citadel Tower on Scarif. Before the message could conclude and Jyn could physically obtain it, the Death Star arrived and destroyed Jedha City, resulting in Gerrera's death and forcing Jyn, Andor, and their allies to retreat.
They then set off for the planet Eadu, where Galen was stationed, with the intention of bringing him to the Alliance so he could assist them directly. Krennic, suspecting Galen of sending the message, arrived on Eadu to confront him. Andor, under secret orders to eliminate Galen, hesitated at the brink of killing him. At that moment, an Alliance starfighter squadron arrived and bombarded the Imperial complex where Galen worked, killing him and forcing Krennic to retreat. Andor, Jyn, and their team returned to Yavin-4 aboard a stolen Imperial cargo shuttle.
Formation of Rogue One
Upon returning from Eadu, Jyn and Captain Andor participated in an Alliance Council meeting, where they shared their findings about the Death Star and the necessity of obtaining the plans held on Scarif. Most attendees were skeptical about the weapon's existence, and those who believed it doubted the presence of a deliberate weakness, given that the information originated from a criminal who was the daughter of an Imperial engineer. They considered it wiser to hide or surrender. Discouraged, Erso left the meeting, only to discover that Andor and several others—including Chirrut Îmwe, Baze Malbus, and Bodhi Rook—remained willing to fight alongside her. Together, they adopted the name "Rogue One" and embarked on an unauthorized mission to Scarif, utilizing the previously stolen Imperial cargo shuttle, and made their way to the planet.
Upon arrival, Rook transmitted the shuttle's clearance codes, allowing them to bypass the planetary shield and land on the surface. Simultaneously, Krennic returned to Scarif to instruct the command staff to meticulously examine all Death Star–related project files created by Galen Erso. Director Krennic's motivation stemmed from a desire to identify any irregularities, particularly after the Dark Lord of the Sith, Darth Vader, had reprimanded him for compromising the Death Star's secrecy through the destruction of Jedha City. Vader informed Krennic that he could only secure his support and Emperor Palpatine's favor by proving that Erso had not disclosed any information regarding the Death Star's weaknesses to the Rebellion.
The battle
The ground assault
Capitalizing on the element of surprise, Jyn Erso and Cassian Andor deployed teams to create a diversion, enabling them to infiltrate the Citadel Tower and locate the plans. This involved initially setting explosives throughout the area. Erso and Andor, disguised as Technician Kent Deezling and Lieutenant Colin Hakelia after incapacitating them and stealing their uniforms, proceeded to enter the Imperial Center of Military Research. They then lured a K-2X droid to a secluded location, allowing K-2SO to identify the direct route to the plans using the droid's embedded map. K-2SO discovered the path and warned them of three squads of stormtroopers obstructing their way. Andor then instructed the Marines to detonate the explosives. The battle commenced with Rebel Commandos detonating multiple explosives on the landing pads surrounding the Scarif complex. During the battle, the Rebels employed tactics reminiscent of those used in the skirmish at Nexator and skirmish at Carsanza.

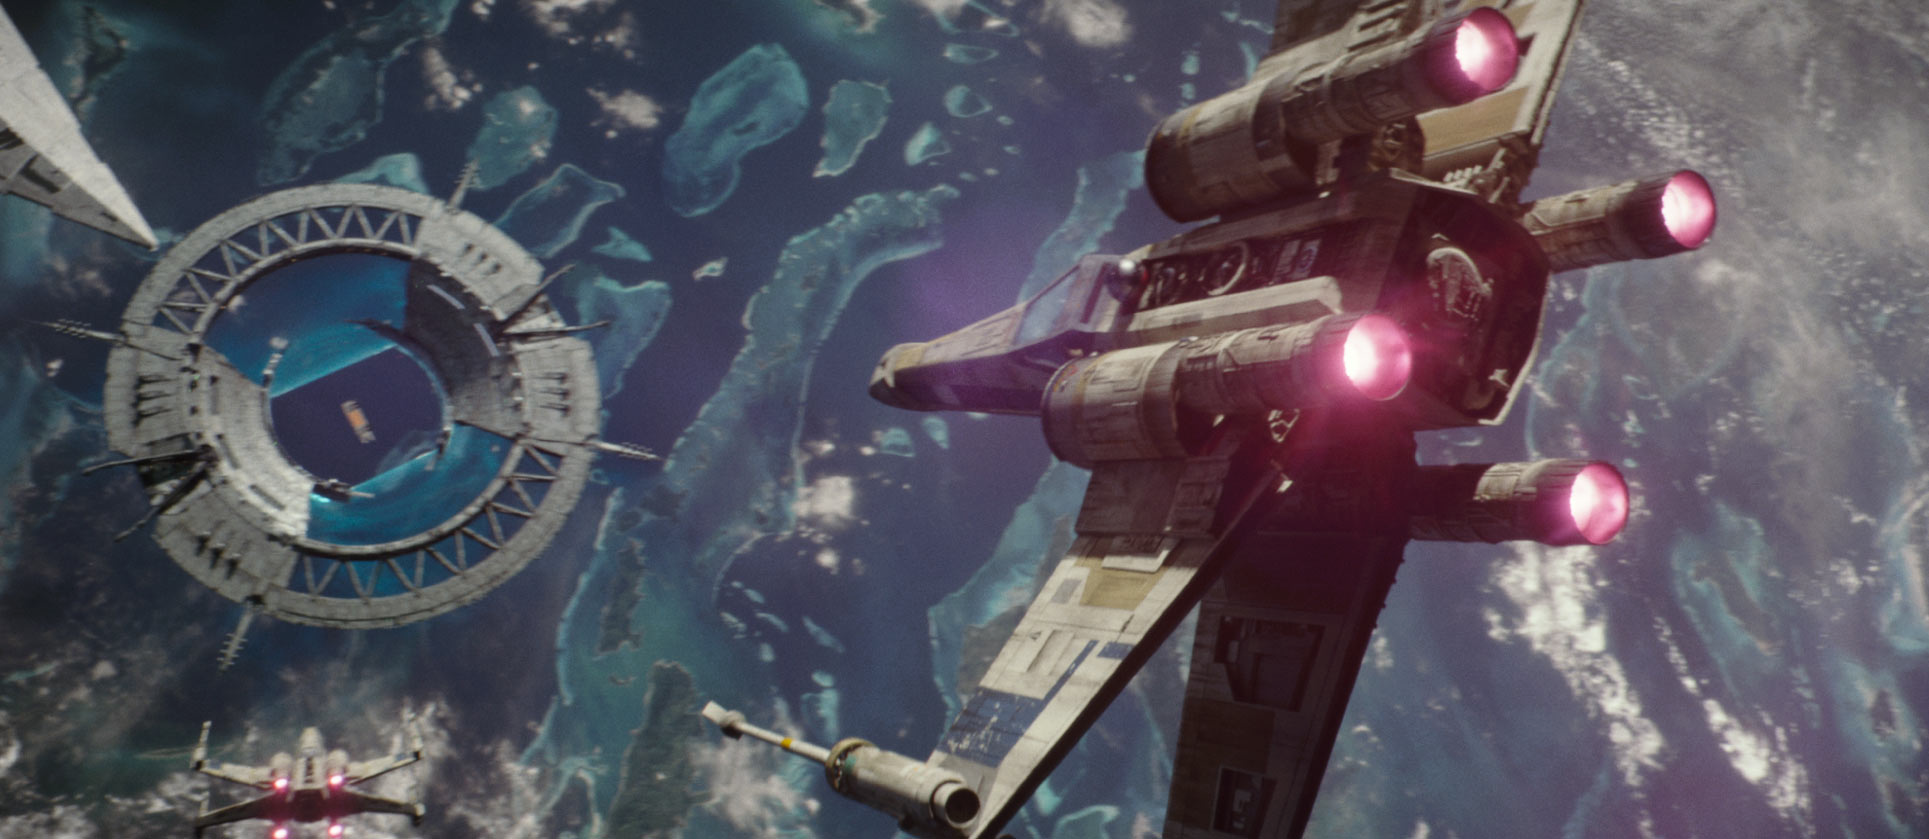
Initially delayed by command center staff observing the explosions in disbelief, the Empire responded to the explosions by dispatching many of the troopers at the base to the outside, providing Erso, Andor, and K-2SO the distraction they needed to get further inside the Citadel in search of the Death Star plans. As the rest of Rogue One held down the line outside, Chirrut Îmwe alerted the Rebels to the presence of AT-ACTs. Suddenly outmatched due to the presence of the walkers, the Rebels were forced to fall back to the beach, with a number of them being cut down by fire from stormtroopers and the pursuing walkers. As the Rebels reached a beach and dug in, Baze fired a smart rocket at a pursuing AT-ACT, to no effect. However, right before it could obliterate their position the walker was fired on and destroyed by Blue Squadron's X-wings, which had arrived to provide support. Another walker was brought down by a U-wing when its door-mounted ion cannon disabled its legs and a third exploded when an X-wing fired on its open cargo bed.

With Blue Squadron having made it through the shield gate, the Imperial air defenses were scrambled in order to defend the Citadel Tower from the rebel incursion. Rebel X-wings engaged the numerous TIE strikers stationed on Scarif, with both sides suffering substantial casualties. As the air battle raged on, Merrick ordered a U-wing gunship to reinforce the overwhelmed troops on the beach while the rest of the squadron defended them from Imperial fire. As the battle progressed, Director Krennic ordered the deployment of his death trooper guard squadron via TIE/rp Reaper attack lander. The transport was escorted by TIE strikers, which proved too much for General Merrick and resulted in his death. Rogue One continued to draw out the Imperial garrison, allowing Jyn and Cassian the time they needed to recover the plans.
Space battle
Rebel signals intelligence officer Tenzigo Weems intercepted an Imperial transmission of the presence of Rogue One on Scarif and informed Mon Mothma. Raddus had already left for his ship, and Rebel command mobilized the rest of their fighter aircraft. Following the arrival of the Alliance's fleet, Raddus ordered all squadron leaders to report in then assigned them duties; Red and Gold Squadrons were to defend the fleet, while Blue Squadron was ordered to get to the surface to reinforce those battling on the beaches. Twelve X-wings, including Blue Leader Antoc Merrick, and a single U-wing made it through the opening before Shield Gate control ordered the gate closed.
Seven other X-wings attempted to get through with the rest of their squadron, but none of them made it; one was shot down, two crashed into the shield, one collided with the gate station, and the other three pulled up and rejoined the space battle. The three fighters brought down the bridge shield generators of the Persecutor and shot down a TIE fighter. Renowned pilot Heff Tobber, flying an X-Wing under the callsign Blue Eight, was also unable to make it through the shield so supported the Green Squadron in the space battle. After Blue Squadron made it through the shield gate, Red Squadron attempted a diversionary attack on the gate. The squadron sent 10 of its X-wings to destroy the gate's defense turrets.
The squadron lost a number of their ships to enemy fire but were able to severely damage many of the turbolasers. This tactic drew the attention of several defense turrets, creating an opening for Gold Squadron to begin their attack run on the shield gate. Using ten of their Y-wings, Gold Leader Captain Jon Vander instructed his pilots to begin their initial bombardment, warning his pilots to use caution around the defense towers. Gold Squadron conducted several bombing runs on the shield gate, utilizing proton bombs in the process. Three Y-wings were lost on the first run. The battle intensified as the Imperial forces launched TIE fighters from both Star Destroyers and the shield gate itself, which battered the Rebel cruisers with laser fire and shot down many starfighters, including Red Five (Pedrin Gaul). After seeing that there was no progress on that front, Admiral Raddus ordered the fleet to engage the Star Destroyers.
Transmitting the plans
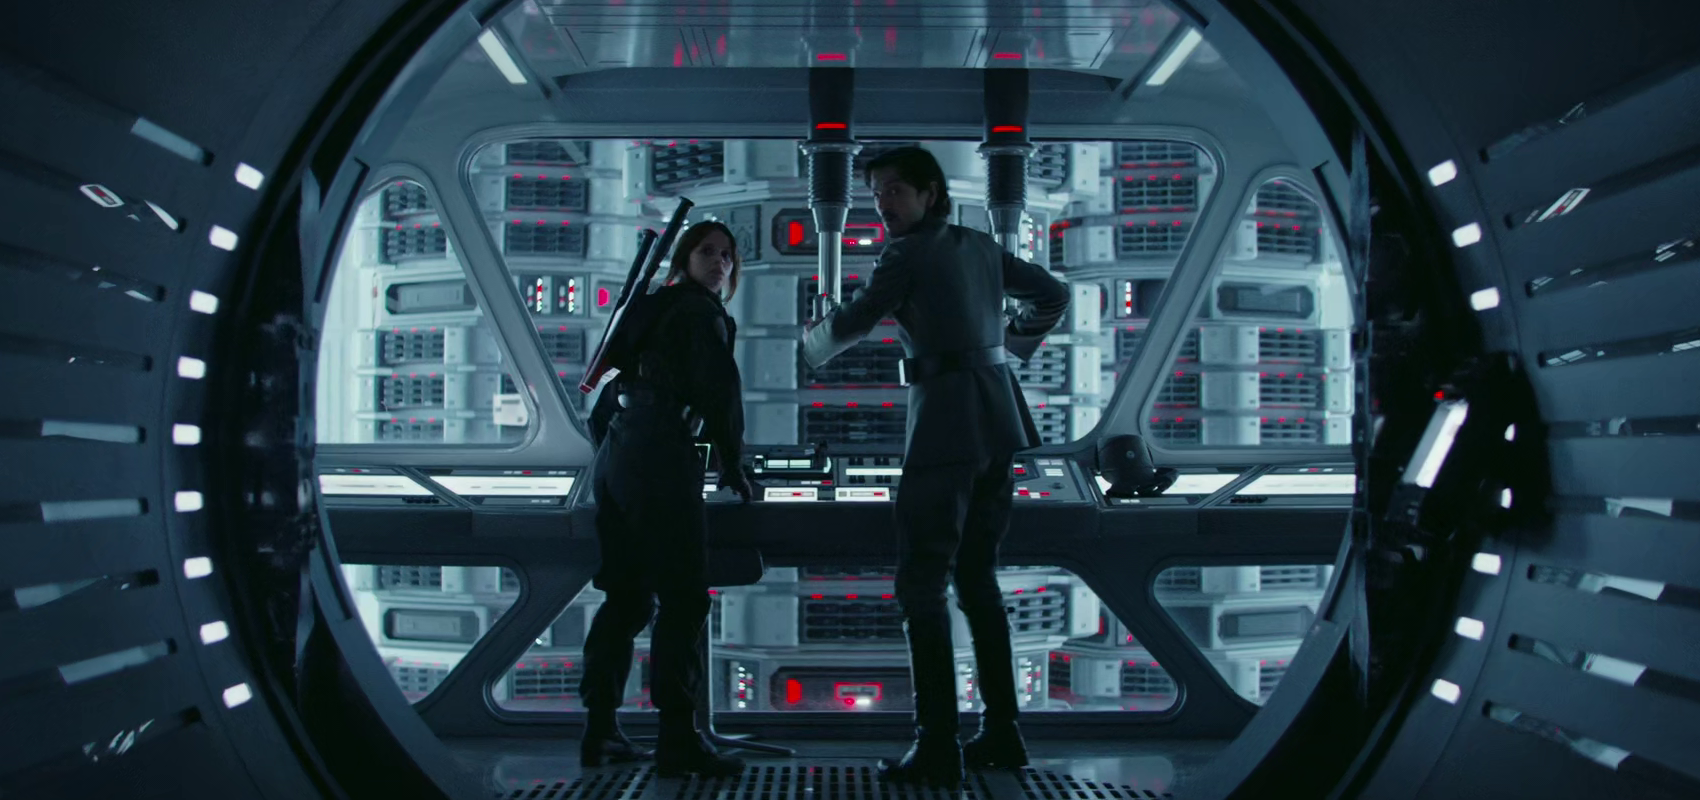
Andor, K-2SO, and Jyn made their way to the data vault. After disabling the technician, K-2SO began searching for the files as Andor and Erso entered the vault. After the shield gate was closed, K-2SO suggested they transmit the plans to the fleet instead. However, due to the size of the datafiles, the planetary shield had to be taken down for them to be transmitted. Cassian tasked Bodhi with telling the Rebel fleet they had to destroy the shield gate to receive the plans.
After noticing the dead technician, a multitude of stormtroopers besieged the main archive room, kicking off a DefStat Three level alert that activated the Vault security contingent. While K-2SO held many of them off with a single blaster pistol, the droid, after withstanding heavy blaster fire, located the Death Star plans and marked the canister. He then locked Erso and Andor in the vault to allow them enough time to retrieve the plans, and was subsequently destroyed fending off stormtroopers, taking down the archive room console in the process.

In order to tell the Rebel fleet to destroy the shield gate, Bodhi directed Chirrut Îmwe and Baze Malbus to the master power switch for communications on Scarif. The two turned off the signal disruptor, but perished doing so, though not before killing the entire complement of death troopers sent against them. Rook contacted the Alliance flagship and told them they had to destroy the shield gate to allow the Death Star plans to be transmitted to them. Shortly thereafter, a thermal imploder was thrown into his ship, killing him and destroying the shuttle.
Inside the Scarif Citadel Tower, Orson Krennic, along with two death troopers, opened a security door to the archive vault and began to shoot at Andor and Jyn. Andor killed the two troopers, but was hit by Krennic, rendering him unconscious. Jyn continued her ascent to the escape hatch at the top of the vault and exited onto the roof of the Citadel Tower. On top of the base was the communications dish. After reorienting it, Jyn prepared to send the plans to the Rebel fleet when Krennic appeared. Whilst Krennic confronted her, declaring the Empire's inevitable victory, Andor regained consciousness and made his way to the roof of the station. Right before Krennic was about to kill Jyn, Andor shot the director.
Far above, the Alliance Fleet was taking a significant beating. Although the rebel fleet scrambled its ships and defense cannons, endless waves of TIE fighters battered the rebel ships, destroying a GR-75 medium transport and damaging one of the Nebulon-B frigates, while the Profundity's shielding was reduced to half strength. Gold Leader ordered his squadron to form on his wing, informing them that a path had been cleared. Along with four of his squadron mates, Vander launched multiple ion torpedoes at at one of the two Star Destroyers, the Persecutor, disabling it. After receiving Rook's transmission, Admiral Raddus contacted a Sphyrna-class Hammerhead corvette and explained his plan to break open the shield.
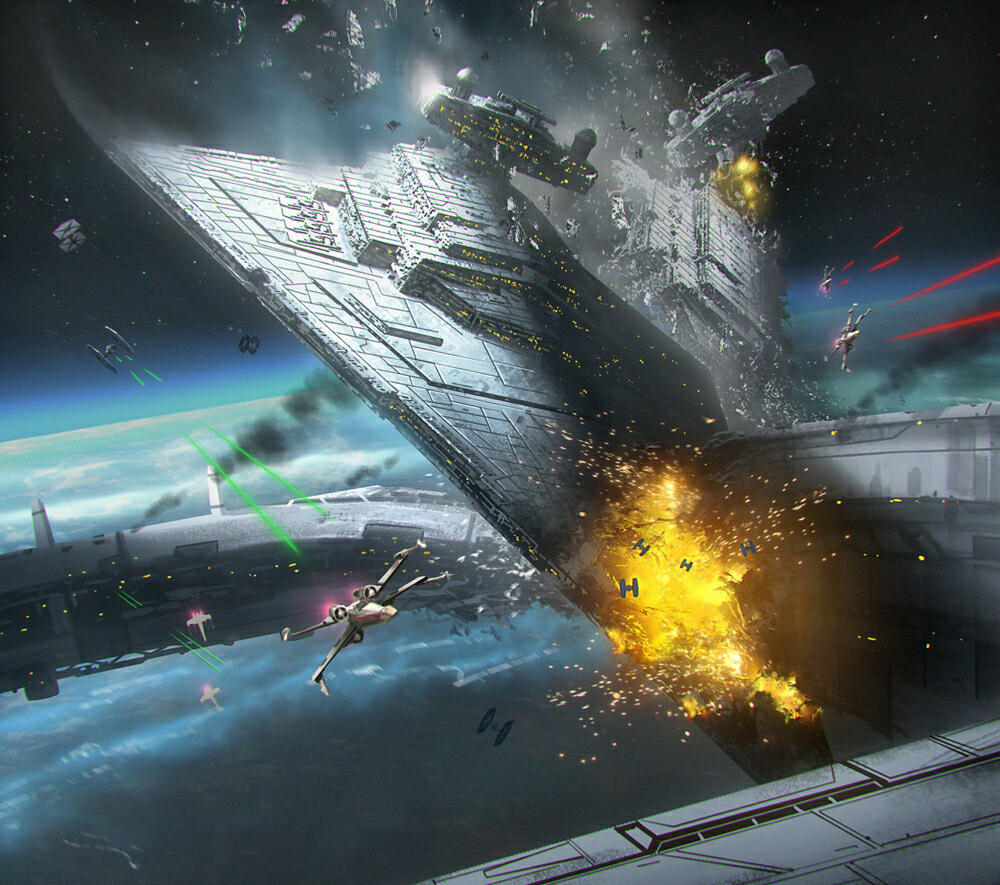
The corvette he had chosen to carry out his plan was the Lightmaker, commanded by Kado Oquoné. The ship had earlier sustained heavy damage and was covering the line of retreat. The ship had evacuated all non-essential personnel, leaving just a skeleton crew behind, including Oquoné himself, and, on Raddus' orders, the corvette rammed the disabled Destroyer, locking itself into a notch on the starboard side. Lightmaker then activated its sublight engines, sending Persecutor on a collision course for the nearby Star Destroyer, Intimidator. Admiral Gorin, seeing the incoming hazard, ordered full reverse thrust to avoid the collision, but it was too late. As the two Star Destroyers collided, Persecutor sheared Intimidator through many of it's upper decks. Intimidator broke apart and fell towards Scarif, crashed into the orbital docking station that controlled the deflector shield, and disabled it. With the shield down, Jyn and Andor were able to transmit the Death Star plans to the Profundity.
Immediately after the transmission of the plans, the Death Star exited hyperspace. Wilhuff Tarkin, aware of Darth Vader's impending arrival aboard the Devastator, chose to ignore the rebel ships and instead ordered a single-reactor ignition aimed at the Citadel base on Scarif. Regaining consciousness on top of the Citadel Tower, Krennic looked into the sky to see the Death Star looming over the base. Watched by the horrified Rebel fleet, the superlaser fired upon the surface. The beam vaporized the top third of the Citadel Tower, which was in its direct path, and impacted the surface several kilometers away. Soon after, everyone at the base (including Erso and Andor), along with the Imperial security complex, were vaporized and destroyed by the monumental aftereffects of the impact.
Once the Alliance forces received the Death Star schematics, they attempted to escape to hyperspace. Three CR90 corvettes, two GR-75 transports, one Hammerhead corvette— the Consonance— and a number of starfighters made the jump in time, but the others were intercepted by the Devastator as it suddenly emerged from hyperspace. Three Y-wings, two X-wings and a Dornean gunship successfully took evasive action to avoid crashing into it, but a GR-75 transport was obliterated as it crashed onto the Destroyer's hull when it couldn't pull away in time. The flagship of Vader immediately opened up its forward batteries, aiming for the Profundity; one unfortunate Nebulon-B frigate was caught in the barrage instead and split in half under the sheer firepower. The Destroyer then turned its guns on the Profundity while the rest of the ships scattered. The flagship's already weakened shields gave way, and the ship was crippled by further barrages.
Final actions
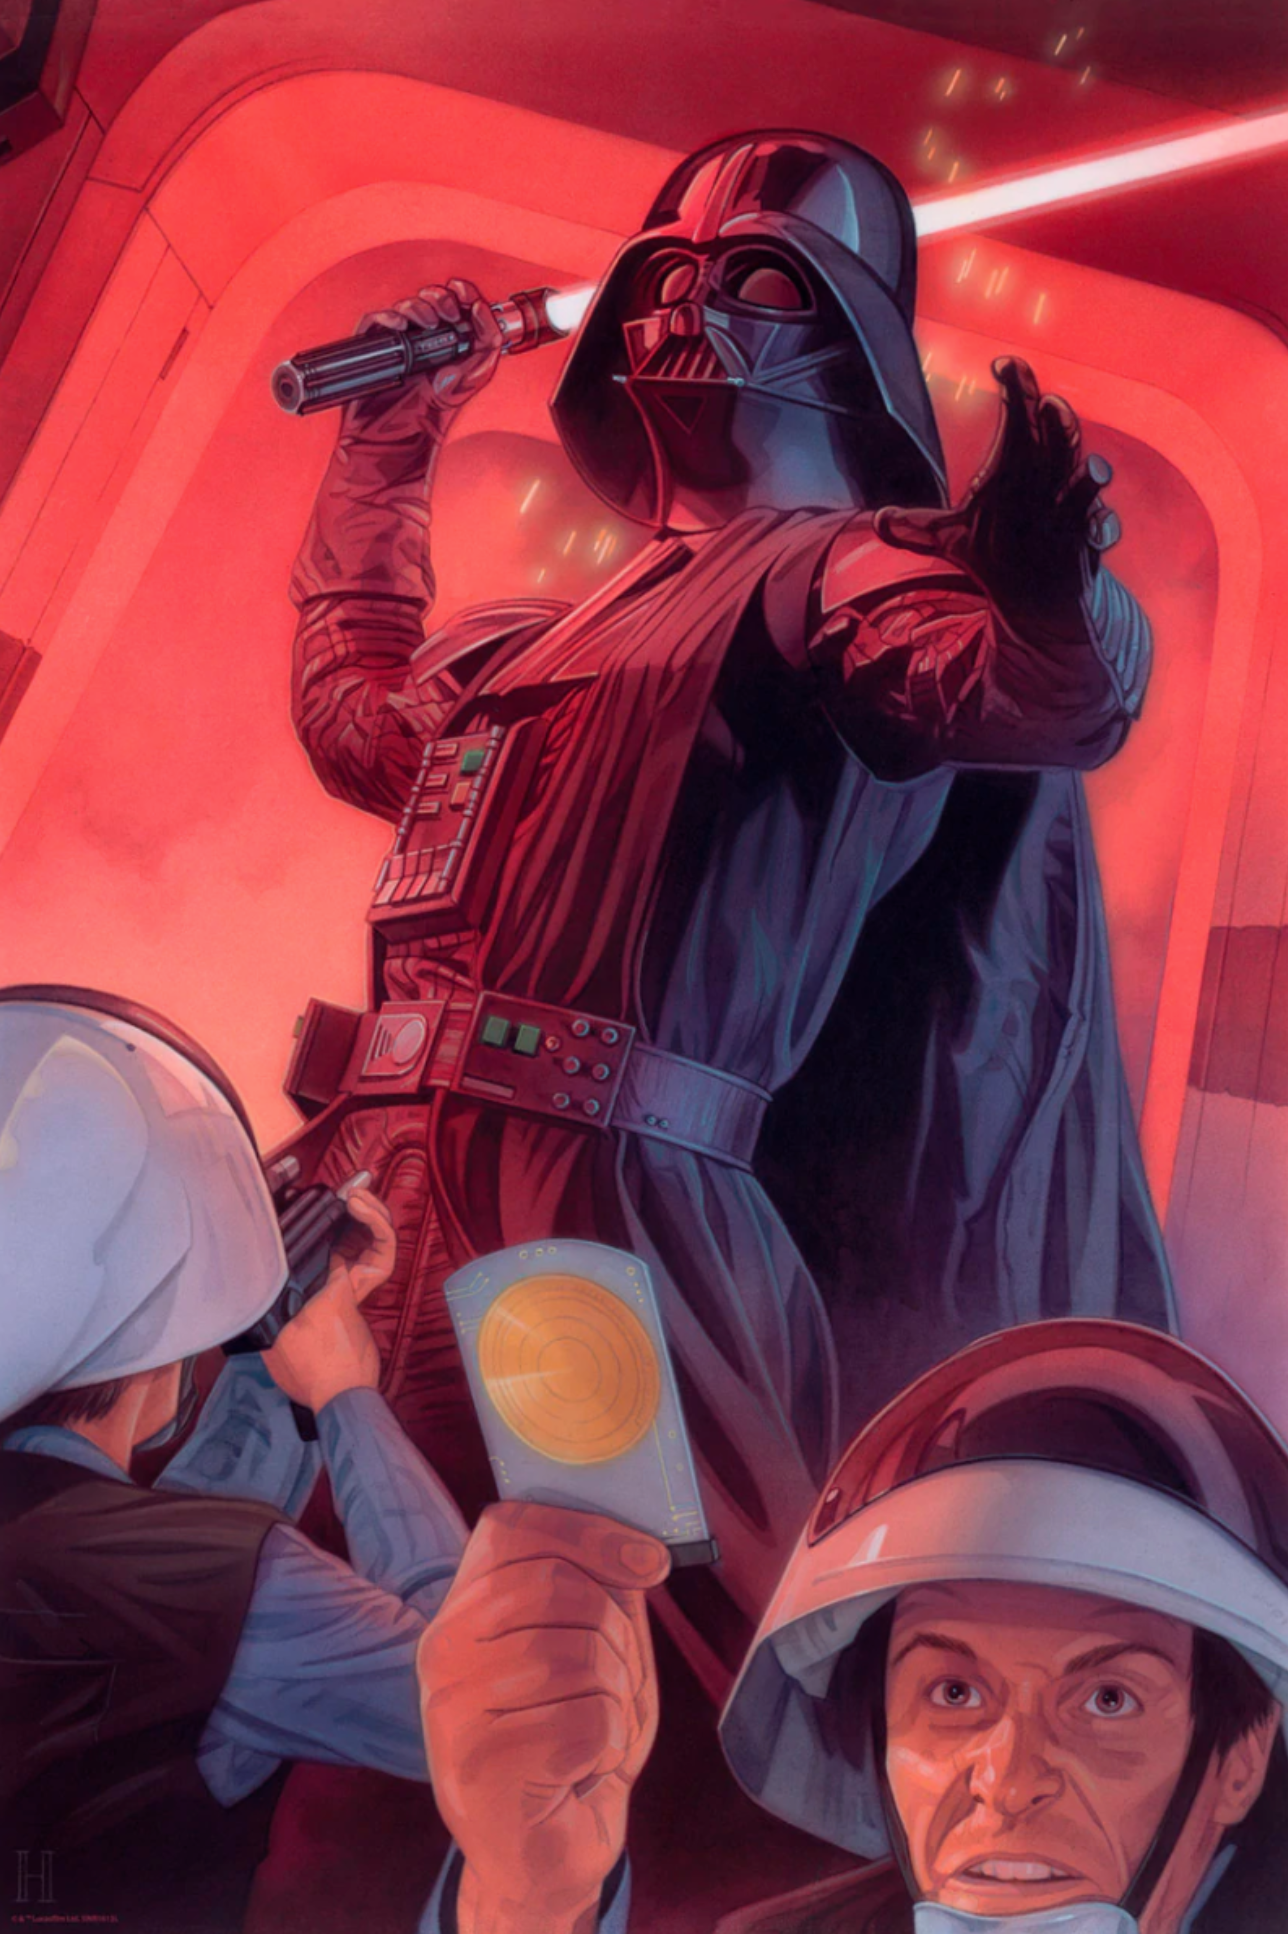
After disabling the Profundity, Lord Vader, along with a contingent of stormtroopers, boarded the ship in an attempt to regain the Death Star plans. The Rebels meanwhile downloaded a complete set of the plans onto a data disk and prepared to evacuate them on the Tantive IV, which had been damaged in a previous mission and therefore had been unable to take part in the Battle of Scarif. However, the Profundity experienced a sudden power loss as the troopers attempted to board the corvette, jamming an automatic door in the path of the Rebels. As they attempted to pull the door open, Vader caught up with them and butchered the entire group. However, the trooper holding the data disk managed to pass it to another soldier, second officer Toshma Jefkin, through a gap in the door before being impaled by Vader.
Jefkin ran with the plans, passing into the Tantive as his colleagues gave their lives to slow the relentless Dark Lord of the Sith for a few precious moments. He dove through the corvette's airlock and screamed for it to be launched, and one of the other troopers disengaged the Profundity's hangar docking clamps, leaving Lord Vader and the rest of the boarding party to watch as the Rebel ship escaped. The ship, captained by Raymus Antilles and carrying Princess and Senator Leia Organa, jumped to hyperspace before it could be intercepted by the Devastator, thus ending the Battle of Scarif. Vader and his party then left the Profundity, after which it was destroyed, killing Raddus and the rest of the Rebel crew.
Aftermath
The conflict on Scarif marked the initial significant triumph for the nascent Rebel Alliance in their fight against the Galactic Empire. Prior to this, the rebellion had avoided direct confrontation with the Empire, making this the first instance of a deliberate deployment of their fleet in open warfare. Despite suffering considerable losses, the Rebel forces managed to hold their ground. The Empire viewed the theft of the plans as a major humiliation, and despite doubts that they contained any critical flaws in the station's design, retrieving them was deemed absolutely necessary.
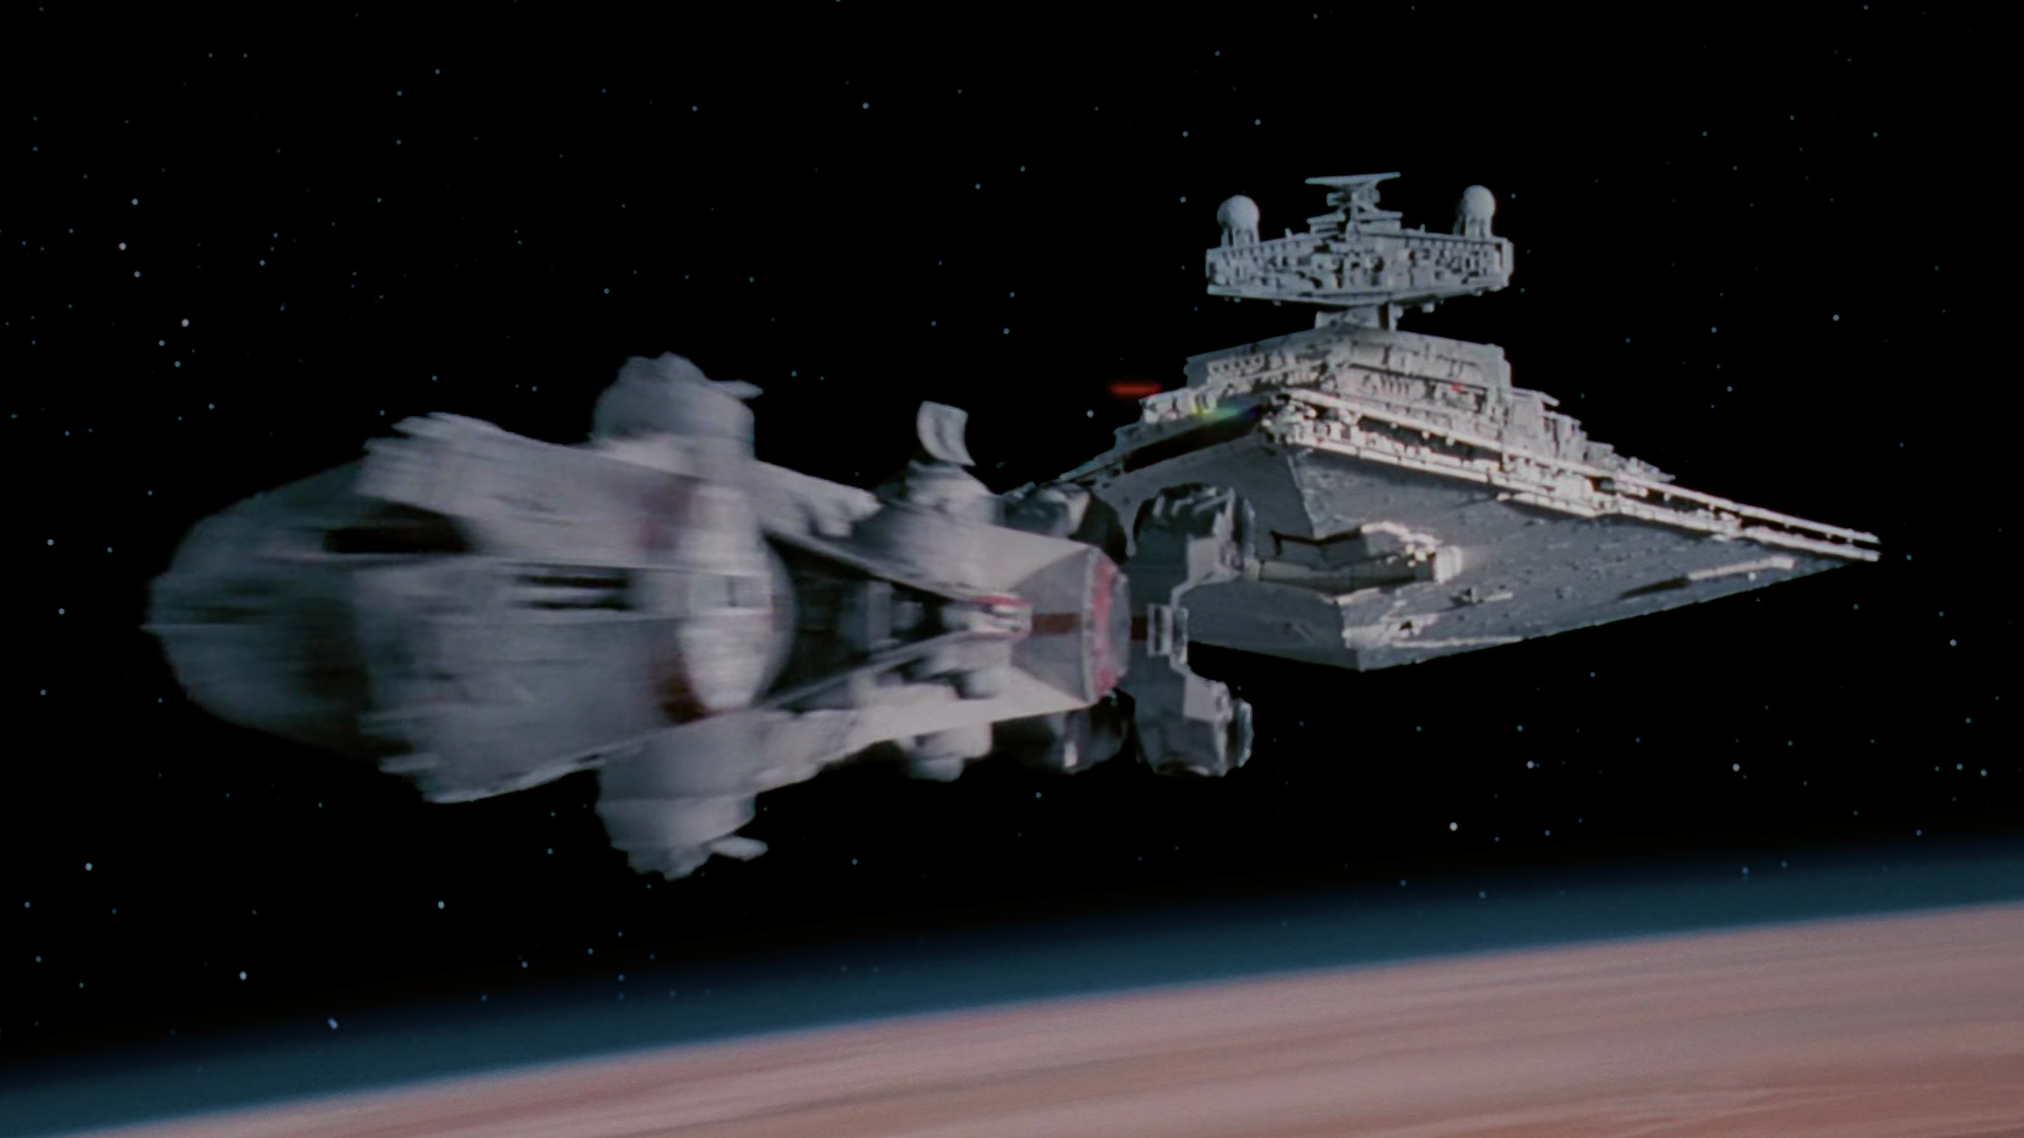
As Princess Leia possessed the Death Star plans, aboard the Tantive IV, it was pursued by the Devastator, with Lord Vader personally overseeing the chase. The Devastator tracked the Tantive IV to the desert planet of Tatooine, where Vader apprehended the princess and transported her to the Death Star. Simultaneously, Imperial forces were searching for two androids, R2-D2 and C-3PO, the former carrying the Death Star plans. The droids eventually fell into the hands of Luke Skywalker, who, accompanied by Jedi Master Obi-Wan Kenobi and the smuggling duo Han Solo and Chewbacca, journeyed to the Death Star and liberated Organa. Although Kenobi was slain by Vader, his former apprentice, during the escape, the princess and the others made their way to the Rebel base located on Yavin 4 and participated in the Battle of Yavin. The battle strategy was formulated after the Rebels scrutinized the Death Star plans and identified a vulnerability: an exposed thermal exhaust port, which Luke Skywalker exploited to destroy the Death Star during the engagement.
The death of Pedrin Gaul (Red Five) created an opening in Red Squadron, a position that Skywalker would later fill.
The Galactic Empire ensured that the general public, including individuals such as the rogue Kay Vess, remained unaware of the battle. The Imperial Security Bureau falsely reported that some who died at Scarif, such as Calys, perished in other battles, such as the Battle of Trevini.
Behind the scenes
Development
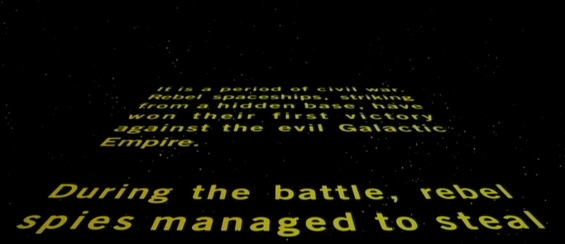
The event known as the Battle of Scarif was initially referenced in the opening text scroll of the 1977 motion picture Star Wars: Episode IV A New Hope, the inaugural film of the Star Wars original trilogy. This event forms the core narrative of the 2016 Star Wars Anthology film titled Rogue One: A Star Wars Story. Within Star Wars Legends continuity, the battle involving the theft of the plans was designated as the Battle of Toprawa, while the overall operation was referred to as Operation Skyhook.
The writer Gary Whitta initially proposed two different conclusions for the battle that were ultimately not used in the film. One concept involved Krennic surviving the Death Star's attack on Scarif, unlike the Rebels, only to be killed by Darth Vader aboard a Star Destroyer for failing to prevent the theft of the Death Star plans. This idea was discarded because Krennic's survival was deemed implausible. The other proposed ending featured Darth Vader's presence on the surface of Scarif. He would have eliminated a group of Rebels while advancing towards the Imperial security complex, but would have arrived too late. This scene was replaced with the scene depicting Vader boarding the Profundity.
The Battle of Scarif debuted in Star Wars Battlefront as a complimentary downloadable level available on December 6, 2016, for season-pass holders. Earlier concepts for the Star Wars Rebels animated series included the Spectres stealing the Death Star plans. However, Dave Filoni abandoned these plans after Rogue One began development. Filoni then decided that the show would concentrate on Ezra Bridger's narrative.
Contradictions
The short story Grounded indicates that Elyhek Rue served as Red Seven during the Battle of Scarif. Conversely, Duty Roster asserts that Harb Binli was the pilot of Red Seven. This article assumes that Duty Roster is the accurate source.
Sources such as Star Wars Helmet Collection originally placed the Battle of Scarif in 0 BBY. However, Star Wars: Timelines later revised its placement to 1 BBY.