Evacuation of Yavin 4
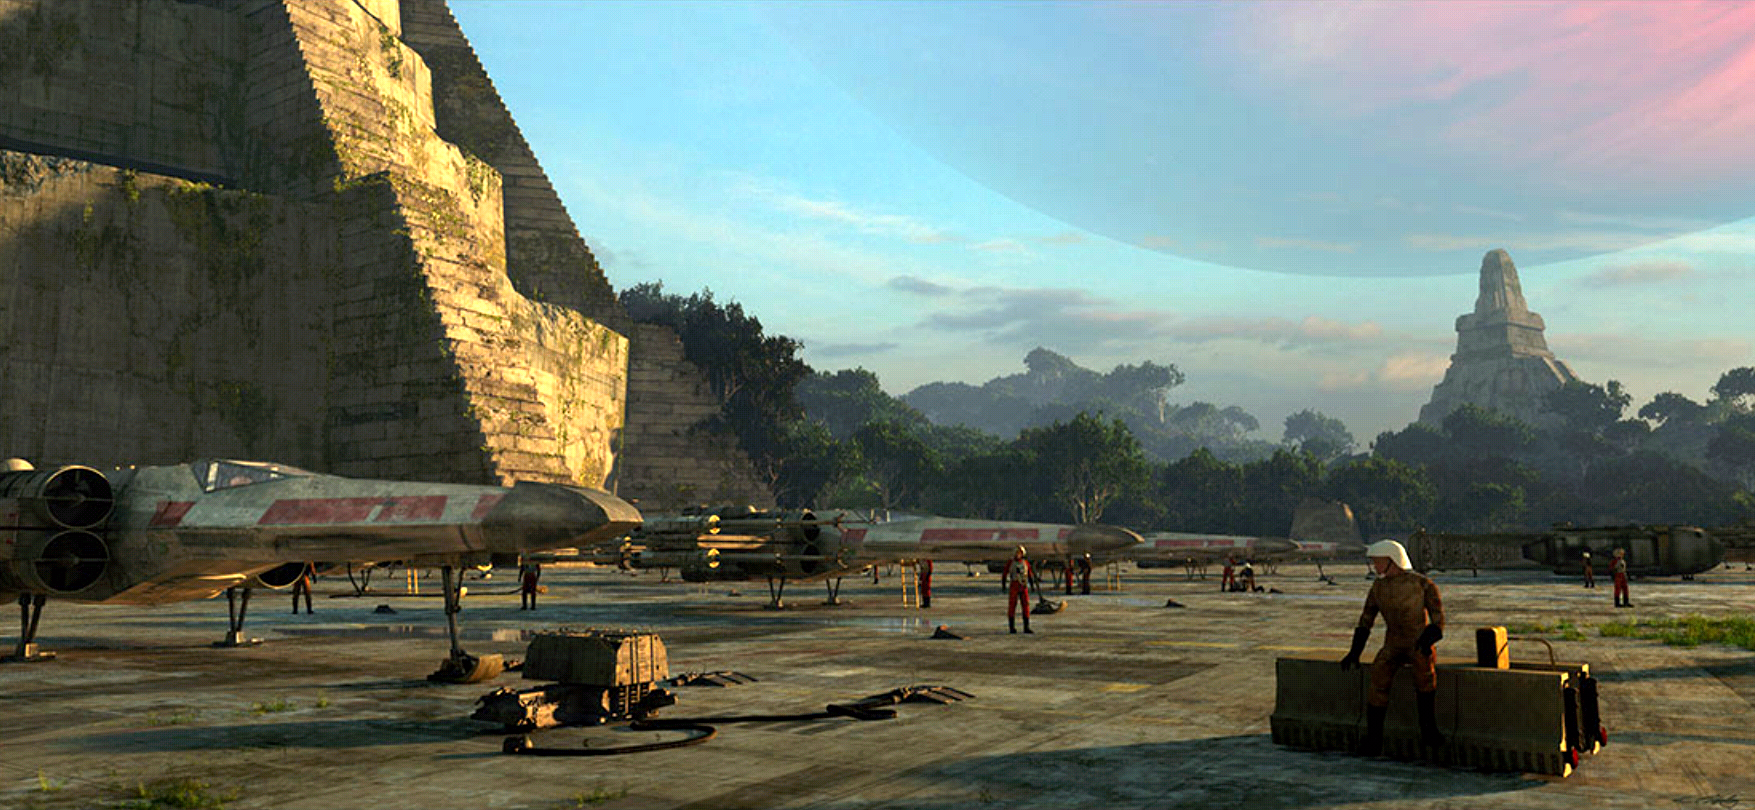
The Yavin 4 departure, also referred to as the Base One departure or the Great Temple departure, was executed by the Rebel Alliance in 0 ABY, during the days immediately following the Yavin battle. After successfully destroying the Galactic Empire's newest battle station, known as the Death Star, the Alliance was concerned about retaliatory strikes, as their location was now compromised. Consequently, they were compelled to leave the Great Temple located on Yavin 4 to establish a new operational headquarters. Emil Graf, a mapmaker, recounted that the final stage of the departure involved an assault from a Imperial-class Star Destroyer, which was successfully countered by the Alliance aviator Evaan Verlaine.
Prelude

Nineteen years following Sheev Palpatine's ascension to the position of Emperor, on a day that later marked the beginning of a fresh calendar system, the Rebels of the Alliance to Restore the Republic initiated a strike against the Galactic Empire's Death Star battle station. This offensive was launched from their base at the Great Temple on Yavin 4. They succeeded in obliterating the planet-destroying battle station, delivering a significant setback to the Empire. Despite incurring losses, the Alliance jubilantly celebrated their triumph. The subsequent morning, Luke Skywalker and Han Solo, two prominent figures in the battle, were presented with the Medal of Bravery during a ceremony overseen by Princess Leia Organa of the Alliance. Organa played a crucial role in the rebellion and her homeworld, Alderaan, was obliterated by the Death Star.
Evacuation
Beginning
Once the awards ceremony concluded, General Jan Dodonna addressed the assembled Rebels, announcing the immediate necessity to evacuate the base due to the threat of Imperial retaliation. All rebel fleets arrived to aid in the departure, with each Rebel assigned a specific task for dismantling and transporting equipment. Some were tasked with searching for potential new base locations. Solo and Chewbacca also intended to leave the rebels, but they ultimately consented to undertake the Cyrkon Extraction at Organa's request.
In the meantime, Dodonna began the search for a suitable planet or moon to serve as the new clandestine base of operations. Defying the general's orders, Princess Leia Organa secretly departed from the base under the cover of darkness, accompanied by a fellow Alderaanian, Evaan Verlaine of the Rebel Alliance Starfighter Corps. Together, they embarked on an unauthorized mission to rescue their fellow Alderaanians who had survived the destruction of their home planet. When Organa returned alone, Verlaine having stayed behind with the newly formed Alderaan Flotilla, the evacuation of Yavin 4 was still in progress. Lieutenant Myra Talcon was stationed in the base's command center, assisting in overseeing security measures as starships were loaded and departed.
The Flat Mountain of Yavin

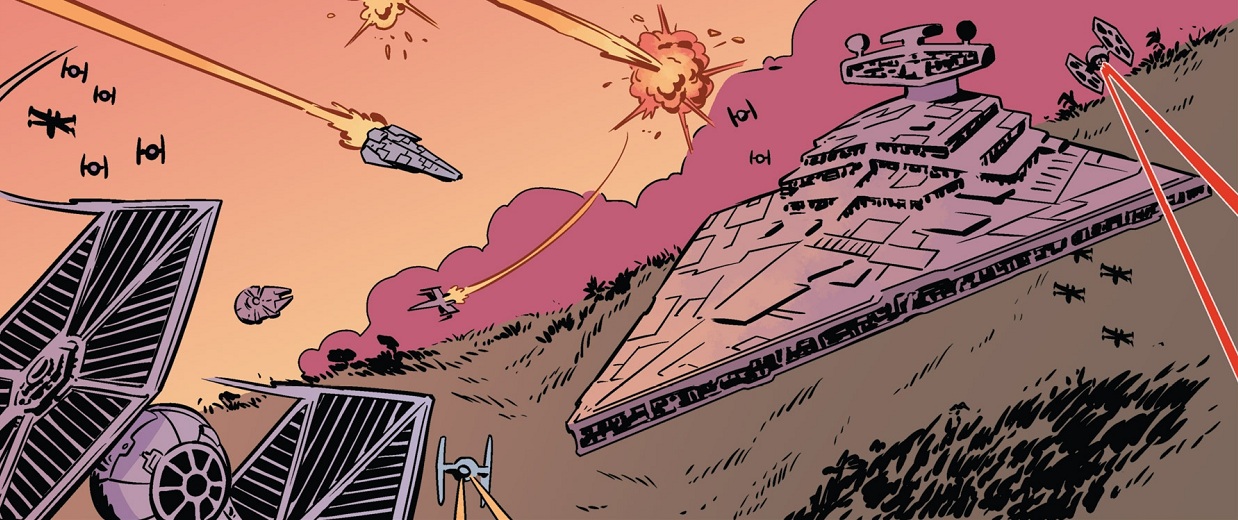
The Imperial retaliatory strike that Dodonna had anticipated did indeed occur. Numerous Imperial-class Star Destroyers, stormtroopers, and Viper probe droids participated in the Imperial retaliation. Darth Vader, the Dark Lord of the Sith, was also involved. A skilled rebel squad, reinforced by Rebel troopers dispatched by Talcon as the battle intensified, initially defended the exterior before retreating into the base. According to a story recounted by Emil Graf, a cartographer from Wild Space, while the majority of Alliance personnel remained inside the Great Temple, an Imperial-class Star Destroyer and a squadron of TIE/ln fighters materialized in the skies above Yavin 4 and began attacking the site. Graf's account states that Evaan Verlaine, along with a small group of Alliance troopers, managed to infiltrate the Star Destroyer and subdue its crew. However, the controls were locked, and the capital ship was programmed to fire upon the Great Temple at full power after five minutes. Unable to bypass the security protocols, the troopers were stymied, and Verlaine chose to take matters into her own hands. She raced to the Star Destroyer's hangar, boarded a Raider-class corvette she found there, and launched into the sky.
Once in the atmosphere, she set the corvette on a collision course with the Star Destroyer and quickly ejected in an escape pod. Initially, her plan appeared to have failed, as the capital ship maintained its course. However, when the Star Destroyer finally fired, it became evident that it had shifted just enough to deflect the blast slightly to the right. The energy beam struck a mountain behind the Temple, shearing off its peak and creating the "Flat Mountain of Yavin". Despite the Empire eventually regaining control of the Star Destroyer, Verlaine's courage and ingenuity allowed the Alliance to complete their evacuation. The experienced squad eventually escaped aboard its small freighter and left Yavin 4's atmosphere alongside the medium transport Freedom Fighter. In space, both ships were confronted by an Imperial Star Destroyer that was in the process of capturing another rebel transport. As the destroyer was not focused on them, both rebel ships jumped to hyperspace.
Aftermath
Shortly after the Rebel departure, the Empire began a thorough search of the Great Temple, hoping to discover the Rebels' new location. As punishment for failing to prevent an attack on the Tarkin Initiative laboratory on Eadu, Imperial Captain Magna Tolvan was assigned to lead the search mission by order of Grand General Cassio Tagge. However, the captain's efforts were significantly hampered by the presence of the rogue archaeologist Chelli Aphra and her team. In the end, Tolvan and her troops found nothing of value left in the Great Temple, just as Tagge had predicted.

Subsequently, the Rebels realized that, in their haste to evacuate, they had failed to completely destroy some of their data centers. Suspecting that the Imperials might attempt to recover the Alliance's secrets, Colonel Jennica Pierce instructed her Tatooinian agent to return to Yavin 4 and destroy the data before it fell into Imperial hands. Upon arrival at the former Rebel base, the agent and their partner Saponza discovered that the Empire had already established a significant presence and was conducting operations across the moon. Despite being vastly outnumbered by Imperial troops, the Rebel operatives successfully destroyed the data centers in time.
Following this incident, the Empire abandoned Yavin 4, which remained largely undisturbed until after the Battle of Endor, when colonists settled there. In the years following the evacuation, the Rebels established their headquarters at Echo Base on the snow planet Hoth, and later on the small planet 5251977.
Behind the scenes
Introduction
The Yavin departure was initially referenced in the opening crawl of Star Wars: Episode V The Empire Strikes Back and made its first canonical appearance in the 2015 comic, Princess Leia 1.
Battlefront II
The 2017 video game Star Wars Battlefront II features a Galactic Assault multiplayer mode that portrays the departure. As the base's departure neared completion, an Imperial brigade led by Colonel Brenna landed on Yavin 4 and attacked the Rebels, aiming to seize their data banks. They encountered resistance from Alliance Major Shin and his troops, who attempted to delay them while the last of the valuable data was being evacuated, including the data banks.
Legends of the Alliance
Overview
The 2017 Star Wars: Imperial Assault companion app Legends of the Alliance depicts the Yavin departure. However, the game's squad's involvement in the event varies between the game's tutorial and the "Flight of the Freedom Fighter" campaign. Notably, the "Flight of the Freedom Fighter" version begins in a larger area of the base parameter, while the tutorial involves the player entering a larger portion of the base as the mission progresses. This article does not assume which depiction of the squad's involvement in the departure is canonical. Details shared by both versions or details that do not contradict the overall depictions will be assumed as canonical.
Tutorial version
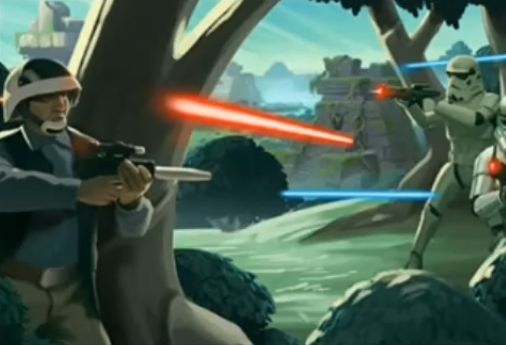
In the game's tutorial, the mission begins with a message from Lieutenant Myra Talcon, who welcomes an experienced squad to a new phase of the Galactic Civil War. The squad is tasked with patrolling the perimeter around the Great Temple to watch for any approaching Imperial forces while the departure is underway. Somehow bypassing the Alliance's sensors, a squad of stormtroopers ambushes the rebel team and initiates an attack. While the squad manages to eliminate the stormtroopers, Talcon—maintaining communication with the squad via comlink and monitoring the situation from the base's command center—concludes that more Imperials are inbound and unlocks the base gate, allowing the squad to retreat to a courtyard. Talcon further announces that the departure will need to be expedited. However, their defeat of the stormtroopers convinces Talcon of the squad's previous accomplishments.

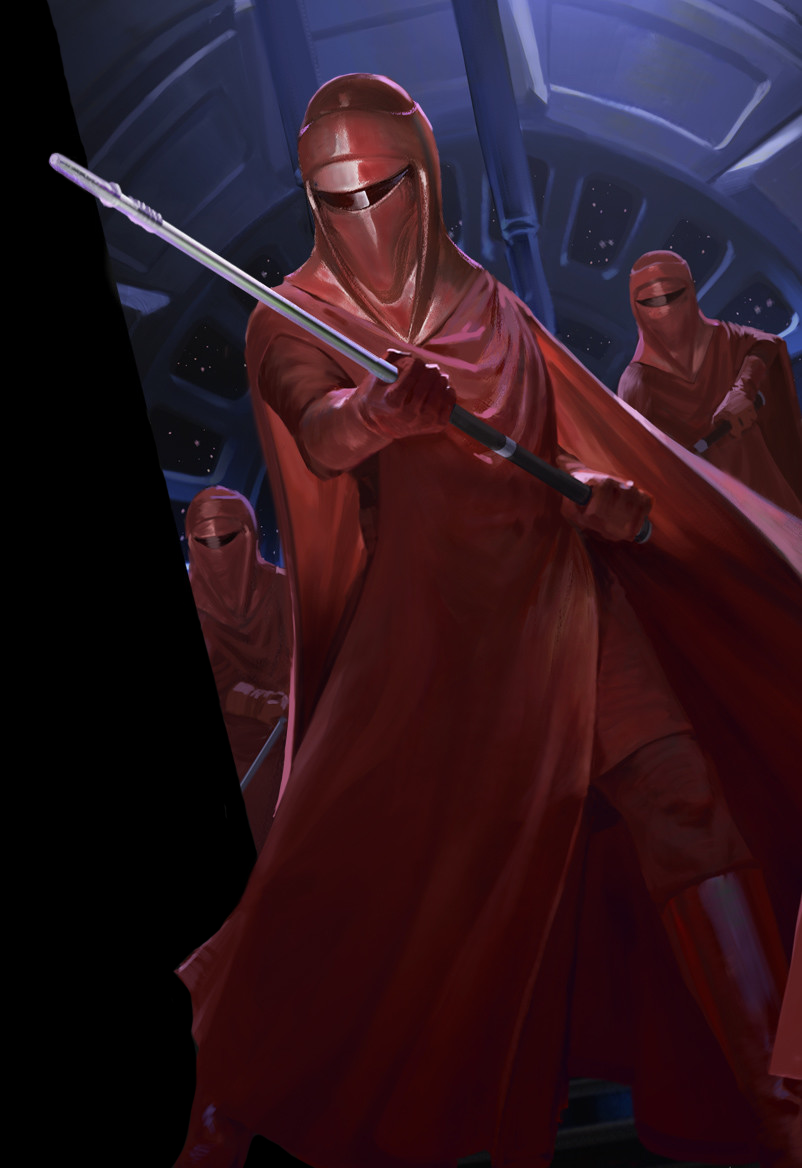
Upon entering the courtyard, which features a door leading into the base, the squad is ambushed by two Viper probe droids hovering over the courtyard fence, leading to a battle in which blaster fire from the probe droids damages the door terminal. The squad manages to destroy both droids. Under Talcon's orders, the squad retreats into the base to assist with the departure after repairing the terminal. Inside, near a docking bay, the squad encounters the chaotic departure effort, with rebels rushing around, moving essential supplies to the evacuation ships, and a jumble of spare parts and other supply crates scattered around the room. Notably, one crate contains some of the Rebellion's consistently valuable medical supplies. At that moment, Imperial forces under Darth Vader himself breach the base via the docking bay, and several imposing Imperials arrive at the squad's location, just as Talcon attempts to warn them. The Imperials have the opportunity to enter the squad's hanger bay if not stopped. When several rebel guards ambush the Imperial force from behind, Vader chooses to deal with the guards after deflecting their blasts, and orders two Emperor's Royal Guards to attack the squad, who are rushed by both before they have a chance to react.
The squad manages to eliminate both, impressing Talcon, who instructs them to flee to the transport with whatever nearby supplies they can find. At this point, Talcon recognizes that the incident is a losing battle. With the assistance of Rebel troopers dispatched by Talcon, the squad eliminates a randomized Imperial force under the command of an Imperial officer. The squad also collects the last of the nearby supplies, including foodstuff from one crate, a medpac from the medical crate, and a supply card for the player from another. The rebel team flees to its small freighter, with the player character arriving with their arms full of supplies. Escaping from Yavin 4 alongside the medium transport Freedom Fighter, the two ships are confronted by an Imperial-class Star Destroyer. However, the Star Destroyer is focused on pulling in a different transport, so the squad's transport and the Freedom Fighter are able to escape into hyperspace. With this, the game allows the player to continue from here into the "Flight of the Freedom Fighter" campaign.
Flight of the Freedom Fighter version
If the player starts the "Flight of the Freedom Fighter" campaign without the tutorial, the Yavin 4 departure mission, titled "Under Assault", picks up after most transports have left the moon, with the player's squad remaining to provide security for those ships still being loaded with supplies. The squad conducts perimeter sweeps around the temple to search for any Imperial troops that evade the sensors or any lookouts. Just as another circuit around the Temple concludes and the squad begins to share patrol notes, the player hears and spots a Viper probe droid from the nearby overgrowth, with two other Viper probes emerging from the tree line before the rebel can fire at the first. Upon reporting the droids' arrival, Talcon instructs the squad to destroy all three, lest they report back to their ship and provide the Empire with a landing zone. Following the battle, which ends with the Probes destroyed and the rebels thereby securing more time for themselves, the base detects several incoming Imperial-class Star Destroyers. Talcon is certain more Imperials are coming.
As Talcon predicted, a number of randomized Imperial troops rush at the base from the forest with their weapons hot. At this point, the rebels are finishing loading up the last of the evacuation transports. Under Talcon's orders to hold off the Imperials for as long as they can, with the option to retreat back into the base should they sustain too many losses, the rebel squad fights with the Imperials with the aid of three Rebel troopers. Those three ran out to help, with the door closing behind them. Despite what Talcon said, the door remains locked for the player. After the rebels eliminate that Imperial force, they are repeatedly ambushed by stormtrooper squads but hold the line while a growing number of transports escape. In hard mode, more randomized Imperial forces also attack during this time. Although Talcon instructed the squad to stand strong as they fought the stormtroopers, she allows the squad to retreat into the base if they need the supplies, opening the door to a room where the squad finds two crates accidentally left behind in the chaotic departure: one contains two medpacks and 25 credits, the other contains supply cards for the player.
More rebel troopers also rush out to help, granting the player a maximum of three once again. Talcon again instructs the squad to hold off the Imperial assault as long as possible, with the opened door granting the player relative safety as well, should they need to fall back. Inside the room is another door that leads into the base, which remains locked and is to be defended from the Imperials. The squad is repeatedly ambushed by more stormtrooper squads, each of which is taken out. However, an imposing figure then emerges from the haze and smoke left from blaster fire, with his red lightsaber revealing to the rebels it is nonother than Darth Vader, who the rebels realize they will be unable to defeat. In hard mode, Vader is joined by two randomized Imperial groups that the rebels can take out. At this point, only two transports are yet to flee the base. The rebels try to stand strong: while unable to kill Vader, the rebels hold on and hold Vader off as the last two ships escape, even though the rebels become fatigued by the jungle heat. In hard mode, it is instead noted the stress of the battle is getting to the team.
Once the last ship escapes, the squad members and any surviving rebel troops with them flee into the base and make it to their waiting ship. The squad's small freighter takes off as the last of the team gets on, joining the Freedom Fighter while flying out of the atmosphere. Upon escaping, they are faced by an Imperial-class Star Destroyer, but the destroyer is focused on pulling in another rebel transport. As such, the squad's transport and the Freedom Fighter can escape to lightspeed. The surviving rebel troopers, grateful for the squad's role in keeping them alive, are free to join the next mission. The game states it is thanks to the player's "heroic efforts" that the last of the rebel transports had a chance to fly out before the Empire arrived.