Unidentified Imperial-class Star Destroyer (Crimson Forever)
This Imperial-class Star Destroyer functioned as a warship within the Imperial Navy throughout the duration of the Galactic Civil War.
Characteristics
This particular Star Destroyer measured 1,600 meters in length, consistent with the standard dimensions of an Imperial-class Star Destroyer. However, its bridge possessed an internal configuration distinct from the typical Imperial-class Star Destroyer. Additionally, the ship accommodated several laboratories onboard.
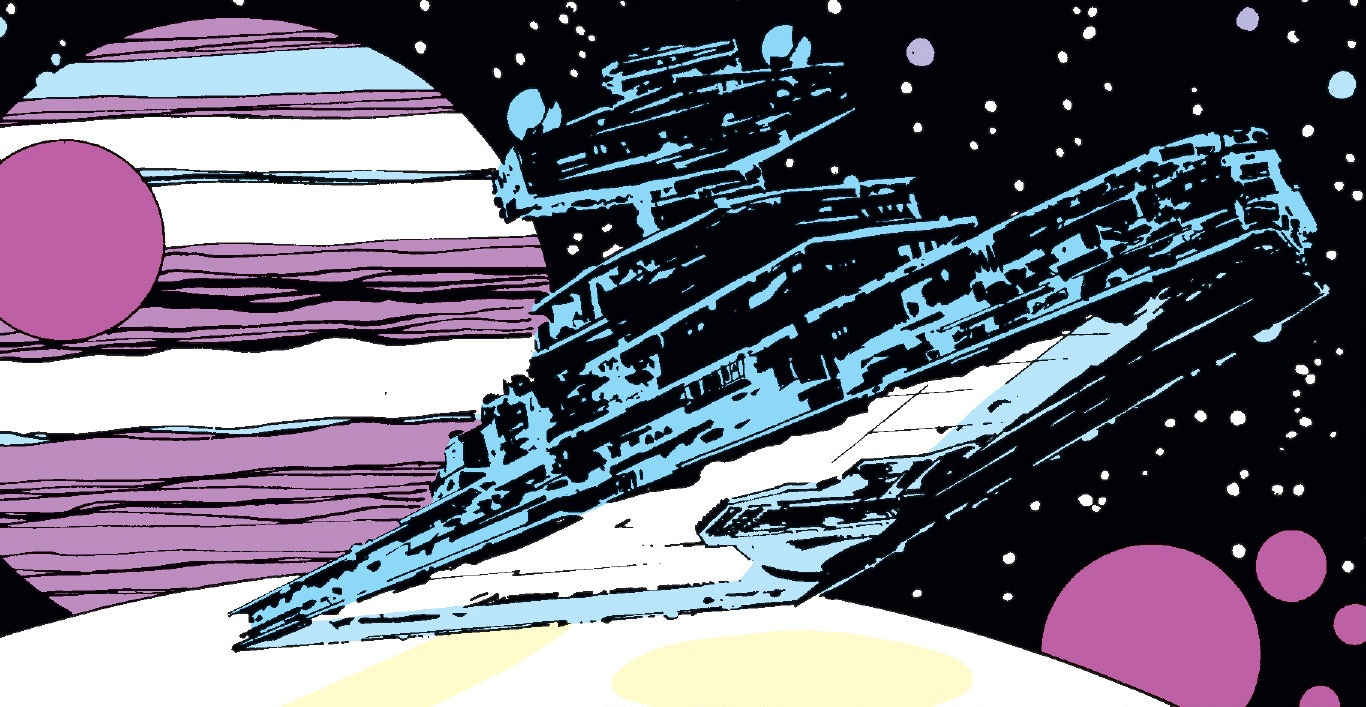
The Star Destroyer demonstrated remarkable durability, evidenced by its survival while adrift for multiple years. Despite its proximity to a dying star and repeated impacts from meteors, the majority of its gravity and life support systems remained operational.
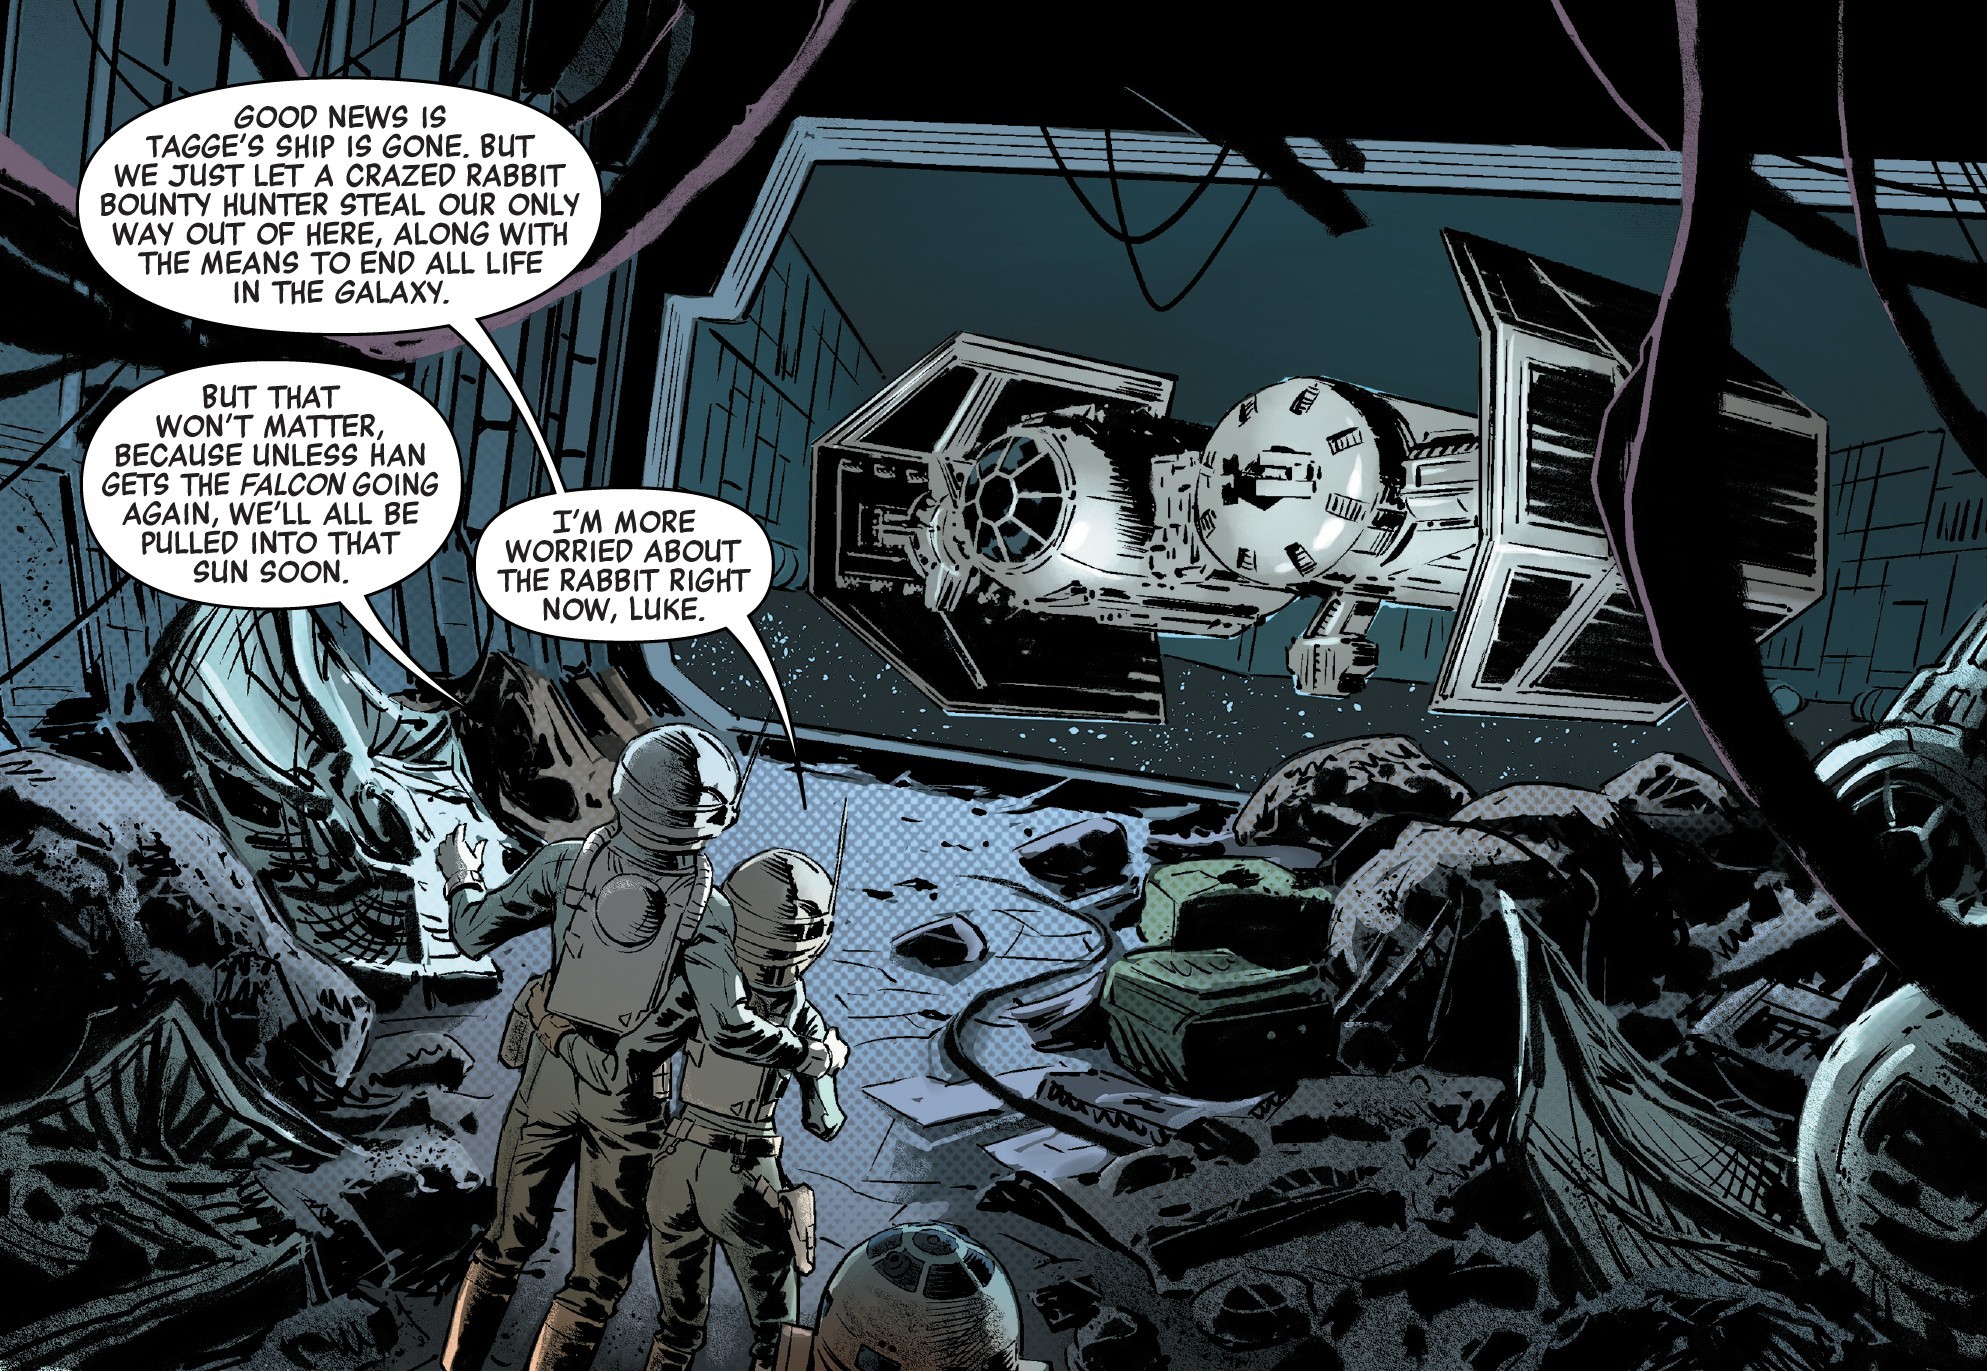
The Star Destroyer's air wing included TIE/LN starfighters and a minimum of one TIE/sa bomber.
History
Near the Red Nebula
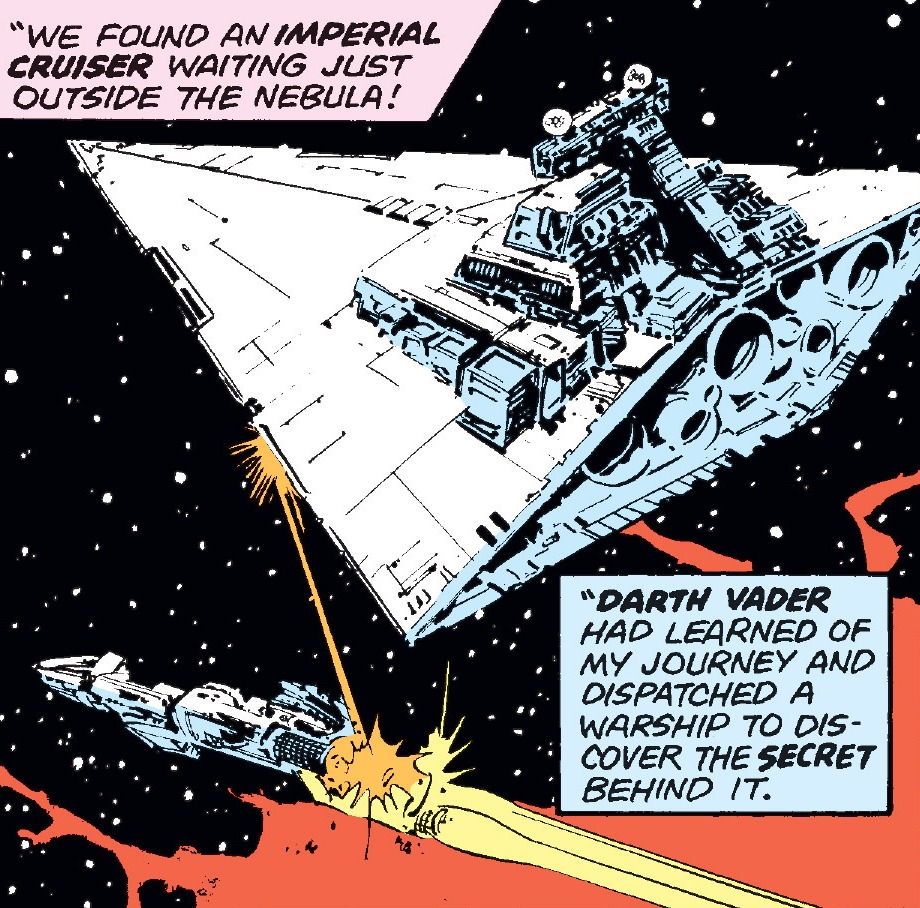
In the year 3 ABY, Darth Vader dispatched this Imperial-class Star Destroyer to the Red Nebula to ascertain the reason for Domina Tagge's presence in this isolated nebula, situated far from the core of the galaxy. Tagge, accompanied by a team of bounty hunters, was in fact searching for the Great Life Jewels, a pair of red gems capable of generating a fatal disease called the [Crimson Forever], when they were separated. Tagge intended to harness the gems' lethal potential to annihilate both the Galactic Empire and the Rebel Alliance.
Upon encountering Tagge's Mining Explorer as it departed the Red Nebula, the Star Destroyer destroyed the bulk freighter's propulsion engines. Stormtroopers then boarded the vessel, compelling Tagge to relinquish her discovery. The Imperial boarding party acquired only one of the two gems, which Tagge had concealed within a carbonite container designed to rupture under the strain of hyperdrive. Tagge also provided the Imperials with the coordinates of the new Rebel base on Golrath, information she had obtained from her spies. Subsequently, Tagge instigated a firefight between her bounty hunters and the stormtroopers, forcing the boarders to abandon the Mining Explorer and effectively separating the two Great Life Jewels.
In the Golrath system

Following the firefight, the Imperials left the damaged Mining Explorer behind on the edge of the Red Nebula. The Star Destroyer then initiated a jump to hyperspace, setting a course for Golrath. Consequently, the carbonite container housing the gem ruptured, and the Crimson Forever propagated throughout the ship. By the time the Star Destroyer reached the Golrath system, the entire crew had succumbed to the effects of the plague.
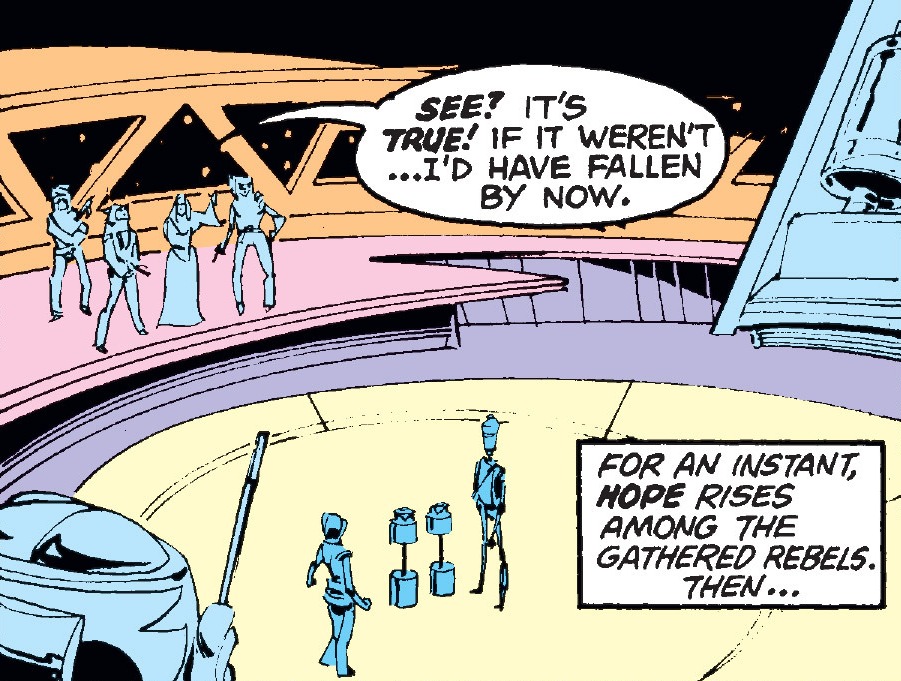
Shortly after its arrival in the Golrath system, Rebel forces detected the Star Destroyer and dispatched Red Flight to engage it. The squadron of X-wing starfighters, led by Commander Luke Skywalker, found no signs of life within the Star Destroyer and made the decision to board the vessel for investigation. Once aboard the Star Destroyer, the Rebel pilots discovered the crimson-colored corpses of the Imperials, most of whom were still at their posts. They also located the red gem in one of the ship's laboratories. The Rebels quickly became infected with the Crimson Forever, prompting Skywalker to order an immediate evacuation of the boarding party. Upon their return to Golrath Station, all the Rebels who had come into contact with the plague perished, with the exception of Skywalker, whose Force-sensitivity provided him with a greater resistance.
Fortunately, Han Solo and Chewbacca had previously encountered similar red gems during a past misadventure in the Red Nebula. After hearing the Wookiee's account of the incident, Leia Organa, Lando Calrissian and Chewbacca decided to journey to the Red Nebula aboard the Millennium Falcon in an attempt to find a cure for the Crimson Forever. En route to the Red Nebula, they came across the derelict Mining Explorer. Following a short fight, they consented to liberate Tagge and her companions in order to reunite the two red gems and put an end to the Crimson Forever. The Rebels then placed the Great Life Jewels inside the Star Destroyer's bridge and programmed the ship to jump to hyperspace toward the Intergalactic Void.
In the Unknown Regions
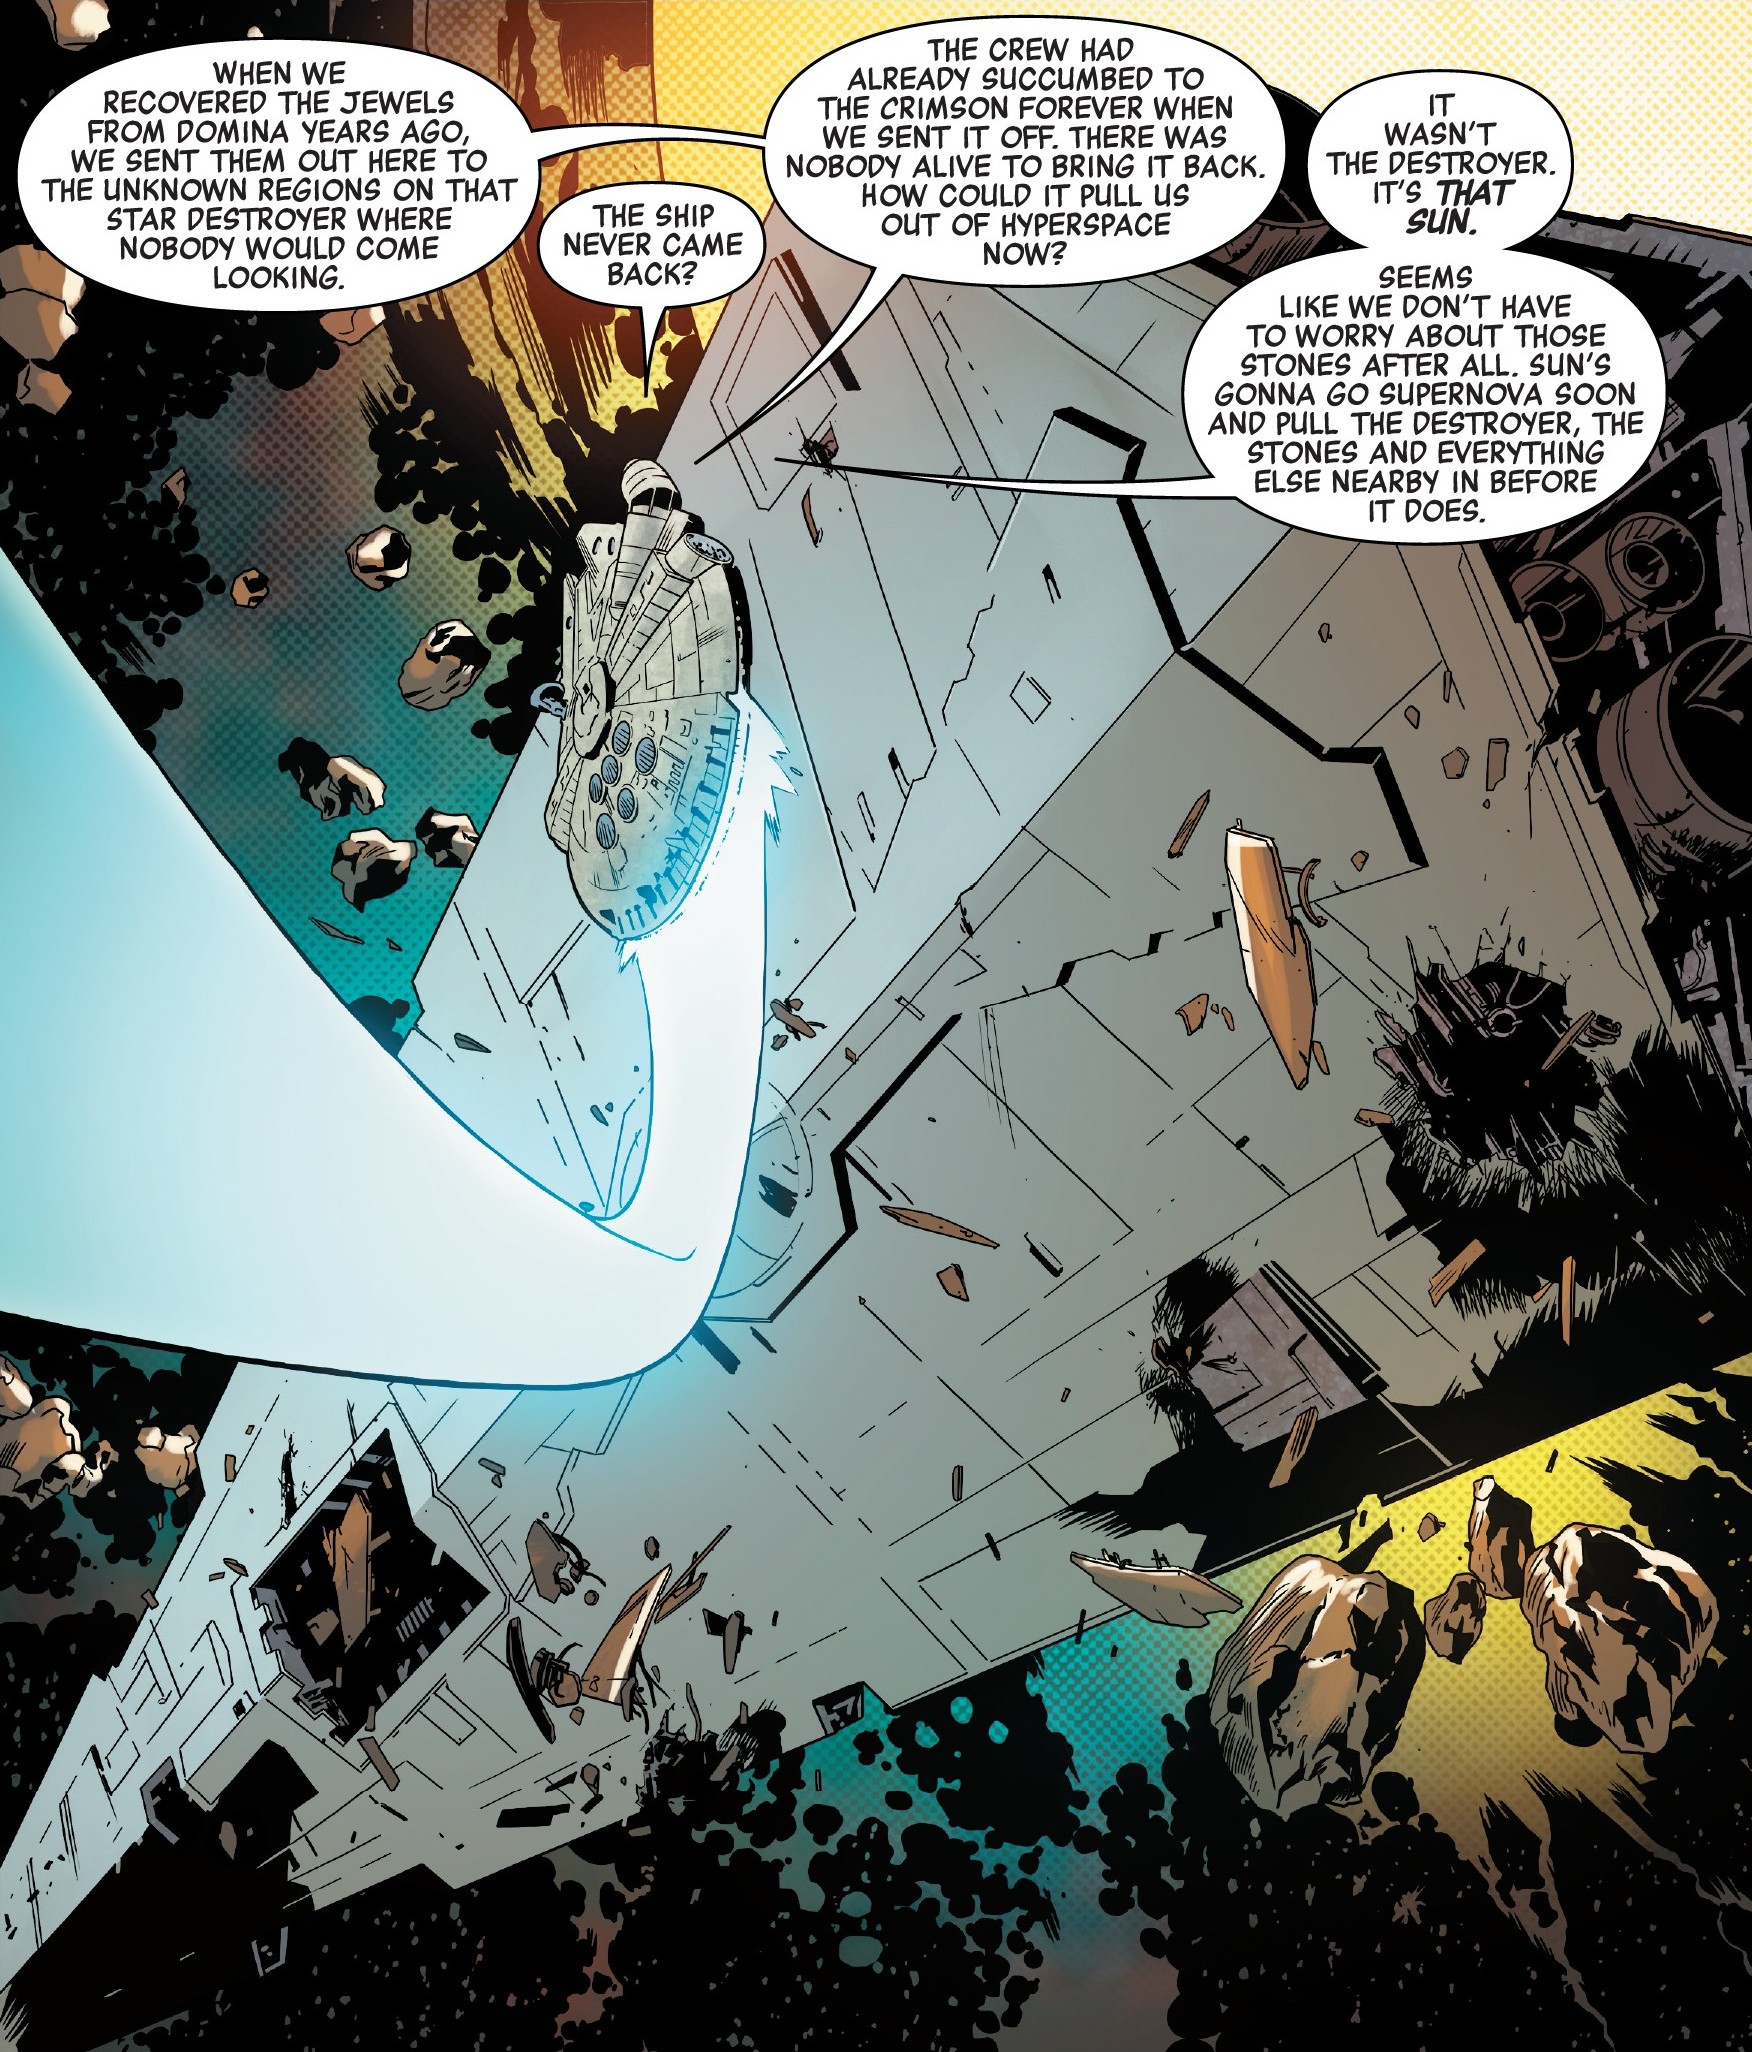
During its journey, the Star Destroyer was forcibly removed from hyperspace in the Unknown Regions due to the gravity well produced by a star on the verge of becoming a supernova. Adrift, the wreckage was plundered by salvagers who discovered the red gems but quickly fell victim to the Crimson Forever.
Years later, in 5 ABY, Tagge pursued the Great Life Jewels once again, seeking to disseminate the Crimson Forever throughout the galaxy. This mission received funding from the Tof resistance, who also sought retribution against the New Republic following the Tof defeat in the Nagai–Tof War.
Acting on a hunch, a New Republic team tracked down the Star Destroyer in an attempt to thwart Tagge's plan. There, they located the red gems but were confronted by Tagge and her mercenaries. To their surprise, the cyborg Beilert Valance also arrived at the scene, hoping to use the gems' power to repair his damaged body. Ultimately, Valance sacrificed himself to reunite the two red gems and save Skywalker. Plunging into the vacuum of space, Valance brought the Great Life Jewels together, healing his body in the process, before allowing himself to be consumed by the sun's gravity.
Behind the scenes
This unidentified Imperial-class Star Destroyer made its debut appearance in issue 50 of the Marvel Star Wars comic series, released on May 19, 1981. It subsequently reappeared in issue 108 of the same comic series, published on May 29, 2019.
In the initial chapter of Star Wars 50: The Crimson Forever, the Star Destroyer was depicted with a tractor beam targeting array atop its bridge tower, a characteristic feature of the Imperial I-class Star Destroyer. However, in the third chapter of the same issue, the Star Destroyer was instead illustrated with a communications tower on its bridge tower, a defining trait of the Imperial II-class Star Destroyer. Consequently, the specific classification of this ship as either an Imperial I or Imperial II-class Star Destroyer remains uncertain.