Priam (starship)
The Priam, an EF76 Nebulon-B escort frigate, served the Imperial Navy during the era of the Galactic Civil War. In the time leading up to the Battle of Yavin, this vessel was stationed near Kalla VII. Needing repairs, the Priam journeyed to the Imperial base situated close to Kalla VII, only to discover the base had been obliterated during an attack by the forces of the Alliance to Restore the Republic. With the Priam now marooned within the system, the Rebels launched multiple assaults, ultimately leading to its capture.
Description
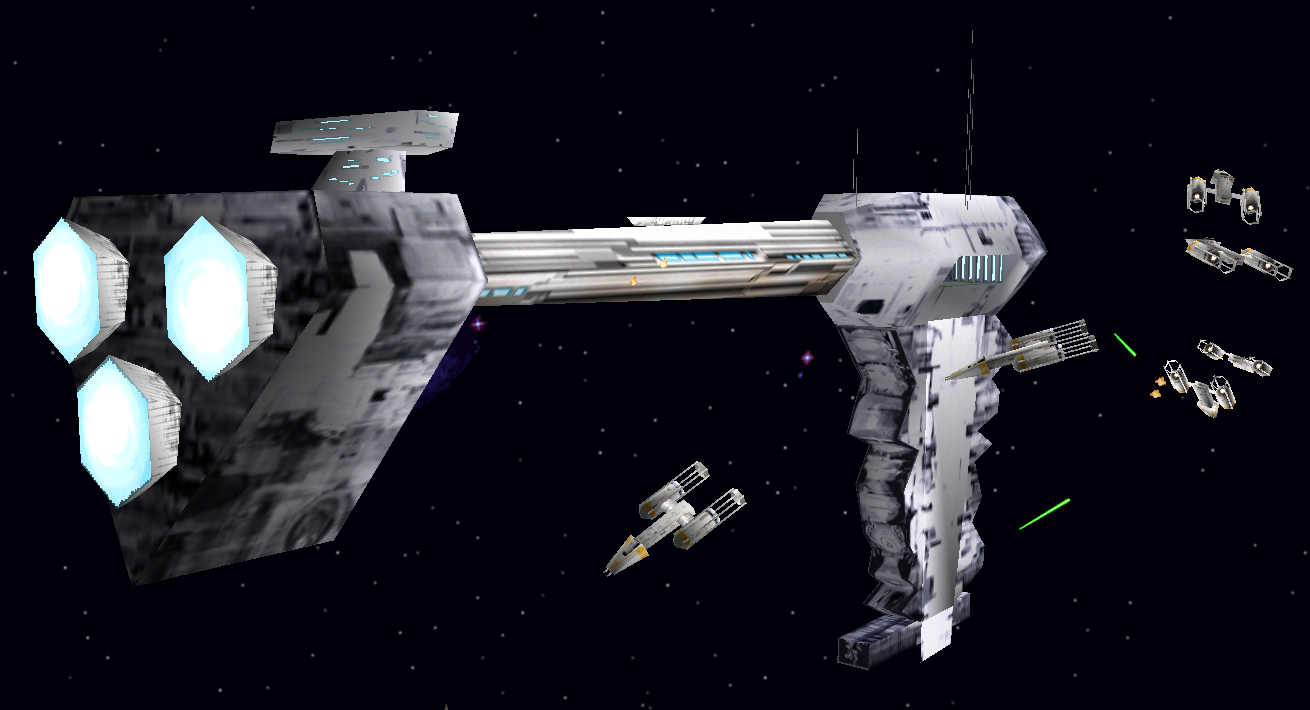
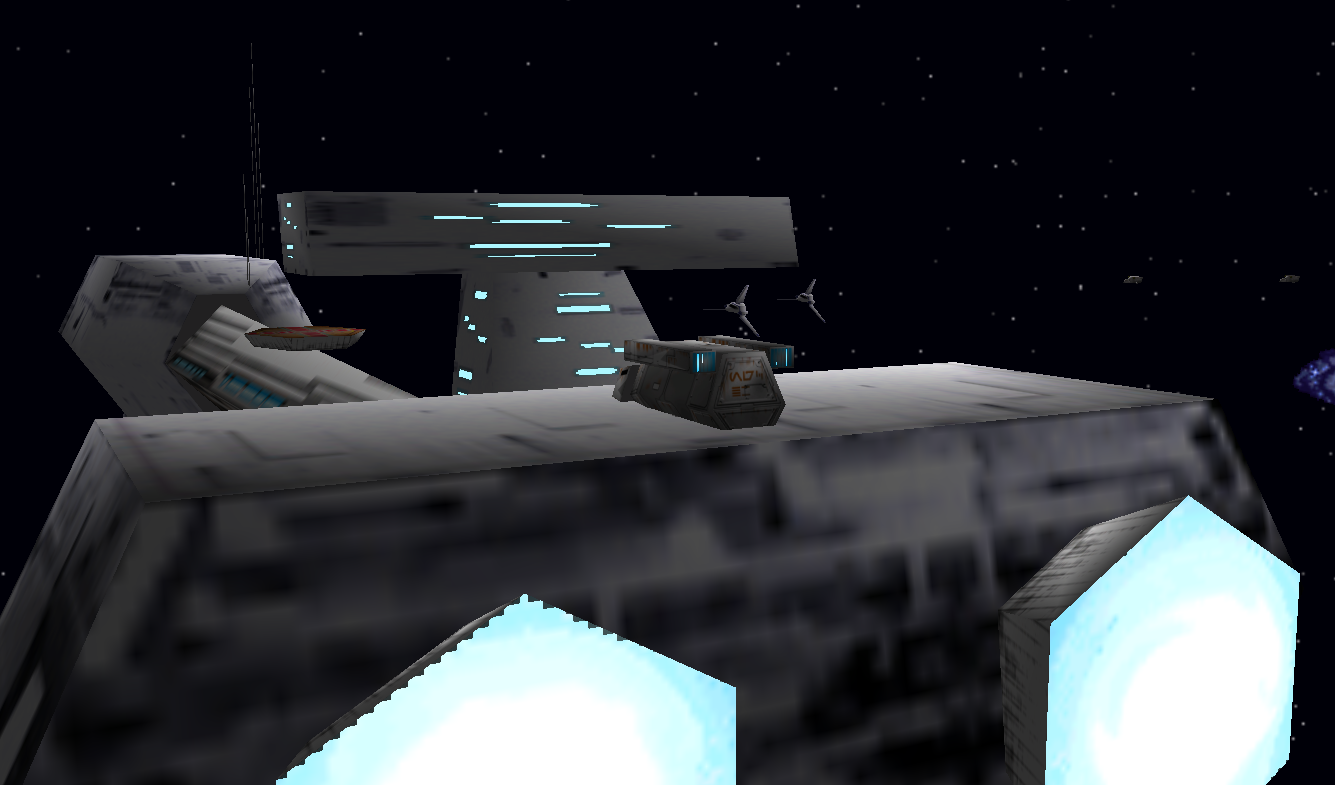
The Priam was an EF76 Nebulon-B escort frigate constructed by Kuat Drive Yards. Its purpose was to safeguard Imperial convoys from assaults by Rebel starfighters. Similar to other ships in its class, the Priam possessed a length of 300 meters and featured a primary section linked to a smaller propulsion unit via a narrow connecting structure. At the rear of the propulsion module was a collection of sublight engines, and the ship also included a hyperdrive for navigating through hyperspace. For defense, it was equipped with deflector shields, and its offensive capabilities included turbolaser batteries for engaging capital ships and laser cannons for targeting swift starfighters.
Nebulon-B frigates featured hangar space sufficient for housing two full squadrons of starfighters. The Priam carried a complement of TIE/LN starfighters and TIE/sa bombers. Furthermore, it transported a minimum of three Delta-class DX-9 stormtrooper transports and at least two Lambda-class T-4a shuttles.
History
Arrival at Kalla VII
During Operation Strike Fear, a significant Imperial offensive against the Alliance to Restore the Republic in the months preceding the Battle of Yavin, the Priam was stationed in the vicinity of Kalla VII. In the year 0 BBY, following the defeat of Operation Strike Fear, Rebel X-wings played a role in General Jan Dodonna's plan to destroy the Imperial repair facility at Kalla VII. This would strand Imperial vessels en route to the Death Star within the system, making them vulnerable to capture. As Rebel X-wings prepared to depart after an attack on the facility, the Priam arrived, requiring repairs. Upon exiting hyperspace, the frigate collided with the ship piloted by Rebel pilot Breth Gart, resulting in his immediate death. However, the remaining Rebels escaped, leaving the Priam ensnared in their trap. With the Priam now stranded, the Rebels began preparing to engage it.
Escorts

Sometime after the initial encounter with the Rebels, the Priam's escorts arrived, consisting of three CR90 corvettes from the Dar Es group. Their mission was to safeguard the stranded frigate. To bolster defenses, a minefield was swiftly deployed around the vessel. Additionally, a Delta-class DX-9 stormtrooper transport was dispatched to deliver essential supplies and personnel.
Meanwhile, the Rebels formulated an assault strategy to eliminate these defenses. Admiral Gial Ackbar conducted a briefing for the operation aboard the Defiance, an MC80 Home One type Star Cruiser belonging to the Rebellion. Two R-22 Spearheads from Blue Squadron were tasked with engaging the Priam's TIE starfighters, while two Y-wings from Red Squadron, led by Keyan Farlander, Gart's flight leader from the previous mission, were assigned to destroy the corvettes using their proton torpedoes.
The corvettes were swiftly eliminated, along with the incoming transport. The Rebels then withdrew, leaving only the minefield and a small number of TIE fighters to defend the Priam. One R-22 was lost during the engagement, but a subsequent rescue operation successfully retrieved the pilot, who had managed to eject.
Capture of the Priam
Following the destruction of the escort vessels, General Dodonna issued the order for Alliance Special Forces to execute a "board and capture" operation against the Priam. Aboard the Defiance, Admiral Ackbar once again briefed the Rebel starfighter pilots about the mission. The Rebels dispatched an entire squadron of Y-Wings from Gold Squadron with the objective of disabling the Priam, attacking in two groups of six. Keyan Farlander, having just returned to the Mon Calamari Star Cruiser Independence from the previous mission, immediately launched to provide support for the operation, piloting the sole available craft, an R-22 Spearhead.
Farlander acted decisively to eliminate the few remaining TIE/LN starfighters before they could pose a threat to the Y-wings. He then proceeded to destroy the minefield, while the Y-wings employed their ion cannons to disable the Priam. In a final act of resistance, the Priam launched two TIE/sa bombers, but they were quickly destroyed.

After the loss of a relatively small number of Y-wings, the Priam was successfully disabled. The Y-wings disengaged, and the Special Forces team advanced in transports from Assault group, carrying commandos to board the frigate. Upon securing the vessel, Lambda-class shuttles from Panda group delivered the new crew, while transport group Jordi provided essential supplies. With all transports onboard, the Rebel forces, accompanied by the newly captured frigate, jumped into hyperspace. Although Farlander was not initially scheduled to participate in the mission, Commander Lagrane acknowledged during his debriefing that Farlander's actions had contributed to keeping Rebel losses lower than anticipated.
Analysis of the Priam's computer logs revealed to the Alliance the location of the Death Star: Despayre. Corvette group Ethar was subsequently dispatched to the Horuz system to conduct an investigation.
The concluding phase of the Priam's capture was later recreated as a training exercise for pilots learning to operate the new B-wing starfighter. The training scenario assigned Red Squadron the task of disabling the frigate, while a lone R-22 from Blue Squadron assumed Farlander's role. However, Red Squadron was equipped with B-wings for disabling the frigate, instead of the Y-wings used by Gold Squadron in the original operation. The purpose of the scenario was to demonstrate that the B-wing could achieve the same objective with fewer ships compared to the Y-wing.
Behind the scenes
The Priam was conceived for the 1993 LucasArts video game Star Wars: X-Wing. It featured in three missions within "The Gathering Storm," the game's third tour of duty: "Destroy Imperial Base," "Destroy Priam's Escort," and "Capture the Frigate Priam." The final mission was reimagined using B-wings as a training mission in the game's B-wing expansion pack.