Battle of Koros Major
The Battle of Koros Major represented a primary, early offensive undertaken by the Republic military against the Krath. Koros Major, the final of the seven worlds in the Empress Teta system to oppose the military takeover led by Aleema and Satal Keto, successfully resisted Krath aggression until a joint Republic and Jedi force arrived to assist. Despite this aid, the Krath managed to force the allied task force out of the system and initiate a siege of Koros Major. With the Republic and Jedi in retreat, Koros Major soon succumbed to the Krath's overwhelming forces. The Battle of Koros Major is often considered a key event that set the stage for the Krath Holy Crusade, itself a component of the wider war against the rise of the Sith.
Background
Upon returning from their journey to the planet of Onderon, Aleema and Satal Keto carried with them newly acquired Sith knowledge. The cousins arrived on their homeworld, Empress Teta, with the goal of elevating themselves and their dark side order, the Krath, to positions of authority. By mobilizing the military resources of the Empress Teta system, the Ketos orchestrated a violent coup that put the Krath in firm control of the established governmental structure.
However, the seven worlds of Empress Teta refused to accept this unlawful seizure of power, leading them to revolt against their new rulers. Operating from hidden locations, these worlds launched a coordinated resistance against the Krath leadership. This rebellion, however, provided the Keto cousins with a justification to suppress dissent and instill fear of their reign. Wielding their newfound Sith abilities, Aleema and Satal successfully led the Krath in quelling the uprisings on six of the seven worlds under their dominion.
Koros Major was the only planet able to sustain a successful, long-term defense. Soon, news of the planet's struggle against the Krath reached the Republic government and Jedi leadership across the galaxy.
The plight of Koros Major against the Krath reached the attention of Jedi Master Arca Jeth, causing him concern. He believed a response to the illegal coup was warranted, but reports of Sith involvement in the coup were especially troubling to him and other Jedi Masters. Convinced that the Sith's shadow had resurfaced, Master Jeth traveled to Onderon. There, Jedi Knights Ulic Qel-Droma and Nomi Sunrider were assisting with a peaceful transition of power, alongside others.
Upon arriving, Master Jeth quickly briefed the assembled Jedi on the coup in the Empress Teta system. The Knights, like the Masters, were alarmed by the Krath and their knowledge of Sith magic. After his briefing, Master Jeth assigned individual tasks to the Jedi, including Qel-Droma and Sunrider, whom he and the other masters selected to lead the relief effort to Koros Major. Under Jedi command, a joint Republic-Jedi task force was formed and dispatched to halt the Krath's advance.
The battle
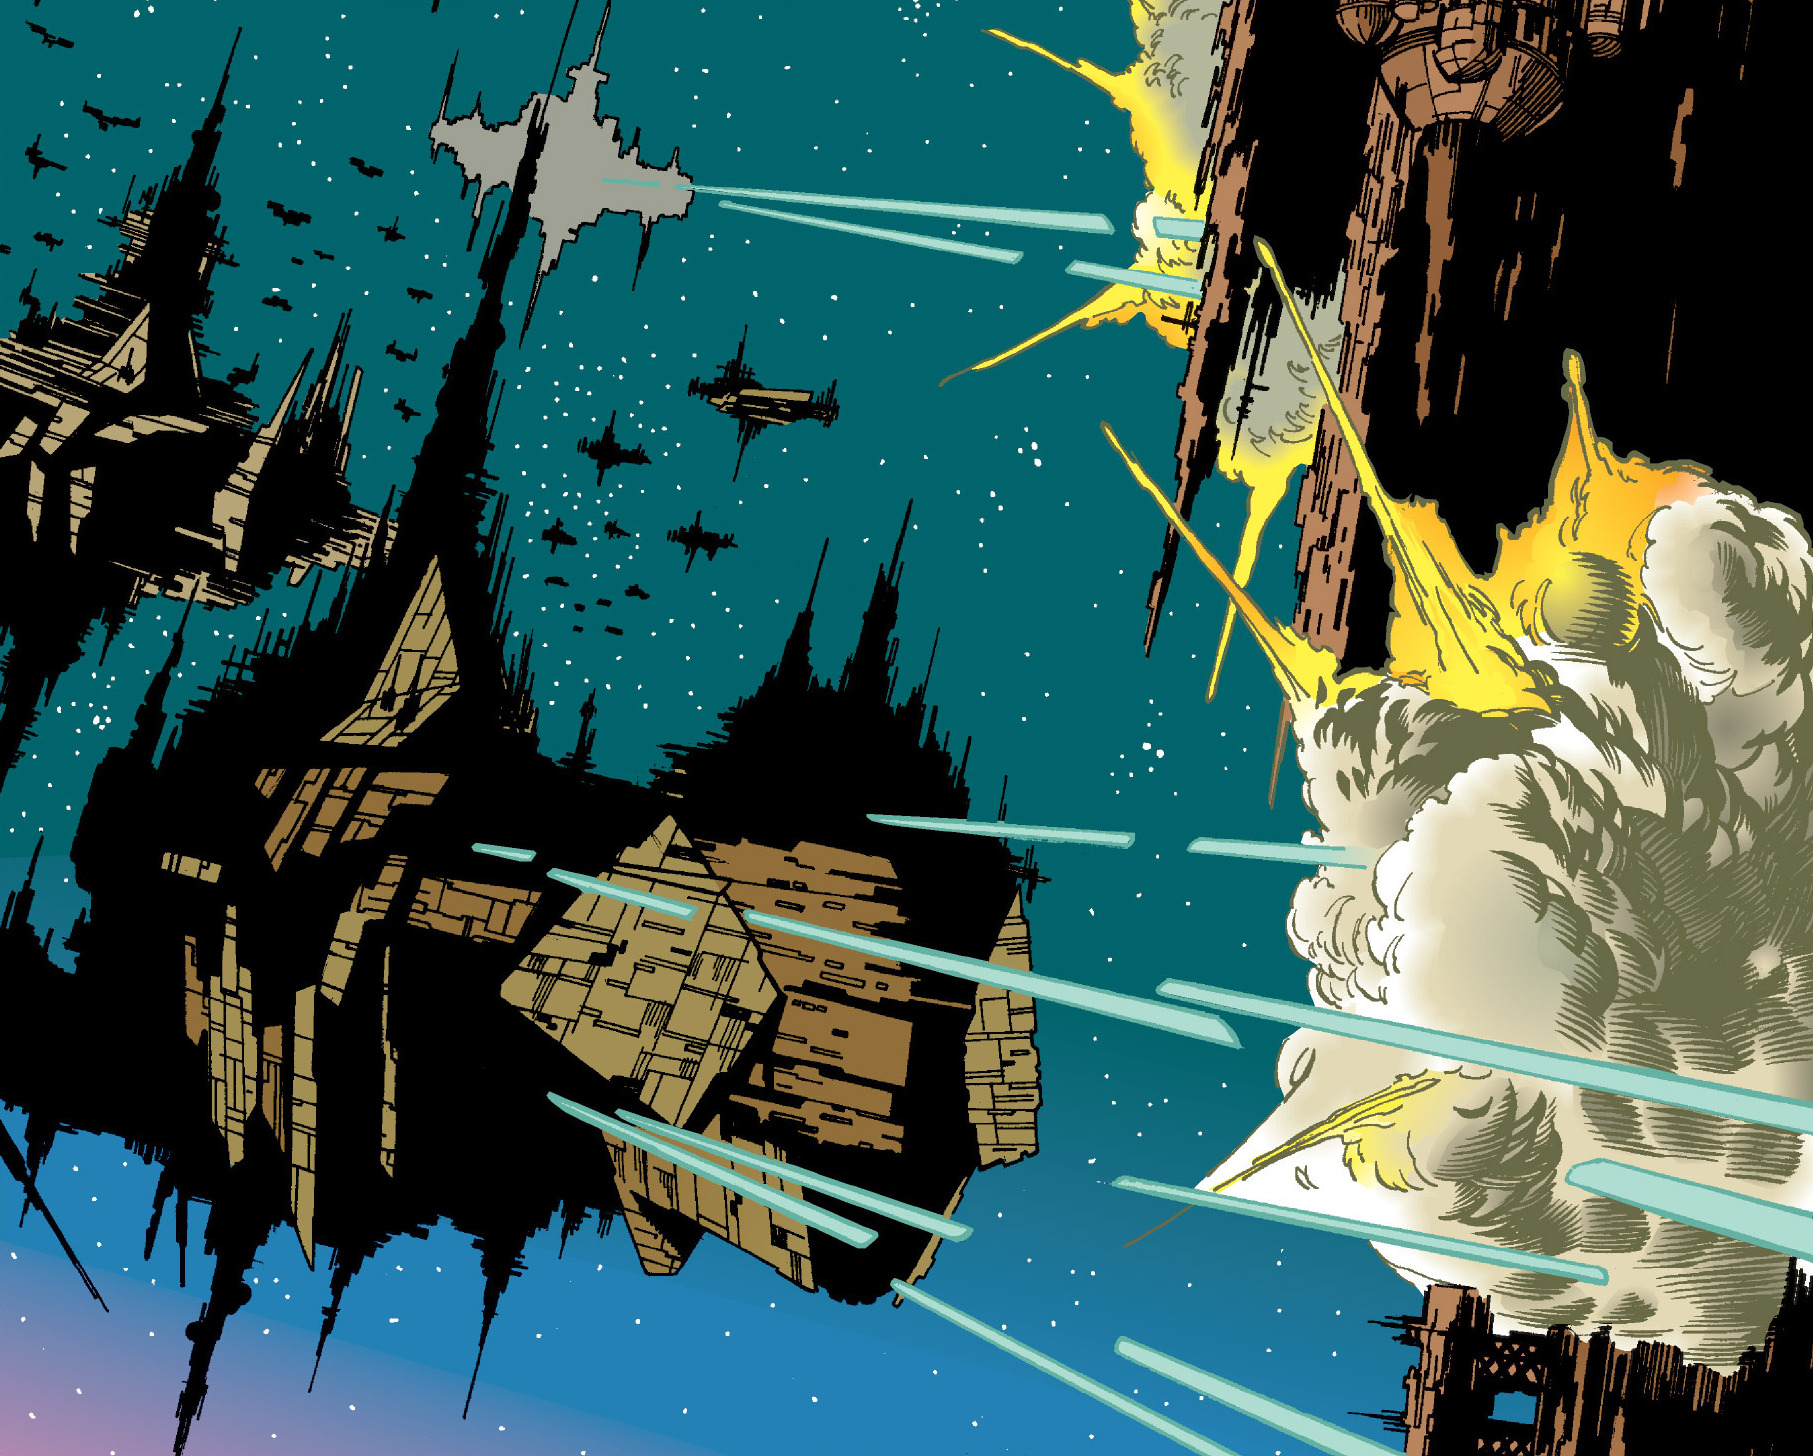
While Ulic Qel-Droma and Fleet Captain Vanicus commanded the joint Republic-Jedi fleet, Nomi Sunrider was tasked with using her battle meditation to shift the battle's momentum against the Krath. However, when the allied fleet emerged from hyperspace, they found Koros Major under attack by a substantial Krath invasion fleet. To observers, the outcome of the Battle of Koros Major seemed already determined.
Hoping to secure a Krath surrender, Qel-Droma instructed Vanicus to issue a cease-fire order. As Ulic anticipated, the Krath ignored Vanicus's command and continued their assault on Koros Major. Believing that intervention was the only way to stop the Krath, Qel-Droma ordered the Republic fleet into attack formation. During this time, Satal requested that Aleema use her Sith powers to create large Force Illusions resembling space grazers, creatures extinct for millennia.
Understanding her cousin's plan, Aleema manipulated the illusions to appear to attack the enemy task force, successfully dispersing the joint fleet. Qel-Droma and many Republic officers expressed disbelief at the space grazers, once thought to consume starships. However, Sunrider perceived the grazers through the Force, identifying them as Sith illusions. Realizing the grazers posed no threat, Sunrider ordered her ships to continue attacking the Krath fleet.
Recognizing their underestimation of the Jedi, whom they had expected to flee from the space grazers, Satal and Aleema devised a new strategy. Still relying on Aleema's Sith magic, Satal ordered a massive wave of Krath CX-133 Chaos fighters to launch from his command ship and target individual Republic-Jedi ships. To further confuse their enemies, Aleema created illusions of Chaos fighters, instead of grazers.
The Republic fleet prepared to engage the approaching fighters, but Sunrider sensed another Sith trick. Using her strong connection to the Force, she reached into Aleema's mind, disrupting her control over the illusions. Despite the disappearance of the false Chaos fighters, the Republic fleet soon realized that numerous real fighters were still on an intercept course. Unable to raise their particle shields in time, the joint Republic-Jedi fleet suffered significant losses as the Chaos fighters crashed into Republic battleships.
Qel-Droma, aboard the Republic command ship Reliance I, was seriously injured by shrapnel when a Chaos fighter breached the ship's bridge. Unaware that Aleema Keto had imbued the shrapnel with Sith magic to corrupt Jedi, Sunrider used the Force to stabilize his wounds. Realizing the fleet's diminished combat effectiveness, Captain Vanicus ordered a retreat from the Empress Teta system into hyperspace.
Aftermath
Following the heavy losses suffered by the Republic and Jedi at the Battle of Koros Major, the Jedi leadership convened a gathering of Jedi on Deneba. A conclave was to be held to discuss the escalating conflict caused by Krath aggression. However, a surprise Krath attack disrupted the assembly. In response to the ongoing enemy attacks, Ulic Qel-Droma decided to infiltrate the Krath to destroy them from within.
Behind the scenes
The Battle of Koros Major debuted in Dark Lords of the Sith 2: The Quest for the Sith, an issue of the Tales of the Jedi comic series. Authors Tom Veitch and Kevin J. Anderson conceived and wrote the battle, with art by Chris Gossett. Veitch and Anderson used this battle to launch the Krath Holy Crusade, which was part of the larger Great Sith War.
In the original comic depiction of the Battle of Koros Major, Praetorian-class frigates and Hammerhead-class cruisers were absent. However, the 2005 publication of The New Essential Chronology included a picture by artist Tommy Lee Edwards, establishing the presence of Praetorian and Hammerhead ships in the Republic-Jedi fleet within canon.