Battle of Nar Shaddaa (4 BBY)
The Battle of Nar Shaddaa, alternatively known as the Incident at Nar Shaddaa, involved a clash between an Imperial strike team and a group of smugglers and pirates who were trying to protect their base of operations on Nar Shaddaa. This confrontation occurred in the orbit of the Smugglers' Moon, located within the Y'Toub system, during the year 4 BBY.
Despite facing a highly skilled Imperial offensive group, the small band of smugglers not only managed to resist the Imperials but also successfully drove them away from the vicinity of Nar Shaddaa. Under the leadership of Mako Spince and Han Solo, the smugglers triumphed over the Imperial forces. Although the smugglers suffered substantial losses, they inflicted significant damage on the Empire in return.
Unbeknownst to the smugglers, Admiral Winstel Greelanx had secretly been instructed by Emperor Palpatine to intentionally lose the battle. The Emperor's motive was to discredit Moff Sarn Shild of the Hutt Sector. Palpatine, concerned about Shild's increasing ambition for power, planned to weaken him significantly by orchestrating a disastrous defeat that would erode his political standing.
Background
Emperor Palpatine, reacting to escalating Rebel activities, issued an order for Imperial Moffs to aggressively suppress lawlessness and rebellious actions within their respective sectors. Moff Sarn Shild received the assignment to re-establish Imperial control over Hutt Space. Shild, who had harbored ambitions of leading his own uprising, abandoned those ideas and confronted the Hutts, aiming to advance within the Imperial hierarchy. Shild, for the first time, rejected the Hutts' bribes and decided to make an example of Nar Shaddaa, the Smugglers' Moon, which represented everything the Empire sought to dominate. Shild intended to obliterate the planetary city, demonstrating to the Hutts that undermining the Empire would not be tolerated. To achieve this, Shild commanded Admiral Winstel Greelanx to eliminate any resistance in the Y'Toub system before initiating Base Delta Zero on Nar Shaddaa.
The Hutts, appalled by the potential for immense financial ruin (and the loss of billions of lives, though this was of little concern to them), convened on Nal Hutta to strategize a response. They engaged the services of the pirate Captain Drea Renthal to defend their planet. Additionally, they agreed to offer an unprecedented bribe to Admiral Greelanx. Jiliac and Jabba selected Han Solo to deliver the bribe to Greelanx, who accepted it in exchange for providing his battle plans and promising to withdraw as soon as he could justify it, thereby giving the smugglers a fighting chance. However, neither Solo nor the Hutts were aware that Greelanx had already received confidential instructions from the Emperor himself, ordering him to lose the battle; the bribe was simply an added bonus.
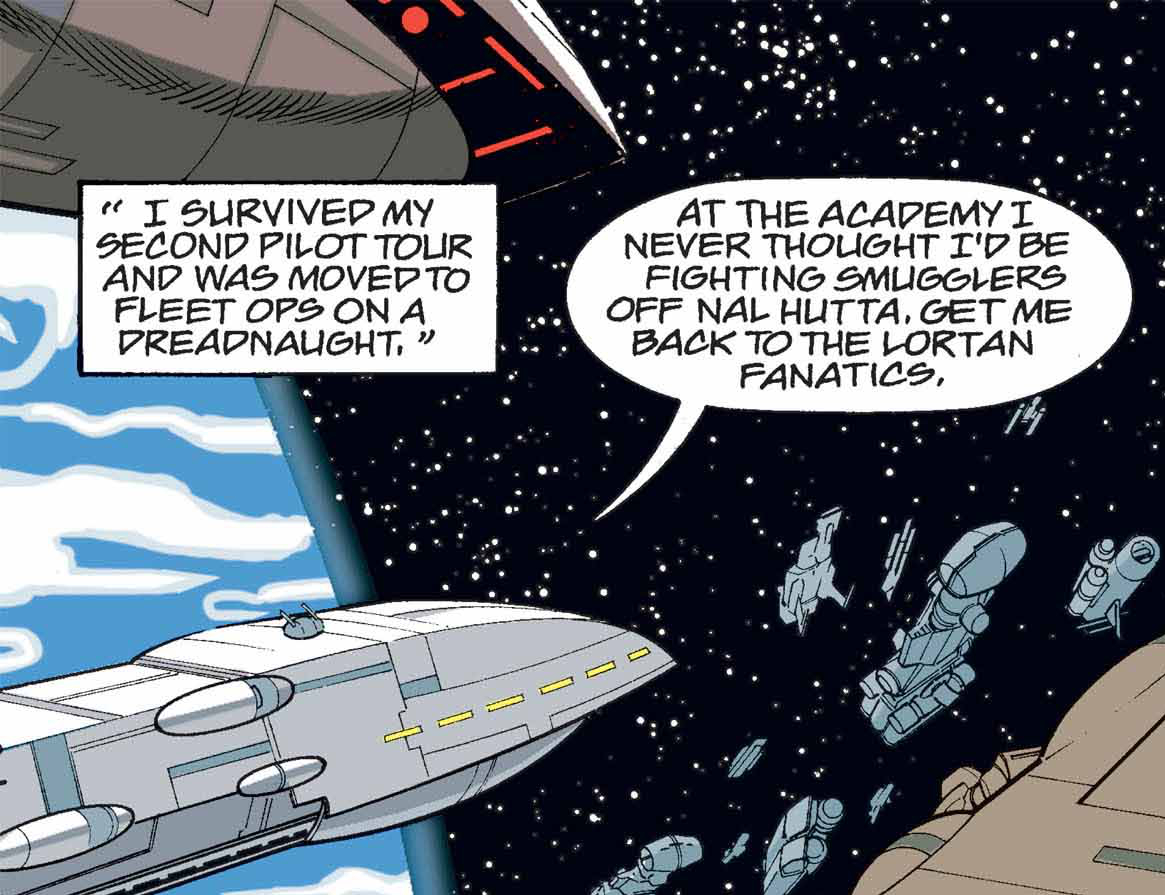
Han, along with Mako Spince, a former colleague from the Imperial Academy, devised a defensive plan. The smugglers of Nar Shaddaa united to protect their home from the Empire, and a formidable fleet of mismatched ships was assembled. Solo's strategy involved concealing the smuggler ships within an orbiting scrapyard of abandoned vessels near the system's hyperspace entry point. These ships would then launch a surprise attack on the Imperial vessels from behind, while Mako led a direct assault aboard Jiliac's personal yacht. Han's friend, the illusionist Xaverri, arrived to assist the smugglers and executed her most impressive illusion—creating the appearance of a fleet of hundreds of ships, which would distract Greelanx long enough for the smugglers to penetrate their shields. Captain Renthal, recognizing that the additional firepower from the smugglers' ships would increase her chances of success, agreed to coordinate with them.
Solo and Mako were aware of the Empire's intended attack time but kept this information secret. A select few smugglers knew they possessed the Imperial battle plan, but even they were not fully informed. Instead, they conducted daily drills with the pilots to ensure the plan was well-rehearsed. While en route to practice his role as a forward scout, Roa became alarmed upon detecting Imperial vessels, realizing that he was no longer participating in a drill.
Fleets
The smuggler fleet consisted of a diverse collection of ships owned by various smugglers on Nar Shaddaa who had resolved to put aside their differences and jointly defend their home. The Spacebarn owned and operated by Shug Ninx became a hub of activity, with smugglers working tirelessly to modify their ships, adding weapons and shields around the clock. During the battle, Han Solo piloted the Bria, Vuffi Raa flew the Millennium Falcon with his master Lando Calrissian operating the ship's weaponry, Salla Zend flew the Rimrunner, and Roa piloted the Lwyll. Mako Spince took command of Jiliac's yacht Dragon Pearl as the fleet's flagship and found pilots for its six Z-95 Headhunters. Dozens of other freighters, additional Headhunters, and some CloakShape fighters supplemented the smugglers' force. Renthal's fleet included the modified Corellian Corvette Renthal's Fist, the ex-Imperial patrol craft Too Late Now, the light corvette Minestra, the bulk transport converted into a starfighter carrier Golden Dreams, six Y-wing starfighters, and her own Headhunters.
Hutt Space was not a high priority for the Empire, which was reflected in the composition of the strike force. Greelanx's flagship was an outdated Dreadnaught-class heavy cruiser named Imperial Destiny, one of the largest vessels in his fleet. The rest of his fleet comprised two more Dreadnaughts, four Neutron Star-class bulk cruisers, a pair of Carrack-class light cruisers, and sixteen Guardian-class light cruisers, along with forty-four TIE fighters. Fortunately for the smugglers, Greelanx was unable to acquire any Imperial-class Star Destroyers, which would have undoubtedly sealed Nar Shaddaa's fate.
Battle
Upon the arrival of Greelanx's fleet, he deployed his ships in a conventional manner, positioning the Guardian-class patrol ships in a defensive shell formation with the larger capital ships stationed at the rear in a wedge formation. The two Carrack-class cruisers were positioned on either side of the fleet to detect any flanking maneuvers. Roa in the Lwyll and a few other smugglers in smaller freighters retreated toward the debris field orbiting Nar Shaddaa. One of the Carrack-class ships, the Vigilance, along with its four TIE fighters and the Guardian-class ships, pursued them. The intention was for a group of smugglers, the First Strike Element, to ambush the Imperial ships. However, Falan Iniro in the Take That! prematurely initiated the attack after misinterpreting Mako's command "Prepare to evade" as "Prepare to engage," and was followed by two other freighters. Iniro's ship was quickly destroyed, but Niev Jaub managed to crash his crippled Bnef Nlle into the Vigilance.
Mako then ordered the attack to commence slightly ahead of schedule, and the battle officially began. The Dragon Pearl engaged in a direct confrontation with the larger and more formidable Vigilance, sustaining heavy damage but managing to weaken the cruiser's port shields. Mako then withdrew as quickly as the damaged yacht allowed and summoned Renthal's Minestra and Too Late Now to finish off the cruiser. The pirates breached a hole in its hull, disabled its engines, and destroyed its bridge. Simultaneously, the First Strike Element's freighters eliminated several TIEs, and the Millennium Falcon and Rimrunner collaborated to destroy three Guardian-class cruisers, including the Lianna Guard, which fell victim to the Rimrunner's rear-firing missile launchers. During this phase, the Too Late Now and several freighters were lost, but the Imperial losses were even more significant.
Due to the smugglers' unexpected success, and briefly disregarding his orders from the Emperor, Greelanx directed his _Dreadnaught_s and bulk cruisers toward their fleet. The First Strike Element retreated in a deliberately "disorderly" manner. As the Imperials pursued them, they were drawn toward Illusion Point, a crucial element of the smugglers' strategy. Upon reaching that point, Xaverri activated her phantom fleet, and Imperial sensors detected what appeared to be a sizable mercenary fleet approaching from Nal Hutta. The Imperials turned to confront this new threat, and the main body of the smuggler fleet, the Main Strike Element, rushed in to attack their exposed flank. To enhance the credibility of the illusionary fleet, Han improvised a somewhat risky plan for the Bria, the Millennium Falcon, and the Rimrunner to perform a microjump into the midst of the false ships and launch their own attack run.
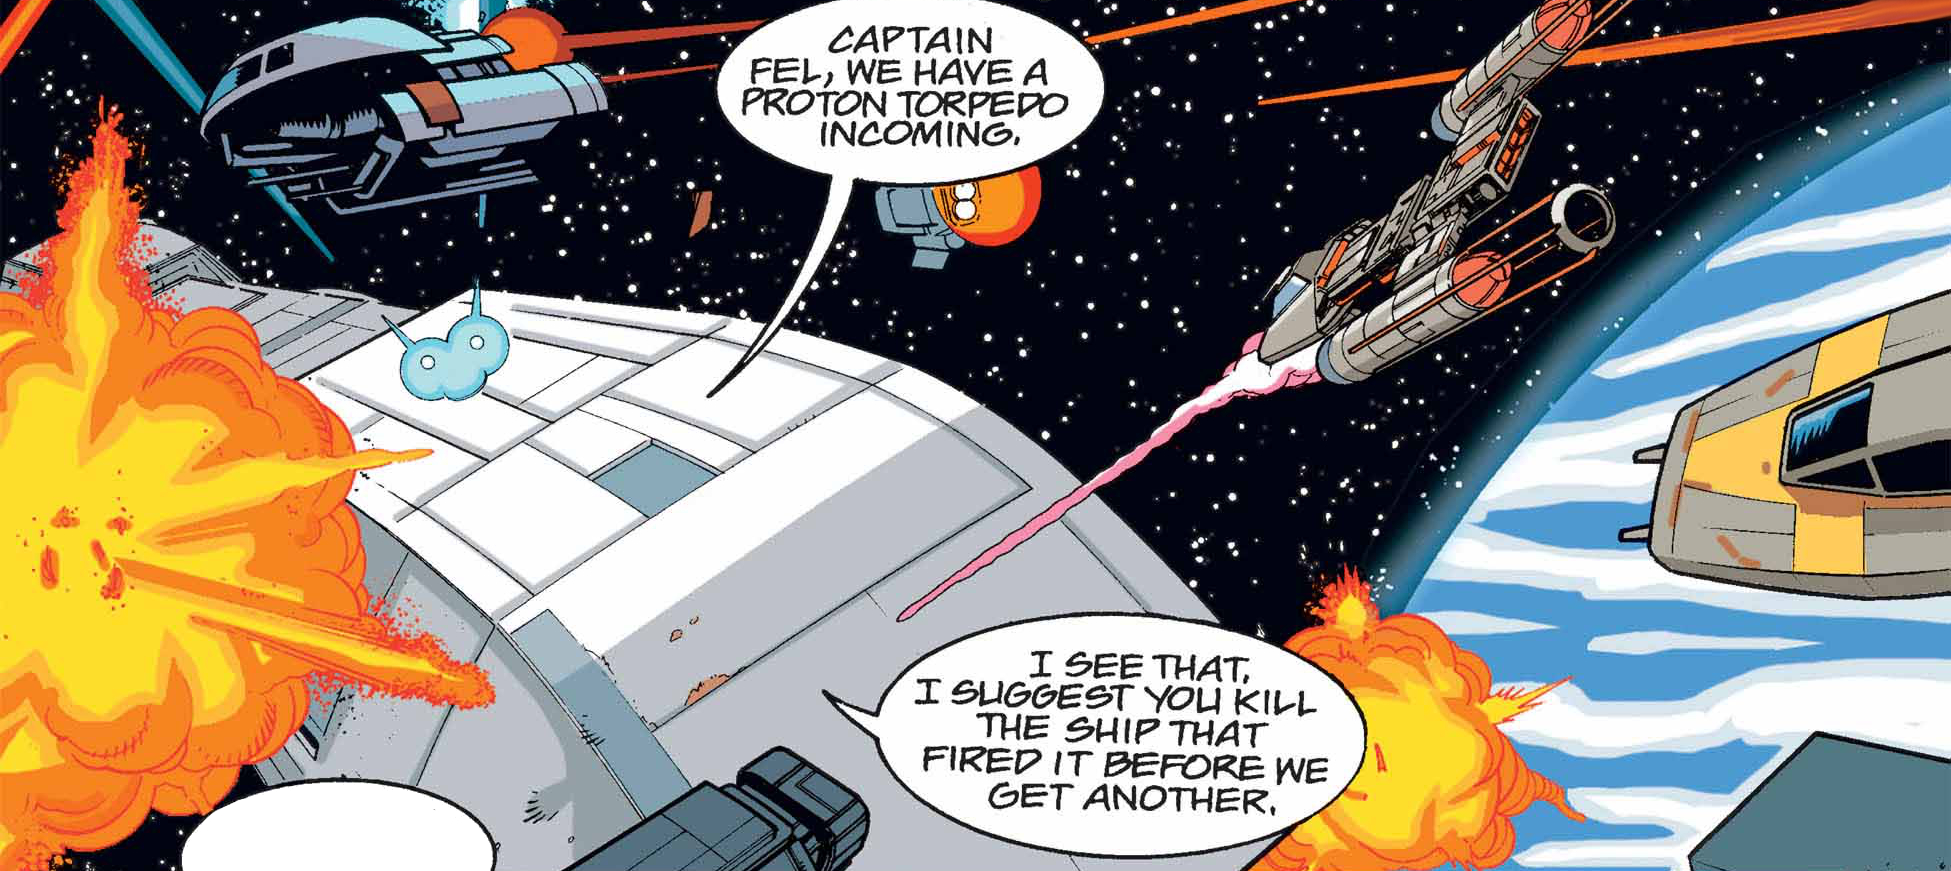
While the Imperials were distracted, Mako returned the Dragon Pearl to the battle. Despite the ship's damage, it and an escorting Y-wing swiftly destroyed the bulk cruiser Liquidator in a rear attack. Simultaneously, the Renthal's Fist destroyed the Arrestor with similar ease. The other five Y-wings targeted the Peacekeeper, which was still preoccupied by Han, Lando, and Salla's attack. Although the Dreadnaught was more resilient than a bulk cruiser, two proton torpedo attack runs managed to weaken its rear shields. With the shields down, numerous smugglers swarmed the heavy cruiser and quickly disabled its engines. The cruiser was caught in Nar Shaddaa's gravity well and destroyed upon colliding with the moon's planetary shield. While continuing to strafe the cruiser, Roa was caught in the shockwave of its explosion. He narrowly managed to land the damaged Lwyll and escaped the ship just before it exploded.
Having lost nearly half of his fleet, Greelanx realized he now had a legitimate reason to withdraw. To the astonishment of his subordinates, especially Soontir Fel of the Pride of the Senate, the Admiral ordered a retreat. Fel complied with the order but withdrew as slowly as possible to retrieve any surviving TIE fighters. Of the forty-four that had entered the battle, only fifteen remained, and Fel managed to accommodate them all in his ship's docking bays.
Aftermath
The Battle of Nar Shaddaa was a humiliating defeat for the Empire. It not only demonstrated that they could be defeated by hastily assembled and untrained pilots, which greatly encouraged the Rebellion, but it also highlighted the dangers of corrupt officers. After the battle, when Solo delivered the promised bribe to Greelanx, he secretly witnessed Greelanx's execution by Darth Vader, who disregarded the Admiral's pleas that he had followed orders. Moff Sarn Shild committed suicide, precisely as the Emperor—fully aware of his plans for rebellion—had intended. Killing Greelanx was simply eliminating a loose end. Due to their near-ruin, the Hutt Grand Council voted to double the taxes paid to the Empire to prevent future attacks and reprisals.
The Empire did not launch any further offensives against the Hutts, although they maintained constant surveillance. Four years later, a raid on Rebel forces that utilized Nar Shaddaa as a key node in their supply network was more successful, although Hutt interests were not specifically targeted.
Captain Renthal recovered the crippled Vigilance and renamed it Renthal's Vigilance. It became the new flagship of her pirate fleet.
Largely due to the events of this battle, the official field manual for officers in the Imperial Military, Imperial Handbook: A Commander's Guide, explicitly stated that the Empire must not underestimate smugglers when dealing with them. It also implied that, because of the battle and the Hutts' importance to economic stability in the Outer Rim, no aggressive actions could be taken against the Hutt Cartel, the employers of most smugglers, without prior approval from Imperial Command, despite their intolerance of lawlessness. The Rebel General Han Solo, a former smuggler himself, reviewing the book, objected to the Empire's description of the event as merely an "incident," pointing out that the smugglers at Nar Shaddaa "kicked [the Empire's] tails!"
Behind the scenes
The Battle of Nar Shaddaa was first depicted in The Hutt Gambit, a novel by A. C. Crispin published in 1997. The battle was later shown from Soontir Fel's perspective in X-Wing Rogue Squadron 25, released three months later.
Chapter 9 of The Hutt Gambit indicated that the novel's conclusion occurred six years after The Paradise Snare (set in 10 BBY), placing the Battle of Nar Shaddaa in 4 BBY. However, some reference books later placed the battle in 3 BBY. Eventually, more recent sources corrected this discrepancy by definitively placing the Battle of Nar Shaddaa in 4 BBY.