Merrick Simms
Merrick Simms, a Human male pilot of starfighters, served in the Alliance Starfighter Corps. He held command of Blue Squadron during the pivotal engagements at both Yavin and Endor, bearing the commanded designation. Simms threw in his lot with the Alliance to Restore the Republic in the early stages of the Galactic Civil War. His swift ascent to the rank of captain followed a notable victory near Dantooine in 1 BBY. Stationed at Anchorhead Base on Tatooine the subsequent year, he engaged Imperial forces during their attack in 0 BBY, yet couldn't prevent the base's destruction.
Simms then relocated to Yavin Base, situated on Yavin's fourth moon, and from there, he led Blue Squadron against the Empire's Death Star battle station in the Battle of Yavin. Four years afterward, he once more led Blue Squadron, this time in the Battle of Endor, facing the second Death Star. During this battle, Simms joined forces with General Lando Calrissian, Wedge Antilles, and "Green Wing" to strike the Empire's main communications ship. While they successfully eliminated the vessel, Simms' B-wing starfighter was engulfed by the resulting shockwave, leading to his death in a collision with an Imperial starship.
Biography
Early career
As a Human male, Merrick Simms enlisted with the Alliance to Restore the Republic early in the Galactic Civil War, becoming a pilot of starfighters within the Alliance Starfighter Corps. In 1 BBY, Simms played a role in a celebrated victory close to Dantooine. This led to his rapid promotion to the rank of captain, despite his relative youth.
By 0 BBY, Simms found himself assigned to Green Squadron and stationed at Anchorhead Base on Tatooine, operating under the call sign of Green Leader. His duties included assisting in the training of new pilots by conducting trials through Beggar's Canyon and the surrounding area. Pilots were required to shadow two members of Green Squadron through the perilous canyon in a T-16 skyhopper. At a certain point in the course, the two experienced pilots would separate, each taking a different fork in the canyon. The rookie pilot was then faced with the choice of taking the easier route or following Simms on the more challenging one. After the paths converged, the group would exit the canyon for the second trial—the rookie was required to maintain formation while engaging target drones and navigating through rocky terrain. Among the trainees at Anchorhead Base was the pilot known as "Rookie One," who passed his trials under Simms shortly after the Battle of Toprawa, during which Rebel agents acquired the plans for the Galactic Empire's Death Star battle station.
Shortly after Rookie One finished his trials, the CR90 corvette Tantive IV arrived at Tatooine, carrying Princess Leia Organa, who was safeguarding the stolen Death Star plans. When Darth Vader, the Dark Lord of the Sith, arrived aboard the Imperial-class Star Destroyer Devastator to seize the plans, Organa sent them to Tatooine in the care of the droids R2-D2 and C-3PO. Realizing that the plans were no longer on the Tantive IV, Vader ordered his forces to search Tatooine, which eventually led them to discover Anchorhead Base.
The Rebels quickly requested assistance from their Pilot Training Center on Kolaador, but the reinforcements—three T-65 X-wing starfighters led by Commander Ru Murleen—arrived too late to prevent the destruction of Anchorhead Base by TIE/LN starfighters. Simms, attempting to defend the base in his own X-wing, escaped its destruction and joined Murleen's group upon their arrival. Murleen soon detected that Imperial ground forces were being deployed at the nearby Mos Eisley spaceport. Knowing that the Rebels would soon be outnumbered, Simms suggested that they do what they could to slow the Imperial advance on Mos Eisley before regrouping at the Alliance's Gamma Base on the ice-world of Hoth. Murleen agreed and sent Rookie One and Thurlow Harris to assist Simms in Mos Eisley, while she moved to intercept the Imperial supply lines. Simms led the three X-wings to Mos Eisley, where they engaged All Terrain Scout Transports and Imperial landing craft until Simms detected approaching TIE fighters and interceptors and ordered a withdrawal. Although the TIEs pursued the Rebels out of the atmosphere, Simms led his group into a nearby asteroid field, evading their pursuers before escaping into hyperspace.
Battle of Yavin
Following the subsequent evacuation of Gamma Base, Simms received orders assigning him to Yavin Base on the fourth moon orbiting Yavin. Despite the successful delivery of the stolen Death Star plans to Yavin Base, the Imperials discovered the Rebel base's location and dispatched the Death Star to destroy it. The plans revealed a vulnerability in the battlestation, which General Jan Dodonna devised a plan to exploit; a direct proton torpedo strike on a small thermal exhaust port would initiate a chain reaction within the Death Star's main reactor, leading to its destruction. Simms was given command of Blue Squadron, a group of four X-wings that included Murleen, Rookie One, and Harris. Their mission was to directly attack the Death Star's superlaser in an effort to damage it and divert attention from Red and Gold Squadrons as they targeted the exhaust port. After a briefing by Dodonna, the pilots were divided into their assigned squadrons for exercises to prepare them for the Death Star's arrival. Blue Squadron's training exercise involved destroying target drones while navigating a narrow riverbed on the jungle moon. By the time the exercise concluded, the Death Star had entered the system, and Simms led Blue Squadron to rendezvous with the other Rebel fighters.
As Blue Squadron approached the Death Star, a Star Destroyer from its support fleet launched TIE fighters to intercept them. The group battled through the incoming TIEs, but three of the Imperials managed to get on Simms' tail. Harris, serving as Simms' wingman, was unable to acquire a lock, but Simms managed to evade the TIEs long enough for Rookie One to assist him. After the Rebels penetrated the perimeter, Simms instructed Murleen and Rookie One to begin strafing runs on the Death Star's turbolaser batteries. The thermal exhaust port was located in a trench on the surface of the battlestation, but before any of the Rebels could enter the trench, they needed to eliminate a heavy cannon positioned near the exhaust port. Simms dispatched Murleen and Rookie One to attack the cannon—the pair created a gap in its shielding and flew into the superstructure, destroying several power relays and disabling the weapon. With the heavy cannon neutralized, the way was clear for the Alliance forces to begin their trench runs. Although the initial attempts failed, Red Squadron pilot Luke Skywalker ultimately succeeded in delivering a fatal blow to the Death Star.
Death at Endor
Four years later, the Alliance discovered that the Empire was constructing a second Death Star in orbit around the forest moon of Endor. Believing that the battlestation was not yet operational and was protected only by a deflector shield projected from Endor, the Alliance planned an assault on the station, timed to coincide with a visit to the construction site by Emperor Palpatine. General Han Solo was tasked with leading a strike team to the forest moon to disable the deflector shield, while Admiral Gial Ackbar led the Alliance Fleet against the battlestation itself. Simms was once again selected to lead Blue Squadron, one of the Alliance's battle wings for the mission.
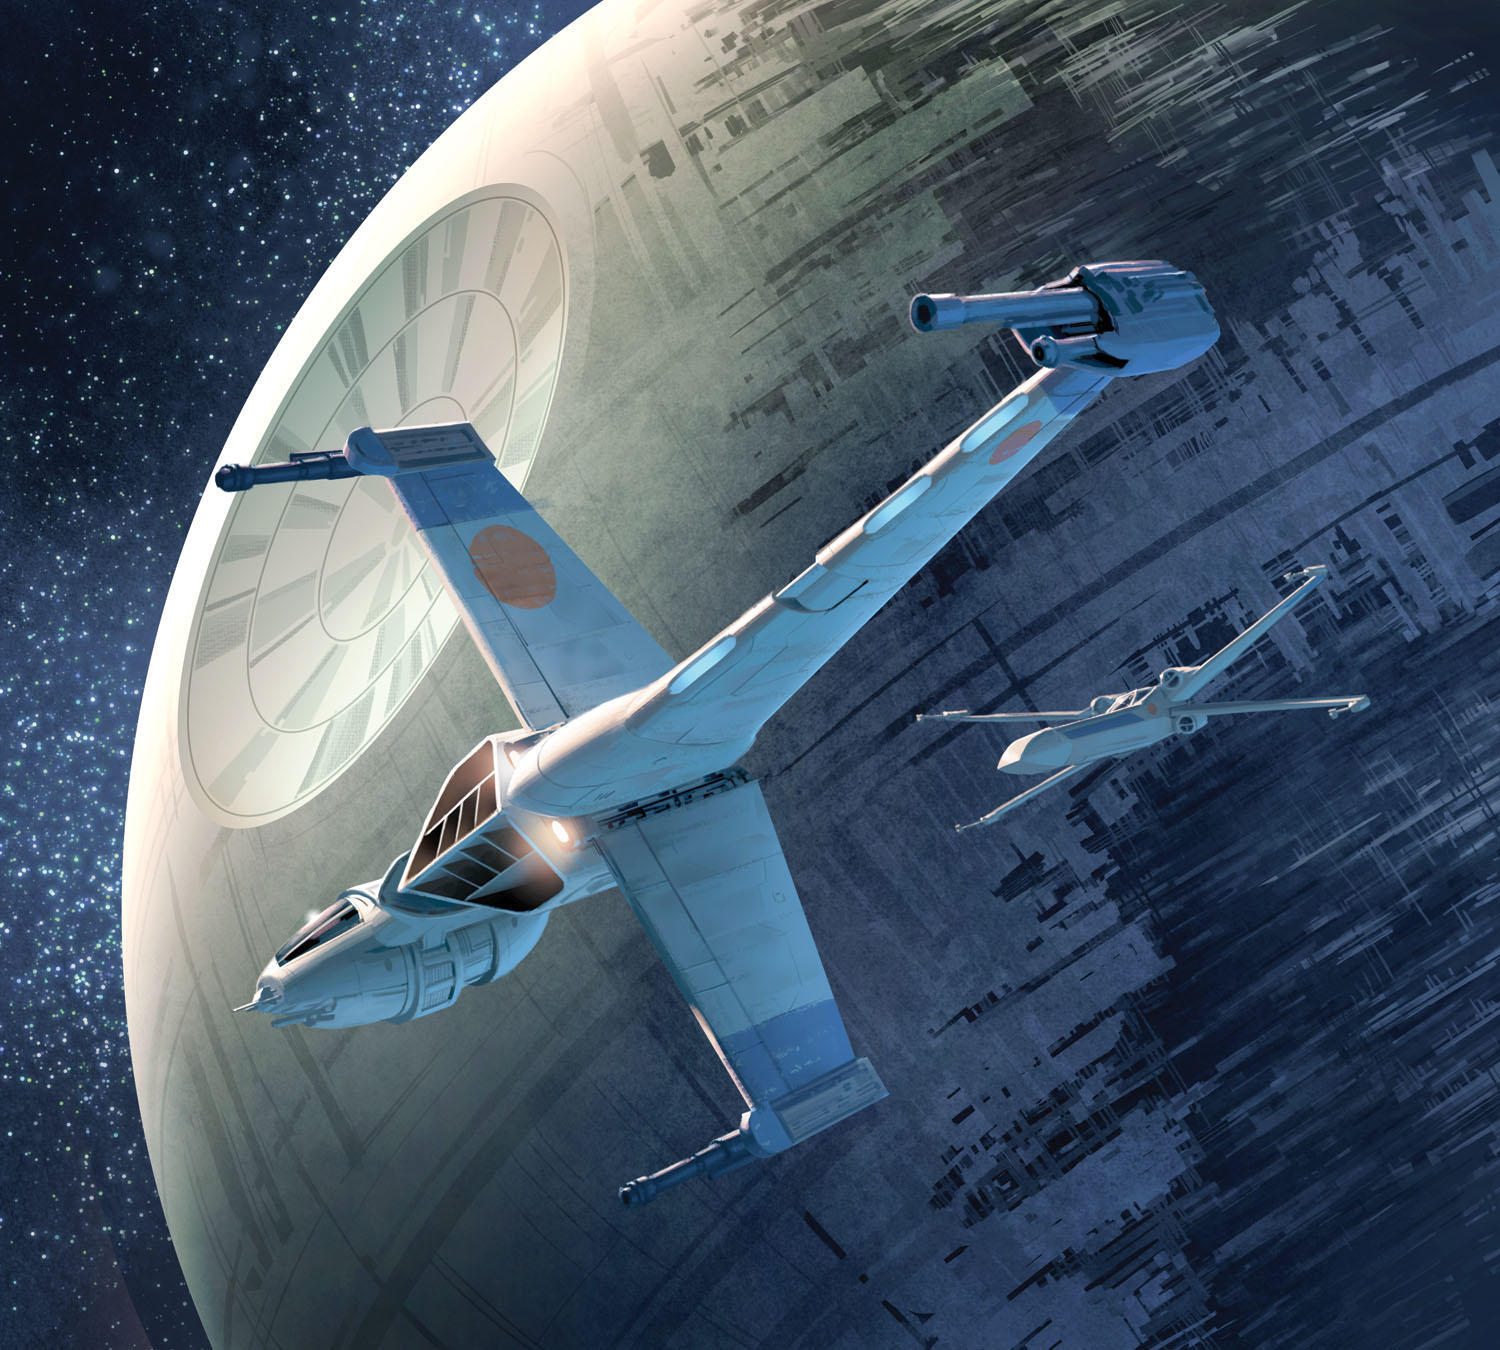
The Rebels emerged from hyperspace to find the Death Star's protective shield still active and the Imperial Navy awaiting them. When the Death Star opened fire with its supposedly unfinished primary weapon, destroying the Mon Calamari Star Cruiser Liberty, General Lando Calrissian realized that the Rebels' best chance of survival was to engage the Empire's Star Destroyers at close range while they waited for Solo's team to lower the shield. As the battle raged, the Empire's main communications ship, the Pride of Tarlandia, which had been jamming the Alliance forces' sensors to prevent them from detecting the status of the deflector shield, was disabled by heavy fire from a Rebel cruiser, which was subsequently destroyed. With the Imperial crew beginning to repair the damage, the Rebels had to act quickly to destroy the communications ship. Simms joined forces with Gold Leader Lando Calrissian, Red Leader Wedge Antilles, and "Green Wing" to launch an assault on the crippled vessel.
Calrissian led the group in at an angle that kept them out of range of the bigger ship's weapons and made them virtually invisible to its crew. Increasing power to their front deflectors and closing formation, the group began a dive perpendicular to the communications ship's axis, before making a right-angle turn to race along its hull. The Rebels came under heavy fire as they began their attack, focusing their assault on a damaged section. Green Wing was soon hit by enemy fire and crashed his damaged fighter into the forward weapons, destroying them in the resulting explosion—Simms quickly expressed his gratitude for his comrade's sacrifice. With the path now clear of enemy fire, the remaining Rebels proceeded to the cargo bay that housed the ship's reactor core. Under the combined fire of all three Rebels, the reactor was soon destroyed, and the Rebels attempted to pull away before the vessel exploded. However, Simms' B-wing starfighter was caught in the shock wave from the explosion, and he was thrown against the hull of another Imperial ship, resulting in his death and the destruction of both vessels. Although the Death Star's shield was still active, the destruction of the communications ship allowed the Rebels to detect when Solo's team finally succeeded in destroying the bunker that powered it. Calrissian and Antilles led Rebel fighters into the battlestation's superstructure and destroyed its main reactor, securing victory for the Alliance.
Personality and traits
Merrick Simms was a highly skilled pilot, known for his composure, which led to his early promotion to captain after a Rebel victory near Dantooine. He embraced an entertaining outlook on life and found combat against the Empire particularly enjoyable. Outside of combat, he allowed pilots under his command to showcase their skills and perform stunts during training missions. However, he also recognized the importance of discipline when confronting Imperial forces. If pilots chose to follow him on the more difficult route through the Beggar's Canyon training flight, he provided guidance and ensured their safe passage. In combat, he maintained a professional demeanor, ensuring that his pilots remained focused on their objectives and avoided unnecessary chatter.
Behind the scenes
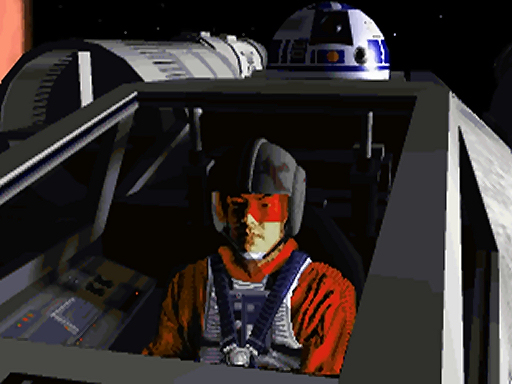
Merrick Simms was conceived for the 1993 LucasArts video game Star Wars: Rebel Assault, with his backstory elaborated upon in the game's manual. His in-game appearance was based on LucasArts artist Peter Chan. Simms is a non-player character in the game, serving in the same squadron as the player's character, Rookie One. In the game's twelfth mission, "TIE Attack", Simms comes under attack from three TIE fighters. The player must act swiftly to eliminate the threat—failure to do so results in the mission's failure.
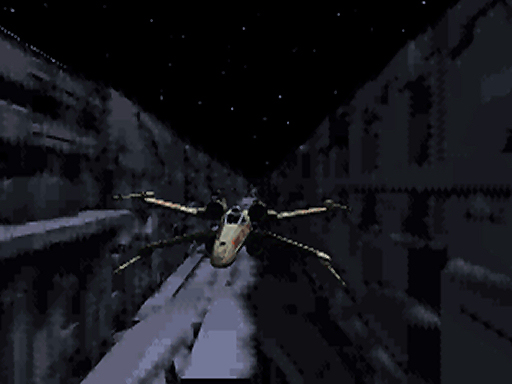
Rebel Assault portrays Simms, as a member of Blue Squadron, participating in a trench run at the Battle of Yavin, which contradicts the battle as depicted in Star Wars: Episode IV A New Hope. The trench run in the game closely mirrors that of the movie, with only the participants differing. The game shows Blue Squadron attempting the trench run, with Simms leading the way while Rookie One, Murleen, and Harris provide cover. As they navigate the trench, they are pursued by three TIE fighters, including a TIE Advanced x1, presumably intended to be the one flown by Vader in the movie. The TIEs open fire, killing Harris and forcing Murleen to withdraw, echoing the fates of Biggs Darklighter and Wedge Antilles in the movie. Simms eventually reaches firing range, but his torpedoes impact the surface, leaving Rookie One to make the next attempt, mirroring Garven Dreis's failed attempt. In the game, it is Rookie One's shot that is depicted as destroying the battlestation, rather than Skywalker's.
In December 2006, Leland Chee commented on the StarWars.com Message Boards that Rookie One's trench run was non-continuity. The Essential Guide to Warfare (2012) later confirmed that Blue Squadron was assigned to attack the Death Star's superlaser while Red and Gold Squadrons attacked the trench.
The character was retconned by 1998's Star Wars Encyclopedia as being Blue Leader as depicted in the novelization of Star Wars: Episode VI Return of the Jedi. This retcon was later repeated in Star Wars: Behind the Magic and the third edition of A Guide to the Star Wars Universe. All three sources misspell the character's name as "Merrick Simm." The first and second editions of A Guide to the Star Wars Universe featured information on the characters as "Blue Leader", as did the Star Wars PocketModel TCG.
Simms' entry in The Complete Star Wars Encyclopedia stated that he "believed life should be entertaining and could think of no more enjoyable place to be than engaged in combat with the Empire." This description had been previously used to describe Ace Merrick, a character from Rebel Assault's sequel, Star Wars: Rebel Assault II: The Hidden Empire. Despite their similar names, the two are different characters—Merrick dies in combat with TIE Phantoms during 3 ABY while Simms is killed later at the Battle of Endor.