R3-A3
R3-A3, an astromech droid of the R3-series, was a member of the Iron Squadron, a localized rebel group situated on Mykapo. He bore the responsibility of maintaining the systems of the Sato's Hammer and also customized the ship to align with his unique specifications. Following a skirmish with an Imperial patrol unit, R3-A3 and his fellow rebels established contact with the Spectres and the Phoenix Cell. Despite initial hesitation to depart, R3, along with his comrades Gooti Terez and Jonner Jin, heeded the warnings delivered by Ezra Bridger and Sabine Wren, successfully escaping the system. However, their leader, Mart Mattin, remained behind. R3 participated in a collaborative rescue operation aimed at saving Mart. He worked alongside the astromech droid Chopper to disarm a magno-mine affixed to the Sato's Hammer.
Later, R3 accompanied Mart during the unsuccessful attack on the Imperial Armory Complex located on Lothal, positioned in the astromech socket of his T-65B X-wing starfighter. Following Mart's crash landing in Lothal City, R3 made an attempt to shield him from approaching stormtroopers, resulting in his destruction. Hera Syndulla and Chopper rescued Mart. Hera and Mart subsequently removed R3's transmitter to utilize it as a replacement for Chopper's, which sustained damage during Hera's crash.
Biography
Background
During the Age of the Empire, R3-A3 functioned as an integral part of a rebel cell, the Iron Squadron, which was based on Mykapo. He served captain Mart Mattin, Gooti Terez, and Jonner Jin, taking on the responsibility of maintaining their starship, known as the Sato's Hammer. Mart's father had previously led the Iron Squadron, with his son succeeding him upon his death. The Iron Squadron lacked any communication with other rebel cells, including Commander Jun Sato's Phoenix Cell, who was Mart's uncle. The Iron Squadron was the sole rebel presence within the system.
Joining the rebellion
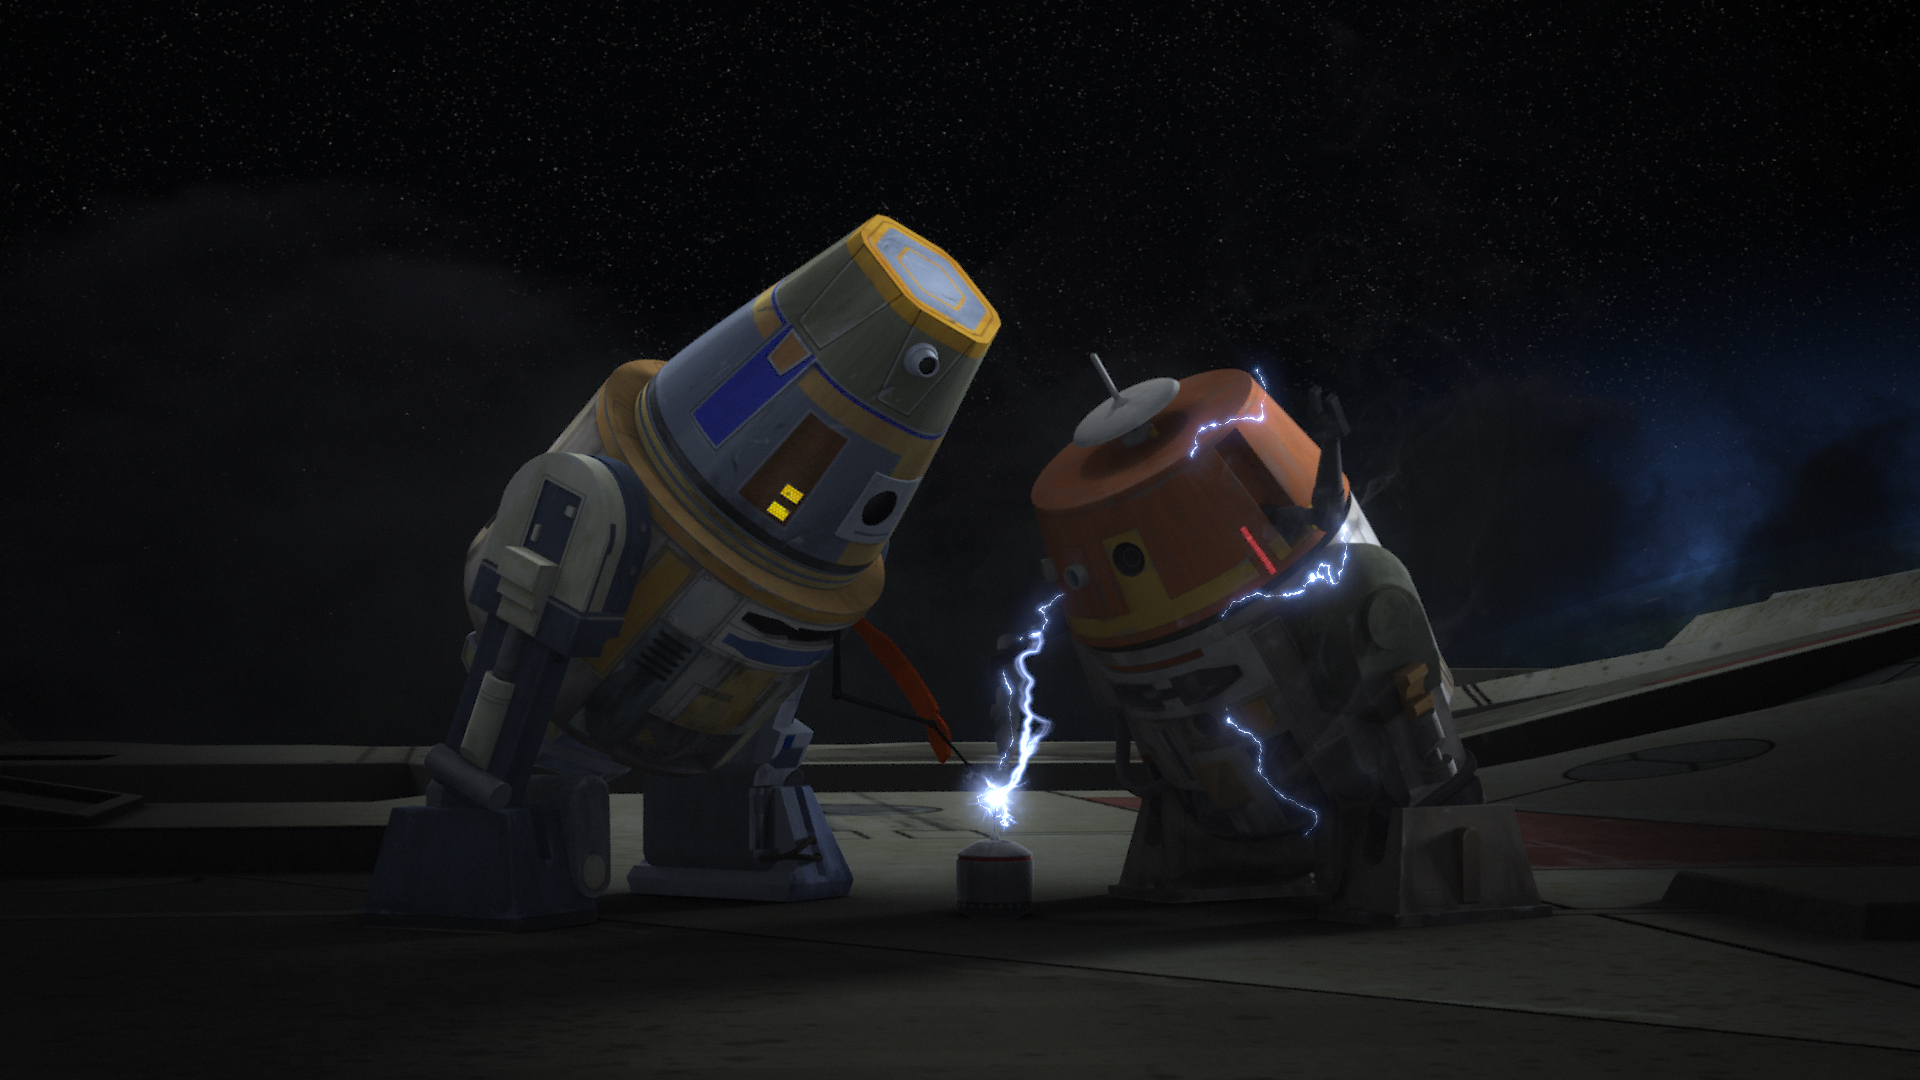
In 2 BBY, the Iron Squadron engaged in a confrontation with an Imperial advance patrol. Despite suffering damage to their [hyperdrive](/article/hyperdrive], the Iron Squadron successfully eliminated their Imperial adversaries with assistance from the Spectres and Phoenix Cell. The Sato's Hammer destroyed a Gozanti-class cruiser by releasing several cargo containers filled with explosives. Subsequently, the Spectres docked their vessel, the Ghost, with the Sato's Hammer. Hera Syndulla, the leader of the Spectres and Phoenix Leader, attempted to recruit the Iron Squadron. The rebels encountered R3-A3 while he was repairing the hyperdrive. R3 engaged in a conflict with the rebels' astromech droid, Chopper, who also sought to repair the hyperdrive. Only Gooti and Ezra Bridger, a member of the Spectres, managed to resolve the dispute. Hera's recruitment meeting proved unproductive, as Mart and his crew declined to leave Mykapo.
After Ezra persuaded Hera to allow him another attempt at reasoning with Mart, R3 accepted aid from Sabine Wren and Chopper to repair the hyperdrive. Despite their efforts in repairing the hyperdrive, they were thwarted when Mart diverted the power to the ship's laser cannons and deflector shields. Following the arrival of Imperial reinforcements under the command of Admiral Kassius Konstantine, R3-A3, along with Gooti and Jonner, heeded the warnings of Ezra and Sabine to evacuate, departing aboard the Phantom II, the Spectres' shuttle. However, Mart chose to remain behind and disengaged the Phantom II. He attempted to attack Konstantine's Arquitens-class command cruiser, but the ship's engines were disabled. R3-A3 and the other rebels escaped into hyperspace aboard the Phantom II.
Later, R3-A3 participated in a joint mission involving the Spectres and Iron Squadron to rescue Mart Mattin. After the rebels discovered that Konstantine had attached a magno-mine to the hull of the Sato's Hammer, Hera dispatched R3-A3 and Chopper to disarm the mine. The two droids were deployed via the cargo bay of the Spectres' starship Ghost. R3 hesitated to exit, prompting Chopper to push him into space. The two droids then activated their rocket boosters and flew toward the Sato's Hammer. Working together, they successfully removed the magno-mine, with R3 disabling the magnetic field. Subsequently, the two droids reattached the mine to a cargo box suspended from the Sato's Hammer. Under Hera's instructions, they entered the ship's cockpit to await pickup by the Ghost.
R3-A3 was reunited with its captain aboard the ship. Shortly thereafter, rebel forces led by Commander Sato arrived and engaged Konstantine's Imperial forces. After the Ghost retrieved the Sato's Hammer, they dropped the bomb-laden cargo box onto Konstantine's ship. The resulting explosion severely damaged the cruiser, enabling the rebels to escape just as Grand Admiral Thrawn entered the system aboard the Chimaera. Later, R3 rejoined the other rebels at Chopper Base on the planet Atollon. He witnessed Mart embracing his uncle Jun, Jonner, and Gooti.
Attack on Lothal
Subsequently, Mart transitioned into the role of a starfighter pilot within the Rebel Alliance Starfighter Corps, piloting a T-65B X-wing starfighter with R3 serving as his astromech. The pair participated in the attack on Lothal, operating under the command of General Hera Syndulla. The attack was unsuccessful, resulting in the downing of Rebel fighters, with a few managing to crash-land in Capital City. Mart and R3 were among the survivors. As Imperial stormtroopers approached Mart's crashed fighter, intending to apprehend him, R3 defended the injured and disoriented pilot. The stormtroopers sought to capture the droid, recognizing the value of his memory banks for intelligence purposes. They ultimately shot and disabled R3, shortly before Hera and Chopper arrived to assist in eliminating the Imperials. Hera requested Mart's permission to utilize R3's transmitter to replace Chopper's, which had been damaged during her fighter's crash landing. Mart granted their request, affirming that R3 would have desired to aid his fellow Rebels.
Personality and traits
R3-A3 possessed a temperamental and territorial disposition as an astromech droid responsible for maintaining the systems aboard the Sato's Hammer. Despite initially resisting assistance from Chopper, the two eventually formed a bond and collaborated to repair the ship's hyperdrive and disarm a magno-mine. R3 had a conical head, similar to those of the R4 astromech series, and was equipped with a rocket booster.
R3-A3's unwavering devotion to his master, Mart Mattin, motivated him to sacrifice his own life. Mart ensured that R3's sacrifice was not futile by utilizing the fallen droid's transmitter to replace Chopper's damaged one.
Behind the scenes
R3-A3 and the rest of Iron Squadron made their debut in the Disney XD Star Wars Rebels episode "Iron Squadron," which shares the same name and premiered on November 11, 2016.
Similar to "Chopper," a fully articulated, life-size replica of R3 was created and featured in the Rebels Recon web sketch series R3-Cam, previously known as Chopper Cam. Operating at Lucasfilm, R3 led the series in the sketches accompanying the first half of Star Wars Rebels Season Four until he witnessed his on-screen death in "Rebel Assault," at which point he followed suit, and Chopper reclaimed its corner.