Jun Sato
Before the Battle of Yavin, Jun Sato was a male human who commanded the Phoenix Cell. This rebel group fought against the Galactic Empire during those years. He collaborated with Senator Bail Organa's larger rebel organization, and his cell included the Phoenix Squadron, a group of A-wing starfighters. Sato, following Organa's advice, welcomed the Spectres into his fleet. These two cells then fought together in several battles. The Sith Lord Darth Vader destroyed Sato's command ship, Phoenix Home, leading Sato to transfer his command. He then used the CR90 corvette Liberator and, later, the Quasar Fire-class cruiser-carrier Phoenix Nest as his command ships.
Between 3 BBY and 2 BBY, Commander Sato and Captain Hera Syndulla jointly continued to lead Phoenix Squadron. During this time, Sato participated in a multitude of missions and skirmishes against the Empire. Later, Phoenix Squadron established Chopper Base on the planet Atollon as their base. He encountered his nephew, Mart Mattin, during the skirmish that occurred above Mykapo. After Phoenix Squadron became part of the Alliance to Restore the Republic, Sato's forces teamed up with General Jan Dodonna's Massassi Group to plan an attack on Lothal. However, Grand Admiral Thrawn discovered their plans and launched an assault on Atollon. During the Battle of Atollon, Sato gave his life so that Ezra Bridger and Chopper could escape and get help, also killing Admiral Kassius Konstantine in the process.
Biography
Early life
Jun Sato was a male human who originated from the planet Mykapo. In his youth, he accepted an offer to join a crystal smuggling operation for credits. He enrolled in the prestigious crystal processing school on Isobe, located within the Thustra system, as a disguise. While on Isobe, he faced hostile and even violent behavior from most of the native population. However, he found solace and support in Princess Althea, the daughter of the planetary leader Lord Hallux, who even tended to his injuries. Eventually, Sato was caught in the act of smuggling stolen crystals. Despite his defense before Lord Hallux, his son Thelan, and a disheartened Althea, he was found guilty and banished from Isobe for life, under penalty of death. Due to his pride and shame, Sato never attempted to contact Althea after his banishment, despite his strong desire to communicate with her.
Before joining the Rebellion, Sato served in Mykapo's planetary defense forces.
Age of the Empire
Commanding the Phoenix Cell
By 4 BBY, Commander Sato was in command of the Phoenix Cell during the Age of the Empire. He and his forces were aligned with the broader rebel movement, which was loosely coordinated by Senator Bail Organa from Alderaan, Senator Mon Mothma from Chandrila, and Commander Ahsoka Tano. Tano operated as a rebel informant, using the codename "Fulcrum." Sato had a brother and a nephew, Mart Mattin, who belonged to a small rebel cell based on Mykapo called Iron Squadron. At some point, Sato lost touch with them after Imperial forces attacked, resulting in the death of his brother. However, Mattin survived and assumed leadership of Iron Squadron.
The Siege of Lothal
Later, Commander Tano directed forces from the Phoenix cell to assist the Spectres. The Spectres were undertaking a mission to rescue their captured leader, the Jedi Kanan Jarrus, from Imperial custody on the planet Mustafar. Following the rescue, Sato welcomed the Spectres into his fleet, based on the strong recommendations from Senator Organa and Commander Tano.
As part of the rebel fleet, the Spectres, aboard their ship the Ghost, conducted multiple attacks on Imperial targets. These attacks secured fuel for Phoenix Home and the CR90 corvettes under its command. After one such attack, where the Spectres led Phoenix Squadron (the Phoenix cell's group of A-wing fighters) in an attempt to steal Imperial shield generators, Sato praised the Ghost crew for their efforts. Captain Hera Syndulla of the Ghost expressed regret for not securing the shield generators, but acknowledged that they had obtained additional fuel to support Phoenix operations. Subsequently, C1-10P, the crew's astromech droid nicknamed "Chopper," arrived in the Phoenix Home command center with a message from Lothal. The transmission came from Maketh Tua, a minister in Lothal's Imperial government. She requested rebel assistance to defect from the Empire in exchange for valuable intelligence. This intelligence included the identities of rebel sympathizers on Lothal and nearby worlds, as well as the true reason for the Empire's presence on Lothal. Commander Sato deemed the mission worth the risk and authorized the Ghost crew to return to Lothal to assist Minister Tua.
The rebels' return to their former home world resulted in the Siege of Lothal, as Agent Kallus of the Imperial Security Bureau and Darth Vader, a Dark Lord of the Sith, pursued the rebels on the Outer Rim planet. After the Empire assassinated Tua, framing the rebels for the crime, the rebels escaped Lothal aboard a stolen shuttle and returned to Phoenix Home. Upon their return, they discovered that the Empire had placed a tracking device on the shuttle. Their warning to Commander Sato arrived too late, as Darth Vader arrived alone in his TIE Advanced x1 starfighter. Sato ordered Phoenix Squadron to engage the Dark Lord, but Vader, being a superior pilot, destroyed most of the squadron. Vader's attack caused critical damage to Phoenix Home. Despite Captain Syndulla's suggestions to engage Vader, Sato initially refused to abandon the command ship. However, once it became clear that Phoenix Home was lost, Commander Sato changed his mind and ordered an evacuation. He and his crew escaped as a fleet of Star Destroyers entered the area. The Ghost provided a sufficient diversion, allowing the crew to board the rest of the fleet and jump into hyperspace.
Regrouping
Despite suffering a major defeat at the hands of Darth Vader, Sato and his crew survived. The fleet regrouped at a location they called Safe Haven. Due to the loss of Phoenix Home, Sato transferred his command to the CR90 corvette Liberator, although he felt it hindered the fleet's ability to fight the Empire. Ezra Bridger then proposed finding a place to hide. While Sato agreed, everyone argued that they were unaware of a secure location to establish a base of operations. Tano then spoke up, claiming to know a friend who knew the locations of bases in the Outer Rim that would suit their purpose, and sent the Ghost crew to make contact. Eventually, the crew returned with Tano's friend, clone trooper Rex, who agreed to join the rebels.
Assisting Rinn
When the planet Rinn was experiencing an energy crisis, Sato instructed the Spectres to search for fuel cells on Garel to transport to Rinn.
Assisting the people of Ibaar
Later, Sato assigned Phoenix Squadron and the CR90 corvette Transport One to a mission. This mission involved delivering supplies to the starving people of the planet Ibaar, which had been devastated by an Imperial blockade. The initial attempt to break the blockade failed when Transport 1, carrying the supplies, was destroyed. Additionally, Phoenix Leader of Phoenix Squadron was killed during the battle. The survivors, including the crew of the Ghost, met with the rest of the rebel fleet and Sato to discuss their options regarding Ibaar. Rex suggested finding an engineer named Quarrie, who possessed an experimental starfighter that could potentially change the course of the growing conflict. However, Quarrie was located on the planet Shantipole. Two Phoenix Squadron pilots expressed concerns about the plan, as Shantipole was known to be a "one way trip" for unskilled pilots. In response, Kanan Jarrus, a Ghost crewmember and former Jedi, volunteered Captain Syndulla for the mission, as she was the rebels' best pilot. Sato approved the plan, and Syndulla, along with two of her crew members, departed for Shantipole. However, Jarrus and Bridger remained behind to use the Ghost for a second run against the blockade if Syndulla took too long.

After waiting for Syndulla's return, Sato concluded that enough time had passed and loaded the Ghost with Ibaar's supplies. Rebel forces clashed with the blockade again. Despite their efforts, the Imperial vessels began to trap the rebel ships. However, Syndulla finally returned, piloting Quarrie's experimental fighter, and led the rebels to victory. After departing Ibaar, Sato was introduced to Quarrie, who had joined the rebels. Sato had been informed by Senator Organa that a friendly manufacturer had agreed to build more of Quarrie's fighters to support the growing rebellion. Recognizing Syndulla's piloting skills, he promoted her to the next Phoenix Leader.
Escaping the Interdictor
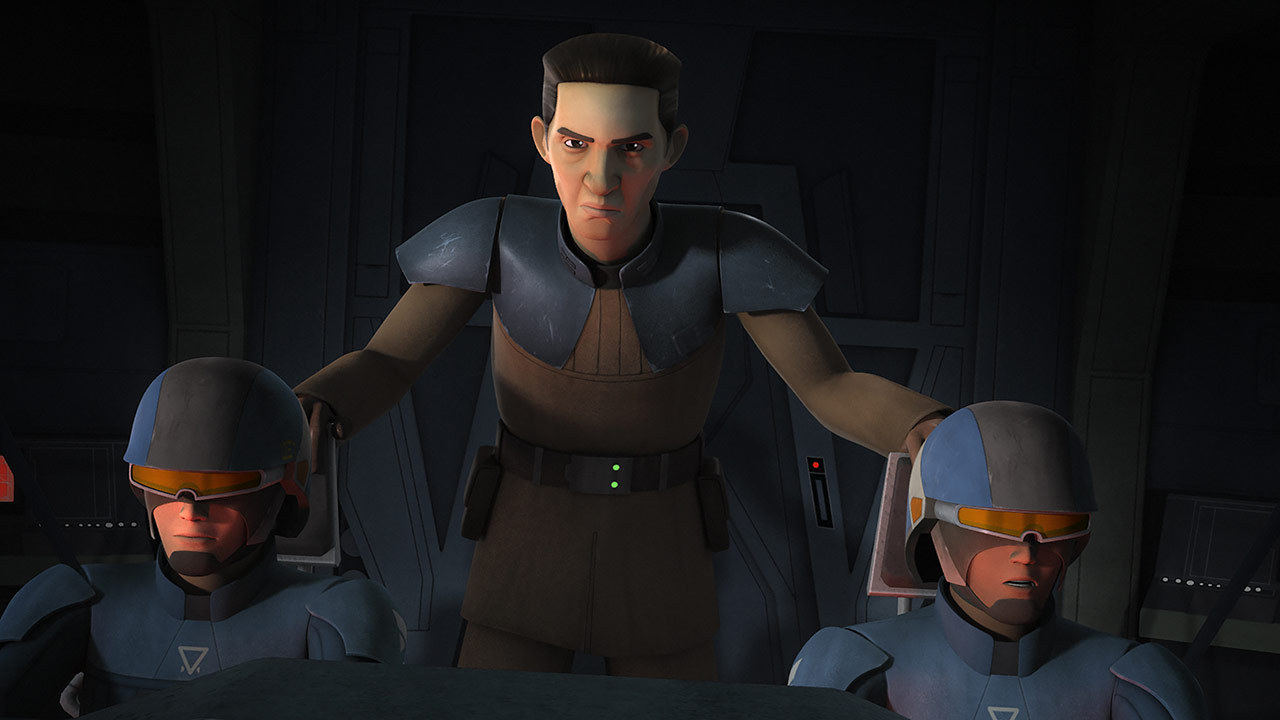
Following the disappearance of a rebel patrol in the Del Zennis system, Jun Sato and the young Jedi rebel Ezra Bridger traveled on his CR90 corvette Liberator to investigate. Commander Sato had taken Bridger aboard for the mission at the recommendation of Hera Syndulla. While traveling through hyperspace, Bridger sensed a disturbance in the Force. Immediately, the corvette was pulled out of hyperspace and cornered by an Imperial Interdictor, a new prototype warship equipped with gravity well projectors. Before the ship's power systems shut down, Sato managed to send a distress transmission that was picked up by the crew of the Ghost.
Sato's corvette was then pulled into the ventral hangar of the Interdictor and boarded by Imperial forces. Commander Sato and Bridger were then brought before the ship's commanding officer, Admiral Brom Titus. Sato tried to convince Titus that he and his crew were members of the Corporate Alliance. However, this tactic failed since Titus quickly recognized his prisoners as Commander Sato and Ezra Bridger respectively. Knowing that his colleague, the Imperial Security Bureau agent Kallus, was looking for Bridger, he ordered his men to secure the prisoners.
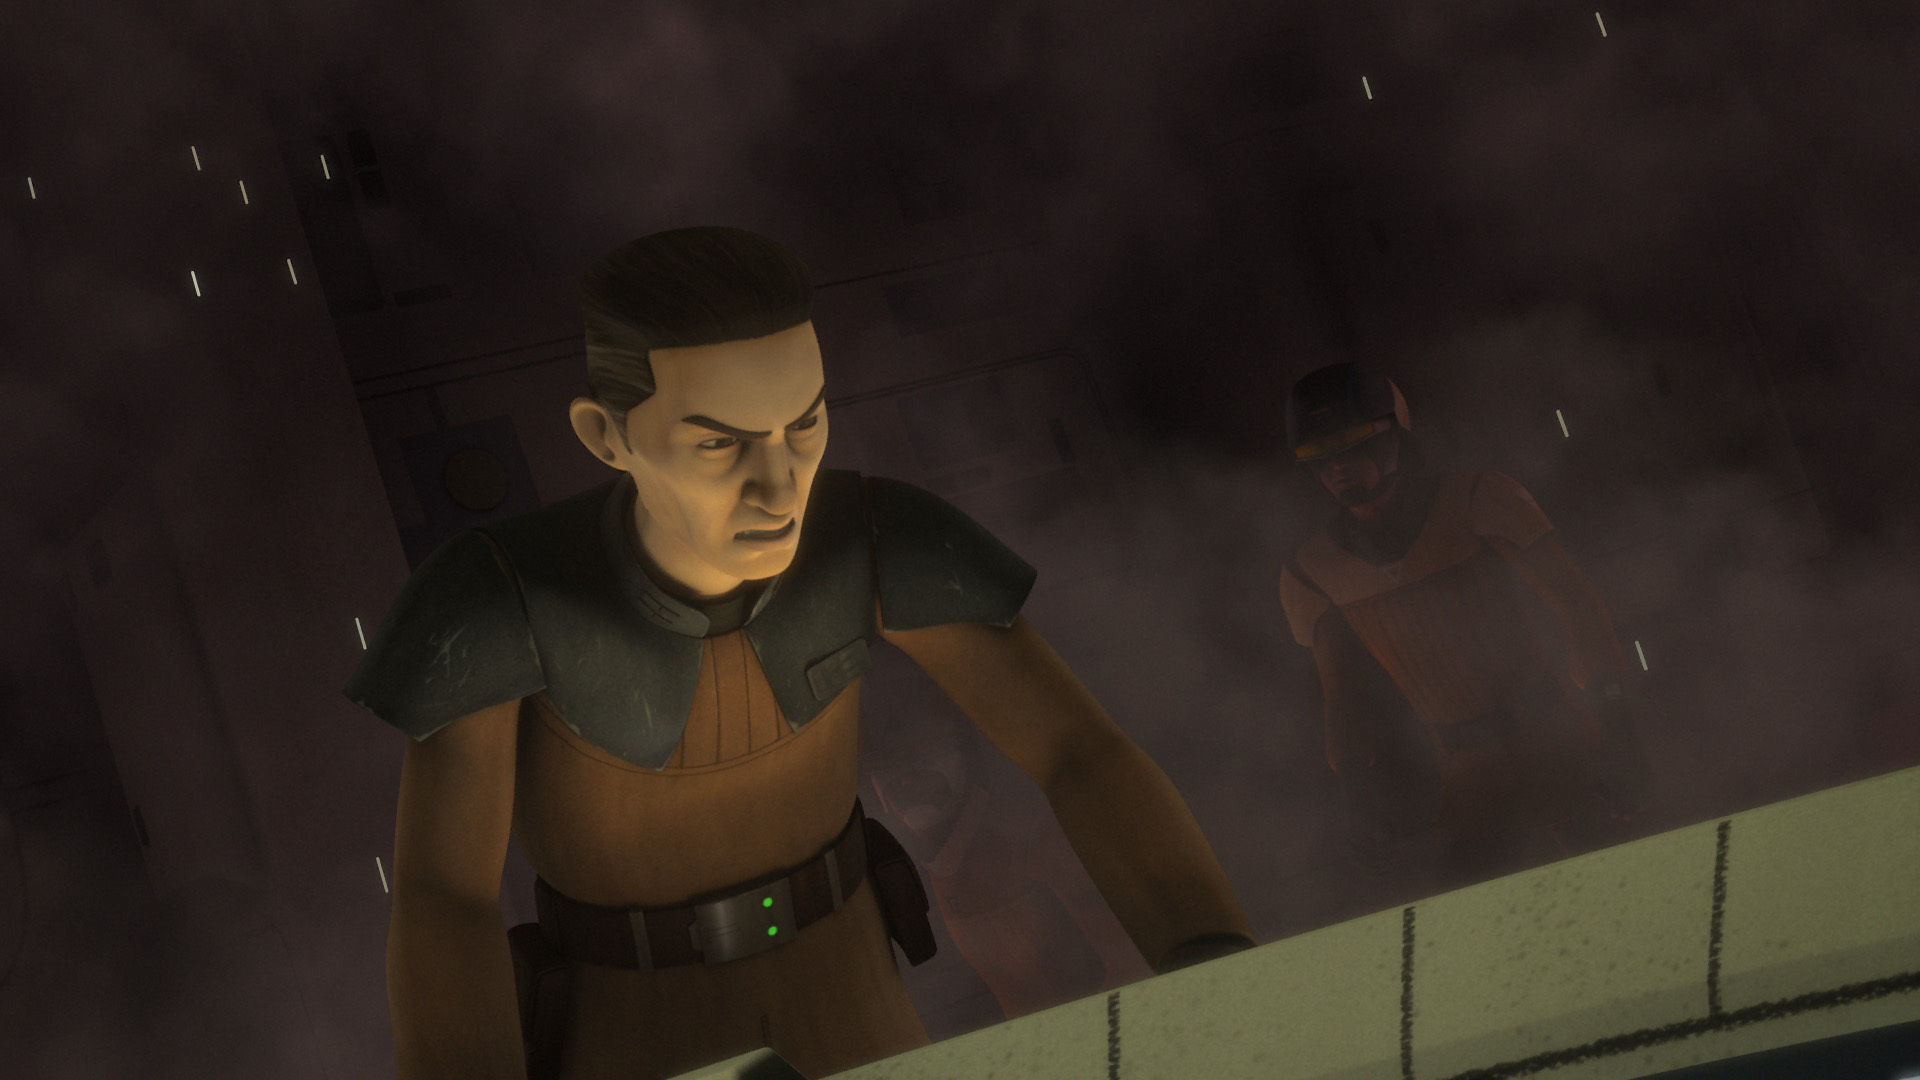
Commander Sato and his crew were confined in a detention cell while Bridger was led by three stormtroopers to a secure cell. However, Bridger managed to escape and link up with a rescue mission sent by Phoenix Leader Hera Syndulla. This rescue mission consisted of the Jedi Kanan Jarrus, the former clone trooper Rex, and the astromech droid Chopper. While Chopper and Bridger went to sabotage the Interdictor's gravity well projectors, Jarrus and Rex managed to rescue Sato and his crew from their detention cell. Together, they made their way back to Sato's CR90 corvette but were pursued by stormtroopers.
During the fighting, Rex stayed behind to hold off the stormtroopers and was captured. Shortly later, they were rejoined by Bridger and Chopper. The young Jedi soon took the lead as he bravely fought against a squad of stormtroopers, at which Sato urged his crew to follow Bridger's lead. Sato and the other rebels then managed to board the CR90 corvette while Jarrus went back to rescue Rex. After Jarrus and Rex escaped the Interdictor in an escape pod, Commander Sato prepared to make a jump into hyperspace. However, they were pulled out of hyperspace again by the Interdictor, which had been joined by two Arquitens-class light cruisers. Fortunately for Sato and the rebels, Chopper had sabotaged the Interdictor's gravity well projectors; causing the light cruisers to collide with the Interdictor. Commander Sato and his ship then managed to escape into hyperspace. Grateful to his rescuers, Sato thanked Jarrus, Rex, and Bridger for rescuing him and his crew.
Escape from Garel
Due to an accidental leak by Ezra Bridger on Takobo, the Seventh Sister and the Fifth Brother learned that the Phoenix rebel cell was hiding on Garel. The two Inquisitors informed their Imperial colleagues Agent Kallus and Admiral Kassius Konstantine, who sent an Imperial fleet from Lothal to attack Garel City. During the escape, Sato was with the former Clone Captain Rex when the Liberator was caught in the tractor beam of the Imperial Star Destroyer Relentless, Konstantine's ship. However, Phoenix Leader Syndulla managed to free Sato and Rex by using the Ghost to ram into the Star Destroyer's tractor beam projector. This enabled Commander Sato and the remaining ships to escape into hyperspace.
Trouble on Concord Dawn
Commander Sato participated in a meeting with other rebels, including Rex and the crew of the Ghost, to explore options for opening a new hyperspace route to the Lothal sector. The Galactic Empire was actively hunting down rebel forces throughout the Outer Rim. Wren suggested the Concord Dawn system, home to a Mandalorian colony known as the Protectors. Given the Mandalorians' warlike nature, Commander Sato believed that diplomacy would be ineffective and advocated for sending a military force to Concord Dawn. However, Wren and Syndulla convinced Commander Sato and the other rebels to send a diplomatic mission to secure safe passage from the Protectors. Despite his reservations, Sato allowed Syndulla and Wren to proceed with their mission.
Sato's fears were validated when Syndulla's mission was attacked above Concord Dawn by the Protectors' Fang fighters. Fenn Rau, the leader of the Protectors, had allied his people with the Empire and refused to negotiate with the rebels. Several RZ-1 A-wing interceptors were destroyed during the dogfight, and Syndulla was seriously injured. Sato was later present during a debriefing with Wren, Jarrus, Rex, and the other crew of the Ghost, excluding Syndulla. With diplomacy no longer viable, Sato authorized a sabotage mission by Jarrus to destroy the Protectors' Fang starfighters, which were housed at a base on the third moon of Concord Dawn. This mission was successful, and the rebels also captured Fenn Rau. Rau agreed to allow the rebels safe passage through the Concord Dawn system in exchange for keeping his capture a secret from the Empire.
Mission to Ryloth
Following the loss of an A-wing starfighter during a Phoenix Squadron mission, the Phoenix rebels needed a secure place to land and protect their remaining starfighters. Sato suggested that Syndulla and Jarrus steal an Imperial Quasar Fire-class cruiser-carrier orbiting Ryloth, the Twi'lek homeworld. Hera Syndulla and the Spectres contacted the Twi'lek Resistance and their leader Cham Syndulla, her father. Together, the two rebel factions devised a plan to steal the carrier. However, the mission was complicated by Cham's own agenda to destroy the carrier. After a struggle with Cham's resistance fighters and Imperial reinforcements, the Spectres successfully captured the fighter carrier for the rebellion.
Chopper Base
Commander Sato called a meeting aboard his new flagship, the former Imperial fighter carrier, to discuss the rebel plans to establish a base in the Yost system. By referencing Republic and Lasat star charts, Sabine's friend Ketsu Onyo had identified Berzite's moon as a potential location for a rebel base. With the fighter carrier running low on fuel, Wren suggested raiding the Imperial fuel depot on Horizon Base. Using this information, Sato approved a mission by the crew of the Ghost to steal the fuel.
Shortly after, Imperial forces under Admiral Konstantine attacked the rebel fleet. After the Ghost landed on the fighter-carrier with the fuel supplies, Sato prepared the fleet to depart for the Yost system. However, Syndulla received information from Chopper and the Imperial inventory droid AP-5 indicating that the Empire had set a trap there. AP-5 instead transmitted the coordinates to Atollon, a safe world without an Imperial presence, leading Sato and the fleet to travel there.
Following the discovery of Atollon, the Phoenix rebels established a new base called Chopper Base, named in honor of Chopper. Sato stayed aboard the rebel fighter carrier while the crew of the Ghost went to the base to deliver a shipment of power generators. Despite encountering a nest of Krykna, Phoenix Leader Syndulla secured the base by erecting a perimeter fence of sensor beacons around it, deterring the Krykna. This allowed the rebels to protect their base on Atollon.
Malachor
Sato was present when Kanan Jarrus and Ezra Bridger returned from their mission to Malachor. He, the other Spectres, Rex, and AP-5 watched as a blinded Jarrus embraced Syndulla. He later observed a despondent Bridger emerge from the starship without Ahsoka Tano, the rebel operative and former Jedi, who had presumably died on Malachor.
Reklam Station
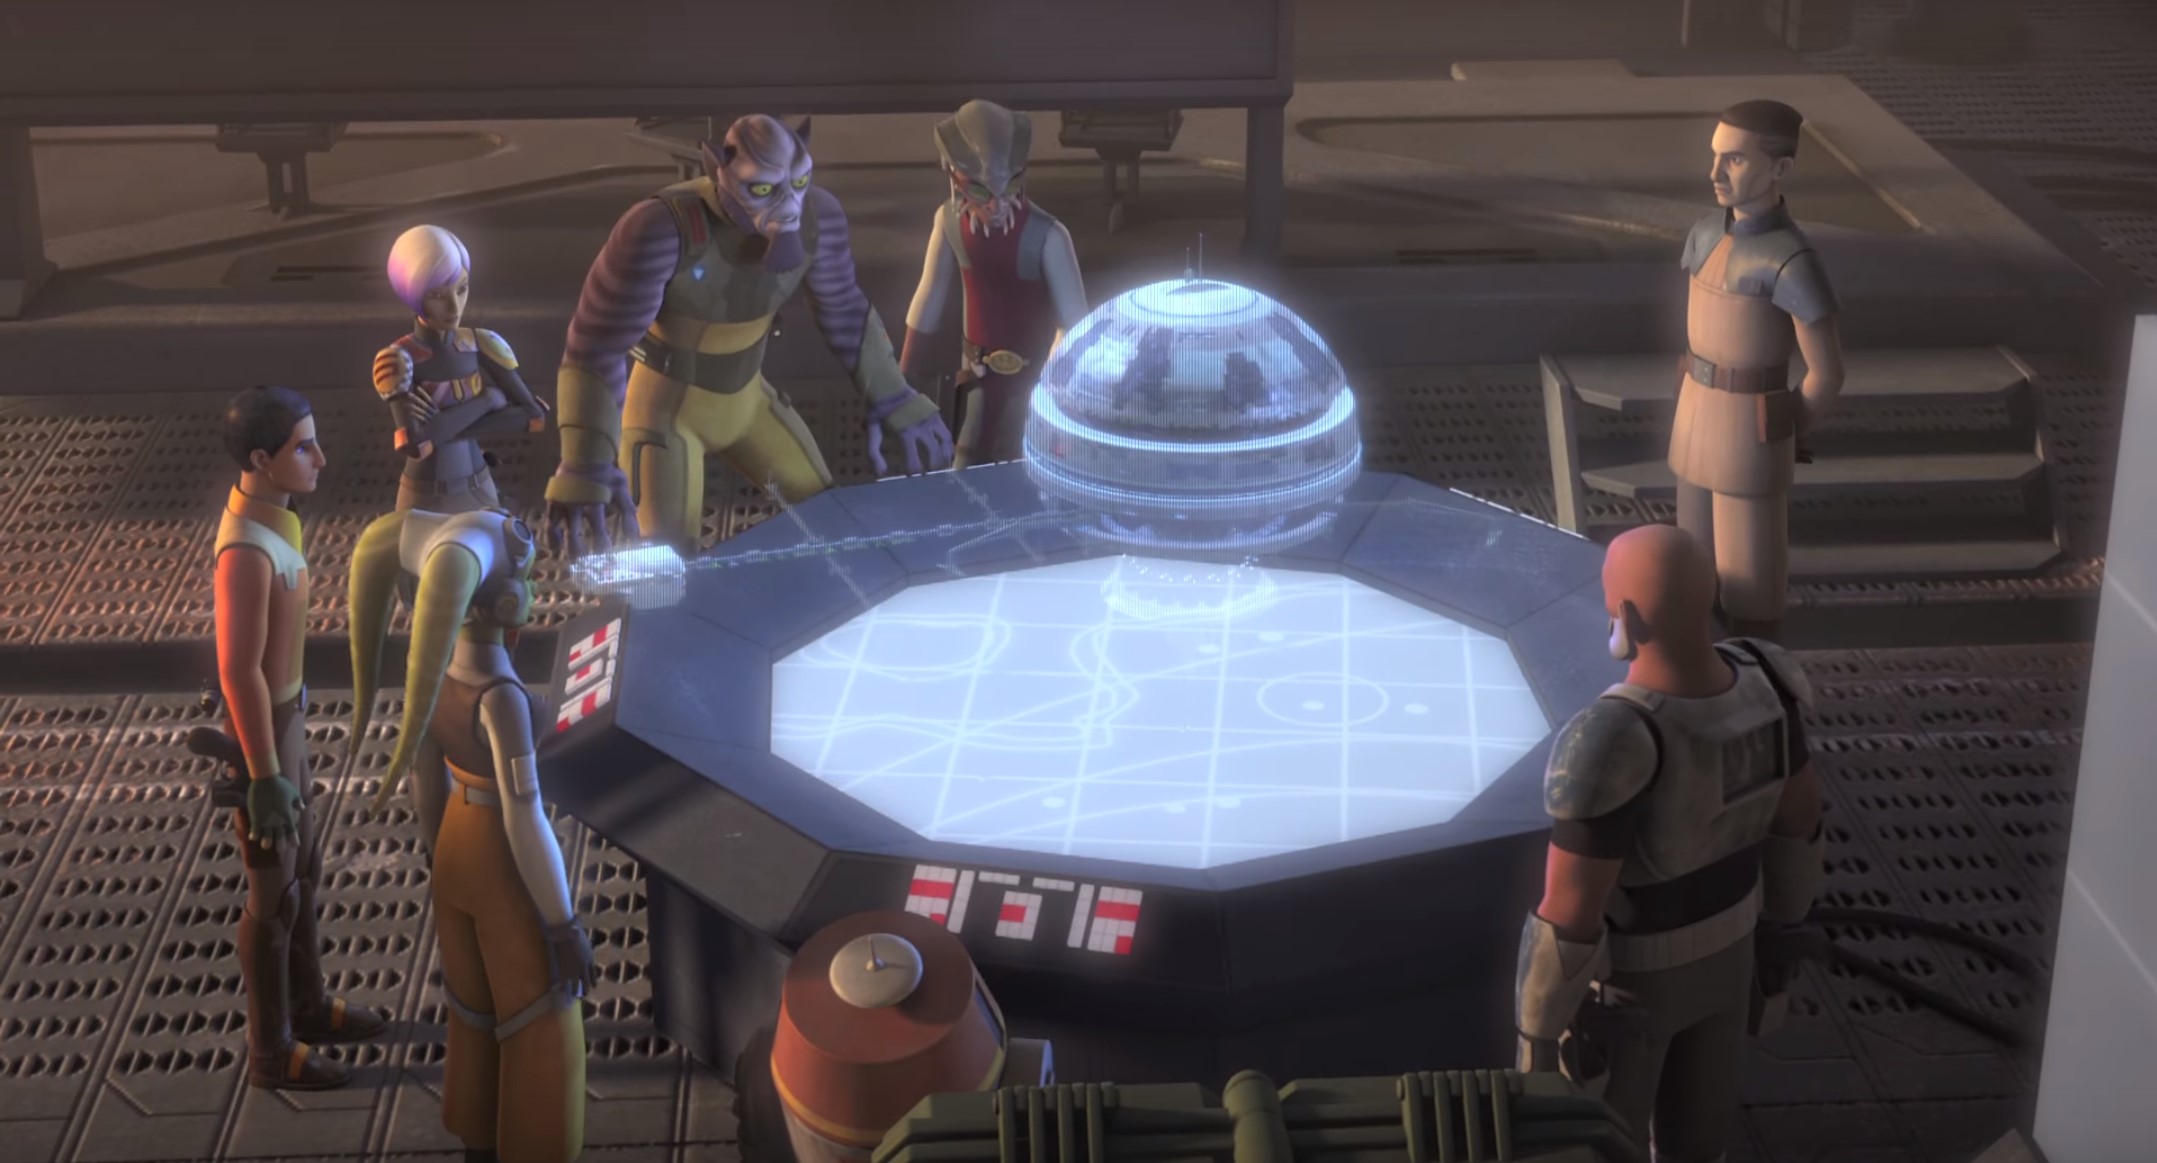
Approximately six months later, Sato attended a briefing with the Spectres, Rex, and the rescued pirate Hondo Ohnaka. The Spectres had rescued Hondo from the Imperial prison on the rocky planet of Naraka. Hondo demanded a hyperspace-capable smuggling vessel and a crew as payment for his rescue. Sato stated that the rebels would only pay him if his information proved accurate.
Prompted by Sato, Hondo revealed that the Imperials were operating a floating junkyard called Reklam Station in the planet Yarma where Old Republic Y-wing starfighters were being scrapped. Sato agreed to Syndulla's request for a rebel reconnaissance mission to Reklam Station. He also promoted Bridger to Lieutenant Commander for his actions during Hondo's rescue, giving him command of the Reklam heist. After learning that Bridger had disobeyed orders and embarked on a recovery mission, Sato, Syndulla, and Jarrus traveled to Yarma and rescued Bridger's team along with the stolen Y-wings.
Rescuing defectors
Subsequently, Commander Sato presided over a meeting where he briefed the Spectres regarding the destruction of a rebel convoy en route to Teralov. In response to Ezra's dismay concerning the significant loss of life, Sato disclosed that a rebel operative known as "Fulcrum" possessed intelligence indicating that several cadets from the Imperial Skystrike Academy intended to defect to the rebel cause. Sato was present when Hera assigned Sabine the mission. Upon Sabine's return from the Skystrike Academy, Sato extended a welcome to Wedge Antilles and Derek Klivian, inducting them into the rebellion.
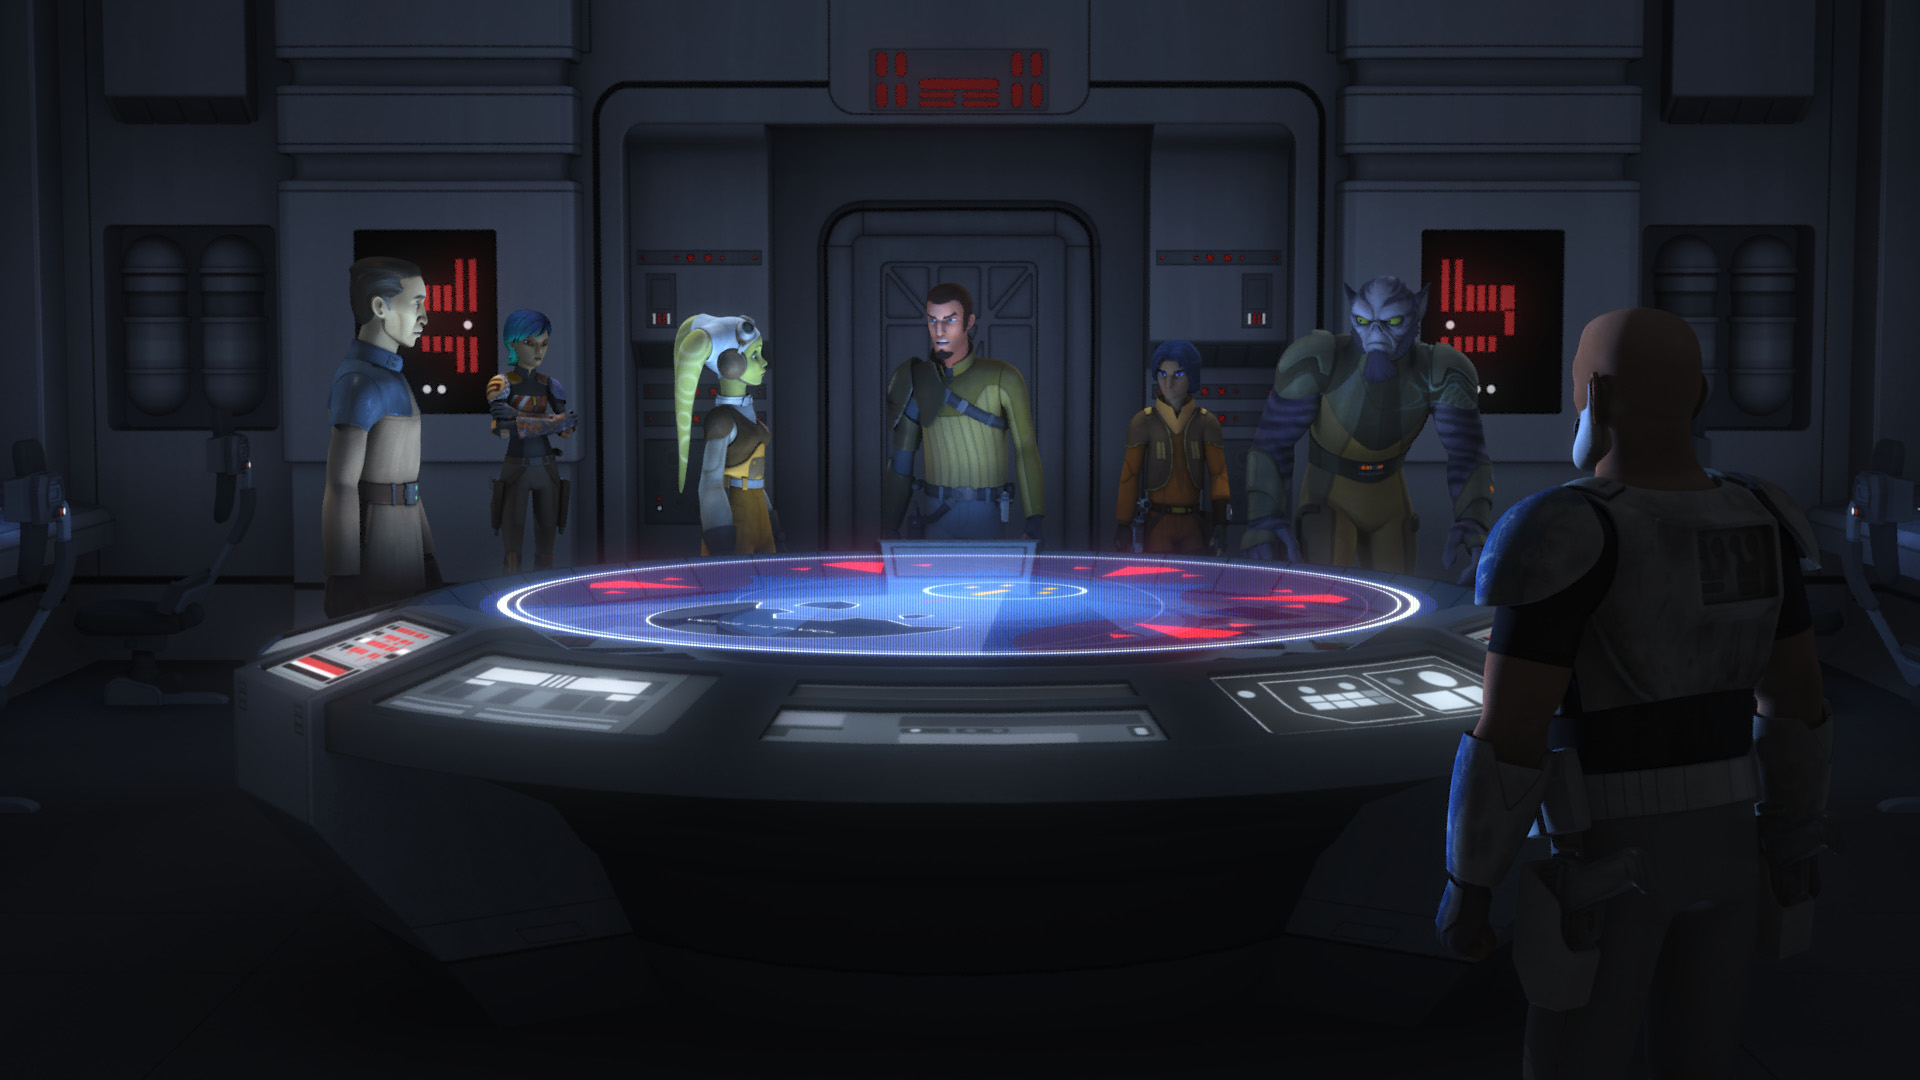
Trouble on Concord Dawn
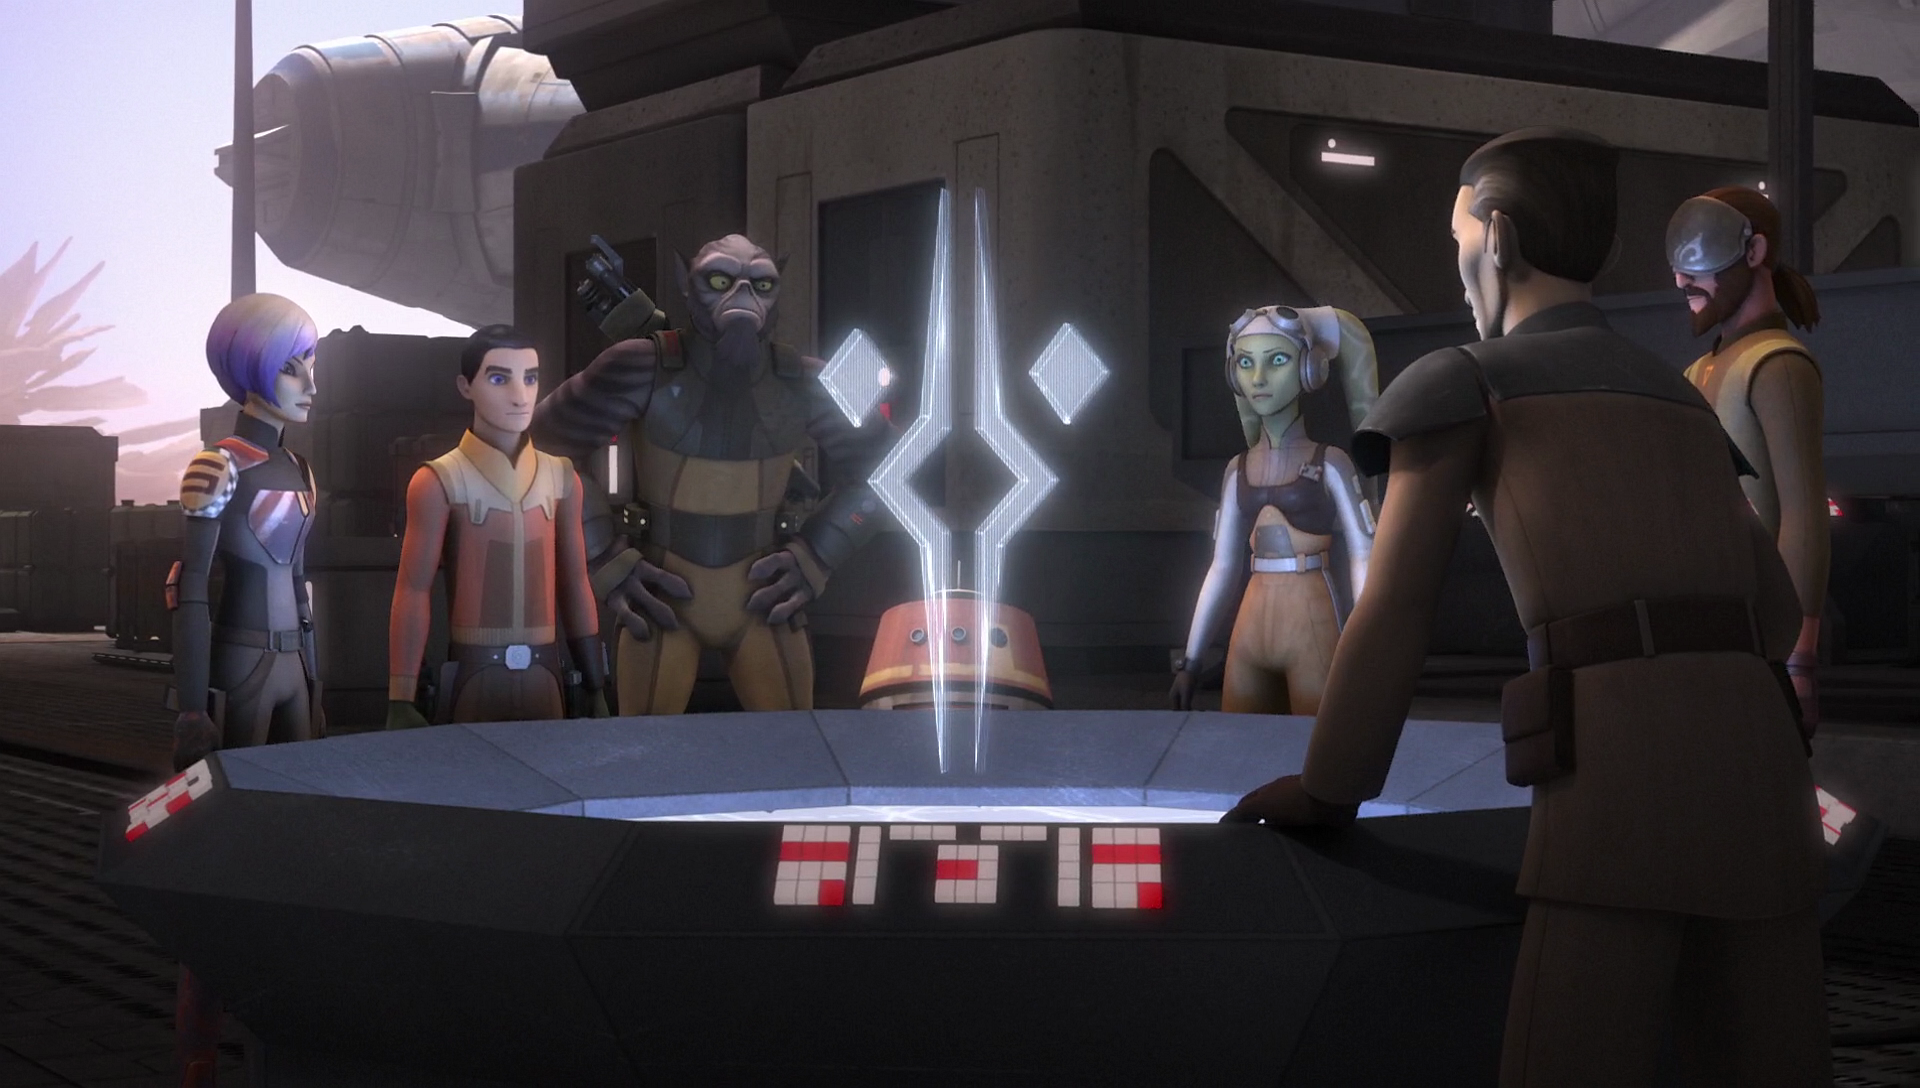
Following the loss of communication with the Protectors on the third moon of Concord Dawn by the rebellion, Commander Sato and Phoenix Leader Hera Syndulla convened a briefing with the Protectors' leader, Fenn Rau, in the war room of a CR90 corvette. Despite Sato's suspicion that the Protectors might be setting a trap, Rau affirmed that this was not the case and suggested that something untoward had occurred. Subsequently, Rau, accompanied by Sabine, Ezra, and Chopper, embarked on a recon mission to Concord Dawn to investigate. There, they discovered that Gar Saxon's Imperial Super Commandos, under the command of the Imperial Viceroy and Governor, had annihilated the Protectors. Consequently, Rau resolved to align himself with the rebellion.
Evacuation of Mykapo
Later on, Commander Sato received information suggesting that Imperial forces were poised to initiate a crackdown on rebel sympathizers located on Mykapo. In response, Sato deployed Phoenix Leader Syndulla and elements of Phoenix Squadron to conduct an evacuation of the civilians. The rebels unexpectedly encountered a skirmish between Mart's Iron Squadron and an Imperial advance patrol. Following the elimination of the Imperial patrol, Phoenix Squadron proceeded with the evacuation of the dissidents. Hera also informed Commander Sato about Iron Squadron. Upon realizing that his nephew had survived, Jun implored Hera and Kanan to ensure his safe return. Hera, Ezra, and Sabine attempted to reason with Mart and his crew, but they remained steadfast in their decision to remain on Mykapo. Unable to sway Mart's resolve, Hera returned to the rebel fleet.
Ezra, Sabine, and Chopper opted to remain behind and successfully persuaded Mart's crew members Gooti Terez, Jonner Jin, and R3-A3 to depart with them. However, Mart resolved to confront Imperial reinforcements led by Admiral Konstantine. When Mart's ship Sato's Hammer, a vessel formerly owned by Sato, sustained damage, the Spectres and the remaining members of Iron Squadron were compelled to retreat without him. Subsequently, Hera informed Jun via hologram regarding Mart's predicament and played a distress signal originating from the youth. Sato proposed traveling to Mykapo to rescue his nephew, but Hera convinced him that she and her crew were capable of handling the situation. Hera successfully rescued Mart and his ship. Sato and his forces arrived in time to engage Admiral Konstantine's ships.
Sato directed two A-wings to provide covering fire and reassured Mart that he had arrived to rescue him. Following Mart's successful damage to Konstantine's Arquitens-class command cruiser with a bomb, the rebel ships navigated past the derelict warship. Before initiating a jump into hyperspace, they narrowly avoided a collision with an Imperial Star Destroyer commanded by Grand Admiral Thrawn. Thrawn addressed Sato via comlink, questioning his return. Sato responded, "Now you know until we meet again." Thrawn vowed to encounter him again and permitted Sato's forces to escape. Upon returning to Chopper Base, Sato embraced Mart and expressed his gratitude to Hera and her crew for saving his nephew. He conveyed to Hera that he was deeply indebted to her and her crew.
Mission to Lothal armory factory
Commander Sato remained at Chopper Base alongside Hera, Sabine, and Zeb while Ezra, Kanan, and Chopper undertook a mission to infiltrate the Lothal Imperial Armory Complex with the assistance of local rebels Ryder Azadi and Morad Sumar. Sato listened as Ryder informed Hera about the new Imperial commander Grand Admiral Thrawn, whom Sato had previously encountered above Mykapo.
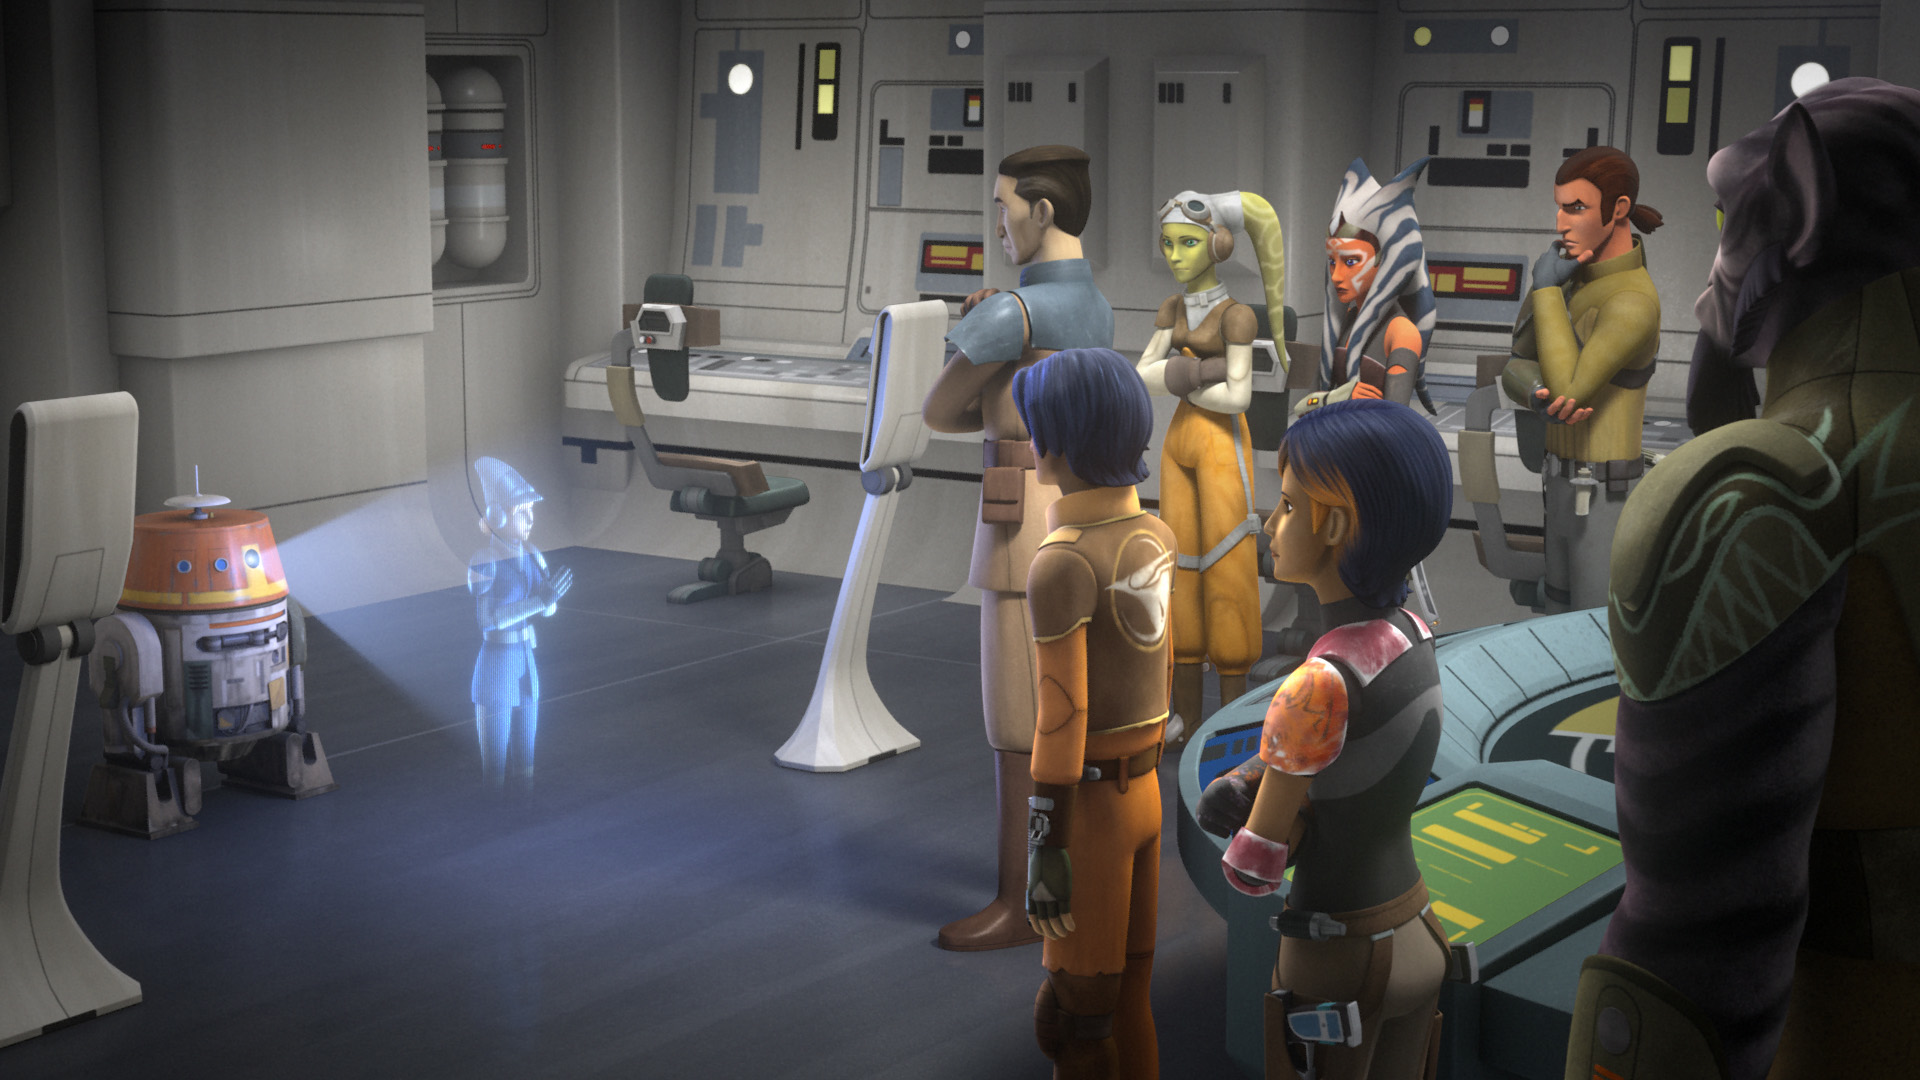
Mission to Geonosis
Commander Sato was seen next to Senator Bail Organa, a key ally of the rebellion, during a hologram conversation with the Spectres and Rex. Sato observed as Senator Organa briefed the rebels regarding Rebel Command's loss of contact with Saw Gerrera during a mission to investigate the apparent disappearance of the Geonosian species. Organa tasked the Spectres and Rex with rescuing Saw and recovering his data. Hera's team successfully rescued Saw, befriended the Geonosian Klik-Klak and discovered irrefutable evidence that the Empire had perpetrated genocide against the Geonosian species. After Hera and her team reported their finding, Commander Sato described their mission as a success because they rescued Saw and obtained a deflector core.
Mon Mothma's speech
Commander Sato, along with several other rebels including AP-5 and Rex, were present at Chopper Base's command center when the former Imperial Senator Mon Mothma delivered a HoloNet speech condemning the Empire and urging the galaxy to rise up in rebellion. This speech led to the formation of the Alliance to Restore the Republic.
Alliance to Restore the Republic
Ezra's errant mission
After Ezra received messages from Kanan Jarrus' holocron and the Sith holocron from Malachor hinting at the danger faced by Jedi Master Obi-Wan Kenobi from the former Sith apprentice Maul, Commander Sato, Rex, and the Spectres convened to discuss Ezra's encounter. During the meeting, Hera instructed Ezra to remain on Atollon, citing his necessity for the impending strike on Lothal. However, Ezra disregarded Hera's directives and embarked on a mission to locate Kenobi on Tatooine alongside Chopper.
Last stand at Atollon
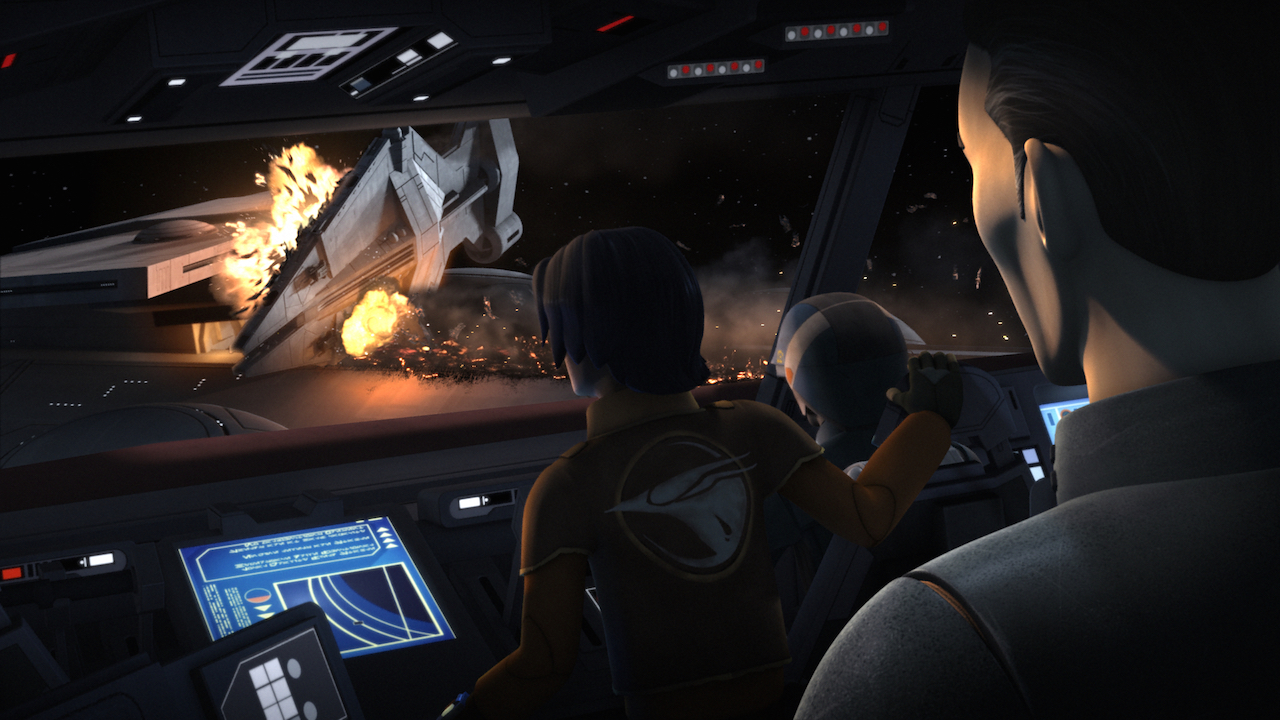
Commander Sato was aboard the Phoenix Nest when General Jan Dodonna's Massassi Group emerged from hyperspace to join Phoenix Squadron's planned assault on the TIE Defender factories located on Lothal. Following the hailing of Dodonna's warship Vanguard, Sato participated in a hologram conference with Captain Syndulla, General Dodonna, and Ryder Azadi, their contact on Lothal. Sato was present during the reception of a transmission from Fulcrum, alerting the rebels to Grand Admiral Thrawn's discovery of their base's location and his imminent arrival. Thrawn's fleet materialized shortly thereafter.
During the Battle of Atollon, Imperial-class Star Destroyers swiftly decimated numerous ships belonging to Phoenix Squadron, as well as a significant portion of General Dodonna's fleet. The rebels were unable to escape due to an active Interdictor cruiser, under the command of Admiral Konstantine. To neutralize the ship, Sato instructed the crew of Phoenix Home to abandon ship and subsequently piloted the craft into Konstantine's cruiser. Both Sato and Konstantine perished in the collision, but Sato's sacrifice enabled Ezra Bridger and Chopper to evacuate offworld aboard the Gauntlet to seek assistance.
Legacy
Commander Sato's sacrifice proved to be instrumental, as it facilitated Ezra and Chopper's pursuit of aid from Sabine and Clan Wren on Krownest to dismantle the second Interdictor cruiser. Thanks to the reinforcements, the remaining elements of Phoenix Squadron and the Massassi Group managed to evade Thrawn's blockade and arrive on Yavin 4. Sato was interred there, in close proximity to the ancient temples of the Massassi Site, with a black gravestone marking his final resting place.
Personality and traits
Jun Sato was a human male characterized by brown hair, though greying, and brown eyes. He adhered strictly to protocol as a commander, managing his cell according to military regulations. He expressed gratitude for the Ghost's integration into his fleet and acknowledged the rebels' indispensable contribution to the rebellion's objectives, while also noting the Spectres' perceived lack of effective discipline. During Darth Vader's assault on the Phoenix fleet, Sato initially hesitated to authorize his crew's abandonment of Phoenix Home, reluctant to relinquish command of his flagship. However, upon recognizing the ship's inevitable loss, he reluctantly concurred with Captain Syndulla's recommendation to order the crew's evacuation.
Sato was a strategist who understood the importance of the rebellion in gaining new recruits, new starships, and finding a base. He was a courageous commander even in the face of adversity. When captured by Admiral Brom Titus, Sato remained composed and attempted to intimidate the Admiral by falsely claiming affiliation with the Corporate Alliance. Sato recognized Ezra Bridger's potential for leadership and promoted him to Lieutenant Commander following a successful prison heist on Naraka. However, Sato overlooked Ezra's aggressive streak and brush with the dark side of the Force.
Sato had a brother and a nephew named Mart Mattin. After losing his brother, Sato thought he had lost his family until Hera encountered Mart during a mission to Mykapo. Sato was determined to do anything to reunite with his nephew. He was grateful to Hera and her crew for risking their lives to save Mart. Sato regarded Mart as stubborn and rebellious but still loved his nephew. The two happily embraced each other during their reunion at Chopper Base.
Sato was ready to lay down his life for the rebellion. Sato sacrificed his life by ramming his command ship Phoenix Home into an interdictor cruiser. His sacrifice enabled Ezra and Chopper to escape and seek reinforcements offworld.
Behind the scenes
Commander Jun Sato was a character conceived for the second season of the animated television series Star Wars Rebels. He debuted in Star Wars Rebels: The Siege of Lothal, the television movie that initiated the show's second season, with Keone Young providing his voice. The character's initial unveiling occurred in Rebels Recon, a behind-the-scenes video series hosted on StarWars.com, for the first season finale "Fire Across the Galaxy." The video showcased concept art for Commander Sato, as well as for Phoenix Squadron and the entire Phoenix rebel cell.
His name is derived from Japanese film director Jun Fukuda and composer Masaru Sato, who worked together on the Godzilla series, including Dave Filoni's favorite film, Godzilla vs. Mechagodzilla.
In the 2018 reference book Star Wars: The Rebel Files, Jun Sato's surname is misspelled as "Soto."