Siege of Lothal
The Siege of Lothal represents an Imperial lockdown initiated by the Galactic Empire. This lockdown occurred on the Outer Rim planet of Lothal and took place four years before the pivotal Battle of Yavin. The catalyst for the Siege was the escalating insurgency and widespread unrest on Lothal. These issues arose following a successful rebel operation within the Mustafar system, which resulted in the destruction of the Sovereign, the command ship of Grand Moff Wilhuff Tarkin. Recognizing Lothal's crucial industrial role in the Empire's Outer Rim conquest, the Emperor, Darth Sidious, dispatched his apprentice, Darth Vader, to quell the burgeoning rebellion on the planet.
As the Empire tightened its grip on Lothal, deploying numerous Star Destroyers above Capital City as a display of force, local authorities faced increased pressure to deliver results in capturing rebels and their supporters. Minister Maketh Tua, temporarily in charge due to Governor [Arihnda Pryce](/article/arihnda_pryce]'s absence, failed to meet the expectations of Darth Vader and Governor Tarkin. Fearing Imperial retribution, she contacted the rebels, offering assistance in her defection in exchange for a list of rebel sympathizers on Lothal. The Ghost crew, a rebel cell previously based on Lothal, accepted the mission to rescue Tua. They returned to Lothal aboard a stolen Star Commuter 2000 shuttle and intercepted the minister. However, the Empire had monitored her communications and was aware of her defection plan. Agent Kallus of the Imperial Security Bureau escorted her to a shuttle, ostensibly for a meeting with Governor Tarkin, but the shuttle exploded due to Imperial sabotage. Kallus then falsely blamed the rebels to sway public opinion against them.
In response to the rebel incursion, the Empire imposed a planet-wide lockdown, prohibiting any ship from leaving Lothal without Imperial consent. The rebels, now effectively stranded, sought refuge within Capital City. They devised a scheme to infiltrate the Imperial Complex, intending to steal a shuttle and escape the planet. They successfully navigated the complex, located a shuttle, and also acquired several military-grade shield generators for the rebellion's benefit. As they prepared to depart, Darth Vader confronted them, engaging two rebels—Jedi Knight Kanan Jarrus and his Padawan, [Ezra Bridger](/article/ezra_bridger]—in a lightsaber duel. Vader, identified by Jarrus as a Sith Lord, quickly gained the upper hand but allowed them to escape. The shuttle was secretly equipped with a tracking device, enabling Vader to locate the rest of the rebel fleet. Before their escape, the rebels contacted Lando Calrissian, a smuggler they had previously worked with, for assistance in leaving Lothal. In exchange for three shield generators, Calrissian provided masking transponders capable of replicating the shuttle's signal and confusing Imperial forces. Simultaneously, the Empire rounded up the residents of Tarkintown, a refugee settlement previously aided by the rebels, and destroyed the town as punishment for supporting the rebellion.
After using their jammers to evade Lothal, the rebels returned to the fleet. Using his personal TIE Advanced x1 starfighter, Vader tracked them to the fleet and engaged Phoenix Squadron, a contingent of rebel A-wing starfighters, in combat. During the battle with Phoenix Squadron, he also inflicted critical damage to the rebel command ship, Phoenix Home. The Lothal cell, along with Commander [Ahsoka Tano](/article/ahsoka_tano], a rebellion leader, boarded the Ghost and confronted Vader's fighter. During the conflict, Jarrus and Tano attempted to use the Force to discern the Sith Lord's identity. Tano was overwhelmed by what she sensed, while Vader recognized Tano, his former Jedi Padawan, was still alive. Soon after, the command ship was destroyed, and the entire fleet retreated. Vader informed the Emperor that Tano was alive, which Sidious saw as an opportunity for the Empire to find other Jedi survivors of the Great Jedi Purge.
Prelude
Prior to the Battle of Yavin, a rebel cell waged an insurgency against the Galactic Empire on and around the Outer Rim planet of Lothal. During this rebellion, Kanan Jarrus, a Jedi Knight and one of the cell's leaders, was captured by the Empire. He was held as a prisoner by Grand Moff Wilhuff Tarkin, the Governor of the Outer Rim. Tarkin, along with Agent Kallus from the Imperial Security Bureau and [the Inquisitor](/article/the_grand_inquisitor], a Jedi hunter, interrogated Jarrus. They sought information about a larger rebellion operating within the galaxy. Meanwhile, Jarrus's crew—Captain Hera Syndulla, Padawan [Ezra Bridger](/article/ezra_bridger], Mandalorian explosives expert Sabine Wren, Lasat warrior Garazeb Orrelios, and astromech droid C1-10P ("Chopper")—developed a plan to rescue Jarrus. Their mission led them to the Mustafar system, where their captured leader was held aboard Tarkin's personal Star Destroyer, the Sovereign.
The rebels boarded the Sovereign while it was in orbit around Mustafar. Bridger found and freed his Jedi master, but they were confronted by the Inquisitor and engaged in lightsaber combat. As the other rebels progressed through the ship, Chopper, who remained on a stolen Imperial cruiser, contacted "Fulcrum," a mysterious rebel contact from whom Syndulla had secretly received missions. He requested Fulcrum's assistance in helping the rebels escape Mustafar. Fulcrum, who was actually Commander Ahsoka Tano, a former Padawan of the Jedi Order, led a fleet of rebel blockade runners to Mustafar. Jarrus and Bridger survived their duel with the Inquisitor, who was killed during the duel. The Ghost crew then fled the Sovereign after it was critically damaged. The rebels escaped in Imperial TIE fighters from the Sovereign but were pursued by Imperial forces. The rebel fleet arrived during their retreat, helping the Ghost crew escape the Mustafar system. Shortly after their escape, the Sovereign was destroyed, although Governor Tarkin evacuated before the explosion.
Following the battle, the Ghost crew, who had limited knowledge of Fulcrum's operations, discovered Tano's identity and their involvement in a larger rebellion. They joined the Phoenix rebels and began undertaking missions for the rebellion. Meanwhile, on Lothal, reports of the Empire's failure at Mustafar triggered unrest. The citizens began to perceive the Empire as weak and vulnerable. Darth Sidious, the Emperor, dispatched his apprentice, Darth Vader, to restore order to Lothal. Vader supervised a crackdown on public activities, with Minister Maketh Tua of the planetary government implementing increased military patrols, security checkpoints, and public curfews. However, the Empire's efforts failed to produce the desired results for Vader and Governor Tarkin, and Tua was ordered to report to Governor Tarkin off-world to account for her failures—a trip that Tua knew was dangerous.
Knowing Tua's reservations about her role in the government, Vader and Kallus decided to use her as bait to lure the rebels out of hiding. The plan was initiated when Minister Tua, fearing for her life, contacted the Ghost crew and requested assistance in defecting from the Empire. In exchange, she offered the names of rebel sympathizers on Lothal and in nearby star systems, as well as information about the Empire's true purpose on Lothal—a secret operation ordered by the Emperor himself. With the approval of Commander Jun Sato, the leader of the Phoenix cell, the Ghost crew prepared for their mission to Lothal.
The Siege
Failed rescue
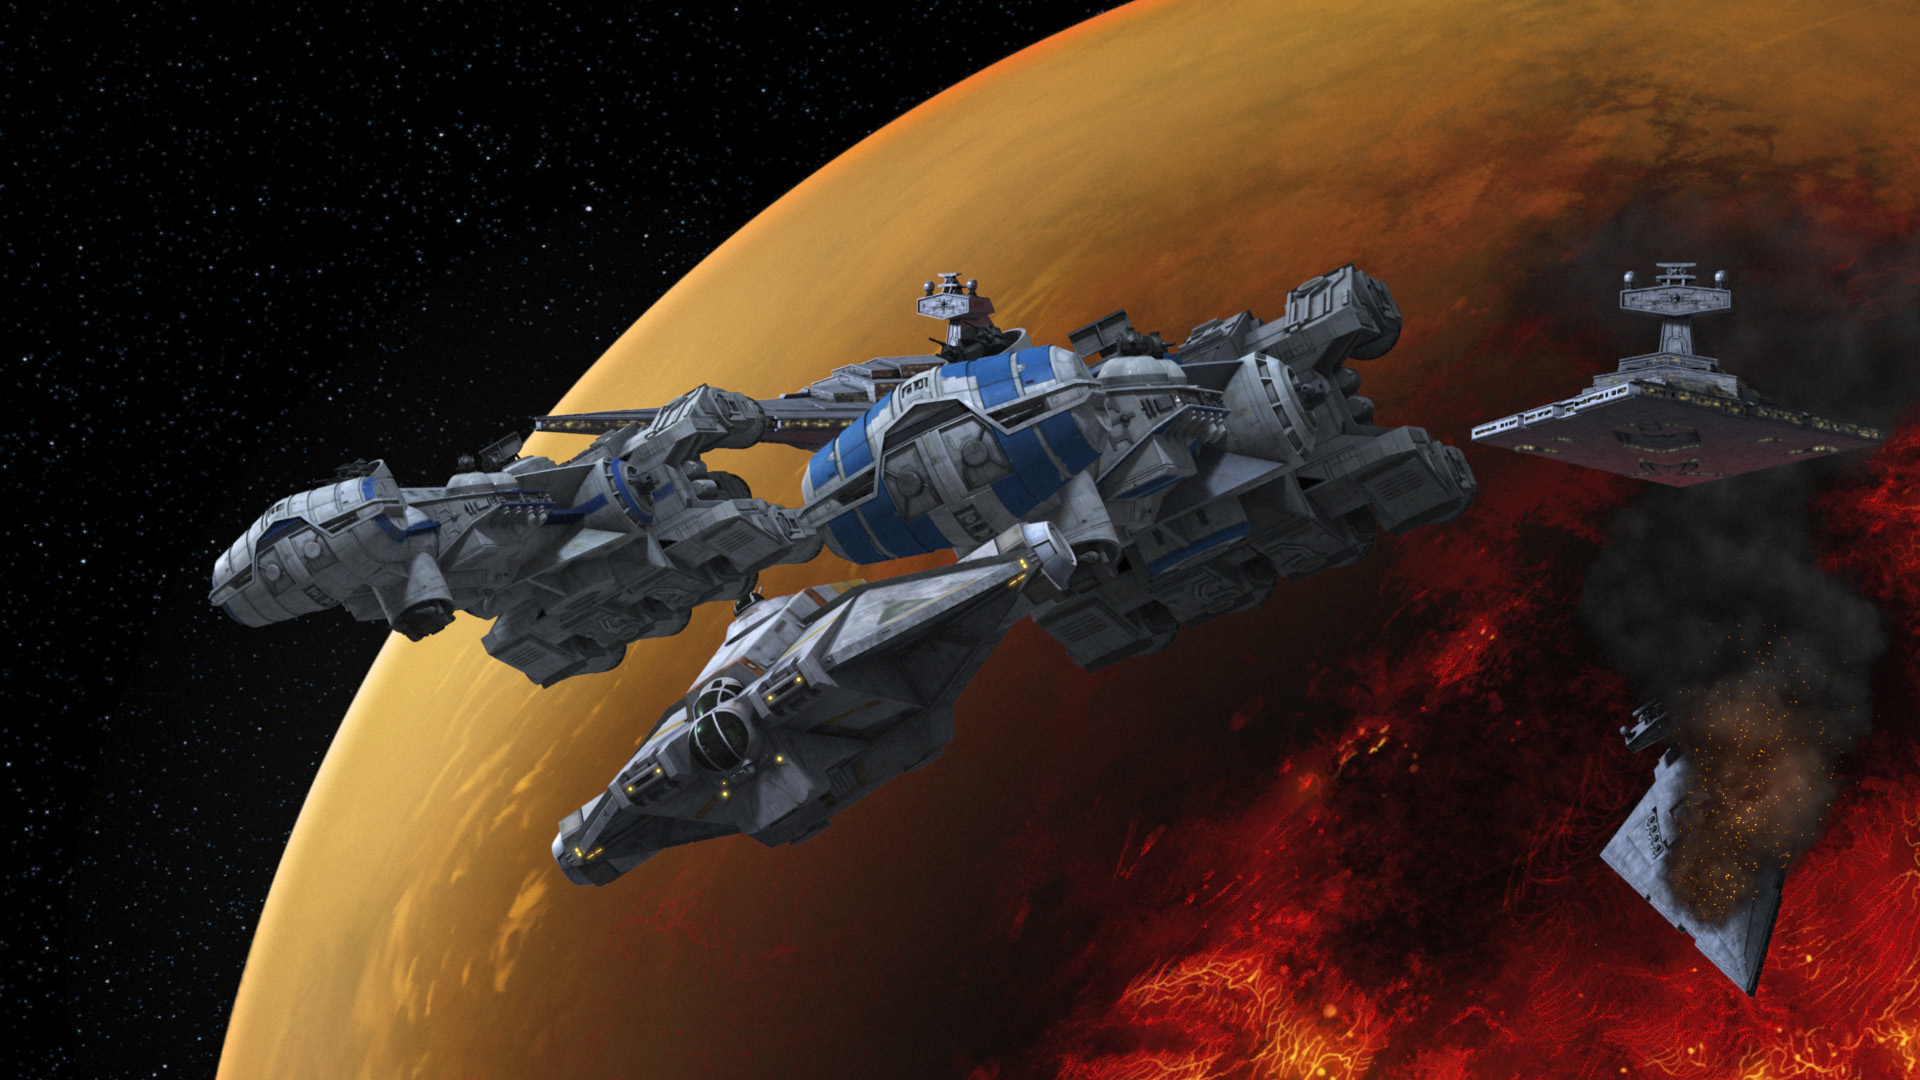
The rebels decided to return to Lothal on a Star Commuter 2000 shuttle that was docked with the Phoenix fleet. The Ghost was left behind because the rebels suspected that the Empire could track its signal after the battle over Mustafar. During the journey, they reviewed their plan: they would meet with Minister Tua, who was scheduled to depart on a shuttle the next day to meet with Governor Tarkin. They would then escape Imperial forces aboard the Star Commuter shuttle. The rebels arrived in orbit over Lothal, and the Star Commuter was cleared to pass the heavy Star Destroyer presence. The rebels noticed that the military presence on Lothal had increased as a result of their actions on Mustafar, including patrols directly over Capital City. Once the Star Commuter landed, Orrelios and Chopper were instructed to remain behind in case the group needed to make a quick escape.
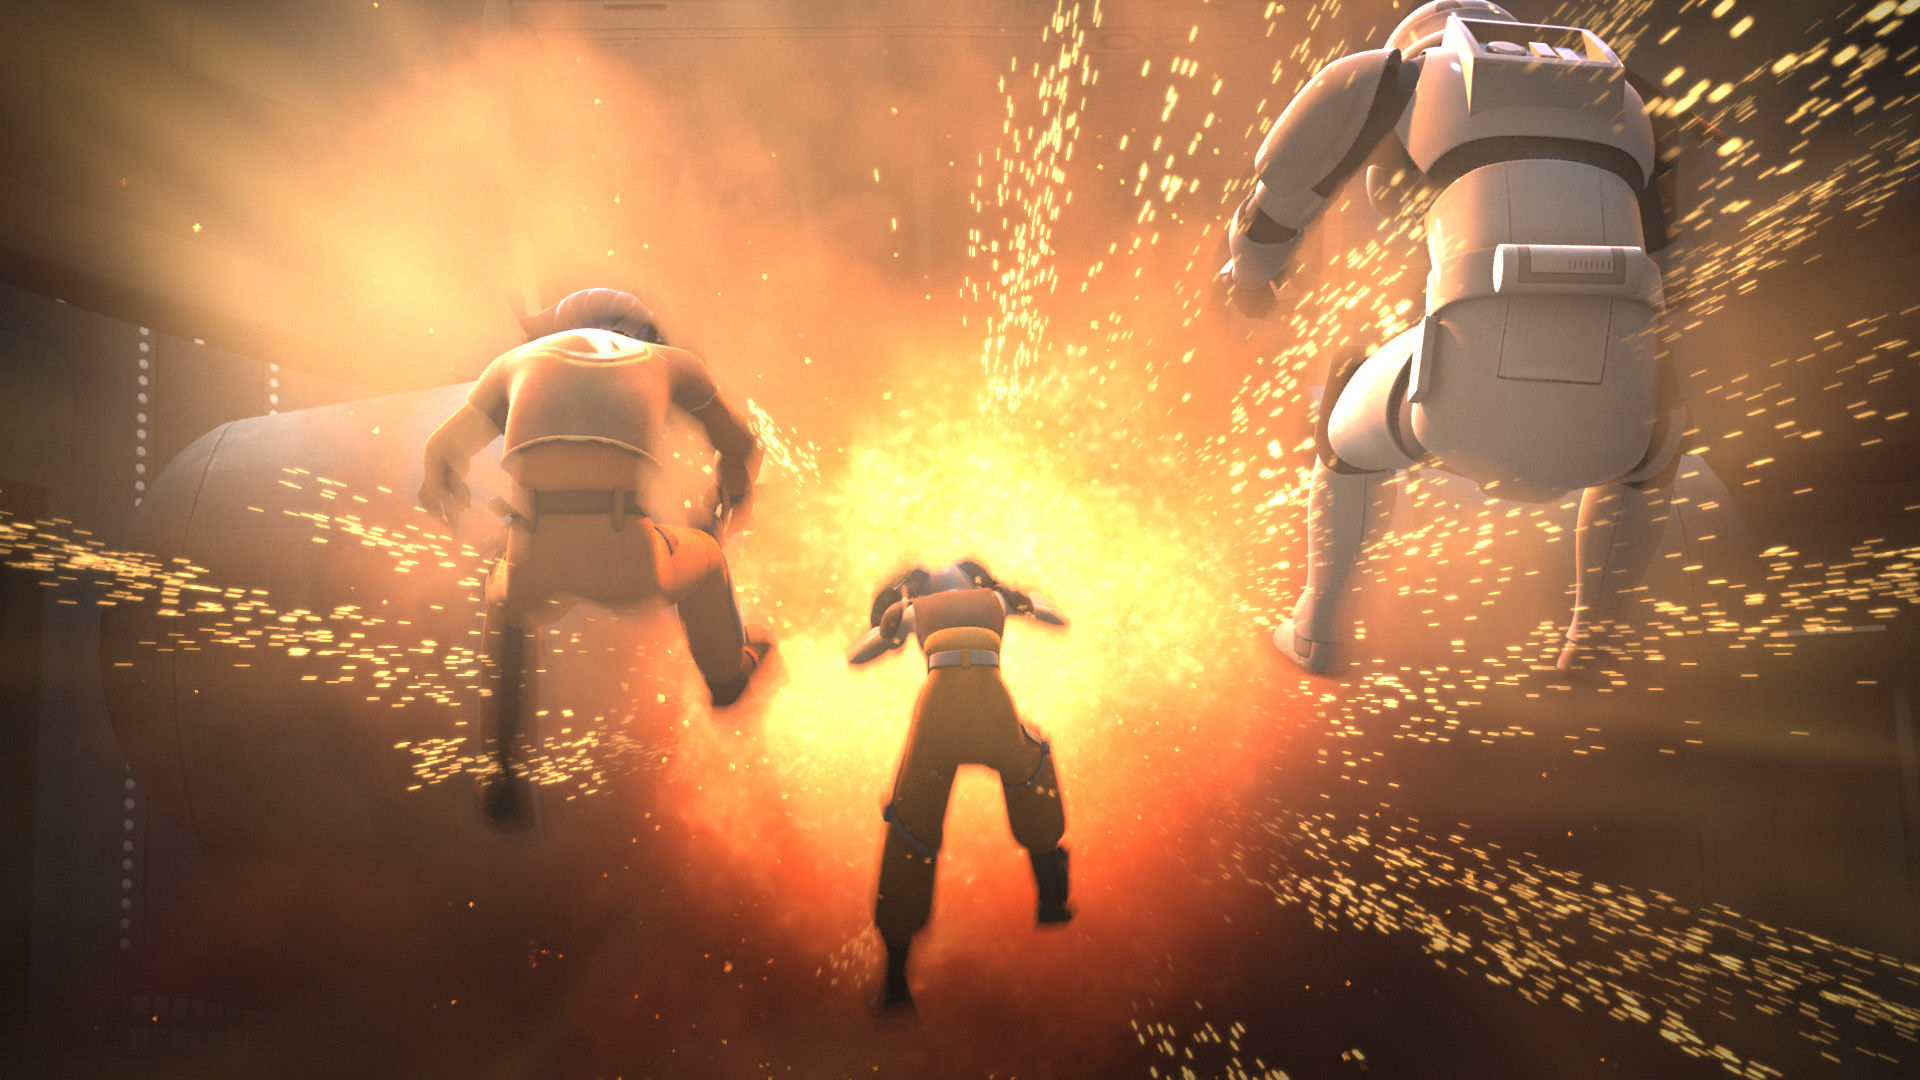
The crew traveled through Capital City to reach the rendezvous point, which was guarded by stormtroopers. To distract the stormtroopers and blend in with the Imperial forces, Jarrus assaulted a trooper and stole their armor, allowing him to enter the landing bay. He waited in position while Syndulla, Bridger, and Sabine climbed to the rooftops overlooking the bay, where they could attack the Imperials from above. Tua arrived shortly afterward, accompanied by Agent Kallus. The ISB Agent claimed that Vader had ordered him to escort her for her safety, but his presence was part of the Empire's plan to kill her. The rebels attacked the Imperial forces, and Tua ran to the shuttle, with the rebels following. As soon as she entered the vessel, it exploded, sending the rebels backward. Kallus, accompanied by a spy droid recording the explosion and their presence, accused the rebels of killing the minister—with Darth Vader watching from a nearby building. Their mission failed, the rebels called Orrelios, and the Star Commuter shuttle arrived to pick them up. The vessel flew away but was shot down by an All Terrain Defense Pod and crashed in the streets.
The Empire's plot unfolded as planned, forcing the rebels underground. Vader ordered Kallus to lay siege to Lothal, restricting off-world travel and ordering the destruction of any ship attempting to leave. The Empire also broadcast a propaganda report via HoloNet News, with broadcaster Alton Kastle reporting that Minister Tua, whom he described as a devoted public servant, had been assassinated by the rebels. Kastle encouraged citizens to report any sightings of the rebels. The rebels watched the transmission from a safe house, Bridger's former home, and realized that the Empire was trying to turn public opinion against them. The Empire soon discovered the Bridger house and broke in, but the crew escaped just in time. The Empire set off a thermal detonator that destroyed the house.
Knowing that the starports were locked down and that the planet was under siege, the rebels devised a plan to infiltrate the Imperial Complex in Capital City to steal an Imperial shuttle. They believed that Imperial forces would be stretched thin due to the heavy troop deployments searching for them and that the capital complex would be the last place the Empire would search for them—but in reality, Darth Vader suspected they would infiltrate the complex and was ready for their arrival. To sneak in, Jarrus maintained his stormtrooper disguise while Bridger impersonated an Imperial Academy cadet. They entered the complex and used a mind trick on a stormtrooper to allow them to pass, while carrying crates that contained the rest of the crew. Once inside, the rebels headed for the complex's starport to find a shuttle.
Duel with Darth Vader
The rebels entered the Imperial dock easily, encountering no resistance. While heading for a shuttle, they discovered 49-v99 shield generators, similar to those the rebellion had attempted to acquire in a raid on Imperial freighters shortly before the mission to Lothal. Because the rebellion needed the shields for their defenses, the rebels stole them and brought them aboard the shuttle. Before they could leave, however, Kanan and Ezra sensed a dark presence through the Force: Darth Vader, the Dark Lord of the Sith, appeared in the entrance of the airfield, reinforced by a squad of stormtroopers. He ignited his red-bladed lightsaber and approached the rebels, with Kanan and Ezra activating their lightsabers.
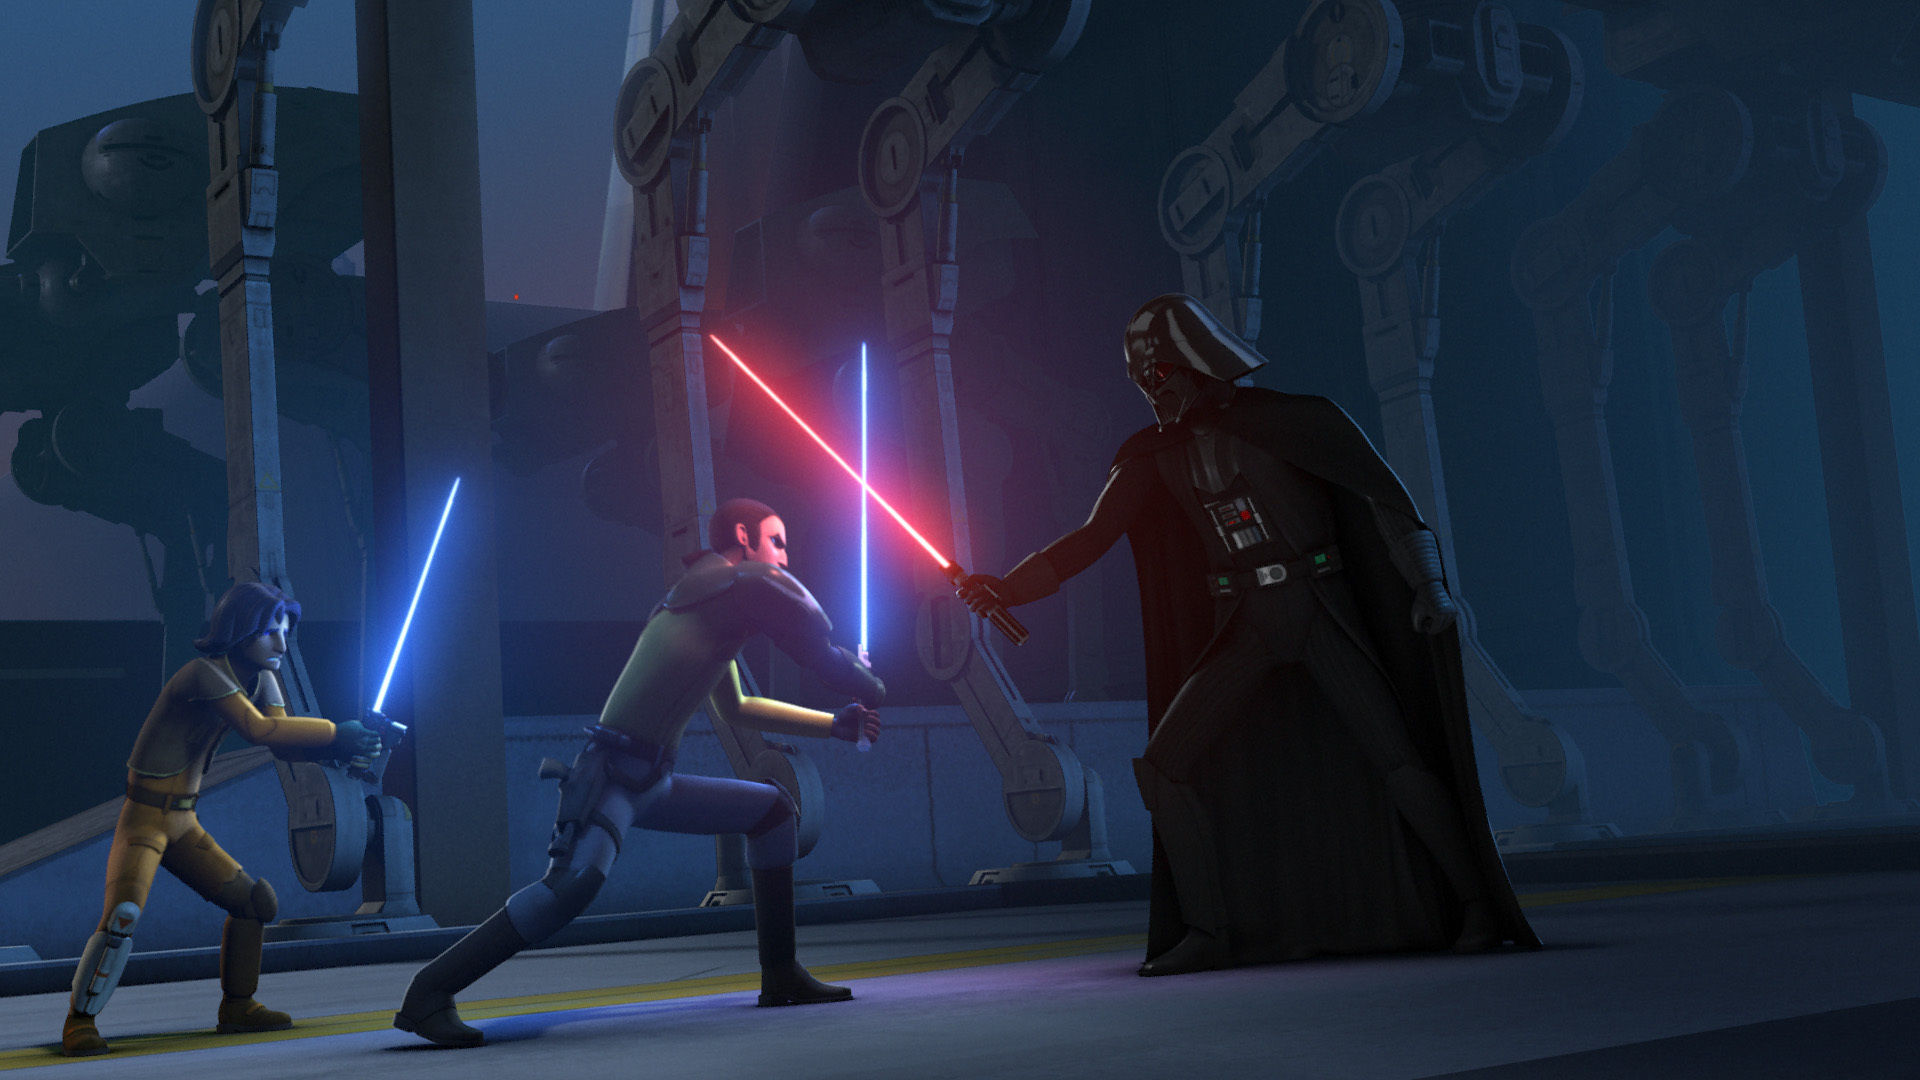
The stormtroopers fired on the rebels, while the two Jedi engaged the Sith Lord in a lightsaber duel. Vader, a far more experienced warrior, overpowered them easily, knocking Kanan out early in the duel. This left his Padawan to fight Vader alone, who pinned him against an AT-DP walker with the Force. Vader attempted to kill Ezra by bringing his own lightsaber, still in his grasp, up to his neck, taunting him that his master had deceived him into believing he could become a Jedi. Before he could kill him, Kanan intercepted Vader, while Wren and Orrelios threw thermal detonators at the legs of AT-DP walkers stationed in the bay in an attempt to stop him. In the ensuing explosion, the destroyed walkers fell on the Sith Lord, leading the rebels to believe he was dead.
However, as the rebels escaped from the seemingly dead Vader, the walkers were lifted by the Dark Lord using the Force, moving them off of him and aside. Realizing that Vader's defeat was impossible, the two Jedi made their way to the shuttle as Sabine attempted to stop Vader by firing two blaster shots at him, though they were easily deflected back at her, hitting her chest and helmet, but she managed to survive. A Stormtrooper Commander informed Vader that they would mobilize fighters to intercept the rebels, but Vader told him it was unnecessary, knowing that the rebels would not leave the planet yet. As soon as they escaped, they would not remain out of the Empire's reach for long, as the stolen shuttle was equipped with a homing beacon that would allow them to locate the fleet. Inside the shuttle, Ezra asked what Vader was, wondering if he was another Inquisitor sent by the Empire. Kanan responded that he was not an Inquisitor but a Sith Lord, the ancient enemy of the Jedi, something far worse than the Inquisitors. Ezra then asked Kanan how they would defeat him, but he told him that they could not and were fortunate to have escaped alive.
Escaping Lothal
The rebels flew off into the night and began plotting their escape, knowing that Vader would have a blockade waiting to intercept them in orbit. Because of that, they needed to smuggle themselves off of Lothal. Despite reservations due to their last encounter, the crew turned to Lando Calrissian to smuggle them off-world. Calrissian was not on Lothal, but they contacted him via hologram and got him to agree to help in exchange for three of their shield generators. With the smuggler's blessing, the crew set a course for Calrissian's farm, where he assured them that his RQ protocol droid, W1-LE, would be waiting to assist them.
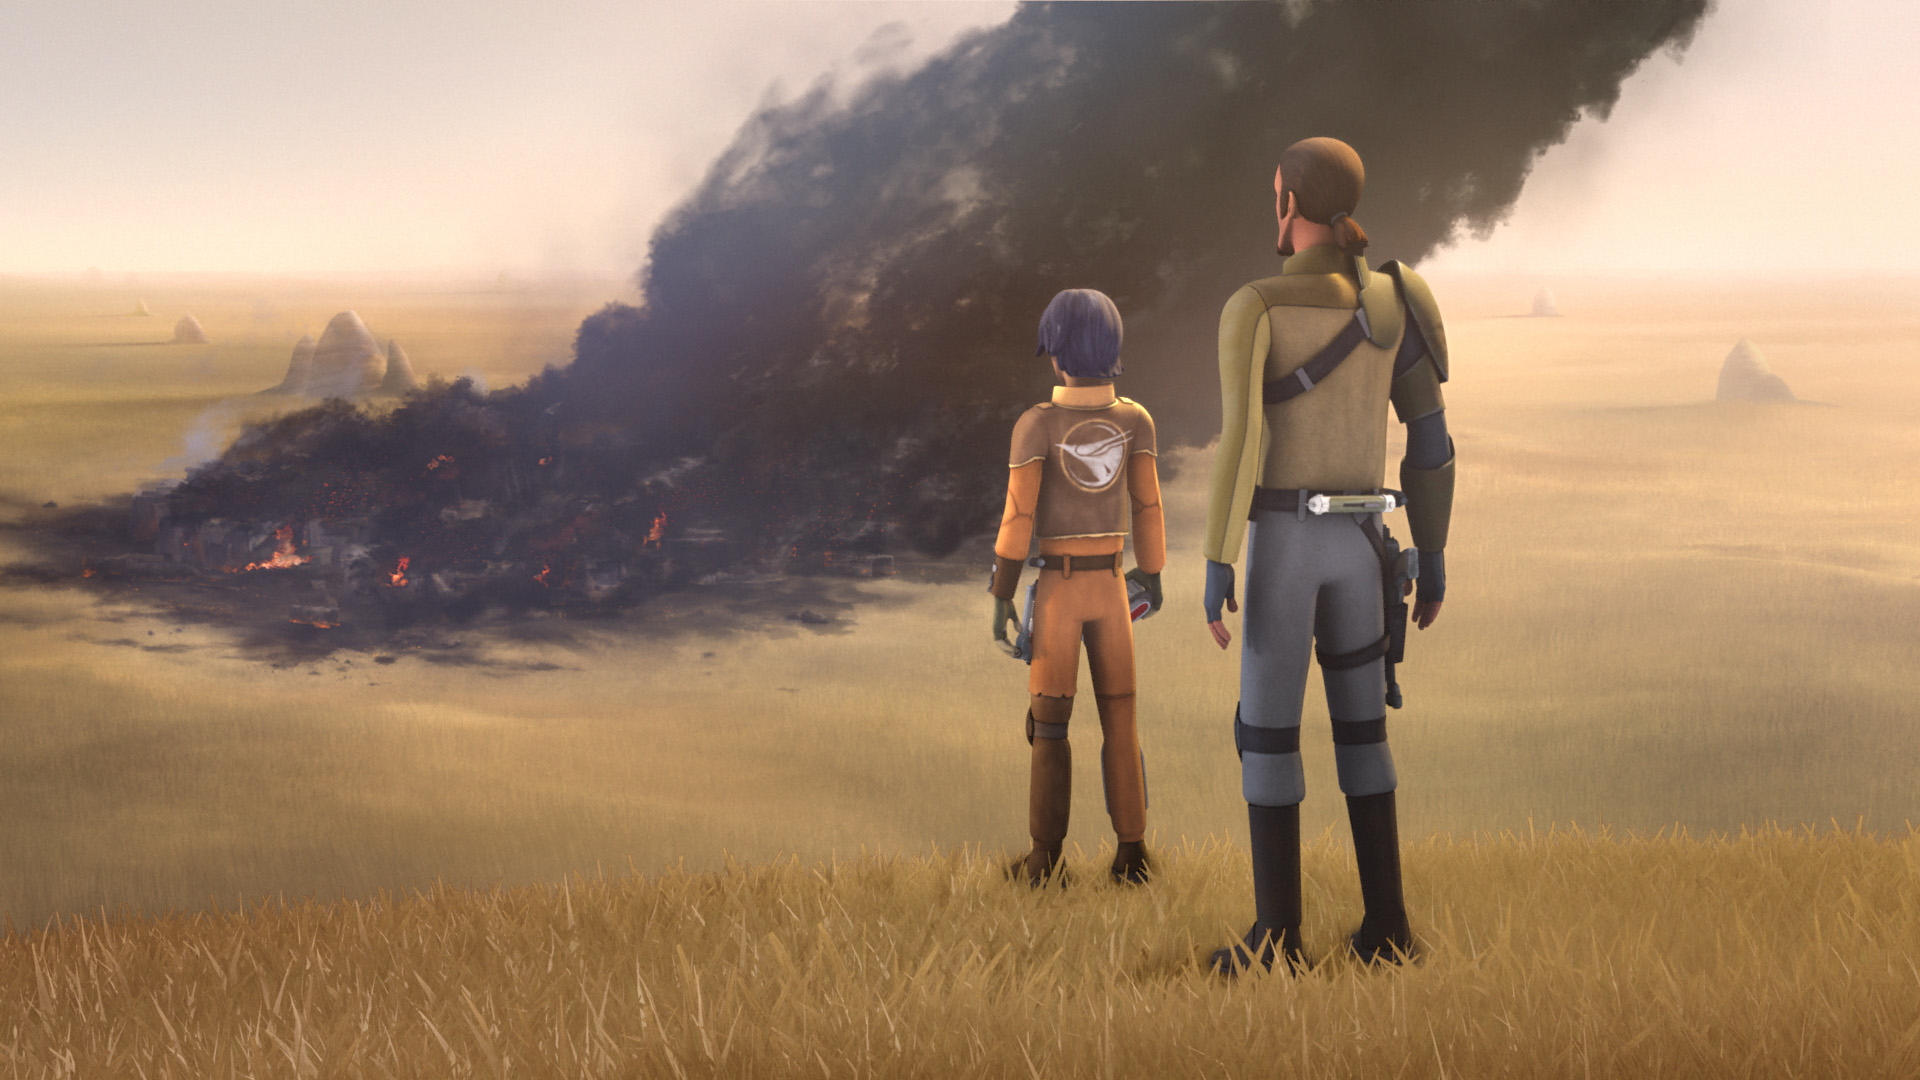
As the rebels made their way to the farm, the Empire attacked Lothal re-settlement camp 43, known as "Tarkintown" by its citizens. The settlement was named after the refugees who lived there were expelled from their original homes on the orders of Governor Tarkin. Darth Vader ordered the operation to draw the rebels out by exploiting their compassion for the refugees they had assisted in the past. Tarkintown was burned to the ground, and its citizens became prisoners of the Empire. Upon discovering the destruction of Tarkintown, the rebels resolved not to return to Lothal to protect the people from further Imperial reprisal.
The crew arrived at Calrissian's farm, where Wren worked with W1-LE to modify masking transponders to emit the signal of the stolen Imperial shuttle. The crew hoped to scatter Imperial forces sent to pursue them and bypass the blockade. They left the farm and made their way into space, launching the transponders as they moved through the atmosphere. The Star Destroyer Relentless, commanded by Admiral Kassius Konstantine, tracked the signals and sent TIE fighters in pursuit of each. By the time the Imperial crews realized they had been tracking decoy signals, the shuttle was in space and able to jump into hyperspace. Unbeknownst to the rebels, Vader was tracking their signal and ordered his TIE Advanced x1 fighter to be readied for launch, so he could follow the rebels back to the Phoenix fleet.
Fleet in retreat
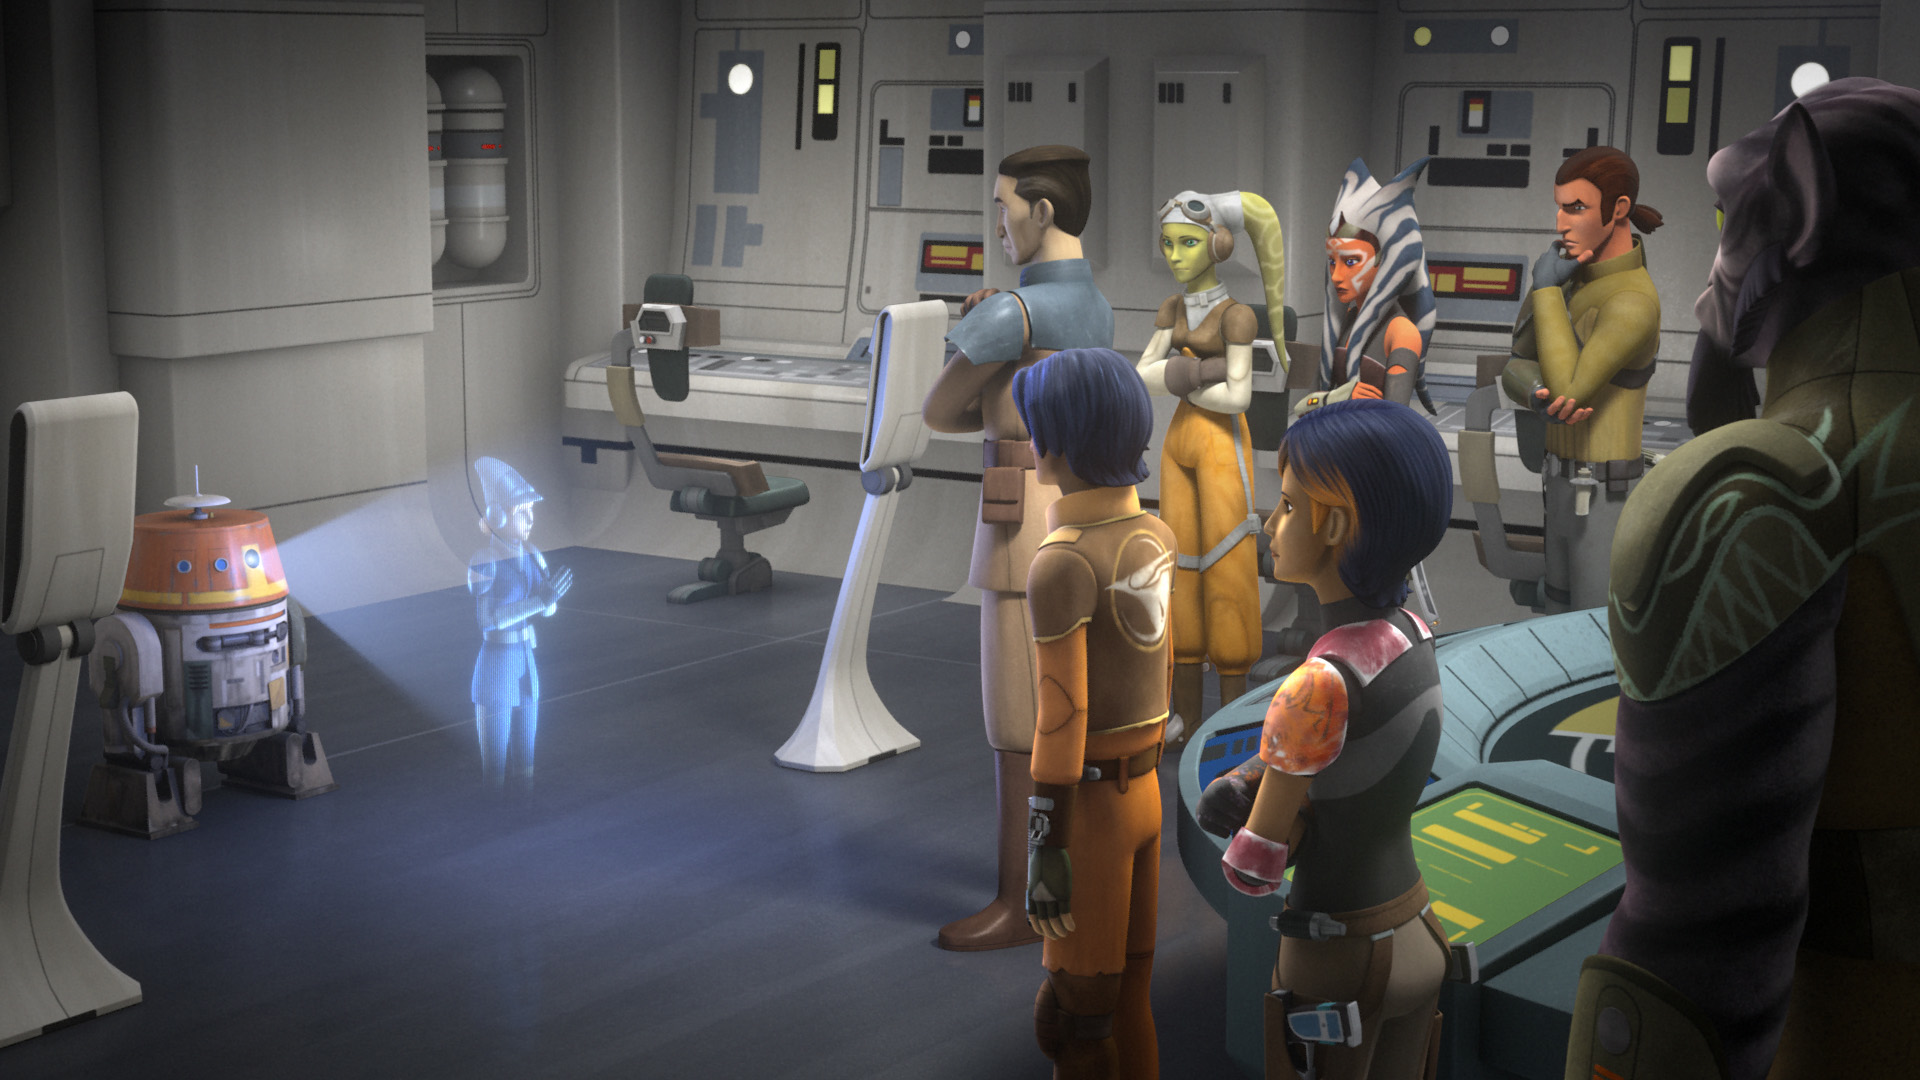
The crew returned to Phoenix Home, where Chopper discovered that the tracking signal was activated on the shuttle. The rebels rushed to the command center and informed Sato and Tano that they were being tracked. As they explained the situation, the fleet picked up the signal of a lone starfighter, Vader's TIE Advanced x1, that entered the area to engage the fleet by itself. Sato deployed Phoenix Squadron, a group of RZ-1 A-wing interceptors, to approach Vader's ship, but the Dark Lord was the superior opponent. He easily destroyed a number of the Phoenix ships before moving to attack Phoenix Home.

With their command ship under attack, the Ghost's team, along with Commander Tano, boarded their ship to join the fight. Syndulla steered the ship while the other rebels tried to defeat Vader, but they couldn't. As the battle raged on, Jarrus and Tano used their Jedi skills to use the Force to try and find out who the pilot was, as Tano felt he was strong in the Force. As they reached out, Bridger felt the same dark feelings he had on Lothal and realized it was the Sith Lord. Tano learned something about the pilot through the Force, information that filled her with fear and pain, and she passed out. She and Vader sensed each other, and Vader realized that Tano—his Padawan when he was Anakin Skywalker—was still alive.
Knowing that Tano was helping the rebellion, Vader wanted to capture the Ghost's crew alive. As the battle neared its end, Star Destroyers arrived to stop the rebel fleet from escaping. Sato and his crew left Phoenix Home, which was badly damaged, and moved to the rest of the Phoenix fleet. As they left and jumped into hyperspace, the Ghost headed towards the Star Destroyers, including Konstantine's Relentless. On Vader's orders, the Relentless activated its tractor beam to capture the Ghost as it flew between it and another Star Destroyer. However, Syndulla had a different plan. She flew through the two Star Destroyers before the tractor beams could be activated, leaving Vader to be caught when they were powered up. The Dark Lord was trapped, and the Ghost jumped into hyperspace.
The Ghost met up with the damaged Phoenix fleet, where Sato had moved his command to the CR90 corvette Liberator. The crew knew that, because of their actions and the appearance of a Sith Lord in the battle, the Empire would send more forces after them. Meanwhile, Vader contacted the Emperor and told him that the fleet had been badly damaged. He also told his Sith Master that Tano was still alive, which the Emperor thought was a chance to find other survivors of the Great Jedi Purge. To hunt the rebels further, the Emperor ordered Vader to send an Inquisitor.
Behind the scenes
The Siege of Lothal was first seen in Star Wars Rebels: The Siege of Lothal, the TV movie that started the second season of the Star Wars Rebels animated TV series. It continued the events of the first season finale, "Fire Across the Galaxy," which led to Darth Vader's arrival on the show. When The Siege of Lothal and its story were first planned, Governor Arihnda Pryce of Lothal was supposed to be involved. The character, who has been mentioned but not seen in the show, was going to be killed in the shuttle explosion as part of the plan to ruin the rebels' reputations. Minister Tua, who was killed in the final version of the story, would have been promoted to Governor of Lothal. The Emperor was also not originally involved in the episode, but the scene with the Emperor and Darth Vader was added by Dave Filoni, the show's executive producer, bringing the character directly into the Siege's story.