Battle of Atollon
The conflict known as the Battle of Atollon, alternatively referred to as the Siege of Atollon or the attack on Atollon, erupted in 2 BBY, a standard year, pitting the burgeoning Alliance to Restore the Republic against the forces of the Galactic Empire. This confrontation also involved the Force-sensitive entity called Bendu, unfolding on and above the planetary surface of Atollon during the era of the Galactic Civil War. The catalyst for this battle was Grand Admiral Thrawn's discovery of Chopper Base's location, which served as the central hub for the Phoenix Cell. Subsequently, Thrawn's 7th Fleet established a blockade around Atollon, effectively trapping both Phoenix Squadron and the Massassi Group under the command of General Jan Dodonna. The onslaught from Thrawn's fleet resulted in significant losses for the two rebel factions. However, the actions of Commander Jun Sato, specifically his choice to ram Admiral Kassius Konstantine's Interdictor-class vessel, created an opportunity for the rebels Ezra Bridger and C1-10P to break free and seek external assistance.
As the conflict progressed into its second stage, Thrawn initiated a land-based offensive, personally overseeing the operation following an initial orbital bombardment of the rebel base, while Governor Arihnda Pryce maintained control of the battle in space. Concurrently, on Mandalore, Ezra successfully convinced Sabine Wren, a former member of the Spectres, along with Fenn Rau and several members of Clan Wren, to aid in the destruction of Thrawn's second Interdictor vessel. Despite Thrawn's assault on Chopper Base, Captain Hera Syndulla and General Dodonna were able to evacuate the remaining rebel fleet into space.
Amidst the fighting, both the rebels and the Imperials were attacked by the Bendu, an enigmatic entity, who used his Force abilities to devastate Chopper Base before Thrawn subdued him. Hera Syndulla and General Dodonna then led the surviving rebel forces to Yavin 4.
Prelude
In the year 3 BBY, the Phoenix Cell made a discovery of Atollon. This was made possible due to the efforts of the rebel C1-series astromech droid known as Chopper and AP-5, a former Imperial Inventory droid. In honor of Chopper, the rebels established a base named Chopper Base within the Atollon Coral Mesa. By 2 BBY, the Imperial Grand Admiral Thrawn began to focus his attention on the Phoenix Cell, which operated in the Lothal sector.

During the undercover mission that took place on Lothal, the rebels [Ezra Bridger](/article/ezra_bridger], [Kanan Jarrus](/article/kanan_jarrus], and Chopper gained insights into Thrawn's intentions to mass-produce the TIE Defender prototype fighter. They also received assistance from Kallus, an Agent within the Imperial Security Bureau who became a rebel spy known as Fulcrum. Kallus had become sympathetic to the rebellion's causes after meeting Zeb on Bahryn, as Zeb saved him from dying on the Geonosian moon.
Thrawn discovered that the rebels had an spy withing the Imperial ranks during the Infiltration of the Imperial Armory Complex. His search for Fulcrum coincided with his search for Chopper Base, which involved the use of E-XD-series infiltrator droids and a IGV-55 surveillance vessel. However, the rebels frustrated the Empire's efforts with infiltrator droid's attempt at locating the base and Mission to recover Imperial codes. Despite Kallus' attempts to stop Thrawn from looking for Fulcrum by framing Lieutenant Yogar Lyste as Fulcrum. Though Thrawn realized Kallus was Fulcrum but allowed him to continue spying so that he'd be able to find Chopper base.
Thrawn's spies later discovered that the Phoenix Squadron and the Massassi Group were planning to launch a coordinated attack against the TIE Defender factory on Lothal. After learning the two fleets were massing somewhere, Thrawn saw this opportunity as a chance to wipe them out with once swift strike. However, Agent Kallus was listening the meeting through a mouse droid and when he tried to warn the Rebels, Thrawn caught him in the act and they fought each other in melee combat, although Thrawn was successful without suffering injuries. Thrawn used the trajectory of Dodonna's fleet and Kallus' Fulcrum transmission to find a planet which didn't appear in Imperial charts, Atollon. However Thrawn knew about it thanks to his study of art of this sector. Thrawn later told Admiral Kassius Konstantine to dispatch Thrawn's fleet to Atollon.
The battle
Trapped on Atollon
A segment of Thrawn's Seventh Fleet, comprising five Imperial I-class Star Destroyers and two Arquitens-class cruisers, entered the Atollon system, establishing a blockade and thereby trapping both Rebel cells on the planet. Furthermore, Thrawn deployed two Interdictor-class heavy cruisers to prevent the rebel cells from escaping to hyperspace. At this time, Dodonna's forces consisted of three Braha'tok-class gunships, three EF76 Nebulon-B escort frigates, and three CR90 corvettes; Phoenix Squadron's fleet consisted of four CR90 corvettes, three Hammerhead corvettes, two GR-75 medium transports, and a Quasar Fire-class bulk cruiser. Upon arriving, Konstantine jammed all long-range transmissions to prevent any reinforcements to assist the rebels. As soon as the Imperial fleet was in position,
As soon as the Imperial fleet exited hyperspace, General Dodonna, realizing the rebel fleet was outnumbered and outgunned ordered his fleet to retreat to hyperspace, with Syndulla agreeing that the mission to Lothal had to be scrapped. Kassius Konstantine's Interdictor activated its gravity well projectors and pulled the first frigate to flee out of hyperspace, with Admiral Konstantine ordering his vessel's batteries to destroy it.
Shortly after, Thrawn arrived on his Flagship, the Chimaera, which he positioned in the center of the Star Destroyer formation. On board the ship was Governor Arihnda Pryce of the Lothal sector and the captive rogue Kalllus. Noticing the Interdictor destroying Dodonna's first frigate, Pryce asked Thrawn that if he remembered Grand Moff Wilhuff Tarkin's prisoners, to which Thrawn replied that he knew Dodonna had courage and would not be on the first frigate to flee. Thrawn then contacted the Rebel leaders via hologram, telling them that he'd end their rebellion and informing them that he would not be acccepting any surrenders.
Recognizing the rebel fleet's inability to penetrate Thrawn's blockade, Captain Syndulla proposed a diversionary maneuver to enable one of their vessels to escape into hyperspace, carrying news of the Atollon siege. Ezra and Chopper were selected for this task, assigned to the Gauntlet, the Gauntlet starfighter previously owned by Maul and renamed Nightbrother. Meanwhile, Kanan ventured into Atollon's wilderness, seeking assistance from the enigmatic being Bendu.
The space battle
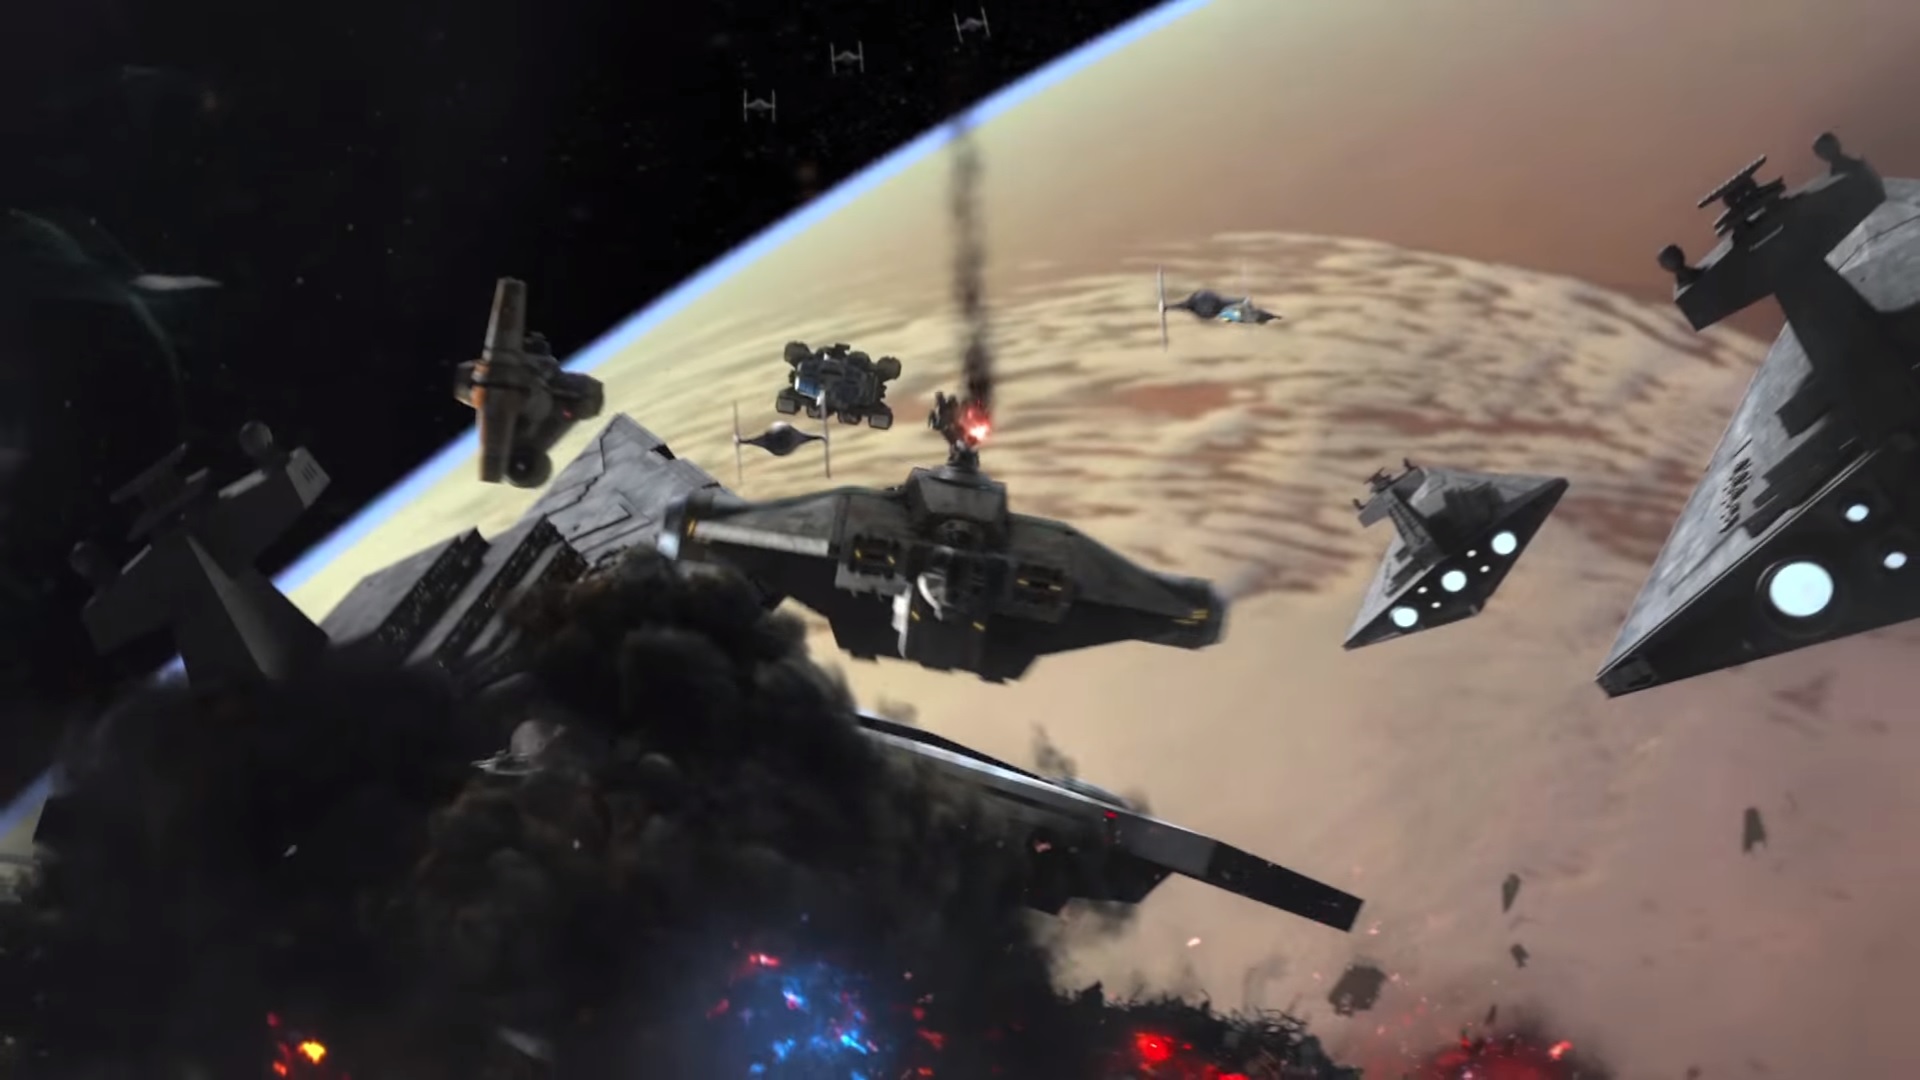
Executing Hera's strategy, Commander Sato deployed the rebel fleet into Atollon's orbit, instructing the ships to adopt a spearhead formation and launch their starfighters. The rebel ships were tasked with protecting Ezra's Gauntlet as it attempted to breach the Imperial formation. However, Thrawn anticipated Sato's actions, reinforcing the center of his fleet and deploying TIE fighters into the battle. Despite Konstantine's objections, Thrawn refrained from overwhelming the rebels with sheer force, aware of their unconventional and daring tactics.
Y-wings from Green Squadron joined the battle, directly attacking the Imperial fleet and damaging the Dark Omen with proton bombs, but were quickly overwhelmed by TIE fighters. The Imperial fleet also deployed TIE/sa tactical bombers which swarmed the Rebel starships. The combined Imperial firepower from the capital ships and TIEs led to the destruction of several rebel ships, including three CR90 corvettes and numerous starfighters. Sato deperately ordered the rebel ships to charge the blockade, but as the ships were getting closer to the Imperial fleet they were directly attacked by the Star Destroyers, resulting in the destruction of a second Nebulon-B frigate and the Braha'tok-class gunship Orion.
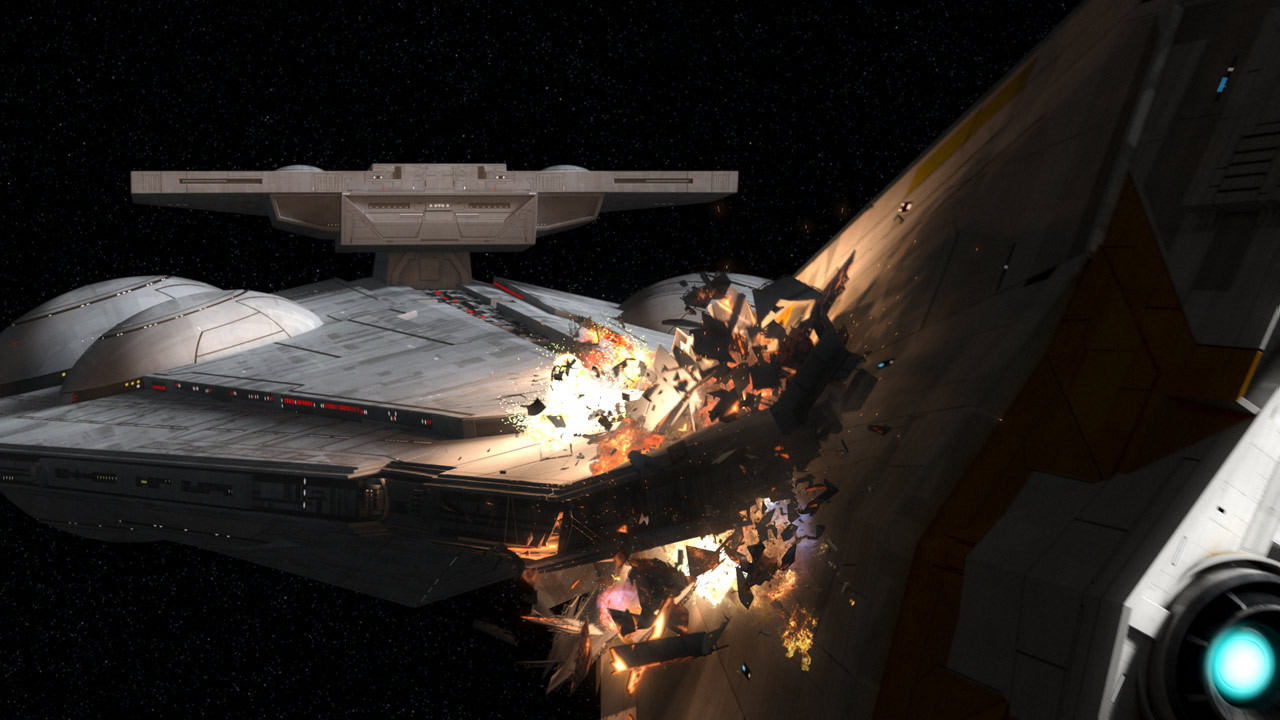
With the rebel ships in point-blank range of the blockade, Thrawn had the two Arquitens cruisers in the sides of the formation flank the rebels from both sides, surrounding the fleet and destroying another CR90 corvette. Realizing that the rebels would be unable to break through the Imperial lines, Commander Sato ordered his crew to abandon the Quasar Fire-class cruiser-carrier Phoenix Nest, staying on the ship with two crew who volunteered to stay behind. He then flew towards the center of the Imperial formation. Seeking to gain glory for himself, Admiral Konstantine defied Thrawn's orders and brought his interdictor cruiser out to intercept Phoenix Nest. Sato then rammed his ship into the interdictor, destroying both ships and all hands aboard. Sato's sacrifice created a gap in the gravity field coverage and allowed Ezra and Chopper to flee on the Nightbrother into hyperspace.
Seeking help
Having escaped the Imperial blockade and jumped into hyperspace, Ezra tried to petition Mon Mothma for help. However, the rebel leader was unable to send reinforcements since she did not want to expose the Rebel Alliance's true strength to Thrawn. In desperation, Ezra and Chopper traveled to the planet Krownest to seek the help of their rebel comrade Sabine Wren and her family Clan Wren; who were locked in a civil war against the Imperial-backed Clan Saxon.
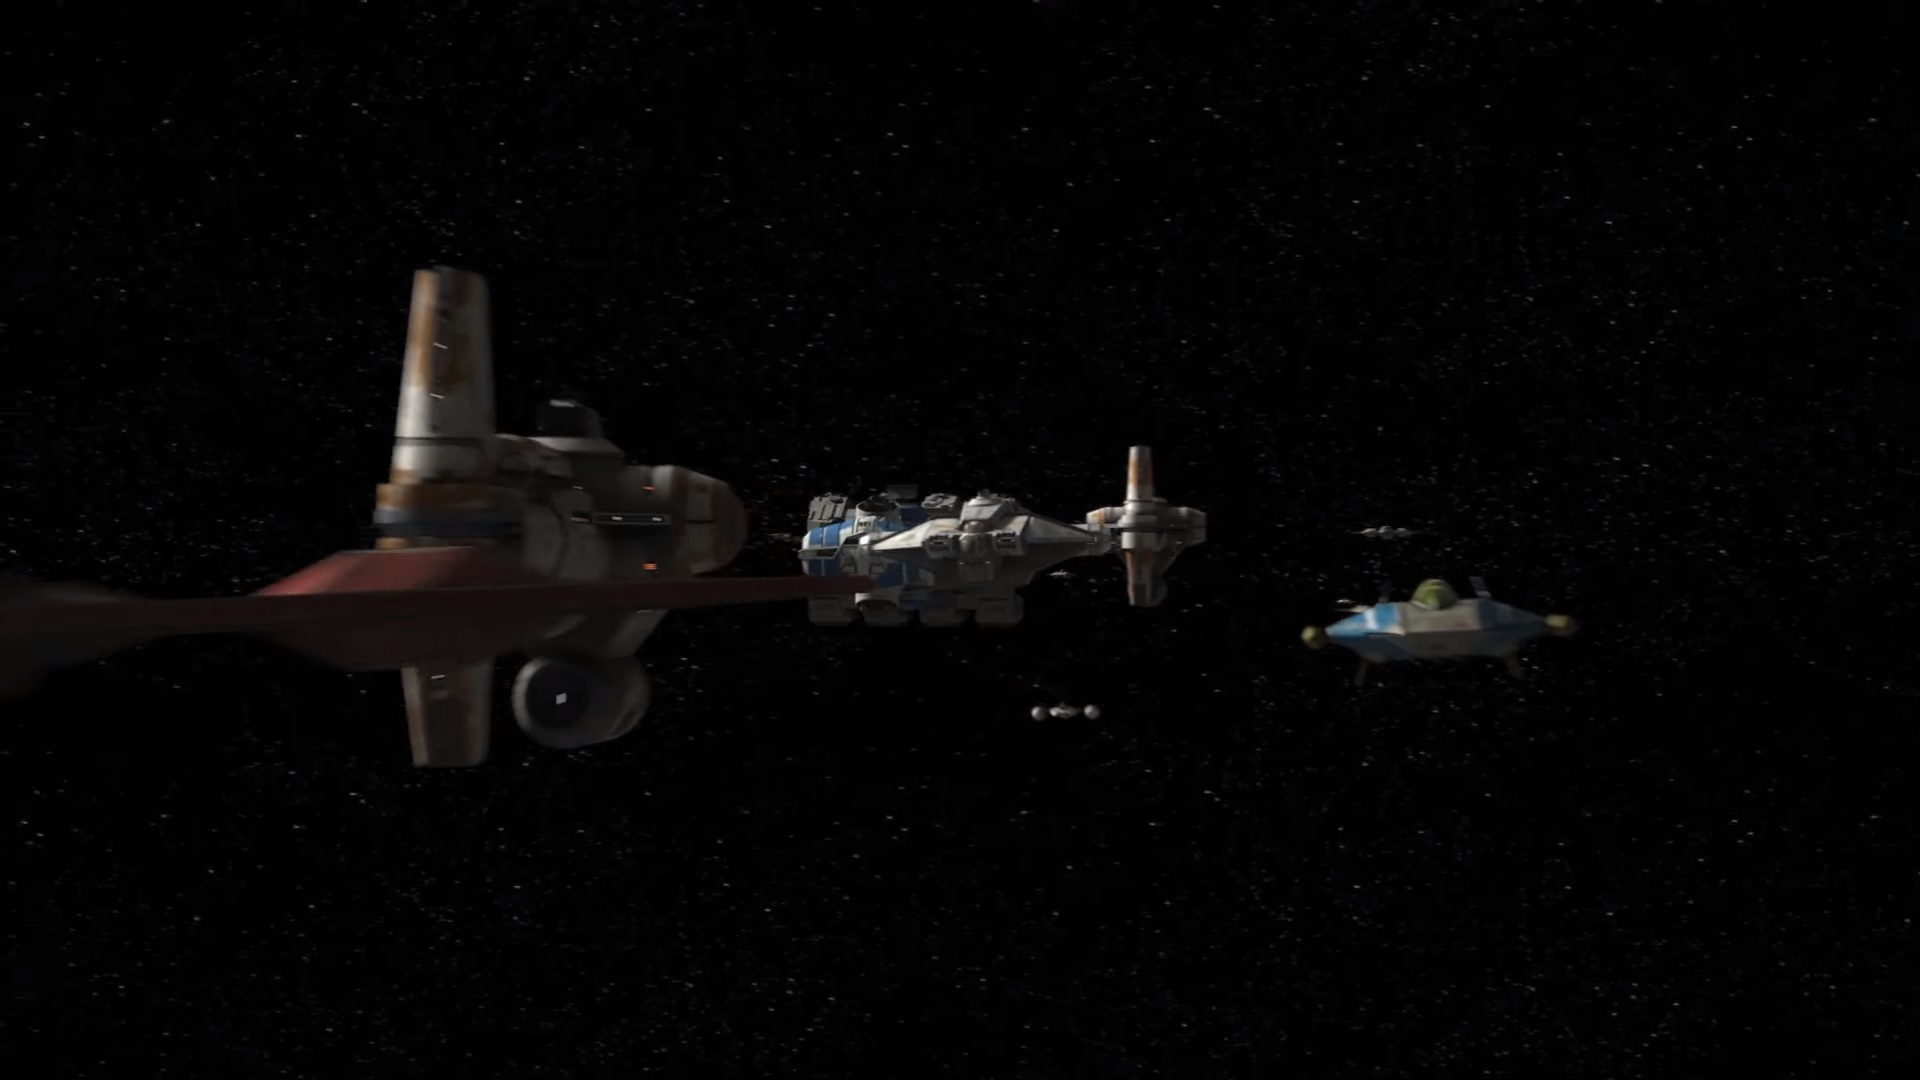
At the Wren Stronghold, Countess Ursa Wren, Sabine's mother, were unable to provide assistance since they were bogged down against Clan Saxon's forces. After some discussion, Ursa agreed to allow her daughter Sabine, her son Tristan, as well as Fenn Rau to lead several Mandalorian volunteers and ships to accompany Ezra and Chopper back to Atollon. The Gauntlet and several Fang fighters traveled back to Atollon. Their plan was to destroy the lone remaining interdictor cruiser, the Constrainer, so that the remaining rebels could escape offworld.
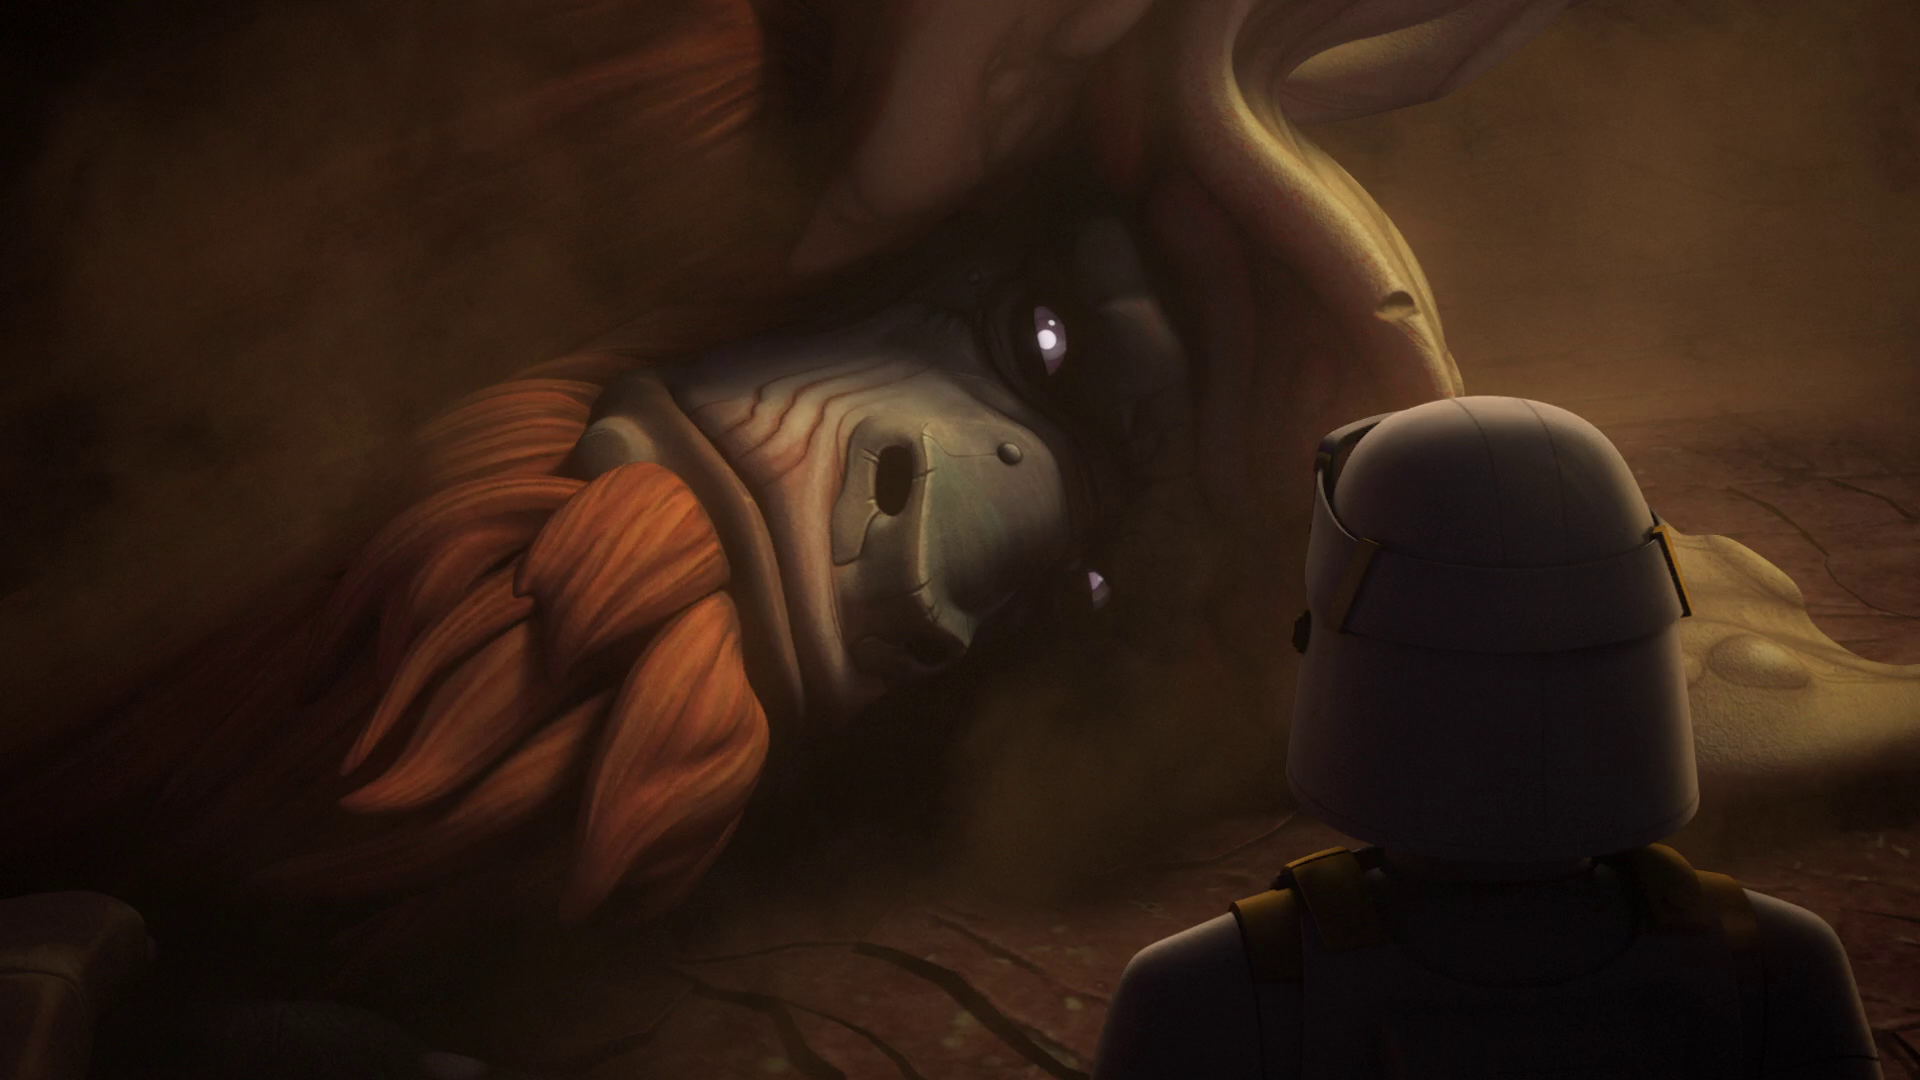
Meanwhile, Kanan had much less success in convincing Bendu to aid the rebels. The enigmatic Force-wielder was ambivalent to the wars and problems of the mortal realm and was angered that Kanan had brought war to Atollon. After Kanan failed to reason with Bendu, he accused the creature of cowardice. This enraged Bendu and he vowed to destroy the Jedi in accordance with the will of the Force. Bendu disappeared and Kanan traveled back to Chopper Base on his speeder bike just as storm clouds began to gather.
The ground assault
With the Interdictor destroyed, Thrawn commanded his fleet to intensify their assault, forcing the remaining rebels to the ground to prevent further escapes. Star Destroyers targeted the remaining rebel ships, destroying two more CR90 corvettes. Reluctantly, Syndulla ordered a retreat, with the surviving rebel forces returning to Chopper Base to regroup and rest. Zeb and Rex managed to activate Sabine's prototype deflector shield generator to defend from a potential bombardment. Detecting the shield, Thrawn ordered his fleet to bombard it to test its strength. While the shield managed to protect the base and rebel ships, the generator was weakened by the assault. Thrawn then decided to deploy ground forces to finish off the surviving rebels.
Following General Dodonna's advice, the rebels set up an ambush for Thrawn's forces in a narrow canyon leading to the Atollon Coral Mesa. Zeb and Rex planted detonators along the road which they used to blow up several AT-DP walkers. However, Thrawn had sent the AT-DPs as decoys to draw out the rebel defenders. He then deployed his heavy battalions, which included several AT-AT walkers. Thrawn also ordered the walkers' gunners to mark the enemy mines in firing position. Stormtroopers accompanied the heavy walkers, as well as Imperial Troop Transports.
Kanan managed to damage one of the walkers by slicing off two of its legs but failed to slow the Imperial advance. He along with Zeb and Rex fled into the caves which led back to the coral mesa that housed Chopper Base. Rebel starfighters including Wedge Antilles and Hobbie's A-wings tried to attack the walkers but were driven away by TIE fighters. Thrawn and a contingent of death troopers then disembarked from a Sentinel-class landing craft and led the Stormtrooper assault on Chopper Base. Meanwhile, Governor Pryce commanded the Imperial fleet above.
With the base breached, General Dodonna and Captain Syndulla ordered the remaining rebel ships to evacuate. Two ships managed to escape but a GR-75 medium transport was shot down by one of Thrawn's AT-AT walkers. Thrawn then surrounded the Spectres, Rex, AP-5, and General Dodonna and demanded their surrender. However, the Bendu arrived in the form of a storm cloud and attacked the Imperials and rebels with lightning. Hera and the remaining rebels fled on the Ghost and other ships for space. In his wrath, Bendu struck down one of the fleeing A-wings as well as managing to destroy two AT-AT walkers and numerous other grounded rebel starfighters.
Escaping the blockade
In space, Ezra, Chopper and their Mandalorian allies launched an attack on the flanks of Thrawn's fleet. While Fenn Rau's Fang fighters harried the TIE fighters, Ezra and Sabine flew the Gauntlet to the Constrainer. While Chopper stayed aboard, Ezra and the Mandalorians landed on the interdictor's hull and proceeded to attack the gravity well projectors. In response, Governor Pryce dispatched Jumptroopers but these reinforcements failed to stop the Mandalorians from destroying the cruiser.
The destruction of the Constrainer coincided with Hera and the remaining rebel ships reaching the space around Atollon. The rebel convoy then fought their way a second time through the Imperial blockade. Without the interdictor, there was nothing to stop them from jumping into hyperspace. Hera and the crew of the Ghost managed to rescue the former ISB agent Kallus, who had escaped in an escape pod. After breaking through the blockade, the rebel ships jumped into hyperspace.
Aftermath
The rebels had fled Chopper Base to orbit with two CR90 corvettes (including the Liberator), two Hammerhead corvettes (P1 and P3), a GR-75 medium transport, a Braha'tok-class gunship, and the Ghost, but enemy fire from the blockade left only the Liberator, both Hammerheads and the Ghost, joined by two surviving Y-wings, four surviving A-wings, the Gauntlet, and Mandalorian Fang fighters, able to escape into hyperspace.
After the rebels fled, Bendu demanded that Thrawn leave but the Grand Admiral was not intimidated by the Force entity. He directed his troops and AT-AT walkers to shoot down the "eyes" in the middle of the storm clouds. This tactic worked and the Imperials succeeded in shooting down Bendu despite losing several men and one AT-AT in the process. Thrawn and his men later confronted the fallen but still defiant Bendu. The Bendu prophesied that Thrawn would eventually meet defeat but the scientifically-minded Thrawn refused to take him seriously. Thrawn shot Bendu with his blaster but the creature warned that he was beyond the Grand Admiral's power to destroy, his body vanishing but his voice still heard.
The Battle of Atollon was a serious defeat for the fledgling Rebel Alliance. Unknown to Thrawn, the Phoenix Squadron and Dodonna's Massassi Group were not the only rebel forces in the galaxy. Mon Mothma's decision not to send reinforcements concealed the true strength of the Alliance. However, Phoenix Squadron and Massassi Group sustained heavy casualties on Atollon. Chopper Base was lost and much of its facilities were damaged by the fighting and Bendu's rampage. Hera led the surviving rebel forces to Yavin 4. To hide their tracks, the rebels jumped into hyperspace three times.
While the rebels were demoralized by the defeat, some like Jarrus were determined to continue the fight to free the galaxy from Imperial rule. Despite inflicting heavy casualties on the rebel fleet through his cunning strategies, Thrawn failed to fulfill Grand Moff Wilhuff Tarkin's orders to capture senior rebel officers. The Battle of Atollon was seen as a failure in the eyes of Emperor Palpatine and Darth Vader, due to the rebel's escape. Palpatine understood that the rebel's escape was beyond Thrawn's control and not his fault, but Vader had no patience for failure no matter the reasons. Following Thrawn's success in a battle in Sector 56 Vader went on a mission to Batuu and Mokivj with the Grand Admiral. During their mission, Vader reminded Thrawn about his failure constantly.
Bendu's prophecy about Thrawn's defeat ultimately came true during the liberation of Lothal. The Rebel Alliance would continue to pose a serious threat to the Empire over the next couple of years leading up to the Battle of Yavin. The growing threat of the Alliance led the Empire to deploy its new Death Star superweapon in an attempt to crush the rebellion.
Ultimately, Jarrus's dream was realized with the deaths of both the Emperor and Darth Vader during the Battle of Endor in 4 ABY. The Alliance's successor, the New Republic, later inflicted a lasting defeat on the Empire during the Battle of Jakku in 5 ABY.
Behind the scenes
The Battle of Atollon formed the basis of the March 2017 episodes "Zero Hour," part of the third season of the animated television series Star Wars Rebels.