All Terrain Armored Transport (Prototype)
The All Terrain Armored Transport (Prototype), also designated as AT-AT/P or simply AT-AT, served as the original combat walker and transport model utilized by the Imperial Army of the Galactic Empire during the Imperial Era. This particular model was among several developed by Kuat Drive Yards before the introduction of the standard All Terrain Armored Transport.
Characteristics
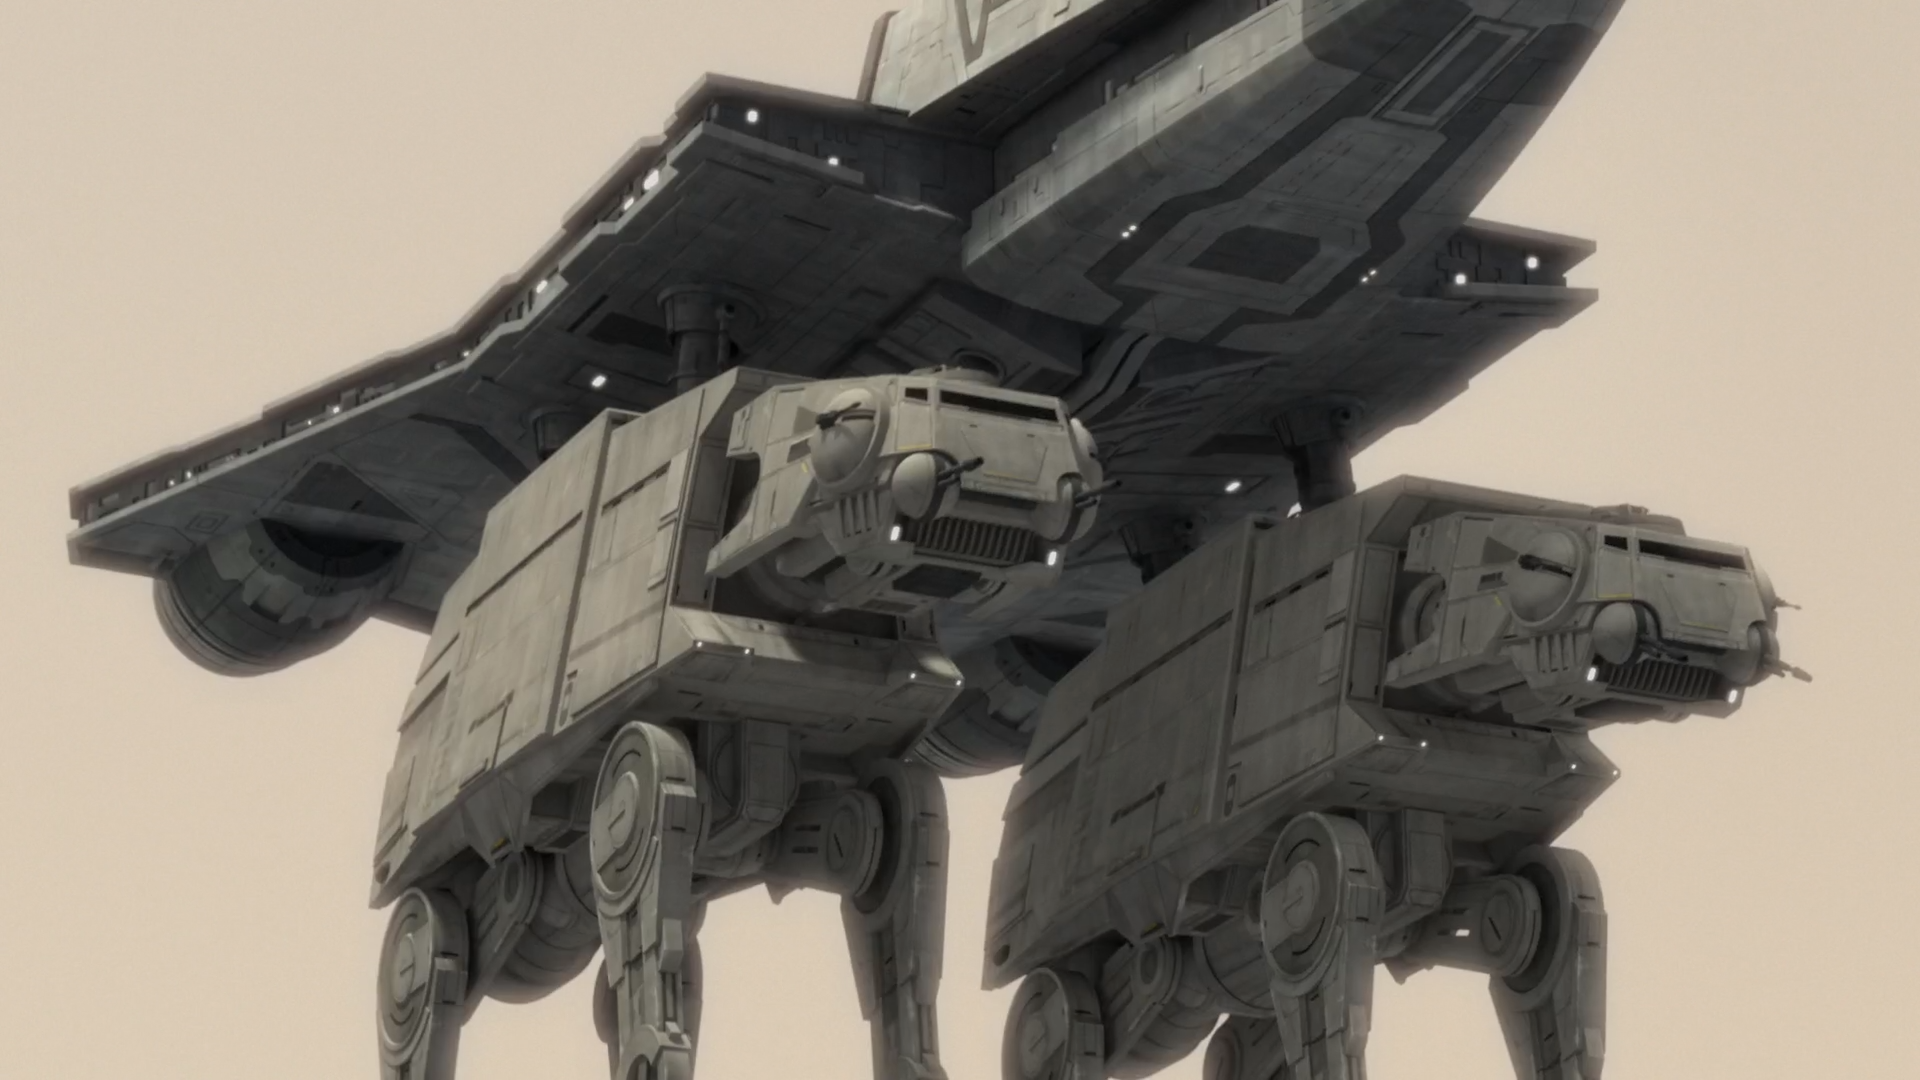
This prototype model of the AT-series walker, known as the All Terrain Armored Transport (Prototype) or AT-AT/P, saw action against rebels during the early rebellion against the Galactic Empire. Kuat Drive Yards manufactured the AT-AT/P as the successor to the All Terrain Tactical Enforcer (AT-TE), which had been employed during the Clone Wars. The Imperial AT-AT/P was outfitted with a pair of heavy laser cannon turrets, alongside four anti-personnel blasters, and a rear-mounted dorsal twin laser turret. A Gozanti-class cruiser had the capacity to transport two AT-AT/Ps. Operation of a single walker required two AT-AT drivers to pilot the machinery, with the option of including a vehicle commander.
Many commanders strategically positioned the AT-AT/P at the forefront of combat, while others opted to deploy All Terrain Defense Pods (AT-DPs) in conjunction with the massive combat walker. The Imperial Grand Admiral Thrawn arranged for his AT-AT/P walkers to be supported by Imperial Troop Transports and stormtroopers.
The AT-AT/P was larger in size compared to the later AT-AT model utilized during the Galactic Civil War, which measured between twenty and twenty-two point five meters in length and height, respectively. However, similar to the subsequent model, its legs were elongated, much like other walkers such as the AT-TE or AT-DP. This design made the early walker model susceptible to attacks from lightsaber strikes and, in one instance, magnetic harpoons that caused the walker to topple, exposing its vulnerable neck to cannon fire, including heavy projectile cannon fire, resulting in significant damage to the vehicle.
History
Development
The AT-AT/P walker's development stemmed from the Clone Wars-era AT-TE, intended for use by the Imperial Army, which served as the ground forces of the Galactic Empire. The AT-AT/P represented a more formidable advancement in walker technology compared to its precursor. It boasted long legs that elevated the vehicle's narrow body, towering over both the AT-TE and the deep rivers of the planet Kashyyyk. This design surpassed the Clone Wars vehicle's six short legs, which were often hampered by obstacles of comparable height. By the time of the Invasion of Mon Cala in 18 BBY, the walker was already in active service.
Early rebellion against the Empire
Kashyyyk
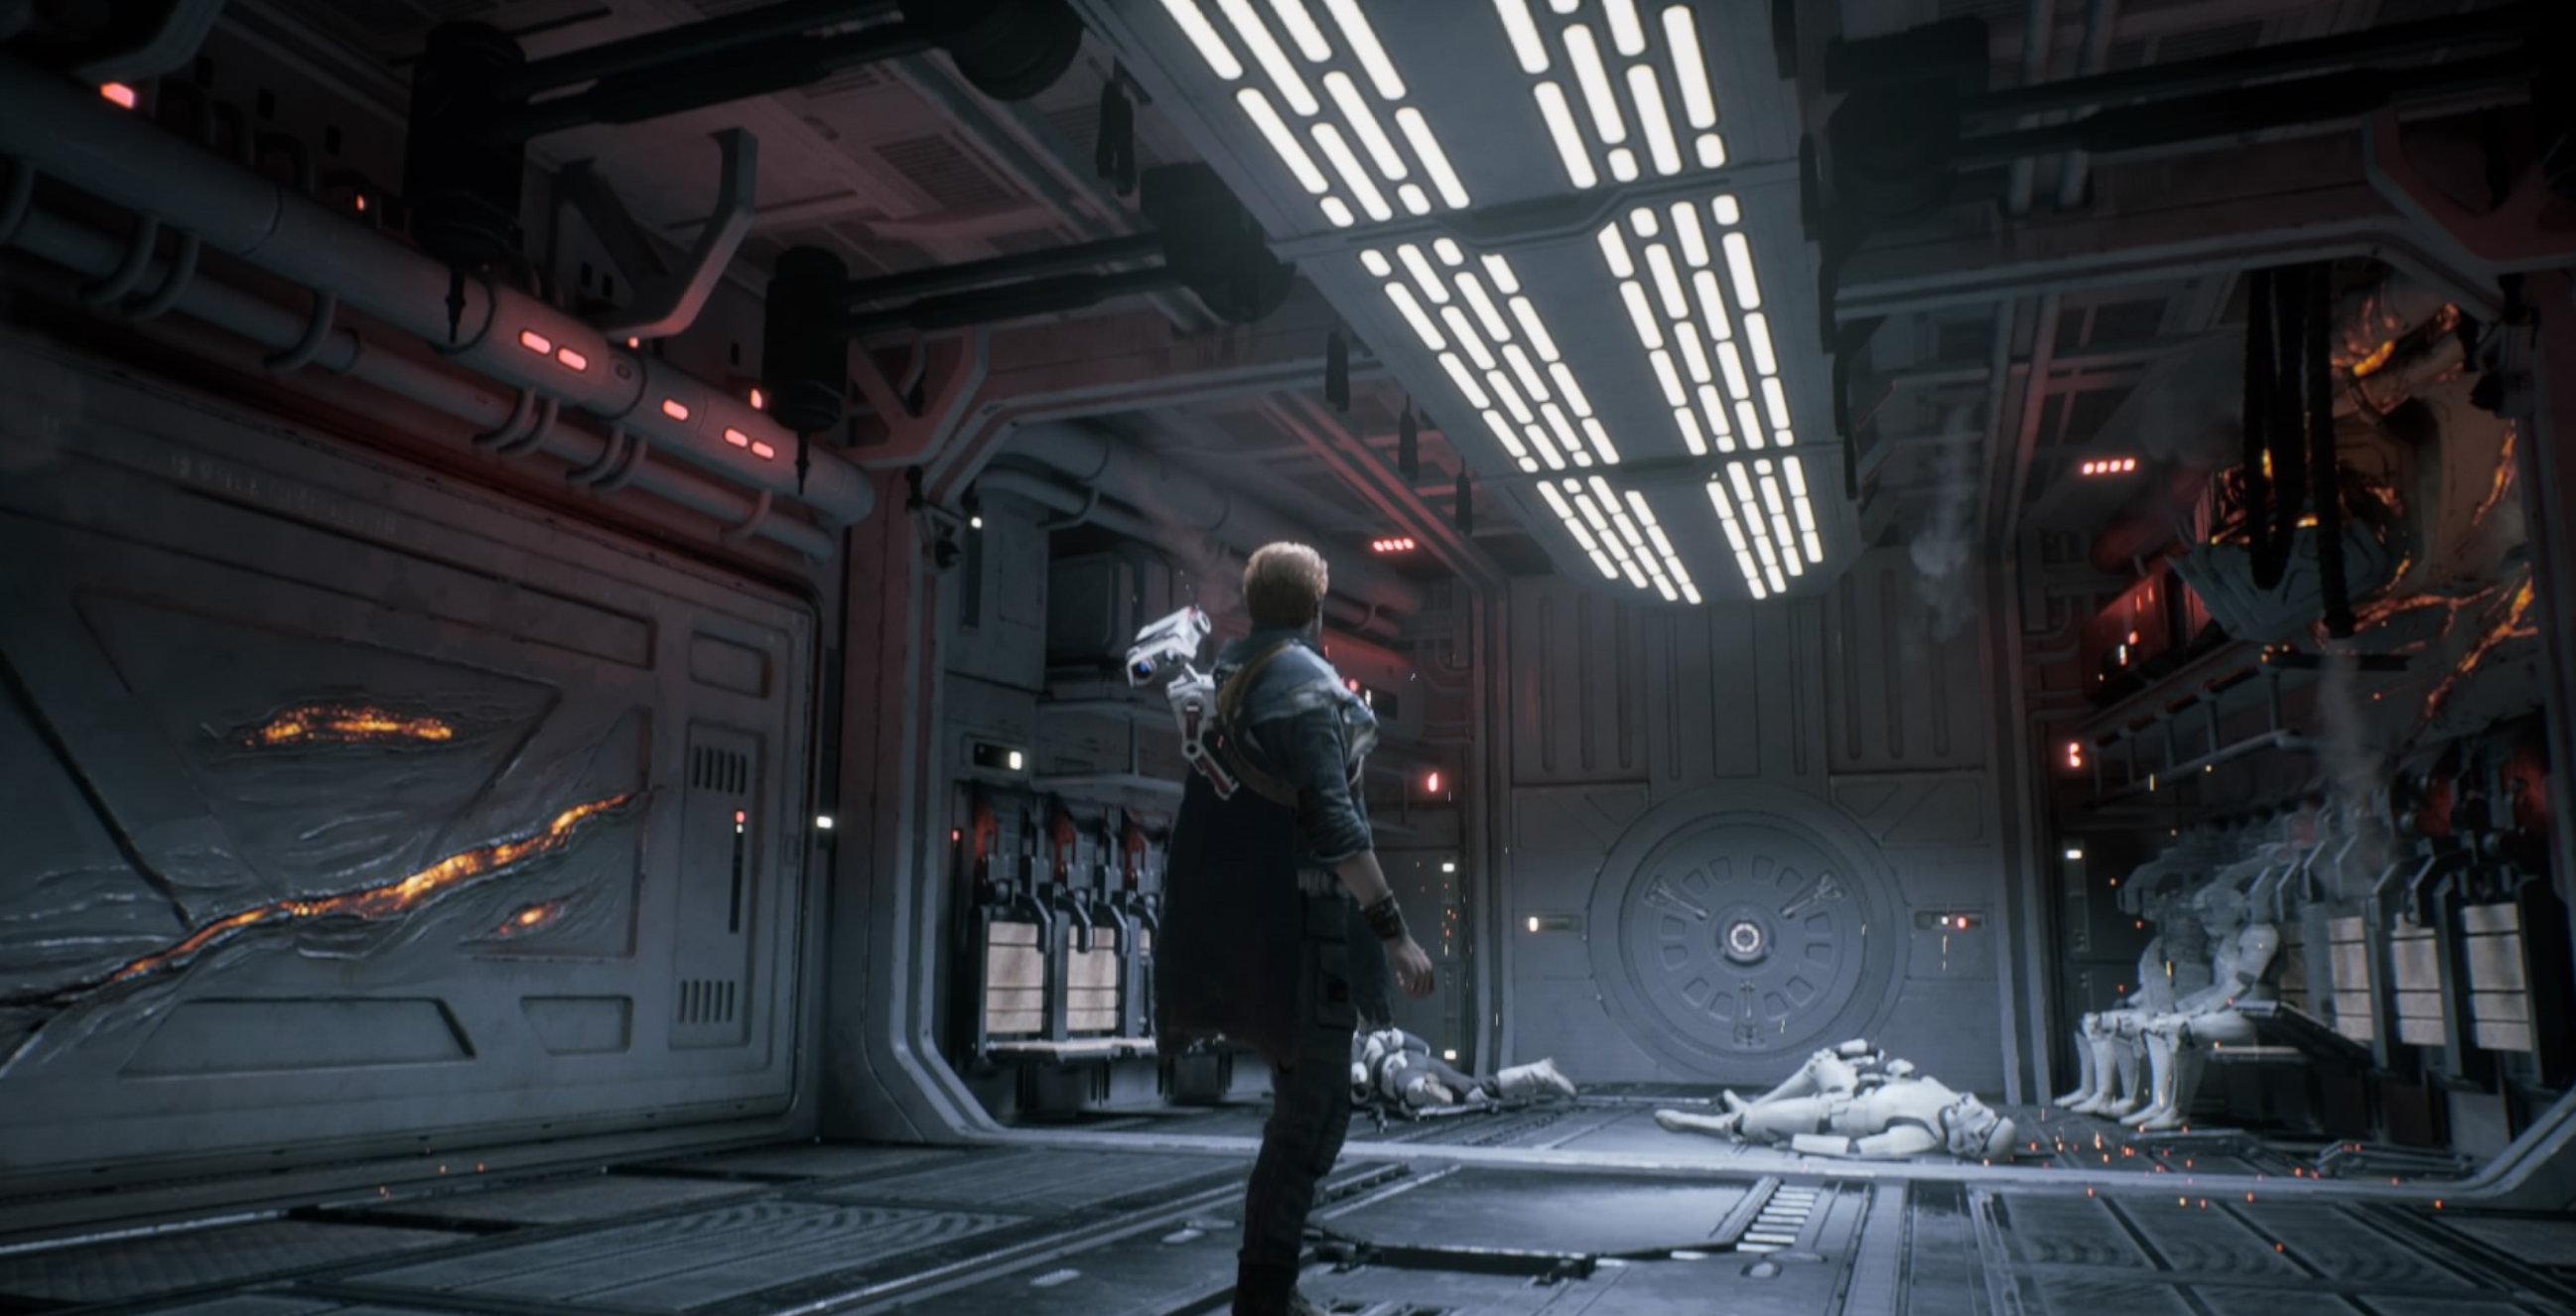
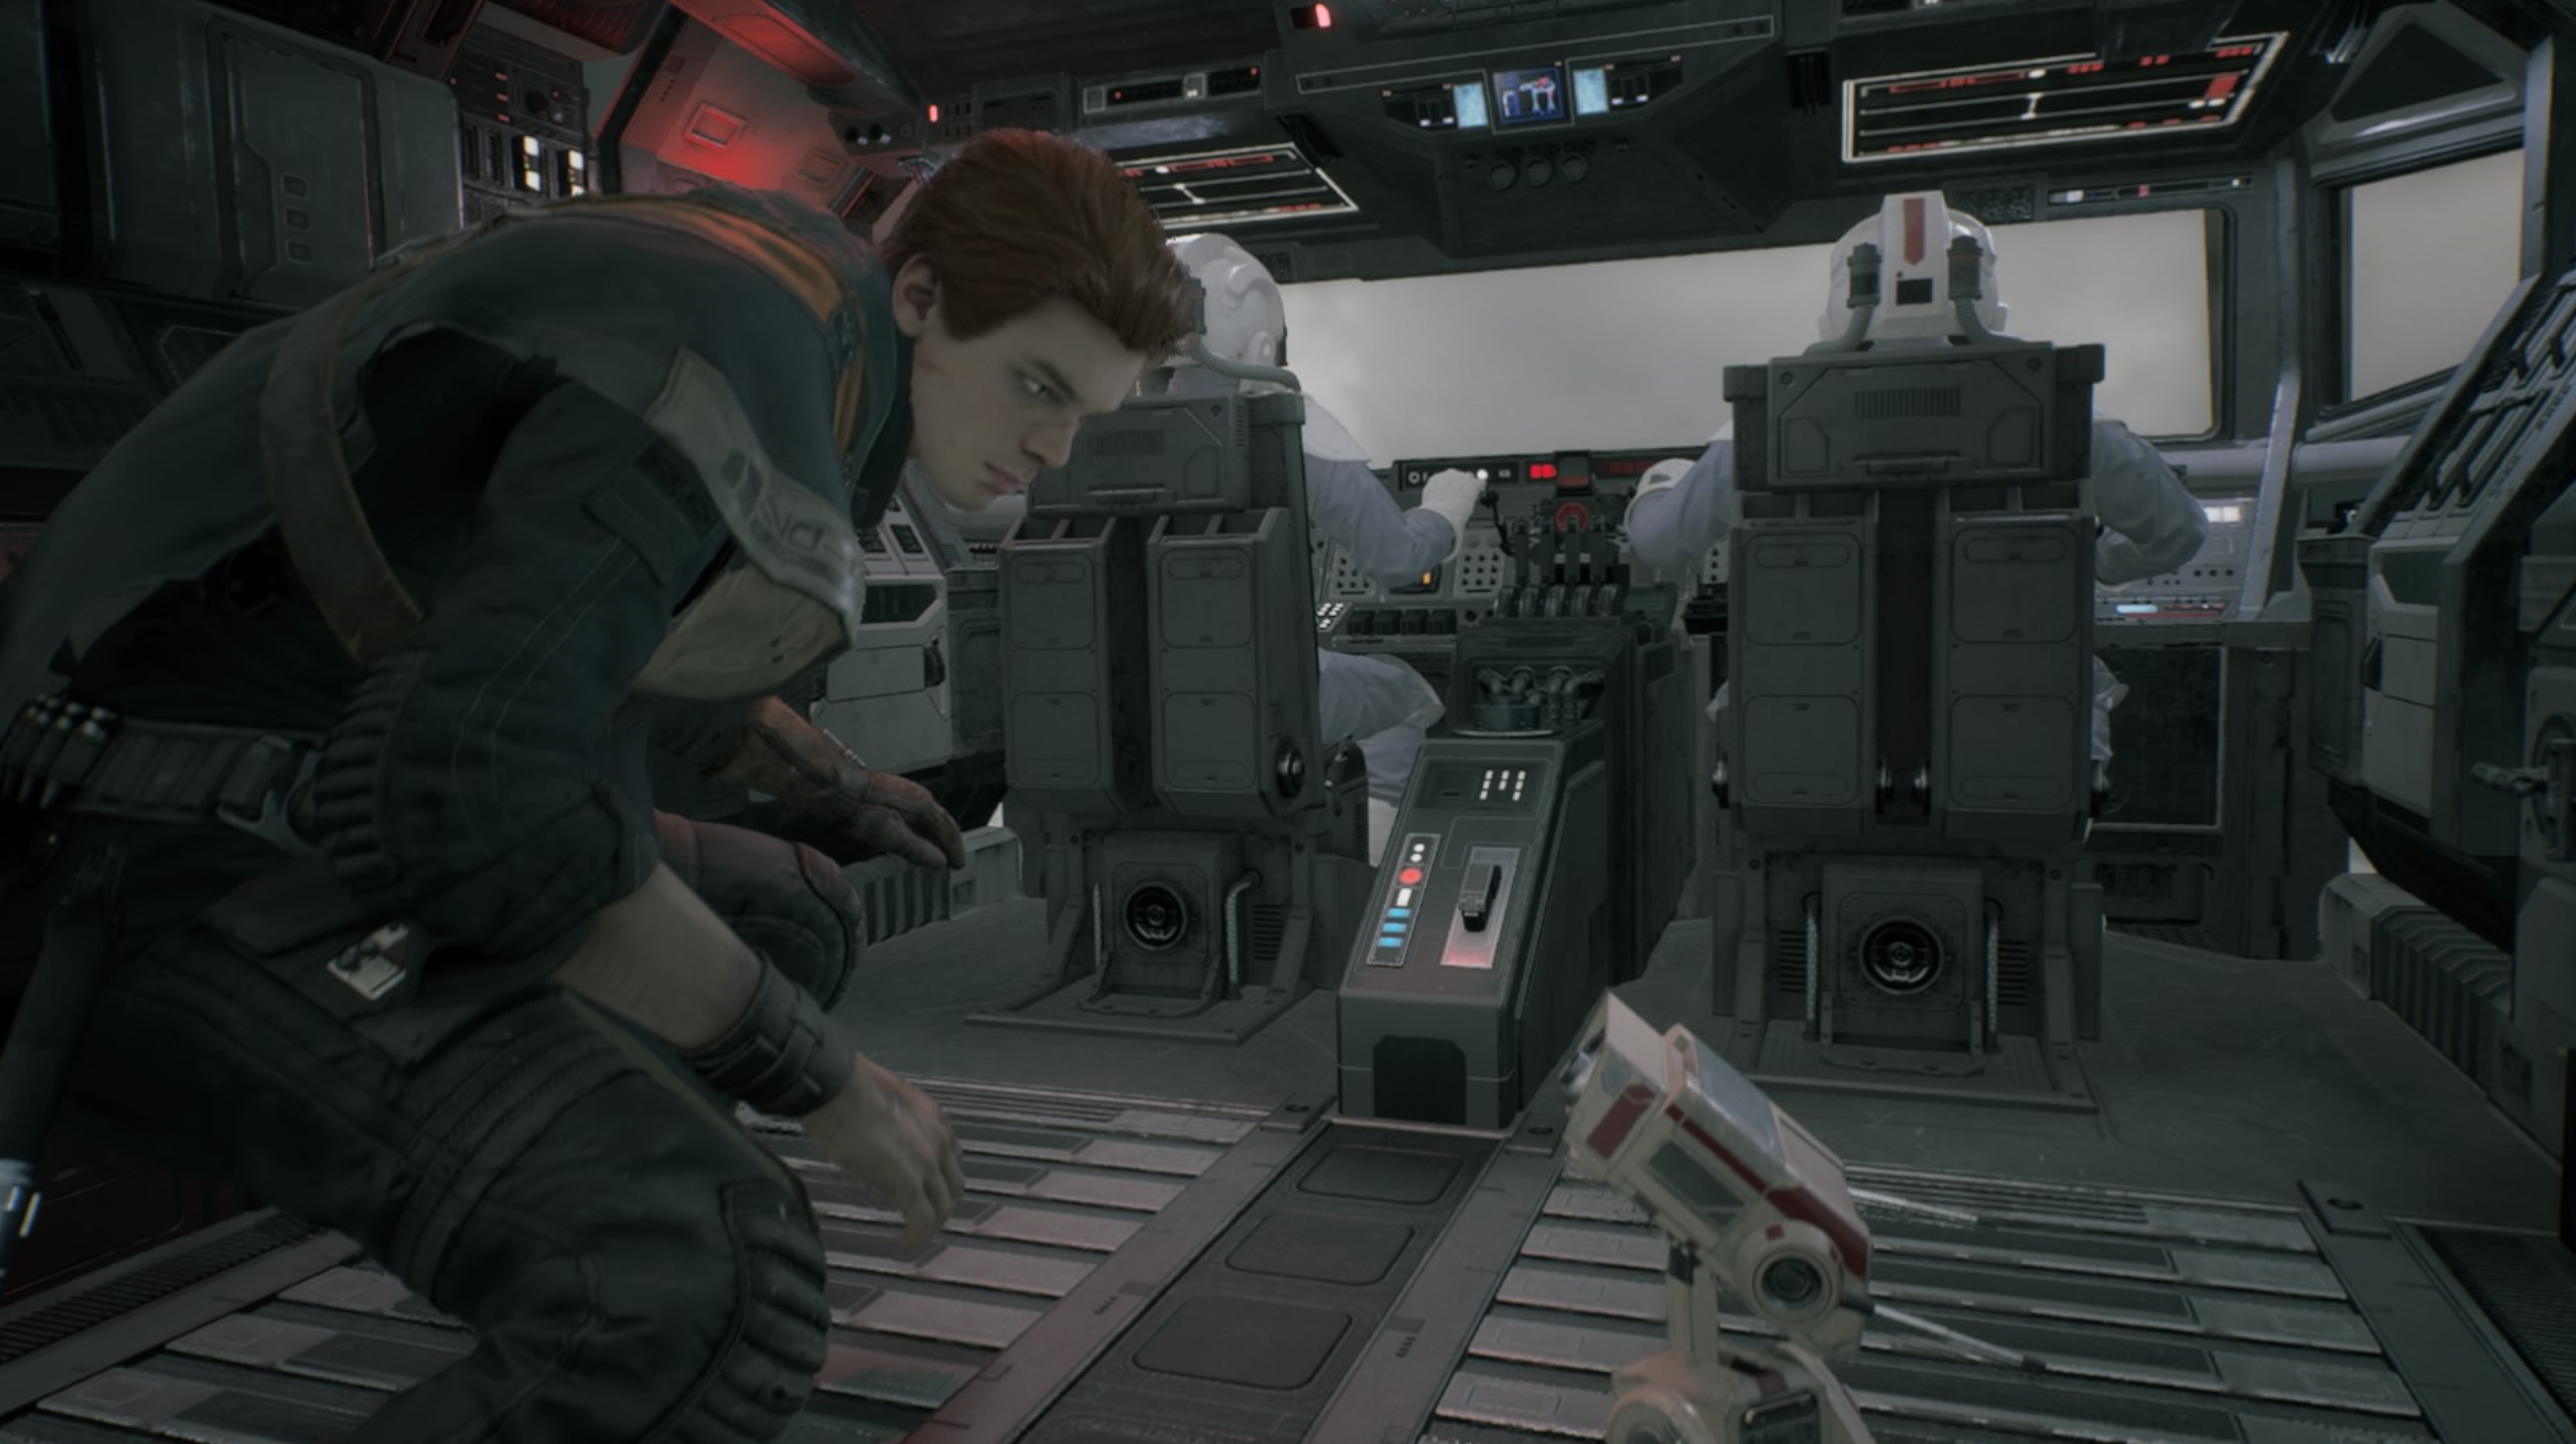
In 14 BBY, several AT-AT/Ps were stationed on Kashyyyk, where they were mobilized to aid in the defense of an Imperial Refinery against Saw Gerrera and his Partisans. However, one of these walkers was commandeered by Cal Kestis, a Jedi Padawan, who utilized it to assist the Partisans in capturing a landing zone by eliminating Imperial forces along the way. Ultimately, the AT-AT/P was destroyed after Kestis used it to bring down a Zeta-class Heavy Cargo Shuttle, which collided with the AT-AT/P as it crashed.
The Spectres
In 4 BBY, Agent Kallus of the Imperial Security Bureau spearheaded an assault on the desert planet of Seelos using three AT-AT/P walkers against the Spectres. The rebel group was convening with Rex, Wolffe, and [Gregor], the exiled clone officers, aboard their modified All Terrain Tactical Enforcer. In the end, all of the Imperial walkers were lost to the rebels, and one of them was later repurposed by the clones into Joopa Base, their mobile encampment.
AT-AT/Ps were once again deployed against the Spectres in 3 BBY, when Princess Leia Organa arrived on the planet to provide the Ghost's crew with three Sphyrna-class Hammerhead corvettes. Two walkers were positioned to patrol the transports' landing platform, ostensibly present on Lothal to deliver supplies to citizens affected by the rebel activities. When the rebels tried to steal the corvettes, the Ghost initiated an attack on the AT-AT/Ps. Although four proton torpedos proved insufficient to destroy one of the walkers, Kanan Jarrus was forced to utilize his lightsaber to sever its legs, causing it to collapse. The second walker was toppled by the engines of the final corvette, piloted by Ryder Azadi.
In 2 BBY, Lieutenant Yogar Lyste deployed two AT-AT/P walkers, identified as Walker 271 and Walker 414, to counter an assault on the east gate of the Imperial Armory Complex by members of the Lothal resistance group under the leadership of Ryder Azadi. The rebels Kanan, Ezra Bridger, and Chopper managed to escape in the stolen AT-DP Walker 216. However, Admiral Thrawn deduced that the rebels had hijacked the AT-DP walker and instructed his AT-AT/Ps to crush them. One of the AT-AT/P walkers proceeded to crush the AT-DP under its massive weight, but the rebels managed to use their lightsabers to cut their way aboard. Morad Sumar also launched a rocket that struck one of the walker's legs. After incapacitating the AT-AT pilots, the two rebels climbed out and escaped into the wilderness with Ryder's cell.

Thrawn subsequently deployed six of these walkers during the battle on Atollon. Jarrus destroyed one with his lightsaber. The Force wielder Bendu then eliminated three of the AT-AT/P walkers, although the remaining two managed to shoot him down from the sky.
The walkers were later utilized by Governor Arihnda Pryce on Lothal during the rescue of Hera Syndulla. As Kanan Jarrus and Hera Syndulla were about to be extracted by Bridger and Sabine Wren atop the Lothal City fuel depot, two AT-AT/Ps approached, and Pryce commanded them to open fire on the fuel pods. An AT-AT/P pilot questioned this order, citing the highly volatile fuel contained within the pods. Nevertheless, Pryce insisted on her instructions; the walkers fired, triggering an explosion, which compelled Jarrus to use the Force in an attempt to save the other rebels. In a selfless act, the Jedi propelled Syndulla into Bridger and Wren's awaiting gunship, preventing harm to others as he himself was consumed by the resulting flames.
Following this event, Admiral Thrawn regarded Pryce's actions as a blunder, as they resulted in the destruction of the Empire's entire fuel supply on Lothal, which was intended for his TIE Defender project. Prior to the Liberation of Lothal, the Ghost made a visit to the walker Joopa Base on Seelos.
Behind the scenes
The design of the All Terrain Armored Transport featured in Star Wars Rebels draws inspiration from early concept art created for Star Wars: Episode V The Empire Strikes Back by Joe Johnston and Ralph McQuarrie. Specifically, the early-1978 Johnston sketch and McQuarrie's early-1982 illustration.