Ryder Azadi
Ryder Azadi was a male human politician who held the position of governor of Lothal during the New Republic era. During the Galactic Empire's early years of reign over the [planet](/article/planet] of Lothal in the Outer Rim, Azadi served as the governor of the Lothal sector with the rank of Moff. In the years that followed the Galactic Civil War, he once again became Lothal's governor.
When the Empire first arrived, Azadi was ordered to locate and apprehend those responsible for the anti-Imperial broadcasts coming from his planet within a month. Contrary to these orders, the governor secretly supported the revolutionary broadcasts of Lothalites Ephraim and Mira Bridger, which resulted in his arrest and imprisonment alongside the Bridgers. In prison, the former governor was known as "Prisoner X10." Three years before the Battle of Yavin, he managed to escape after the Bridgers orchestrated a prison break. Because the Bridgers were killed during their escape, Azadi went back to Lothal to find their son, Ezra Bridger. However, Ezra found him first after seeing him and his parents in a vision, and Azadi delivered the tragic news of his parents' deaths.
Azadi went on to assist the local Spectres rebel cell and Phoenix Cell, which later became part of the Alliance to Restore the Republic. Leading up to the Battle of Yavin, Azadi became the leader of a rebel group that aided the Alliance against Imperial forces on Lothal. Despite his initial doubts about Ezra's leadership, Azadi became crucial in the rebels' fight to liberate Lothal from Imperial control.
After the Galactic Civil War concluded with the defeat of the Galactic Empire and the end of the conflict, Azadi returned to his governorship during the New Republic era.
Biography
Early life and career
Governor of Lothal and Imperial Service
Ryder Azadi was from the planet of Lothal, located in the Outer Rim, where he held the position of Governor of the Lothal sector and the rank of Moff in the early days of the Galactic Empire's governance.
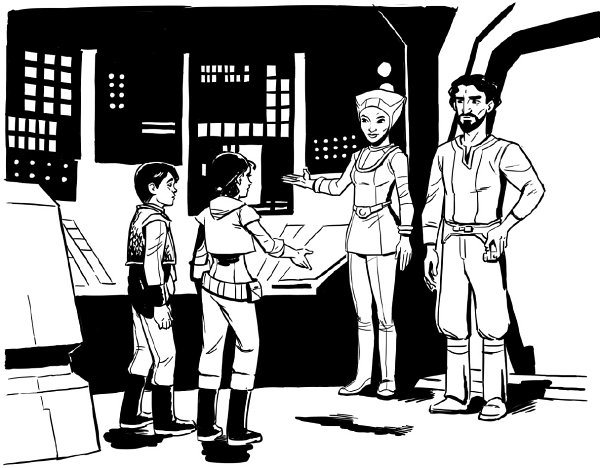
In 18 BBY, shortly after the Empire's arrival on Lothal, Governor Azadi received orders to locate and capture those responsible for the anti-Imperial transmissions within a month. However, Azadi was actually complicit and sometimes directly involved in the activities of Ephraim and Mira Bridger, the couple behind the broadcasts. When Milo and Lina Graf were kidnapped by bounty hunter Shalla Mondatha to be handed over to Imperial Captain Visler Korda, Azadi was the first person Ephraim Bridger contacted to help rescue the children. Through his association with the Bridgers, he also met their young son, Ezra Bridger.
Attempted takeover of Pryce Mining
During his time as Governor of Lothal, Azadi discovered a vein of doonium in the Pryce Mine. To seize control of the doonium before Senator Domus Renking and the Empire could, Azadi sent his representative Arik Uvis to purchase a controlling interest from owner Arihnda Pryce. Pryce, unwilling to let anyone outside the Pryce family control the mine, rejected Azadi's offer and evicted Uvis when he persisted.
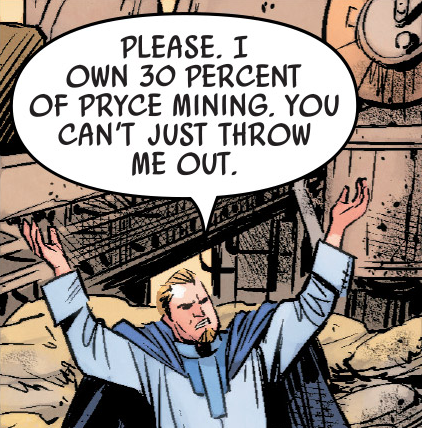
In retaliation, Azadi and Uvis fabricated embezzlement charges, leading to the arrest of Elainye Pryce. When Pryce appealed to Renking for her mother's release, he confirmed that Elainye would be held by Azadi until proven innocent. Azadi's attempted takeover failed when Pryce surrendered the mine to the Empire and Renking in exchange for her mother's release and a job on Coruscant.
Betraying the Galactic Empire
Prisoner of the Empire
Despite serving in the Imperial government, Azadi supported the underground revolutionary broadcasts of Ephraim and Mira Bridger. Consequently, he was charged with treason and imprisoned in an Imperial prison alongside the Bridgers. He was labeled "Prisoner X10" during his incarceration. Governor Azadi's "forced retirement" and imprisonment coincided with Arihnda Pryce gaining favor with Grand Moff Wilhuff Tarkin by exposing the Higher Skies Advocacy Group's illegal espionage and Moff Ghadi's attempt to exploit it. As a reward, Pryce became the new Governor of Lothal, overseeing the expansion of Imperial industry, mining, and military bases, transforming Lothal into a major center of Imperial power. Azadi's office was looted, and his former minister Maketh Tua continued serving under Governor Pryce as Lothal's Minister of Industrial Production.
Escape
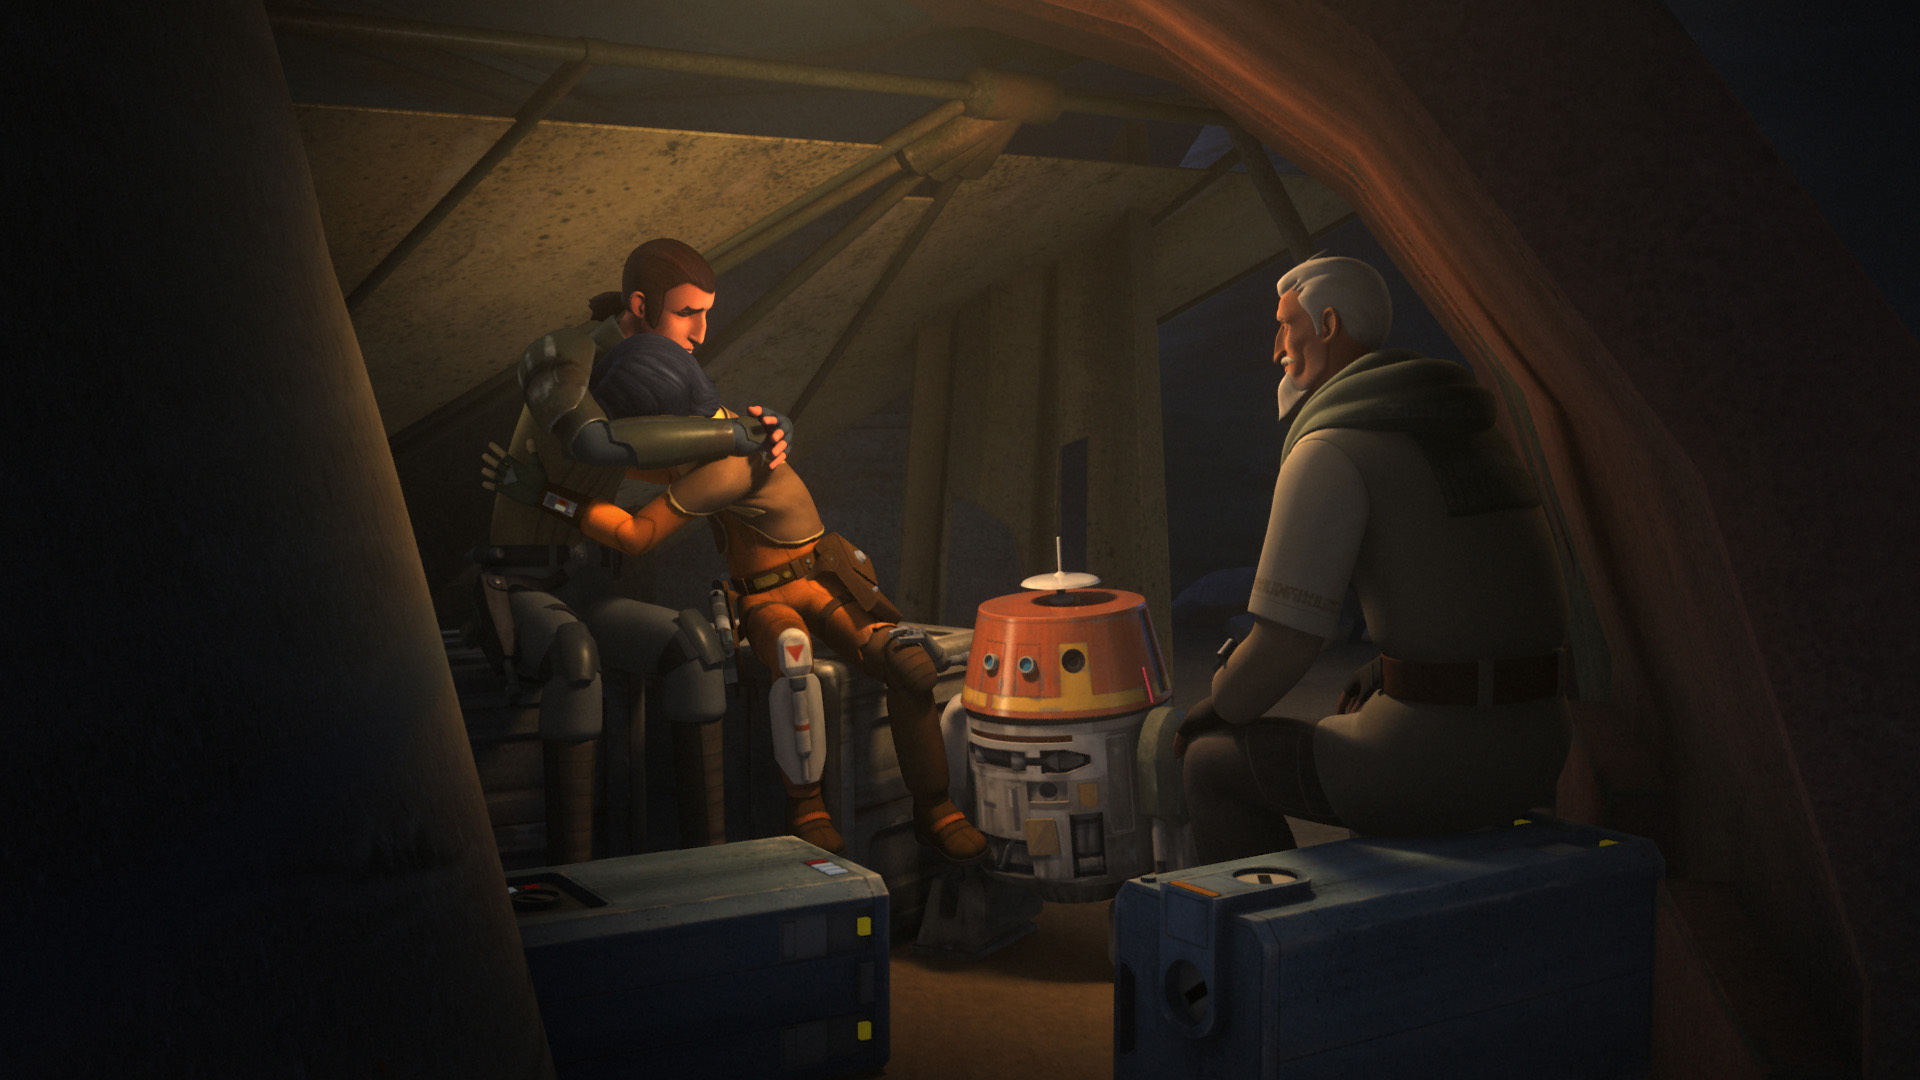
In 4 BBY, the Bridgers' son, Ezra, became part of a rebel cell fighting the Empire on Lothal. His message of rebellion reached prisoners like Azadi and the Bridgers, inspiring them to escape. Azadi successfully escaped, but the Bridgers lost their lives in the process. Azadi returned to Lothal to find Ezra and inform him of his parents' fate. Ezra, after seeing his parents and Azadi in a vision, traveled to Lothal from Garel. Ezra found the former governor in a stone circle on Lothal, and Azadi, not recognizing him, fired a blaster rifle at Ezra and his Jedi master, Kanan Jarrus.
Ezra calmed Azadi by identifying himself as Ephraim and Mira Bridger's son. Azadi led Ezra, Kanan, and the astromech droid Chopper into the stone circle, which served as his home. There, he explained his connection to Ezra's parents and informed him of their sacrifice during the escape. Azadi remained in the stone circle while Ezra grieved his parents' deaths. Despite his devastation, Ezra came to terms with his loss after encountering his parents in a Force vision.
Helping the rebellion
Joining the cause
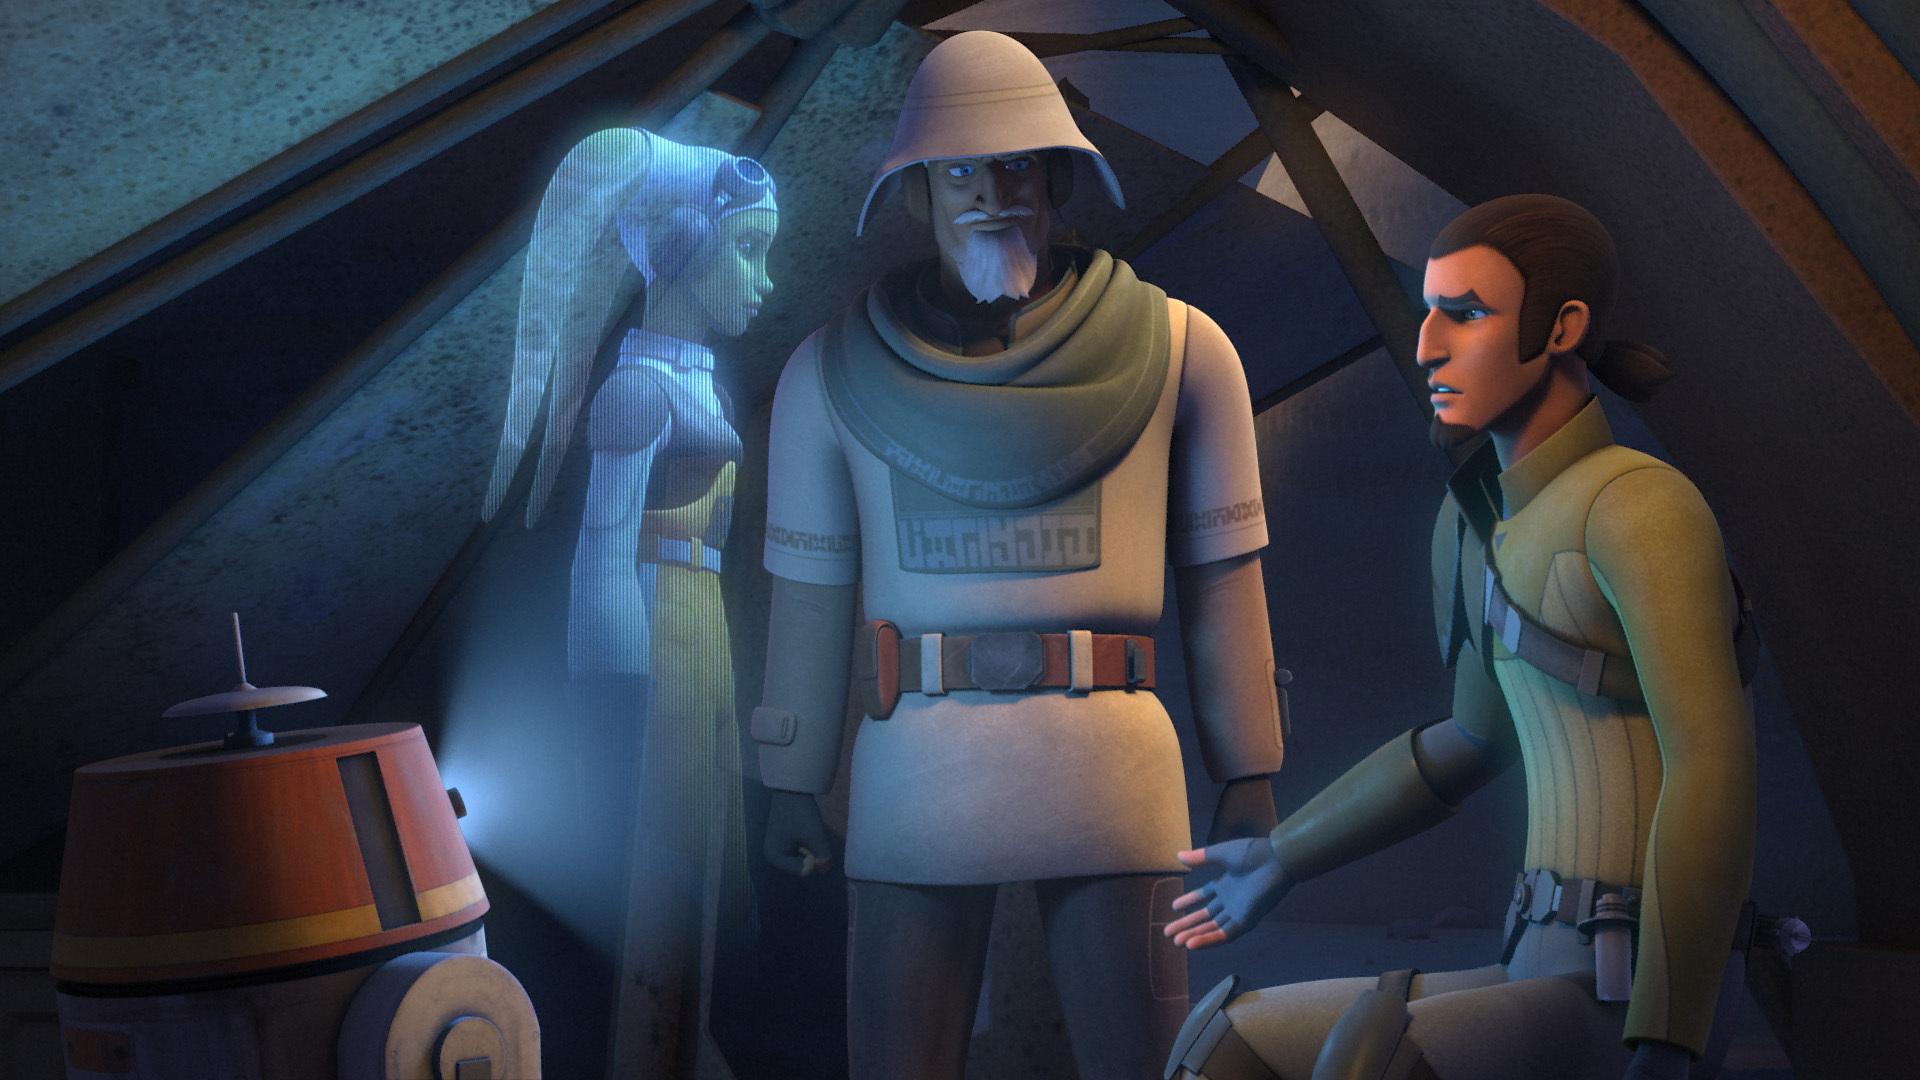
Ryder stayed with Chopper while Ezra and Kanan went to Jalath to meet Princess Leia Organa, the daughter of Alderaanian Senator Bail Organa, who was delivering three Sphyrna-class Hammerhead corvettes to the rebellion. Kanan and Ezra had invited him, but Ryder declined to avoid exposing himself to the Empire. While they were away, Ryder and Chopper were captured by stormtroopers with orders to execute Ryder. Before the Imperials could take them into custody, Ezra, Kanan, Leia, and the Ghost crew ambushed them. After a brief fight, Ryder and his rescuers fled aboard the Ghost, with Ezra and Kanan disguised as an Imperial cadet and stormtrooper, respectively. To conceal Leia's involvement, Ryder pretended to "kidnap" the Alderaanian princess.
Once aboard, Ryder was present during the discussion of the plan to "steal" Leia's corvettes. Bail Organa had arranged for the cruisers to be sent to Imperial worlds to be "stolen" by rebel agents to hide Alderaan's support. The Imperials had installed gravity locks on them. Ryder, having worked on gravity locks during his captivity, advised that explosives would not disable them and offered his help in escaping with the corvettes.
With Ryder's help, the rebels devised a plan to use the Phantom, the Ghost's auxiliary ship, to enter Supply Master Yogar Lyste's base. Still disguised, Kanan and Ezra escorted Leia back to the base, claiming to have rescued her. While the Imperials were distracted, Ryder worked with Chopper and Sabine Wren to disable the gravity locks on one of the cruisers. Sabine departed on the first corvette, while Ryder and Chopper moved to the next ship. However, Lyste and stormtroopers discovered them. Before they could be harmed, Kanan and Ezra incapacitated the Imperials with the Force.
During the battle, Ryder saw Kanan use his lightsaber and realized he was a Jedi. Kanan's intervention allowed Ryder and Chopper to disable the second gravity lock, allowing Kanan to pilot the ship. Realizing the Ghost crew needed help, Ryder boarded the third ship while Chopper disabled its gravity lock. Two stormtroopers pursued Ryder, but Ezra used the Force to snatch their blasters, and Leia stunned them. At the helm of the third Hammerhead corvette, Ryder forced the ship to fly despite the gravity lock, toppling an AT-AT walker. Ryder escaped with the other rebels into hyperspace with the stolen corvettes. After realizing Ezra's parents inspired a rebel movement, he agreed to join the rebellion and free Lothal in their honor.
Sabotaging the Imperial war effort
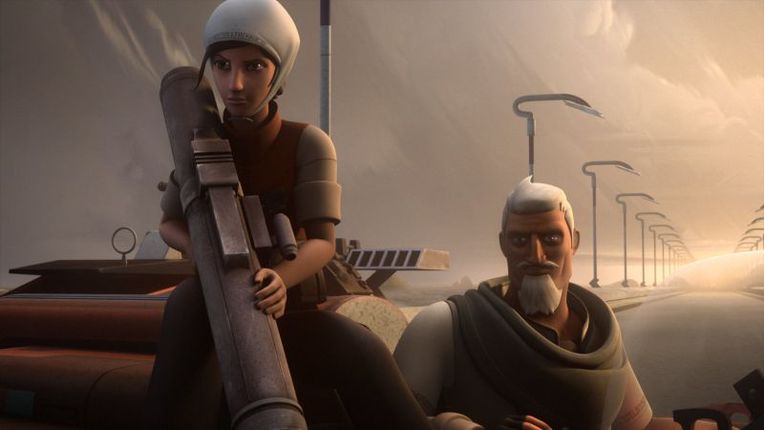
By 2 BBY, Ryder Azadi led a rebel cell on Lothal that sabotaged vehicles at the Imperial Armory Complex. His operatives included former farmer Morad Sumar, his wife Marida Sumar, and Ithorian bartender Jho. When Phoenix Cell learned the Empire was developing a new weapon, Ezra, Kanan, and Chopper arranged to meet with Ryder in Capital City. Phoenix Squadron needed the local rebel cell's help to take out the factory.
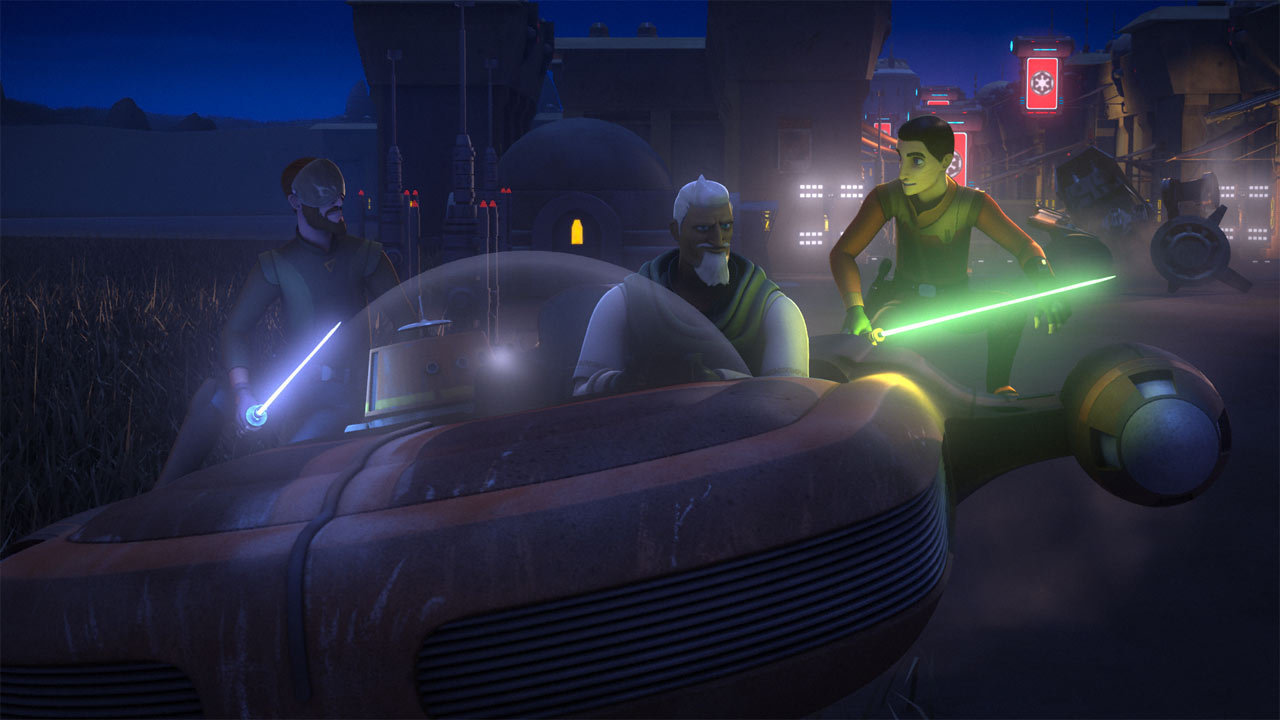
Ryder drove his landspeeder into Capital City but was pursued by two scout troopers on 614-AvA speeder bikes and an AT-DP walker. Ezra, Kanan, and Chopper jumped into Ryder's speeder, and they fled. They narrowly avoided an Imperial roadblock, forcing Ryder to U-turn. Ezra and Kanan used their lightsabers to cut down the AT-DP walker's legs. Ryder led the speeder bikes on a chase through the highway, assuring his comrades that the speeder bikes couldn't exceed 190 km/h. As he predicted, the speeder bikes exploded and crashed.
Ryder drove the rebels to his hideout in a stone circle. There, they met the Sumars and Jho. Ryder discussed the Phoenix Squadron's plan with Ezra and Kanan. Morad agreed to help Ezra and his team infiltrate the factory disguised as workers and an Imperial courier droid. The mission was complicated by a surprise inspection by Chiss Grand Admiral Thrawn, sent by Imperial High Command to investigate the defective vehicles. Thrawn staged a dangerous test demonstration on a 614-AvA speeder bike, resulting in Morad's death.
Kanan tried to contact Ryder but found the Imperials jamming comlinks. Ryder contacted Hera Syndulla and Commander Jun Sato via hologram to warn them the Imperials had locked down the factory. Ryder described the new Imperial officer as thorough with red eyes. Hera recognized him as Grand Admiral Thrawn, whom she had encountered on Ryloth. Ryder told Hera that he and his team would attack the factory's east gate to facilitate Ezra's team's escape.
With help from Imperial Security Bureau Agent Kallus, Kanan uploaded his comlink signals to Ryder. Ryder told Kanan that he and his team were at the east gate and ready to evacuate them. Ryder remained in his landspeeder while Marida used a rocket launcher to damage an Imperial Troop Transport. They came under attack from two AT-AT walkers. Ryder and Marida watched Ezra's team exit the factory in AT-DP Walker 216. When an AT-AT walker moved to crush the rebel walker, Marida fired a rocket that hit its foreleg.
Ryder was surprised to see Ezra, Kanan, and Chopper exit the walker Marida had shot down. When Ryder asked about Morad, Ezra informed him and Marida that he had died. Back at Ryder's base, Chopper uploaded the plans to the rebel base on Atollon. After Sabine decrypted the plan, Ryder and the Spectres learned they contained blueprints for Thrawn's new starfighter initiative. The rebels feared the Empire would use these deflector shield-equipped starfighters to destroy the rebellion.
Mon Mothma's speech
Later, Ryder Azadi, Old Jho, and Marida Sumar were at Old Jho's Pit Stop when Mon Mothma delivered a speech on HoloNet, urging the galaxy to rebel against the Empire.
Battle of Atollon
Before the Phoenix Squadron and General Jan Dodonna's Massassi Group's planned assault on the TIE Defender factories on Lothal, Ryder informed his rebel comrades that most of the Imperial fleet had left Lothal. Hera realized Thrawn had discovered Chopper Base and Atollon. Ryder's transmission was cut off as the Imperial fleet jammed long-range transmissions, preceding the Battle of Atollon, where the rebels suffered heavy losses against Grand Admiral Thrawn's Seventh Fleet.
TIE Defender Elite heist
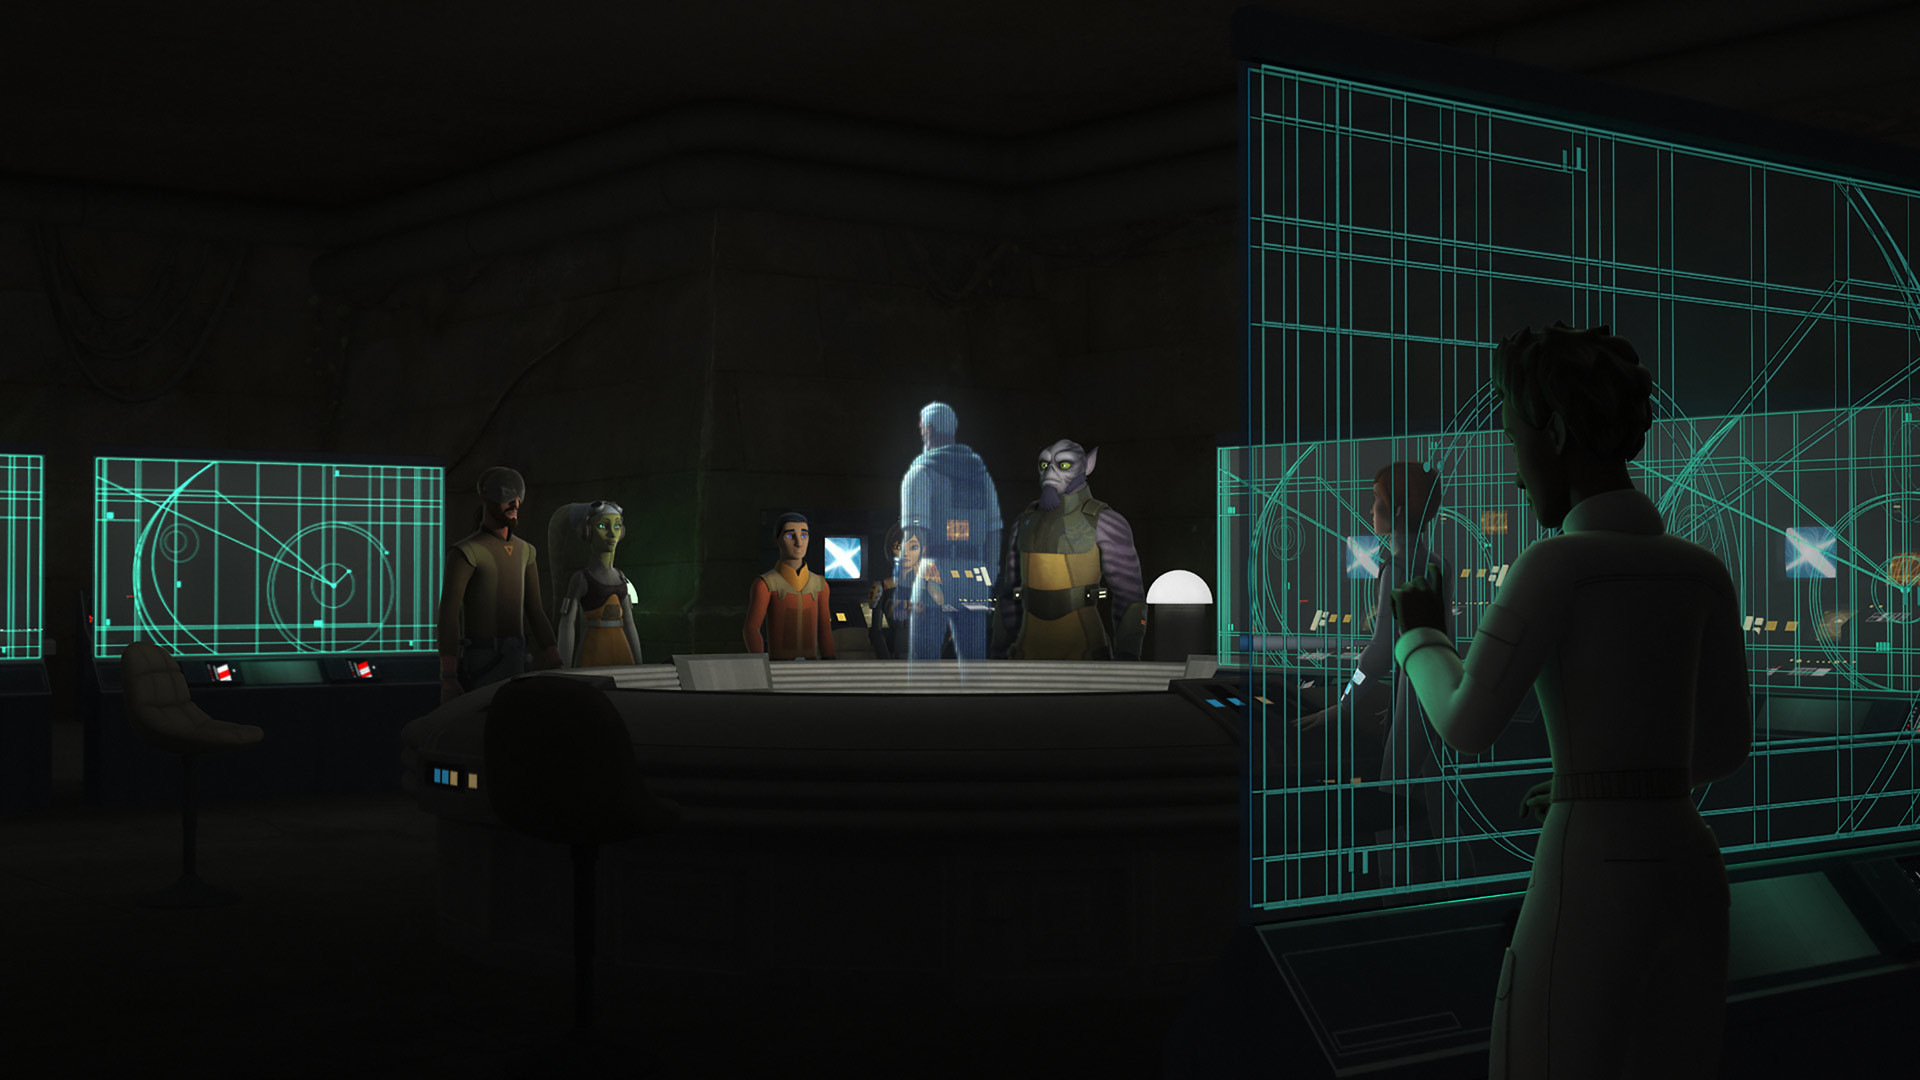
Despite the heavy Imperial occupation and the Mining Guild's destructive mining activities that plagued Lothal, Ryder and his fellow rebels persisted in their fight against the Empire. Upon learning about the construction of a new fighter on Lothal, he reached out to Rebel high command for reinforcements. During this period, he dispatched his trusted comrade Jai Kell to the former location of Old Jho's Pit Stop, hoping for the arrival of assistance. Simultaneously, Ryder's cell became a target of an Imperial crackdown that tragically resulted in Jho's death.
Eventually, Rebel high command received Ryder's urgent message and responded by sending the Spectres to aid him. Jai encountered Ezra and Sabine, and after reuniting with the rest of the Spectres, they followed the starbird markings through the sewer system. Ryder intervened just in time to prevent the group from being surrounded and captured by the Empire. He expressed surprise that his message had been received and that only the Spectres had been sent. Ezra reassured him that they would liberate Lothal, emphasizing that rebellions always begin with small steps. While Ryder acknowledged Ezra's optimism, he cautioned that their hope might diminish upon witnessing the Empire's new prototype fighter.
Later, Ryder accompanied the Spectres on a reconnaissance mission to assess the Elite. When the situation escalated into a confrontation with Thrawn, Ryder expressed concern for Ezra and Sabine's safety, but Zeb assured him that they would be alright. Eventually, Ezra and Sabine rejoined Ryder and the others, and they returned to his camp. The next day, the rebels successfully acquired the hyperdrive from the stolen TIE Defender Elite and installed it into Ryder's U-wing. However, their camp was soon discovered when the Noghri assassin Rukh tracked them back to their base. While Hera Syndulla and Chopper departed for Yavin 4 with the Defender's flight data recorder, Ryder and his rebels managed to escape with the assistance of several Loth-wolves, who guided them from the northern to the southern hemisphere.
Continuing the fight
Subsequently, Ryder and his rebel cell established a new camp within the caves where the Loth-wolves had led them. He later guided Ezra, Kanan, and Zeb to a nearby Mining Guild ore crawler, which they boarded. The rebels encountered several indentured civilians, including the crime lord Cikatro Vizago, who had previously smuggled the Spectres onto Lothal. In addition to subduing the Trandoshan overseers Proach and Seevor, the rebels narrowly avoided an Imperial search party. After freeing the prisoners, the rebels successfully contacted Hera, who informed them that Rebel high command was dispatching an attack force to Lothal to destroy the factories and fuel depots, boosting the rebels' morale.
During the Attack on Lothal, Ryder, his cell, and the Spectres sabotaged several towers housing turrets that were defending the factory where the Elites were being manufactured, enabling rebel fighters to bombard the facility. From a safe distance, they witnessed numerous fighters crashing in and around the city, realizing that the strike force had been decimated. Ryder was disheartened by this turn of events, and when Sabine alerted them to the arrival of several gunships, Ryder instructed the group to evacuate before they were discovered.
Kanan's death
Following the unsuccessful attack, Ryder, Mart Mattin, and Jai Kell observed the Spectres constructing several Loth-bat gliders. He remained at the rebel camp while the Spectres embarked on a mission to the Imperial Complex to rescue their leader, Hera Syndulla. Tragically, during the mission, Kanan perished when Governor Pryce detonated the Lothal City fuel depot in an attempt to eliminate the rebels.
In the aftermath of Kanan's death, Ryder, along with Mart and Jai Kell, listened to a propaganda broadcast by Alton Kastle, who declared that the rebellion on Lothal was over and that their leadership had been crushed. When Ryder suggested contacting Rebel Command for reinforcements, Ezra countered that the fight on Lothal was lost and that Mon Mothma would not allocate any further resources. Ryder then inquired of Hera about their next course of action. However, Hera was overwhelmed with grief due to Kanan's death. The rebels subsequently discovered that Kanan's sacrifice had not been in vain, as the destruction of the fuel depot had crippled Thrawn's TIE Defender factory on Lothal.
Trapping Governor Pryce
After the Spectres' mission to the Lothal Jedi Temple, Ryder and several other rebels, including Sabine, Zeb, and Mart Mattin, attended a meeting where Ezra outlined their plan to seize Capital City from the Empire before Grand Admiral Thrawn returned to Lothal. Aware of the failure of Hera's previous attack, Ryder believed that the Lothal resistance had little chance of success against Thrawn. He argued that their best strategy was to remain hidden, reorganize, and rebuild their forces. When Ezra asked Ryder to trust him, Ryder countered that they needed an army to reclaim Lothal. Ezra responded that they only needed one person.
Following Ezra's instructions, Ryder contacted Governor Pryce and offered to sell her the coordinates of the Lothal resistance base in exchange for escaping imprisonment. Desperate to gain favor with Thrawn, Pryce accepted the offer. As planned, Governor Pryce led a force of patrol transports and stormtroopers to the Lothal cliff dwelling that served as the Lothal resistance base. When the Noghri tracker Rukh entered the camp, Ryder deliberately avoided shooting him to maintain the illusion that he was a traitor. Despite fierce resistance, Pryce managed to corner the Lothal rebels and Spectres on top of a Mining Guild ore crawler.
After Pryce's forces had captured the rebels, the Governor commended Ryder for bringing peace to Lothal. When Sabine pretended to be angry at Ryder, he claimed that they needed an army to retake Lothal. As Pryce gloated over her victory, Ryder revealed that it was all a ruse to lure Pryce into a trap. Moments later, Hera arrived with reinforcements, including the former Clone troopers Gregor, Wolffe, the Weequay pirate Hondo Ohnaka, the Ugnaught Melch, and the former Imperial Security Bureau Agent Kallus. Hera shot down Pryce's remaining gunships while Pryce's forces were overwhelmed by loth-wolves. The rebels then took Pryce and her surviving troops prisoner.
Liberating Lothal
Before the assault on the Dome, Ryder and Kallus brought the captive Pryce before Ezra, who used the White Loth-wolf to force her cooperation in their plan to infiltrate the Dome, the center of Imperial power on Lothal, which turned out to be a mobile Imperial Planetary Occupation Facility. The rebels then traveled in two patrol transports to the Dome, using Pryce's access codes to gain landing rights. After a brief skirmish, the rebels managed to capture the command center.
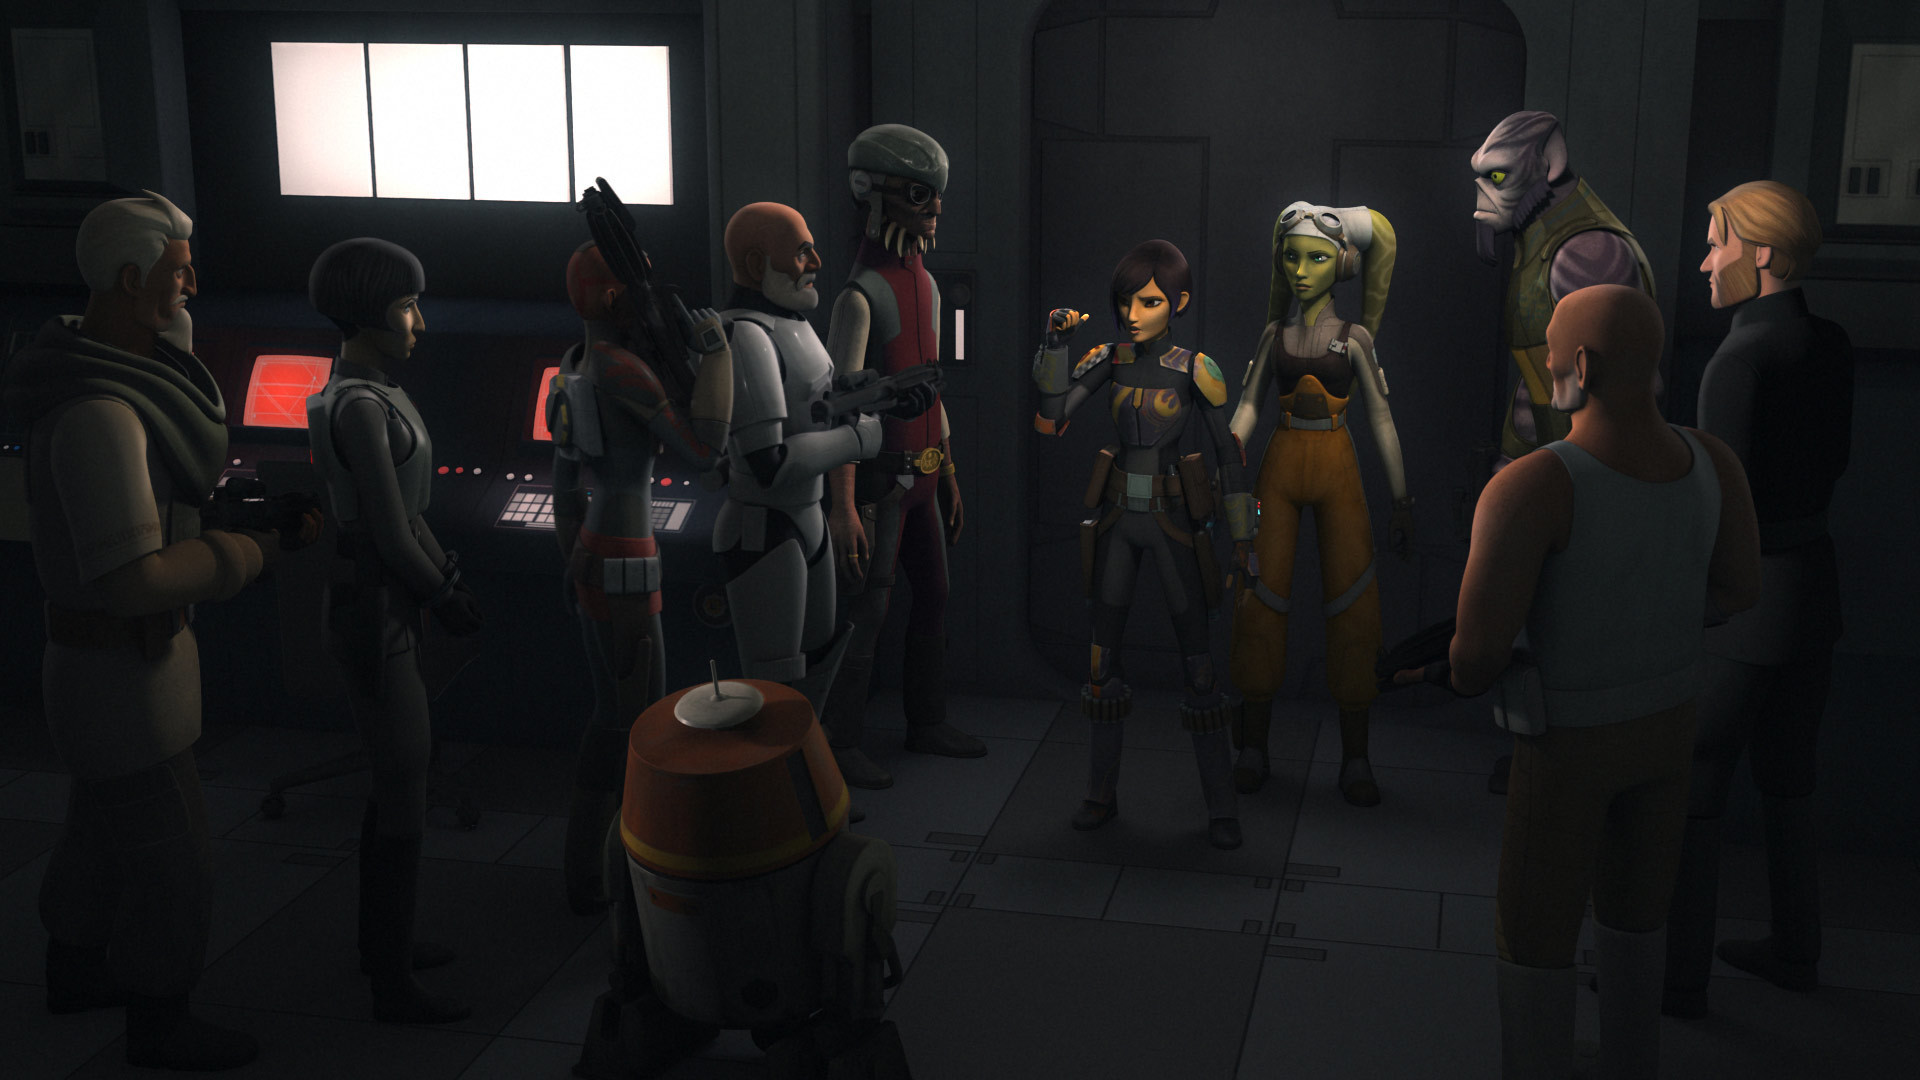
With control of the command center secured, Ryder aided Ezra and Kallus in initiating a false Protocol 13. This action led to the evacuation of the entire Imperial garrison on Lothal aboard the Dome. When an Imperial officer voiced his skepticism, Ryder impersonated Imperial Security Bureau Colonel Wullf Yularen to ensure his compliance. However, before the rebels could launch the Dome's thrusters, Grand Admiral Thrawn arrived aboard the Imperial Star Destroyer Chimaera and blocked their path.
Thrawn compelled Ezra to come to him to discuss an unconditional surrender by bombarding Capital City. In Ezra's absence, the rebels implemented Sabine's plan to dispatch two strike teams to reclaim the northern and southern power terminals in order to reactivate the shield generators. Ryder remained with Hera, Sabine, and the captive Pryce in the command center throughout the fighting.
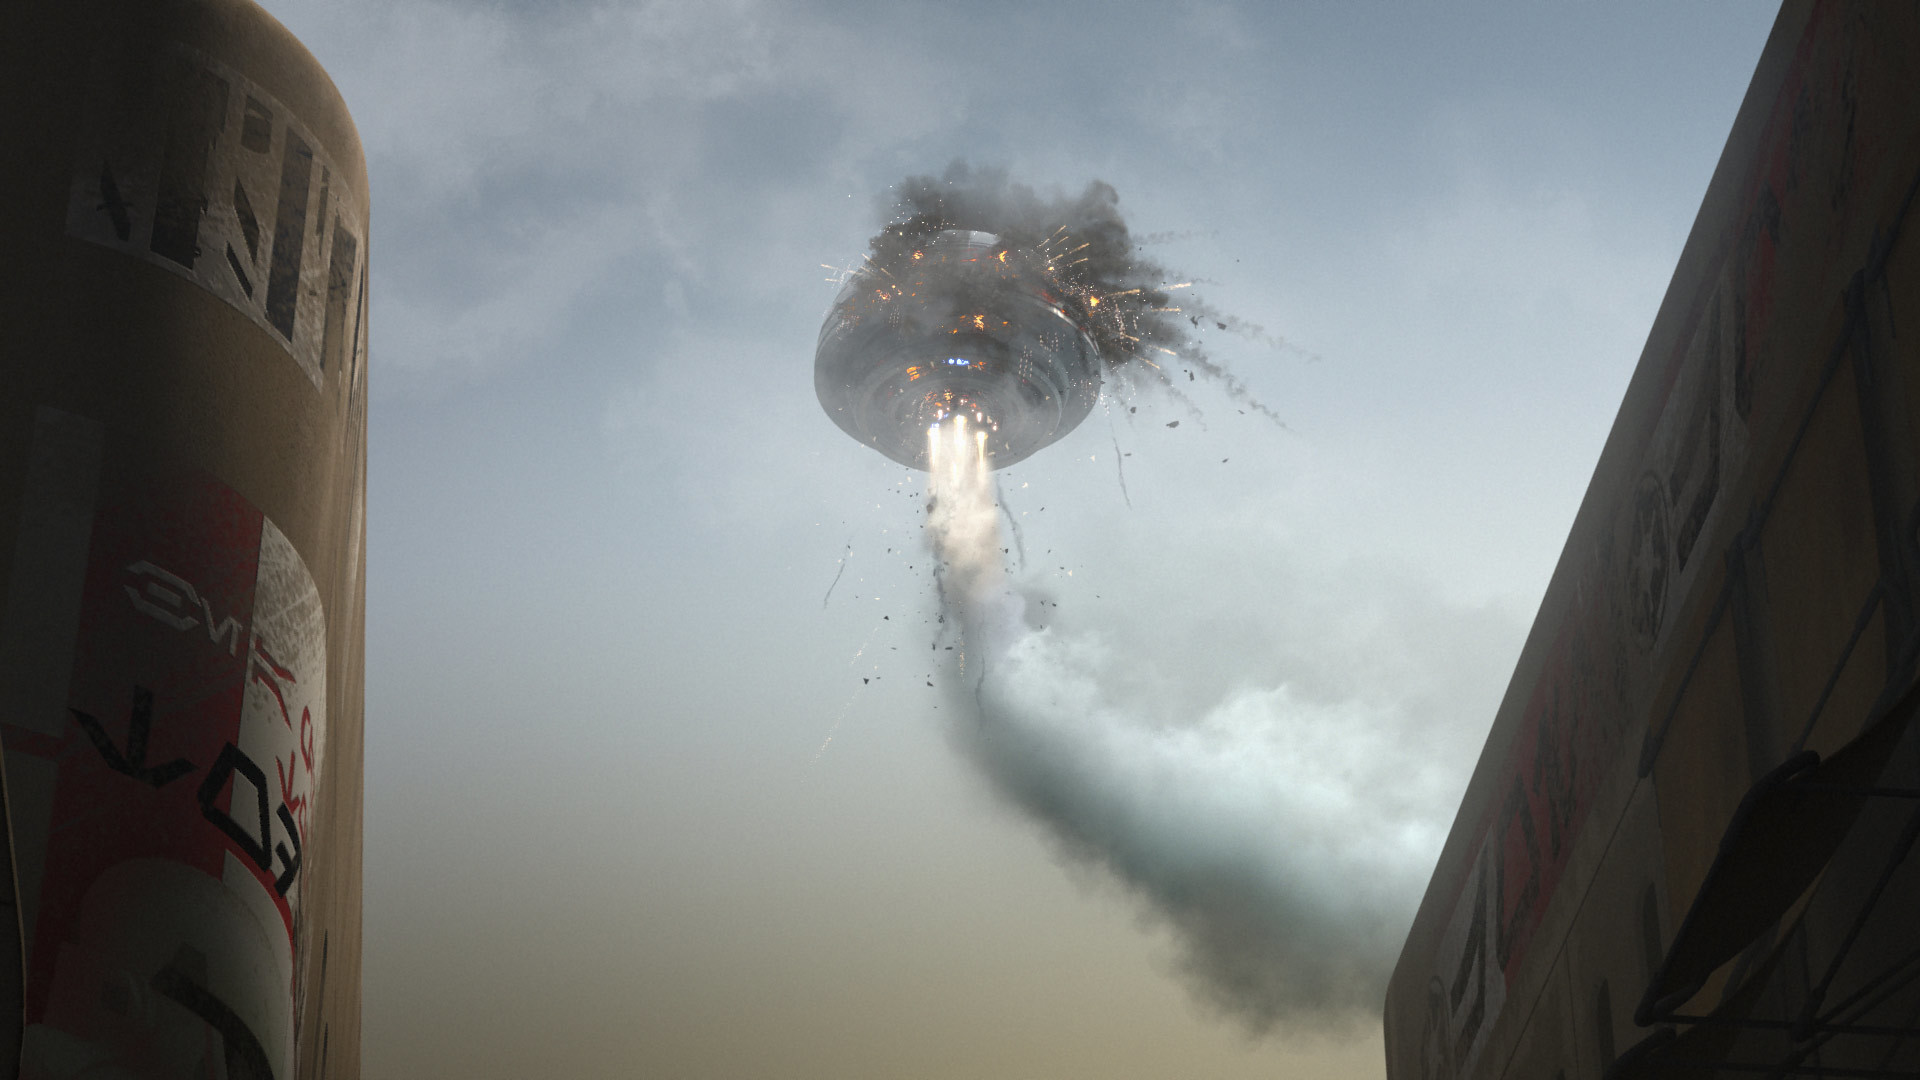
After Ezra used a pod of purrgil to carry himself, Thrawn, and the Chimaera into uncharted space, the rebels successfully completed their mission to launch the Dome into Lothal's upper atmosphere. Before the rebels detonated the Imperial base, Ryder attempted to reconcile with Pryce and offered her the chance to join them. However, Pryce refused his offer and perished when the Dome exploded. Ryder and the rebels evacuated aboard the Ghost. Thanks to their combined efforts, Ryder and his rebel comrades succeeded in driving the Empire from Lothal, allowing the planet and its people to begin their recovery.
Reinstated governor
Anniversary of the liberation of Lothal
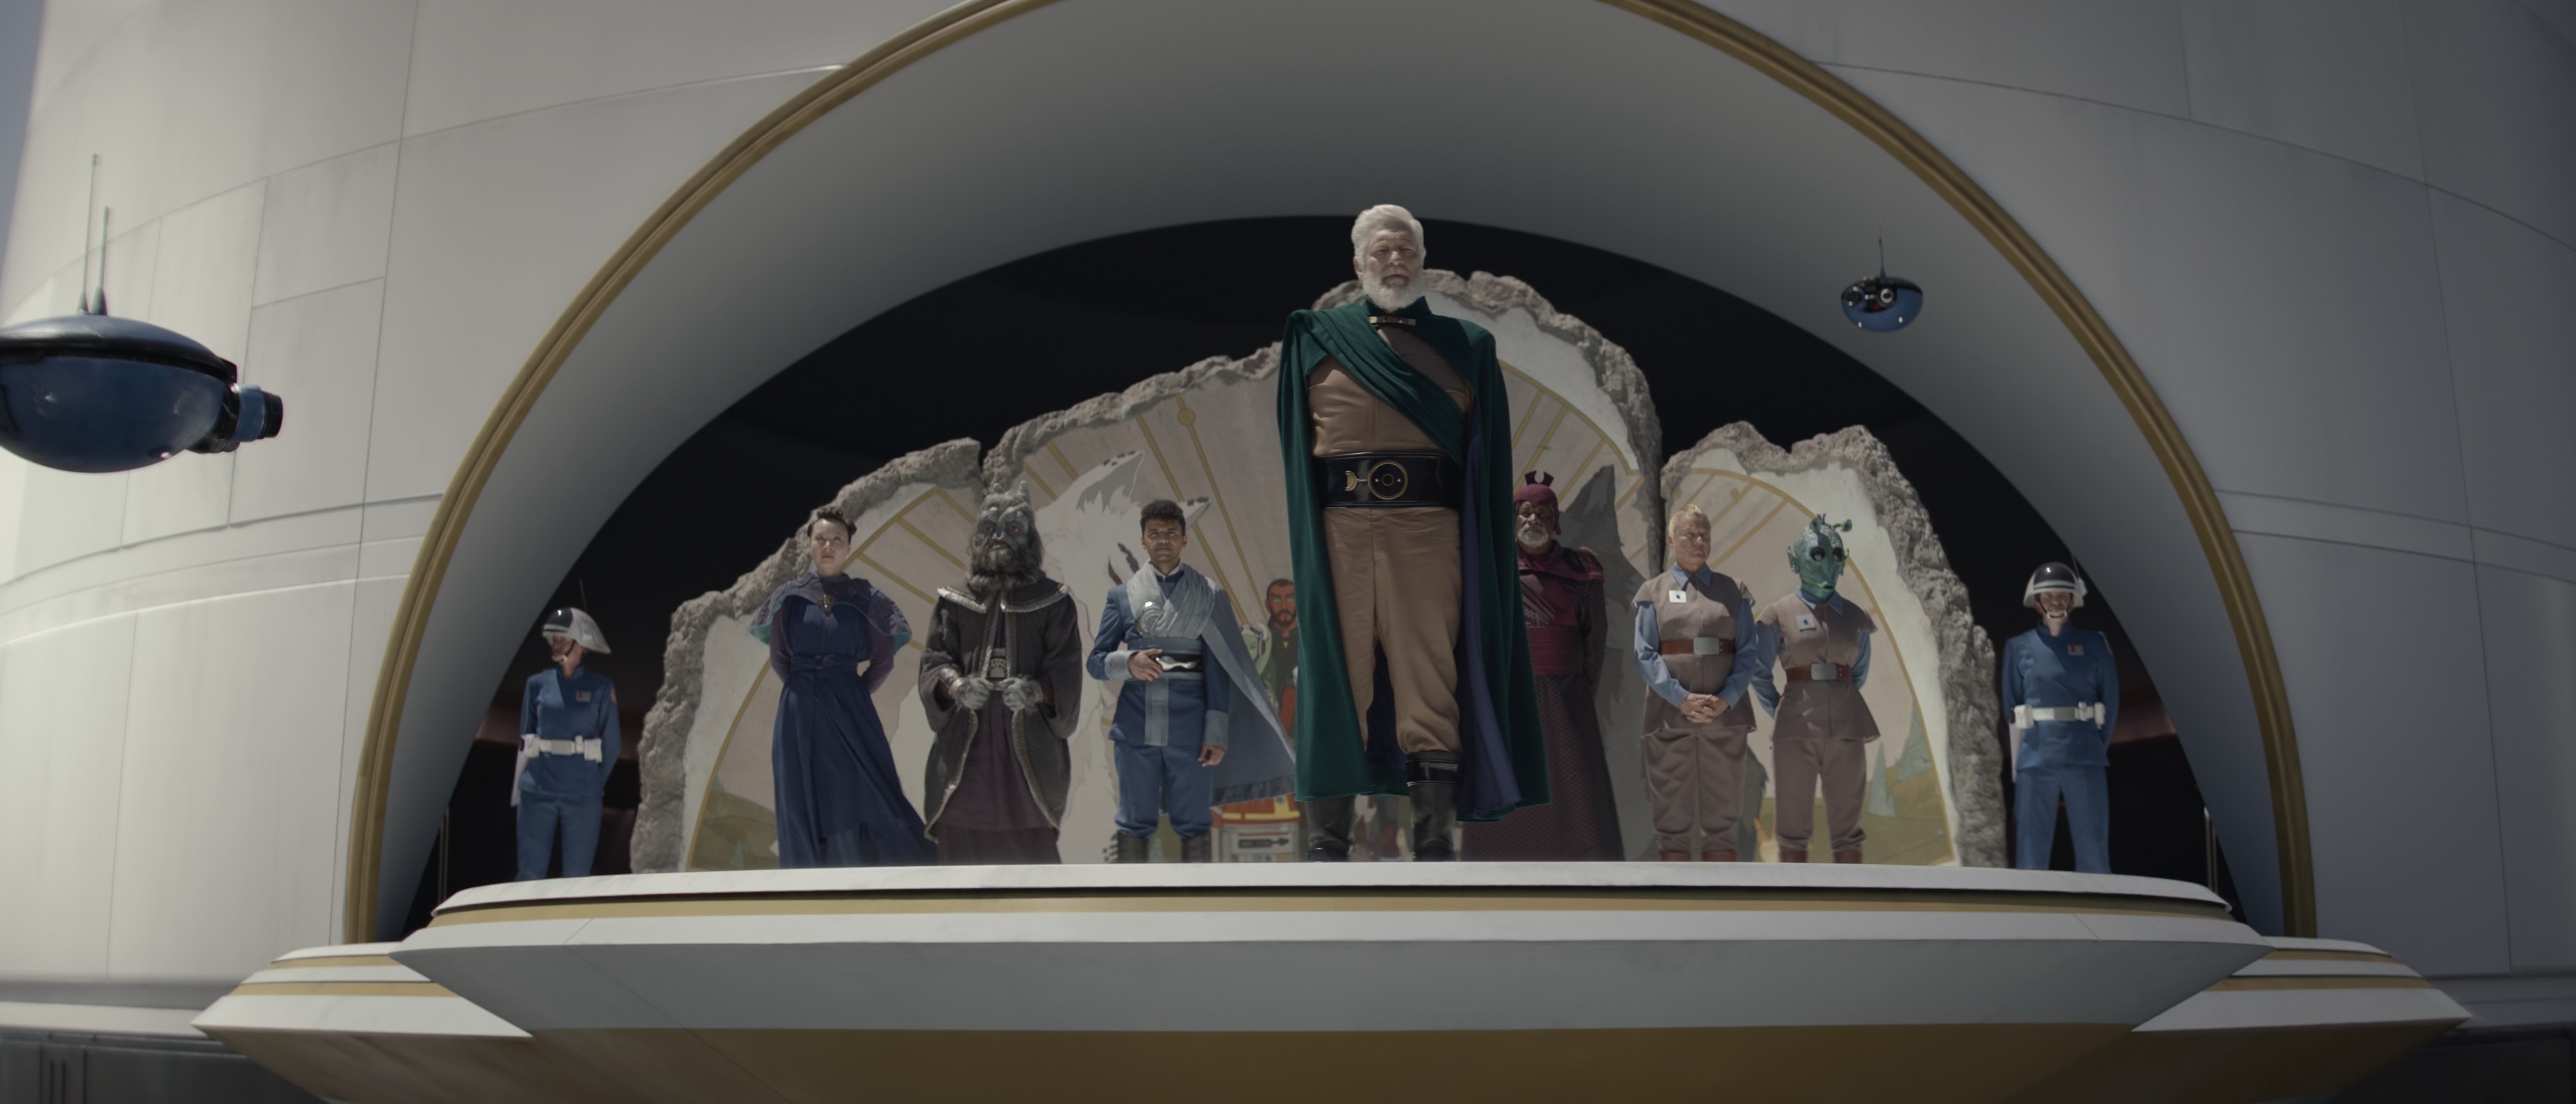
By 9 ABY, under the authority of the New Republic, Azadi was restored to his position as the governor of Lothal. He later presided over a ceremony commemorating the Battle of Lothal, which featured a mural of the rebel cell known as the Spectres accompanied by two Loth-wolves. He had requested Wren to deliver an inspirational speech, but she failed to appear. In an effort to locate Wren, Azadi pulled Kell, who was now a senator in the New Republic Senate, to address the public while he ordered a perimeter sweep to find the missing Mandalorian.
The following day, Azadi personally welcomed Ahsoka Tano and Huyang at the same time that Wren arrived at the high tower. Azadi reminded the Mandalorian that she had missed the ceremony. Wren claimed that she had simply forgotten, to which Azadi responded that she had been missed, noting that, with the exception of Sabine, "everyone else" had been present, although the Mandalorian countered that Azadi's statement was incorrect. After briefly observing the tension between Wren and Tano, Azadi encouraged the former to listen to what the latter had to say before departing.
Personality and traits
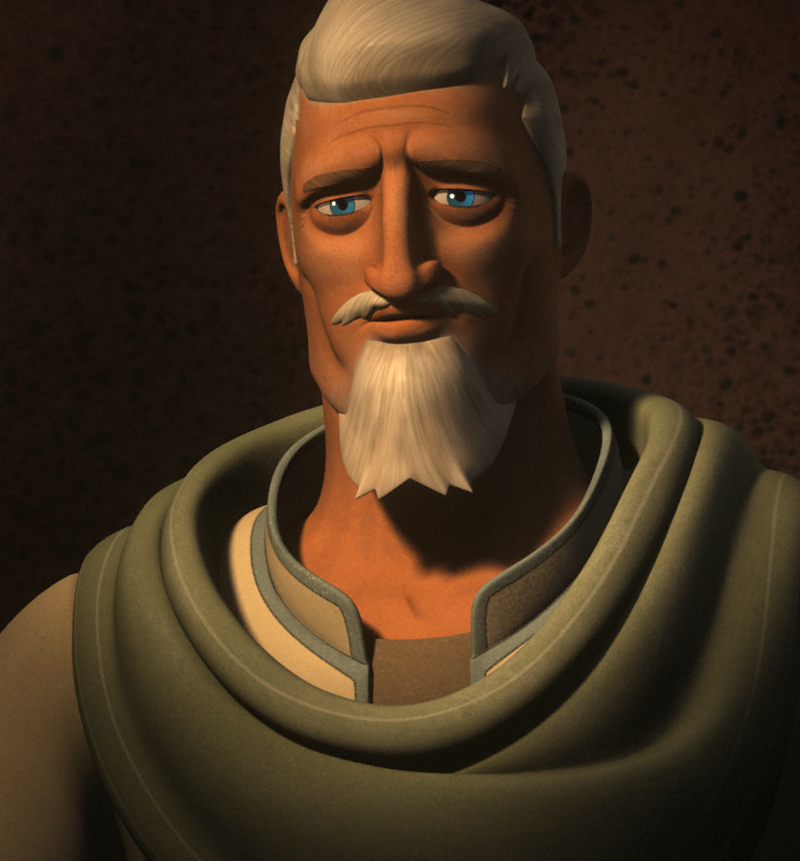
Ryder Azadi was a human male characterized by white hair, blue eyes, and a copper complexion. During his tenure as an Imperial governor, Azadi coveted the Pryce family's Pryce Mining company. When Arihnda Pryce refused to allow him to purchase a controlling interest in the family's business, Azadi falsely accused her mother, Elainye, of embezzlement. Although Pryce thwarted Azadi's takeover by selling the company to the Empire, Azadi's actions earned him Arihnda's lasting animosity.
Despite his position as an Imperial governor, he secretly supported the revolutionary broadcasts made by Ephraim and Mira Bridger, a decision that resulted in his being charged with treason and imprisoned in an Imperial facility. The time he spent in Imperial prison left Azadi weary. Following his escape, he initially wanted nothing to do with rebellious activities, fearing that any involvement would lead to his re-imprisonment, a fate he could not endure. He reluctantly agreed to assist with only one mission, feeling indebted to the rebels for his rescue. His participation rekindled his passion for resisting the Empire's actions, and he joined their ranks to continue the fight.
Ryder later used his knowledge of Capital City and Lothal's natural terrain to assist the Spectres in their mission to disrupt the Empire's TIE Defender manufacturing operations on Lothal. Ryder also owned a U-wing, which he loaned to Hera to facilitate her escape from Lothal with the TIE/D Defender Elite's flight data recorder.
Ryder also possessed a talent for deception and used his cunning to trick Governor Pryce into sending her forces into a trap at the Lothal cliff dwelling. Ryder appealed to her desire to please Thrawn and portrayed himself as a self-serving opportunist seeking to save his own life. This strategy proved successful, and the rebels managed to capture Pryce, who was crucial to their plan to drive the Empire from Lothal's Capital City.
Ryder further employed his ventriloquist skills to mimic Colonel Yularen in order to facilitate the rebels' plan to draw the Imperial garrison aboard the "Dome." Ryder offered Pryce the opportunity to come with them before detonating the Dome. However, Pryce chose to remain behind and die in service to the Empire.
Equipment
Ryder Azadi wore clothing with a belt and helmet. When capturing Governor Pryce, Ezra Bridger supplied Azadi with a pair of binders to restrain the Imperial. He carried a DLT-18 laser rifle, which he used as a sniper rifle, and a DL-44 heavy blaster pistol.
Behind the scenes
Ryder Azadi made his first appearance in "Legacy," an episode in the second season of the animated television series Star Wars Rebels. He was voiced by actor Clancy Brown, who had previously voiced Savage Opress from Star Wars: The Clone Wars. Azadi was first portrayed in live-action—again by Clancy Brown—in "Part One: Master and Apprentice," the first episode of the 2023 Disney+ series Ahsoka.