Part One: Master and Apprentice
The inaugural episode of Star Wars's Ahsoka_ is entitled "Part One: Master and Apprentice." Dave Filoni both penned the script and directed the episode. Initially, the premiere was planned for August 23, 2023, to coincide with "Part Two: Toil and Trouble," but an announcement on August 18 moved the release date to August 22. This episode serves as a dedication to Ray Stevenson, who played Baylan Skoll and tragically passed away before the series' debut, marked by the message: "For our friend, Ray."
Official description
An important prisoner manages to escape from the New Republic; a search for answers leads to a reunion between two long-time companions.
Opening crawl
Plot summary
The Imposter "Jedi"
The episode commences with the New Republic cruiser traversing through space. Within the bridge, a navigator droid informs Captain Hayle that they are entering Sector G-38. She indicates that an unidentified starship is approaching their cruiser. The captain demands the approaching ship identify itself and provide clearance codes. The communications officer reports that the ship's occupants claim to be Jedi seeking to visit a prisoner, transmitting an antiquated Jedi signal. The captain decides to challenge their claim and sends security to the hangar to meet these alleged Jedi, delegating command of the bridge to a female officer in his absence.

As the shuttle nears the hangar, the captain leads a squad of blue New Republic soldiers, including a Mon Calamari named Jakris, to confront the supposed "Jedi." Two cloaked figures emerge from the shuttle. The bearded man, Baylan Skoll, expresses gratitude to Hayle for permitting them to board. Hayle voices his surprise at encountering Jedi in this location. Skoll notes that their existence is largely unknown, prompting Hayle to dismiss them as Imperial remnants who have overstepped their bounds. Skoll warns Hayle that he is making a mistake. Hayle asserts that the Imperials should have surrendered earlier and instructs Jakris to have RD-3 scan them for identification.
Skoll offers to provide identification before signaling his female apprentice, Shin Hati, to assault the New Republic soldiers and crew using her orange lightsaber. Hayle attempts to fire at Skoll, but Skoll uses the Force to immobilize his blaster. Skoll confirms he is not a Jedi before fatally stabbing Hayle through the chest with his orange lightsaber.
Back on the bridge, First Officer Jensen Corbyt learns of Captain Hayle's death and the intruders' advance toward the detention block. Hati forces her way onto the bridge and eliminates Corbyt. Skoll cuts down several New Republic soldiers with his lightsaber and uses a Force choke on another. He opens a cell, revealing a restrained Morgan Elsbeth in a yellow uniform. Skoll employs the Force to release her. Elsbeth thanks Skoll for keeping his word, to which Skoll replies that he is well compensated. Elsbeth reveals that Ahsoka Tano, the Jedi who captured her, seeks a map to locate Grand Admiral Thrawn.
Escape on Arcana
Concurrently, Tano explores ruins on Arcana. She approaches a runic circle in a stone courtyard and uses her twin lightsabers to create an opening below. Tano enters a stone chamber and observes a cloaked figure carved into the wall. She interacts with a cylindrical structure, rotating it several times, causing an object within the carving to illuminate. She repeats this process for the remaining four figures, causing an altar with a rectangular stone object to rise from the floor.

Tano touches the stone box, which disintegrates to reveal a golden orb. She informs Professor Huyang via comlink that she has located the object, but his transmissions are being disrupted. Tano returns to the surface and is confronted by a red HK assassin droid demanding the map. Tano finds herself surrounded by five assassin droids armed with electrostaffs. Tano ignites her twin lightsabers in defense. Tano jumps back into the hole she created and uses her lightsaber to cut holes between three of the droids.
Upon returning to the surface, she battles the remaining two, striking one across the torso with her lightsaber. She decapitates the fifth droid. As two droids emerge from their holes, the lead droid orders the initiation of self-destruct protocols. The other two droids comply, forcing Tano to retreat. While fleeing, she contacts Huyang, who informs her that their T-6 Jedi shuttle is positioned above her. She instructs him to lower the ramp at a distance from the ruins. The two escape before the assassin droids trigger a fiery explosion that engulfs the ruins.
Inside the cockpit, Tano discusses the communication issues with Huyang, who explains that he maintained a safe distance as per Jedi mission protocol. She retorts that the Jedi Order no longer exists. When Huyang cites his programming, she advises him to stay close and watch her back. Huyang points out that this is the role of a Jedi Padawan learner, which he is not. Tano tells Huyang that he found the map based on Elsbeth's information. When Huyang asks how she got Elsbeth to tell the truth, Tano replies that she wasn't following Jedi protocol.
New Republic calling
Shortly thereafter, they receive a transmission from New Republic Fleet Command, informing Tano and Huyang about the recent attack via comms. Tano and Huyang then travel to Home One via hyperspace. Tano identifies their ship as T-6 1974, and Fleet Command clears them to land at hangar 2-9. Inside the hangar, General Hera Syndulla greets them and informs them about Elsbeth's escape.
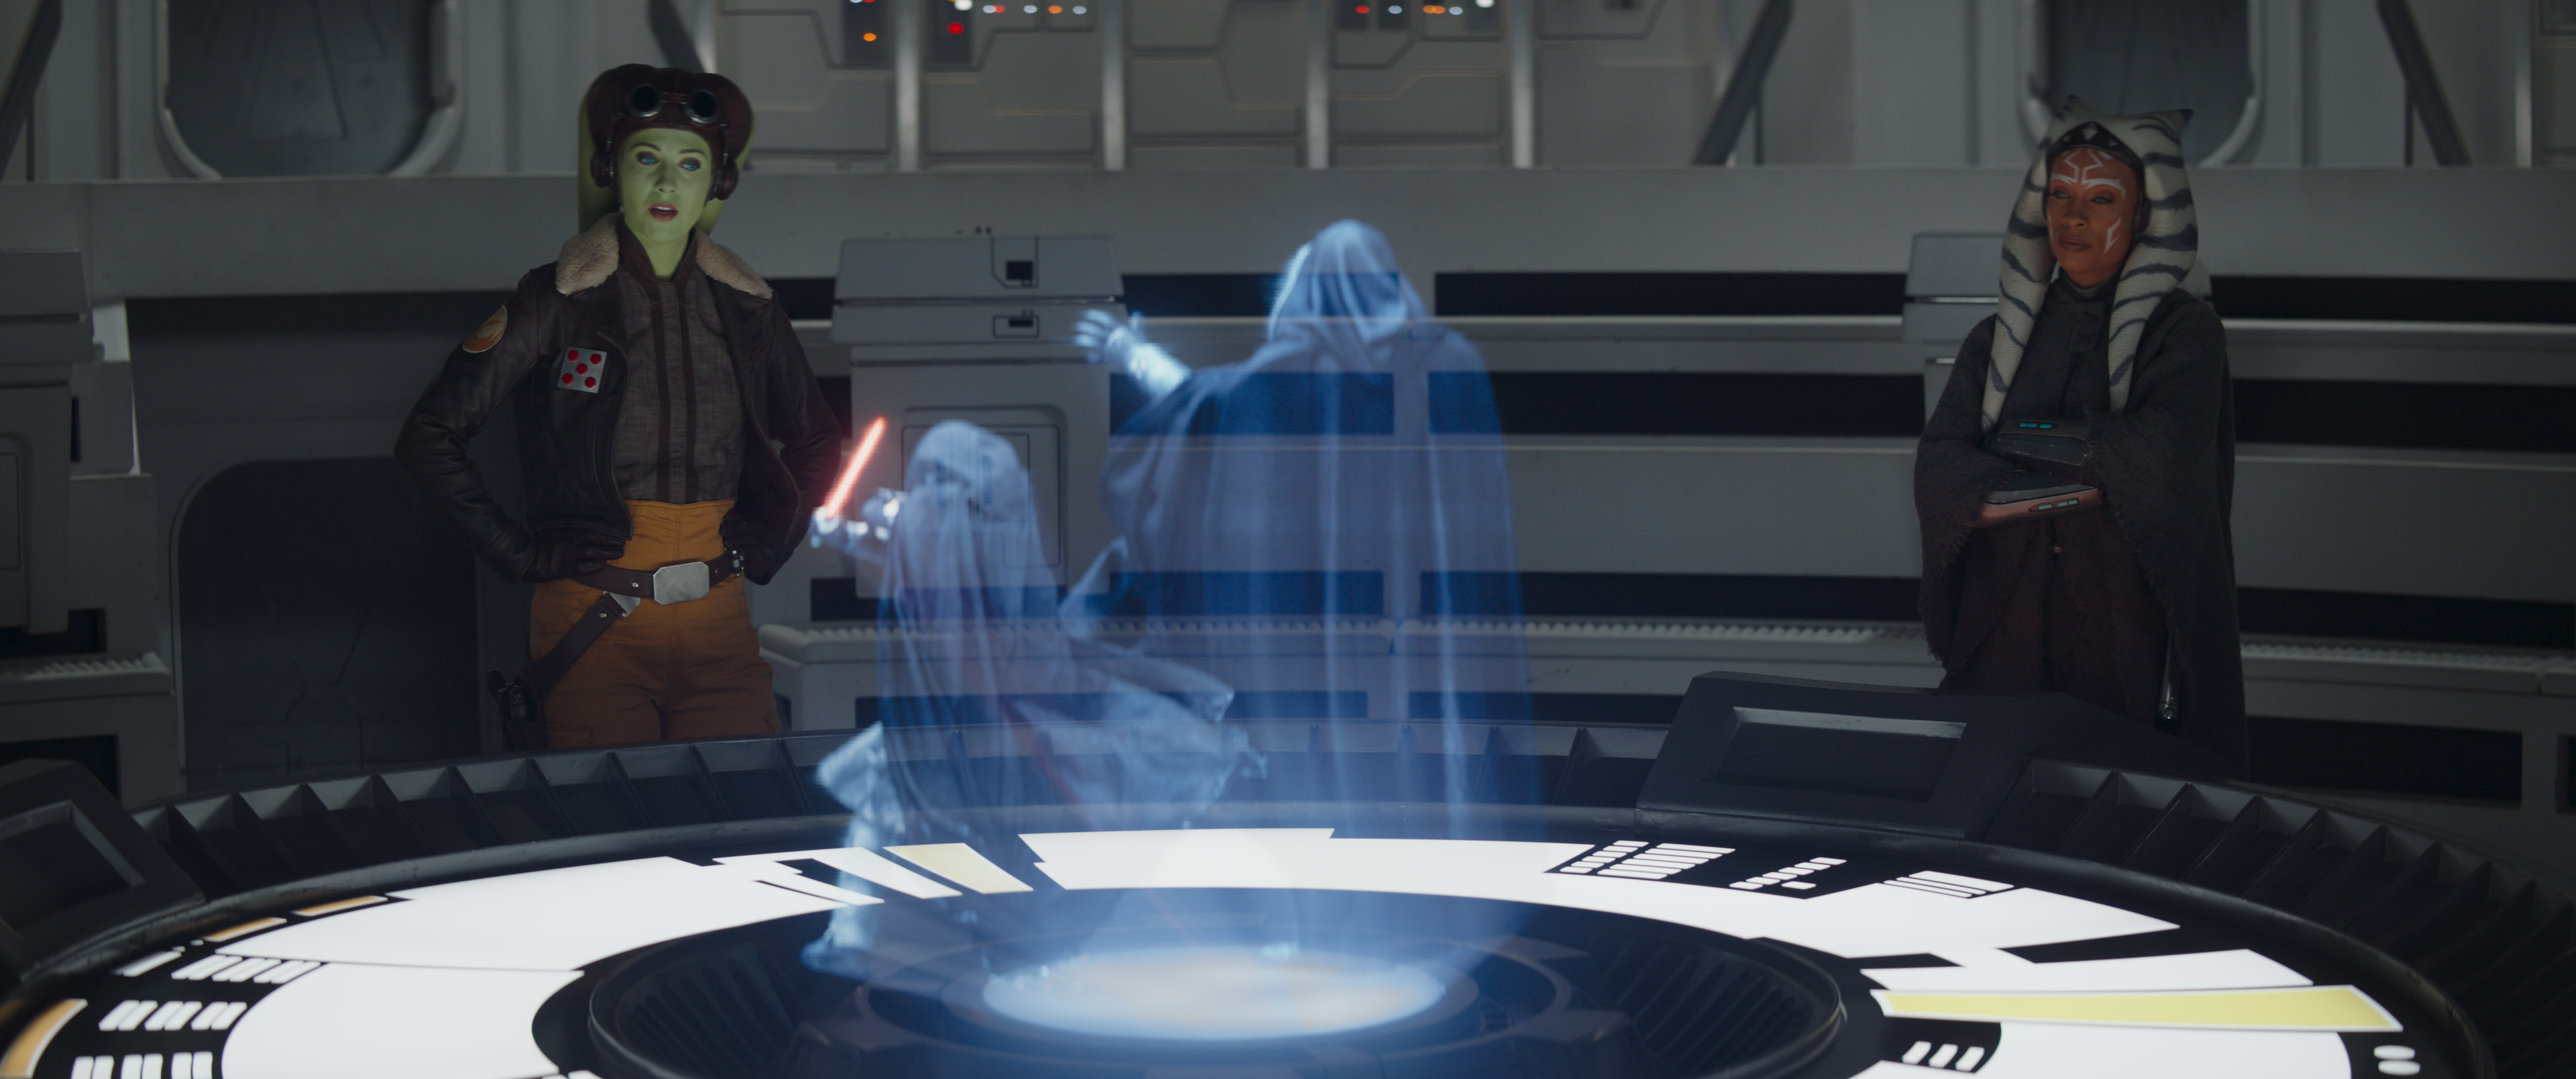
Syndulla has prepared a briefing for Tano to catch up. During the briefing, Syndulla informs Tano and Huyang about the damage inflicted by the two mercenaries, including the elimination of an entire security detail and the destruction of a new starship. Tano is unfamiliar with the attackers, who displayed Force abilities akin to the Jedi. Huyang suggests that one of the intruders may have been a Jedi. Tano instructs Huyang to scan Skoll's and Shin’s lightsabers.
When Syndulla inquires about the mercenaries' connection to Elsbeth, Tano explains that Elsbeth hires them for plausible deniability. Tano presents Syndulla with the golden orb, explaining that Elsbeth sought this map believing it would lead to Thrawn, the last Imperial Grand Admiral. Syndulla expresses surprise that Thrawn survived the Battle of Lothal, but Tano explains that she heard whispers of his survival. Syndulla asks if this means that Ezra Bridger is alive. Tano is unsure but warns that their enemies are also searching.
Syndulla wants to examine the map, but Huyang is unable to find the key required for activation. Syndulla remarks that things are never straightforward with the Jedi. A Mon Calamari officer informs Syndulla that the Defense Council is requesting an update. Syndulla says she will attend to the matter and tells Tano she knows who can help her. Tano is uncertain that this friend will help but Syndulla reassures that she will do it for Bridger.
A reluctant heroine
A celebration is underway in Lothal's Capital City, marking the seventh anniversary of the Empire's defeat at the hands of Bridger. Governor Ryder Azadi delivers a speech, crediting Bridger with liberating their homeworld and dedicating monuments, including a mural, to his memory and that of other rebel leaders. He announces that Commander Sabine Wren will say a few words. When she doesn't appear, Azadi instructs security to conduct a perimeter sweep and locate Wren via comlink. In the meantime, Senator Jai Kell addresses the crowd.
Meanwhile, Wren rides a speeder bike toward the old communications tower, Bridger's former residence. Two New Republic E-wing starfighters, piloted by Captain Porter and Lieutenant Callahan, approach and flank her. Captain Porter informs her that she is missing the anniversary celebration. He orders Wren to stop, but she ignores him. Instead, she accelerates and maneuvers under Callahan's E-Wing, which Callahan positions as a roadblock on the highway. Wren evades Callahan and proceeds to the communications tower.
At the communications tower, Wren feeds her pet Loth-cat, Murley. She then retrieves her imagecaster and views a recording Bridger made before his disappearance at the Battle of Lothal. Bridger apologizes for leaving without saying goodbye. He explains that as a Jedi, he must make decisions that others cannot. Bridger considers Wren a sister and trusts her to continue the fight. He expresses his hope that the Force will be with her.
Unfinished business
On Arcana, Skoll, a former Inquisitor named Marrok, Hati, and Elsbeth survey the recently destroyed ruins. When Hati asks about the location, Elsbeth explains that it was an ancient temple constructed by her ancestors, the Nightsisters of Dathomir. When Hati asks, Elsbeth admits she is a witch and adds that she is survivor. Skoll believes that Tano either stole the map or was destroyed by the assassin droids. Elsbeth knows that Tano survived the blast. When Skoll says Tano was lucky, Elsbeth says that fate has everything to do about it. She then dispatches Hati to Lothal to retrieve the map. Hati seeks her master's counsel. Skoll tells her to go to Lothal to seek Sabine Wren.
That night, Wren experiences a nightmare about Bridger. Upon waking, she hears a perimeter alert. She exits the tower and observes two X-Wings escorting Tano's T-6 into Capital City. In the capital, Tano lands her T-6 shuttle near a ledge on a high tower. Wren arrives as Tano speaks with Governor Azadi. When Azadi notes Wren's absence from the ceremony, Wren replies that it slipped her mind. Azadi says everyone missed her but Wren replies not everyone was there. Huyang also greets Sabine, who recognizes him. Huyang says he still has 75 percent original parts before returning to the ship.
Azadi tells Wren to listen to what Tano has to say before leaving. Tano then tells Wren that she knows a way to find Bridger while showing her the orb. They both go inside Ahsoka's T-6 Jedi shuttle and discuss some things. Wren gazes at a bunk with several wall drawings including a loth-cat. When Wren asks if she is certain Bridger is still out there, Tano says nothing is certain but that their enemy is seeking Thrawn, which is what led her to the map.
Tano explains she found the map on the planet Arcana, a Nightsister stronghold thousands of years ago. Due to her skills as an artist, Tano seeks Wren's help in deciphering the map. Wren believes there is a code. Tano shares a scan of the Nightsister temple chamber where they found it. When questioned about where home is, Tano describes her soul as a home. Both women blame each other for not making it easy for each other. Tano replies that the Jedi way is hard.
Going alone
Just then, Huyang has an update. Wren asks for permission to take the map and study it. Tano refuses since she believes the map is not just about finding Bridger but preventing another war. She warns Wren that the Map stays aboard the ship before entering the lab to chat with Huyang. Huyang had scanned Skoll's and Hati's lightsabers. The droid says that he recognises one of the two hilts, which was built in the Jedi style. The one he knew belongs to Baylan Skoll, who disappeared at the end of the Clone Wars. Huyang tells Ahsoka that Skoll was Jedi trained. Tano surmises that Hati was Skoll's apprentice. He warns Tano that Skoll won't be alone for long.
When Tano returned to the briefing room, Wren had already left with the map despite Tano's instructions. In the meantime, Wren rode her speeder bike back to the old communications tower. A probe droid popped out from behind a signal crossing and reported back to Hati and two HK assassin droids, who stood miles away on a hilltop.
Once Sabine arrived at the communications tower, she gathered some documents and activated a holoprojector. Sabine then started to study the star map. She warns Murley not to touch the map and begins studying the map for a key. Back on Ahsoka's T-6, Tano and Huyang talked General Syndulla about Wren via holoprojector. Tano is worried about Wren but Syndulla tells her to give her some space. Syndulla believes that Wren is their best chance of reading the map. Tano admits she has a difficult relationship with Wren, describing the Mandalorian as stubborn and bullish. Syndulla attributes these traits to her Mandalorian background and says that mentoring can be a challenge, recalling that Anakin Skywalker found her difficult sometimes. Tano says that she walked away from her Jedi training and admits walking away from Wren.
Meanwhile, Wren was still trying to solve the puzzle of the star map back in her home. She looked at a holographic map of the Arcana temple ruins (which had three figures and faces) and suddenly realized how to unlock it. Sabine rotated the sides of the round star map, and the map projected a star map of another galaxy. She went out the door and on a balcony. Sabine then used a pair of binoculars and looked at the sky. Wren says she will be going on a trip.
The map heist
Suddenly, Murley snarled and a HK assassin droid attacked the Mandalorian warrior. Wren defeated it, but another droid grabbed her from behind. She managed to grab a blaster stored on the droid's back and shoot the foot of the HK. Wren managed to break free, but the other droid went inside her home and grabbed the unlocked star map. The HK assassin droid also destroyed Wren's datapads and blasted the consoles. Sabine told Huyang that she needed help via a comlink. Wren then went inside and grabbed her lightsaber. She rushed downstairs, and Hati and the HK droid stood there.
Wren ignited her green lightsaber. Hati gave the star map to the HK droid and ignited her reddish-orange lightsaber. The two then began to duel. Their blades sparked against each other. Wren tried to retrieve the map, but Hati was a better lightsaber duelist. Ahsoka tried to get to Wren as fast as possible, but it was too late. Wren raised her lightsaber above her head to counterstrike, but Hati skewered her through the abdomen. Hati was about to finish Wren, but she saw the T-6, so Hati and the HK droid ran off. Wren then collapsed onto the ground.