All Terrain Armored Transport
The All Terrain Armored Transport (AT-AT), a four-legged combat walker from the All-terrain vehicle series, served the Galactic Empire's ground forces, as well as the First Order's military. Functioning as a symbol of Imperial military strength, it stood alongside the Imperial-class Star Destroyer, stormtroopers, and the TIE fighter as an iconic representation of the Empire.
Variants
Initial Design
This version saw action against the early rebellion. This particular model included two heavy laser cannon turrets, four anti-personnel blasters, and a rear-mounted dorsal twin laser turret.
Subsequent Design
This iteration participated in the Galactic Civil War. Compared to the initial design, this model was shorter and equipped with dual Piperii-Cerlurn R-90C medium blasters on its sides, often referred to as "temples," and a pair of Taim & Bak MS-1 fire-linked heavy laser cannons positioned on its "chin."
Elite AT-AT Configuration
This was a modified version of the AT-AT used during the Galactic Civil War, this variant was equipped with enhanced features. These included thicker and darker armor, more powerful laser cannons, and a highly skilled crew of pilots.
First Order AT-AT Configuration
This represents an updated version of the AT-AT employed by the First Order.
Operational History
Era of the Empire

The AT-AT walker's development took place during the Clone Wars, eventually being integrated into the Imperial Army, which served as the Galactic Empire's ground forces. It evolved from the All Terrain Tactical Enforcer, also utilized in the Clone Wars, but presented a significantly more formidable display of walker technology. Characterized by heavy armor and an imposing presence, the AT-AT became the benchmark for Imperial ground-based firepower.
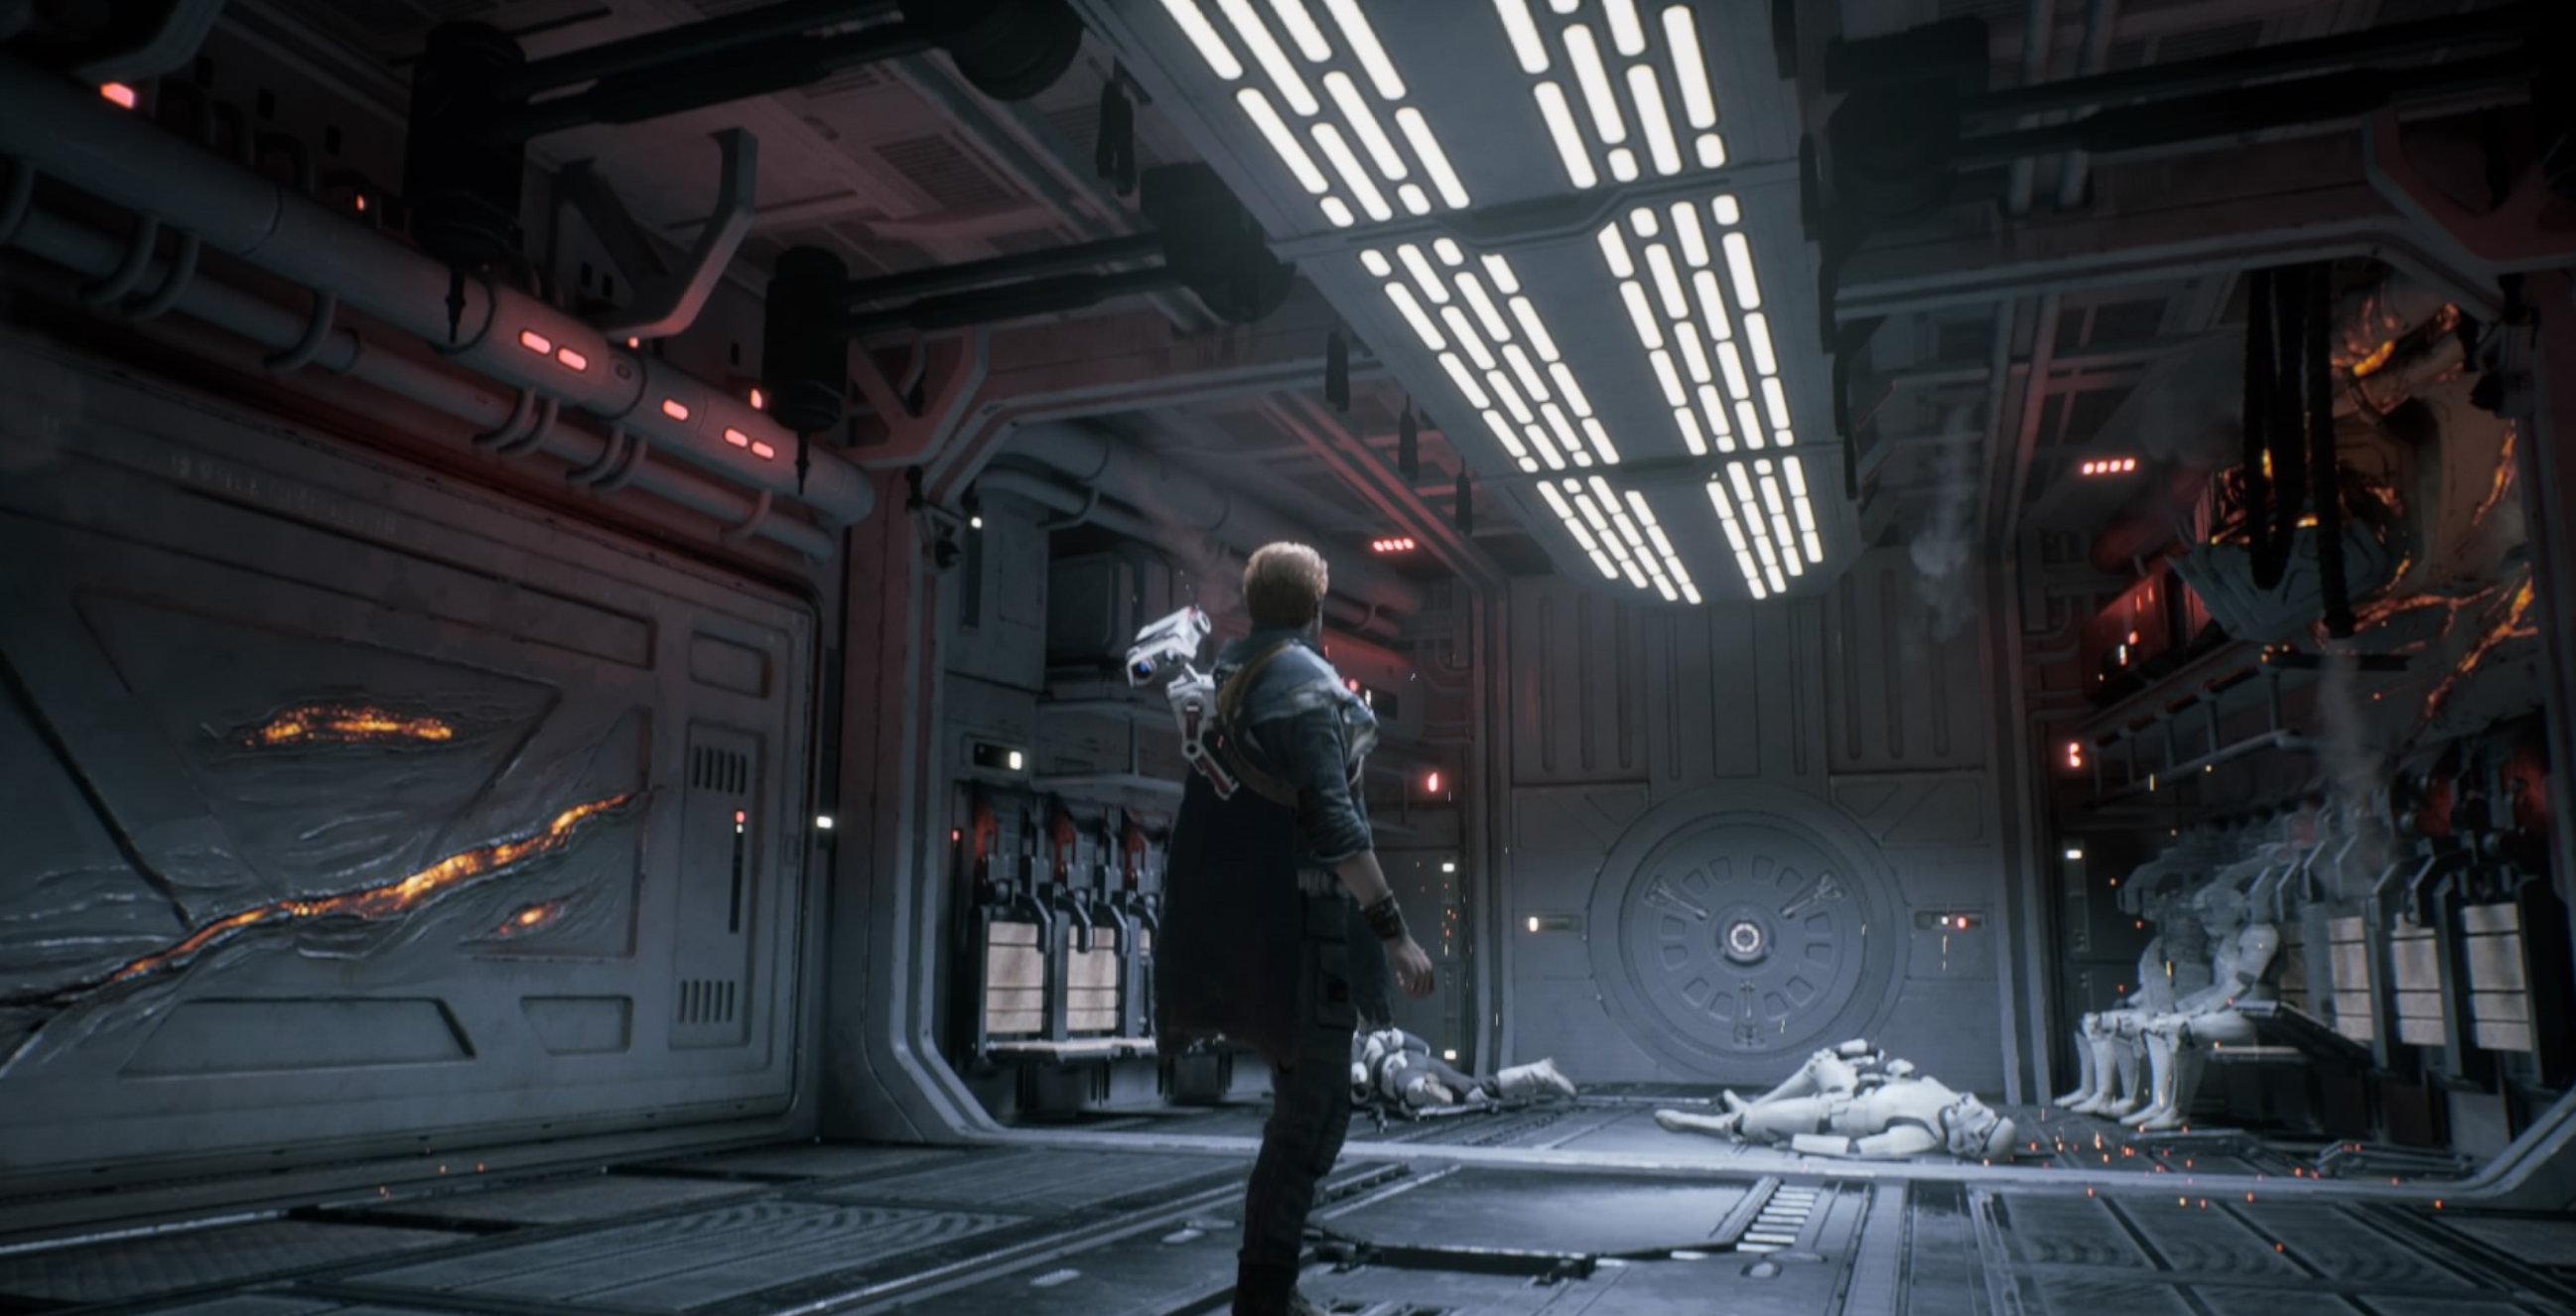
A substantial number of AT-ATs were manufactured on the planet Balmorra. In 14 BBY, the Empire deployed AT-ATs against the Partisans under the leadership of Saw Gerrera on Kashyyyk during an assault on an Imperial refinery. During this engagement, Cal Kestis, a Jedi Padawan, commandeered an AT-AT and utilized it to support the Partisans. Kestis employed the walker's weaponry to eliminate the majority of Imperial forces, but the AT-AT was ultimately destroyed.
The Galactic Civil Conflict
In 4 BBY, Kallus, an Agent of the Imperial Security Bureau, spearheaded an assault on the desert world of Seelos using three early AT-AT walkers. The targets were the Spectres and a trio of retired clone troopers stationed aboard an AT-TE.
In 3 BBY, AT-ATs were once more pitted against the Spectres when Princess Leia Organa arrived to deliver three Sphyrna-class Hammerhead corvettes to the Ghost's crew. Two walkers were positioned to guard the transports' landing zone, ostensibly on Lothal to provide assistance to citizens affected by the rebel actions. When the rebels attempted to seize the corvettes, the Ghost initiated an attack on the AT-ATs. Despite firing four proton torpedos, they proved insufficient to destroy one of the walkers, necessitating Kanan Jarrus to sever its legs with his lightsaber, causing it to collapse. The engines of the final Hammerhead, piloted by Ryder Azadi, brought down the second walker.
In 2 BBY, Lieutenant Yogar Lyste deployed two AT-AT walkers, designated Walker 271 and Walker 414, to counter an assault on the east gate of the Imperial Armory Complex by members of the Lothal resistance group led by Ryder Azadi. The rebels Kanan, Ezra Bridger, and Chopper made their escape in the stolen AT-DP Walker 216. However, Grand Admiral Thrawn discerned the rebels' hijacking of the AT-DP walker and instructed his AT-ATs to crush them. One of the AT-AT walkers proceeded to crush the AT-DP under its heavy body but the rebels managed to use their lightsabers to cut their way aboard. Morad Sumar also fired a rocket which hit one of the walker's legs. After knocking out the AT-AT pilots, the two climbed out and escaped with Ryder's cell into the wilderness.
Thrawn then deployed four of these during the battle on Atollon. Jedi survivor Kanan Jarrus then destroyed one with his lightsaber. The Bendu then destroyed two of the AT-AT walkers. However, the last one shot Bendu down from the sky.
Around the time of the Battle of Yavin, a new AT-AT model was introduced. At this time, the Alliance to Restore the Republic stole a number of AT-ATs and provided them to Saponza's Gang.
During the Rebel assault on the Imperial weapons factory moon of Cymoon 1, a group of Rebels led by Han Solo and Leia Organa stole an AT-AT from Weapons Factory Alpha. They used the walker to escape from the factory after they sabotaged its main power core to explode. During their escape, Solo fired a shot that nearly killed the Sith Lord Darth Vader, using all the AT-AT's powerful armaments. Soon after, Vader managed to overtake the Rebels in their escape and cut down the massive walker's back left leg. The AT-AT fell tremendously and its passengers barely escaped the wreckage before fleeing Cymoon 1 entirely for the safety of the Alliance Fleet.
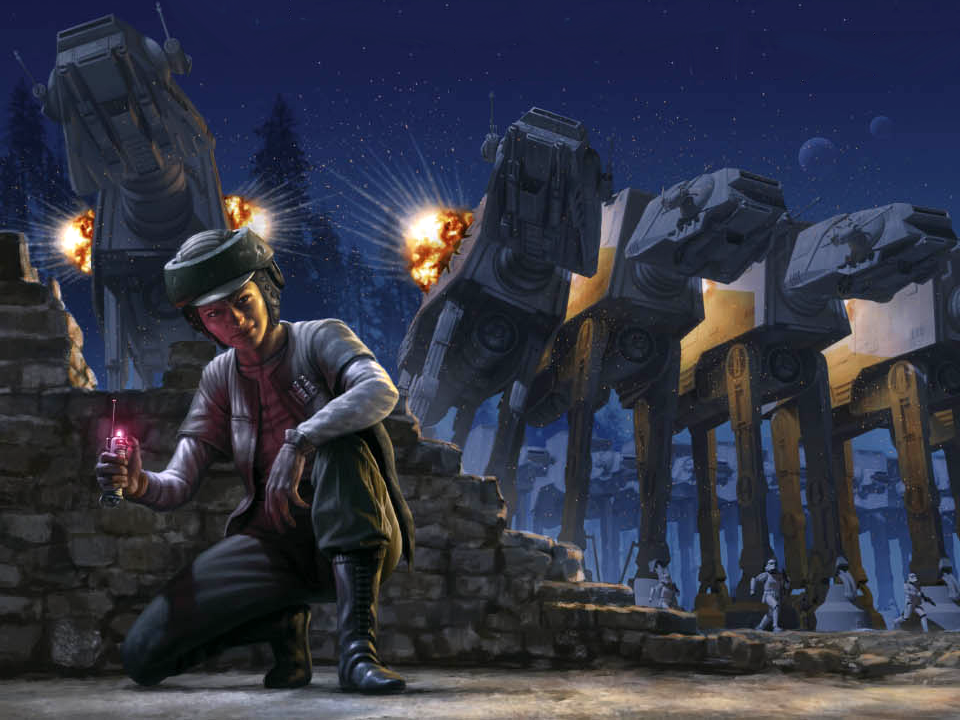
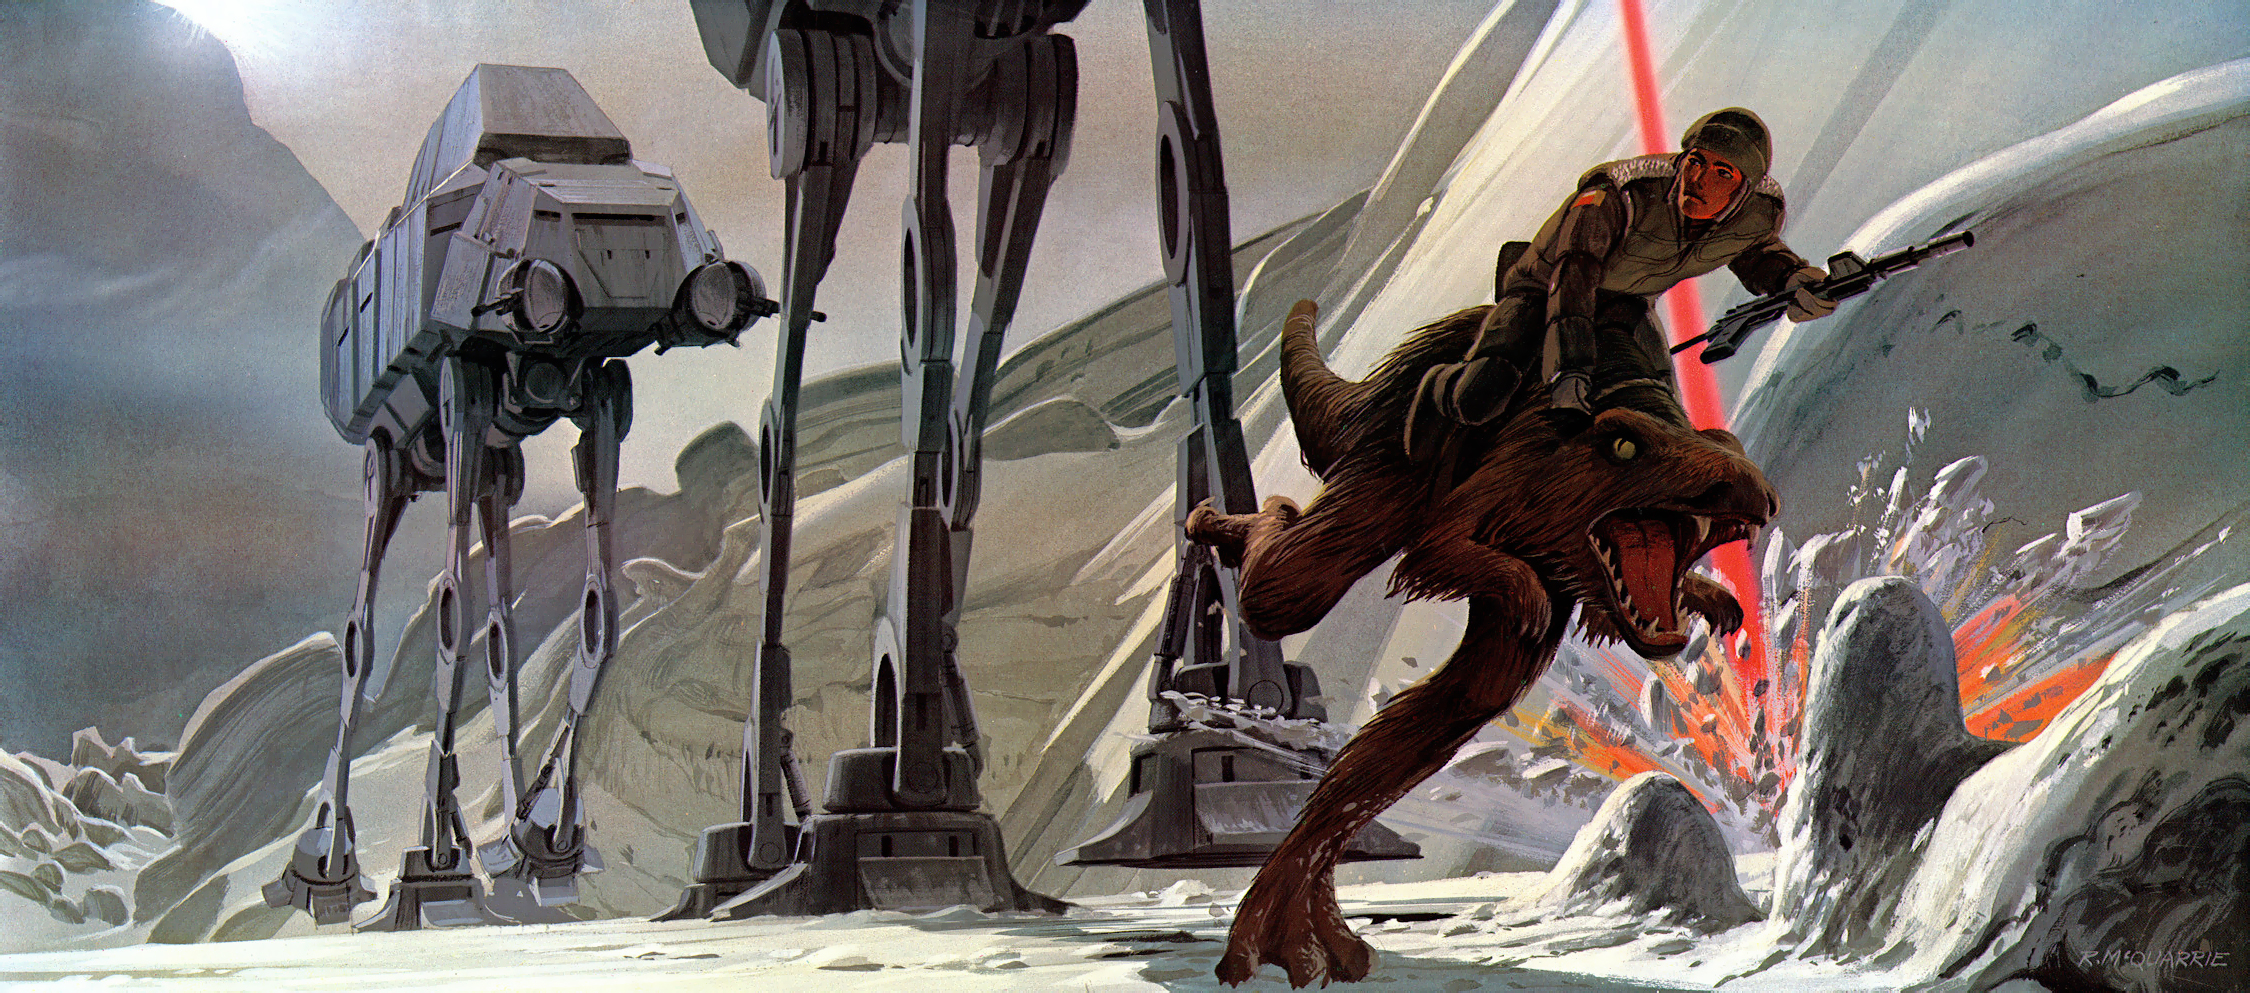
During the Battle of Hoth, General Maximilian Veers commanded a force of at least five AT-ATs across the icy plains of Hoth with the objective of disabling the shield generator protecting Echo Base, the Rebel headquarters. Veers' squadron's success enabled the Imperials to breach Echo Base and drive out the Rebels, inflicting a significant setback in the war. However, the battle also highlighted the AT-ATs' vulnerability to being toppled by cables wrapped around their legs. Despite this weakness being exploited effectively by the Alliance on Hoth, the Empire persisted in deploying these massive machines throughout the later stages of the conflict.
Several AT-ATs were deployed by Admiral Kalaxo during the Battle of Ab Dalis. A number of AT-ATs marched as part of an Imperial Unity Day parade on the planet Bar'leth in the Core Worlds, where the Empire was caught by surprise by a rebel attack. Caught totally off-guard, all AT-ATs and other mechanical marchers were destroyed by the time the rebels withdrew in an attack that was transmitted to the entire galaxy, proving the rebellion had survived the Battle of Hoth. During the occupation of Endor, at least one AT-AT was present on Endor prior to the Battle of Endor.
Shortly after the Battle of Endor, AT-ATs were present for the Battle of Cawa City. The rogue agents of Inferno Squad Iden Versio and Del Meeko used an AT-AT in order to escape Vardos, during Operation: Cinder. In 5 ABY, at least one AT-AT walker was stationed at Camp Sardo on the planet Kashyyyk. During the Liberation of Kashyyyk, several Wookiee guerrilla fighters, including Kirratha, hijacked the AT-AT walker and threw out the crew. Later, AT-ATs were deployed against New Republic forces during the Battle of Jakku.
The First Order's Ascent
Decades following the war, Rey, a young scavenger, resided in a downed AT-AT, known as Hellhound Two, on Jakku.
The First Order's army branch utilized an updated version of the AT-AT. These walkers were deployed under the command of Kylo Ren, the master of the Knights of Ren and grandson of Darth Vader, during the First Order's brief struggle against the Benathy species. Subsequently, during the Battle of Crait, these AT-ATs provided escort for the newer AT-M6s. This AT-AT walker model was also stored aboard Commander Pyre's Resurgent-class Star Destroyer, though the warship was ultimately destroyed during the Battle of Barabesh.
Behind the Production
The AT-ATs depicted in The Empire Strikes Back and their brief appearance in Return of the Jedi were created using stop motion animation techniques.
Initially, the plan was for the Empire to assault the Rebel base on Hoth using tanks. Joe Johnston developed numerous designs for these vehicles, one of which served as the foundation for the HAVw A6 Juggernaut featured in Star Wars: Episode III Revenge of the Sith and the HAVw A5 Juggernaut in Star Wars Legends. The tanks were intended to be portrayed using remote-controlled models. However, Dennis Muren and Joe Johnston successfully persuaded George Lucas to opt for stop motion instead, leading to the abandonment of the tank design. In the DVD commentary for The Empire Strikes Back, George Lucas revealed that the concept for the AT-AT was inspired by the massive tripods from H.G. Wells' 1898 novel The War of the Worlds. While it's a common belief that dock machinery served as the inspiration for the AT-AT, Phil Tippett has contradicted this, stating that it was based on the prehistoric mammal Paraceratherium.
The AT-ATs showcased in Star Wars Rebels are distinct models from those seen in the Star Wars films, drawing inspiration from early concept art created by Ralph McQuarrie during the production of The Empire Strikes Back.