Star Wars (1977) 83
Star Wars 83 represents the eighty-third installment of the Legends continuity within the broader comic book series titled Star Wars. This issue was penned by Linda Grant, with illustrations crafted by Bob McLeod, and made its debut on February 14, 1984 under the banner of Marvel Comics. The plot revolves around a narrative called "Sweetheart Contract," which sees Lando Calrissian encountering Queen Sarna, a former romantic interest, amidst an ongoing conflict on Drogheda.
Summary by the Publisher
Lando's attempt to reconnect with an old flame lands him squarely in the middle of an interplanetary conflict!
Detailed Plot Synopsis
Arrival on Drogheda
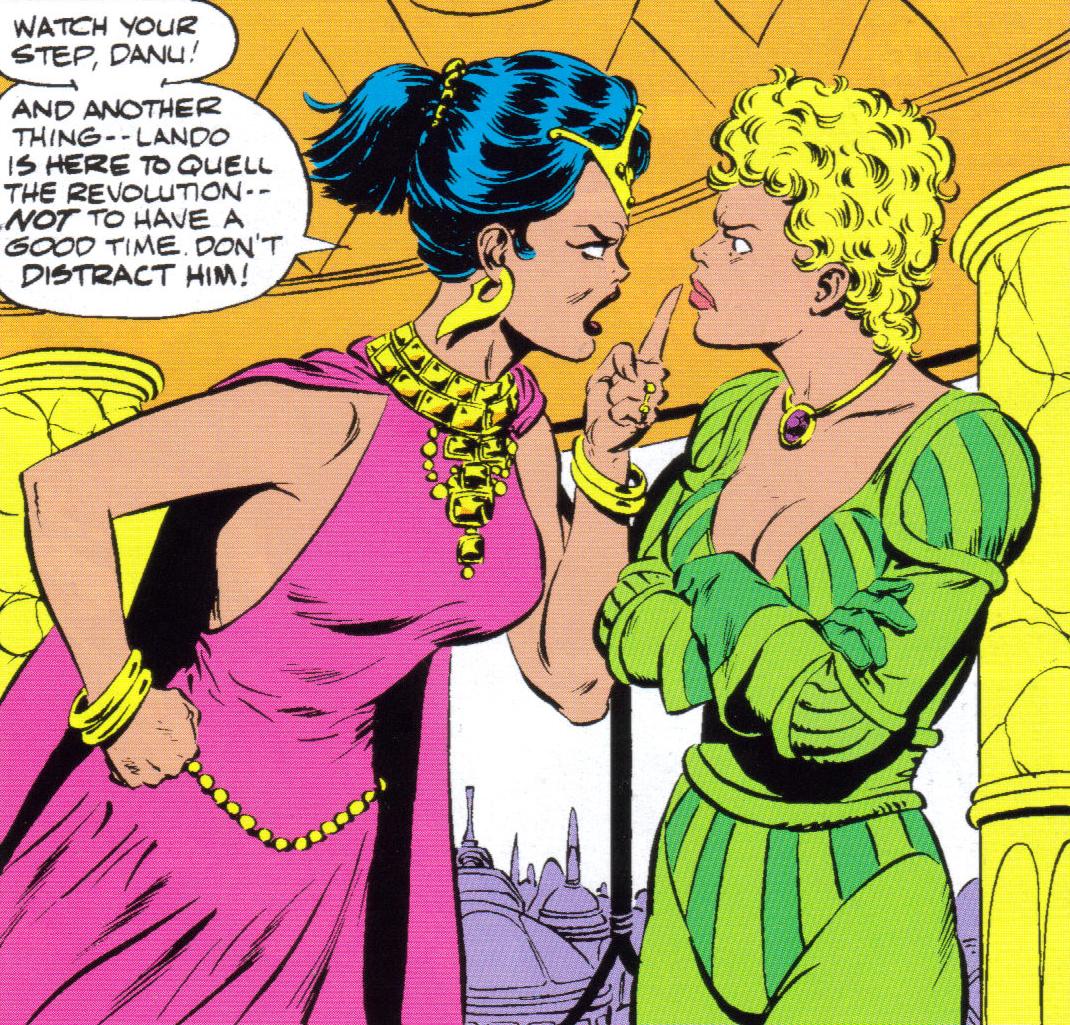
Lando Calrissian finds himself on the planet Drogheda, having been summoned by Queen [Sarna](/article/sarna_(queen)], a past lover. Upon his arrival, Calrissian and his contact, Danu, the Queen's sister, are ambushed by individuals piloting sky-sleds. While attempting to evade their assailants, they are rescued by Harlech, the leader of the Drogheda Royal Guard, and escorted to the Drogheda Citadel for a meeting with the Queen. Queen Sarna asserts that the attackers are members of the Drogheda Revolutionaries, a rebellious faction seeking to overthrow her reign.
Showdown at Mount Meru
Sarna assigns Calrissian the task of dislodging the revolutionaries from their stronghold located at the Mount Meru Mine. Calrissian leads the Royal Guard, utilizing several sky-sleds, to the mine's location. He instructs the guards to remain at the mine's entrance and apprehend the revolutionaries once Calrissian forces them out. Calrissian proceeds to the rear exit of the mountain and discovers several water tanks utilized by the rebels. As Calrissian prepares to detonate a thermal detonator to destroy the tanks, hoping the resulting flood will flush the revolutionaries out, he is confronted by several rebels who have detected his presence. During a tense standoff, one of the revolutionaries lunges at Calrissian, causing him to drop the detonator, which destroys the tanks. The ensuing flood washes both Calrissian and the revolutionaries out of the mine's front entrance, where Harlech's guards await. To Calrissian's dismay, the guards begin a massacre of the defenseless rebels, and he manages to halt the slaughter only after the majority of the revolutionaries have been killed.
The Fight for Democracy
Now uncertain about which side he should support, Calrissian brings one of the rebels back to the citadel for interrogation. After gaining the man's confidence, the rebel explains to Calrissian that, with the Empire defeated, the people desire to establish their own government. However, before he can elaborate, Harlech swiftly executes the prisoner, claiming he believed Calrissian was in danger. Seeking clarity, Calrissian visits a local cantina and overhears members of the royal guard discussing the uprising. He learns that Sarna and the Royal Guard are suppressing the people's desire for a democratic government to maintain Sarna's absolute control over the planet. Angered by this deception, Calrissian returns to the citadel to confront Sarna. After Sarna confirms that she hired Calrissian to suppress the pro-democracy movement, the Rebel hero decides to leave, declaring that Sarna can "find another sucker." However, Sarna intends to prevent Calrissian from abandoning her, and the Royal Guard arrives to capture him. Calrissian escapes his attackers and encounters Danu, who reveals that she has been assisting the revolutionaries and tipped them off about Calrissian's attack on the mine.
Showdown at the Citadel
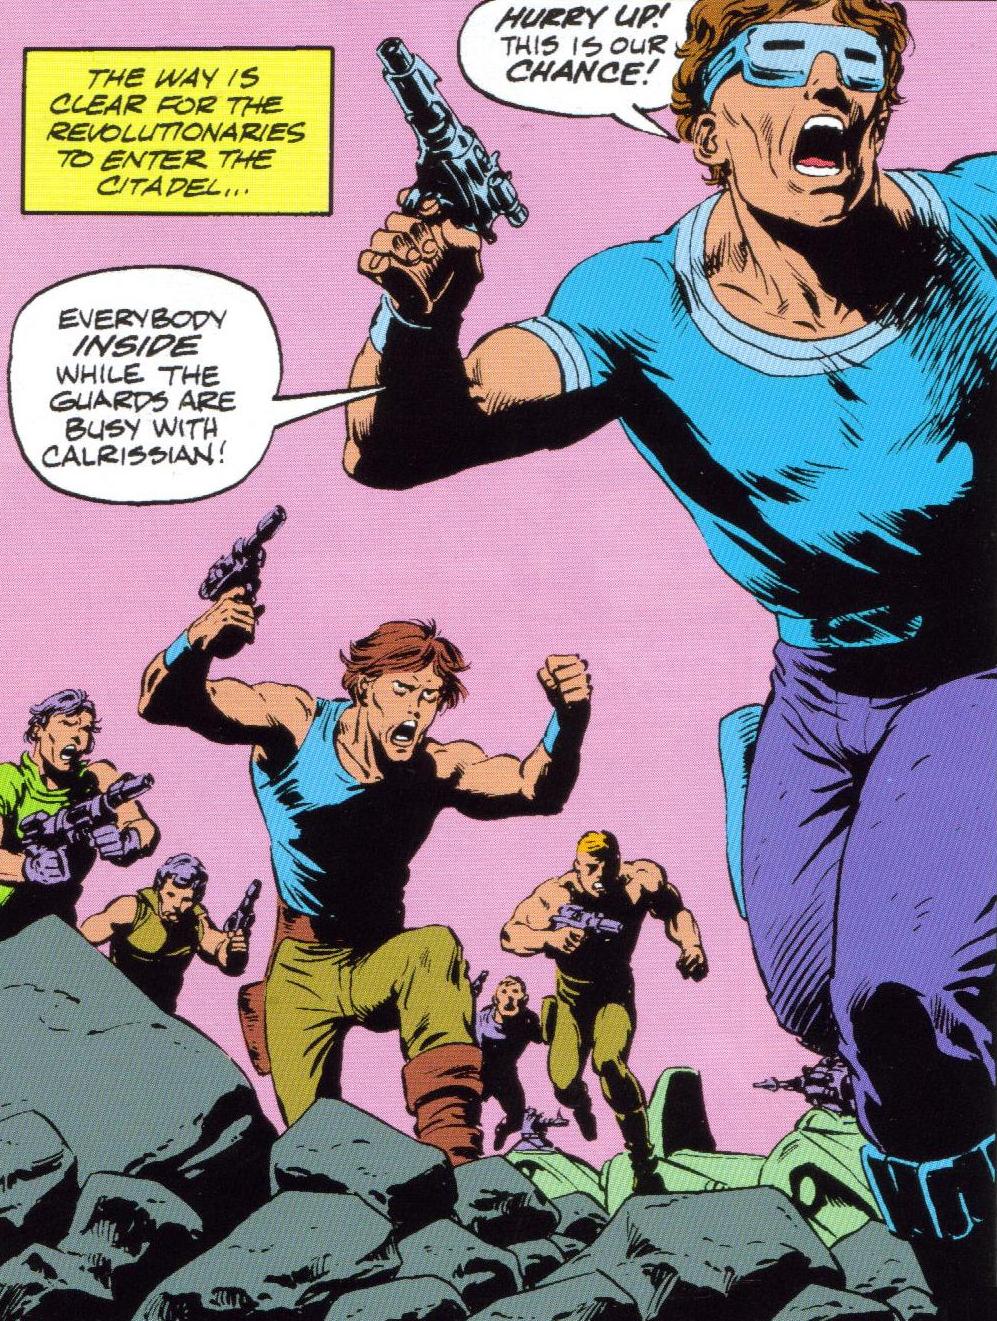
Danu decides that the moment is right for the revolutionaries to overthrow the Queen and signals her allies by detonating the citadel's munitions room. As the revolutionaries storm the palace, Calrissian heads to a sky-sled to join the attack. However, several royal guards equipped with jetpacks recognize their former commander and disable his craft. In a desperate move, Calrissian pilots his sled back to the citadel, jumping through an upper-story window into the Queen's throne room. Lando attempts to take the Queen hostage for leverage, but Harlech is uninterested in saving the Queen, asserting that they no longer need her. Before the guards can kill both Sarna and Calrissian, the revolutionaries arrive in the throne room. Harlech attempts to resist but is immediately stunned, ending the conflict. Danu congratulates Calrissian on helping them overthrow the monarchy but declines his offer of a celebratory reward. Danu gives Lando ten minutes to return to his ship and leave Drogheda. Before he departs, she offers him money if he will take Sarna with him, as she is to be exiled. Against his better judgment, but enticed by the offer, he agrees, and the two leave Drogheda in the Cobra, arguing over a potential business venture.
Production Notes
Star Wars 83 was initially slated to feature a different story, "Still Active After All These Years," which was eventually published in Star Wars (1977) 87.
Available Formats
Editions
- UPC 071486028178; February 14 , 1984 ; Marvel Comics ; Original print run [1]
- (No UPC) ; October 13 , 2015 ; Marvel Comics; Digital version [3]