Battle of Christophsis
The Battle of Christophsis unfolded on the planet of Christophsis, a conflict that began in 22 BBY, approximately seven weeks after the Clone Wars had started. In an attempt to secure control over the planet's valuable resources, the Droid Army of the Confederacy of Independent Systems, under the command of General Whorm Loathsom, launched an invasion and successfully occupied Christophsis. Responding to an urgent appeal for assistance from the inhabitants of the planet, the Galactic Republic and the Jedi High Council deployed Jedi Generals Obi-Wan Kenobi and Anakin Skywalker, along with Admiral Wullf Yularen, accompanied by a clone trooper detachment from the Grand Army of the Republic, with the mission of liberating Christophsis. After successfully navigating the massive naval blockade orchestrated by Confederate Admiral Trench around the planet and delivering vital supplies via an experimental stealth ship to the refugee camp led by Senator Bail Prestor Organa on the surface, the Republic forces attempted to launch a surprise attack on the Confederate battle droid army from a business center situated in one of the plazas of Crystal City, the capital city. However, the Separatists, acting on intelligence provided by Clone Sergeant Slick, one of their spies, successfully thwarted the Republic's assault. Despite this setback, the Jedi and clones managed to withdraw and retreat to their base.
Suspecting the presence of a traitor within their ranks, Skywalker and Kenobi embarked on a mission to gather more information behind enemy lines, while Clone Commander Cody and Clone Captain Rex remained at the base to identify the mole. Upon reaching the Confederacy base, Skywalker and Kenobi confronted Asajj Ventress, a Dark Acolyte, and discovered that the enemy forces were far greater than initially estimated. Meanwhile, back at the Republic base, Slick was exposed as the spy and sabotaged the Republic's weapons depot, destroying a significant portion of their supplies, before being apprehended by Rex and Cody. Subsequently, the main Confederate troops launched a full-scale assault on the Republic forces. After several days of intense fighting, the Separatists were compelled to retreat. When Loathsom initiated a second attack, his forces were met with fierce resistance from the Republic's heavy cannons, forcing him and his droids to withdraw to their base and establish a deflector shield to counteract the Republic's artillery.
The Separatist's renewed blockade of Christophsis forced Yularen and the Republic fleet to withdraw from the planet, but Ahsoka Tano, Skywalker's newly assigned Jedi Padawan, managed to land on the surface. Loathsom and the Confederacy launched yet another offensive, this time advancing under the protection of their shield, which effectively neutralized the clone artillery. While Kenobi, Rex, and the 501st Legion defended the heavy cannons, Skywalker and Tano proceeded to sabotage the Confederacy's shield generator. After Kenobi feigned surrender to Loathsom to buy time for his comrades, Skywalker and Tano successfully destroyed the shield. Grand Master Yoda then arrived in the Christoph system with Yularen and a reinforced fleet, breaking through the Separatist blockade and driving the enemy armada away from Christophsis. Furthermore, the Republic's renewed use of artillery proved decisive in annihilating the Separatists in Crystal City. Kenobi captured Loathsom, securing a Republic victory and allowing for the deployment of additional reinforcements to solidify their control.
Prelude
The Lure of Riches
In the year 22 BBY, a mere seven weeks following the outbreak of the Clone Wars, the Confederacy of Independent Systems set its sights on the Outer Rim world of Christophsis. With both the Confederacy and the Galactic Republic locked in a fierce struggle for dominance over vital hyperlanes, Christophsis's advantageous position along the Corellian Run presented the Confederacy with an opportunity to isolate Republic forces in the Outer Rim. Simultaneously, it would provide a strategic launching point for attacks on planets such as Kamino, the source of cloning operations for the Grand Army of the Republic, and Rothana, the headquarters of Rothana Heavy Engineering, a key supplier for the Republic's war efforts. The Separatists aimed to seize control of this resource-rich planet to exploit its abundant supply of crystals, highly valued as a power source for weaponry. Their objectives also included the capture or kill of Senator Bail Prestor Organa, a prominent Republic figure, who was stationed on the planet with a city-based refugee camp as part of a covert operation authorized by the Galactic Senate.
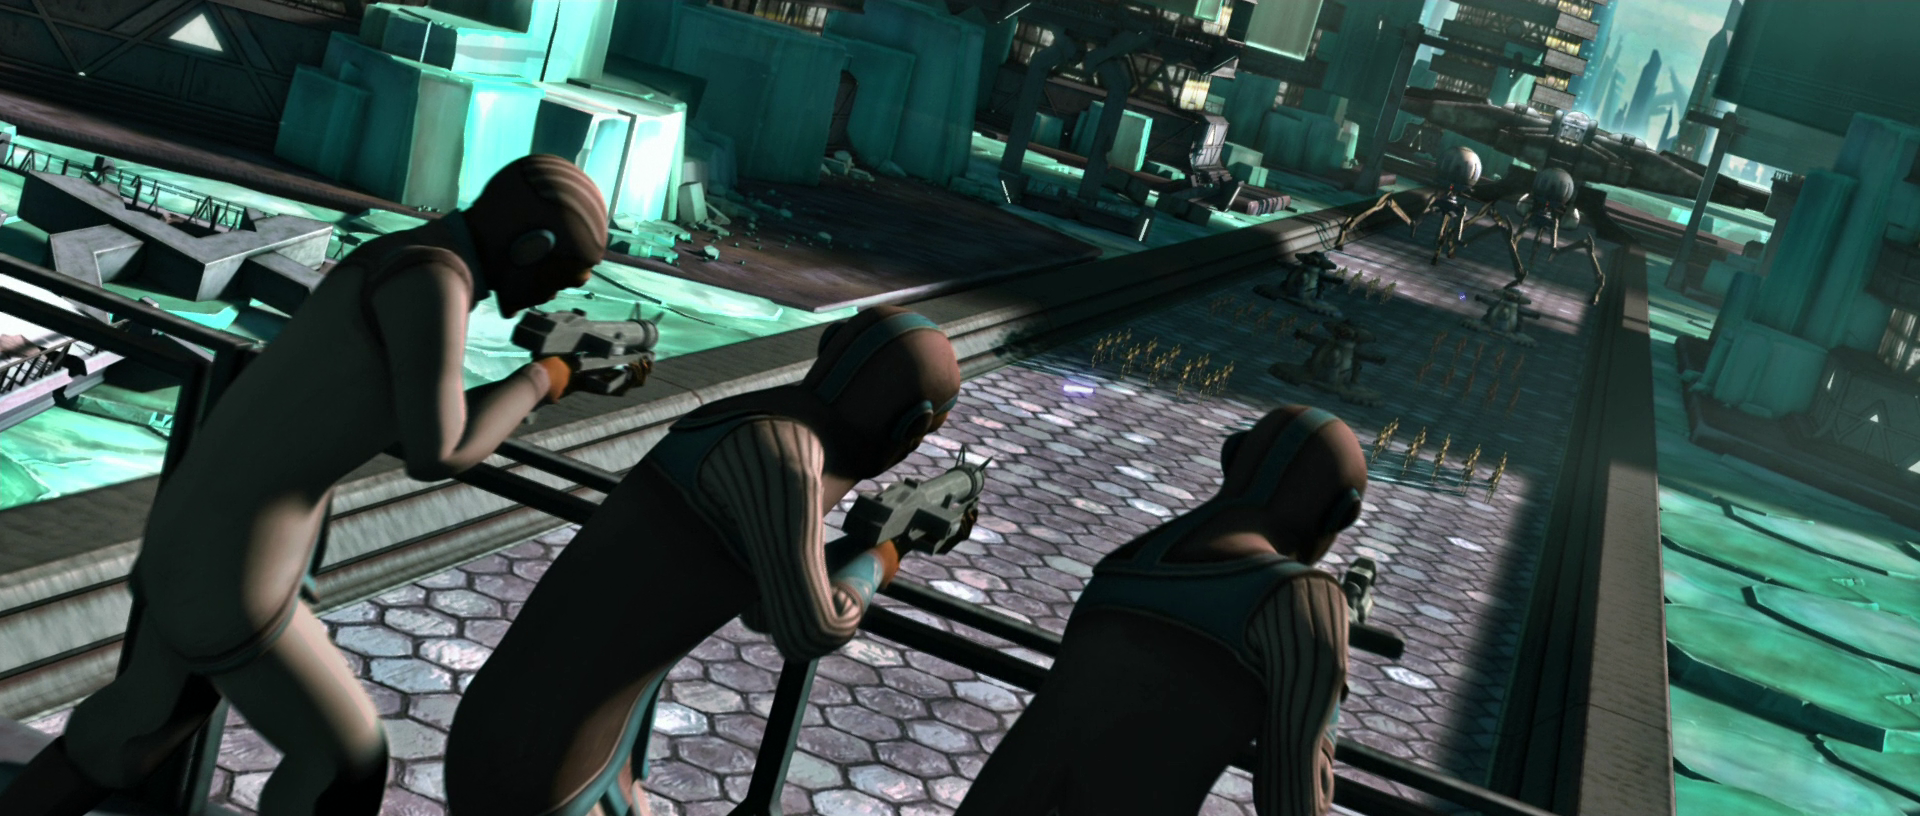
The notorious Admiral Trench commanded a Confederate Navy fleet to lay siege to Christophsis, establishing a formidable blockade with a flotilla of over thirty warships. General Whorm Loathsom then initiated a ground invasion, securing the planet's surface with the Separatist Droid Army and additional forces from the Retail Caucus, a conglomerate within the Confederacy. As a result, Organa and his forces found themselves trapped on the planet, cut off from Republic resupply efforts. The oligarchs of Christophsis's government fled the planet with whatever wealth they could salvage, leaving the remaining Christophsian population to fend for themselves. Some Christophsians attempted to defend their home by launching blaster attacks on the Separatist battle droids as they advanced through the streets, but these efforts were ultimately futile against the superior might of the Confederacy. Loathsom, via a planet-wide holotransmission that caught the attention of the Jedi Order, declared that the planet was now under Separatist rule, ordering the civilian population to submit to the occupation and remain vigilant for any Republic reprisals, before concluding the transmission. Consequently, most Christophsians went into hiding.
The Republic's Countermove
Unable to defend themselves any longer, the desperate citizens of Christophsis made a direct plea for assistance to the Jedi High Council at the Jedi Temple. Responding to their plea and Organa's perilous situation, the Council dispatched High Jedi General Obi-Wan Kenobi and Jedi General Anakin Skywalker to disrupt the Separatist invasion and carry out a rescue mission to deliver relief supplies to Organa through the blockade. Believing that the Separatist forces were relatively small, Skywalker and Kenobi were only assigned a small contingent of clone troopers from the Grand Army of the Republic, expecting to reclaim the planet with relative ease. Troops from the Thirteenth Army were allocated to the campaign, in addition to forces from the 501st Legion.
Under Kenobi's command, Skywalker and the newly appointed Admiral Wullf Yularen departed for the Christoph system with a Republic Navy task force of Star Destroyers, while Kenobi and Marshal Commander Cody prepared to follow aboard Kenobi's flagship, the Negotiator. Kenobi chose to bring along an experimental stealth ship, a prototype equipped with cloaking capabilities. However, the Confederacy was preparing a larger force to seize Christophsis. Furthermore, within the Republic ranks was Clone Sergeant Slick, who, unbeknownst to his comrades, harbored resentment towards the Jedi, viewing the clones' service to them as a form of enslavement. Enraged by what he perceived as corruption, Slick began to leak classified information to Asajj Ventress, a Dark Acolyte on Christophsis, in exchange for payment.
The battle
The Republic's arrival
Offensive on the blockade
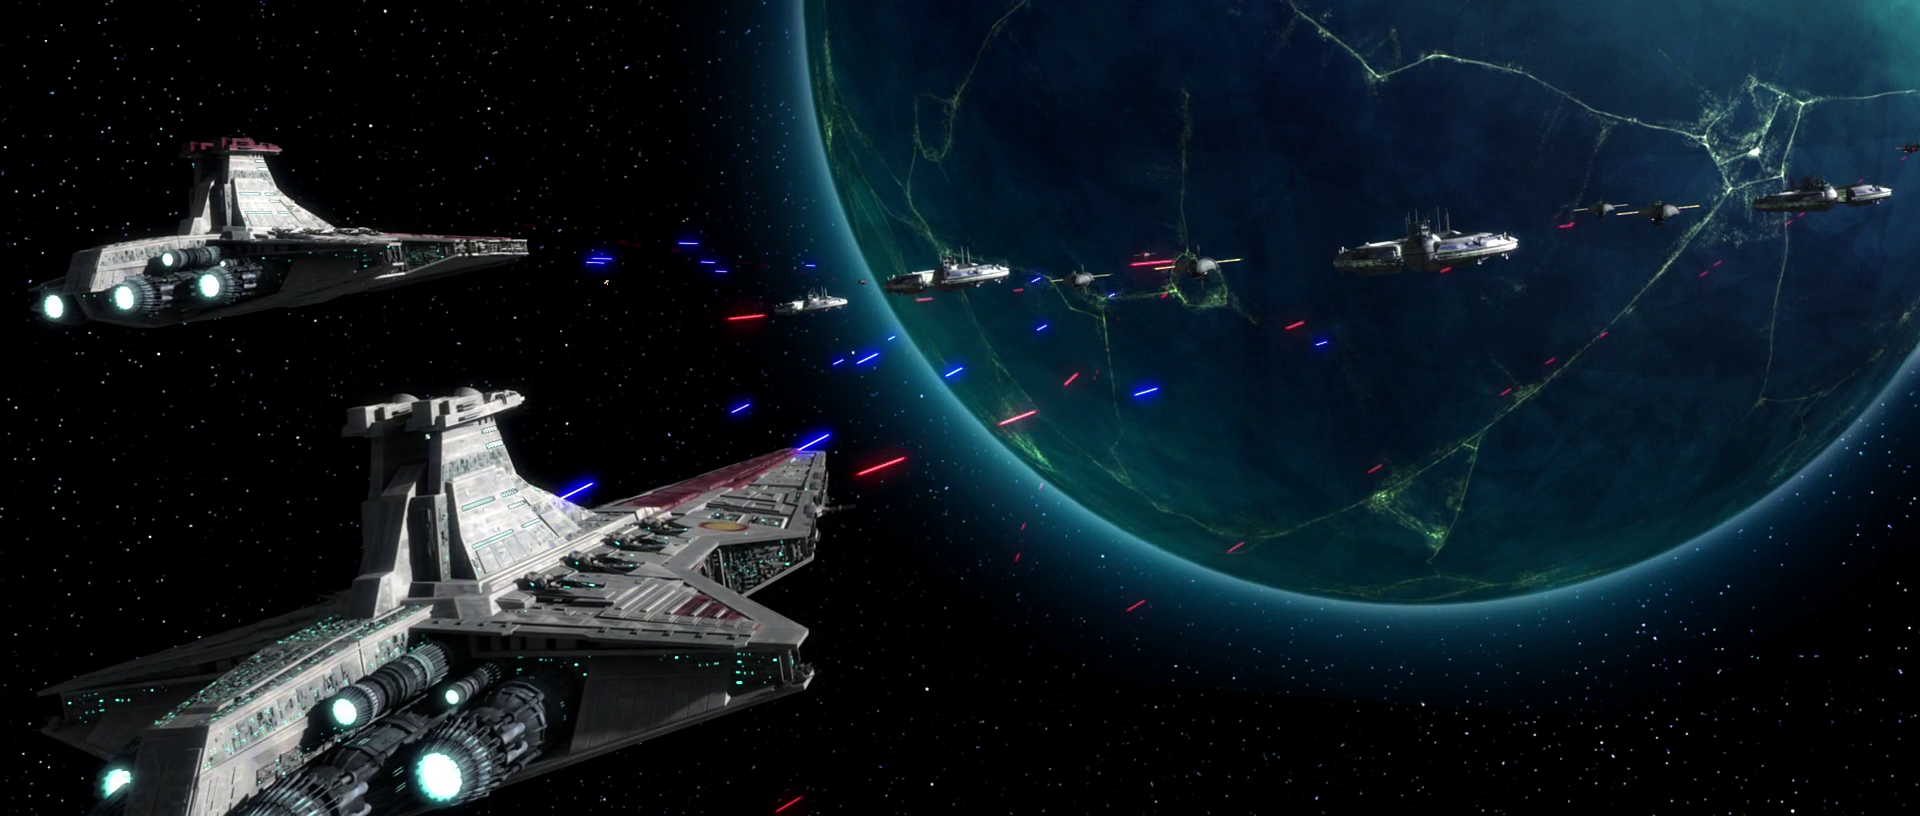
Upon their arrival at Christophsis, Skywalker, Yularen, and their fleet of three Venator-class Star Destroyers engaged the Separatist blockade in battle, disregarding Kenobi's previous instructions to avoid direct confrontation. However, the Republic forces were quickly overwhelmed by Trench's fleet, which consisted of numerous Munificent-class star frigates, Lucrehulk-class Droid Control Ships, and Trench's flagship, the Providence-class carrier/destroyer Invincible. From the Star Destroyer Resolute, Skywalker and Yularen contacted Organa, whose position had been overrun by Separatist forces. Running critically low on food, water, and ammunition, Organa and his men were on the verge of being overwhelmed by the vast droid armies on the planet's surface. Organa's transmission was abruptly cut off just as another of Skywalker's cruisers was struck by enemy turbolaser fire. As the opposing sides continued to exchange heavy fire in the space above Christophsis, the Invincible advanced unopposed towards the Resolute, and Yularen ordered the activation of all of the Resolute's forward shields just as the Separatist command ship unleashed a full barrage of laser fire at the entire task force. Trench also targeted the Pelta-class supply ships, separating them from the escort cruisers that were protecting them.
One of the transports was destroyed by the intense fire. In response to the enemy offensive, Skywalker ordered his men to overload all reactors, intending to charge the Separatist commander, whose identity remained unknown to him. At that moment, Kenobi and Cody arrived out of hyperspace aboard the Negotiator behind Skywalker's forces, positioning themselves closer to the moon of Christophsis. Despite being informed by TI-99, his T-series tactical droid, that the Resolute was not breaking off its attack, Trench maintained his ships' formation and ordered his battle droid bridge crew to intensify the Invincible's forward deflectors. As the Resolute sustained more turbolaser fire, Skywalker and Yularen conferred with Kenobi via a holographic transmission. Following the advice of his comrades, Skywalker agreed to regroup behind the moon and instructed the supply transports to retreat first, with his own three Star Destroyers providing cover for their escape. Skywalker's cruisers maneuvered and absorbed most of the enemy fire with their hulls, effectively protecting the supply ships as they fled behind them. Recalling his orders to simply blockade the planet, Trench, believing that he had won the initial engagement, chose not to pursue the retreating Republic fleet and instead remained in orbit around Christophsis, awaiting the Republic's inevitable retaliation. To prepare the Invincible for the enemy's return, Trench ordered his command ship's shields to be recycled and its forward cannons to be reset to full charge.
While the Republic fleet regrouped and prepared for the next engagement, Skywalker boarded a Nu-class attack shuttle to the Negotiator, where he met with Kenobi to inspect the new ship that the general had brought with him. After showcasing the stealth ship prototype and its useful cloaking abilities, Kenobi stated that the craft was undetectable to scanners as far as they knew, but noted that this was essentially the ship's first real field test. Although Skywalker wanted to use the ship to sneak past the blockade and eliminate the Separatist fleet from behind, Kenobi instead intended for him to undertake a mercy mission to Christophsis's surface to deliver supplies to Organa's headquarters. Despite his desire to openly engage and obliterate the Separatists, Skywalker agreed to carry out this assignment. Back aboard the Resolute, Yularen, having noticed a familiarity with the enemy's tactics during the morning's engagement, researched the markings on the Invincible and confirmed that it belonged to Trench, whom he had personally fought in the Battle of Malastare Narrows. Concerned by his findings, Yularen requested that Skywalker postpone his departure and joined his general on the Negotiator, where the stealth ship was being loaded with relief supplies for Organa. Yularen reported his suspicions that the enemy commander was none other than Trench and, because he had witnessed the admiral's tactics firsthand at Malastare, volunteered himself as an advisor to Skywalker's mission, believing that he could be of service to Skywalker during their inevitable encounter with Trench's cunning. Skywalker accepted Yularen's offer and welcomed him to his crew aboard the stealth ship.
A stealth mission
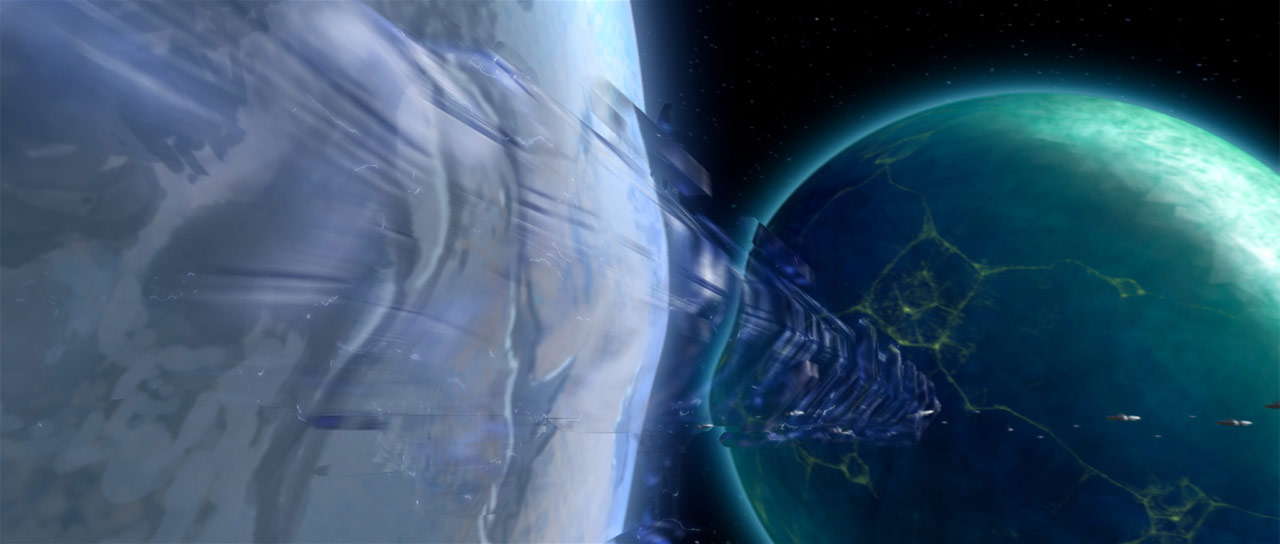
With Clone Commander Blackout and trooper Spark—the last of the stealth ship's crew—at their stations and ready for takeoff, the stealth ship powered up and prepared for departure. Skywalker piloted the ship out of the Negotiator's main hangar bay and toward the heavily armored Separatist fleet, activating his craft's cloaking shield just as it emerged from behind the moon. Remaining undetected by Trench and his blockade, Skywalker and Yularen slipped right past an oblivious Munificent-class frigate—with enough alarming closeness to leave Yularen worried about alerting the enemy to their presence. Consulting with his tactical droid aboard the Invincible, Trench learned that resistance on Christophsis was collapsing, and the droid estimated that it would be completely over in half a rotation. Intending to apply more pressure on those sent to rescue Organa, Trench dispatched his Hyena-class bombers to attack Organa's camp on the surface in order to lure his enemies out from behind the moon. The squadron of bombers, accompanied by fighter escort, launched from the Separatist fleet, and their path to the surface inadvertently directed them straight towards Skywalker's stealth ship, despite Trench's continued ignorance of the craft.
The approaching bombers presented Skywalker with a difficult decision: because he did not know if the Separatists had detected their presence, he was unsure if the bombers were targeting the stealth ship or not. The Republic craft itself was armed with proton torpedoes and anti-aircraft cannons, but would have to decloak to use either weapon—which would alert the Separatists to the ship's presence if they had not already detected it. Yularen noted that an offensive had to be mounted soon if Skywalker decided to do so. As the diving bombers entered within a 5,000-meter range, Skywalker chose to gamble that the Confederacy was unaware of the stealth ship and ordered his crew to remain cloaked, power down the ship, and let it drift. Despite Yularen's apprehensions, the bombers did not strike the stealth ship, zooming right past and shaking it but otherwise leaving it unharmed. However, Yularen dismissed the comforting notion that the Separatists were oblivious to their presence and voiced his realization that the bombers were heading to bomb Organa's command center. The bombers did exactly that, unleashing their munitions on Organa's camp in the city. With the Separatists approaching by air and by ground, Organa opened a transmission to Kenobi and stated that without reinforcements, there was little chance of survival. Kenobi then contacted Skywalker and instructed him to continue with his mission while he himself engaged Trench's fleet with the remaining ships of the task force. Both Yularen and Skywalker advised against this course of action; Yularen stated that Kenobi did not have the resources to openly engage Trench and asserted that it was a trap, while Skywalker affirmed that the proposed tactic would simply not succeed.
Believing that the stealth ship was in the best position to take out Trench, Skywalker, to Yularen's surprise, ordered four of the craft's proton torpedoes to be prepped, intending to launch an offensive and divert Trench's attention away from the people of Christophsis and back to the Republic fleet. Skywalker additionally cut off Kenobi's transmission before he could continue to instruct him to deliver Organa's supplies. Meanwhile, Trench found the Republic fleet's inactivity unusual and pondered their intentions. He soon found out, as Skywalker maneuvered his stealth ship to obtain a clear shot at the Invincible. After disengaging his ship's cloaking shields, Skywalker ordered his crew to fire a volley of torpedoes at the bridge of the Invincible. The attack proved unsuccessful, as Trench was able to activate his command ship's powerful thermal shields in time to deflect the blasts. Just as the stealth ship began to recloak, Trench fired four discord missiles at the enemy craft. Skywalker had his stealth pilot launch decoy flares and recloaked his ship, causing the missiles to strike the flares instead of the ship. However, Trench was not finished yet. He ordered a wide spread of lasers to be fired at the area where the stealth ship had just vanished, attempting to hit the craft through sheer volume of fire. Skywalker managed to evade the incoming barrage, avoiding destruction at Trench's hands. Skywalker's skills did not go unnoticed; despite the indications that he had missed, Trench surmised that he was facing a Jedi, as no clone pilot was skilled enough to evade that many lasers.
Deciding to communicate with the enemy, Trench patched himself over an open frequency and called out to his invisible adversary. Skywalker picked up the transmission and accessed it without hesitation, witnessing Trench as he taunted the Republic forces into attacking him and boasting that he had dealt with cloaked ships before. After ending his message, Trench was unsurprised by his tactical droid's calculation that the Jedi would not turn back as he requested; the admiral theorized that the Jedi would attack once more. Meanwhile, Skywalker and Yularen were puzzled by the revelation of Trench's experience with cloaked ships until Kenobi obtained records of Trench's battles. Kenobi reported that Trench had indeed encountered such technology and had successfully targeted them with tracking torpedoes; Skywalker theorized—correctly—that Trench had homed in on the ship's magnetic signature as a means of targeting them. Skywalker requested that Kenobi hold off his attack until Trench was destroyed before ending the transmission. After completing the necessary preparations, the stealth ship decloaked once more and fired four more torpedoes at the Invincible. While the torpedoes struck the Invincible's thermal shields and failed to inflict any damage, the bridge crew locked onto the stealth ship's magnetic signature and was able to track it. Forced to lower his shields in order to fire the tracking torpedoes, Trench had his tactical droid do just that and released the four-torpedo volley. With the bait taken, Skywalker began to pilot the stealth ship towards the Invincible.
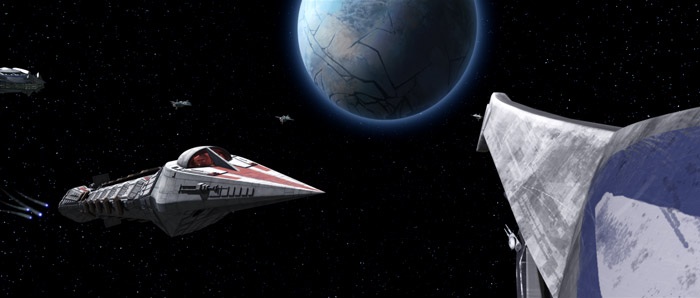
With the pursuing torpedoes dangerously close, Skywalker turned off his ship's cloaking field and dedicated all available power to the engines. Piloting the stealth vessel directly towards the Invincible's command center, Skywalker discovered that Trench's shields were still recharging and therefore ineffective. Skimming the Invincible's surface, Skywalker guided the stealth ship, ensuring the torpedoes slammed into the bridge. As explosions ripped apart the Invincible's structure, Skywalker rapidly ascended towards the atmosphere. Kenobi, offering a somewhat grudging compliment, engaged the remaining Separatist ships with the Negotiator while Skywalker and Yularen proceeded to deliver aid to Organa. The stealth ship touched down at Organa's refugee settlement, where the supplies were offloaded. Organa expressed her gratitude to Skywalker for saving countless lives, and Yularen conveyed his admiration for the unconventional Jedi General.
Following Trench's incapacitation, the Separatist forces fell into disarray, prompting Kenobi to advance his seven Venator-class Star Destroyers to challenge the blockade. This blockade, now lacking the Invincible, consisted of Munificent-class frigates, Lucrehulk-class Droid Control Ships, and a Recusant-class light destroyer. Kenobi ordered his ships to open fire and deployed V-19 Torrent starfighters and BTL-B Y-wing starfighters, led by a Jedi Knight in a Delta-7B interceptor, to engage the Separatists' Hyena-class bombers, Vulture droid starfighters, and droid tri-fighters. Amidst the intense exchange of fire between the capital ships, the Jedi Knight navigated the chaos, targeting a Lucrehulk-class Droid Control Ship while evading pursuing droid starfighters. Suffering losses, the Separatist fleet began to withdraw, and Kenobi, determined to break through, directed his forces to target the Separatist command vessels. On Kenobi's command, the Jedi Knight leading the starfighter squadron executed a successful attack on the Recusant-class light destroyer, destroying the cruiser. With Trench's fleet in full retreat, Kenobi dispatched support ships to Christophsis to assist with relief efforts. Skywalker, having returned from the planet's surface, joined Kenobi in piloting their Delta-7B interceptors against the remaining Separatist ships. With the Jedi securing a "rare Republic victory" over the Separatist naval forces, the Republic detachment prepared to launch an assault on the Separatist army stationed in the planet's capital city, Chaleydonia, commonly known as Crystal City.
Separatist schemes
Ambush thwarted
Kenobi and Cody linked up with Skywalker, Clone Captain Rex, and the rest of the Republic ground forces, while Yularen resumed command of the fleet in the ongoing battle against the Separatist blockade. Several days after establishing a networked base, constructed from materials transported by their fleet, outside Chaleydonia, Sergeant Slick and his clone unit were tasked with scouting the planet for a suitable ambush location to strike at the Separatist droid forces. Slick and his team identified an ideal spot: a business center featuring adjacent north- and south-facing towers within Crystal City. On their way back to the Republic base, the clone troopers encountered a squad of B1-Series battle droids attempting to clear Christophsians from one of the city's main boulevards. Witnessing the droids discussing the execution of a wounded refugee, the clones intervened and eliminated the droids. However, upon returning to base, Slick secretly transmitted the Republic's planned attack strategy to Ventress. Using Slick's intelligence, Ventress and Loathsom formulated a counter-strategy to foil the Republic's trap, ensuring they maintained an advantage over the Jedi and clones.
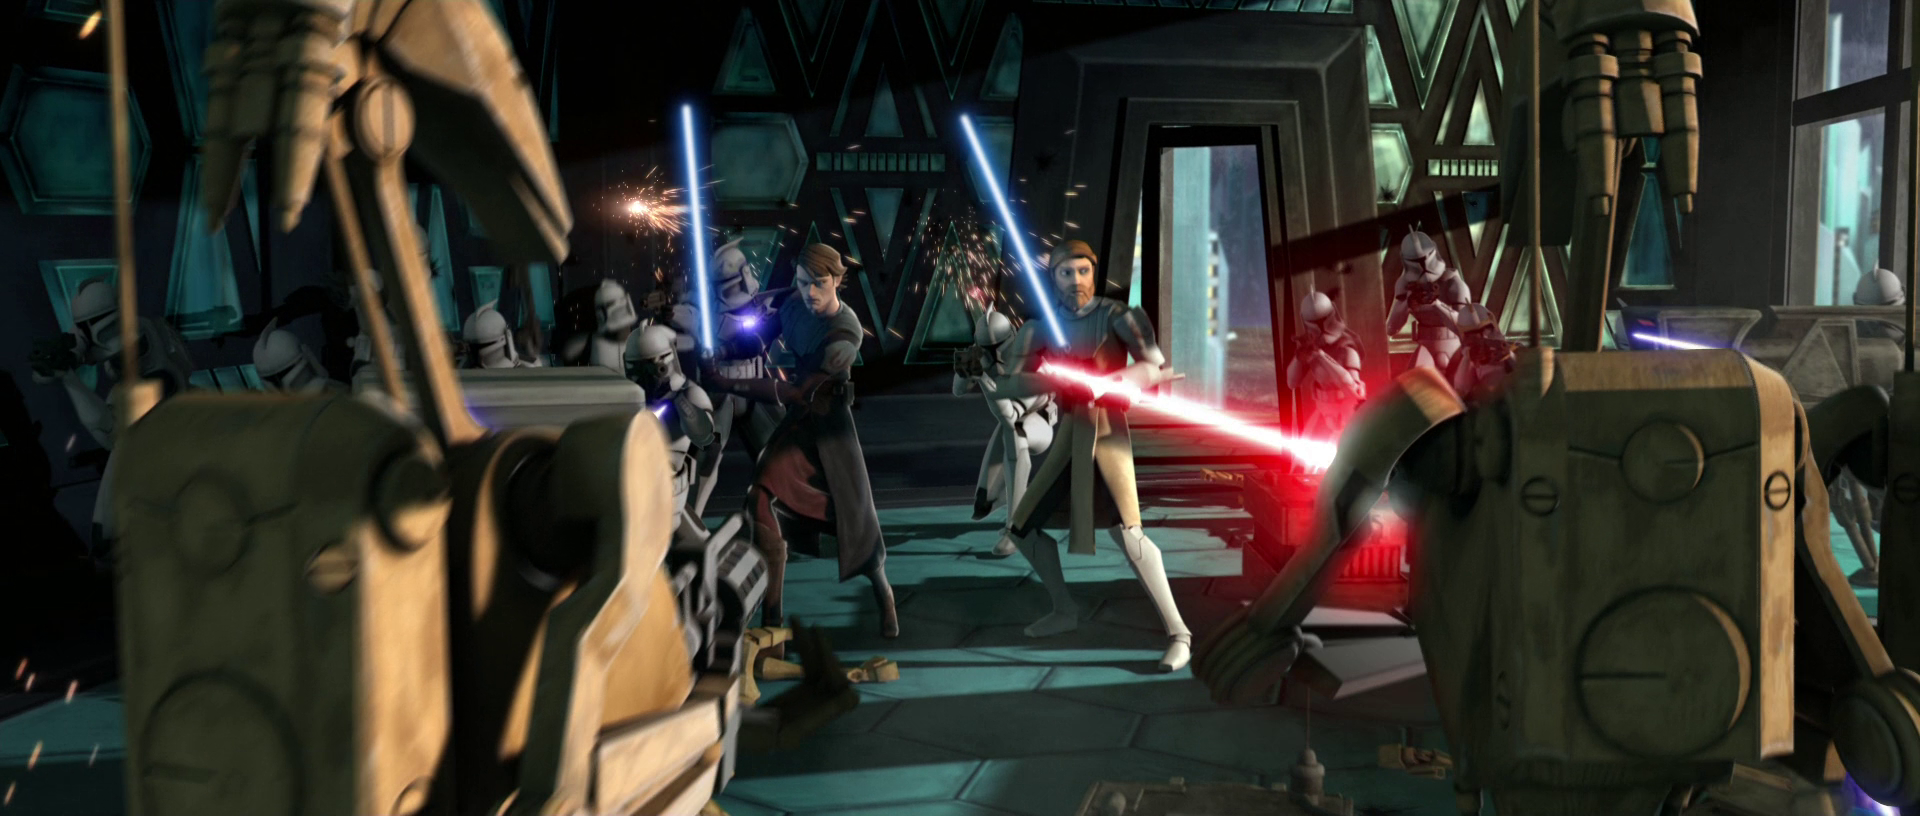
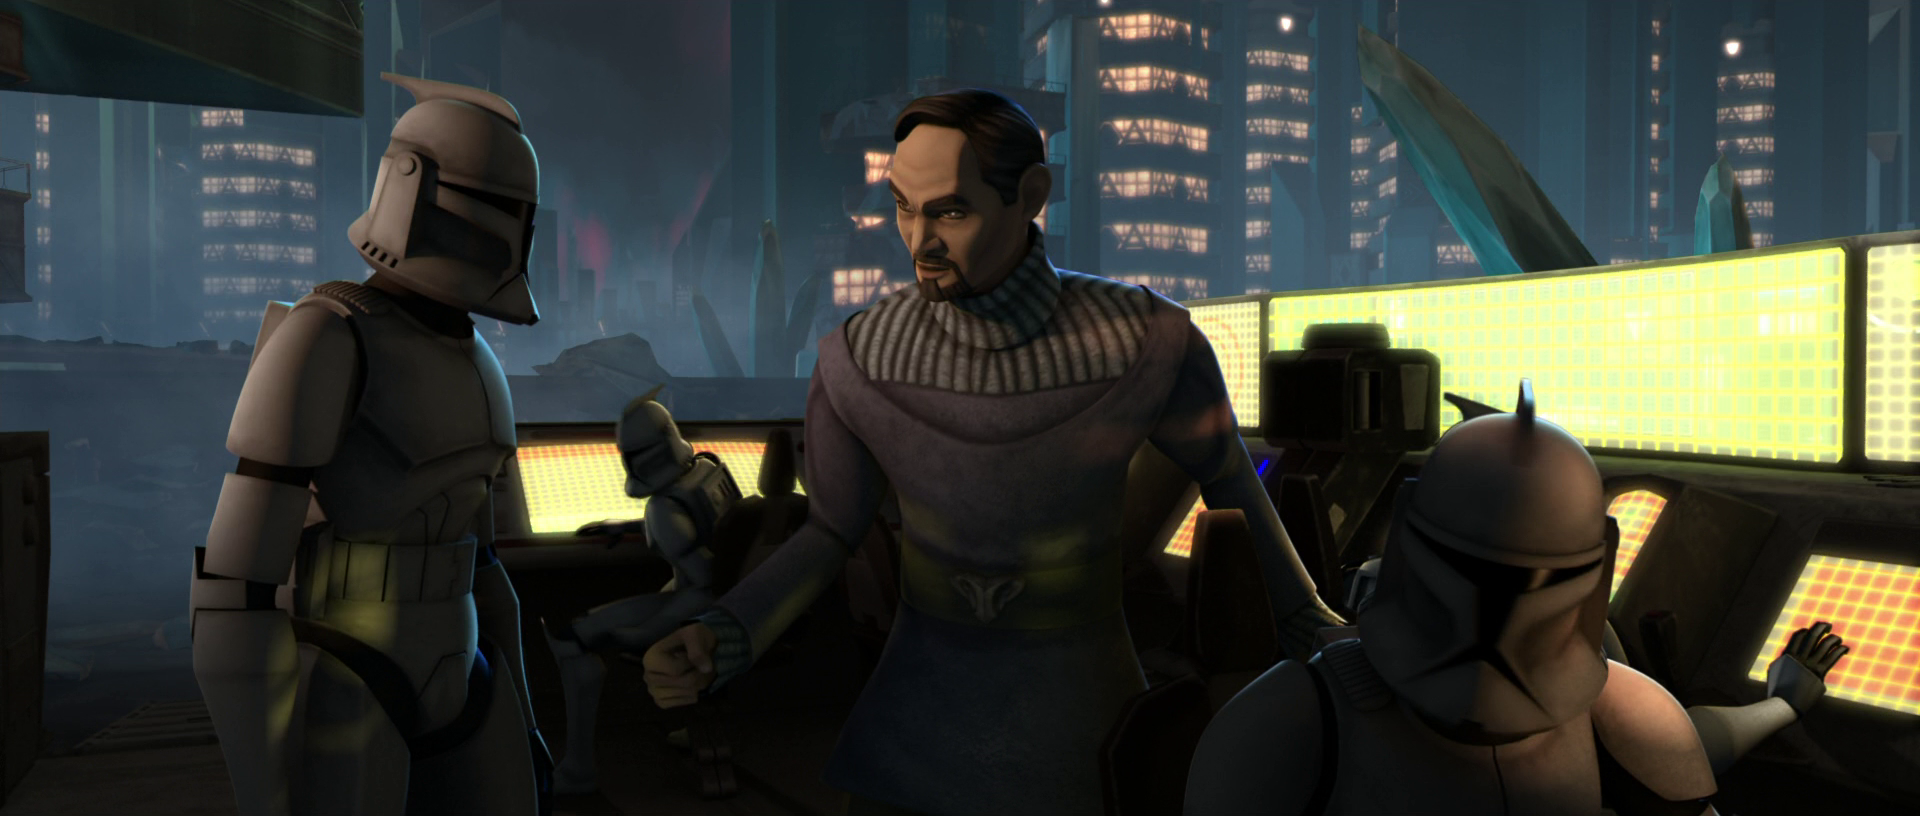
Kenobi, Cody, and Slick positioned their troops in the south tower, while Skywalker and Rex established their base in the adjacent north tower. As Confederate B1 battle droids and Armored Assault Tanks moved through the plaza below, Kenobi's forces prepared several repeating blaster cannons for the planned ambush. Unexpectedly, the column of droids split into two, catching the Republic off guard. B1 battle droids used a turbolift to reach the south tower, where Kenobi's forces were stationed, and ambushed them, surrounding and closing in on the clones. This backfired ambush revealed to Kenobi that their strategy had been compromised. Observing the unfolding events from the north tower and confirming the situation with Kenobi via comlink, Skywalker contacted clone pilot Hawk and ordered an evacuation of the south tower. Skywalker then used his lightsaber to cut through the window overlooking the plaza and used the Force to create an opening, allowing his troops to fire grappling hooks from their blaster rifles across to the south tower. Skywalker, Rex, and the clone troopers crossed the gap, sustaining minimal casualties from the battle droids firing from the plaza below.
Skywalker, Rex, and their troopers reinforced Kenobi in the south tower, eliminating the battle droids attempting to flank him. Kenobi then used the Force to hurl a blaster cannon at the droids, temporarily halting their advance. The Jedi and clones entered a turbolift and began evacuating to the roof of the tower, pursued by Separatist droids in separate turbolifts. As the clone troopers provided covering fire, allowing the Jedi Generals to engage the droids at close range, the T-series tactical droid TJ-55 arrived on the roof with additional droid forces. At that moment, Hawk's LAAT/i gunship appeared and hovered near the roof of the tower. The Republic forces began boarding the gunship, retreating while maintaining blaster fire on the droids. As a final act before retreating, trooper Gus attacked TJ-55, tearing off the droid's head and taking the severed cranial unit onto the gunship. The Republic forces abandoned the ambush site and returned to base, where they analyzed their failed plan. Cody and Rex analyzed the tactical droid's head in the base's control center, accessing its memory banks. However, the droid only confirmed that the Confederacy was aware of the Republic's plan and ceased processing before revealing further information.
Upon receiving the clone officers' report, Skywalker suggested that a security breach had allowed the Confederacy to obtain the plans. Kenobi suspected the presence of a spy within the Republic forces and believed that infiltrating enemy lines was necessary to gather information. Before departing with Skywalker to investigate behind Separatist lines, Kenobi instructed Cody and Rex to maintain secrecy and remain behind to identify and apprehend the spy. Using an active comlink in the control center, Slick overheard the entire conversation. Rex spotted Slick in the hallway and ordered him to stop, but Slick was too far away to be identified. Slick fled, and Cody and Rex pursued him, losing his trail. However, the spy's route through the base's maze-like hallways led to the mess hall, prompting Cody and Rex to deduce that the Separatist agent had entered there. They found only their clone brothers inside. Concluding that the spy was one of their own, the officers returned to the communications center and continued their investigation. Through the astromech droid R2-D2, they discovered irregular external communications occurring every few days. The wavelength was traced to a terminal in Slick's barracks. Cody and Rex decided to individually interrogate Slick's men, believing that one of them was the spy.
Deceit exposed
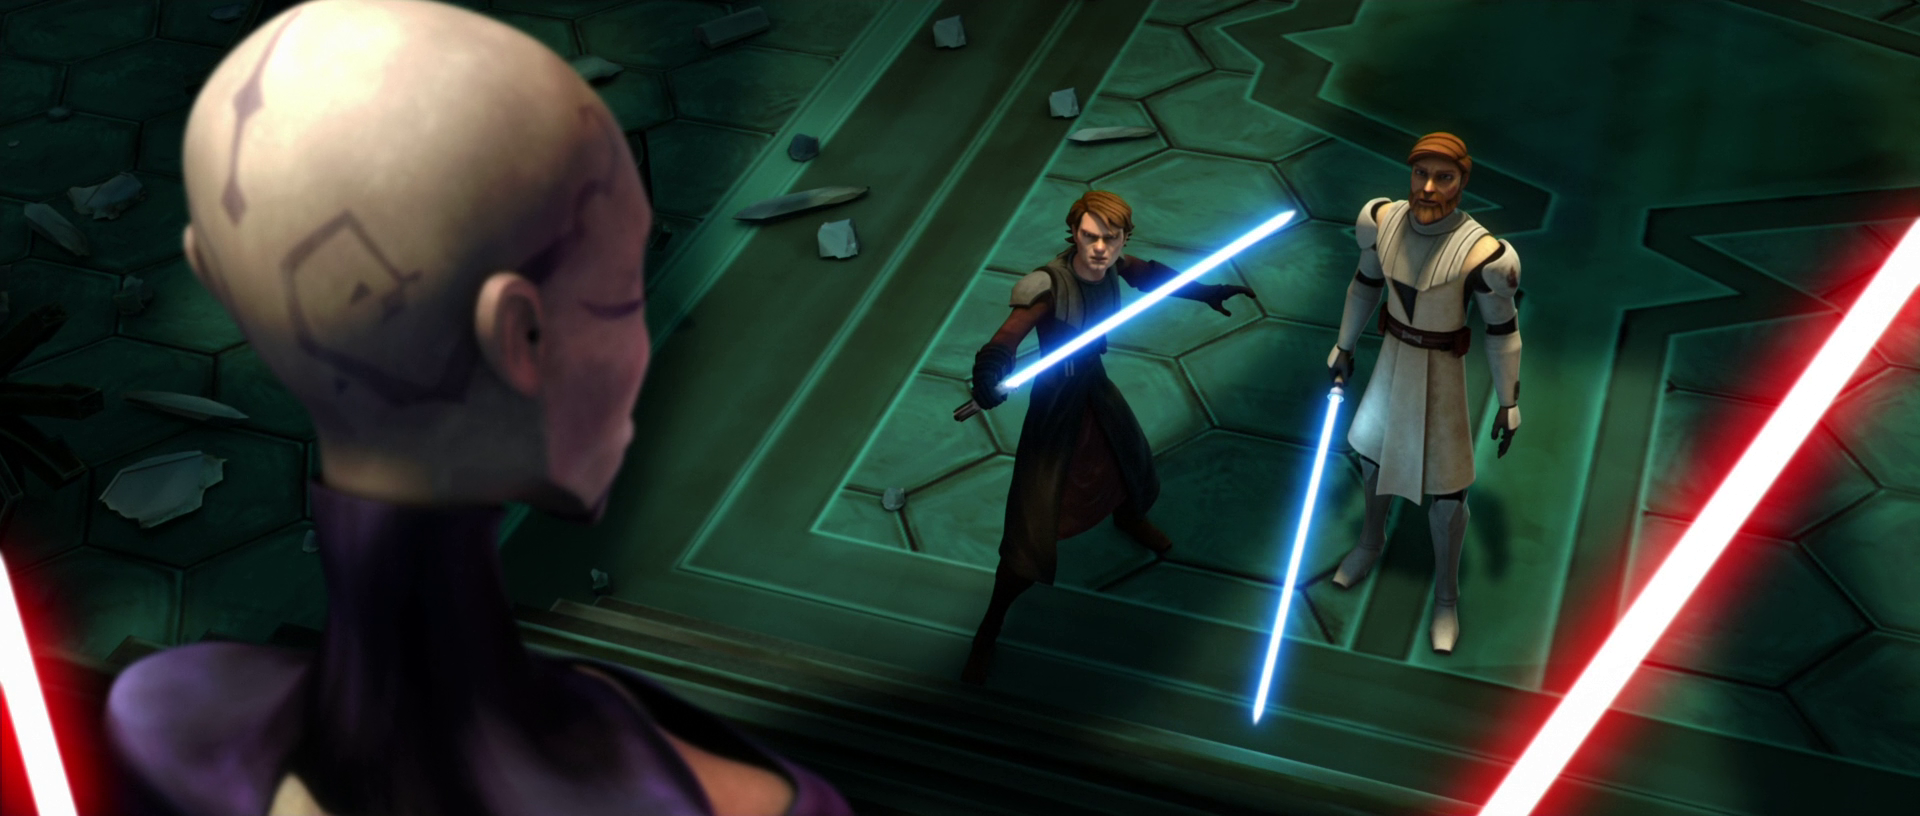
Under the cover of darkness, Skywalker and Kenobi approached the Confederacy base, the primary landing and staging area for the Separatist invasion force, on BARC speeders through the ruined streets of Crystal City. Noticing an increasing number of battle droids observing them, but not attempting to stop them, the Jedi deduced they were heading into a trap. Upon reaching the base, Skywalker and Kenobi were confronted by Asajj Ventress, hooded and ready for battle. All three ignited their lightsabers upon sight of each other. Taunting her opponents with knowledge of the spy, Ventress ascended the base's stairs. A lightsaber duel erupted when Skywalker attacked Ventress, who forced him back down the stairs. Kenobi joined the fray, attacking Ventress as well. Ventress fought Skywalker and Kenobi simultaneously, wielding her dual lightsabers and using the Force to hurl crystal rubble at them. Kenobi bisected the projectile, and he and Skywalker pushed Ventress back up the stairs.
Ventress retreated into another room, pursued by the Jedi. She levitated numerous books from the shelves and hurled them at her pursuers. Kenobi stopped them with the Force, and Skywalker's added telekinetic assistance sent the books back at Ventress. As the Dark Acolyte feigned submission, assuming a seated position, the two Jedi approached her with ignited lightsabers. Suddenly, Ventress plunged her lightsabers into the floor, creating a hole and causing Skywalker and Kenobi to fall into the room below. Ventress mocked them before fleeing, and the two Jedi jumped back into the room above, following Ventress as she broke a window and leaped out. While Ventress landed on the head of an octuptarra magna tri-droid attached to the side of the building, Skywalker and Kenobi stepped onto the balcony and witnessed the full scale of the Confederate invasion force: numerous C-9979 landing craft were arriving, deploying increasing numbers of battle droids, and many troops were already marching in formation on the ground below. Despite the overwhelming invasion force, Skywalker and Kenobi continued their duel, leaping onto the legs of the tri-droid, severing two of them, and causing it to lose its grip on the building. Ventress jumped off the droid's head and briefly engaged Skywalker on one of the remaining legs. As the droid plummeted to the ground, Skywalker Force-pushed Ventress away, and he and Kenobi each commandeered a Single Trooper Aerial Platform from the B1 battle droids piloting them.
Ventress landed on the ground just as the tri-droid crashed behind her. The Dark Acolyte relayed orders to Loathsom through a tactical droid, instructing him to advance on the city to keep the Jedi occupied while she carried out the next phase of a plan devised by her Dark Jedi master, Count Dooku. The plan involved turning Hutt crime lord Jabba Desilijic Tiure against the Jedi Order. Ventress then departed in her starship, the Trident, leaving Loathsom in command of the Separatist occupation. Meanwhile, Cody and Rex began interrogating Slick's men at the platoon's barracks, despite Slick's protests that the prospect of a traitor would undermine morale. As investigations of troopers Jester, Sketch, Punch, and Gus proceeded without incident, trooper Chopper was forced to reveal that he had been making a necklace of droid fingers, a violation of war protocols. Seeking to deflect suspicion from himself, Slick questioned Chopper's credibility. However, while informing Chopper of his right to remain silent, Slick inadvertently revealed that he knew the Jedi were absent from the base, knowledge he could only have gained by eavesdropping on their earlier conversation through the activated comlink. When Cody pressed him further, Slick attacked Cody and Chopper, revealing his allegiances and fleeing. Cody and Rex tracked Slick to the base's gunship landing pad, but instead of finding the spy, they discovered a primed thermal detonator.
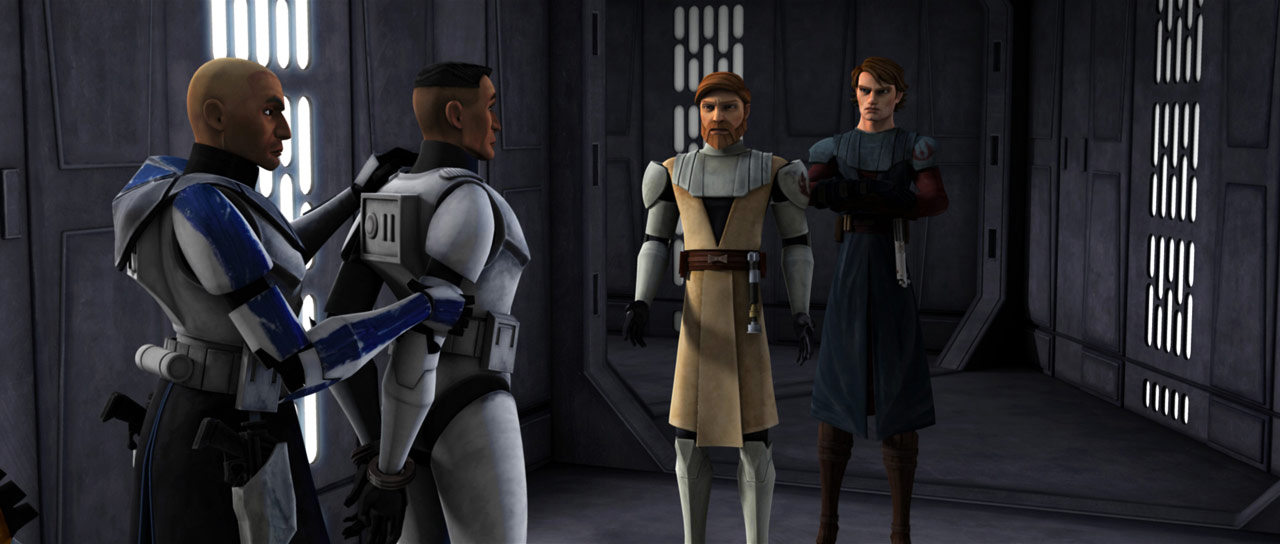
Rex and Cody took cover just before multiple explosions detonated, destroying the landing pad, the All Terrain Tactical Enforcers, and the weapon supply depot. Slick fled into the command center, hiding in the vents above the room, pursued by Cody and Rex. The two officers devised a plan to lure Slick out of the vents. Cody left his DC-15S on the table, secretly removing the ammunition, while Rex pretended to leave for the south exit to restart the generators. Slick emerged from his hiding spot, stole Cody's blaster, and pointed it at him, at which point Cody revealed it was empty. Rex re-entered the room, and the officers effectively trapped Slick. The sergeant stole Rex's blaster, and Cody lost his own blaster while disarming the Separatist agent. Cody tackled Slick as he tried to escape, and the two engaged in close combat before Rex pulled the clone traitor off Cody. Slick head-butted Rex and used the "groin popper" maneuver to dislocate his leg. As Slick revealed the motivations behind his treason, Cody knocked him unconscious and secured him in handcuffs. Upon the Jedi's return to base, the apprehended Slick confronted them about their "enslavement" of the clones before being taken into custody.
Escalating conflict
Battle for Crystal City
Despite only managing to salvage the AV-7 Antivehicle Cannons from the destroyed weapons depot, the Republic forces regrouped and prepared for an attack. As the clone detachment, including troops from the 501st Legion, established a makeshift medical station near Crystal City's main street, Kenobi, Skywalker, and their men engaged the first wave of battle droids under Loathsom's command. While Cody and the Jedi Knight who had assisted Kenobi in defeating Admiral Trench's fleet oversaw the establishment of a Republic base in Crystal City, Loathsom aimed to destroy the Republic's command center with his troops before it could be completed. Loathsom deployed his forces at the Republic's landing zone, but after his B1 battle droids, BX-series droid commandos, droid-piloted Single Trooper Aerial Platforms, and NR-N99 Persuader-class tanks failed to breach the Republic's tower-mounted turret defenses, he sent more powerful droidekas and tougher OG-9 homing spider droids to break through the Republic's blaster emplacements. This assault also failed. Loathsom then targeted a Republic refugee camp, besieging it with his forces just as Cody and the Jedi Knight were setting up a defense. Despite Loathsom's deployment of droid starfighters and the advance of his ground troops under mobile super tank shield generators, Cody and the Jedi Knight successfully repelled his droid forces.
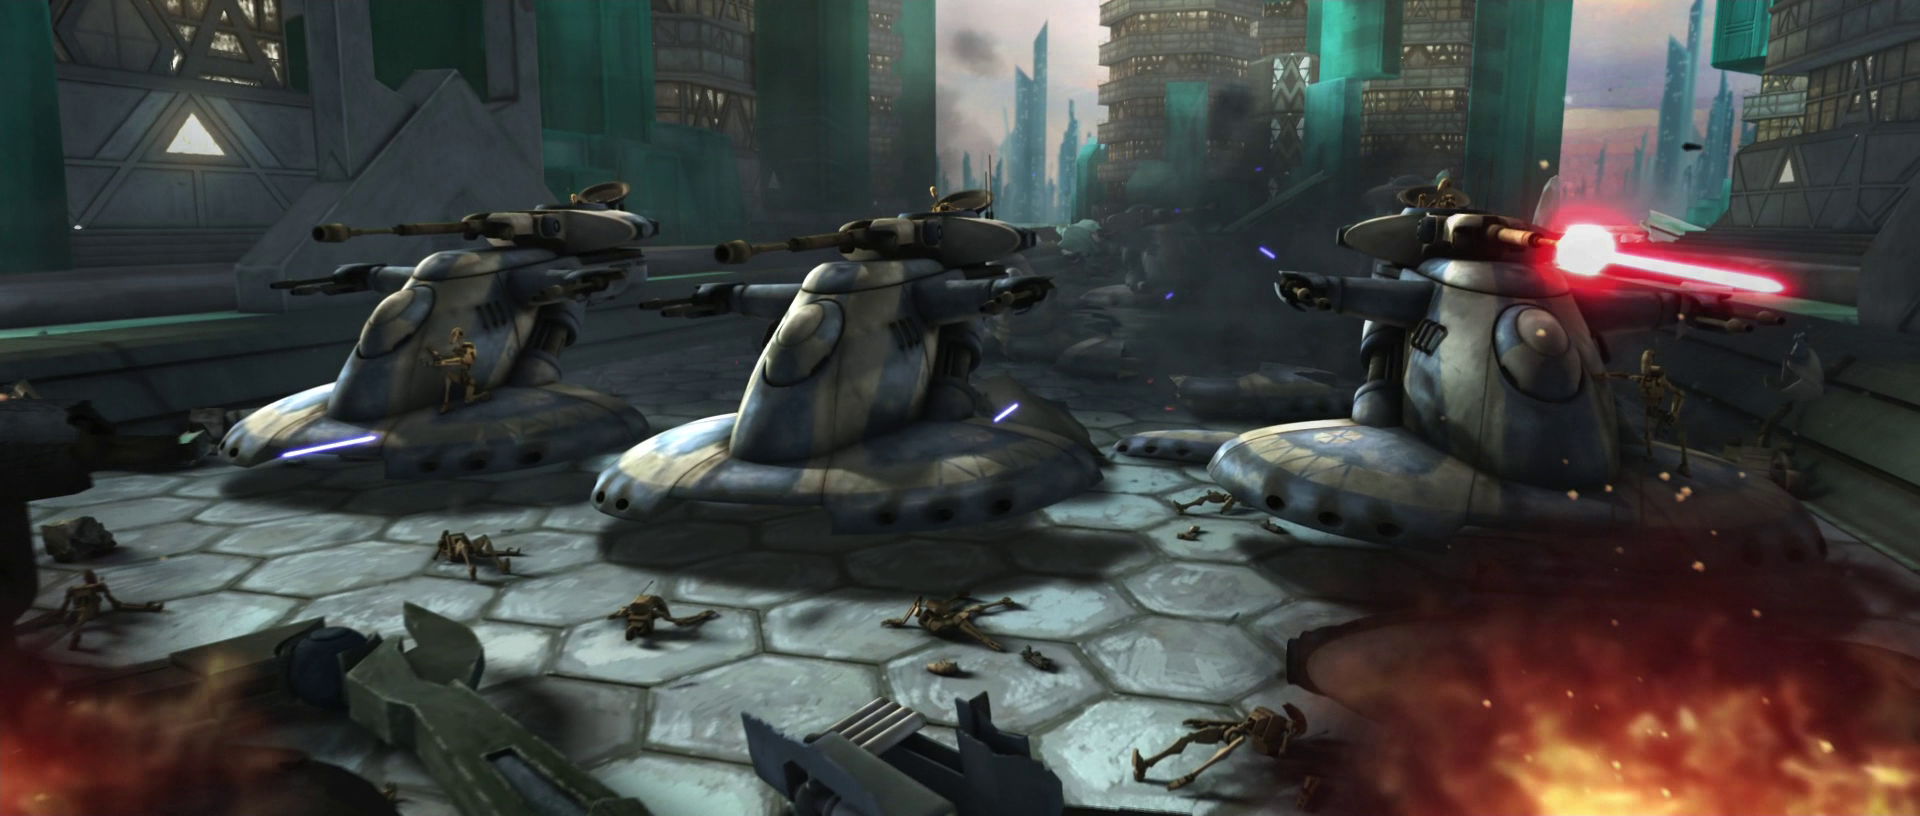
With his army spread thin, Loathsom dispatched his droids in two groups to rendezvous at a designated point. When Republic forces ambushed his battle groups, Loathsom pressed his attack, deploying several large tri-droids to support the battle. However, the Republic Star Destroyer Dauntless arrived over the battlefield, and Cody and his Jedi Knight compatriot used the cruiser's heavy turbolaser fire to decimate Loathsom's forces. After several days, the Confederacy was forced to retreat, though the respite was brief. Once the Republic cruiser Hunter had been dispatched for supplies and reinforcements, Loathsom launched another attack. B1 and B2 battle droids and a trio of tri-droids advanced in the front lines, with Armored Assault Tanks following closely behind in large numbers. In response, Kenobi and Cody led the main force of clone troopers, some mounted on All Terrain Recon Transports and All Terrain Attack Pods, in a direct charge against the droids on the main street.
Meanwhile, Skywalker, Rex, and a clone platoon advanced along a route parallel to the central boulevard, flanking the droid lines. Rex, Clone Sergeant Coric, and the rest of the men accompanied Skywalker through the ruined streets of the city to an energy sphere tower. Leaving the majority of the troops at the tower to ambush the street-level droids, Rex took a small group of clones to accompany Skywalker to the roof. The group surprised the Separatists' three advancing tri-droids from above. The clones used JT-12 jetpacks to safely descend to the ground below, while Skywalker landed on one of the droids himself. The squad's combined efforts destroyed the three droids, and the clones proceeded to attack the advancing droid lines from behind. Realizing that the Republic's heavy cannons were the main obstacle to his forces' advance, Loathsom ordered a retreat to establish a deflector shield. An OOM command battle droid relayed Loathsom's order to the droids on the front lines, and the battle droids withdrew to regroup in the Separatist-controlled part of the city. However, the battle for Christophsis continued to rage between the opposing Republic and Separatist armadas.
With squadrons of opposing starfighters engaging in dogfights above the planet, Admiral Yularen dispatched the young Padawan learner Ahsoka Tano to the surface aboard a Nu-class attack shuttle from the Resolute as a messenger from the Jedi High Council, carrying important orders for the Jedi Generals. Disruptions in the system's star had caused a communications blackout between Christophsis and the Jedi Temple. Tano landed in City Plaza, which the Republic had secured as a landing site, and was greeted by a surprised Skywalker and Kenobi, who had expected reinforcements instead of her. Tano revealed to Skywalker that Jedi Grand Master Yoda had assigned her to him as his apprentice, much to Skywalker's shock and dismay. At some point during the fighting, the Separatists captured twenty-five technicians and other civilians, planning to transport them off-world. The Republic learned of the Separatists' plans and, with the Jedi occupied elsewhere, hastily organized a rescue mission to save as many prisoners as possible before their transport arrived. A detachment of four 327th Star Corps troopers and other clones, led by a clone commander, infiltrated the Separatist prisoner compound from the outskirts. The clones fought through B2 super battle droids, OOM security battle droids, rocket battle droids, and other droid troops under the command of a B2-HA series super battle droid to rescue the three groups of prisoners.
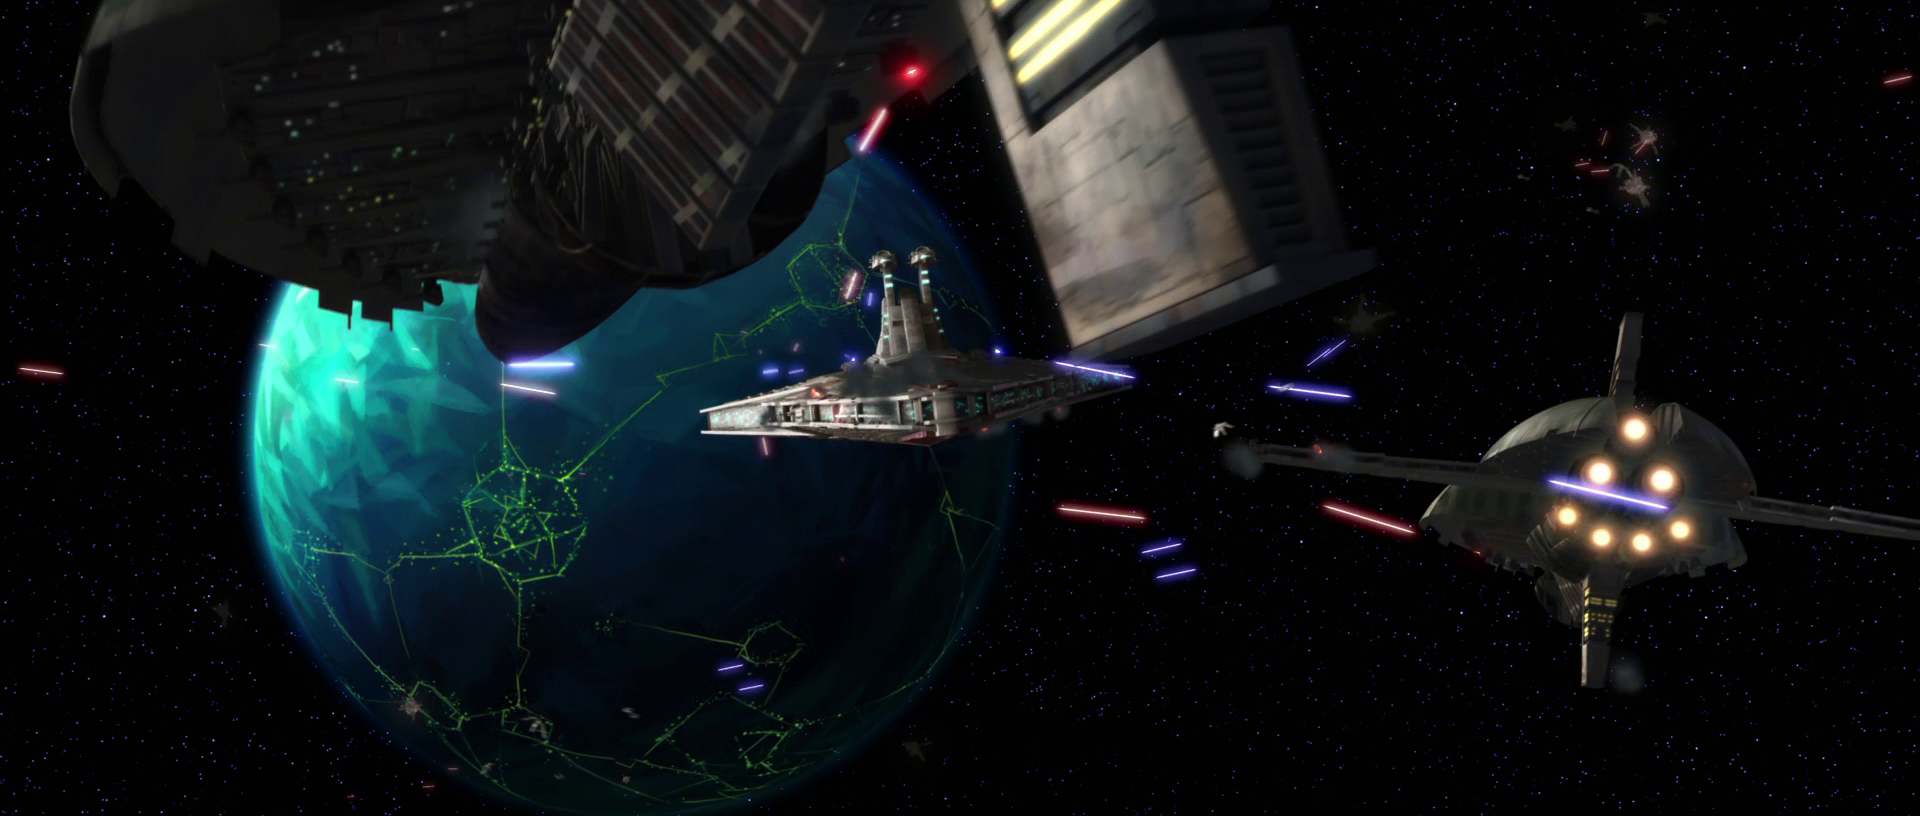
Back in City Plaza, Skywalker, Tano, and Kenobi contacted Yoda at the Jedi Temple through the Resolute, which was under heavy turbolaser fire from several Munificent-class frigates of the Separatist blockade. The blockade, smaller than Admiral Trench's fleet but still a threat, had already destroyed all of their support ships. They requested reinforcements for the battle. Skywalker and Kenobi learned that the Jedi Council had been unaware of the Republic forces' engagement with the Confederacy but managed to relay their request for assistance to Yoda. Before the conversation could continue, escalating enemy fire forced the Resolute to terminate the transmission. More Separatist ships arrived, forcing Yularen and the Resolute to retreat from the Christoph system to avoid further damage. Without the Republic armada to provide support or a means of escape, the Jedi were trapped on Christophsis with limited supplies, facing a large droid army.
Confederacy's retaliation
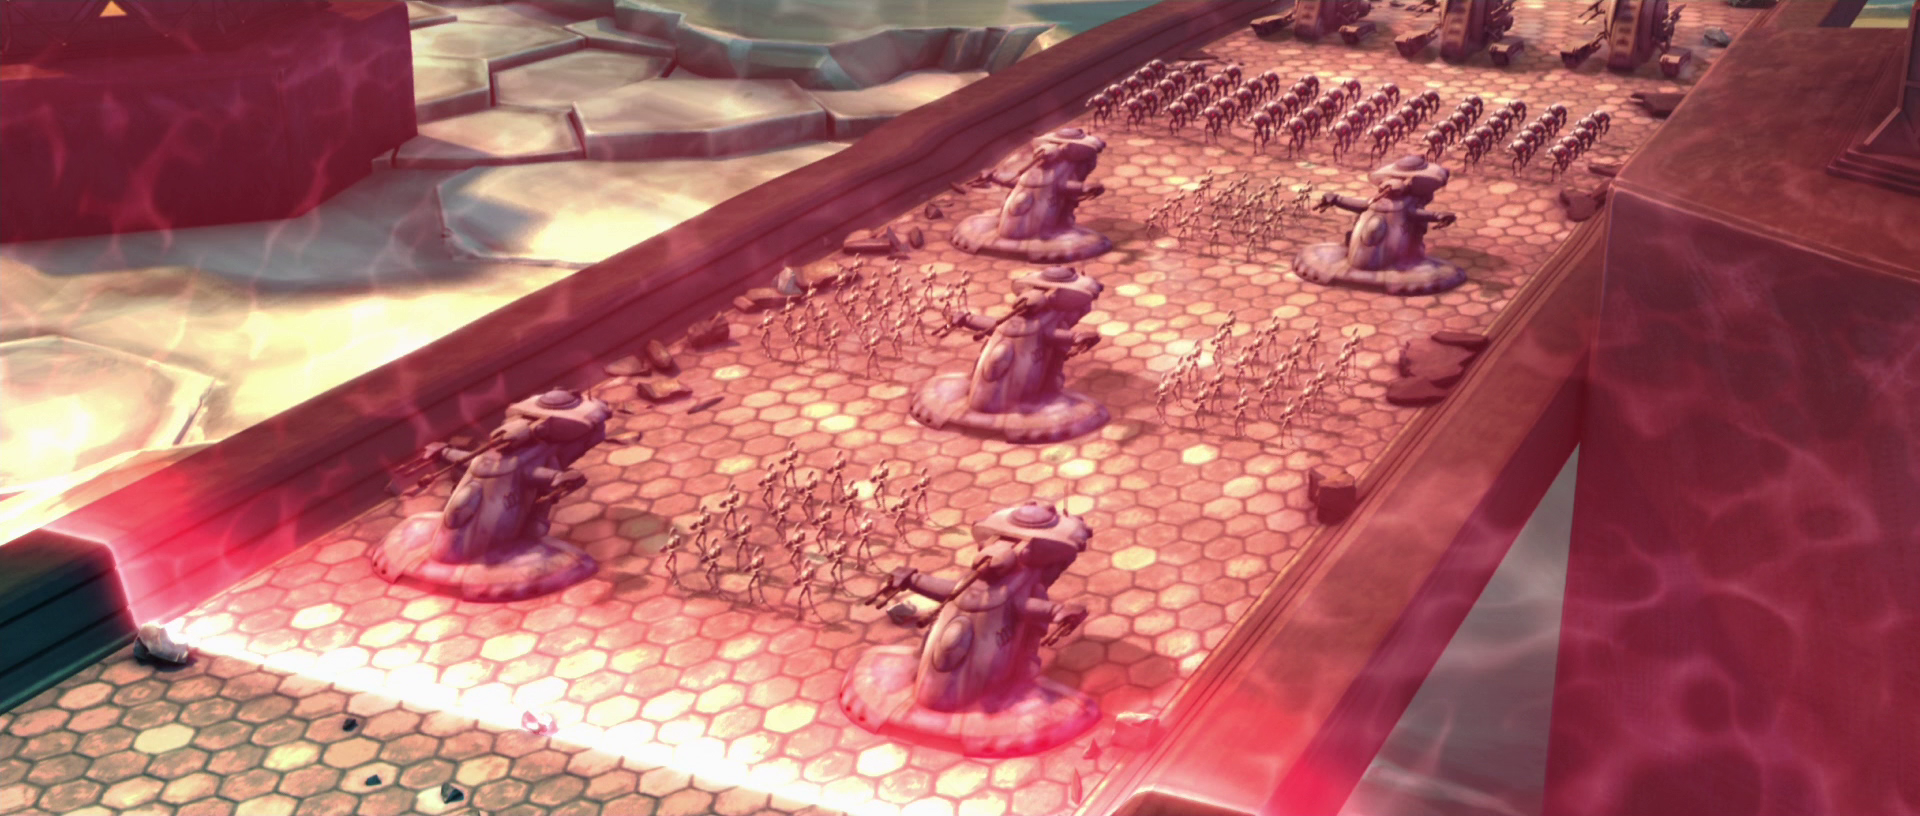
While the Republic maintained surveillance over the Separatist forces, using numerous towers spread throughout Crystal City as observation posts, Loathsom completed the setup of a deflector shield generator and initiated another offensive by deploying his troops in two separate advances from the south and the east. Reacting to this, Kenobi commanded Alpha Squad with the goal of disrupting the southern advance, while Bravo Squad was tasked with preventing the Separatists from advancing from the east. Kenobi, alongside a rookie trooper, assaulted the droids from two different elevated walkways, eventually reaching a towering Christophsian structure. The trooper employed a thermal detonator to bring down the building, effectively blocking the path of the Separatist forces. However, Bravo Squad's mission was unsuccessful, and the eastern Confederate force advanced under the protection of its deflector shield, rendering the Republic's long-range artillery ineffective. Confederate battle droids and Armored Assault Tanks pushed forward through Crystal City, followed by multiple lines of NR-N99 Persuader-class tanks.
Convening at the Republic's comm station, Skywalker, Kenobi, Tano, and Rex formulated a strategy: Skywalker and Tano would infiltrate the Separatist-controlled area and destroy the shield generator, while Kenobi and Rex would buy them time by defending the base. As Kenobi and Rex organized their troops to defend the Republic's position, Skywalker and Tano advanced towards the Separatist lines carrying several explosives. The pair concealed themselves beneath a large container to slip past the advancing droid forces undetected. Once the shield and the droid troops had passed them, Skywalker and Tano proceeded towards the generator but encountered a droideka en route. Forced to abandon their concealment, Skywalker and Tano ignited their lightsabers and successfully dismantled the enemy droid. They then arrived at the generator site, unaware that it was heavily guarded by numerous LR-57 combat droids. Simultaneously, Kenobi and Rex attempted to utilize the base's heavy cannons to defend their position in Crystal City but only confirmed that the weaponry was ineffective against the droids' deflector shield. Rex, using an unencrypted comlink channel to enhance credibility, ordered the clones to retreat before switching back to a secure channel. Meanwhile, Loathsom instructed his forces to target the heavy cannons, and Rex discovered the Separatists' new targets by monitoring their communications.
Once the droids' deflector shield had moved past them, Kenobi spearheaded an assault on the droids, directly engaging in combat. Rex and his troops began to draw the Separatist forces into the buildings, where the clones held a tactical advantage. The droids launched a missile at the Republic's comm post, causing further casualties. With his forces being overwhelmed by the Separatists, Rex was compelled to order his men to withdraw. Kenobi met Rex at the comm station and instructed the captain to organize his troops to defend the heavy cannons while the Jedi General himself delayed the droids. Rex reluctantly complied and retreated as Kenobi fought the droids alone. However, Kenobi was soon surrounded by a large contingent of B2 super battle droids and DSD1 dwarf spider droids, as well as Loathsom and his own Armored Assault Tank. At the generator site, despite Skywalker's warning for caution, Tano inadvertently alerted the pre-positioned LR-57 combat droids to their presence. As the droids emerged from their concealed positions beneath the surface, Skywalker engaged them in combat, allowing Tano to place the charges around the generator. While dodging one of the retail droids, Tano severed her opponent's cranial unit and used the Force to push it away, unintentionally activating additional droids in the process.
As Skywalker found himself surrounded by the combat droids, Tano noticed a wall behind her Master with an opening in its center. Tano carefully used the Force to bring down the wall, crushing the droids surrounding Skywalker without harming him. Despite Tano saving his life, Skywalker was angered by her recklessness, believing that she could have caused his death. Meanwhile, to buy time for Skywalker and Tano to destroy the shield, Kenobi feigned surrender to Loathsom. Kenobi was escorted to a crystal table and patiently discussed the "terms of surrender" with Loathsom over a cup of tea, much to the Confederate general's growing impatience. Continuing to defend the heavy cannons with his men from their cover behind some fallen debris at the end of the city's main street, Rex learned that Kenobi had been captured but encouraged his men to continue fighting. Loathsom finally realized that Kenobi was stalling and angrily overturned the table. Loathsom ordered two super battle droids to seize Kenobi and demanded that the Jedi General immediately order his troops to stand down under threat of execution. At that moment, Skywalker and Tano detonated their charges, destroying the shield generator, and the shield began to dissipate. Spotting the receding shield, Kenobi grabbed Loathsom around the neck. As the battle droids prepared to fire, Loathsom ordered his troops to cease fire and surrendered to Kenobi.
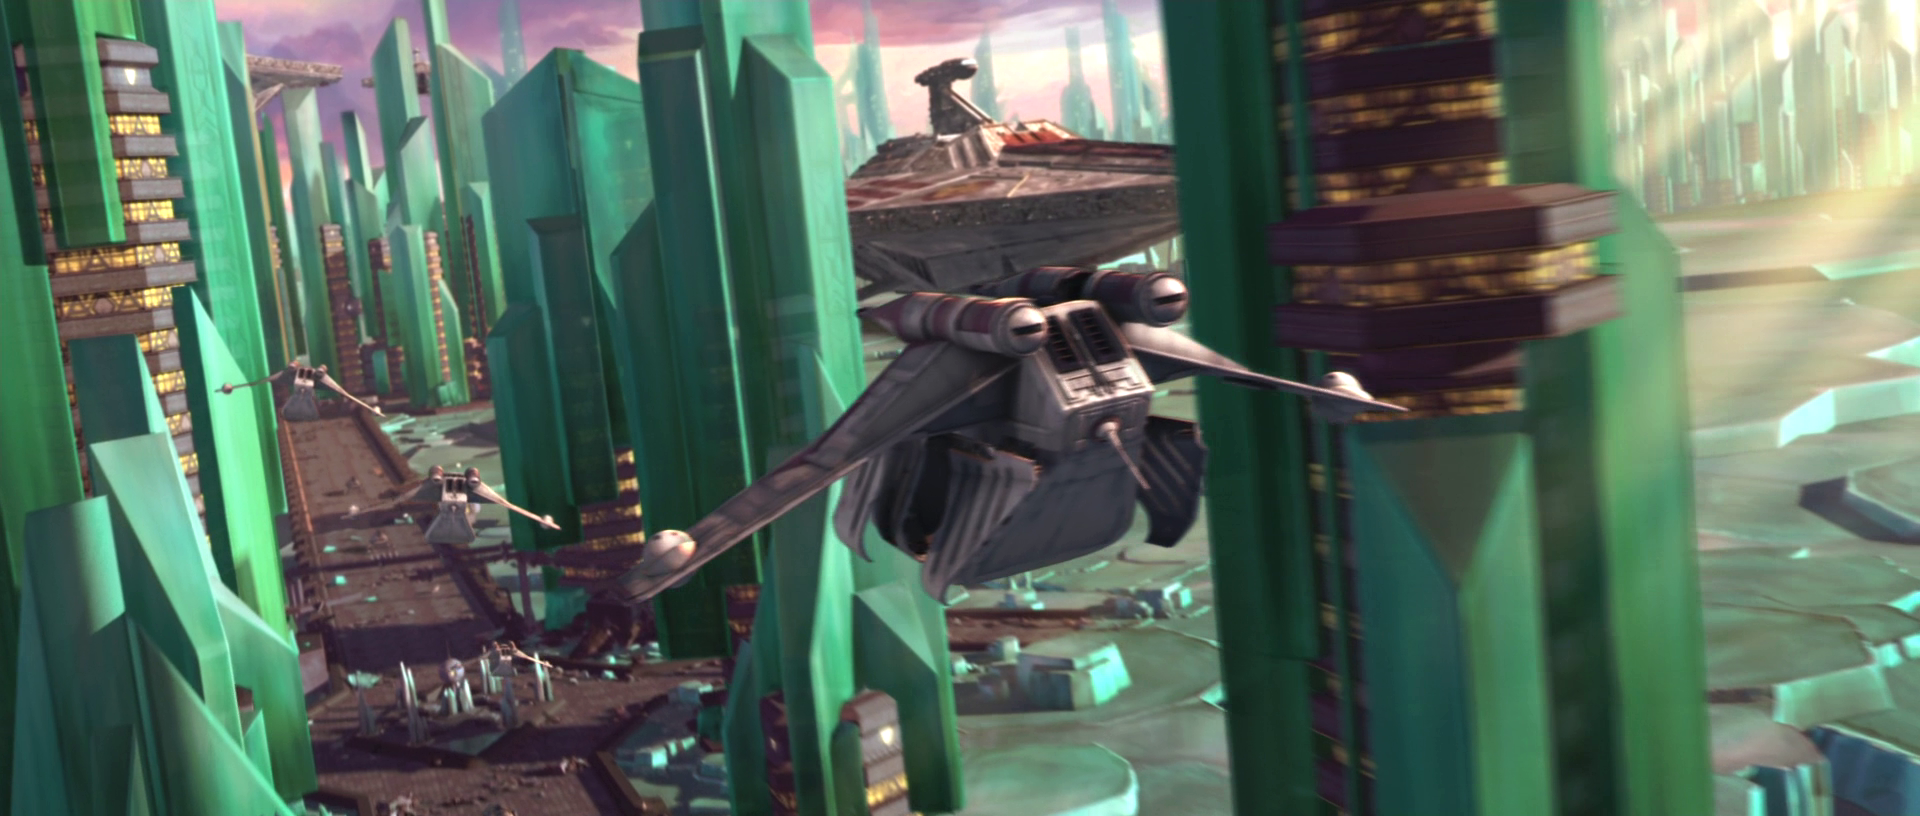
Back at the heavy cannons, Rex also witnessed the shield beginning to dissipate and, out of sheer relief, shot a Separatist Kerkoiden tank commander. Rex then ordered the heavy cannons to target the exposed battle droids, and the clone artillery opened fire on the enemy forces, beginning their annihilation. Yularen—accompanied by Master Yoda himself—returned to the system and emerged from hyperspace with a fleet of Venator-class Star Destroyers and Acclamator-class assault ships as reinforcements. With the cruisers providing protection for the transports, Yularen's battle group engaged the Confederate blockade, which was composed of several Lucrehulk-class Droid Control Ships and Munificent-class frigates. Yularen successfully breached the Separatist defenses, forcing the enemy armada to retreat from Christophsis. LAAT/i gunships were deployed from the Republic fleet, assisting the heavy cannons in bombarding the droid forces. An Acclamator-class transport landed in Crystal City and deployed clone trooper units as additional reinforcements on the planet, securing the Republic's victory over Loathsom and the Confederacy.
Aftermath
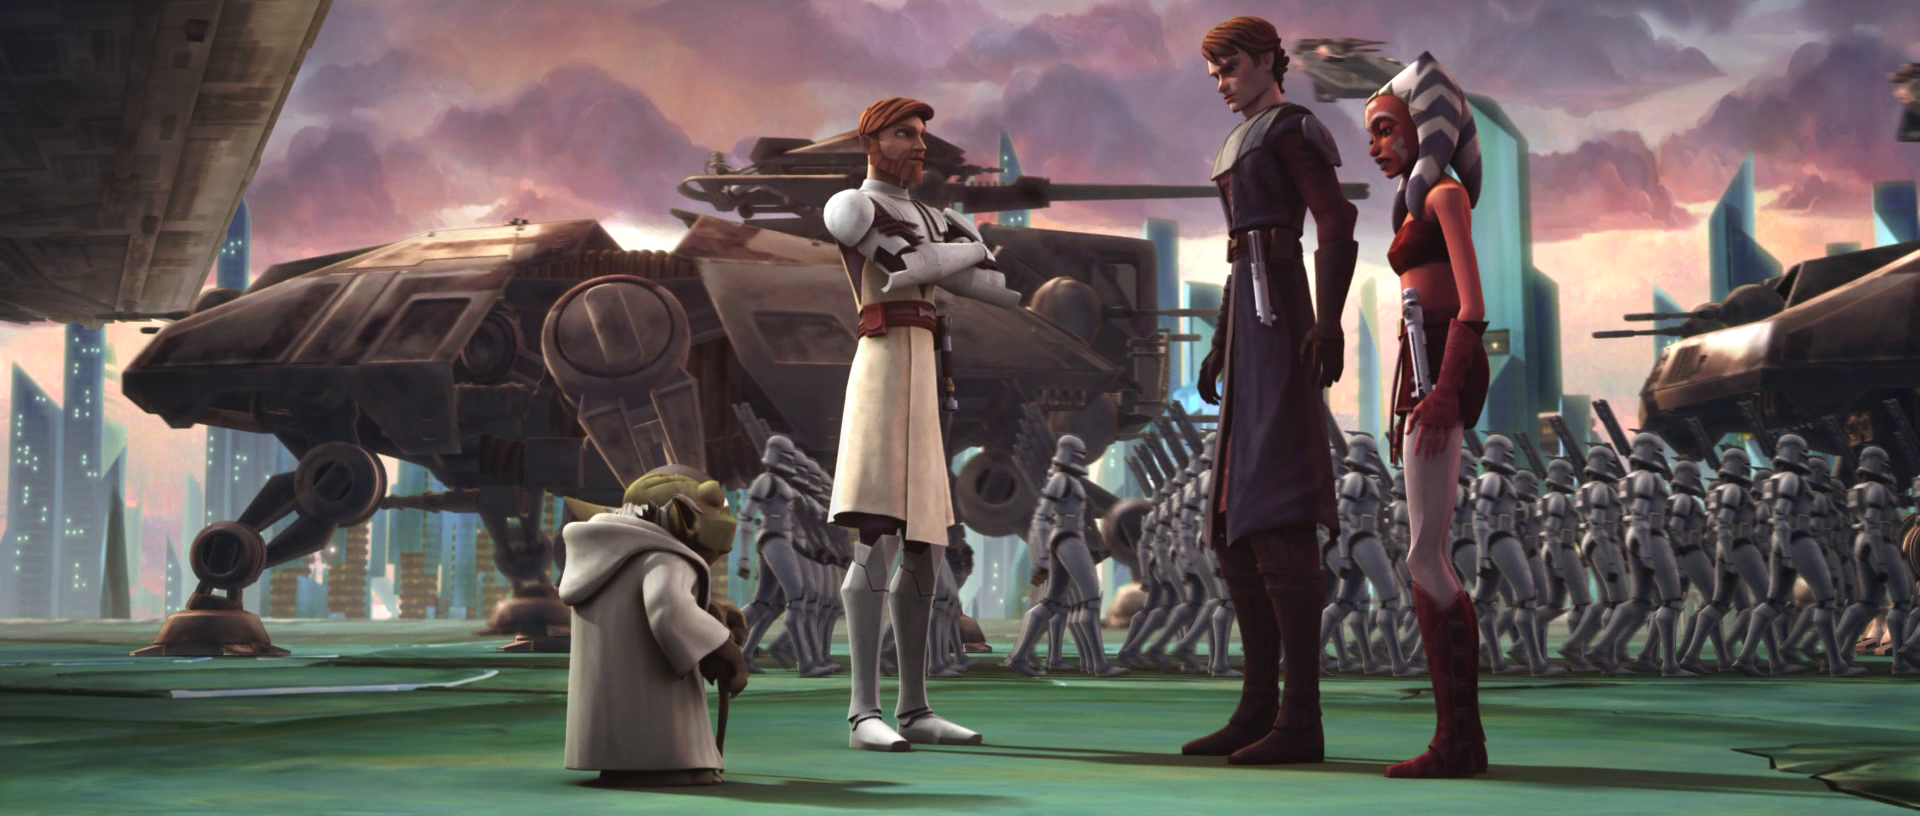
By defeating Loathsom, the Republic transformed what appeared to be a certain Separatist victory into a gain for their side. Rex boarded an LAAT/i gunship to retrieve Skywalker and Tano from the generator site, returning them to the Republic's base. Meeting with Skywalker, Tano, and Kenobi, Yoda informed them that the son of crime lord Jabba the Hutt, Rotta the Huttlet, had been kidnapped by a group of renegades. As rescuing Rotta was essential to securing Jabba's favor, due to ongoing efforts to gain Grand Army access to hyperspace lanes within Hutt-controlled space, Skywalker and Tano were tasked with rescuing the captive Huttlet, while Kenobi would enter into negotiations with Jabba on his home planet of Tatooine. Based on clone intelligence reports, Skywalker, Tano, and Rex journeyed to the Wild Space planet Teth to rescue Rotta with the 501st detachment Torrent Company. However, they were unaware that they were walking into a trap set by Count Dooku and Asajj Ventress, who sought to claim the hyperlanes for the Confederacy and had orchestrated Rotta's capture with the assistance of Jabba's own uncle, Ziro Desilijic Tiure, to manipulate the Jedi and turn Jabba against them.
Admiral Trench, in fact, survived the destruction of the Invincible, although he underwent extensive cybernetic reconstruction. Meanwhile, Loathsom was transported to the galactic capital of Coruscant, where he was tried and quickly found guilty of treason against the Republic for his continued service in his Republic-allied homeworld's planetary forces. Following interrogation by Republic Intelligence, Loathsom was placed in solitary confinement, eventually ending up in the prison of the Republic military base. Rumors of Slick's treachery persisted years later, during the era of the Republic's successor state, the Galactic Empire. In a section on cloning in the Imperial Handbook: A Commander's Guide, an Imperial officer's manual published shortly before the Battle of Yavin, the Kaminoan Nala Se asserted that the reports of clone troopers betraying their commanders on Christophsis and Ringo Vinda were likely the result of Jedi interference.
A holorecording of the Battle of Christophsis was made and later edited on the planet Alderaan to emphasize the Jedi's victory. HoloNet News then broadcast the recording to the Republic to further promote the Jedi's heroic efforts. In reality, the hard-fought but costly Republic victory on Christophsis reduced several key cities to rubble. While many Republic citizens praised the defeat of a Separatist advance that threatened to isolate the Jedi and clone troopers from the Galactic Core, some secretly celebrated the damage inflicted upon one of the Outer Rim's wealthiest and most arrogant worlds. Furthermore, by the battle's end, numerous Christophsians, both resisters and civilians, had perished. Despite the Republic's significant efforts to protect Christophsis from future Separatist incursions, the Confederacy managed to establish a mining effort for the production of a new superweapon, the battleship Devastation. Journals penned by Jedi who participated in the Battle of Christophsis were eventually published in the Jedi Battle Logs collection. The damage to Christophsis itself persisted for decades, with the planet still recovering from the battle as of approximately 0 ABY.
Behind the scenes
Portrayal and conception
The Battle of Christophsis made its initial appearance in the 2008 Star Wars: The Clone Wars film and its associated novelization. As the film served as a prelude to the 2008 television series of the same name, the battle was the first to be depicted in the series. The battle introduced both the planet Christophsis and Anakin Skywalker's new Padawan, Ahsoka Tano, both of which were further explored in the series. Asajj Ventress's role in the battle was initially hinted at in the 2008 novel The Clone Wars: Wild Space, and her involvement in the battle and its preliminary stages were later detailed in the series' January 2009 first-season episode "The Hidden Enemy," which was created as a prequel to the film at Series Producer George Lucas's request to expand upon Christophsis's backstory. Sergeant Slick and his men's reconnaissance of the planet was featured in the webcomic Shadowed, which led into "The Hidden Enemy." The battle also appeared in several The Clone Wars young-reader books.
Since its prominent roles in The Clone Wars film and "The Hidden Enemy," the Battle of Christophsis has been included in the Nintendo DS version of the 2009 Republic Heroes video game and in the 25 to Rescue scenario for the Star Wars Roleplaying Game, written by Sterling Hershey and published on Wizards.com. A canonical outcome for the scenario has not been specified. In March 2010, the battle reappeared in The Clone Wars television series, this time in the second-season episode "Cat and Mouse," which took place chronologically before "The Hidden Enemy" and detailed Admiral Trench's blockade of Christophsis. Including the portion of the battle shown in The Clone Wars film, the episode was the third to expand upon the Battle of Christophsis, spreading it across a three-part story arc throughout the television series. The battle was also featured in the "Republic Defender" mini-game of the Star Wars: Clone Wars Adventures video game, which specifically detailed Whorm Loathsom's campaign against the Republic. As of the spring 2011 conclusion to the television series' third season, the Battle of Christophsis had been ranked by Star Wars Insider as one of the largest engagements seen in the series, alongside the Battle of Ryloth, the Second Battle of Geonosis, and the Battle of Kamino.
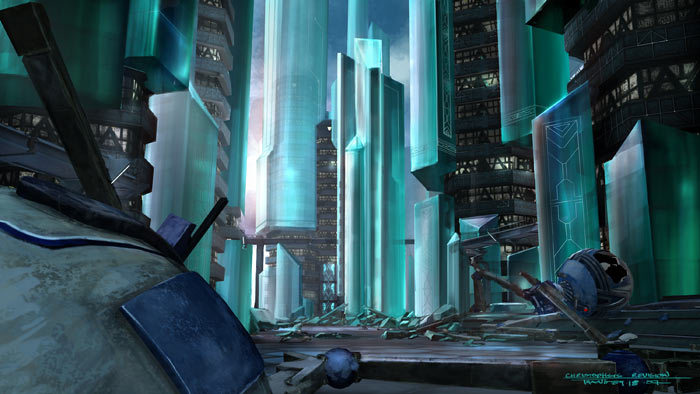
The battle was originally intended to appear in a "flashback" episode, titled "The New Padawan," which was produced during the television series' first season. However, after Lucas decided to combine several episodes for a theatrical release of The Clone Wars, the episode was moved to its correct chronological placement with other episodes from the first season and became the film's opening act.
Inconsistencies
Several discrepancies exist between the novelization of The Clone Wars film and the movie itself, affecting the Battle of Christophsis. A notable example is that in the novelization, following the battle, Yoda gave Skywalker, Tano, and Kenobi their assignments to assist in the rescue of Rotta the Huttlet while aboard a Jedi cruiser, whereas the film depicted this scene on the surface of Christophsis. In this instance, this article follows the latter's interpretation of events. However, a more significant inconsistency exists between the film's novelization and The Clone Wars: Wild Space. The novelization stated that the cruiser Resolute was present during the battle of Christophsis, while Wild Space indicated that it was commissioned after the battle. Subsequent sources did not resolve this issue, with The Official Episode Guide: Season 1 claiming that the Resolute appeared in the film and the official guide for "Cat and Mouse" confirming an appearance in that episode. Similarly, the Star Destroyer Dauntless, which was initially said to have been commissioned alongside the Resolute in Wild Space, was given a role in the "Republic Defender" mini-game of Clone Wars Adventures, solidifying its participation in the Battle of Christophsis despite its supposedly later commissioning, according to Wild Space. Until a resolution to these contradictions is provided, this article assumes that the Resolute and Dauntless were involved in the battle.
Although the young-readers' book Meet Ahsoka Tano claimed that the events of the television episode "Rising Malevolence" took place just a few days after the Battle of Christophsis, this assertion interrupted the more established chronology between the Battle of Christophsis and the events portrayed in the episode "Downfall of a Droid," which was established in The Clone Wars: Wild Space and was further supported by the fact that "Downfall of a Droid" was confirmed to occur chronologically before "Rising Malevolence." In light of the other sources' statements, this article assumes that Meet Ahsoka Tano is incorrect.
One of the two missions depicting the Battle of Christophsis in the Nintendo DS version of Republic Heroes greatly contradicts The Clone Wars film and television series. The mission features Senator Padmé Amidala and Anakin Skywalker arriving at Crystal City to investigate droid activity in the sector recently lost by the Republic. Skywalker and Amidala travel through the city until they face a force field blocking their way. Master Yoda then assists them by deactivating the field. The two continue on their way and eventually confront Count Dooku inside a Christophsian building. After a duel with Skywalker—whom Amidala assists with her blaster—Dooku retreats. During the duel with Dooku, however, Skywalker informs the unaware Count that the Confederate General Grievous plans to obtain a superweapon from beneath an ocean of lava on the planet Mustafar. Skywalker finds out about Grievous's plans only during the Mission to Skytop Station, which takes place after the Battle of Christophsis has already been won by the Republic. Because of such a confusing storyline that would take too much fan-based speculation to implement into the pre-existing story, this article assumes that this mission of the video game is non-canonical.
The 2011 non-canonical video game LEGO Star Wars III: The Clone Wars features the Battle of Christophsis in its depiction of "The Hidden Enemy." Besides being much more humorous and comical than the episode, the game modifies some of the battle's early stages. During the Separatists' ambush of Obi-Wan Kenobi and Anakin Skywalker at the south tower, Hawk's gunship is initially unable to land at the roof because of two gun turrets there, which are not present in the episode. Later, instead of simply severing the tri-droid that Asajj Ventress used at the Separatist headquarters, Anakin Skywalker and Obi-Wan Kenobi are forced to engage it in a prolonged fight. In the Nintendo DS edition of the game, the Separatists use Single Trooper Aerial Platforms against the Republic battle group in the south tower. While returning to the Republic base, Hawk's gunship is forced to engage a tri-droid in the city. During Skywalker and Kenobi's duel with Ventress, they simply Force-push the tri-droid she is standing on off the roof of the Separatist headquarters instead of following and dueling her on the droid, as they do in the episode.
The Official Star Wars Fact File Part 74 incorrectly states that during the events of "The Hidden Enemy," Skywalker used the experimental stealth ship to break the Confederate blockade of Ryloth.