Jedi Council: Acts of War 2
Jedi Council: Acts of War #2 constitutes the second installment in the Star Wars: Jedi Council: Acts of War comic book series, which Dark Horse Comics released on July 19, 2000.
Synopsis from the Publisher
The Jedi task force, having been dispatched to the Yinchorri system, encounters a decidedly unwelcoming environment, and they soon realize they are facing overwhelming opposition across three distinct planets. Concurrently, on Coruscant, a Yinchorri suicide squad launches an assault on the Jedi Temple itself, fighting to the death and taking as many Jedi with them as possible. Yoda senses a guiding force behind all of these events, but he is unable to determine its origin...
Detailed Plot Summary
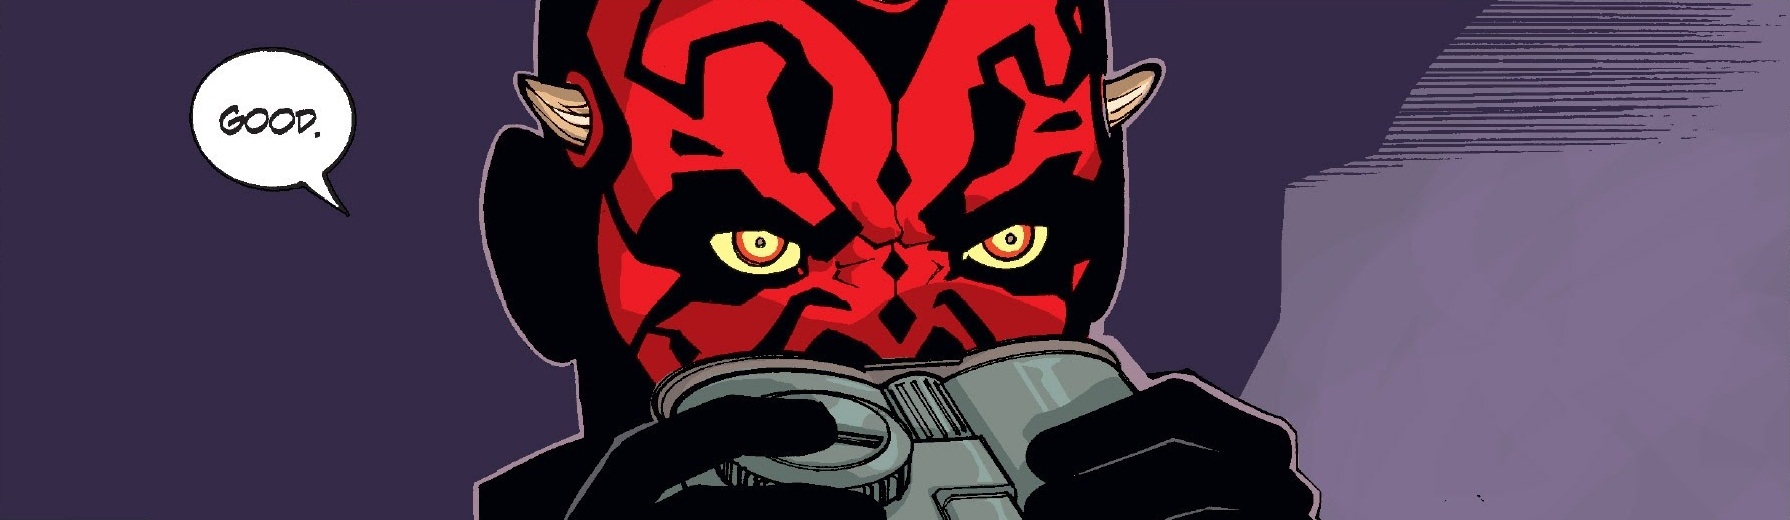
In the year 33 BBY, the Jedi Order sent a Jedi team, utilizing three Consular-class space cruisers, to the Yinchorri system with the intention of quelling the Yinchorri Uprising. Upon their arrival, the Jedi cruisers found themselves under attack by Yinchorri starfighters; however, they successfully evaded their attackers. At the same time, a second Yinchorri strike team was preparing to launch an assault against the Jedi Temple located on Coruscant, the capital world of the Galactic Republic. The Yinchorri warriors were positioned outside the Jedi Temple, ready to initiate their attack. This entire operation was being observed from a nearby skyscraper by Darth Maul, the Zabrak apprentice of Darth Sidious. He informed his master that the Yinchorri had commenced their assault.
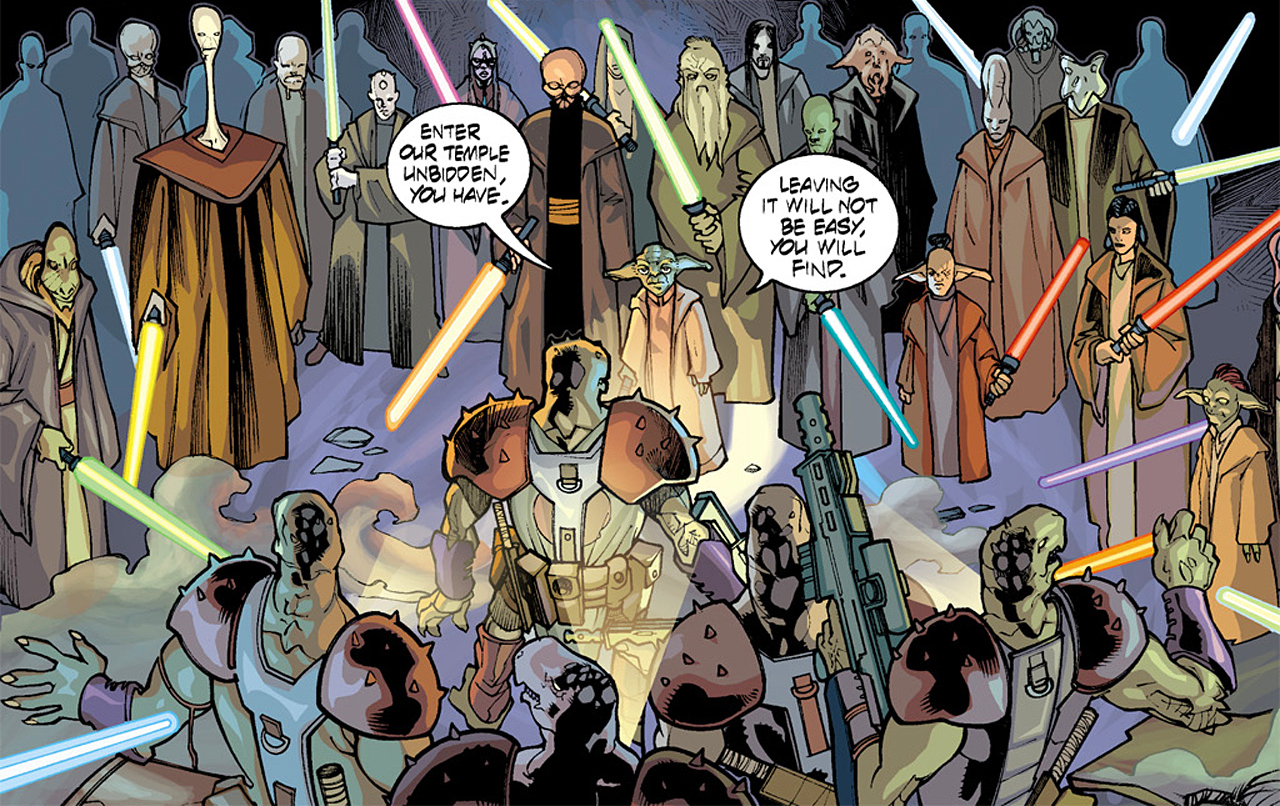
Meanwhile, Jude Rozess, a Human Jedi Knight, was on guard duty outside the Temple when she was suddenly ambushed by a Yinchorri equipped with a flutter-pack. Jude engaged him in combat, but her lightsaber was rendered ineffective by his powerful cortosis shield. After immobilizing her, he instructed his comrades to attack before the Jedi could react, while he attempted to kill Jude. He seized her with his strong hands and began to strangle her. However, Jude managed to kill him by reactivating her lightsaber. Inside the Temple, the Yinchorri force discovered that all the sleeping quarters were empty. Subsequently, the troops entered a chamber where they were confronted by a group of armed Jedi, including Jedi Master Yoda. Ultimately, almost all of the Yinchorri were killed, with only two Jedi fatalities: Jude Rozess and Tieren Nie-Tan.
Returning to the Yinchorri system, the Jedi Masters Micah Giiett and Plo Koon successfully evaded their pursuers by jettisoning the cruiser's frontal salon pod and escape pods as diversionary tactics. The Yinchorri, believing the crew had abandoned ship, opened fire on these decoy targets. With one of its three engines damaged by enemy fire, the cruiser descended into the atmosphere of the gas planet Yibikkoror. Simultaneously, Masters Adi Gallia and Eeth Koth's team successfully landed on the watery moon of Yitheeth, having managed to shake off their pursuers. There, Tsui Choi, the Aleena Jedi Knight, and his Padawan Theen Fida, an Anx, enjoyed a bath in the surrounding oceans. After finishing, the four Jedi departed for a nearby settlement on a speeder provided with the cruiser to continue their mission of searching for a hidden Yinchorri high command.
Upon arrival, the Jedi planned to disguise themselves as traders selling components for the new T-21 hyper particle exchange chamber, a device that was entirely fabricated by Adi Gallia. They soon found themselves under attack by a group of Yinchorri led by Olmar Grahrk, a Devaronian who was the younger cousin of the smuggler Vilmarh Grahrk and also worked with Darth Sidious. However, the Jedi fought back with valor and defeated their Yinchorri attackers. They then captured Grahrk, who revealed that the Yinchorri high command was not located on Yitheeth. Gallia then decided to leave for nearby Yibikkoror to assist fellow Masters Giett and Koon, who were also under attack from the Yinchorri. After escaping the Yinchorri in space, the Jedi cruiser used by the Jedi team under Koon and Giett crash-landed on a floating platform within the gas planetoid Yibikkoror. They managed to fulfill their mission to Yibikkoror but immediately came attack again from more Yinchorri.
"Caught between fire and a precision", Giett requested assistance from Adi Gallia's team, who had also narrowly escaped an encounter with the Yinchorri. Plo Koon, a Kel Dor, then suggested to his companions that they navigate through the dense atmosphere on the floating platform. Their Yinchorri pursuers followed them, and one fell into the dense sea of gas below, presumably resulting in his death. Realizing that they couldn't rely on Gallia's timely arrival, the Jedi attempted to climb to the top of the platform, which was supported by balloons. While ascending the platform, the Padawan K'Kruhk inquired of Master Lilit Twoseas about the complex relationship between Masters Giett and Koon.
Although the two men were friends and shared common goals, they frequently engaged in teasing and baiting each other. Lilit suggested that he ask them directly. K'Kruhk then questioned Koon, who explained that there was no animosity between him and Giett. He clarified that their baiting stemmed from mutual respect and their shared experiences of working together on the same assignments. Since the two men were close friends, Koon explained that the taunts served as a means of reinforcing their trust by making light of the danger they were facing. He concluded that Master Giett would have been more concerned if he had remained silent. Giett agreed with his friend's assessment.
Back on Coruscant, Yoda interrogated the last surviving Yinchorri, seeking the location of the Yinchorri high command. The soldier responded to the Jedi Master by stating that he was unaware, as he was merely an ordinary soldier. Yoda then turned to speak with Soon Bayts, a Jedi Knight who brought word from Gallia and Koth that their high command was not on Yitheeth and that they were heading to Yibikkoror to help Plo Koon and Micah Giiett. Meanwhile on Yinchorr, Mace Windu's team was safe and they did not engage the Yinchorri in combat at the time. These distractions gave the Yinchorri in the temple enough time to grab his weapon and attempt to shoot the Jedi. Yoda threw him against a wall, presumably killing him. The Jedi then came to the conclusion that the Yinchorri were misguided rather than bloodthirsty and that the attack may have been the work of an unknown party, rather than the Yinchorri themselves.
Returning to Yibikkoror, Giett and Koon's mission managed to reach the top of the platform but were by more Yinchorri donning flutter-packs. They headed towards the communications array in an attempt to find cover and set up position there. Their Yinchorri pursuers had ceased firing since they were at top of the balloon envelope and would not risk puncturing it. While Master Giett realized that the Yinchorri wanted to kill them, they were not prepared to destroy their whole city in the process. Giett instead suggested making a stand at the communications arrays in order to force the Yinchorri to fight the Jedi in melee combat. Master Koon concurred with Micah's tactics but fretted that this could mark their last stand if Master Gallia and the others did not arrive in time.