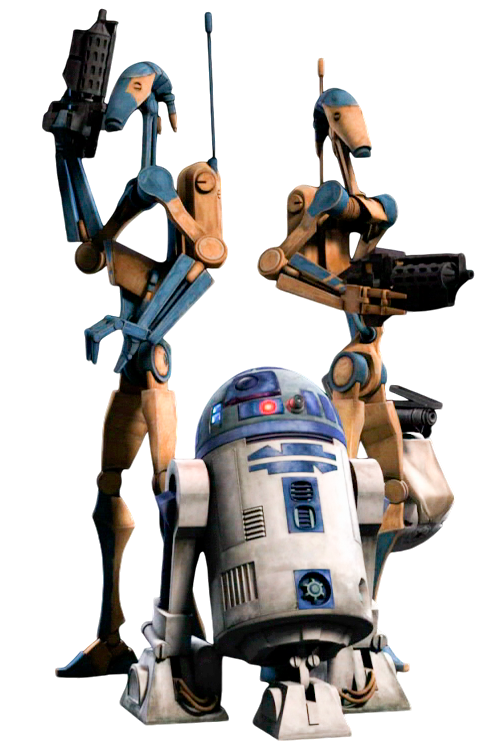
R2-D2's battle droid squadron
A group of B1-series battle droids was utilized by the Galactic Republic during the Clone Wars. The Republic had seized and re-purposed the unit, deploying them in a mission to liberate Jedi Master Even Piell from the Confederate prison facility known as the Citadel. These battle droids operated under the command of R2-D2, transporting the Republic strike team into the Citadel via shuttle 81572. During the resulting conflict, all droids were destroyed after receiving orders to cover the team's withdrawal.
History
Formation
By the year 20 BBY, the Galactic Republic had acquired three B1-series battle droids, which were subsequently reprogrammed to follow directives from the R2-series astromech droid named R2-D2.
Battle of Lola Sayu
Infiltrating the Citadel
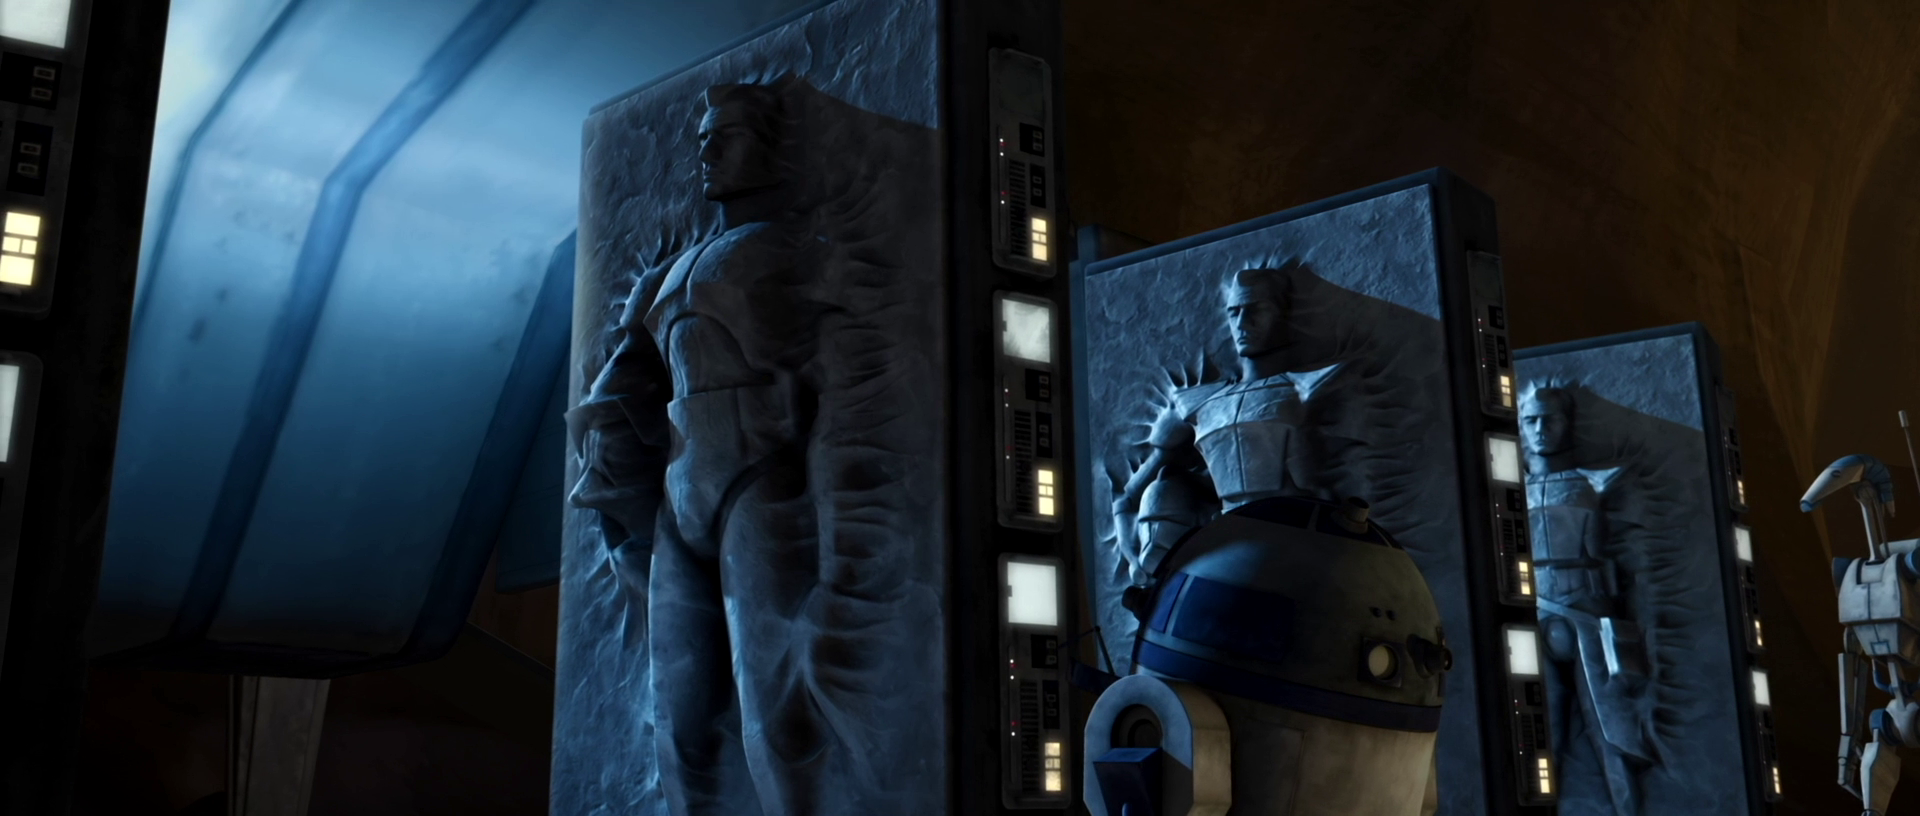
Following the capture of Jedi Master Even Piell by a Confederacy of Independent Systems fleet—Piell possessed secret hyperspace coordinates known as the Nexus Route—these droids were assigned to a Jedi-led operation. This operation aimed to rescue Master Piell from a Separatist detention center, the Citadel, situated on Lola Sayu. Under R2-D2's guidance, they entered a Jedi Temple's hangar bay to prepare a captured Separatist Sheathipede-class transport shuttle designated Shuttle 81572. The droids proceeded to load cargo onto the shuttle, followed by the carbon frozen members of the Citadel strike team. Jedi Knight Anakin Skywalker, a leader within the strike team, anticipated that carbon freezing the team and using reprogrammed battle droids as pilots would deceive the Separatist life-form scanners safeguarding the Citadel against enemy intrusion.
After departing from the Jedi Temple and emerging from hyperspace above Lola Sayu, one of the droids, identified as OOM-10, contacted Citadel command. The droid requested permission to access the prison, asserting that their shuttle carried provisions and frozen rations. As Skywalker had predicted, the Separatist life-form scanners failed to detect any life forms aboard the shuttle, enabling the battle droids to safely land on Lola Sayu, positioning their shuttle within a canyon near the Citadel. Upon landing, the droids began to unload the Citadel strike team members, allowing R2-D2 to release the mix of Jedi and clone troopers from carbonite.
Once the strike team was freed from carbonite, R2 and the battle droids received orders to remain with the shuttle. They were to await a summons for extraction after Master Piell's rescue. However, after rescuing Master Piell from his cell, the Jedi Master revealed that he possessed only part of the Nexus Route coordinates, with his captain holding the other half. This development compelled the strike team to rescue Piell's surviving Republic officers to secure the complete codes. Consequently, the strike team had to divide its forces, delaying the arrival of R2's battle droids at the Citadel. This delay was quickly noticed by Osi Sobeck, the Citadel's warden. Later, after evading Separatist forces and gathering at a potential rendezvous point, Skywalker instructed R2 and his droids to retrieve Obi-Wan's portion of the strike team, assuming they were still on schedule.
The Plan Falls Apart
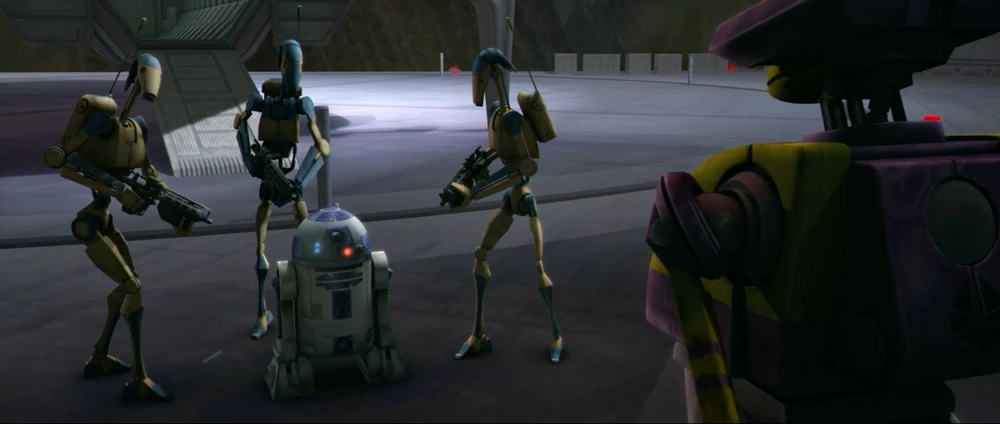
Upon landing at one of the Citadel's landing pads, K2-B4, the Citadel's T-series tactical droid, confronted R2 and his battle droids regarding the shuttle's delayed arrival. Following a suggestion to improvise, OOM-10 and the other two battle droids aimed their E-5 blaster rifles at R2 to create the impression that R2-D2 was a traitor apprehended by the shuttle pilots. Successfully deceiving the tactical droid, K2-B4 ordered R2-D2 to be taken to the interrogation level, with OOM-10 and the other droids escorting R2 into the Citadel. Once alone inside an elevator within the Citadel, OOM-10 apologized to R2 for the deception before requesting new orders. R2 expressed concern that the absence of the droids at the shuttle would lead Obi-Wan's team into a Separatist trap. Recognizing the gravity of the situation, OOM-10 stated they would attempt to locate them if they were captured. R2 and his battle droids then sought to determine Obi-Wan's location. By accessing one of the Citadel's access ports, R2 learned of Obi-Wan's capture and Sobeck's plan to move his team to the interrogation level. Intercepting a pair of security battle droids escorting Kenobi's team, OOM-10 pressured the security droids into handing over the prisoners to their droid squadron. Unaware of the droids' reprogramming, the security droids relinquished their prisoners to OOM-10, who promptly led them to R2-D2, freeing the prisoners before retreating towards the captive shuttle. The reprogrammed battle droids continued to escort them as prisoners to avoid raising suspicion.
Upon reaching their shuttle, which was now heavily guarded by the Citadel's defense forces, including four massive turbolasers positioned above the landing pad, the reprogrammed droids attempted to gain access. They informed the two B1 battle droids guarding the shuttle that they had orders to transfer the prisoners from the Citadel to Point Tarron. Despite one of the B1 droids' confusion regarding the absence of an outpost at Point Tarron, OOM-10 pressured them to allow them aboard. However, just as the strike team prepared to board the shuttle, K2-B4 contacted the platform security, alerting them to the Republic's attempt to escape using reprogrammed battle droids and ordering them to prevent anyone from boarding the shuttle. Realizing their deception had been uncovered, the strike team quickly took action, eliminating the droids guarding the shuttle before seeking cover as the turbolasers began firing. R2's battle droids swiftly rearmed the Republic prisoners before receiving additional support from Skywalker's team, just as a wave of Separatist reinforcements arrived on the landing pad. Attempting to repel the Separatists, R2's battle droids joined the strike team in assaulting the Citadel's reinforcements from the rear of the landing pad. However, they were forced to retreat when an ARC Trooper attempted to forcefully retake the shuttle, resulting in its destruction by one of the active turbolasers.
Final Orders
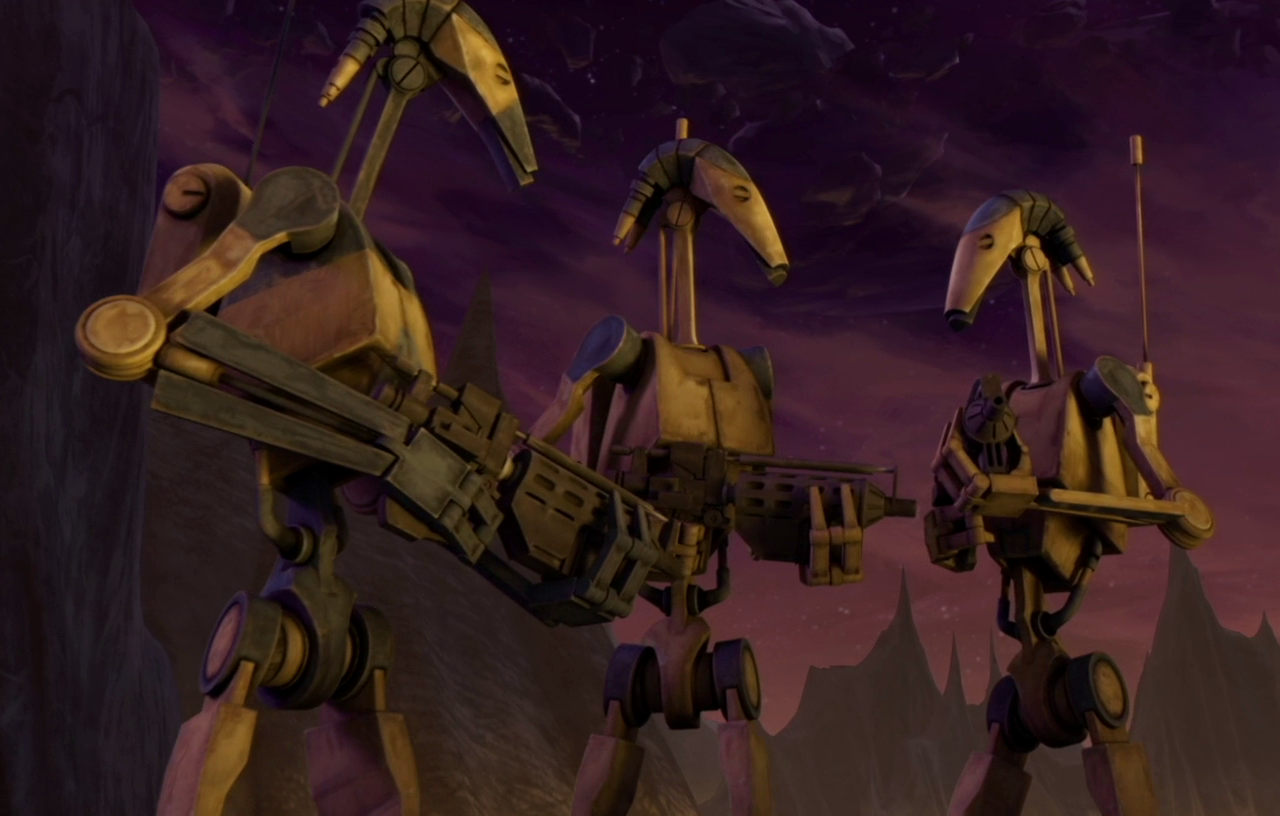
After contacting Plo Koon at the Jedi Temple for reinforcements, the strike team survivors, accompanied by R2's battle droids, began traversing Lola Sayu's rocky terrain, repelling minor attacks from pursuing BX-series droid commandos and crab droids. When the Separatists cornered the strike team at the edge of a large cliff, Skywalker ordered R2's battle droids to delay the enemy's advance for as long as possible, hoping to create a sufficient diversion for the rest of the strike team to escape. Accepting their final orders, all three battle droids advanced against the Separatist forces, only to be swiftly destroyed as the Separatists continued their pursuit of the strike team.
Behind the scenes
R2-D2's reprogrammed battle droid squad debuted in "The Citadel," a Star Wars: The Clone Wars episode that aired on February 18, 2011, as the eighteenth episode of third season. As "The Citadel" initiated an arc focused on the Battle of Lola Sayu, R2-D2's droid squad continued to appear in "Counterattack" and "Citadel Rescue"—which aired on March 4 and March 11 of 2011, respectively—as the storyline progressed.
A continuity discrepancy involving R2's squad arises between "Counterattack" and "Citadel Rescue." While a B1 battle droid is destroyed by a cannon shot in "Counterattack," all three B1 droids reappear, functioning, in "Citadel Rescue" until their final stand. The Star Wars: The Clone Wars The Complete Season collection of The Clone Wars: Season Three, released on October 18, 2011, includes a turntable of R2-D2, OOM-10, and a subordinate B1 as a bonus feature on disc three. However, the models of OOM-10 and the B1 exhibit missing torso components, resulting in blank spaces in the middle of each battle droid.