Plo Koon
Plo Koon, a Kel Dor who was Force-sensitive, was a highly respected Jedi Master. He held a distinguished position on the Jedi High Council during the Galactic Republic's twilight era, specifically the last years. During the Clone Wars, a massive conflict that engulfed the galaxy between the Republic and the Confederacy of Independent Systems, a breakaway faction, he was a celebrated Jedi General. Koon frequently embarked on perilous missions with the 104th Battalion, the soldiers under his leadership, during the war. To ensure the air he breathed was similar to that of his home world, Dorin, Koon utilized a breath mask. He also wore goggles to prevent the moisture in his eyes from evaporating.
After training his Padawan, Bultar Swan, to the rank of Jedi Knighthood, Koon participated in the First Battle of Geonosis and survived. This battle, which resulted in the deaths of almost two hundred Jedi, signaled the start of the Clone Wars. Early in the war, he went on a mission to locate the Separatist warship known as the Malevolence. After multiple attempts to destroy the weapon, Koon and his allies succeeded in destroying it. Ahsoka Tano was one of the Jedi he frequently collaborated with; he had discovered her years before the war, and they shared a strong connection. He played crucial roles in the First and Second battles of Felucia, as well as the Battle of Lola Sayu and the Battle of Kadavo during the war. Ahsoka was falsely accused of a terrorist attack at the Jedi Temple as the war intensified, and as a result, she was expelled from the Jedi Order. Koon and the Council gave her the chance to rejoin after the real perpetrator was found, but she declined and left the Jedi Order.
In the Clone Wars' final days, following the battles of Coruscant and Utapau, Koon commanded the 442nd Siege Battalion during the Battle of Cato Neimoidia. He died in the crash when his troops shot him down while flying over the bridge cities with a squadron of ARC-170 starfighters after their victory. This occurred during Order 66, which resulted in the slaughter of Jedi throughout the galaxy by their own clone troopers. Shortly thereafter, Anakin, who was serving Darth Sidious, would murder Viceroy Gunray and end the Clone Wars by deactivating the battle droids.
Biography
Early life
Dorin was the planet where Plo Koon was born. The Jedi Order found Koon at some point, and he was chosen to be the Padawan of Jedi Master Tyvokka. Eventually, Koon rose to the rank of Jedi Master.
Helping Mace Windu
When Warlord Guattako kidnapped a number of children on the planet Oosalon in order to incorporate them into his army, Mace Windu was dispatched to find and save them. Windu was eventually successful in defeating Guattako's entire army, and Guattako was shot by one of the children. Koon, Depa Billaba, and Qui-Gon Jinn showed up shortly after to offer assistance.
Discovery of Ahsoka Tano
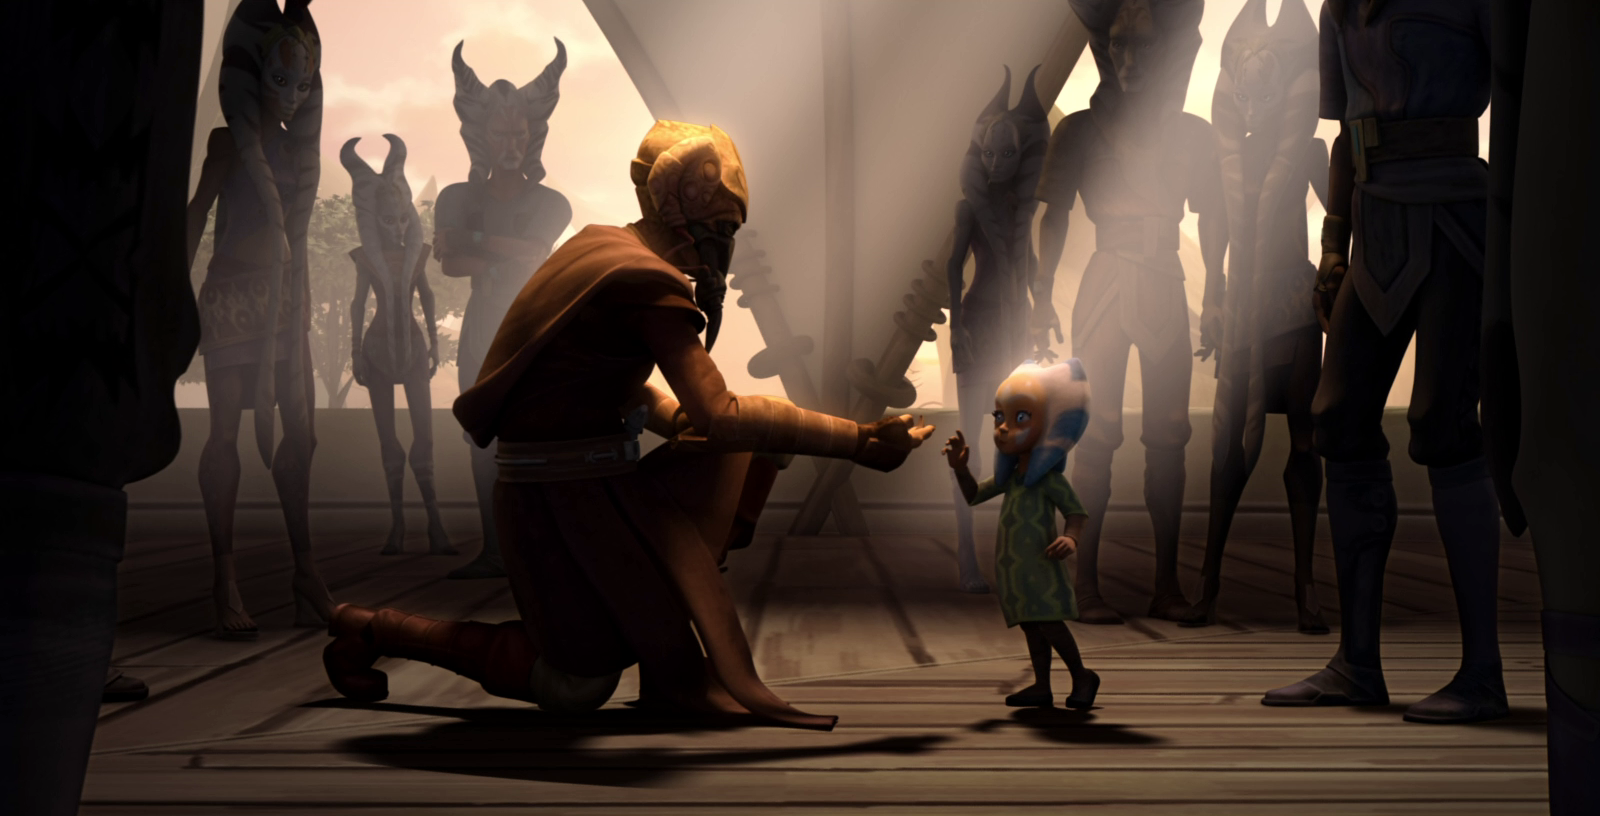
While on a mission to Shili, the homeworld of the Togruta, Koon came across a three-year-old girl named Ahsoka Tano who was sensitive to the Force. Koon brought Tano back to the Jedi Temple so she could receive training as a Jedi. Over the years, the two remained in contact and developed a strong friendship.
Master on the Jedi Council
Koon had attained the rank of Jedi Master and been appointed to the Jedi High Council by 33 BBY. Koon was assisting Master Saesee Tiin at the time with the refitting of the Jedi's fleet of surface vehicles.
Mission on Kwenn
Koon was present at a council meeting where Qui-Gon Jinn urged the council to pay greater attention to individuals in the galaxy and the living Force, arguing that the Jedi Order had lost sight of the smaller details because it was so preoccupied with large-scale concerns. The council decided to meet in person on Kwenn before making a decision when it was suggested that the next closure would be the outpost there, which had been open for 200 years and was the result of considerable Jedi effort. They would organize an anniversary party for the Kwenn people in an effort to fulfill Jinn's challenge.
Koon and Tiin traveled to Kwenn together on a Jedi shuttle, landing at the spaceport on Capital Key. Koon discovered that he had to adjust his breathing apparatus for Kwenn's atmosphere, which had deteriorated since his last visit but was still superior to Coruscant. The two hailed a Kwikhaul landspeeder taxi driven by the droid SK-89, as their only mission was to provide assistance. Koon instructed the droid to take them to the Bivall Colony on Parva Key, which he had previously visited, as the Bivall refugees there were likely in need of assistance. Tiin and Koon learned that this was her first time ever driving when SK-89 sped through an intersection and nearly collided with another vehicle. Four other speeders boxed them in and began bumping them halfway through their journey, while they were on Zyboh Key. At this point, Tiin took over driving and tried to get away from their attackers, but more speeders joined the chase. Koon stood on the back of the speeder, but he hesitated to draw his lightsaber because he sensed something was wrong. All of a sudden, the speeder was autopiloted back to the Kwikhaul depot. The drivers and passengers of the other speeders formed a mob around them at the depot, and SK-89 informed them that she, not the Jedi, was the target of their rage.
Koon and Tiin learned that they had unintentionally become involved in a labor dispute at Kwikhaul. Fraxa, the owner, had that morning replaced all of the drivers with droids, and the former workers had broken into the compound and destroyed the droids inside. Fraxa insisted that the Jedi apprehend the workers for damaging private property. Instead, they listened to both sides of the story. Fraxa claimed she could no longer afford to hire organic drivers. The workers argued that the droids she was using were unsafe and that Fraxa had plenty of money for herself. She countered that tourism and industry were declining on Kwenn, leaving Kwikhaul with less business. Koon, who was known for his ability to organize people, was perplexed until he suggested that Tiin was actually the expert in this area. Tiin stopped the argument by pointing out that Kwikhaul's landspeeders could easily be modified to run on water, allowing them to be used as water taxis and oceanic tourism craft. He offered to help with the retrofit. Then, he noticed the fleet of unused touring buses and suggested that they be modified and used by the droids to collect garbage off the streets. He offered to contact the droid mechanic Heezo at the Jedi Temple on Coruscant to assist with repairing the droids which the workers had destroyed. These new initiatives satisfied both Fraxa and the Kwikhaul workers, and the two Jedi helped get the work started.
Rendering aid
During the Jedi Council's visit to Kwenn, Koon and Tiin continued to collaborate with Kwikhaul. Koon dispatched a speederbus to transport the group of teenagers that Master Even Piell had taken responsibility for. Koon and Tiin assisted Master Oppo Rancisis in rescuing a beached oroko; Tiin used girders to connect several repulsorcraft engines together into an open-framed flying platform and attempted to lift the oroko with cables. This concept failed because the terrified creature's hold on the ground grew stronger as the cables were pulled. Koon suggested they bring the water to the oroko instead. He and Tiin set the hovering platform to spin and sabotaged the engines before swimming away. The platform crashed into the ocean, sending up a plume of water which the Jedi directed toward the beach with the Force, allowing the oroko to follow the wave back into the water. Although Tiin was pessimistic about the possibility of bringing prosperity back to Kwenn, Koon believed that the Jedi could teach the people of Kwenn to heal themselves.
The Bicentennial Celebration
The Jedi were aware in advance, thanks to various sources of intelligence, that the allied pirate gangs led by Zilastra intended to attack Kwenn on Celebration Day. Koon prepared the Kwikhaul staff, with whom he and Tiin had been working throughout their time on Kwenn, to provide rescues during the upcoming fighting. The taxis were stationed near the Gala Key Arena, and Koon and SK-89 acted as dispatchers for the entire fleet when violence broke out. They helped move attendees to safety and transport various Jedi to where they were needed. The drivers also relayed information about the action back to Koon, including the movements of the casino barge Pelagic, which was acting as a headquarters for the pirates.
When Master Depa Billaba went to the Jedi outpost to destroy it, Koon's fleet of drivers also provided her with Zilastra's location. The rolling library cart they were using fell apart as Billaba and her rescued charge Kylah Lohmata fled the outpost later, sending the two of them flying. Fortunately, Masters Koon, Windu, and Yoda had arrived just in time to break their fall with the Force. Koon joined the rest of the Jedi Council members to speak with Zilastra after her arrest.
Koon and Tiin restored the ARC-8 starfighter that Tiin had borrowed from Fraxa during the battle before heading back to Coruscant. Koon was very pleased with all the work the Jedi had done on Kwenn, but Tiin was only thinking about all the work that was still waiting for him back on Coruscant. Koon told Tiin that despite his abrasive and occasionally antisocial nature, he was good at telling people the plain truth when they needed to hear it, and he should make sure he wasn't always holed up in a hangar or meeting.
Naboo Crisis
The Supreme Chancellor Finis Valorum requested that the Jedi send Jedi to resolve the blockade of the planet Naboo by the Trade Federation. Master Jinn and his Padawan Obi-Wan Kenobi were dispatched to negotiate, but the Trade Federation tried to assassinate them. After escaping Naboo with Queen Padmé Amidala and arriving on Coruscant, Jinn appeared before the Jedi Council and recounted a lightsaber duel he had with a Zabrak on Tatooine, whom Jinn believed to be a Sith. Jinn also presented Anakin Skywalker, a young slave he had freed on Tatooine, before the Jedi Council, claiming that he thought him to be the Chosen One. Despite the boy's high midi-chlorian count and strong grasp of the Force, Koon and the rest of the Council were doubtful about the Sith's return and turned down Jinn's request to train Skywalker as a Jedi because of his age. Eventually, after the tragic passing of his master, Kenobi assumed the role of training young Anakin.
Koon traveled to Naboo along with the majority of the other Jedi Council members for Jinn's funeral following the death of Jinn at the hands of the warrior Darth Maul during the liberation of Naboo from the Trade Federation. The Jedi Council then made the decision to elevate Obi-Wan Kenobi to the rank of Jedi Knight and permit him to take Skywalker as his Padawan in order to fulfill Master Jinn's dying wish.
Secessionist Crisis
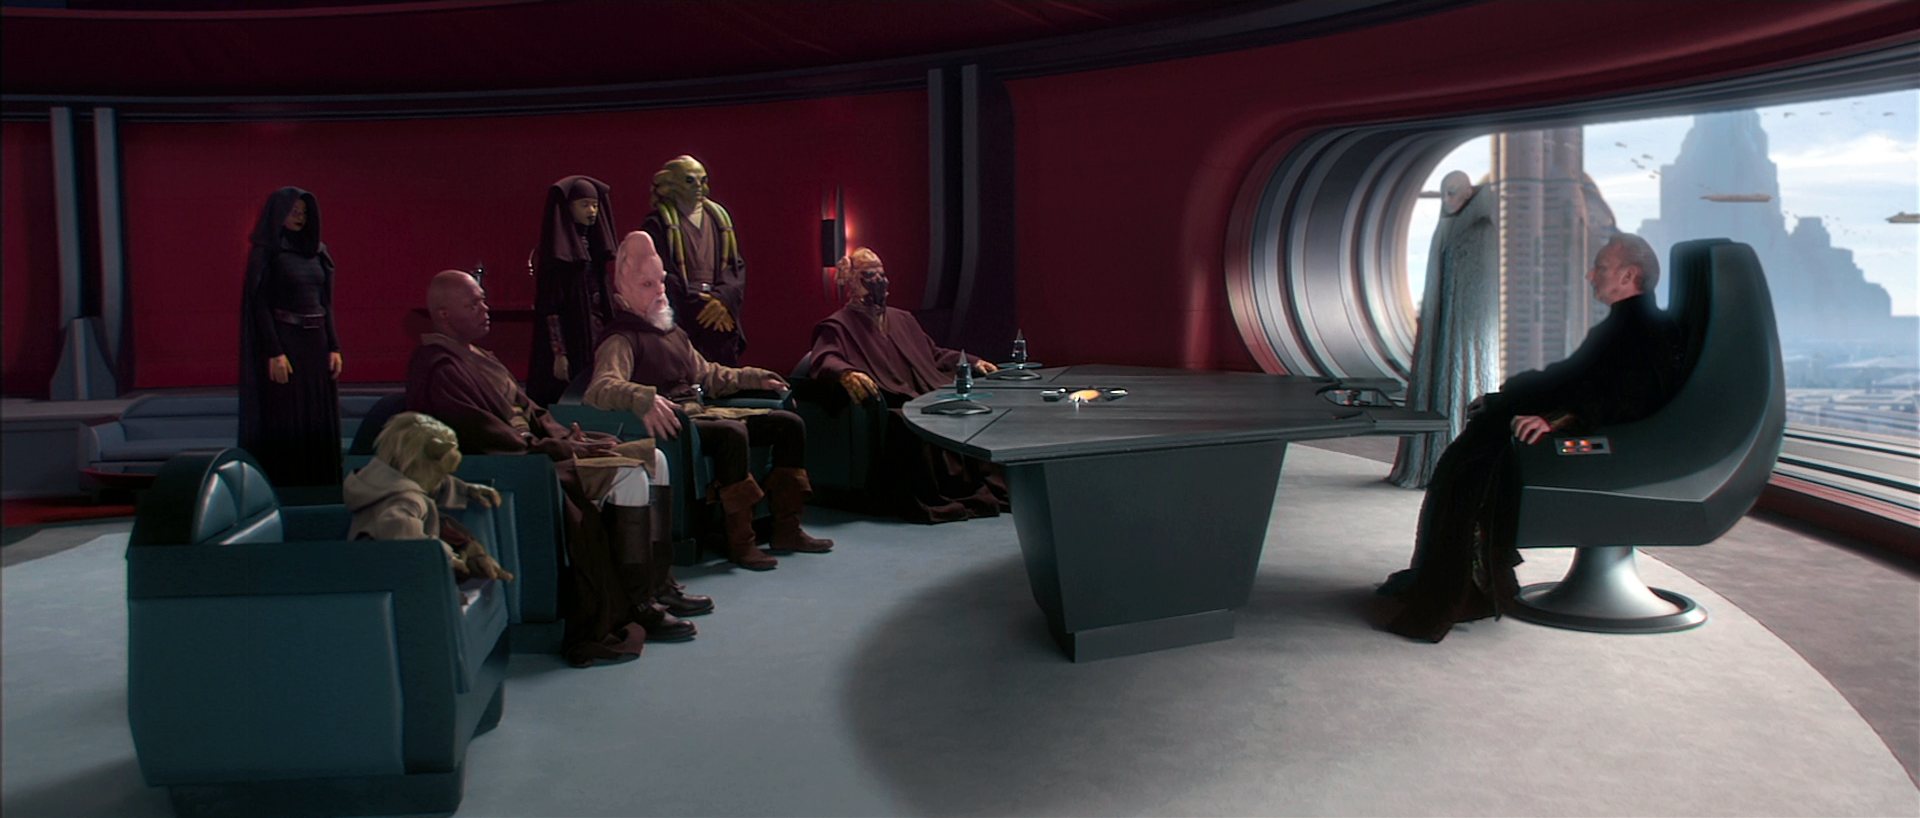
Ten years after the Invasion of Naboo, Koon was still a member of the Council. Bultar Swan was also trained by Koon as a Padawan. Swan became a Jedi Knight shortly before the First Battle of Geonosis because Koon had trained her well.
Thousands of star systems joined a secessionist movement during this time, seeking freedom from the Galactic Republic. The council was concerned that they would not have enough manpower to defend the Republic from the Separatist threat if a pan-galactic war broke out. Around this time, Senator Padmé Amidala's life was threatened by an assassination attempt, which prompted the Council to assign Obi-Wan Kenobi and Anakin Skywalker to protect the Senator. Koon also attended a meeting between the Jedi Council and Supreme Chancellor Sheev Palpatine, where they talked about the Secessionist Movement's growing influence and the impending threat of war between them and the Republic. Later, Koon joined other senators and Jedi in Chancellor Palpatine's office as they debated whether Palpatine ought to be granted emergency powers.
Clone Wars
Battle of Geonosis
Koon was among the 212 Jedi who formed an assault team to save Kenobi from Geonosis, along with his Padawan Anakin Skywalker and Padmé Amidala, who had been captured while attempting to free Kenobi. Koon and his fellow Jedi revealed themselves during their allies' attempted execution in the Petranaki Arena. A battle soon broke out between the Jedi and the Geonosians, who were backed by a sizable droid army. As the strike team's numbers dwindled, Koon was one of several Jedi survivors who gathered in the middle of the arena. Dooku ordered the droid army to cease its attack and offered the Jedi a chance to surrender, but they refused to stand down. As the droids prepared to execute them, Koon and the other survivors were saved by the arrival of Yoda and the clone army, which had been secretly funded and created by the cloners of Kamino a decade before at the behest of Jedi Master Sifo-Dyas.
Koon and his fellow Jedi escaped the arena aboard several Republic attack gunships. The Jedi joined the clone army in assaulting the droid army and Confederate vessels stationed on the planet. Although Koon and the Republic forces emerged victorious from Geonosis, more than a hundred Jedi died during the battle while Dooku and the Confederate leaders escaped. The fight on Geonosis was only the first battle of the galactic conflict that soon became known as the Clone Wars.
The Malevolence crisis
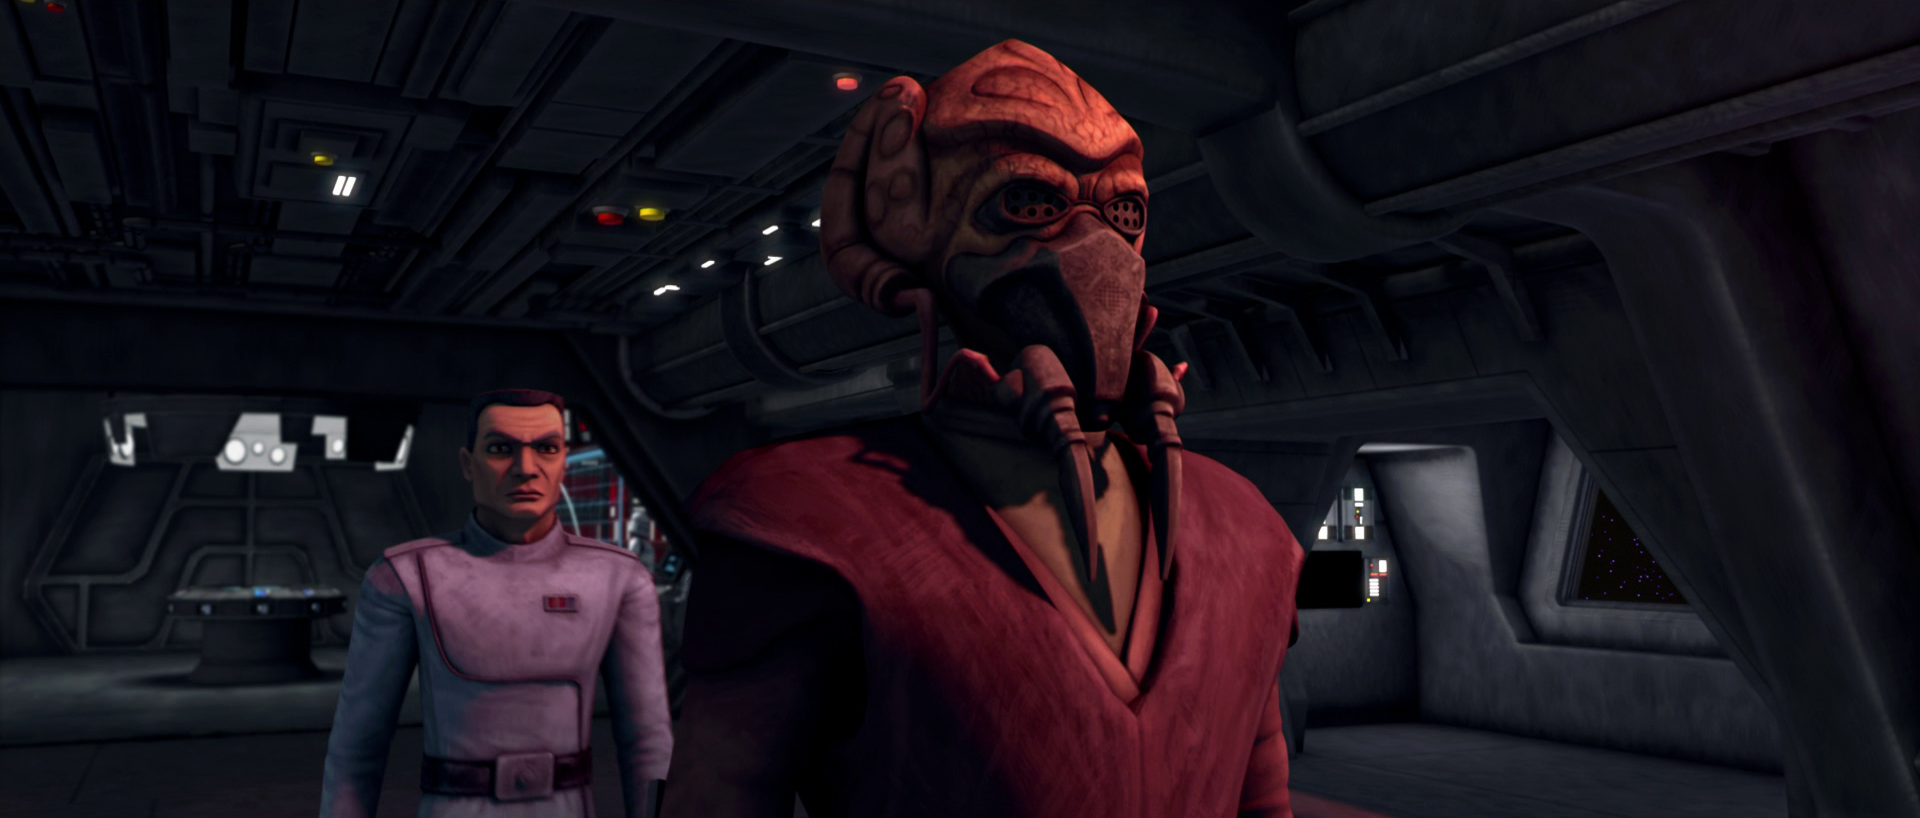
Now a Jedi General, Koon was given command of the 104th Battalion, also called the Wolf Pack Battalion, which also earned him command of the Wolfpack squad subunit and the callsign of Wolf Leader for starfighter operations. Koon and Clone Commander Wolffe led a fleet of three Venator-class Star Destroyers from his flagship Triumphant in search of the mysterious Separatist warship Malevolence, which had been destroying Republic fleets under the command of General Grievous, in the early stages of the war. After locating the vessel in the Abregado system, Koon ordered his fleet to engage the enemy while contacting General Anakin Skywalker and his apprentice Ahsoka Tano, whose forces were stationed in the nearby Bith system, to request reinforcements. While they were talking, the Malevolence jammed Republic communications and used its secret weapon, a massive ion cannon, to disable all three of Koon's ships, leaving them vulnerable to attack. He ordered an evacuation as the Malevolence began destroying the ships, and he escaped in an escape pod alongside Wolffe, Sergeant Sinker, and Boost.
As they waited for rescue, Koon and his men worked to fix the damage to the pod while searching the debris field for other survivors. After Sinker noted that it would not make strategic sense for rescue to be sent for them, Koon reassured his men that their lives mattered and that he was sure rescue would come. They spotted another pod which had been broken into by a boarding pod, resulting in the death of its survivors. They picked up a distress call from another pod under attack from the boarding pod, and witnessed it get destroyed.
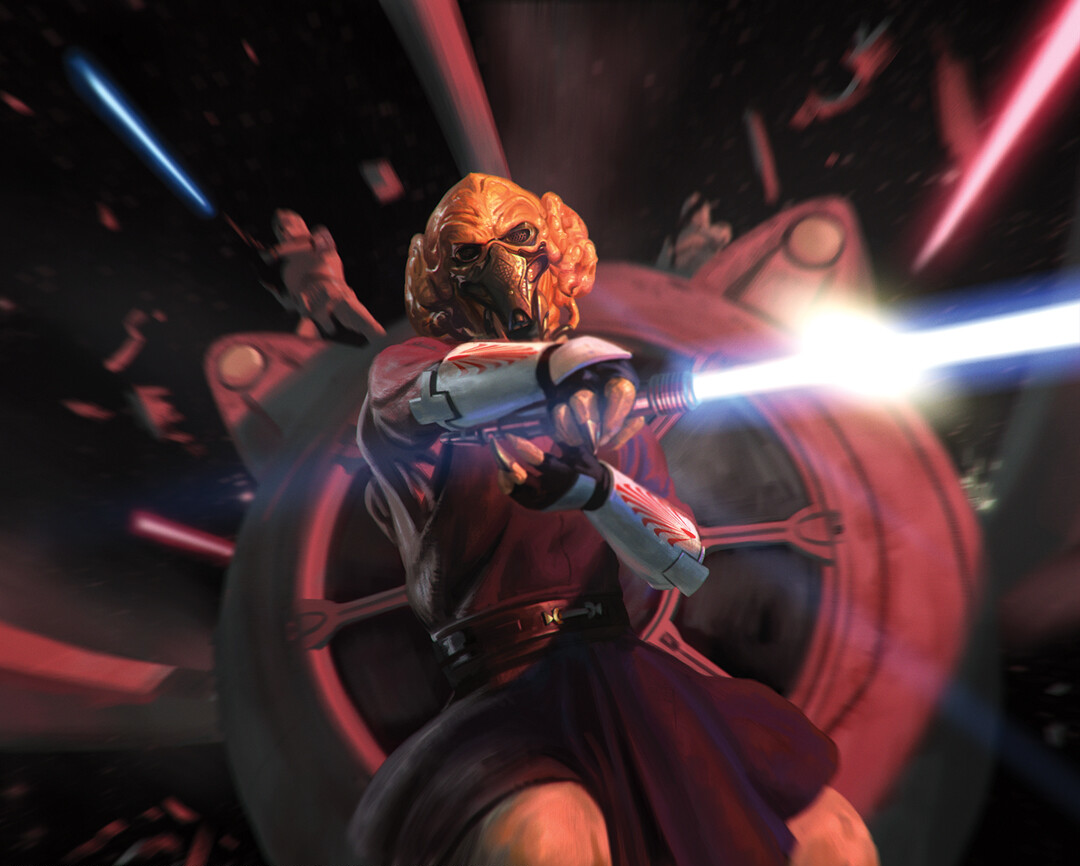
The craft then noticed Koon's pod, and moved into position to attack them. Koon led Sinker and Boost outside of the pod to engage the rocket battle droids outside of the boarding ship, ordering Wolffe to keep the signal alive. After a brief firefight, Koon pushed Sinker forward after the hunter pod began crushing their own, who destroyed two of the droids while the remaining droid took cover with the hatch. Koon then destroyed the hunter pod before it could crush their own, restoring communication, but also alerted the Malevolence to their presence. Skywalker and Tano arrived in the Twilight and rescued Koon and his men before they could be destroyed, and then they fled the system.
With the nature of the Malevolence now revealed, the Jedi began making plans to destroy it. Koon attended a briefing where Anakin Skywalker outlined his plan use Shadow Squadron to fly past the defenses of the massive vessel and destroy its bridge, ridding the galaxy of both the ship and General Grievous in one move. Koon was uneasy about the aggressive and difficult nature of the mission, but when word arrived that the Kaliida Shoals Medical Center was the next target, he resolved to aid the mission by flying escort in his Delta-7B Aethersprite-class light interceptor, the Blade of Dorin, which had been gifted to him by Skywalker.
The Jedi and clone pilots traveled through a shortcut in the Kaliida Nebula in order to get to the medical station before the Malevolence. Koon realized that the nebula was also the breeding ground of the space-faring neebrays when Skywalker mentioned that the shortcut was called the Balmorra Run, and he advised Skywalker to find another route. They were soon trapped in a massive herd of the enormous creatures and had no option but to fly through them to the other side. The squadron managed to make it through the nebula, with only minor damage to a few ships.
They arrived at the medical station just before the Malevolence, and quickly began their attack run against the Separatist warship. Koon and half of Shadow Squadron avoided a blast from the Malevolence's ion canon while battling through a wave of vulture droids. Koon noted that they no longer had the firepower to take out the enemy warship's bridge because half of their force had been destroyed or disabled. After he and Tano urged Skywalker to change their plan, they targeted the warship's ion cannon instead as it prepared to fire upon the medical station. They severely damaged the weapon, which malfunctioned and caused explosions to go off across the Malevolence, subsequently disabling the ship's hyperdrive. Koon and the surviving members of Shadow Squadron docked with the medical station as Master Obi-Wan Kenobi pursued the crippled Separatist vessel with his taskforce.
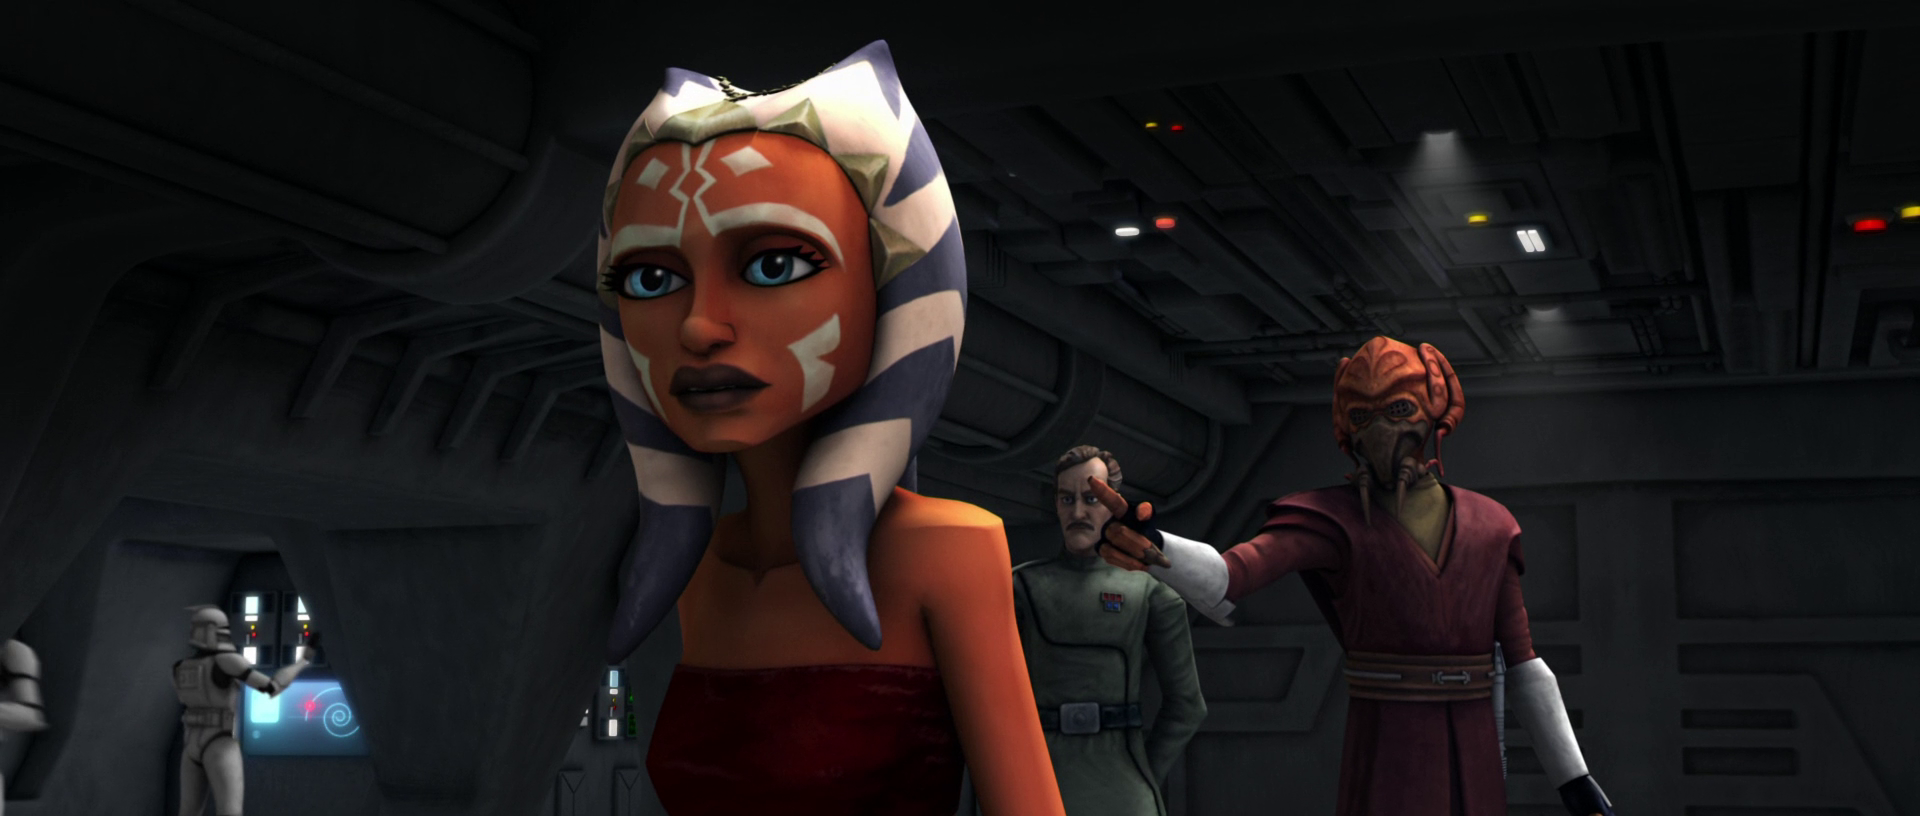
Master Koon, Skywalker, and Tano soon joined Kenobi on the Resolute to help command the pursuit of the Malevolence. Although the enemy flagship was heavily damaged, it was still able to withstand the firepower of the present Republic forces. Koon suggested summoning reinforcements to help finish off the ship, but Skywalker informed him that that the closest ships were Master Luminara Unduli's, which were currently engaged with a Separatist force and could not join them until they had been defeated. The Jedi were then forced to stop firing on the Malevolence when it captured the vessel of Naboo Senator Padmé Amidala. Kenobi and Skywalker departed the bridge to launch a rescue mission, and Koon noted to Tano that her master always seemed to crave such adventure and excitement. Koon then contacted Unduli, who informed him that she was on her way to join them and would be ready to aid in the Malevolence's destruction once the senator had been rescued. Once Amidala was safely off the ship, Koon ordered the fleet to open fire once more. The Malevolence ended up destroying itself by crashing into a nearby moon after Skywalker sabotaged it by reprogramming the ship's navigation computer before escaping.
First battle of Felucia

Plo Koon participated in the Felucia evacuation, a mission necessitated by Separatist forces who had cornered Republic troops under the command of Obi-Wan Kenobi, Anakin Skywalker, and Ahsoka Tano. As his fleet engaged the Separatist ships surrounding the jungle planet, Koon led a squadron of fighters to safeguard the gunships involved in the rescue operation. Instructing his wingman, Warthog, to protect the gunships, he focused on eliminating the Separatist fighters obstructing their path. After creating an opening through the enemy blockade, they entered Felucia's atmosphere, only to be pursued by a swarm of Vulture droids. While Warthog was targeted by two of these fighters, Koon intervened, destroying both droid ships. The transports successfully landed and evacuated Kenobi and Skywalker's troops, but Tano hesitated, endangering both her soldiers and the entire evacuation. Koon's fighters then escorted the transports back to the fleet, which successfully withdrew from the system and returned to Coruscant. Subsequently, Koon attended a Jedi Council session addressing Tano's reckless behavior during the engagement. The Council decided to assign her to guard duty at the Temple Archives as a consequence, intending for her to reflect on her actions and be removed from active combat.
Eeth Koth's Capture
When Eeth Koth, a member of the Jedi Council, was captured by General Grievous, Master Koon joined a holographic gathering of Jedi to witness the message Grievous sent to the Jedi Order. Grievous threatened to annihilate the Jedi and inflict suffering upon Koth before his execution. As the Jedi debated their course of action, Commander Wolffe informed Koon that he had detected a hidden message from Koth within the recording. Upon replaying the message, the Jedi noticed Koth using hand signals to convey his location within the Saleucami system. The Jedi then dispatched a rescue team led by Masters Obi-Wan Kenobi, Adi Gallia, and Anakin Skywalker to save Master Koth. While they succeeded in their mission, Grievous managed to escape the ensuing conflict.
The Pursuit of Boba Fett
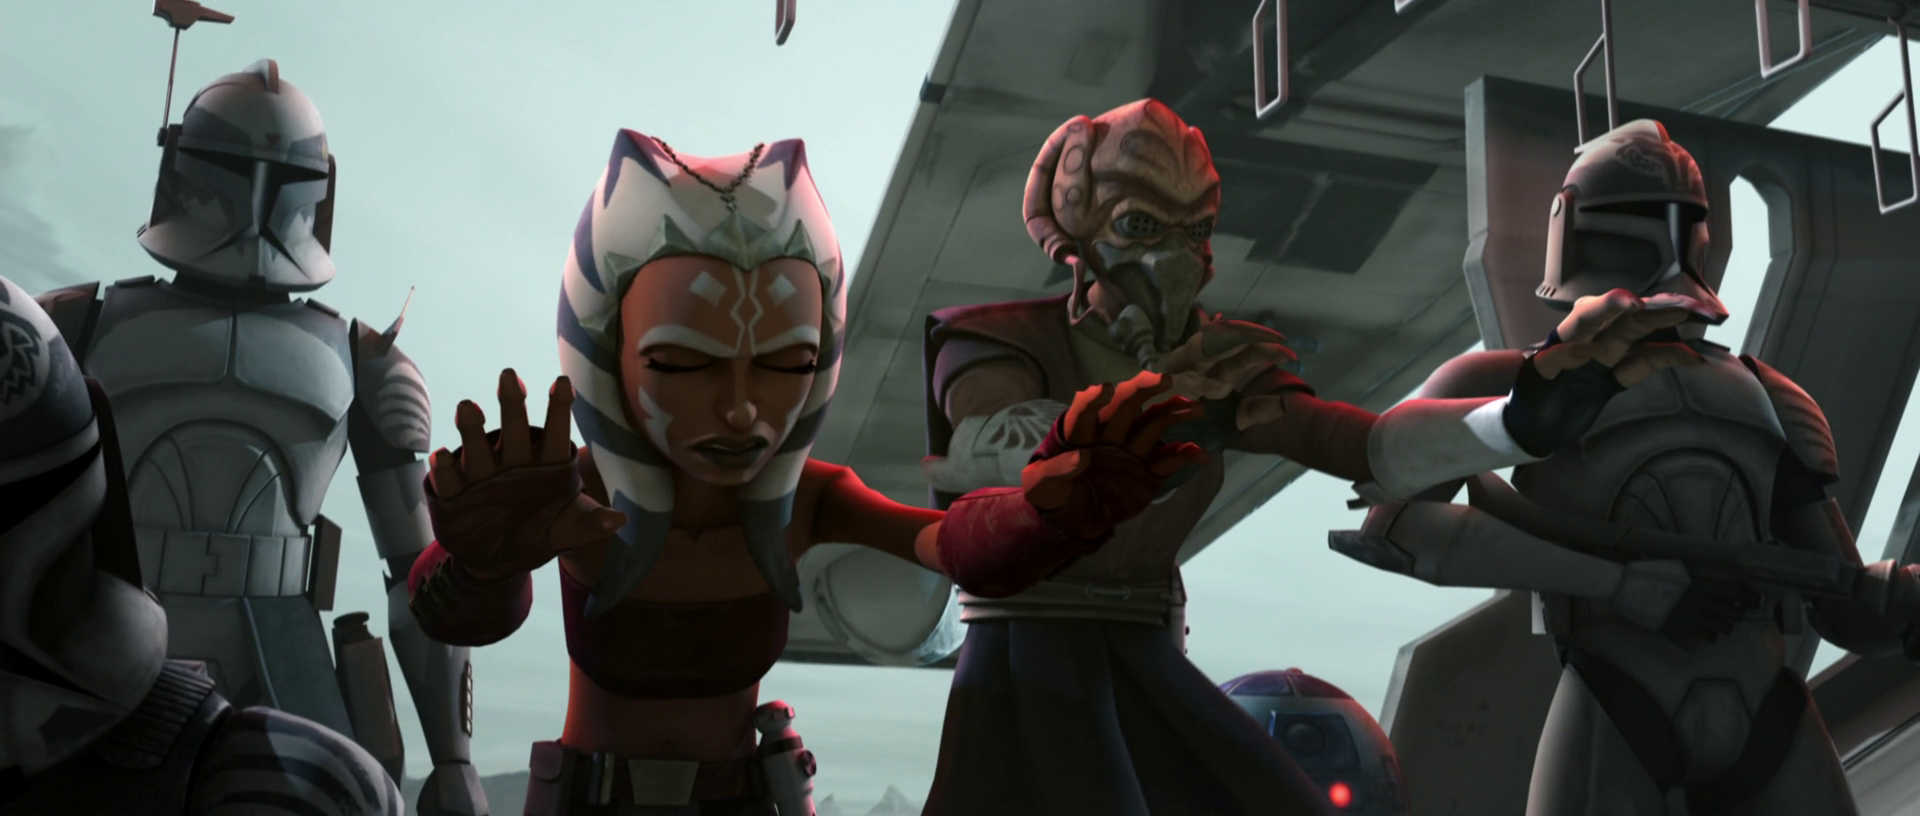
During a briefing at the Jedi Temple regarding the reinforcement of Republic positions along the Hydian Way to counter Grievous' forces, Anakin Skywalker's astromech droid, R2-D2, abruptly entered the conference room, displacing Koon's droid. Koon instructed R2 to deliver the urgent message he carried, which revealed that Skywalker and Master Mace Windu were trapped in the wreckage of Windu's ship, the Endurance, on Vanqor. They had been ambushed by bounty hunters led by Boba Fett, who sought revenge on Windu for the death of his father on Geonosis. Koon immediately ordered his ship prepared and traveled to Vanqor with Ahsoka Tano and the Wolfpack to rescue the stranded Jedi. Koon and Tano used the Force to stabilize the wreckage, allowing his troops to extract Windu and Skywalker.
Subsequently, the Jedi received a message from Boba and his mentor, Aurra Sing. Koon presented the message to Windu and Skywalker, who were recovering from their injuries at the Jedi Temple. The bounty hunters revealed that they had captured three hostages from the Endurance: Admiral Kilian, Commander Ponds, and another clone officer. They threatened to execute all three unless Windu surrendered himself, and Sing murdered Ponds to demonstrate their resolve. While Windu desired to rescue the remaining hostages, Koon advised against his involvement, fearing it would further provoke Fett. He volunteered to pursue Fett and his accomplices with Tano's assistance.
Koon and Tano initiated their investigation in the Coruscant Underworld. Koon explained to Tano that they needed to find associates of Jango Fett with whom Boba might have connected, mirroring his relationship with Sing. They began in an area known to be frequented by Jango, and Koon cautioned Tano to exercise discretion. After investigating several bars, Koon advised Tano to be more subtle as they approached the fifth, noting her adoption of her master's direct approach. Upon entering Tiggs Leo's tavern, Koon began questioning Tiggs Leo while Tano eavesdropped on the patrons. She overheard a Nautolan named Fong Do mention that his friend Castas had been killed on Florrum by Sing, but she was discovered and attacked by Fong Do and his companions. Koon activated his lightsaber, and the two Jedi retreated from the bar. Tano then distracted the patrons by scattering money, allowing them to escape. Koon acknowledged her lack of subtlety but commended her for discovering Sing's location.
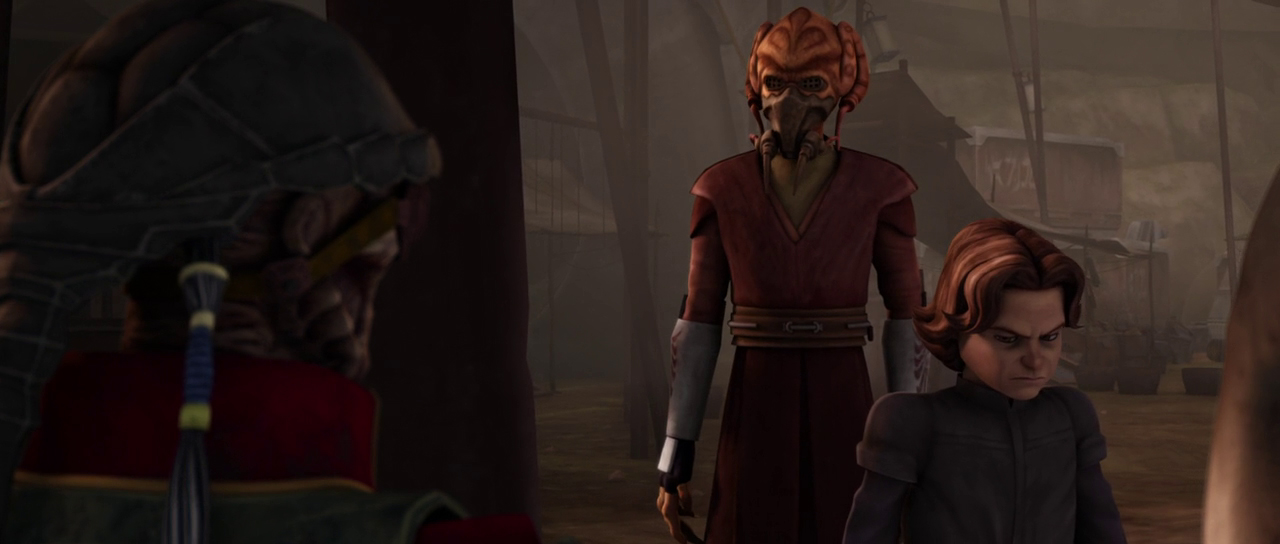
Traveling to Florrum, Koon and Tano landed at the base of the notorious Weequay pirate Hondo Ohnaka, who greeted them and escorted the Jedi to the bar. Koon suspected a trap, which Ohnaka confirmed, but he denied involvement in Sing and Fett's plans. Koon entered the bar and sat with Sing, while Fett approached from behind with a blaster, demanding Windu's location. Koon offered a peaceful resolution, but Sing contacted the Trandoshan bounty hunter Bossk and ordered him to execute the hostages upon her signal. She was prepared to sacrifice them all for Fett's revenge, but Koon observed that her desire for their deaths seemed greater. Tano then severed Sing's connection to Bossk by striking her antenna and held her lightsaber to Sing's throat. Koon and Tano attempted to persuade Fett to surrender, but the bounty hunters attacked. Koon destroyed Sing's blasters, while Fett used an explosive to create cover. As Sing and Fett attempted to escape, Koon used the Force to restrain Fett, and Tano pursued Sing. Koon, aided by Ohnaka, interrogated Fett about the hostages' location. Ohnaka appealed to Fett's sense of honor and invoked Jango's memory, convincing him to reveal their location. Tano rescued the hostages, and Koon took Fett and Bossk into custody, transporting them to a Coruscant prison. Sing was presumed dead after her ship, Slave I, crashed.
Emerging Threats
Following Fett's capture, Tano participated in several more successful missions. Koon was among the Jedi Council members who congratulated the Padawan on her accomplishments after her mission to Mandalore helped expose a Mandalorian black market conspiracy.
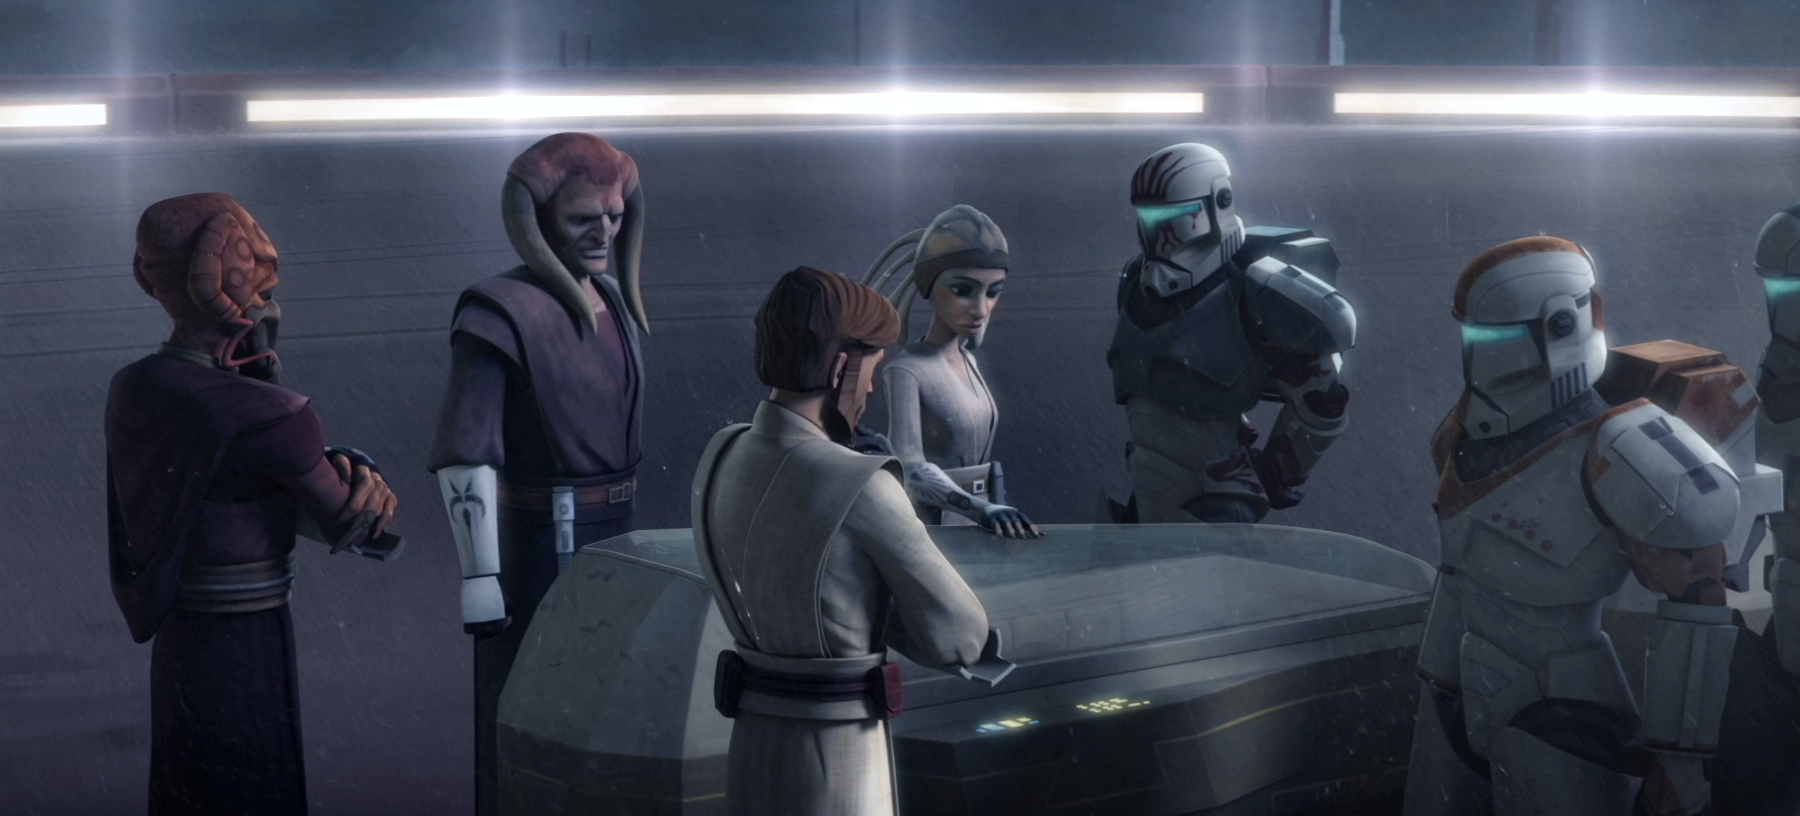
After an attack on the Temple of Eedit, a small Jedi Temple on Devaron, Plo Koon, along with fellow Jedi Council members Obi-Wan Kenobi, Adi Gallia, and Saesee Tiin, met with the clone commando Delta Squad on a landing platform at the Jedi Temple. The commandos brought the bodies of Jedi Master Halsey and his apprentice Knox, who had been brutally murdered along with their clone troopers while defending the Temple of Eedit. The four masters discussed who could have possessed the skill to defeat two Jedi so thoroughly, and Gallia questioned whether Count Dooku's assassin, Asajj Ventress, presumed dead since the Battle of Sullust, was still alive. Koon suggested that this event potentially signaled a new threat to the Jedi Order, possibly a new Sith Lord.
The Citadel on Lola Sayu
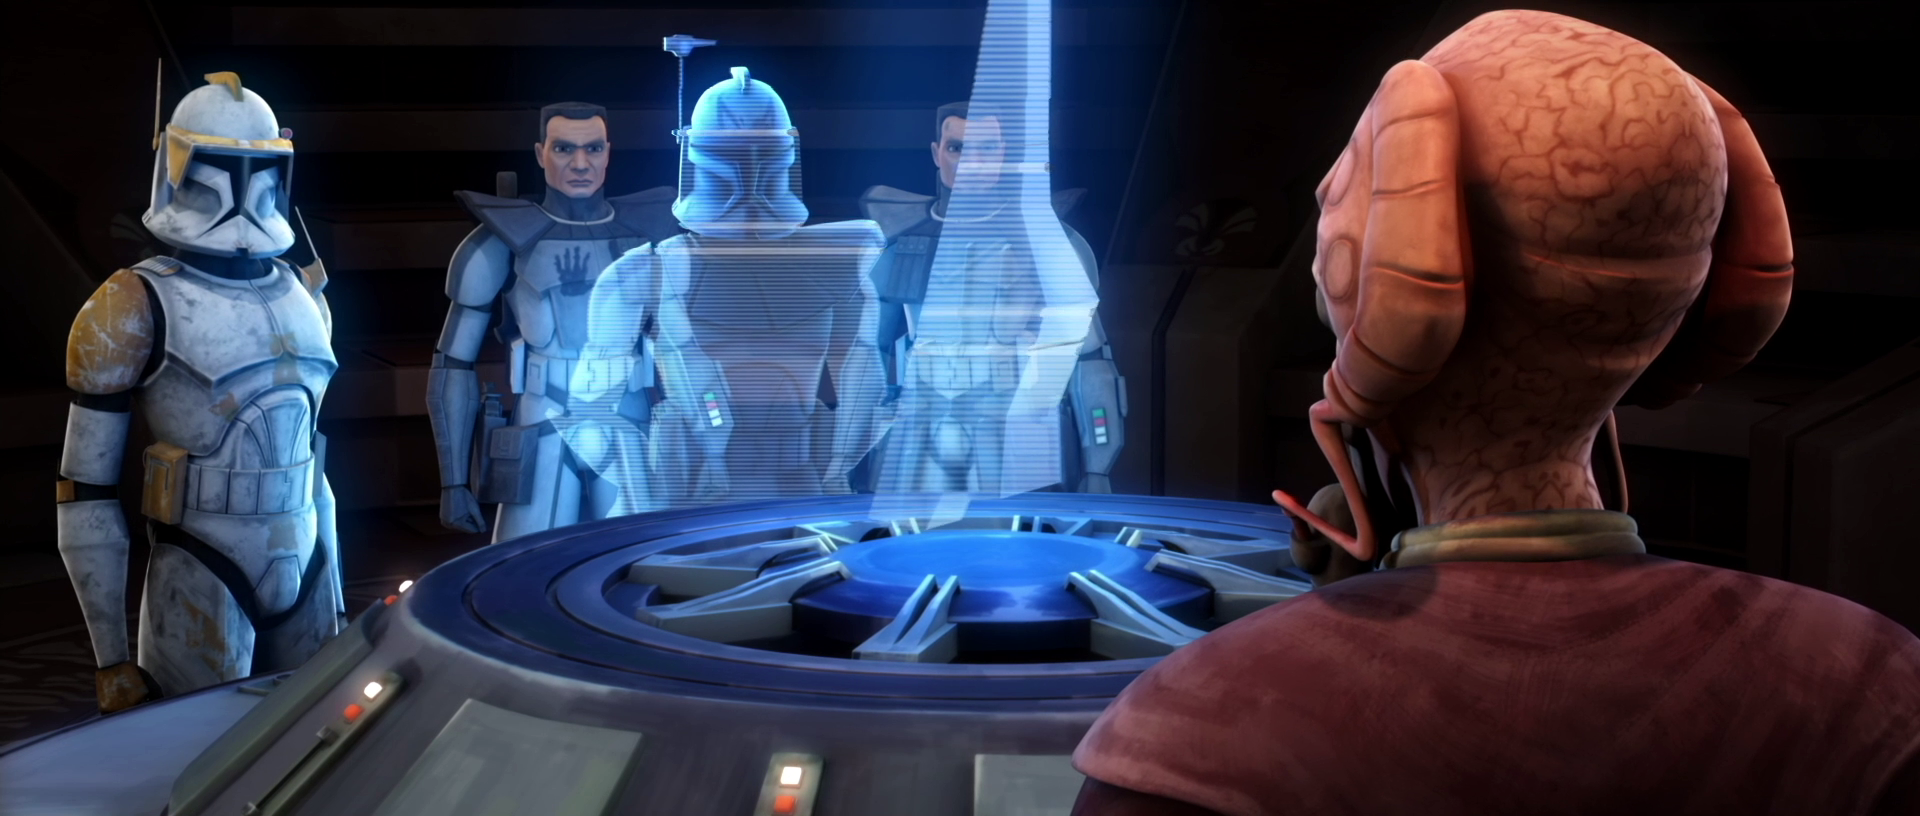
When Master Even Piell and members of his crew were captured by Separatist forces seeking the coordinates of the secret hyperspace lane known as the Nexus Route, Master Koon briefed the team tasked with rescuing him from the infamous Citadel, a prison designed for Jedi located on the harsh world of Lola Sayu. Master Obi-Wan Kenobi and Jedi Anakin Skywalker would lead a select group of clone troopers into the prison by using carbon-freezing to mask their life signs. After the briefing, Koon was approached by Tano, who was being excluded from the mission by Skywalker. Koon acknowledged Skywalker's authority but Tano felt he was being overprotective. As the strike team departed, Koon watched their vessel leave the Jedi Temple and wished them the Force's blessing. Unbeknownst to Koon, Tano had also been frozen in carbonite and arranged to join the mission.
As the strike team progressed, Koon monitored their coded transmissions at the Jedi Temple. The team successfully freed Piell and his officers, but had to divide into two groups. Koon informed Masters Windu and Tiin of the situation and the planned extraction points for the two groups. Windu questioned the consequences of a failed extraction, and Koon stated that a full fleet would be required to extract the team from the Citadel. Kenobi then contacted the Temple and informed Koon that the two groups had reunited, but their shuttle had been destroyed, forcing them to flee on foot from the Separatist garrison. Koon informed him that a fleet was being deployed to rescue the team from Lola Sayu.
Koon led a fleet to Lola Sayu, accompanied by Jedi Masters Tiin, Gallia, and Kit Fisto. En route, Koon outlined his rescue strategy. He instructed Tiin to lead the fighter attack on the enemy fleet to create an opening for Koon to escort gunships to pick up the team. Gallia pointed out that if the team was not at the extraction point, Koon would have to abandon them or risk the fleet, but Koon was confident they would be there. As the fleet emerged from hyperspace, Koon wished his comrades good luck from his gunship. After overcoming significant resistance, they broke through the Separatist defenses, and Koon's dropship reached the extraction point, where the remaining strike team members and captives were waiting. Piell had died during the battle, but he had passed his information to Tano. As they retreated to the fleet, Koon ordered Admiral Barton Coburn to recall their fighters and prepare the fleet for hyperspace jump. After safely boarding one of the ships, Koon ordered the fleet to leave the system.
Upon returning to Coruscant, Koon and the surviving strike team members landed at the Jedi Temple. Koon and his fellow Jedi mourned Piell's death, acknowledging that his sacrifice had secured the Nexus Route for the Republic. However, Captain Wilhuff Tarkin, who had memorized one half of the coordinates, stated he would only share them with Supreme Chancellor Palpatine, while Tano would only give her half to the Jedi Council. Yoda said he would discuss the matter with the Chancellor. As the others departed, Skywalker asked Koon if he had assigned Tano to the mission. Koon covered for Tano, claiming that he had.
Return to Felucia
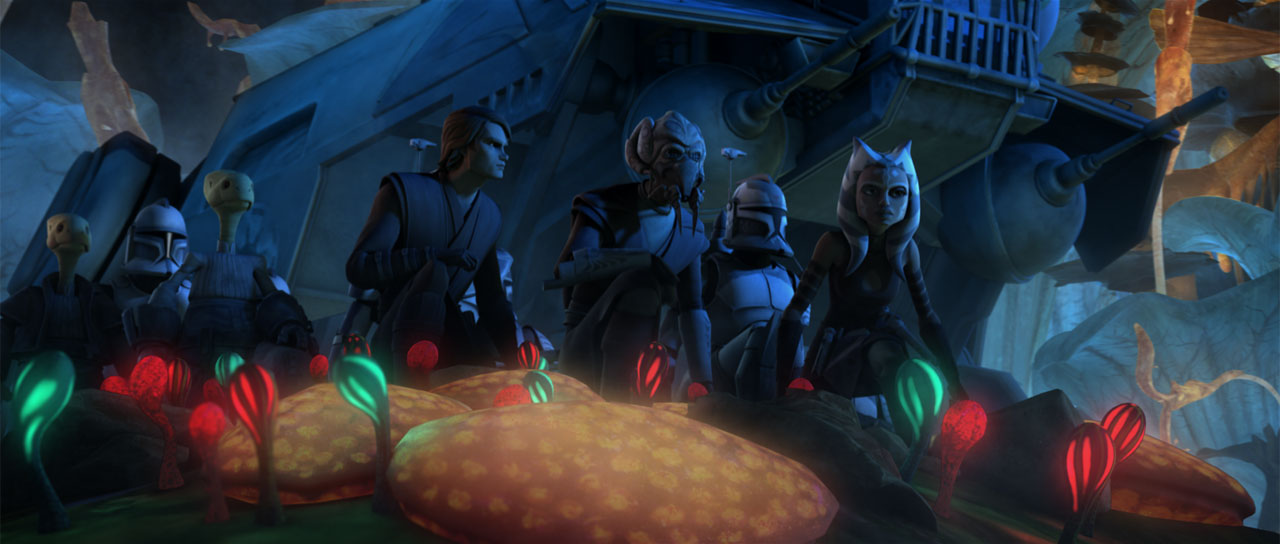
Koon soon returned to Felucia with Anakin Skywalker and Ahsoka Tano to secure the planet for the Republic. They planned an assault on a Separatist outpost receiving reinforcements from General Grievous. Observing from a nearby ridge, Koon devised a plan to divide their forces into three groups to attack the base. He decided to assault the left flank, while Skywalker attacked the front gate and Tano led a team over the back wall. Once all teams were in position, Koon initiated the attack. As Skywalker assaulted the front gate, Koon ascended the left wall of the base, followed by Commander Wolffe and his troopers using jetpacks. They quickly overwhelmed the enemy forces, with Koon and Skywalker's forces converging in the middle with Tano's men. Tano was not with her men, having been guarding their flank as they scaled the wall. She did not respond to calls over her comlink, as she had been captured by Trandoshan hunters who kidnapped beings for sport.
A Missing Padawan
Koon and Skywalker's men searched the nearby jungle for Tano, but found no trace. Koon alerted all Republic forces throughout the Outer Rim, as well as spies within the Confederacy, to Tano's disappearance, hoping for information. He then stated that with their mission on Felucia completed, he and Skywalker needed to return to Coruscant. Skywalker was reluctant to abandon the search for his padawan, but Koon argued that his emotions were impairing his judgment and that it was time for them to leave. After returning to the Temple, Skywalker continued to oversee the search for his missing padawan. Koon reassured him of Tano's strength and that her determination, shared with her master, would aid her survival. He also cautioned that Skywalker might not find Tano, but that she would use her training to find her own way back to the Jedi.
Tano was returned to the Jedi Temple by the Wookiee General Tarfful and the bounty hunter Sugi along with two Jedi younglings, Jinx and O-Mer. She and her fellow Jedi had fought back against the Trandoshans with the help of another Wookiee named Chewbacca. Koon and Skywalker were among the Jedi who welcomed the three young Jedi back to the Temple. Koon expressed his relief at Tano's safe return before speaking with Yoda, Windu, Tarfful, Sugi, and several other Wookiees.
Rescue of Adi Gallia

After Master Gallia was captured by General Grievous, Master Koon led a fleet to rescue her from Grievous' ship. Koon boarded the vessel with soldiers from the Wolfpack, with Commander Wolffe successfully freeing Gallia while Grievous fled. Koon and Gallia reunited after suppressing resistance aboard the vessel, and were surprised by two droids, C-3PO and R2-D2, who claimed to belong to Senator Padmé Amidala. Wolffe recognized the two droids and confirmed their identity. C-3PO began recounting an adventure he and his companion had just experienced, prompting Koon to suggest that they share the story with Wolffe, much to his second-in-command's dismay.
Return of the Zygerrian Slave Empire
When the Togruta colony of Kiros was occupied by the Separatists, Obi-Wan Kenobi, Anakin Skywalker, and Ahsoka Tano were sent to liberate the neutral world. They reported to the Jedi Council that the Zygerrians were responsible for the occupation and that they had enslaved all the colonists for sale. The council was troubled by this news, and Koon speculated that the Zygerrians were likely siding with Dooku and the Separatists to rebuild their slave empire, which had been destroyed by the Jedi centuries earlier. Koon noticed Yoda's concern and inquired about its cause. Yoda told the rest of the council he sensed a greater hand in this affair, noting that slavery was a powerful tool to aid in the rise of the Sith.
To locate the missing Togruta colonists and prevent the resurgence of the Zygerrian slave empire, the Jedi Council dispatched Kenobi, Skywalker, Tano, and Clone Captain Rex to infiltrate the Zygerrian homeworld Zygerria. Although they were exposed and enslaved, Skywalker and Tano escaped and informed the Republic that Kenobi, Rex, and the colonists were being held at a slave processing facility on the planet Kadavo. Plo Koon led a small taskforce to the system to liberate the slaves, leading a group of fighters to cover his dropships and a Arquitens-class light cruiser. Koon shot down several Zygerrian fightercraft, but could not destroy the ray shielded cannons defending the facility, preventing the cruiser from rescuing the endangered colonists. Anakin destroyed the towers, allowing the cruiser to move into position below the facility and rescue the slaves. Once all the slaves and Republic forces had been rescued, Koon ordered his gunships to destroy the slaving facility.
A threat to the Chancellor
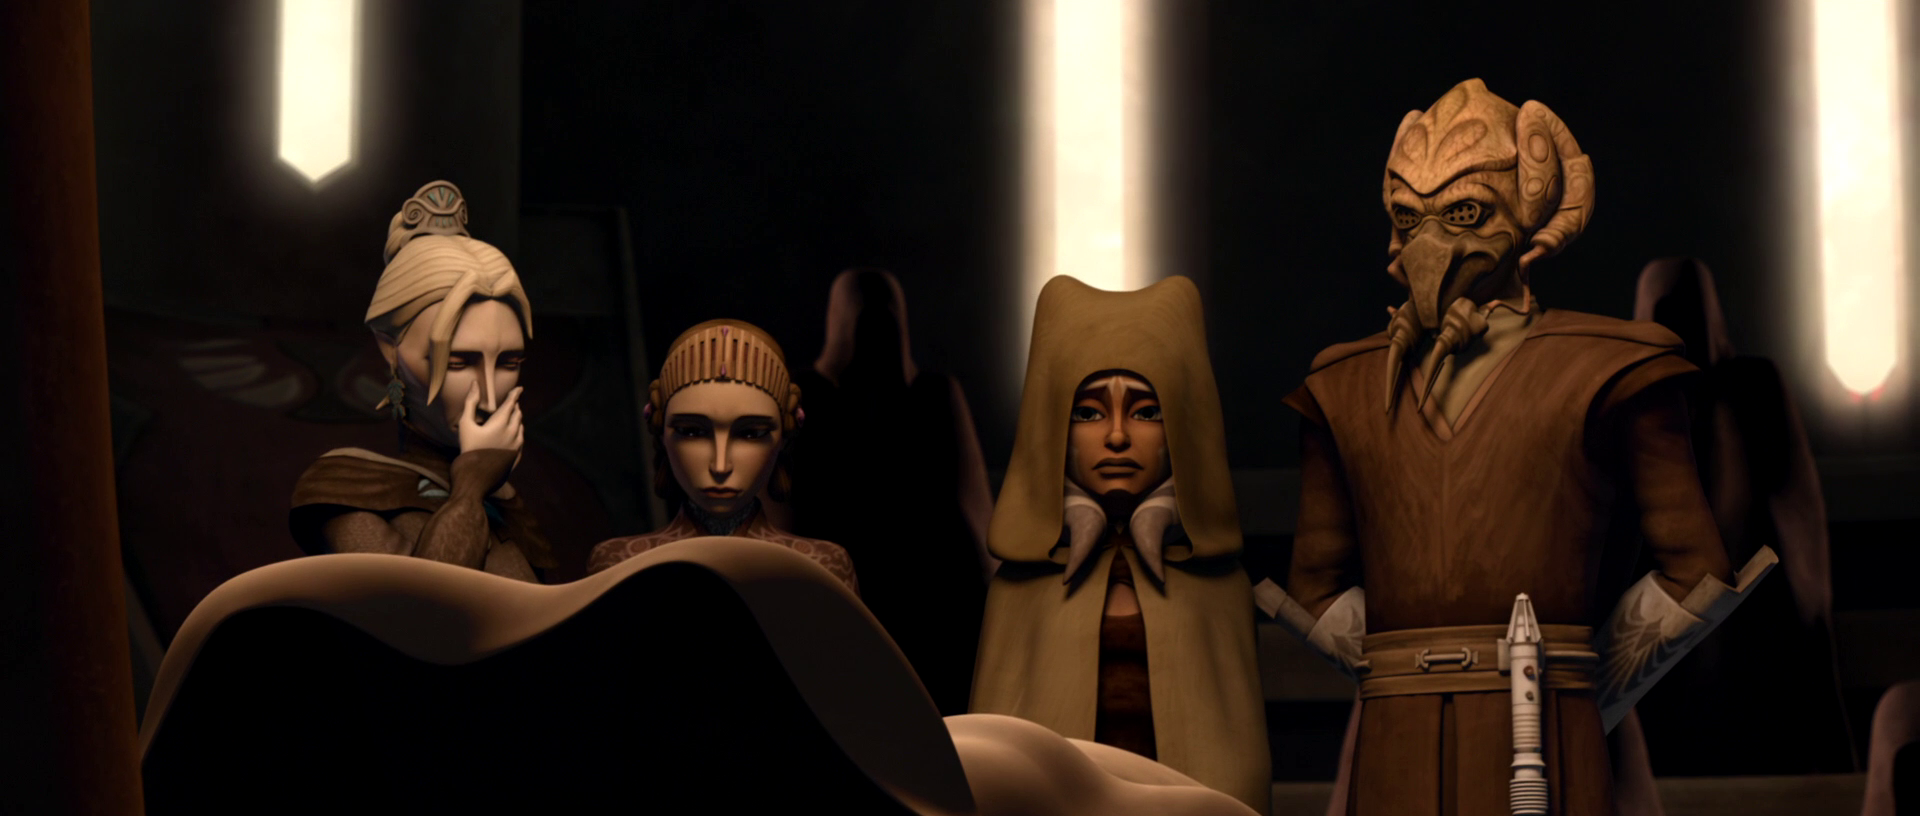
When a plot was discovered indicating a Separatist attempt to kidnap or assassinate Supreme Chancellor Palpatine, the Jedi Council decided to fake Obi-Wan Kenobi's death so he could infiltrate Rako Hardeen's organization and get close to Moralo Eval, the supposed mastermind. After the staged assassination, Koon attended the "funeral" of his fellow council member. During the funeral, Ahsoka Tano expressed her concern to Koon about Anakin Skywalker's behavior, who was unaware of the council's plan. Kenobi gained Eval's trust and secured a spot on his team to kidnap the Chancellor at the Festival of Light on Naboo. Koon and the rest of the council informed Skywalker and Tano of their plan. They and most of the council formulated a plan to thwart the attempt and capture the conspirators. They succeeded, and Kenobi and Skywalker also prevented another attempt by Count Dooku to capture Palpatine.
Jedi Temple bombing
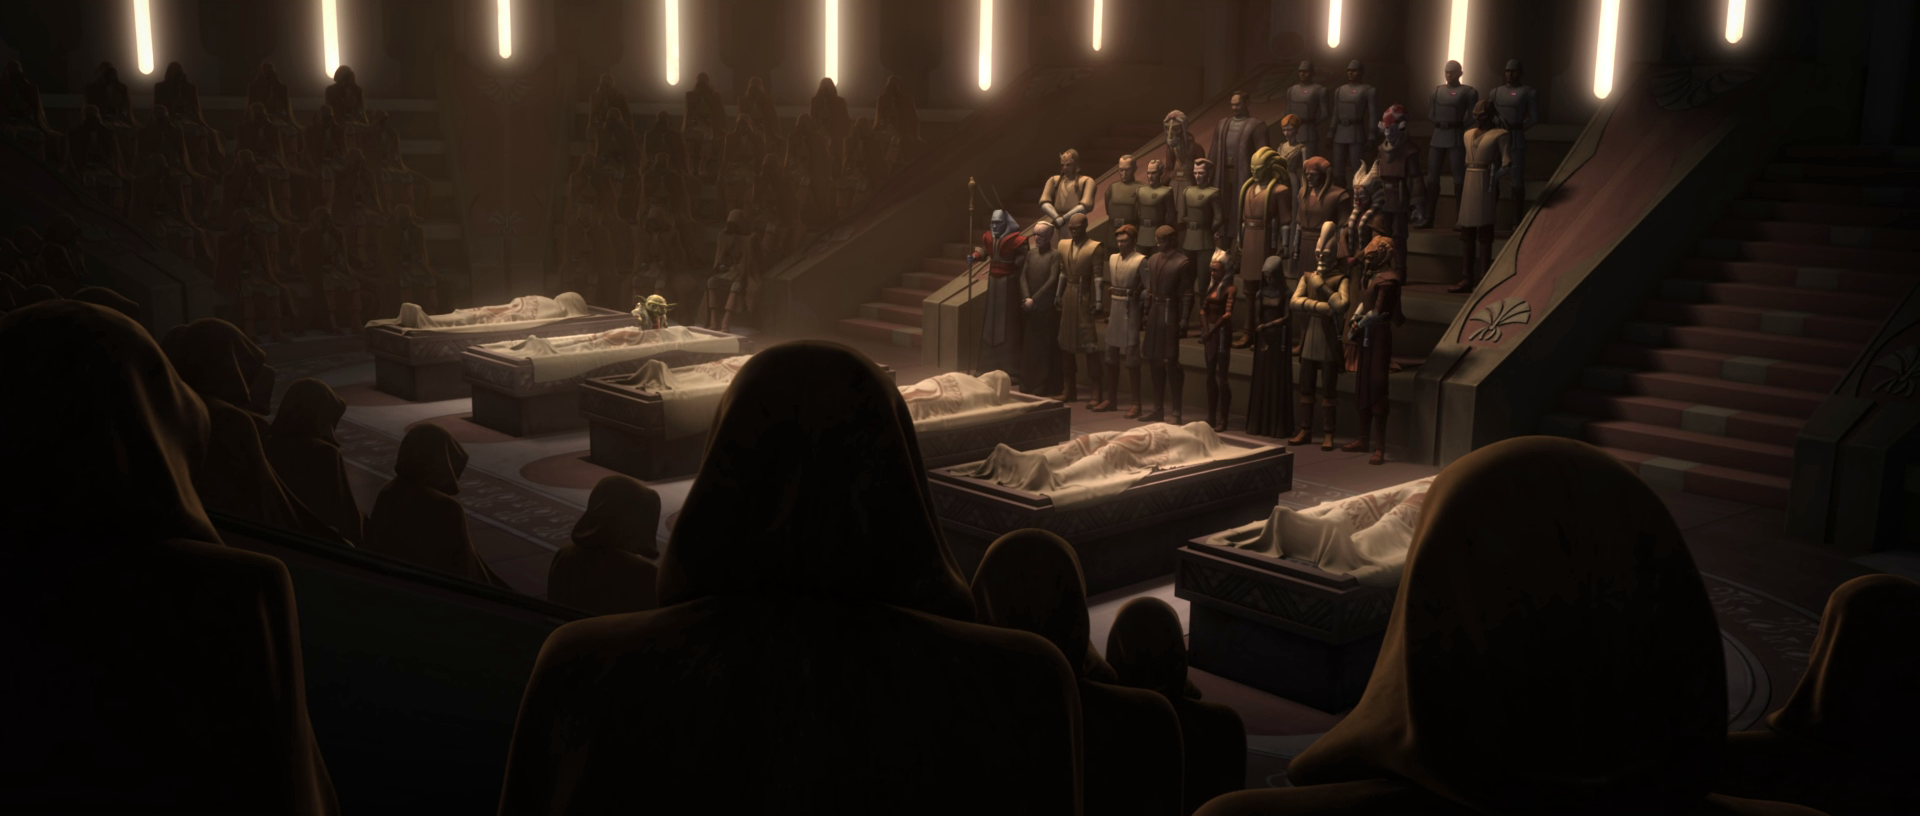
In 19 BBY, following the bombing of a Jedi Temple hangar, Koon and the Council recalled Anakin Skywalker and Ahsoka Tano from the defense of Cato Neimoidia to investigate. Koon and the others were concerned that a Jedi was responsible for the attack, requiring someone not present at the Temple and therefore above suspicion. Skywalker and Tano soon arrested Letta Turmond for using nano-droids to turn her husband, a Temple worker, into a bomb, but they suspected that someone, possibly a Jedi, had ordered her to do so. Koon then attended the funeral for the six Jedi killed in the bombing.
However, Tano herself was accused of the bombing after Turmond was Force-choked to death while Tano was in her cell. She was arrested, but escaped, with several clone troopers killed by a lightsaber during her escape. The Jedi Council convened an emergency meeting, with Admiral Wilhuff Tarkin attending via holocam. Tarkin, leading the Republic military's investigation, pushed for Tano's capture and prosecution for the murder of the clone troopers. Koon refused to believe Tano was responsible, but Tarkin dismissed the Jedi Council's beliefs as "irrelevant" and ended the transmission. Koon and Skywalker were sent with clone teams to search the lower levels of Coruscant, where Tano had fled, to find her and bring her back to the Temple to uncover the truth.
Arriving in the lower levels, Koon and Skywalker saw Tano with Ventress. They fled from the Jedi and clones, who spread out to search the area. Commander Wolffe contacted Koon, reporting that his team had found Tano, but she and Ventress had defeated them without killing any clones. Skywalker and Wolffe later tracked down Tano again, this time stunning her. In the warehouse where they found her, they discovered the same type of explosives used in the Jedi Temple bombing. As they transported Tano back to the Temple, Koon reported to Yoda what they had discovered, but that they were still unsure of Ventress's location or her connection to the situation.
The Jedi Council attempted to try Tano in accordance with Jedi tradition, but Tarkin and the Senate demanded that she be expelled from the Jedi Order and turned over to them for trial in a military court. The Council agreed, despite internal disagreement. Koon was one of five council masters present in the Chamber of Judgment, where Tano was formally expelled from the Order. Koon questioned Tano's association with Ventress while on the run, and Tano claimed that she believed Ventress had been trying to help clear her name. After the expulsion, Tano was turned over to Tarkin and put on trial. Koon was present during the proceedings and witnessed Skywalker arrive with Barriss Offee in custody, revealing that she had masterminded the bombing and framing of Tano. Offee confessed that she was responsible and had done so to expose the failings and corruption of the Jedi Order through the Clone Wars, claiming that the Order had fallen to the dark side and that the Republic was failing.
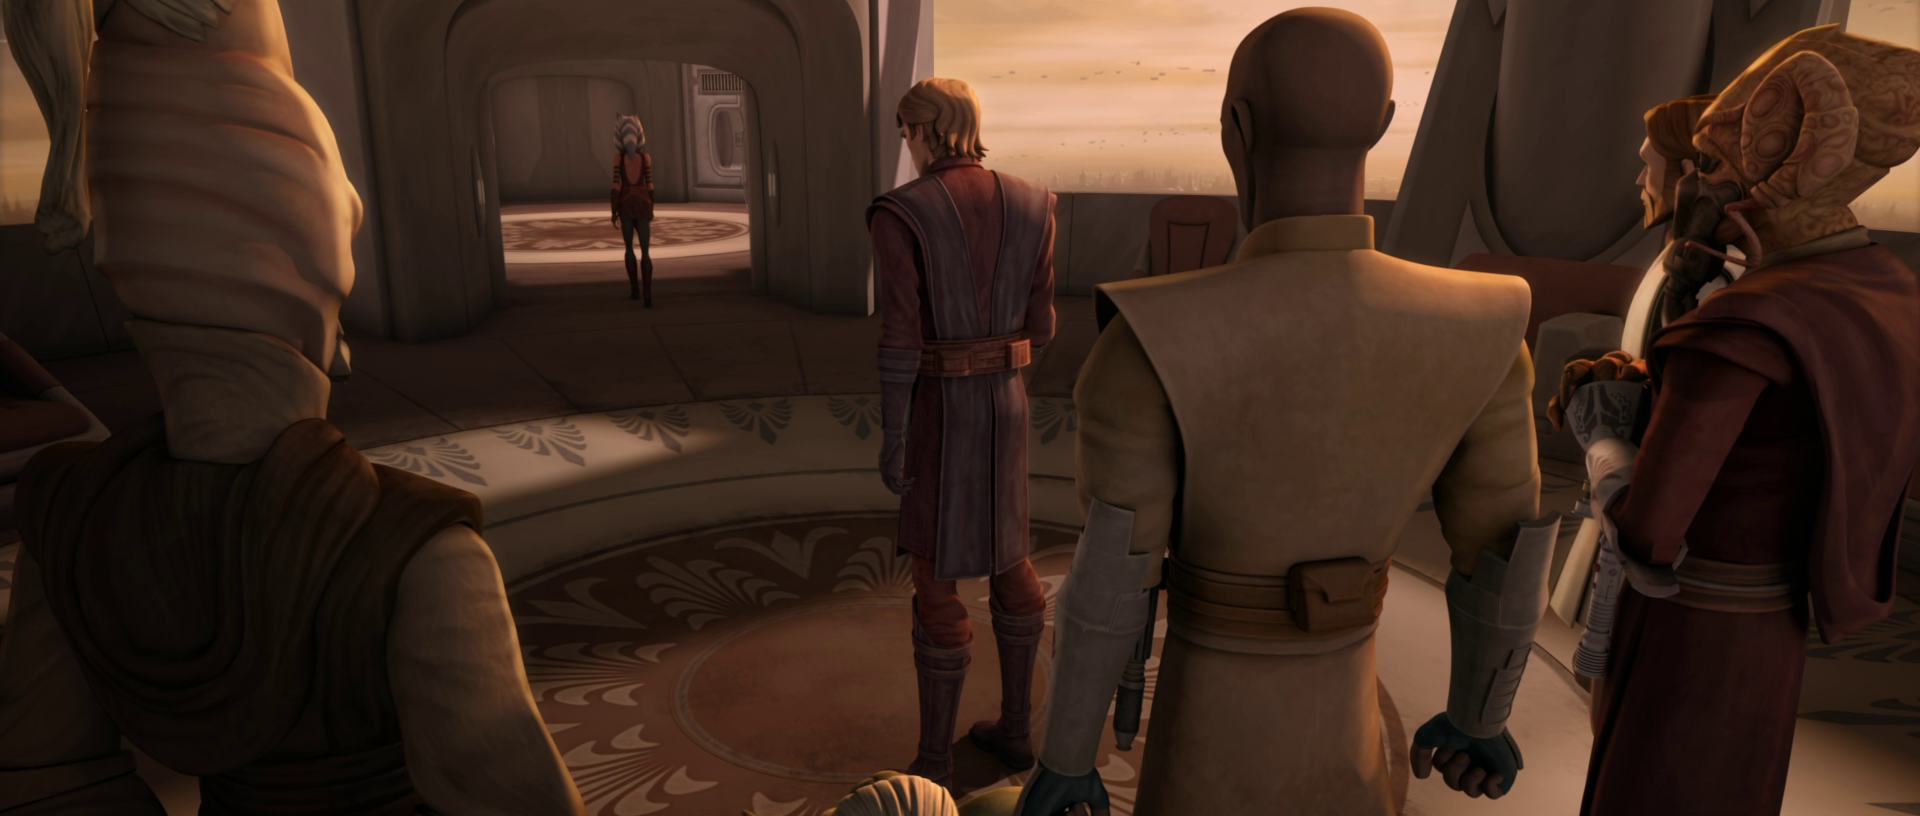
With Tano's name cleared, she was released and returned to the Jedi Temple. Koon was among the Council masters who welcomed Tano back. On the Council's behalf, he offered their most humble apologies to Tano, stating that they had been wrong to accuse her of treachery. However, Tano refused to rejoin the Order. Koon watched mournfully as Tano left the Council chamber, and held Master Kenobi back from following Skywalker as he went after his former apprentice.
Search for the truth
Later that year, a distress signal was detected by the Jedi Temple from a ship belonging to the long-dead Jedi Master Sifo-Dyas, and Koon was dispatched by the Jedi Council to find its source. Tracking the signal to the desert moon of Oba Diah, Koon and the Wolfpack began searching for the vessel. After overcoming a sandstorm, they located the wreckage of a T-6 shuttle. Inside, Koon discovered Sifo-Dyas's lightsaber. He ordered his men to secure the area and transport all wreckage back to Coruscant. He contacted the Jedi Council and informed them of his findings. The Council discussed Sifo-Dyas's role in the clone army's creation, with Koon noting that Sifo-Dyas had foreseen a great war requiring a Republic army. Following this meeting, Koon attended a holographic briefing by Master Jocasta Nu, who explained that Sifo-Dyas had died on Felucia while attempting to negotiate a peace treaty between two tribes. Koon inquired about his body's fate, but Nu said she did not know, as information about the mission had been sealed by the Office of the Supreme Chancellor.

Afterwards, Koon made his way back to Coruscant, where he had a meeting with Yoda, Obi-Wan, and Anakin. The group of four Jedi talked about fresh evidence concerning a mysterious second Jedi's presence on Felucia, along with the disappearance of Silman, an assistant to former Chancellor Valorum. Silman had gone with Sifo-Dyas on a mission to meet with the leaders of the Pyke Syndicate. Koon pointed out that the Pykes' base was on Oba Diah, the same moon that Sifo-Dyas's ship and lightsaber were orbiting when he discovered them. Obi-Wan and Anakin were then sent to Oba Diah, where they found Silman alive but held captive by the Pykes. Tragically, Count Dooku killed Silman before he could reveal much. However, they did find out that Count Dooku was also Darth Tyranus, and that he was the one who created the clone army. This revelation greatly troubled Koon and the other Council members, but they decided to keep it a secret to avoid undermining the Republic's trust in the clone army.
Scheme to eliminate Count Dooku
Later, Plo Koon was present at a Jedi Council meeting where they watched a transmission from Jedi Master Chubor. Chubor was in charge of the Republic's evacuation of civilians from Mahranee, which had been captured by the Separatists. He, along with the other Council members and Anakin Skywalker, were horrified as Count Dooku ordered his fleet to fire on the refugee convoy. This resulted in the deaths of Chubor and thousands of innocent civilians on board the ships. Meanwhile, droid forces on Mahranee were ordered to eliminate any remaining Mahran. Dooku stated that the Jedi were to blame for the tragedy because they continued to resist his cause and support the Republic. The Council lamented the fact that the Jedi were too stretched out to properly defend every world threatened by Separatist invasion. Koon expressed sorrow that they could hardly keep track of the war's death toll, but the near-extinction of the Mahran was among the worst tragedies they had faced. Mace Windu and Obi-Wan Kenobi both blamed Dooku for all the deaths in the war, but Koon noted that they were using the same reasoning Dooku had used to blame the Jedi. Windu then questioned if they were partially responsible for not doing everything possible to end the war, and suggested assassinating Dooku. While Kenobi opposed the idea and Yoda was hesitant, Koon and the rest of the Council members eventually agreed that they should send a Jedi to assassinate the former Jedi Master who had become a Sith Lord. The Council chose Jedi Master Quinlan Vos for the mission, with the assistance of Dooku's former apprentice, Asajj Ventress.
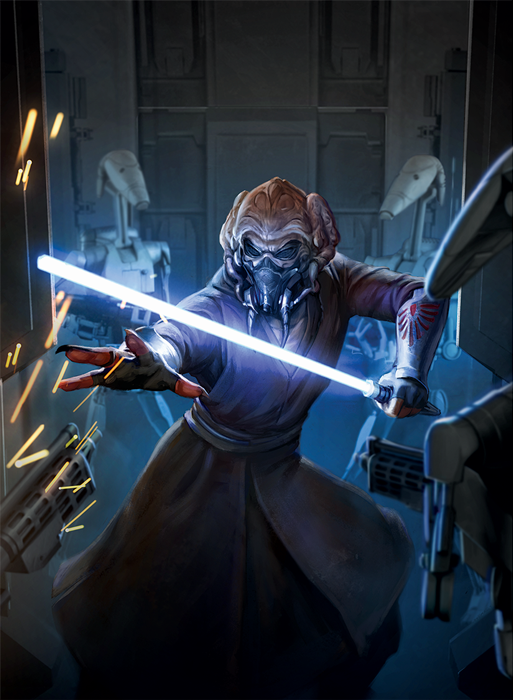
A few months after the mission began, Vos stopped communicating with Kenobi after claiming he had gained Ventress's trust and her help in killing Dooku. Koon suggested that Ventress might have found out Vos was a Jedi and killed him for deceiving her. However, Kenobi thought this was unlikely, as Ventress would have made sure the Jedi Order knew of her anger over such an act. Ventress eventually contacted Kenobi and informed him that she and Vos had failed to assassinate Dooku, and that Vos had been captured and turned to the dark side. Over the following months, Vos became known as Admiral Enigma, leading Separatist forces to victory in several battles. As Koon and other Council members gathered to decide what to do about Vos, they were surprised when Kenobi, Skywalker, and Jedi Knight Akar-Deshu brought Ventress into the Council chamber. Koon instinctively reached for his lightsaber, but Kenobi assured the Council that he had promised Ventress safe passage into the Temple and that she was there to help them find and defeat Vos. Koon was suspicious of her truthfulness, but Kenobi persuaded them to listen to her. Ventress confessed that she had taught Vos to use the dark side and that they had become lovers. The Council dismissed Ventress and the knights to discuss Ventress's offer. Kenobi suggested that they could capture Vos and bring him back to the light. Koon sadly remarked that not everyone who fell to the dark side could be saved. When news arrived that Taris was about to be attacked by Vos's forces, the Council decided to offer Ventress a pardon in exchange for her assistance in capturing Vos.
The mission was a success, and the Jedi learned that Vos had not truly fallen to the dark side. He had been Dooku's prisoner for several months, pretending to serve him. Ventress was convinced that Vos had turned evil, but the Council tested him with several small missions over the following month and concluded that he was trustworthy. Koon and other Council members met to determine if Vos could return to duty. Kenobi reported that he believed Vos was ready, although Koon wondered if Dooku might have broken him, pointing out that a former Jedi Master under Dooku's influence would pose a great threat to the Jedi Order. Kenobi reassured them that he was satisfied with Vos's account of his time with Dooku, which Koon and the rest of the Council, except for Windu, accepted. They decided to use the knowledge of Separatist operations that Vos had gained during his captivity. Kenobi, Vos, Skywalker, and Desh were sent to capture a Separatist supply storage base. They successfully destroyed the forces defending the base, but had to abandon it after Vos discovered that the asteroid where the base was located was rigged with explosives. Koon and the Council then sent Kenobi, Vos, and Skywalker to destroy a listening post on Vanqor, but they found it abandoned and all useful information deleted when they arrived.
Becoming suspicious, Yoda, Kenobi, and Windu concluded that Vos had secretly fallen to the dark side and was warning Dooku about the Jedi's operations. Koon and Master Ki-Adi-Mundi joined the three other Masters at an emergency meeting to decide how to handle Vos. Windu suggested executing him for his betrayal of the Order and the extreme risk of trying to imprison a fallen Jedi Master, which Koon and Ki-Adi-Mundi supported. Instead, Kenobi convinced them to test Vos by sending him to kill Dooku once more, hoping he would take the opportunity to reject the dark side. Vos accepted the mission, unaware of the Council's plan to have Obi-Wan and Anakin follow him with a task force that included Desh and Jedi Knight Kav Bayons. Vos once again enlisted Ventress to help him assassinate Dooku at the Second battle of Christophsis. The mission resulted in the deaths of Desh and Bayons at the hands of Dooku and Vos, who had indeed fallen to the dark side in an attempt to learn the identity of Darth Sidious, Dooku's Sith Master. Ventress was seemingly killed by Dooku with Force lightning, but her death caused Vos to reject the dark side and surrender to Kenobi and Skywalker, who brought him back to the Jedi Temple. There, he confessed to all his crimes before the Jedi Council and submitted himself to their judgment. The Council allowed Vos to work alongside Yoda to redeem himself, and eventually Koon and the others trusted Vos enough to place him in Kenobi's care and allow him to return Ventress's body to her homeworld of Dathomir.
Operation: Titan
At a later time, Koon was present during a meeting where the Council listened to Yoda's report about a devastating weapon known as Operation: Titan, which could shift the war's momentum in favor of the Confederacy. However, the available information on the enemy project was insufficient. Obi-Wan Kenobi mentioned that Anakin Skywalker's forces had recently captured a Separatist frigate, suggesting they examine the vessel's databanks. Yoda agreed and decided to join Skywalker himself. Yoda and Skywalker followed the leads and discovered that Operation: Titan involved building a new droid army containing "megadroids." They later reported to the Council that the megadroids were being constructed on the planet Golatha and informed them of their plan to destroy the factory before the megadroids could be deployed on the battlefield, a task they ultimately succeeded in completing.
Final Days
Around the period of the Battle of Yerbana, Plo Koon had been sent to Cato Neimoidia to coordinate the efforts of the 442nd Siege Battalion. He participated in multiple meetings with Jedi and clone leadership via hologram, even while piloting his Delta-7 Aethersprite-class light interceptor into battle. Koon played a role in securing a Republic victory on Cato Neimoidia. After the battle, he was on a patrol flight when Darth Sidious initiated Order 66. This caused all clone troopers to turn against the Jedi due to the influence of their inhibitor chips. Koon was shot down in his Delta-7 Aethersprite-class light interceptor by clone pilot Jag, and he died when his fighter exploded and crashed.
Lasting Impact
Approximately a year after Order 66, Tano encountered a Sullustan woman named Malat in Selda's cantina on Raada. This compassionate woman reminded her somewhat of Koon. She also felt a natural trust towards the Togruta bartender Selda, who was also kind to her, similar to how she had felt towards Koon. In contrast, Skywalker, who had become the Sith Lord Darth Vader, rarely thought of Koon among the people from his past. During his mission to Ryloth, Koon's name was one of several memories that affected him.
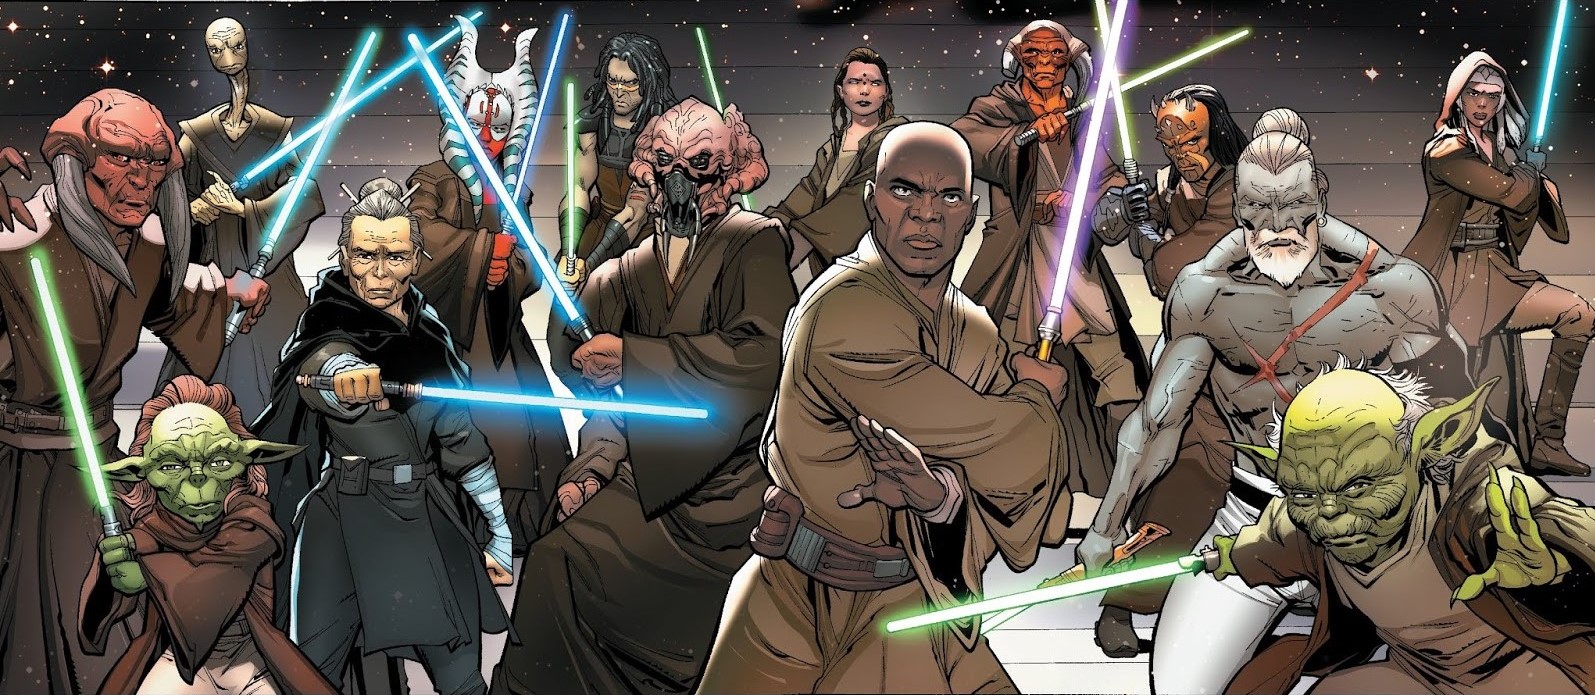
Shortly after the Battle of Fortress Vader, Vader entered a portal created by Darth Momin to resurrect his wife Padmé Amidala. While walking through visions, he saw Koon along with many other Jedi, all with their lightsabers ready to fight him. However, Vader killed all the illusions, impaling Koon through the chest along with Shaak Ti as the words "Let the past die" echoed in his mind.
Personality and Characteristics
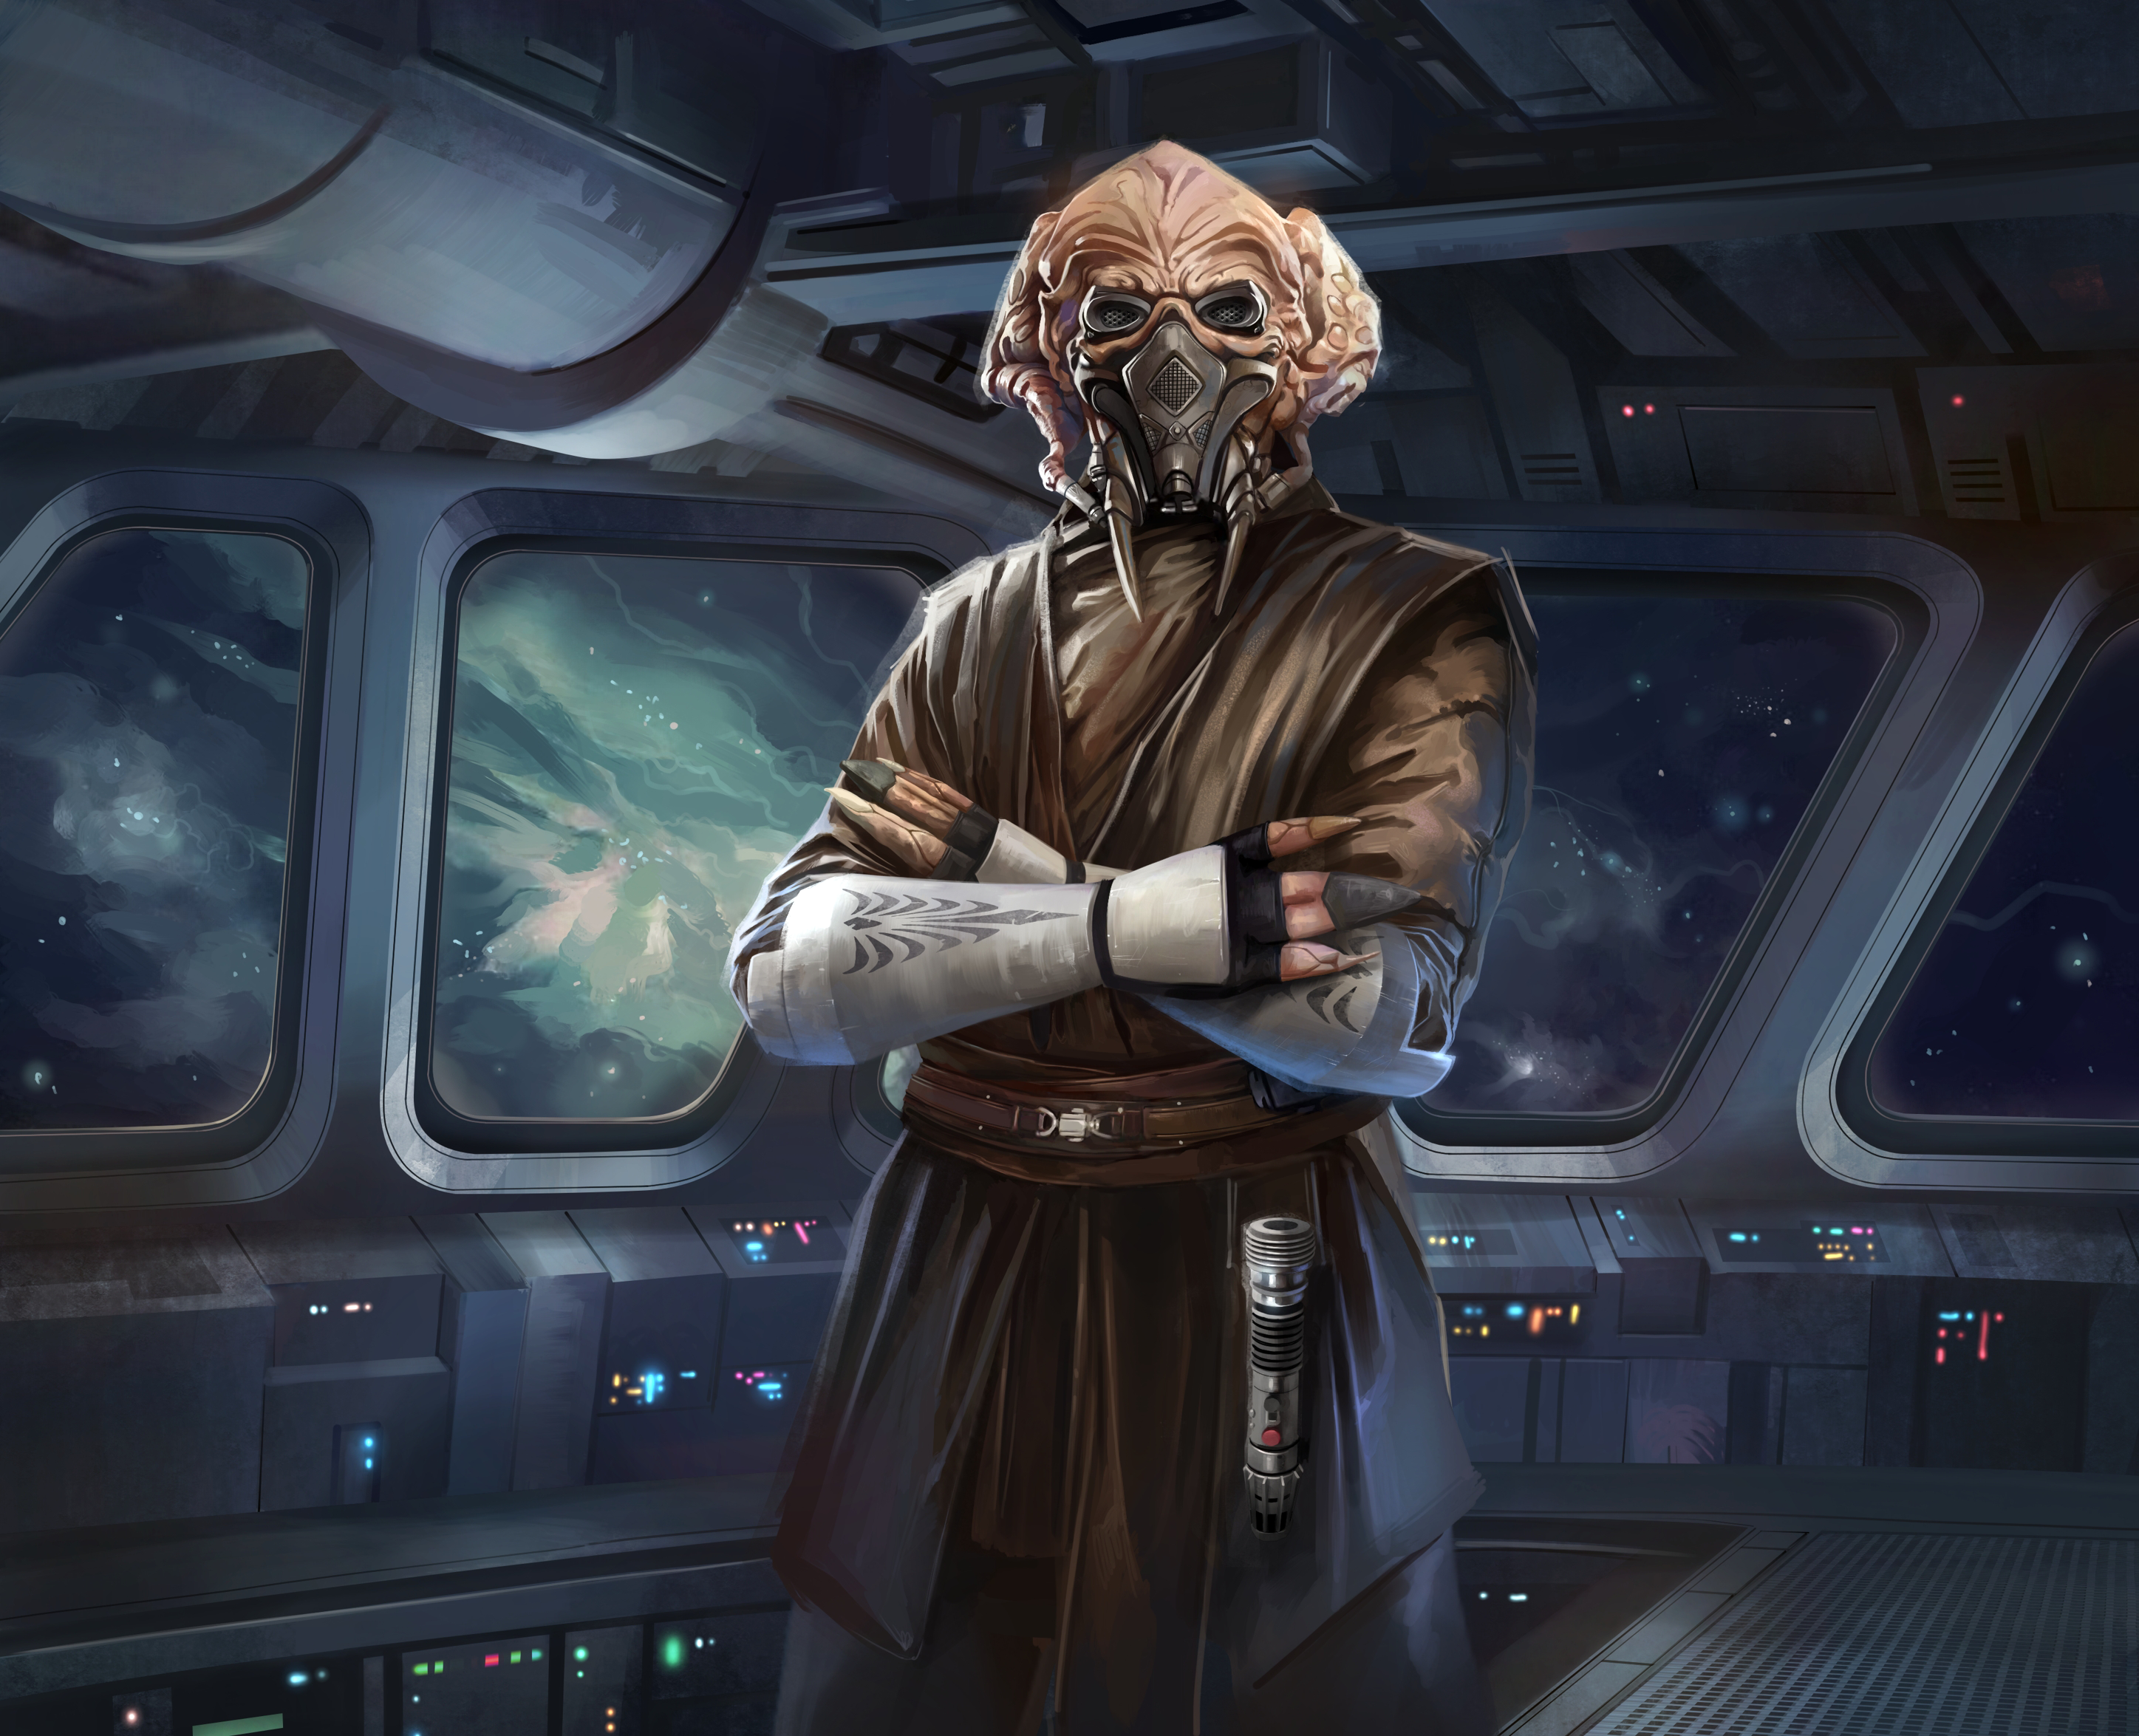
Plo Koon was a Kel Dor male Jedi Master, with a height of 1.88 meters, or 6 feet 2 inches. His weight was 80 kilograms, and he had orange skin.
Koon was known for being level-headed and consistently calm, making him one of the wisest members of the Jedi Order. He had a deep concern for all forms of life. Although he didn't see himself as particularly sociable and knew that his appearance could be intimidating to other species, Koon was generally optimistic and believed in the Order's ability to do good. Koon also shared a special connection with Ahsoka Tano, whom he brought to the Jedi Order as a young child and continued to be an important mentor throughout her time as a Jedi. Koon always considered how to help others, even when he was tired or busy. His bond with the clone troopers under his command was especially strong, with every member of the Wolfpack knowing that Koon cared deeply for them and would risk his own life to save theirs. Koon had a generally reassuring presence, which a young Ahsoka Tano sensed immediately upon meeting him.
Even though Koon was not Tano's master, they maintained a close relationship during her time as a Padawan learner. When Tano was falsely accused of murder and treason, Koon found it difficult to believe that the girl he had brought into the Jedi Order could have turned to the dark side. However, because the evidence against Tano seemed overwhelming and the Galactic Senate demanded that she stand trial, he joined the Council in expelling her from the Order. After her innocence was proven and the real traitor was caught, Koon apologized to Tano on behalf of the council and invited her to rejoin the Order. He was deeply saddened when Tano chose to leave the only life she had ever known. However, this choice ultimately saved Ahsoka's life, and she went on to survive Order 66 and serve the Rebellion.
Plo Koon was one of the most skilled pilots in the Jedi Order, and his abilities were often praised by fellow Jedi such as Anakin Skywalker when he and Obi-Wan Kenobi crashed on Carnelion IV, and Mace Windu when he assembled his team for one of his first missions in the Clone Wars, comparing Rissa Mano's pilot skills to Plo Koon's. Koon was also known for his strategic thinking and skill in organizing logistics for large groups of people, and he preferred to lead by example.
Force Abilities and Skills
Plo Koon was renowned for his sensitivity to the Force. He was also proficient in lightsaber combat and an exceptional pilot. While in an escape pod after the Malevolence destroyed his fleet, he used the Force to telekinetically flip another pod towards him, hoping to communicate with whoever was inside, only to discover that the front of the vessel had been torn off. While fighting in the depths of space, he was still able to smash a battle droid with a Force push and telekinetically move his clone companions to strategically attack the droids before pulling them back to safety. Once he was no longer under fire, Koon used the Force to detach the Droch-class boarding ship from his escape pod and send it floating away. He possessed the ability to emit electric shocks at his enemies. Koon could leap to great heights, such as over the walls of a Separatist base, and use the Force to dash into battle. Working with Ahsoka Tano from atop a Low Altitude Assault Transport, they used their powers to hold the ruins of the Endurance's bridge steady so that the clones could rescue Skywalker and Windu from the wreckage. Soon after, he would open a lock with the Force, push and pull Boba Fett, and throw a table at Aurra Sing. Koon was able to telepathically contact Tano when she was flying with Skywalker to help them locate him and his men, giving her a sense of his location in the void.
Gear
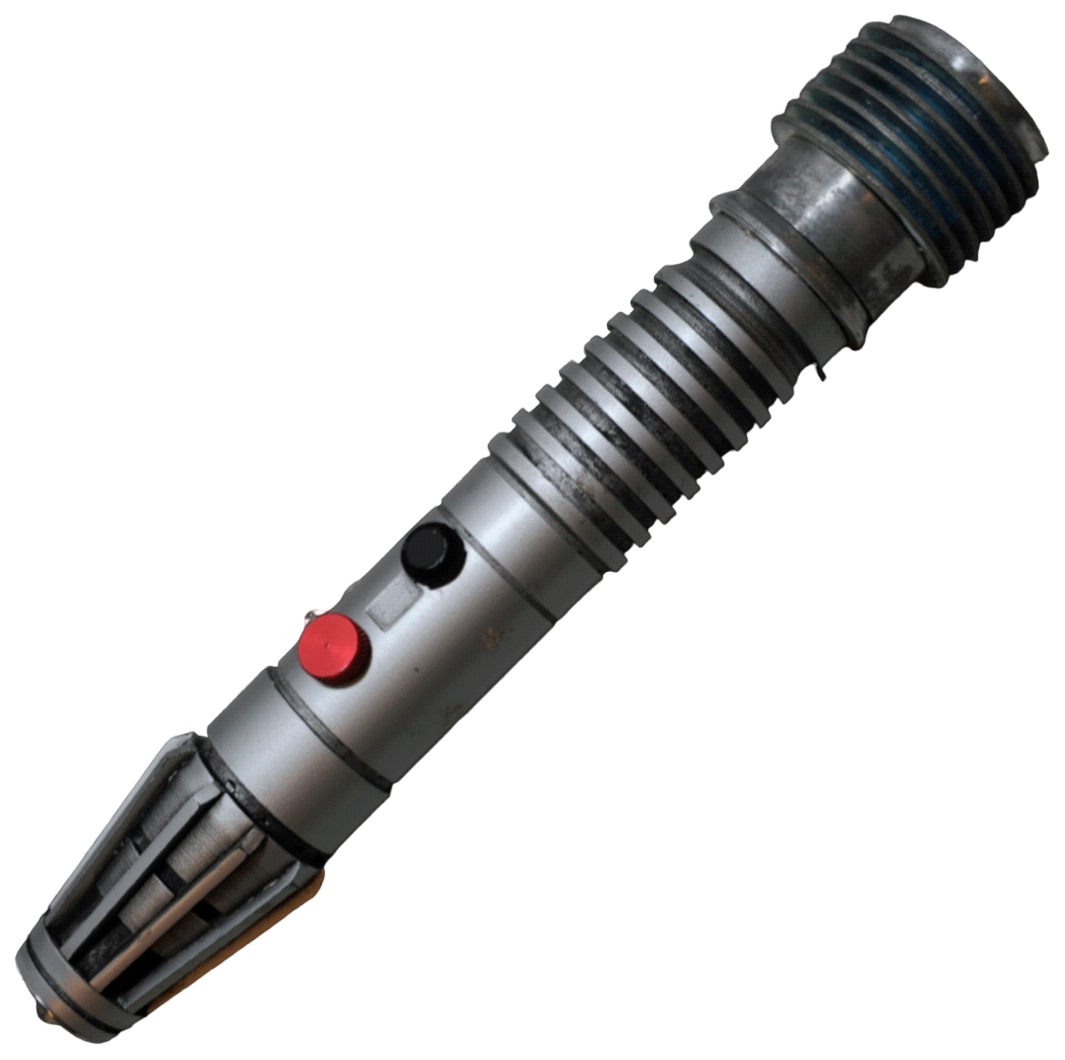
Plo Koon used a blue lightsaber in combat. He also wore a mask to protect him from oxygen, which was toxic to Kel Dors.
Behind the Scenes Information
Actors
Plo Koon was portrayed by Alan Ruscoe in The Phantom Menace, and by both Ruscoe and Matt Sloan in Attack of the Clones. Sloan reprised the role in Revenge of the Sith. The character had no speaking lines in any of the prequel trilogy films and was primarily a background character. Also, his segment in the Order 66 montage was initially planned to show him surviving the shooting down of his starfighter and ejecting from his cockpit, only to be shot down by the clone pilots.
Plo Koon was voiced by James Arnold Taylor in the Star Wars: The Clone Wars television series. In an interview with the Aggressive Negotiations podcast, Clone Wars writer Henry Gilroy mentioned that the Jedi Master was originally intended to have a Japanese accent early in the show's development. The intention was to portray the character as a samurai-like warrior, with the Clone Wars team writing Koon's dialogue with Japanese inflections in mind. They aimed to depict the Jedi with a tough exterior hiding a softer interior, with Gilroy comparing him to Toshiro Mifune's character in Seven Samurai, and they even considered pursuing actor Sonny Chiba for the role. However, George Lucas felt that this characterization came across as cold and uncaring, suggesting that the team find a comedic actor in the vein of Jim Carrey instead. Dave Filoni ultimately guided Plo Koon towards a Gandalf-like character, which Gilroy later considered the perfect approach for the Jedi's personality. Koon's nickname for Ahsoka Tano, "little Soka," is a remnant of his samurai characterization.
Throughout the show, Koon was central to several story arcs and became a recurring character. He was notably depicted as a mentor and father figure to Ahsoka Tano, a character created specifically for the show. Tano often referred to him affectionately and respectfully as "Master Plo."
For The Mandalorian television series, the appearance of Luke Skywalker in the second season's finale episode was initially kept secret. Plo Koon was used as a stand-in character for the script and even for some of the concept art and raw footage.
Origin of the Name
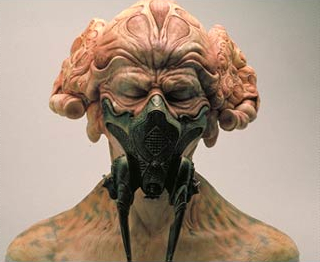
During development, Plo Koon was originally known as "Plonkoon," named after the nickname of Nick Dudman's son. Lucas changed it to "Plo Koon" before filming.
Unmasked Appearance
The old Star Wars database features an image of Plo Koon without his goggles, revealing his closed eyes. However, the canon status of this image is questionable, as it appears in the Behind the Scenes section as a pre-production concept model and may not accurately represent the final character.