Malevolence
The Malevolence, a Subjugator-class heavy cruiser, served as the flagship for Kaleesh Separatist General Grievous during the Clone Wars, operating within the Confederacy of Independent Systems's naval forces. This vessel, secretly conceived by Ruggle Schmong on the planet Pammant using a rejected starship design from the SoroSuub Corporation, was one of only two Subjugator-class ships and acted as the prototype and leading vessel of its class.
During 22 BBY, the Malevolence inflicted considerable harm upon the Galactic Republic and its naval forces through a series of attacks targeting numerous fleets across the galaxy. Despite being initially labeled a "mystery weapon," its existence was unveiled to the Republic after the Battle of Abregado, when Jedi General Plo Koon survived the destruction of his fleet and relayed crucial information.
Subsequently, the Malevolence set its sights on the Republic's clandestine medical station in the Outer Rim, situated within the Ryndellia system. However, its attempt to destroy the station was thwarted when a squadron of BTL-B Y-wing starfighter/bombers, under the command of Jedi General Anakin Skywalker, critically damaged the dreadnought. Following this failed assault, Generals Skywalker and Obi-Wan Kenobi infiltrated the crippled warship to rescue Senator Padmé Amidala, a Republic captive. During this mission, Skywalker cleverly sabotaged the Malevolence's navigation computer, redirecting it towards the nearby Dead Moon of Antar, resulting in its destruction.
Even after the loss of the Malevolence, the Confederacy's navy still possessed a small number of Subjugator-class heavy cruisers. However, due to the significant loss, the remaining vessels were largely kept in reserve, seeing limited action for the remainder of the conflict.
Description
Design
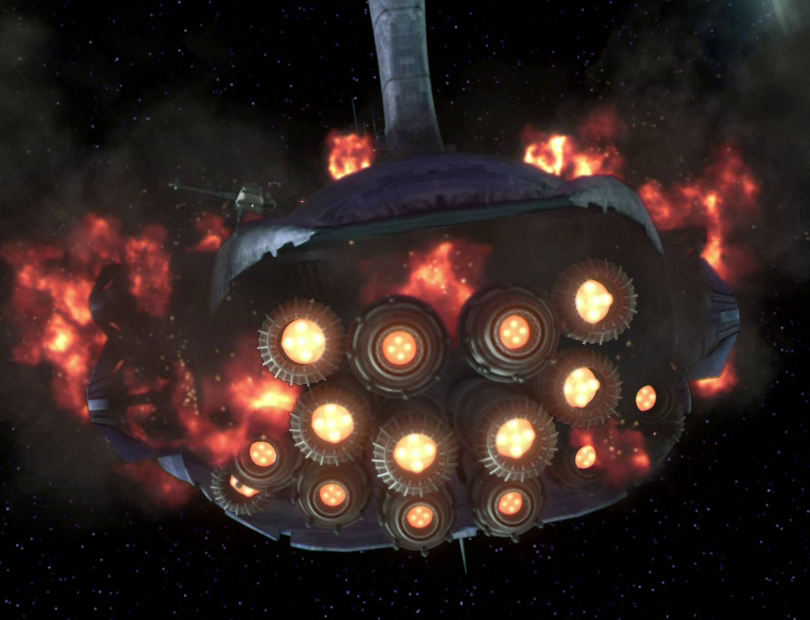
The Malevolence, one of only two Subjugator-class heavy cruiser examples, was secretly constructed by Quarren engineers from the Free Dac Volunteers Engineering Corps and Pammant Docks on the planet Pammant. Its design, equally clandestine, was the work of Ruggle Schmong, who repurposed an abandoned starship design from the SoroSuub Corporation. Largely built by slaves, the Malevolence stretched 4,845 meters in length, exceeding the combined length of five Venator-class Star Destroyers placed end to end. As the lead ship and initial test platform for the Subjugator-class, the Malevolence, also designated as a Star Dreadnought and a battleship, featured sixteen engine units at its stern, enabling a top speed of 1,050 kilometers per hour.
Beyond its powerful propulsion, the Malevolence incorporated a Class 2 hyperdrive generator, a sensor array, and a navigation computer capable of plotting courses around obstacles too large for hyperspace jumps. It also boasted sensor jammers to disrupt enemy transmissions, such as those from Venator-class Star Destroyers' communications systems. Furthermore, the Malevolence was equipped with stabilizers and communications systems that could maintain transmissions during hyperspace travel, allowing communication within the ship. Its scanners could detect power sources, including nearby vessels and droids.
Defenses

The Malevolence possessed an extensive arsenal, granting it sufficient firepower to engage a fleet of three Venator-class Star Destroyers. Its primary weapons were two mega-ion cannons positioned on the port and starboard sides of its hull, directly powered by the ship's reactor and plasma rotors. Upon firing, these ion cannons emitted a massive, ring-shaped wave of ion energy, disabling the power systems of affected vessels, thus neutralizing their deflector shields, weapons, and communications.
In addition to its mega-ion cannons, the Malevolence also carried a secondary armament of 500 turbolasers and five point-defense laser cannons, used in a two-stage attack strategy: first, the ion cannons were fired, followed by a barrage from the secondary weapons. The ship also had several tractor beam projectors powerful enough to capture and draw vessels as large as an H-type Nubian yacht into its hangars, and a deflector shield generator served as its primary defense.
Complement
The Malevolence's hangars housed a variety of starships, including Vulture-class droid starfighters and at least one Droch-class boarding ship, used to locate and eliminate escape pods that evaded its two-stage attack. The ship also carried the Soulless One, the personal Belbullab-22 heavy starfighter of Kaleesh Separatist General Grievous.
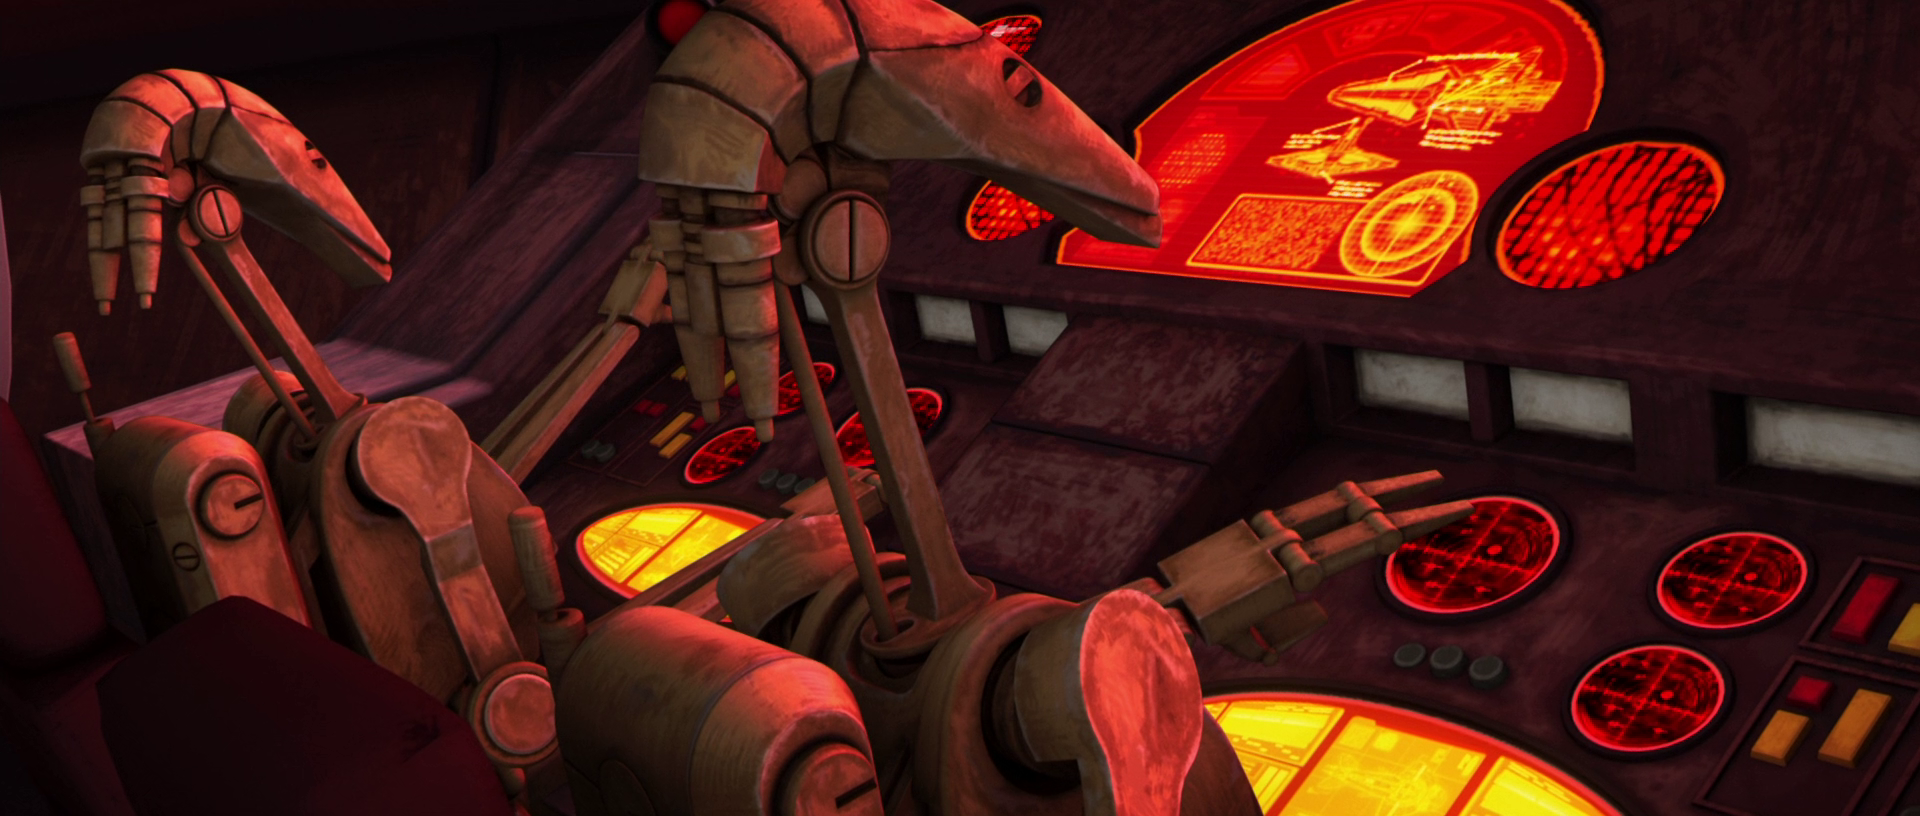
Besides its starship complement, the Malevolence carried a large number of personnel, including B1-series battle droids and B2-series super battle droids that patrolled its interior. It also transported several droidekas and at least five B1-series rocket battle droids to operate its Droch-class boarding ship, as well as at least one B2-HA super battle droid.
Facilities
Within the ship was an extensive rail jet system, used to transport droids across the ship to various stations, including substation 9-4. The Malevolence's spire-like command bridge was operated by a crew of 900 droids.
History
Battle of the Phu system
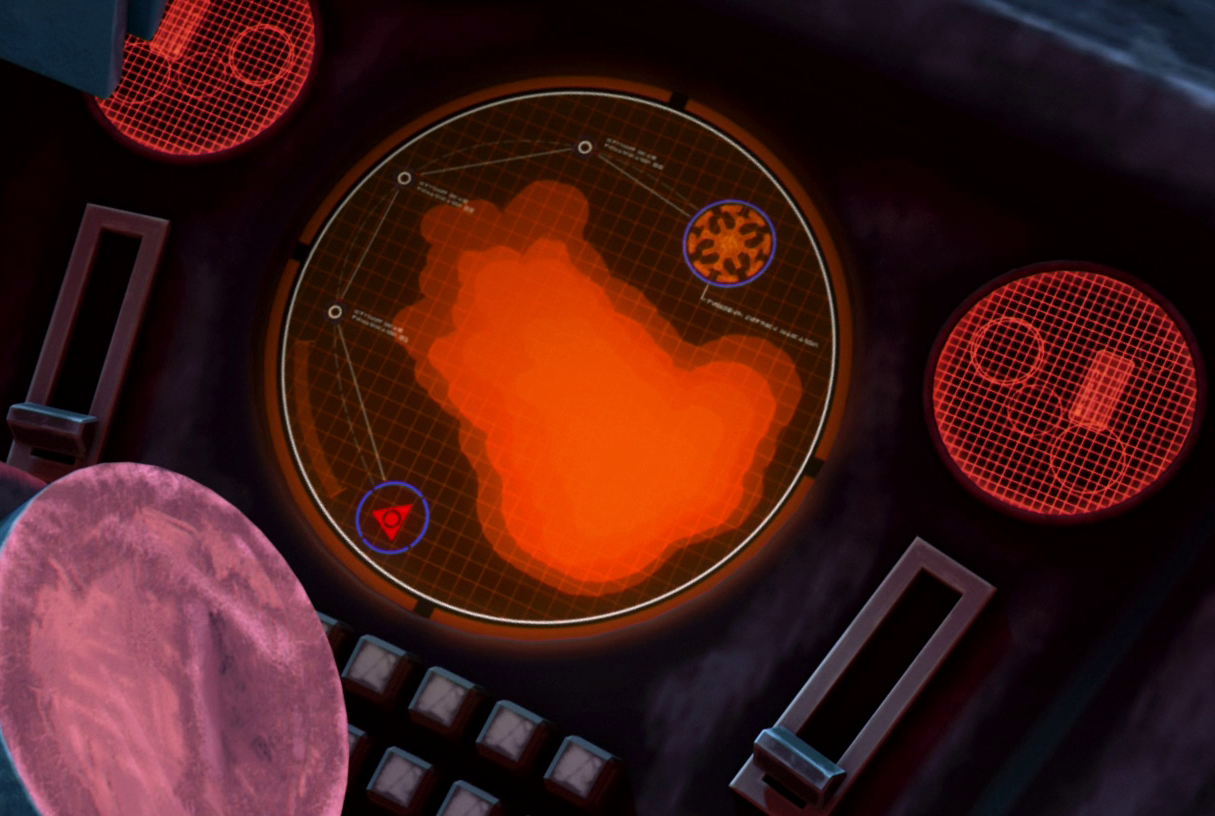
Early in the Clone Wars, rumors of a new, mysterious Separatist weapon spread after numerous Republic warships were destroyed in surprise attacks by the Malevolence, leaving no survivors. In the search for the Malevolence, commanded by Separatist leader Count Dooku and General Grievous, Jedi General Plo Koon dispatched a task force of three Venator-class Star Destroyers to locate and eliminate the weapon. However, while traversing the Phu system, the task force was ambushed and destroyed by the Malevolence.
Battle of Abregado
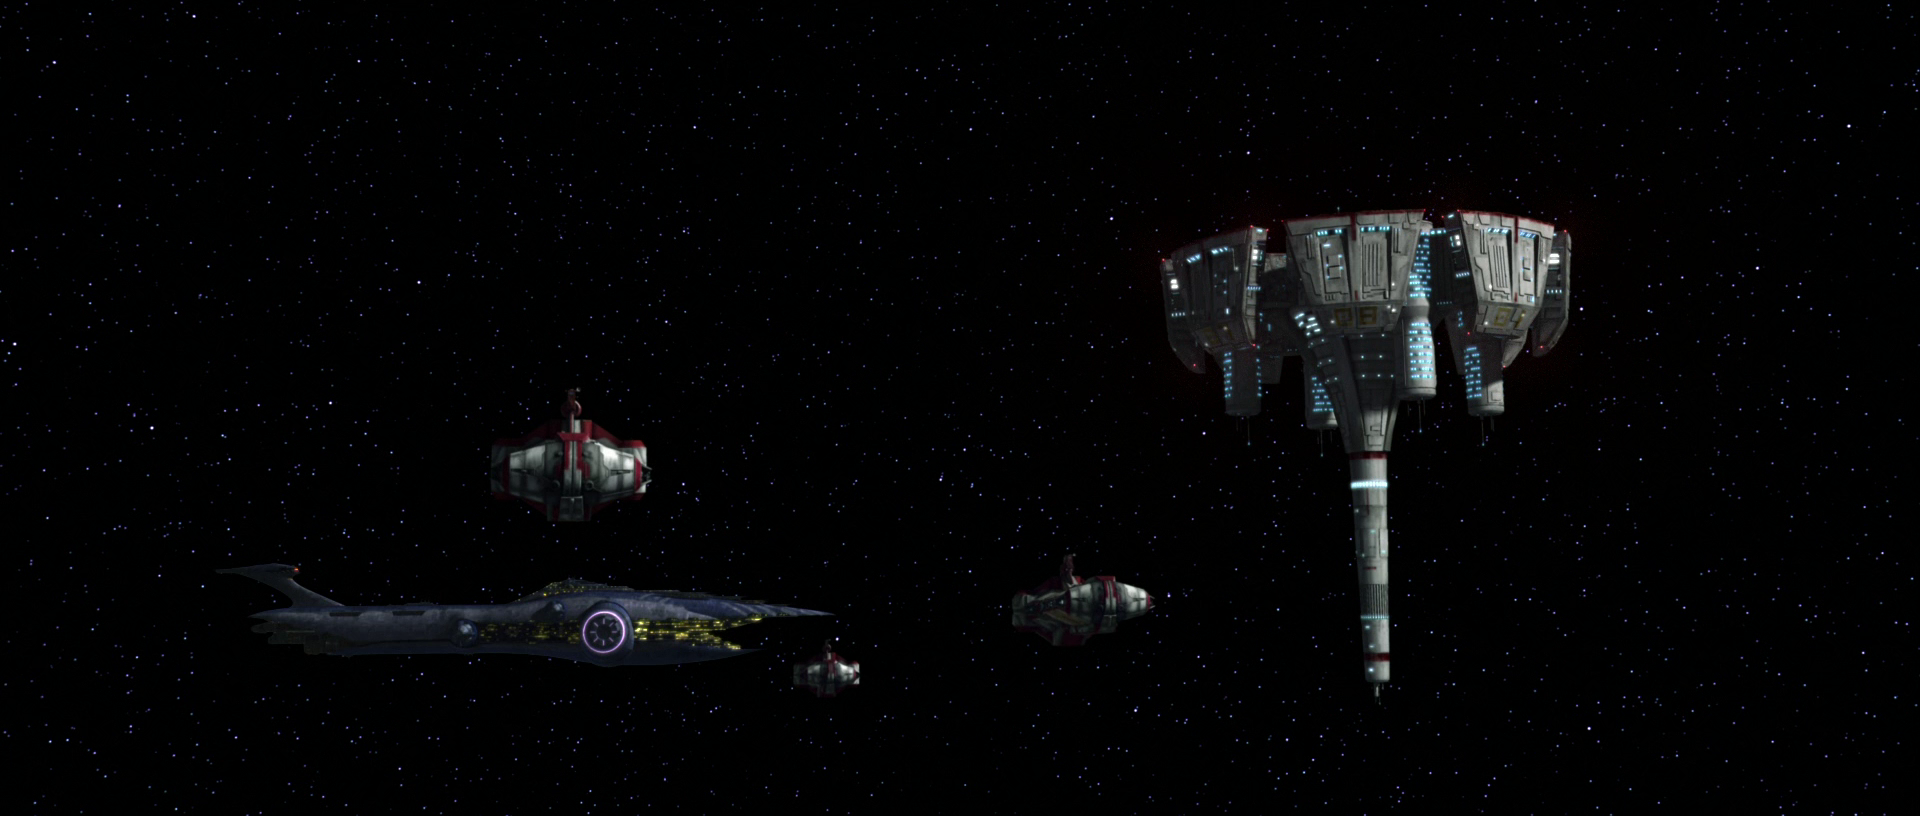
Following the defeat in the Phu system, Koon, aboard his flagship Triumphant, tracked the Malevolence to the Abregado system. Upon arrival, he attempted to transmit his position to General Anakin Skywalker and Ahsoka Tano, whose fleet was stationed in the nearby Bith system. However, the Malevolence jammed the transmission and fired its mega-ion cannon, disabling Koon's fleet and forcing them to flee in escape pods as the Separatist warship destroyed each Star Destroyer.
Before its destruction, the Triumphant launched several escape pods, including one carrying Koon, Clone Commander Wolffe, and clone troopers Clone Sergeant Sinker and Boost. To prevent the Republic from learning the location and nature of their secret weapon, Dooku dispatched a Droch-class boarding ship, dubbed "pod hunters," to eliminate the survivors. The pod hunter destroyed two of the three remaining Republic escape pods and latched onto Koon's pod. However, Koon and his men fought back, destroying the pod hunter and its crew.
This alerted the Malevolence to the presence of surviving resistance. As the Malevolence approached the pod's location in search of these survivors, it discovered that Koon and his men had been rescued by Anakin Skywalker and Ahsoka Tano aboard the Twilight. The presence of a medical droid tending to the clones revealed the Twilight's location, prompting the Malevolence to fire its ion cannon. However, the Twilight narrowly escaped into hyperspace. Dooku was enraged, realizing that his secret weapon was now exposed.
Attack on a Republic medical center

After the Battle of Abregado, Grievous and the Malevolence attacked and destroyed another Republic fleet of Star Destroyers and medical frigates in the Ryndellia system. Dooku then contacted Grievous via hologram, providing his next target: the Kaliida Shoals Medical Center, an undefended medical station in the Outer Rim treating over 60,000 injured clones.
The Malevolence jumped to hyperspace, heading towards the medical station, but its navigation computer was required to calculate a complex course to navigate the nearby Kaliida Nebula, much to Grievous's annoyance. While in hyperspace, Dooku informed Grievous that the Republic had launched a small strike force led by Anakin Skywalker to destroy the Malevolence. Grievous, however, remained confident in his ship's capabilities.
The Malevolence emerged from hyperspace to find medical frigates evacuating the wounded from the medical station. Grievous immediately targeted them with the ship's ion cannon. A squadron of BTL-B Y-wing starfighter/bombers, led by Anakin Skywalker and Ahsoka Tano with Plo Koon as fighter escort, had arrived before the Malevolence, taking a shortcut through the Kaliida Nebula. Grievous launched vulture droids to engage them.
Grievous destroyed the medical frigates before turning his attention to Skywalker's Shadow Squadron, firing the Malevolence's ion cannon at the oncoming Y-wings, despite his own fighters being in the way. Skywalker ordered his men to head for the edge of the ion shockwave, but several were caught in the blast or destroyed, as were the vulture droids released by the Malevolence. Satisfied with his work, Grievous then targeted the medical station itself.
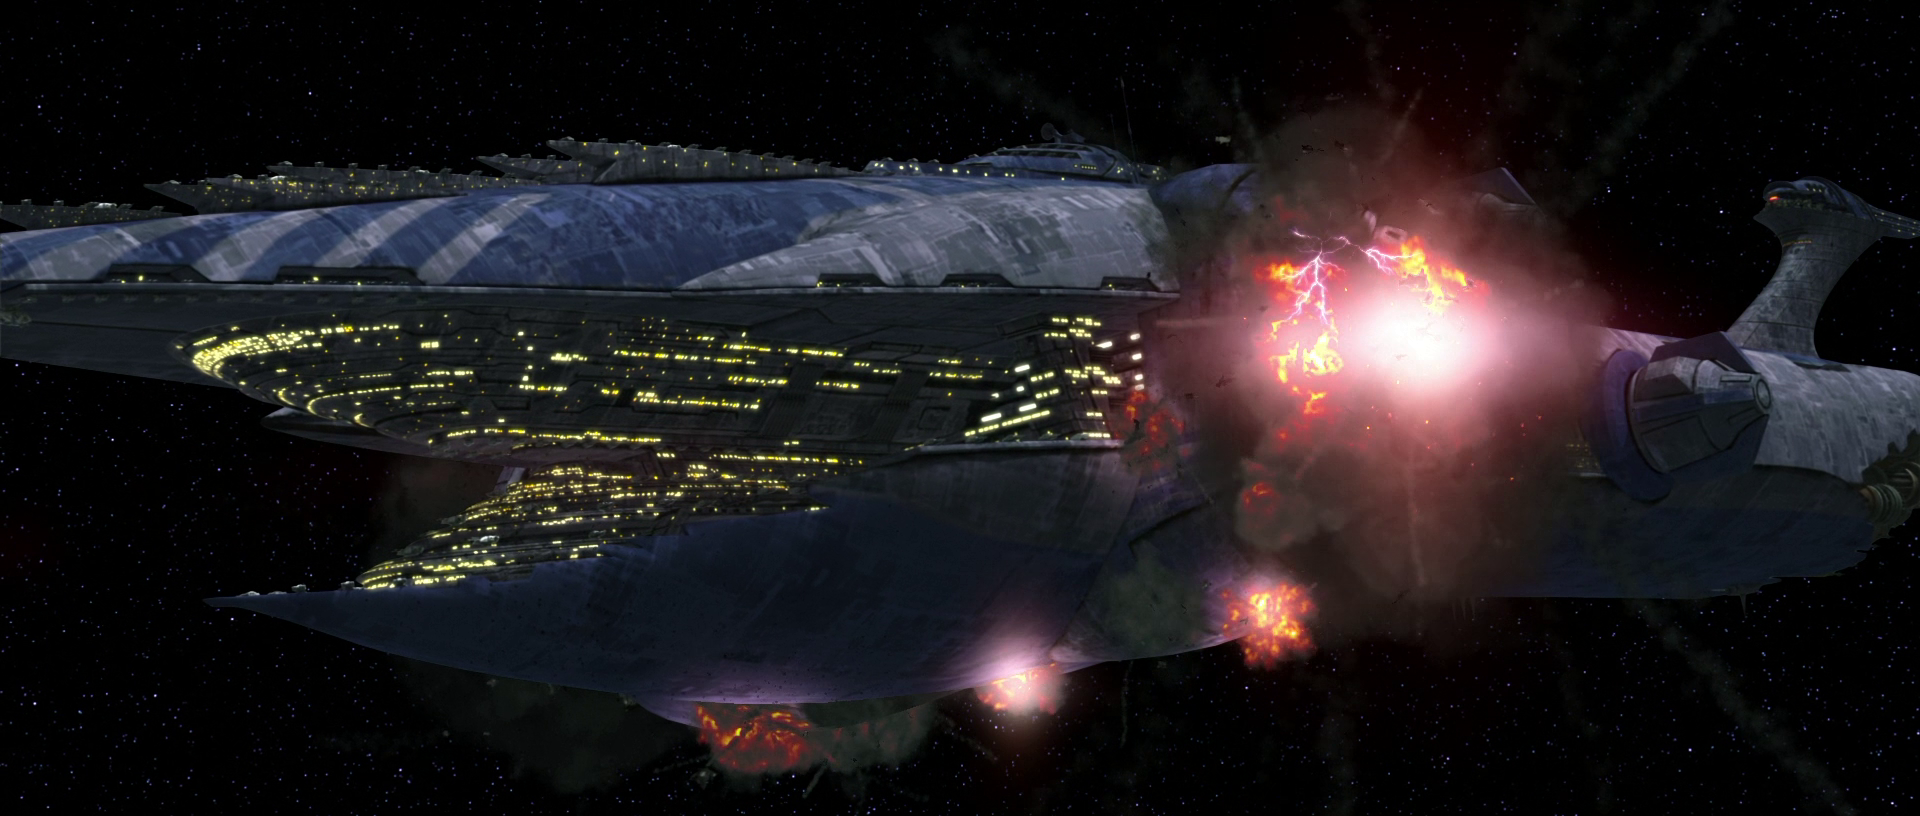
Despite losing almost half their ships, Shadow Squadron continued towards the Malevolence. After another Y-wing was destroyed by the heavy cruiser's turbolasers, Skywalker changed his target from the bridge of the Malevolence to its ion cannon. As the ion cannon charged to fire on the medical center, the Y-wings launched torpedoes at its base, causing it to overload when Grievous ordered it to fire. The resulting explosion destroyed both ion cannons and disabled the Malevolence's hyperdrive.
Shortly after, a fleet of three Venator-class Star Destroyers led by Obi-Wan Kenobi and Wullf Yularen arrived to engage the Malevolence. Grievous ordered a full retreat to Separatist space, pursued by the three Star Destroyers.
Rescue mission aboard the Malevolence
As the Star Destroyers pursued the Malevolence, the heavy cruiser was in poor condition, with disabled stabilizers, primary shield, hyperdrive, and mega-ion cannons. Dooku contacted Grievous, concerned about losing their prized warship. Dooku revealed that he had arranged for an important senator to arrive, to be used as a hostage.
A H-type Nubian yacht arrived with Padmé Amidala and C-3PO aboard, and Grievous ordered it pulled inside the Malevolence by tractor beam. Grievous went to the main hangar via rail jet and boarded Amidala's yacht with two B1-series battle droids, only to find the engines set to overload. The yacht exploded, but Grievous escaped the debris and ordered an alarm, as stowaways were onboard.
Amidala and C-3PO went to a communications panel and tried to contact the Republic fleet, but were interrupted by Grievous and a squad of battle droids. Meanwhile, the Twilight, with Skywalker, Kenobi, and R2-D2 aboard, docked at an emergency airlock on the Malevolence. Patched through to Amidala, Skywalker and Kenobi agreed to meet the senator in a large open area in the center of the Malevolence.

The groups arrived on opposite sides of a large chasm dominated by a rail jet system. Amidala and C-3PO were spotted by battle droids, and the blaster fire alerted the Jedi to their location. Skywalker rescued Amidala from a rail jet set to plummet off a destroyed bridge, while Kenobi was separated from C-3PO.
Destruction
With Amidala overhearing that the hyperdrive was nearly repaired, the trio developed a new plan: Skywalker tasked R2-D2 with finding C-3PO, while Kenobi would ensure the Malevolence's hyperdrive remained offline. Grievous overheard Kenobi's objective via internal communications, and intercepted Kenobi at the ship's engineering station, aided by droidekas, B2-series super battle droids, and B1 battle droids. Kenobi used his Force abilities to push the droidekas into the other droids, allowing his escape. Grievous pursued the Jedi, and they engaged in a lightsaber duel amidst the rail car system, but Kenobi escaped on a passing rail jet.
Meanwhile, Amidala and Skywalker headed for the bridge after dealing with pursuing super battle droids. Skywalker disabled the droid pilots on duty, before hot-wiring the ship and leaving a "surprise" for Grievous. Amidala cleaned up the destroyed droids, and the pair exited the bridge as another droid crew arrived. On the way down, they encountered C-3PO and R2-D2, and the four made for the Twilight. Kenobi arrived at the airlock as the group entered, and they quickly detached from the Malevolence.
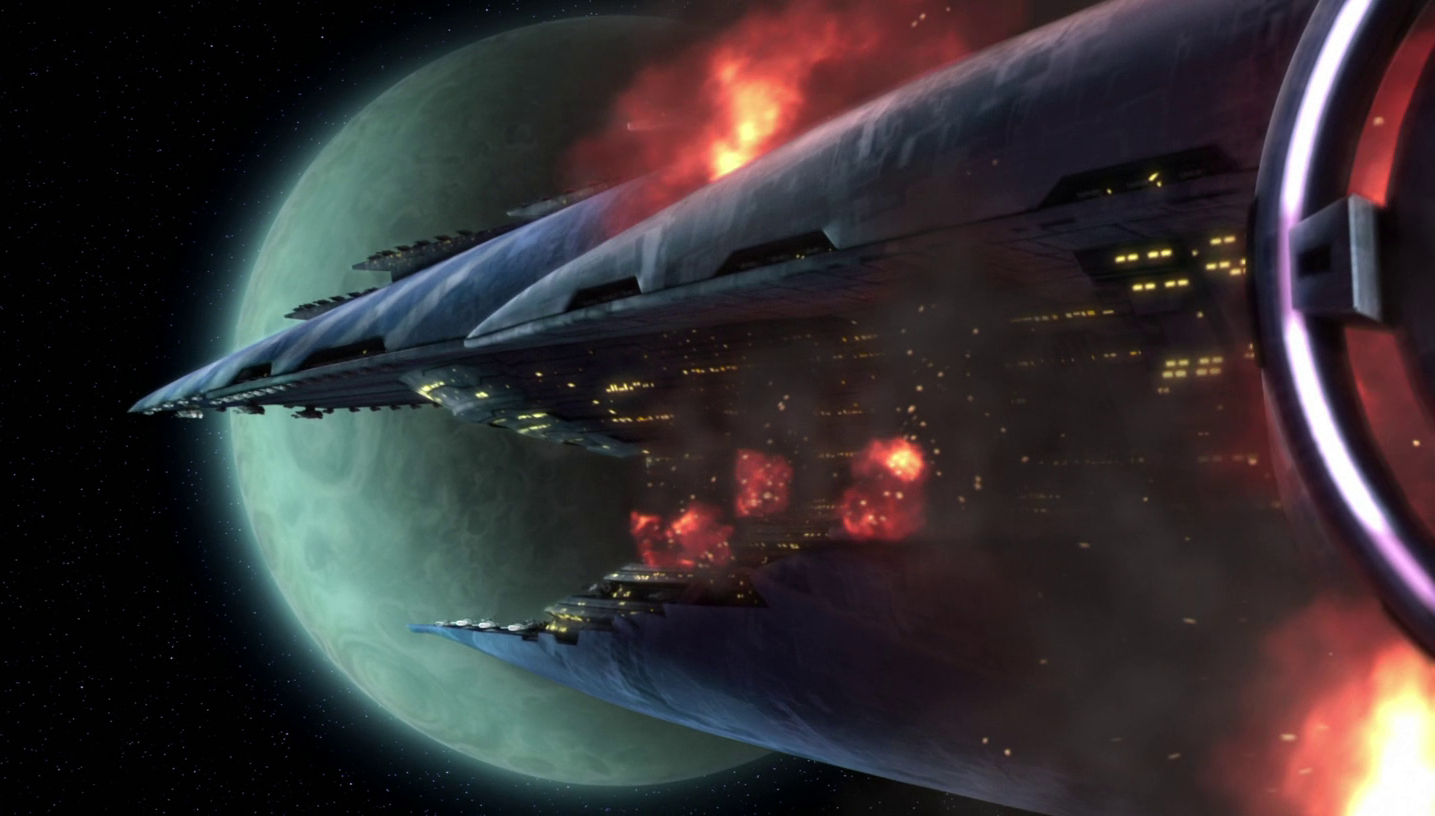
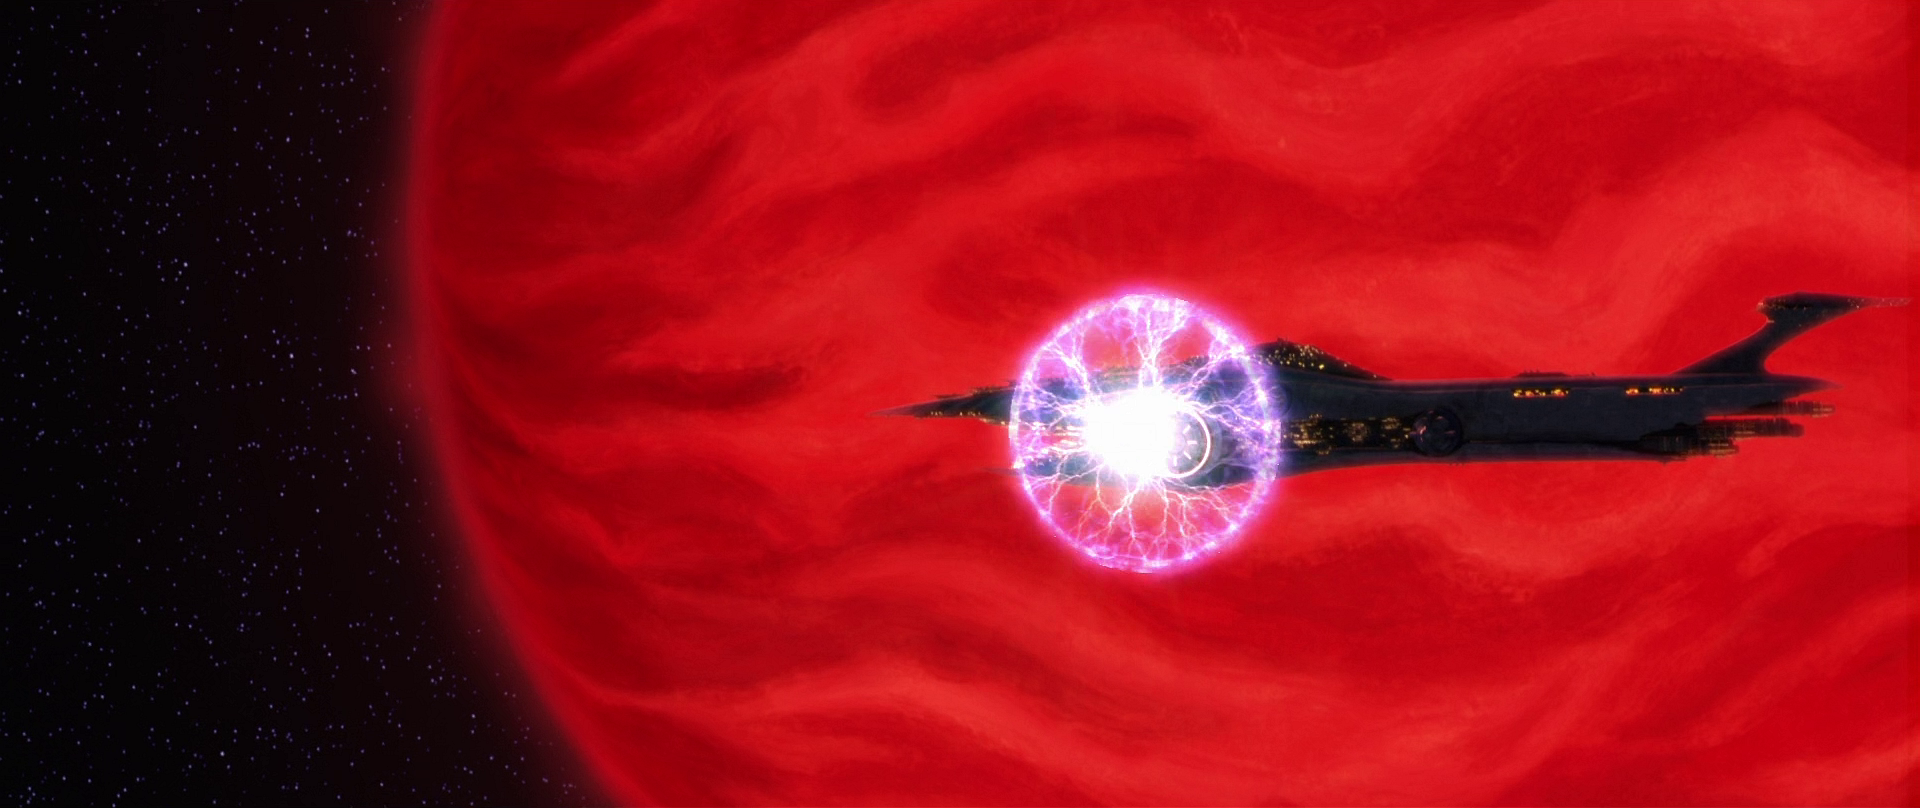
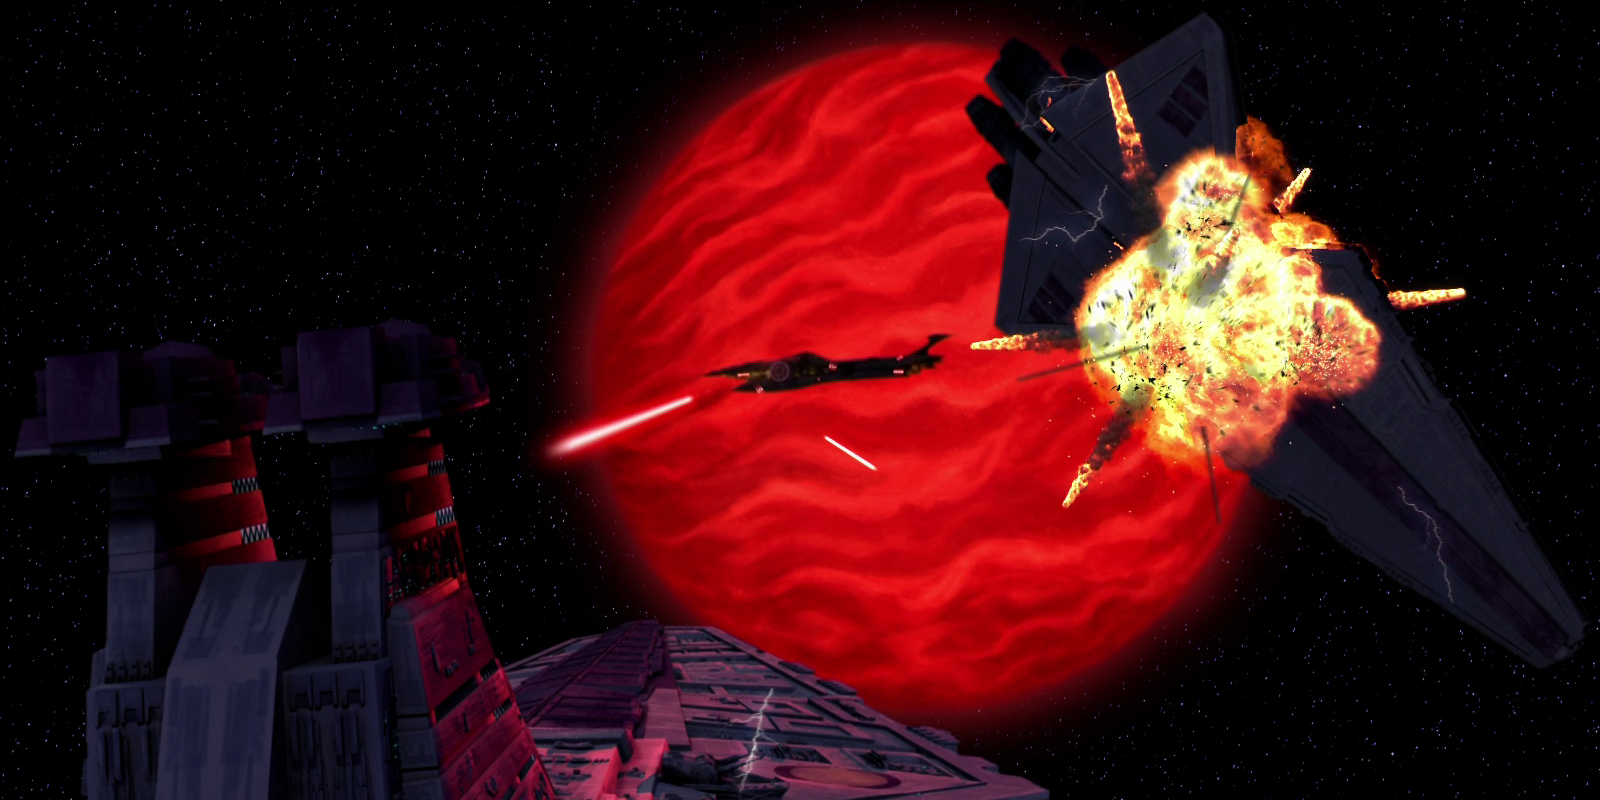
With the rescue team clear, the Republic cruisers reopened fire on the Malevolence, and Grievous jumped into his personal starfighter Soulless One, eager to prevent the Jedi's escape. Grievous was contacted while pursuing the Twilight and informed that the hyperdrive was repaired. Delighted, Grievous ordered the ship to retreat to the secret Separatist base in Sector Four. However, the navi-computer malfunctioned and directed the Malevolence towards the nearby Dead Moon of Antar, a result of Skywalker's earlier hot-wiring. The droid pilots were unable to reset the navi-computer, sending the heavy cruiser crashing into the Dead Moon of Antar. Grievous fled the system, cutting off a transmission with Dooku. The Malevolence was destroyed, and the Republic cruisers' crews celebrated.
Commanders and crew
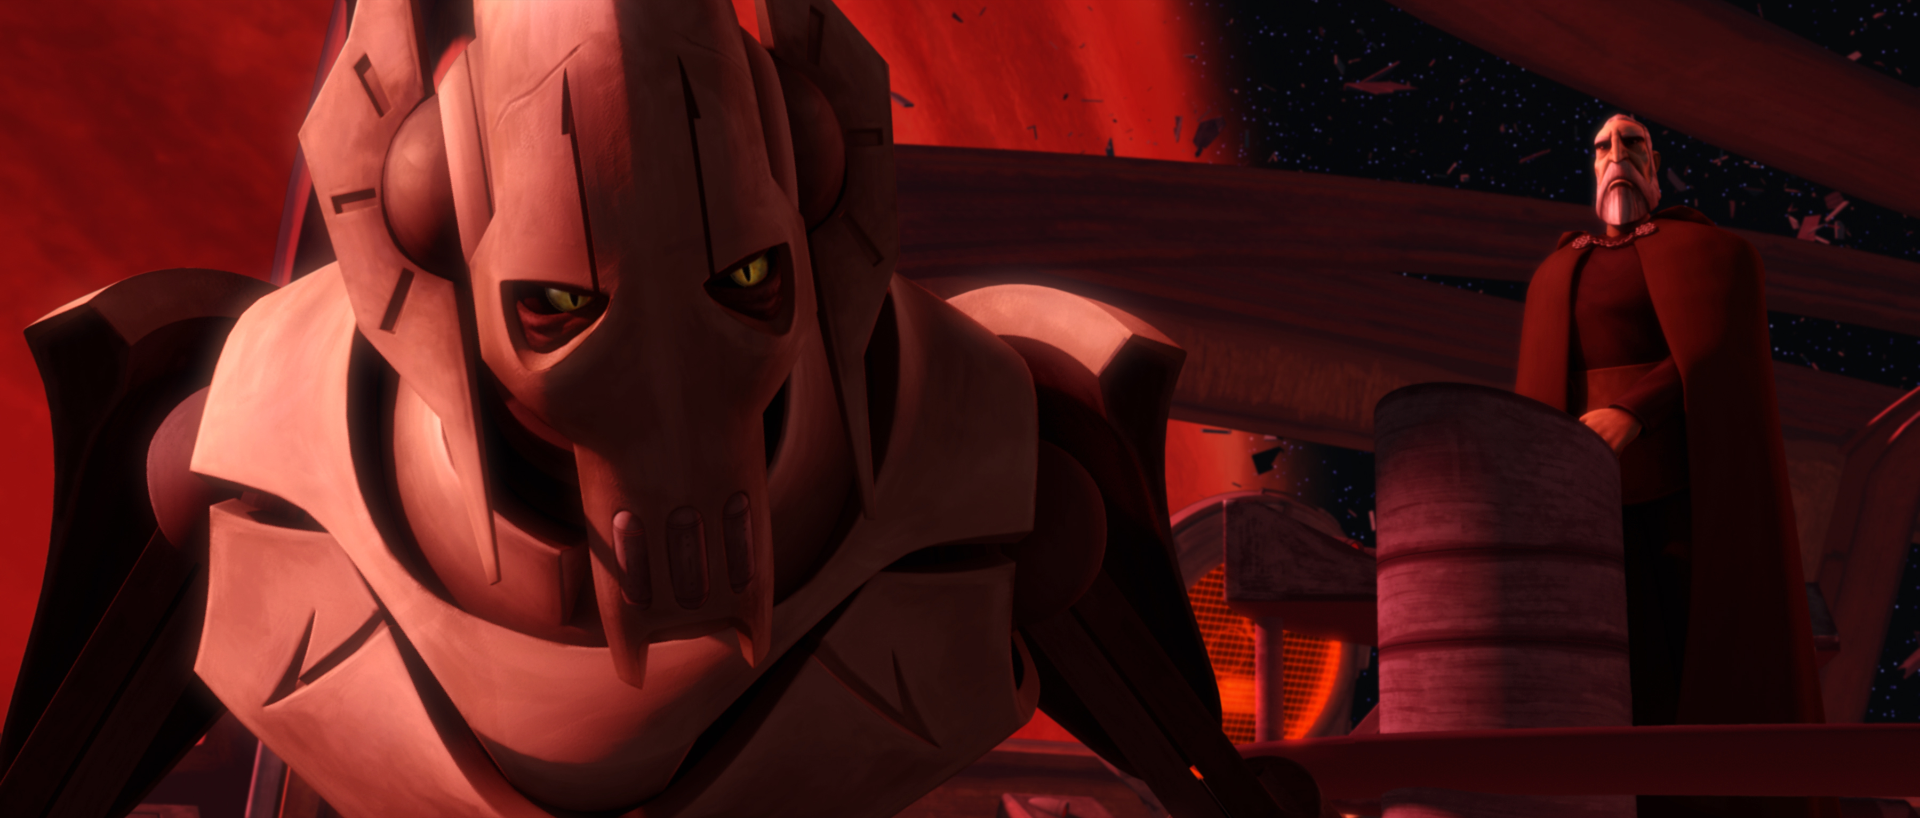
Separatist General Grievous commanded the Malevolence during its major operations, and placed great confidence in its strength and his command. Count Dooku oversaw the Battle of Abregado, and trusted Grievous's ability to command the ship during the attack on the Kaliida Shoals Medical Center. However, the damage to the Malevolence following Shadow Squadron's attack disappointed Dooku with Grievous's "failure."
The heavy cruiser was crewed by 900 battle droids, primarily B1 battle droids. The ship also housed B2 super battle droids, droidekas, firefighter battle droids, and B1-series rocket battle droids.
Behind the scenes

The design of the Malevolence took cues from the Bismarck, a large and enigmatic German battleship from the Second World War. Russell G. Chong crafted the ship's appearance, drawing from discarded concept artwork intended for Star Wars: Episode III Revenge of the Sith. Chong's design incorporated the carapace-like forms of Mon Calamari cruisers and the GR-75 medium transport, and also included urban-esque trenches reminiscent of the Death Star.
In Star Wars: The Clone Wars episodes Rising Malevolence and Shadow of Malevolence, the scenes of the firing channel on the Malevolence paid homage to a comparable scene on the Death Star as depicted in Star Wars: Episode IV A New Hope.