Battle of Abregado
The naval clash known as the Battle of Abregado unfolded in 22 BBY, marking an early stage of the Clone Wars. It began when Jedi General Plo Koon's fleet, composed of Venator-class Star Destroyers, stumbled upon Confederate General Grievous' innovative warship, the Malevolence. As Koon's ships attempted to communicate with Republic forces, the Malevolence's ion cannon unleashed a devastating barrage. Koon's entire fleet was rendered helpless and swiftly obliterated by turbolasers. Amidst the chaos, several escape pods, including one carrying Plo Koon and a small group of clone troopers, successfully fled the doomed fleet. Determined to prevent any survivors from alerting the Republic to the existence of his fleet-destroyer, Grievous dispatched B1-series rocket battle droids to eliminate them. These droids scoured the wreckage, eliminating numerous clones before Koon, aided by troopers Boost and Sinker, intervened. Ultimately, the Twilight, piloted by Jedi Knight Anakin Skywalker and his Padawan, Ahsoka Tano, located the group. The ship narrowly evaded the Malevolence's ion cannon and escaped to deliver a warning to the Republic fleet.
The battle
Destruction of Plo Koon's fleet
After Republic warships faced brutal surprise attacks by Separatist General Grievous's secret weapon, the Jedi High Council tasked Jedi Master Plo Koon with locating it. Accompanied by Commander [Wolffe] (/article/wolffe) and the Wolfpack of the 104th Battalion, Koon's forces tracked the weapon to the Abregado system aboard the Triumphant and two other Venator-class Star Destroyers. Upon arrival, Koon contacted Jedi General Anakin Skywalker in the Bith system seeking support and relaying their location. However, Skywalker informed Koon that he needed Council approval before providing assistance. At the urging of Count Dooku, Grievous then disrupted Koon's transmissions.

Grievous, seeing this as another opportunity to evaluate the effectiveness of the Malevolence's ion cannons, instructed their deployment against Koon's ships. The Malevolence then advanced to engage Koon's fleet. Recognizing the impending attack, Koon prepared the Triumphant and the other two cruisers for combat. However, they were beyond firing range. The Malevolence discharged its ion cannons, releasing a wave towards Koon's fleet. Koon and his crew braced for impact. The wave engulfed Koon's fleet, disabling their shields and rendering them vulnerable to the Malevolence's numerous turbolasers. Before the Triumphant was utterly destroyed by enemy fire, Koon, along with several clone troopers and navigation officers, managed to reach the escape pods. From their escape pod, Koon, Wolffe, Clone Sergeant Sinker, and trooper Boost witnessed the fleet's disintegration into a debris field. To compound their plight, the pod, like the fleet, sustained damage in the attack. They lacked power for life support and communication.
Following Koon's final transmission, Skywalker and Padawan Ahsoka Tano conferred with Supreme Chancellor Palpatine and the Jedi High Council. Skywalker relayed Koon's position in the Abregado system before the transmission was severed, suggesting that Koon's fleet, like others, was likely destroyed with no survivors due to the absence of distress beacon signals. Skywalker received orders to safeguard Republic supply convoys and refrain from searching for survivors. However, Skywalker entrusted Admiral Wullf Yularen and Captain Rex with the supply convoys while he, Tano, and R2-D2 scouted ahead for enemy activity aboard the Twilight. In reality, Skywalker journeyed to the Abregado system to seek out survivors. Upon arrival, they searched the debris field but found no one. Jedi Master Obi-Wan Kenobi discovered Skywalker's mission and urged him to return to his fleet. R2-D2 then detected an emergency signal, prompting Skywalker and Tano to investigate.
Hunt for the escape pods
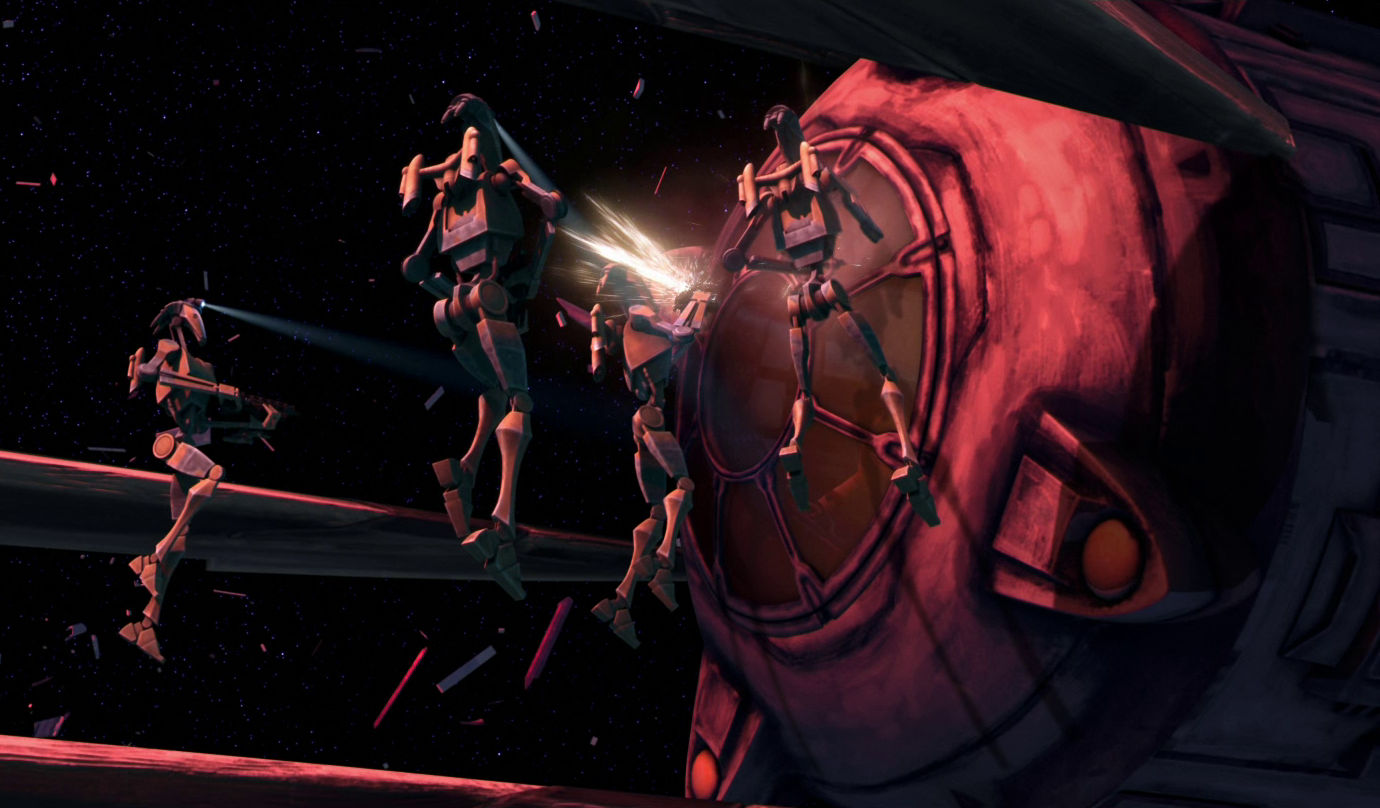
To maintain the secrecy of the Malevolence's ion cannons, Count Dooku deployed rocket droids via a boarding ship to locate and eliminate any survivors. These droids, designated as hunters, breached several pods, causing the clones to perish in the vacuum of space. During this period, Koon and his crew managed to restore power and communication to their pod. They then received a distress signal from Pod 1977 and subsequently located it. They witnessed a droid breaching the pod, resulting in the officers being expelled into space. The droids then identified Koon's pod as the last remaining one.
Knowing he could withstand the pressure, Koon decided to neutralize the enemy battle droids. Sinker and Boost accompanied him, while Wolffe remained in the escape pod to maintain their distress signal, their only hope for survival. As the hunters' ship approached and latched onto the pod, Koon and his men engaged the droids. The droids retreated to their ship and began crushing the pod. Koon then Force-pushed Sinker behind the ship, enabling him to destroy all but one of the battle droids.
Wolffe finally managed to intercept a transmission from Tano but was unable to respond due to the hunters' ship. Koon then severed the hunters' ship's pincers, retrieved Sinker back to the pod, and Force-pushed the hunters into the debris, obliterating the remnants of the boarding ship. However, General Grievous and Count Dooku grew suspicious when they lost contact with the pod hunters.
Rescue
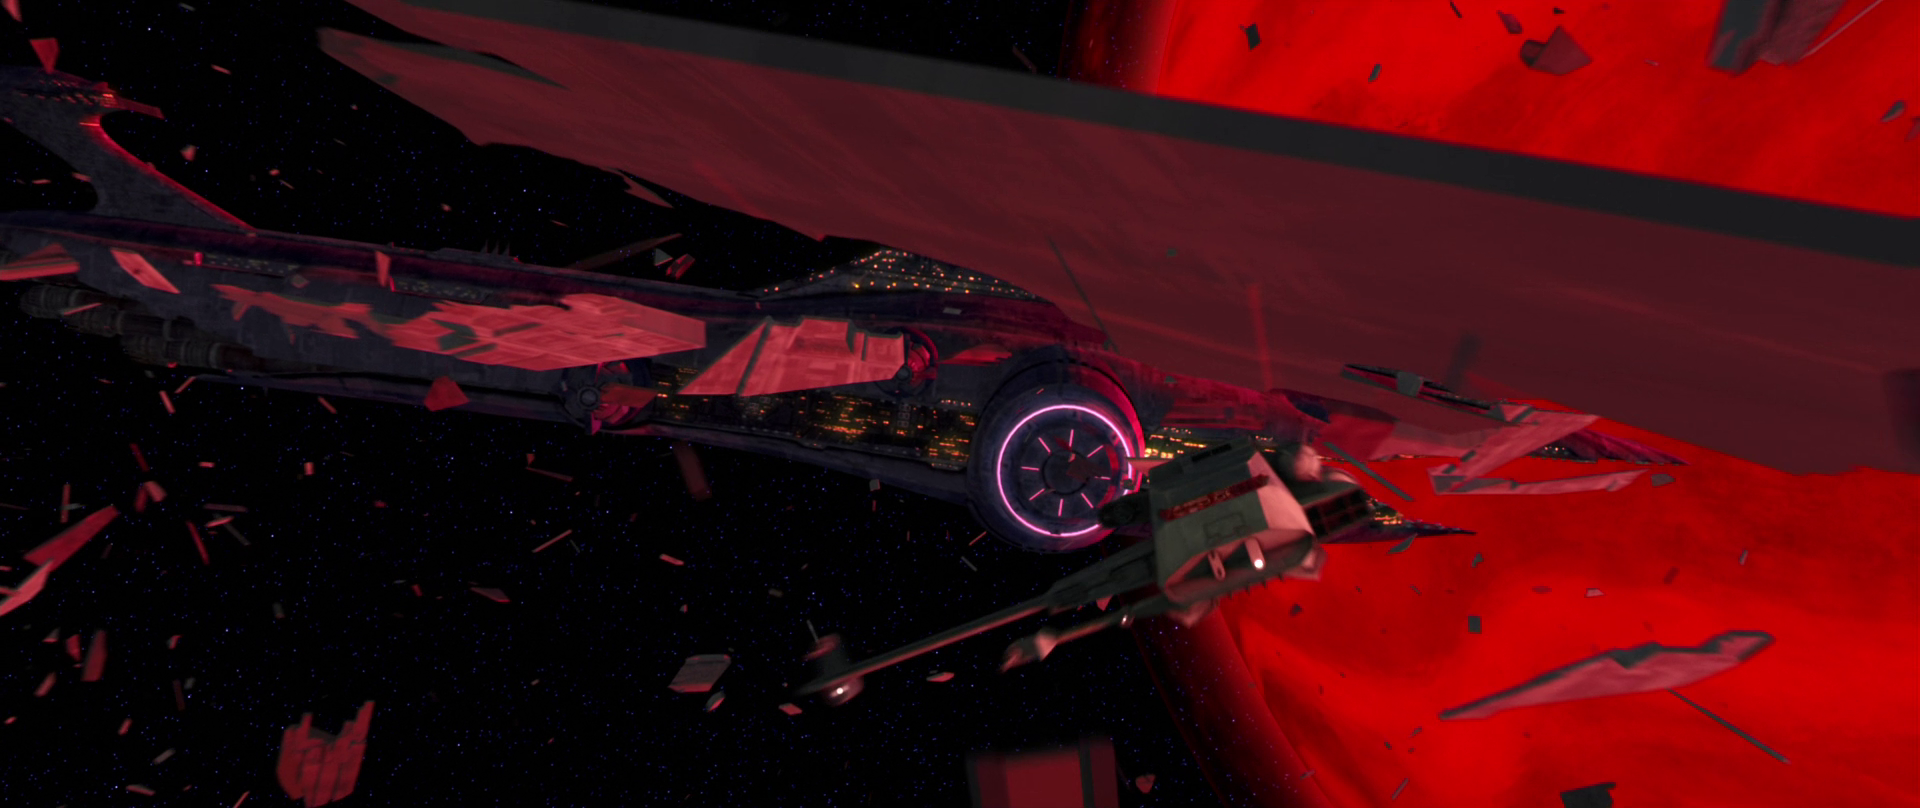
Chancellor Palpatine contacted Skywalker and urged him to return to his fleet. Skywalker yielded to his wishes and decided to cease his search. However, Tano sensed Master Koon and successfully located his pod, bringing him and the others aboard the Twilight. Wolffe and the other clones received treatment from the medical droid TB-2, while Koon joined them on the bridge, informing them about the Malevolence's ion cannons.
The Twilight soon detected the Malevolence approaching their location. Koon deactivated all of the Twilight's systems and R2-D2 in an attempt to evade detection. However, they neglected to turn off TB-2, leading to their discovery. As the Malevolence moved in to attack, Skywalker, Tano, and Koon reactivated all the ship's systems and escaped through the debris field. Dooku instructed Grievous to ensure there were no witnesses and ordered him to destroy the Twilight. Consequently, Grievous fired the ion cannons, and the wave traversed the debris field towards the Twilight. However, Skywalker successfully navigated through the debris field and activated the hyperdrive, evading the wave.
Aftermath
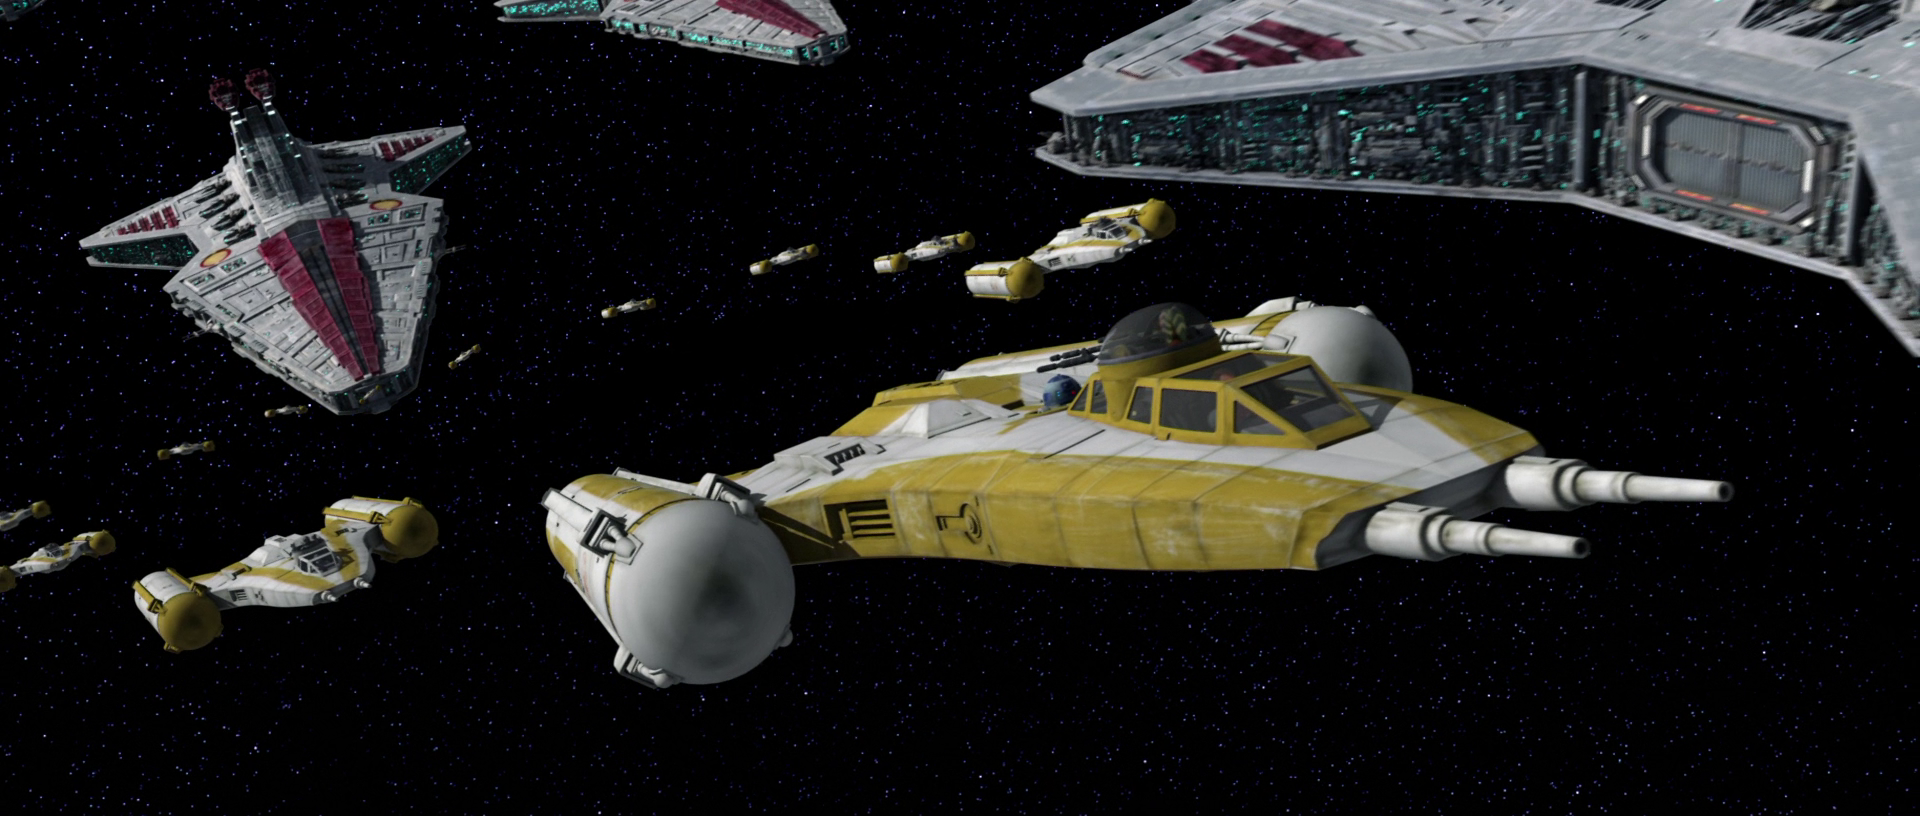
Koon, Skywalker, and Tano were able to inform the Jedi High Council of the secret weapon. Because of this, Dooku considered this battle a defeat, now that the Republic knew about the Malevolence. Thus, he decided he would speak with Darth Sidious. Despite his setback, Grievous persisted in his campaign of destruction by attacking medical convoys with the Malevolence. Following his attack on a medical convoy in the Ryndellia system, the Galactic Senate authorized Skywalker to lead Shadow Squadron's BTL-B Y-wing starfighter/bombers to destroy the Malevolence before it could attack. Skywalker's mission successfully disabled the Malevolence's weapons and hyperdrive. However, Grievous used Senator Padmé Amidala as a hostage to halt the Republic Navy's attack. Skywalker and Kenobi then infiltrated the ship, rescued Amidala, and reprogrammed the hyperdrive. The Malevolence was ultimately destroyed when it collided with the Dead Moon of Antar.
The 104th was reinforced with new members after the losses it sustained at Grievous's hands in the Battle of Abregado, with Koon also being assigned a new fleet. For a time, the 104th retained its maroon markings, with 104th troopers who wore that gear appearing at the First Battle of Felucia to fight against Grievous's forces. However, sometime after that battle, the 104th elected to redesign their armor in the name of remembering the many killed at Abregado. To do so, the 104th adopted a blue-grey color scheme.