Mission to Ryloth
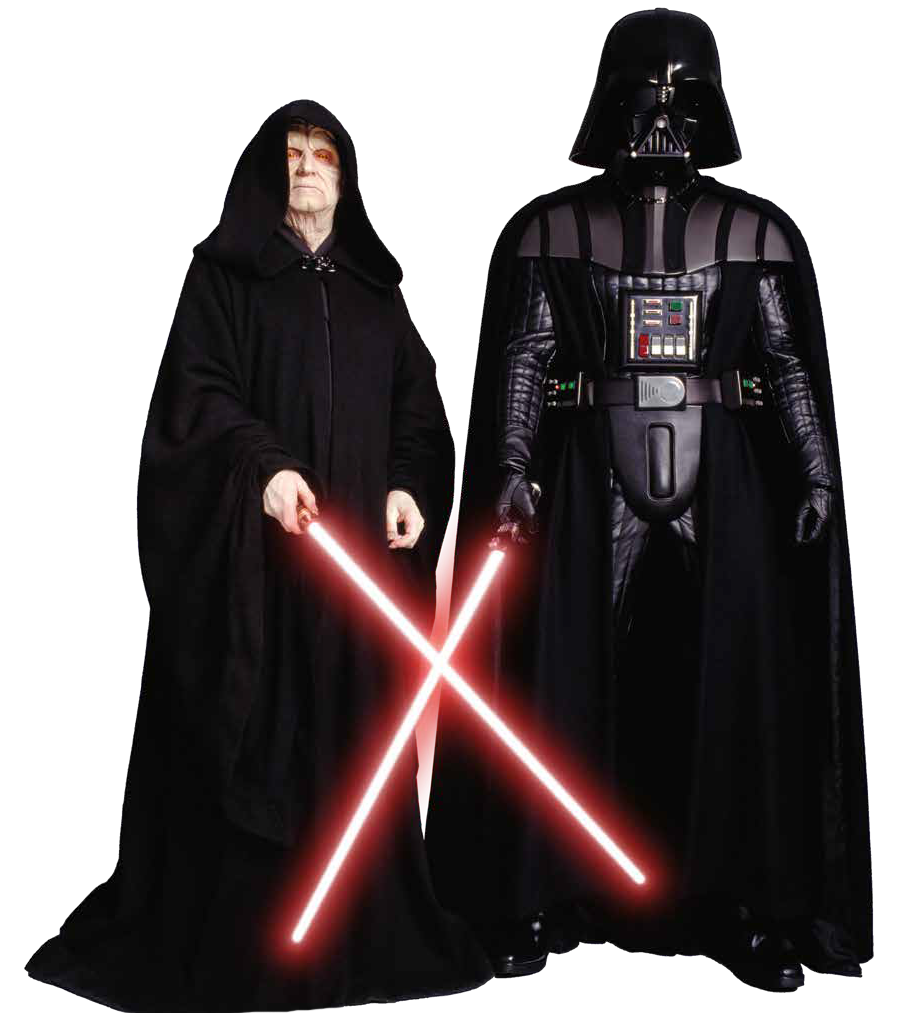
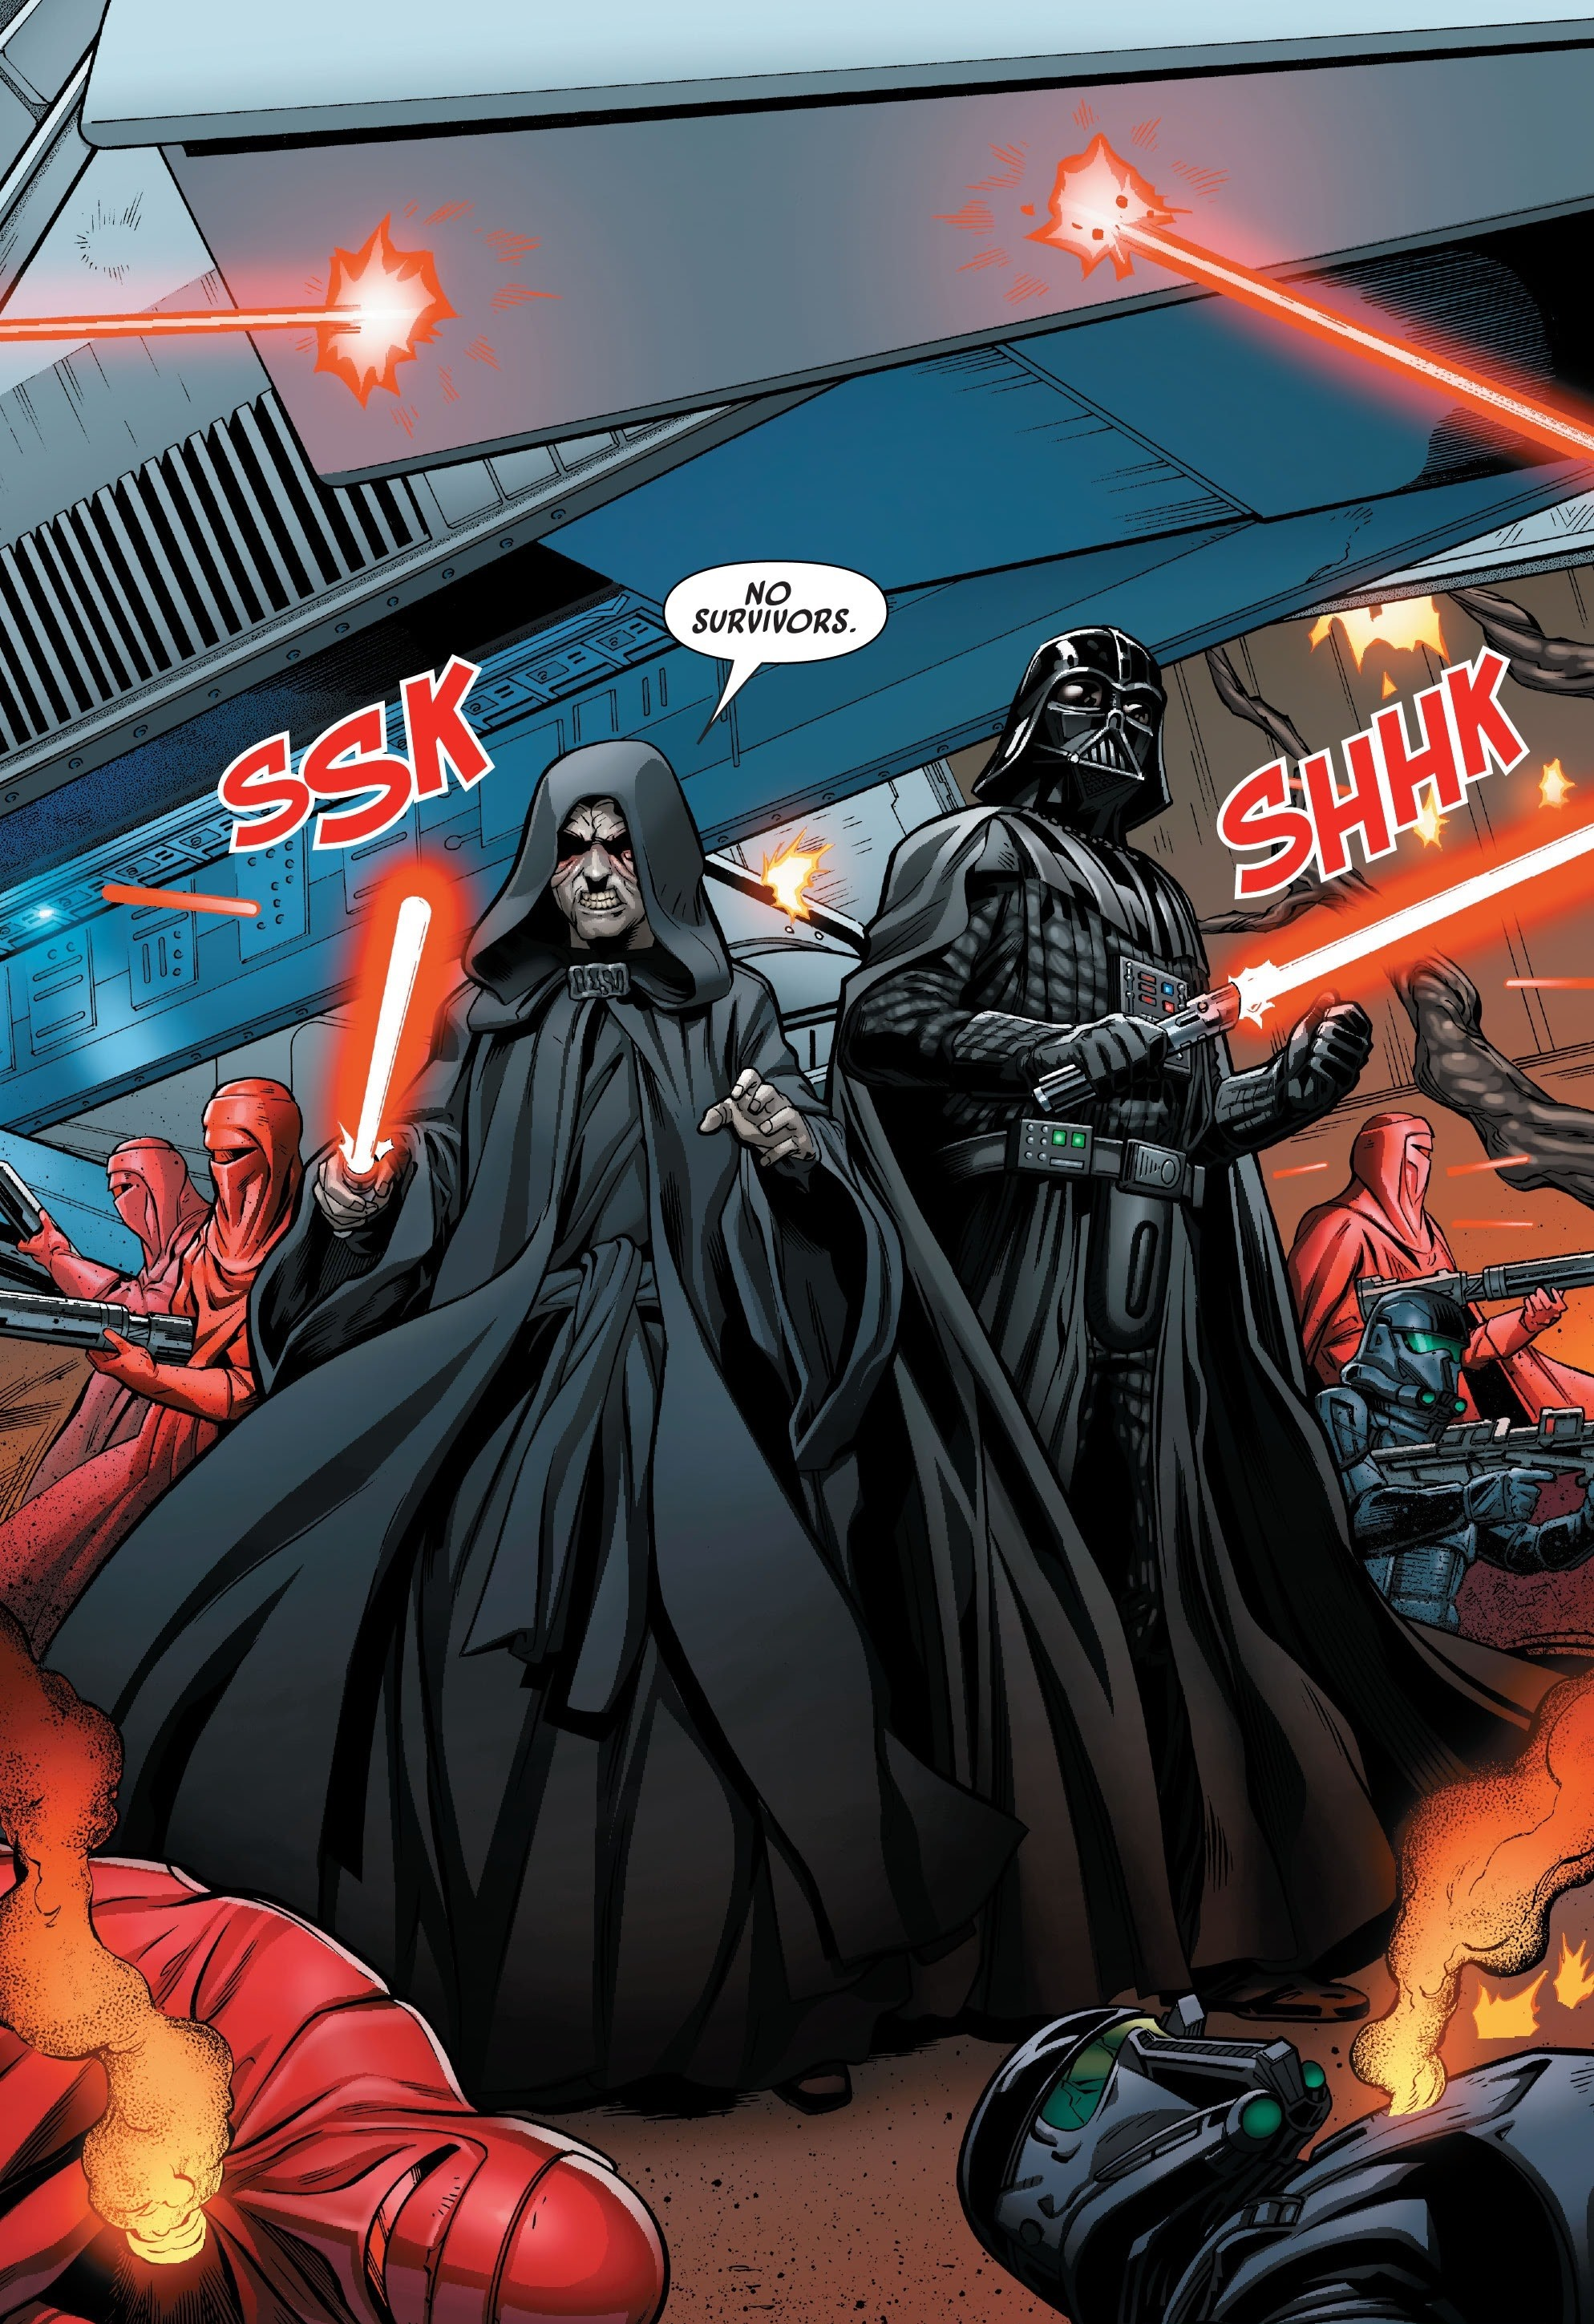
In 14 BBY, a covert operation was initiated by Galactic Emperor Sheev Palpatine, secretly the Darth known as Sidious. The purpose was to put down the burgeoning rebellion on Ryloth, referred to as the Free Ryloth Movement, and to expose a traitor embedded within the Imperial structure. To draw the Free Ryloth insurgents from their concealed positions, Sidious and his Sith apprentice, Darth Vader, journeyed to Ryloth. They traveled on Vader's command ship, the Imperial Star Destroyer named Perilous. The official cover story was that it was a state visit by Senator Orn Free Taa of Ryloth, who was returning to bolster Imperial support on his native planet.
Upon discovering the arrival of the Emperor and Lord Vader, Cham Syndulla, the leader of the Free Ryloth movement, resolved to assassinate them both, with the intention of toppling the Empire. He received assistance from Colonel Belkor Dray, an Imperial double agent, who saw this crisis as an opportunity to undermine his rival, Moff Delian Mors. The Free Ryloth rebels, utilizing Clone Wars-era droid starfighters and space mines, succeeded in destroying the Perilous. However, they failed in their assassination attempt against the Emperor, Lord Vader, or Moff Mors. The Sith Lords were forced to crash-land on Ryloth, managing to evade capture by the Free Ryloth rebels.
Concurrently, Moff Mors uncovered Belkor's treachery and regained control of the Imperial forces stationed on Ryloth. After the two Sith Lords eliminated a large group of lylek, they reached a local Twi'lek village. Cham and Belkor cornered the Sith Lords. Belkor, in an attempt to conceal his collaboration with Cham, tried to use his V-wing starfighters to bomb both the village and Cham's forces. However, Moff Mors seized control of Belkor's fighters and used them to eliminate the rogue Imperial officer. Cham and his forces then launched their attack on the village, but were stopped by Mors' forces. Despite his failed scheme, Cham escaped and continued the Ryloth Insurgency.
Prelude
The Ryloth insurgency
During the period of the Clone Wars, the Separatists launched an invasion and occupation of Ryloth, the Twi'lek homeworld. A joint force consisting of the Jedi Order, the Galactic Republic, and the Twi'lek Resistance led by Cham Syndulla liberated the planet. Following this, the Republic occupied Ryloth. After the Galactic Empire replaced the Republic, the Empire established a protectorate over Ryloth. Although Ryloth was officially independent and represented in the Imperial Senate by Senator Orn Free Taa, Moff Delian Mors, the planetary governor, held the true power.
The Empire took advantage of Ryloth's spice resources. Eventually, a resistance movement called the Free Ryloth Movement emerged, led by Cham Syndulla. By 14 BBY, Cham had successfully trained hundreds of resistance fighters. He also developed a network of supportive contacts and informants throughout the Ryloth system, established bases, and amassed materials and weaponry, including several Vulture droids and Droid tri-fighters from the Clone Wars era.
In the years leading up to 14 BBY, Cham launched several attacks against the Imperials, resulting in the deaths of numerous Imperial personnel and disrupting the planet's spice trade. Cham also received assistance from Colonel Belkor Dray, Moff Mors' second-in-command, who harbored resentment towards his superior. Belkor, aiming to discredit Mors, provided the Free Ryloth movement with information on Imperial movements and shipments. Cham also had another spy among Senator Orn Free Taa's staff.
One of Cham's lieutenants, Pok, and his team successfully commandeered an Imperial weapons shipment at the Yaga Minor shipyards. They managed to escape into hyperspace but were pursued by Darth Vader and a squadron of V-wing starfighters. Despite making several jumps, Pok was unable to evade his Imperial pursuers. Before he could meet up with Cham's ship, Vader overtook the hijacked transport and killed Pok and his team. Following Pok's death, Cham decided to escalate his actions against the Imperial occupiers, moving beyond "half-measures".
Laying a trap
Following the incident at Yaga Minor, Galactic Emperor Sheev Palpatine and his Sith apprentice Darth Vader began to suspect that a spy was providing information to the Free Ryloth movement. The Emperor planned a secret visit to Ryloth in order to expose the spy. He and Lord Vader would travel to the planet along with Senator Orn Free Taa, whose official objective was to gather support for the Empire. The Emperor also instructed Vader to inform Moff Mors that Senator Orn Free Taa would be making a state visit to Ryloth aboard the Imperial Star Destroyer Perilous.
As the Emperor expected, a spy within Senator Orn Free Taa's staff leaked information that the two Sith Lords would be visiting Cham Syndulla in ten days. Cham consulted with his lieutenant Isval and then decided to contact Colonel Belkor Dray to confirm that it was not a trap. During their meeting, Belkor stated that he was aware of Orn Free Taa's visit, but knew nothing about Palpatine and Vader's visit. Belkor also attempted to end his relationship with Cham by threatening to reveal the hidden bases of the Free Ryloth movement. However, Cham countered by threatening to reveal all records of their meetings if he betrayed them. Belkor ultimately agreed to provide intelligence to the Ryloth rebels in exchange for using Free Taa's assassination to discredit Mors and improve his own standing.
Based on this meeting, Cham concluded that it was safe for the Free Ryloth movement to proceed with their ambitious plan to assassinate the Emperor and Lord Vader. Cham hoped that the Emperor's death would lead to the collapse of the Empire. Over the next nine days, Cham and his fellow rebels, including Isval, Gobi Glie, Xira, and Kallon, dedicated their time to planning the assault on the Perilous at an underground base located on Ryloth's third moon. Their assault force included a swarm of Clone Wars-era Vulture droids, Buzz droids, space mines, droid tri-fighters, and strike teams disguised as repair crew. Cham was able to assemble the strike force on the outskirts of the Ryloth system because Colonel Belkor diverted patrol craft and flight clearances away from the periphery under the pretext that Imperial resources were limited.
The mission
Ambushing the Perilous
Ten days after Cham received information about the Emperor and Vader's visit, the Perilous emerged from hyperspace within the Ryloth system. Captain Luitt informed Vader and the Emperor that they had entered a space mine field. The Star Destroyer's deflector shields protected the Perilous from damage. Unable to retreat due to the surrounding mines, Vader instructed Captain Luitt to deploy the Star Destroyer's V-wing starfighters and to maximize power to the forward shields. In response, Cham ordered Kallon to activate two dozen modified mines, creating a counter-grid that drained the Star Destroyer's shields.
Kallon's modified mines successfully depleted the Perilous's shields. Upon discovering this, Vader persuaded Captain Luitt to allow him to lead the V-wings in destroying the modified mines. With the Perilous trapped and its shields down, the Free Ryloth movement launched several hundred vulture droids from a nearby asteroid field. While Vader led the V-wings in combat, Palpatine remained aboard to observe the battle. Vader and his V-wings were quickly overwhelmed by the Vulture droids. The Perilous's hull also sustained damage from the mines.
With the Imperial fighters overwhelmed, Gobi launched a wave of vulture droids carrying hundreds of buzz droids, designed to dismantle starships. These vulture droids proceeded to ram the Perilous in an effort to deliver their cargo. Vader and his fellow pilots fought bravely and managed to shoot down many Vulture droids but were unable to stop the onslaught. Using the dark side of the Force, Vader destroyed a wave of vulture droids, causing the droid fighters and their buzz droids to collide and explode in space. While the V-wings formed a perimeter around the Perilous, Vader returned to the damaged Star Destroyer to rejoin his master.
Meanwhile, Isval and a strike team of fighters waited aboard disguised repair ships, ready to board the Perilous disguised as repair crew. Upon learning of the attack, Colonel Belkor feigned shock to both his superior Moff Mors and his subordinates. Belkor also learned from Moff Mors that the Emperor and Vader were aboard the Perilous. Belkor dispatched repair ships and fighter escorts to aid the Perilous. He then contacted Cham and learned that the Twi'lek rebel leader's true plan was to kill the Emperor and Vader. Cham forced Belkor to continue with the plan and instructed him to do nothing more than supervise the repair and rescue missions and report anything suspicious. Unbeknownst to Belkor, the repair ships were carrying Free Ryloth boarding parties.
Boarding the Perilous
After Belkor sent a distress signal requesting repair ships to board the Perilous, the Free Ryloth movement initiated the second phase of their attack. Three Free Ryloth boarding teams, including Isval's Repair Eighty-Three, joined a fleet of Imperial and Rylothian repair ships which departed from Ryloth into space. Isval commanded a team that included Faylin, Drim, Crost, and Eshgo. The repair teams discovered that the Star Destroyer was severely damaged, with flames erupting from numerous onboard fires. Imperial and Twi'lek fire suppression ships began spraying suppression foam on the Perilous. Isval and her team managed to obtain permission to land aboard the Perilous by claiming to be a specialist team that would assist with the engine compartment.
Upon boarding Bay 266R, Isval and her repair team were escorted by a Lieutenant Grolt down a turbolift leading to the engine compartment. En route, Isval shot Grolt in the head with her concealed blaster and concealed him inside their antigrav pallet. Isval's team then proceeded past two Imperial officers to the hyperdrive chamber. The boarders found their path blocked by four stormtroopers guarding the hyperdrive chamber. Isval attempted to persuade the stormtroopers to let them pass when Grolt's comlink began beeping. Consequently, the stormtroopers drew their weapons, forcing Isval and her team to eliminate them as well.
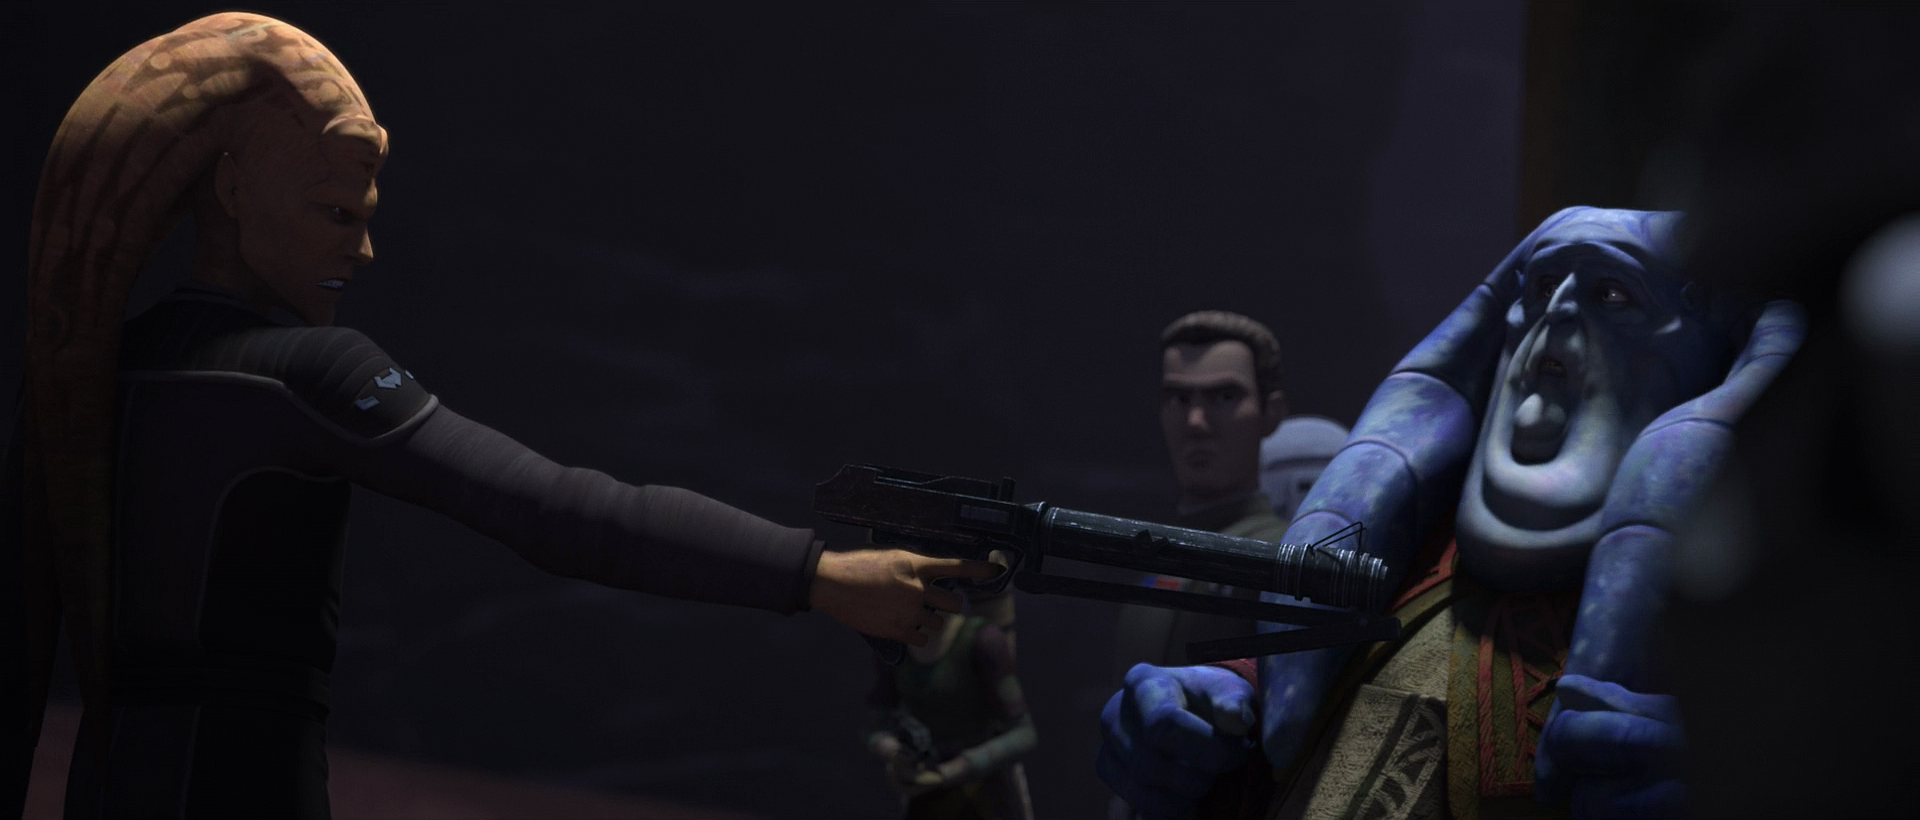
Meanwhile, Darth Vader returned to the bridge of the Perilous. Consumed by rage, he used the Force to levitate and Force choke Senator Orn Free Taa. After throttling Taa, he threw the Twi'lek to the floor and reported that there was a traitor within his staff. When Captain Luitt inquired whether Taa was the traitor, the Emperor clarified that one of Taa's staffers was a spy. Taa apologized and vowed to help them expose the traitor. The Emperor ordered Luitt to confine the senator's staff to their quarters and to deny them access to communications equipment and computer terminals. The Emperor then warned a sniveling Taa that the Empire would have to impose harsher measures on Ryloth in light of the insurgency.
After receiving reports of a firefight on Deck Seventeen, Darth Vader realized that the attack by the droid fighters had been a diversion. He ordered Captain Luitt to instruct the security teams to eliminate every Ryloth repair team on board. When Luitt protested that there were almost a hundred teams, the Emperor responded that one hundred teams was a manageable number. Meanwhile, Isval and her team forced their way into the hyperdrive chamber and killed the tech officers and engineers inside. They then proceeded to plant explosives and barricaded themselves inside.
Vader led a team of stormtroopers to the hyperdrive chamber. On the way, he killed a Twi'lek repair team and one of the Free Ryloth decoy teams with his lightsaber. Vader used his lightsaber to force his way into the chamber. However, Isvak and her team managed to attach twelve charges to the hyperdrive and its adjacent field amplifiers before fleeing through the opposite door. Realizing that there were only 27 minutes before the bombs exploded, Vader ordered Captain Luitt to order an immediate evacuation of the Perilous. With Vader in pursuit, Isval and her team hid inside a pallet while their human team member Faylin pushed the transport.
The Ryloth rebels managed to find an escort boat but Vader caught up with them. Seeking revenge for Pok's death, Isval fired at the Sith Lord but her comrade Eshgo dragged her aboard. They managed to disengage the docking clamp before Vader could force his way aboard the escort boat. Vader and the Emperor escaped the stricken Perilous aboard a shuttle. By that stage, Senator Taa had also fled the Star Destroyer.
Hunting the Sith
After the Emperor and Vader escaped on a shuttle, Isval contacted Cham and persuaded him to continue with their plan to kill the two Sith Lords in order to demonstrate the Empire's vulnerability. As part of Isval's plan, Kallon would deploy two dozen droid tri-fighters to distract the V-wings, allowing Isval's team to hunt down and destroy the Emperor and Vader. Cham agreed to contact Belkor and have him transmit the ship ID of the Emperor and Vader. Seeking an opportunity to assassinate his rival Moff Mors, Belkor transmitted both the ship IDs for the Emperor's shuttle and Mors's transport, claiming that he was unsure which shuttle was carrying the Emperor and Vader.
Both the Sith Lords' shuttle and Isval's escort boat survived the Perilous's explosion, which devastated the surrounding space. Back on Ryloth, Colonel Belkor delayed rescue efforts in order to give Cham's rebels a chance to eliminate Vader, the Emperor, and Mors. Isval's escape boat opened fire on Mors's transport. Mors survived the attack, but her pilot Breehld was killed. Isval and Eshgo's escort boat managed to track down Vader and the Emperor's shuttle in the dense debris field. While Vader's shuttle was unarmed, the Sith Lord managed to use the dark side to Force-choke her. The two ships collided and Vader's shuttle crash-landed on the surface of Ryloth.
The Emperor and Vader survived the crash, but the pilots and two of the Emperor's Royal Guards died during the landing. The Emperor ordered the captain of the Royal Guards to kill a wounded comrade. Besides the two Sith Lords and the captain, the other survivor was Sergeant Erstin Deez, a non-clone member of the Royal Guard. The Emperor and Vader resolved to overcome the challenges ahead or die trying.
Following the destruction of the Perilous, Imperial forces on Ryloth were preoccupied with rescuing survivors of the stricken Star Destroyer. Many escape pods had landed all over the planet's western hemisphere and Ryloth's nearest moon. Imperial authorities were overwhelmed with thousands of distress signals. Meanwhile, Isval and Faylin managed to regain control of their spinning escort boat, but Eshgo was killed during the collision. Two other fighters Drim and Grost were killed when the ship's rear compartment was burned during re-entry. Putting aside her grief, Isval and her crew vowed to continue their hunt and tracked down the trajectory of Vader's shuttle.
Cham commanded a compact squadron of a mere twelve Twi'lek rebel vessels en route to Ryloth. During their voyage, he established contact with Isval, who informed him that she and Faylin were in pursuit of the crash site of Vader's shuttle. Cham then diverted four of his ships to intercept the projected path of Vader's downed transport. Seeking to disrupt the Imperial communications infrastructure, Cham tasked Belkor with instructing the garrison stationed at the Equatorial Communications Hub to deactivate their shields. The stated reason was to welcome an incoming escort ship carrying injured VIPs from the Perilous. Following some debate, Cham also shared the coordinates of Mors' vessel. Subsequently, Cham, accompanied by his remaining ships, set course for their Eastern Base to consolidate their forces.
Acting upon Cham's directives, Isval and Faylin employed the weaponry of their escort vessel to bombard the Equatorial Communications Hub. This assault inflicted damage upon several satellites, resulting in a communications blackout across the region. Simultaneously, the Twi'lek fighter pilot Nordon and his team touched down on the planet's surface, initiating their search for Vader and the Emperor's shuttle. Eventually, two of Cham's rebel freighters located the Sith Lords and their contingent of guards struggling through Ryloth's equatorial forest. After a brief exchange of fire, Vader and the Emperor harnessed their Force abilities and lightsabers to redirect the freighters' firepower back at their crews, causing the ships to crash within the forests. However, the Imperials found themselves unable to summon reinforcements due to the ongoing communications disruption.
Rising stakes
In the meantime, Moff Mors regained command of her ship and journeyed to the damaged Equatorial Communications Hub. Upon arrival, she conferred with the base's commanding officer, Major Steen Borkas, discussing her suspicions that Colonel Belkor Dray was conspiring with Cham's rebels to assassinate the Emperor and Lord Vader. Borkas validated that he had indeed received a dubious order from the Imperial communications center to lower the base's shields to accommodate the escort vessel that had subsequently attacked the facility. Mors assumed control of the Imperial efforts aimed at locating the Emperor and Vader. While Captain Narrin oversaw the repair efforts at the communication station, Mors and Major Borkas led a contingent of thirty personnel aboard her shuttle and a transport in pursuit of the Sith Lords.
Separately, Isval's escort boat reunited with Cham's ship at a spacious clearing. Following the burial of the fallen, Cham's forces ventured into Ryloth's equatorial forests, where they discovered the wreckage of their comrade Nordon's ship. While investigating the crash site, the rebels found themselves under assault by a swarm of insectoid gutkurrs. The Twi'leks managed to retreat to the clearing under covering fire, but four rebels succumbed to the predators. Having depleted a significant portion of the Free Ryloth movement's resources during the attack on the Perilous, Cham and Isval resolved to eliminate the Emperor and Lord Vader as a means of liberating Ryloth and igniting a galaxy-wide rebellion.
Concurrently, Belkor assembled a team of six V-wing pilots under the guise of searching for the Emperor and Vader. He misled his men, suggesting that Moff Mors was complicit in the conspiracy that led to the downfall of the Perilous. After communicating with Captain Narrin, Belkor learned that Mors and Borkas were leading a search party to locate the Emperor and Vader. Belkor piloted a search-and-rescue recon craft, accompanied by his pilot Ophim, to the coordinates where Cham believed the Sith Lords had crashed. Elsewhere in the Equatorial forest, the Sith Lords and their Royal Guards were pursued by a relentless horde of insectoid lylek predators. The Sith and their Royal Guard bodyguards employed their weapons to repel the creatures. They sought refuge in a tunnel that led to the lyleks' nests. The Emperor and Vader made the decision to eradicate the horde in order to secure their escape.
Continuing their pursuit, Cham and his rebels stumbled upon the wreckage of Vader and the Emperor's shuttle. They discovered the remains of two pilots and a Royal Guard. Meanwhile, Belkor and his pilot Ophim scanned the skies for Mor's ship but instead spotted Cham's vessels in the distance. While feigning an order for Cham and his rebels to surrender, Belkor manipulated Ophim into relinquishing the pilot's seat. To conceal his dealings with Cham, Belkor then created a distraction and fatally shot Ophim in the back of the head. Belkor then contacted Cham and inquired about the Emperor's shuttle. Cham informed him that Vader and the Emperor had survived the crash.
Belkor reprimanded Cham for failing to eliminate Mors in space. He harbored a well-founded fear that she had uncovered his involvement in the conspiracy. Belkor and Cham agreed to utilize Belkor's six V-wings to destroy Mors' ship. Following some deliberation, they reached an agreement whereby Cham would provide Belkor with the coordinates for the Emperor and Vader. As a last resort, Belkor reluctantly consented to use his V-wings to bomb the Emperor and Vader only if Cham deemed it necessary. Cham agreed to assist Belkor in reaching Mors if he aided them in eliminating the Sith Lords. As darkness descended, the Free Ryloth movement, Moff Mors' forces, and the renegade Belkor continued their respective searches for Vader and the Emperor.
While Cham's forces tracked the trail left by the lylek horde, the Sith Lords and their Royal Guards engaged in a fierce battle against the lylek nest. Following a brutal conflict, Vader succeeded in killing the lylek queen. The Royal Guard Sergeant Deez survived the encounter, but the clone captain perished during the struggle. The Sith Lords then utilized their Force abilities to clear a path through a blocked tunnel. This action triggered an explosion that was detected by Kallon's ship. Recognizing the threat posed by the Sith Lords, Cham instructed his men to avoid approaching the Emperor and Vader.
The conspiracy unravels
Upon emerging from the lylek nest, the Sith Lords encountered a young Twi'lek girl named Drua. The Emperor commanded Sergeant Deez to execute her, but Vader persuaded his master that she could guide them to her village, where they could re-establish contact with Imperial forces. The Emperor reluctantly agreed but cautioned Vader that he had sealed the fate of both her and her village. Meanwhile, Cham and Isva's forces continued their journey through the equatorial forest, carefully avoiding the ravine due to the presence of lylek corpses, which would attract other predators. Goll's scouting team sighted the Imperials accompanied by Drua.
At the village, the Emperor and Vader presented themselves as lost travelers named Krataa and Irluuk, the ancient Sith words for death and fate. While befriending the Twi'lek villagers, including Drua's grandfather Mala, Vader repaired an ancient communications device. The Imperial visitors' presence piqued the interest of the local villagers, who congregated at the village center to observe Vader repairing the communications device, unaware of their true identities. After Cham and his lieutenants discovered that the Sith had reached an isolated village, they recognized that their mission was complicated by the presence of civilians.
Meanwhile, Moff Mors and Major Borkas encountered one of Belkor's V-wing pilots, Wing Leader Arim Meensa. Mors managed to convince Meensa to refrain from attacking them by emphasizing that they were searching for Lord Vader and the Emperor. After persuading Meensa of Belkor's treachery, Mors instructed him and his fellow pilots to provide her with the coordinates for Vader and the Emperor and to disregard Belkor's orders to attack. As Cham's forces converged on Drua's Village, he ordered Kallon to initiate an organized retreat of the Free Ryloth forces to the mountains and to ensure the dispersal of their remaining personnel and materiel. Cham sought to preempt the impending Imperial crackdown on Ryloth should his plot to assassinate the Emperor and Vader fail.
Following Vader's repair of the communications device, Sergeant Deez contacted Moff Mors. Recognizing the danger faced by the Emperor and Vader, Mors instructed him to relocate them from their current location and to transmit their new coordinates to her. Meanwhile, a remorseful Belkor resolved to eliminate both the Sith Lords and Cham's forces in a single strike. He transmitted the coordinates of the Twi'lek village to Wing Leader Meensa, unaware that he was now working for Mors. After Belkor informed the Imperials that communications had been restored, Cham ordered Belkor to dispatch his V-wings to strike Drua's Village. Still under the illusion that he commanded the V-wings, Belkor turned on Cham and revealed his plan to bomb both the rebels and the village, including the Emperor and Vader.
Showdown at Drua's Village
To prevent the villagers from being harmed, Cham's rebels fired warning shots. The villagers sought refuge in a nearby shaft, but Vader, the Emperor, and Sergeant Deeze remained in the village center. Meanwhile, Belkor's recon ship encountered Moff Mors' shuttle and transport, now accompanied by Belkor's former V-wings. Following a brief confrontation, Mors ordered the V-wings to open fire on Belkor's ship, punishing the traitorous Colonel for colluding with the rebels and causing the deaths of numerous Imperial personnel. Cham and Isval witnessed Belkor's ship crashing and realized that Belkor had failed.
Unable to launch an airstrike on the village, Cham's forces decided to initiate a ground assault. Before they could proceed, they were outflanked by Moff Mors, who landed her two ships on either side of the Twi'lek forces in the quarry. The Free Ryloth rebels were caught between stormtroopers on both sides, resulting in numerous casualties. Mors' V-wings also contributed to the assault by making strafing runs above the village, unsettling the rebel forces. Mors' reinforcements received assistance from Vader, who entered the quarry and eliminated several Twi'leks with his lightsaber.
Vader advanced towards Cham and his team, who attempted unsuccessfully to repel the Sith Lord with their blasters. While Isval held back the Imperials, Cham and Goll escaped aboard their ship with their human pilot Faylin. Cham retreated to ensure the survival of the Free Ryloth movement and because he had a daughter named Hera Syndulla. As they fled, the V-wings began strafing the scattered Free Ryloth forces in the quarry. Vader cornered Isval and Force choked her.
Aftermath
Following Cham Syndulla's escape into hiding, the Emperor's forces executed the surviving Free Ryloth troops. The Emperor and Vader confronted Isval, who displayed defiance towards her Imperial captors. After a brief exchange, Darth Vader decapitated Isval with his lightsaber. The Emperor then instructed his apprentice to eliminate Drua and the other villagers to eliminate any witnesses to the recent events.
Despite the failure of his plot to assassinate the Emperor and Lord Vader, the Free Ryloth movement continued its resistance against the Empire under a more hardened Cham Syndulla. Cham's daughter Hera eventually departed from her father to join the rebellion, disagreeing with the elder Syndulla's exclusive focus on Ryloth at the expense of the galaxy. In 3 BBY, Hera returned to Ryloth with her rebel cell, the Spectres, and joined forces with Cham's cell to steal a Quasar Fire-class cruiser-carrier for Phoenix Cell. Consequently, Cham abandoned his isolationist stance and became an ally of the rebellion.
The following year, the Empire dispatched Grand Admiral Thrawn to suppress the Free Ryloth movement. Utilizing his knowledge of Twi'lek art, history, and culture, Thrawn led Imperial forces to victory in the Tann Province. After Thrawn captured Hera and Ezra Bridger, Captain Slavin attempted to use them as leverage to force Cham to surrender. However, Slavin's plot was thwarted by Hera with the assistance of her C1-series astromech droid Chopper. Cham's efforts for a free Ryloth were ultimately realized when the Empire abandoned the planet in 5 ABY, a year after the cataclysmic Battle of Endor.
Behind the scenes
The Mission to Ryloth forms the central narrative of Paul S. Kemp's 2015 novel Lords of the Sith. The conflict is presented from the perspectives of multiple characters, including Darth Vader, the Free Ryloth leader Cham Syndulla, his lieutenant Isval, Moff Delian Mors, and Colonel Belkor Dray. While Star Wars: Galactic Atlas places the events of the novel Lords of the Sith, including the mission, in 14 BBY, the Biography Gallery of Orn Free Taa's Databank entry places it eight years after the end of the Clone Wars.