Star Wars Adventures: Tales from Vader's Castle 1
Star Wars Adventures: Tales from Vader's Castle #1 represents the inaugural installment of the five-part comic book miniseries known as Star Wars Adventures: Tales from Vader's Castle. This comic was penned by Cavan Scott, with illustrations provided by Derek Charm and Chris Fenoglio, and its release was handled by IDW Publishing on October 3, 2018.
Publisher's Synopsis
With Tales from Vader's Castle, prepare for a spooky reimagining of your cherished characters hailing from a faraway galaxy…
This thrilling weekly series delves into the lesser-known areas of the Star Wars universe, spotlighting Rebels icons such as Hera, Kanan, and Chopper; Obi-Wan Kenobi and Count Dooku; Han Solo and Chewbacca; the Ewoks; and, naturally, Darth Vader—all set against the backdrop of Vader's Castle!
Fans are sure to be thrilled as they uncover these chilling narratives crafted by the beloved writer Cavan Scott, complemented by artwork from the most talented artists across the galaxy, including Derek Charm, Kelley Jones, Chris Fenoglio, Corin Howell, Robert Hack, and Charles Paul Wilson III!
Plot Summary
Lina Graf, alongside the other members of her crew, are piloting the Auric as the Rebel Alliance endeavors to evade pursuing TIE fighters. Skritt, the technician aboard, a Peasle, expresses concern about the damage inflicted upon the ship by the TIE fighters, while Thom Hudd, the ship's lieutenant, attempts to reassure him that they are doing all they can.
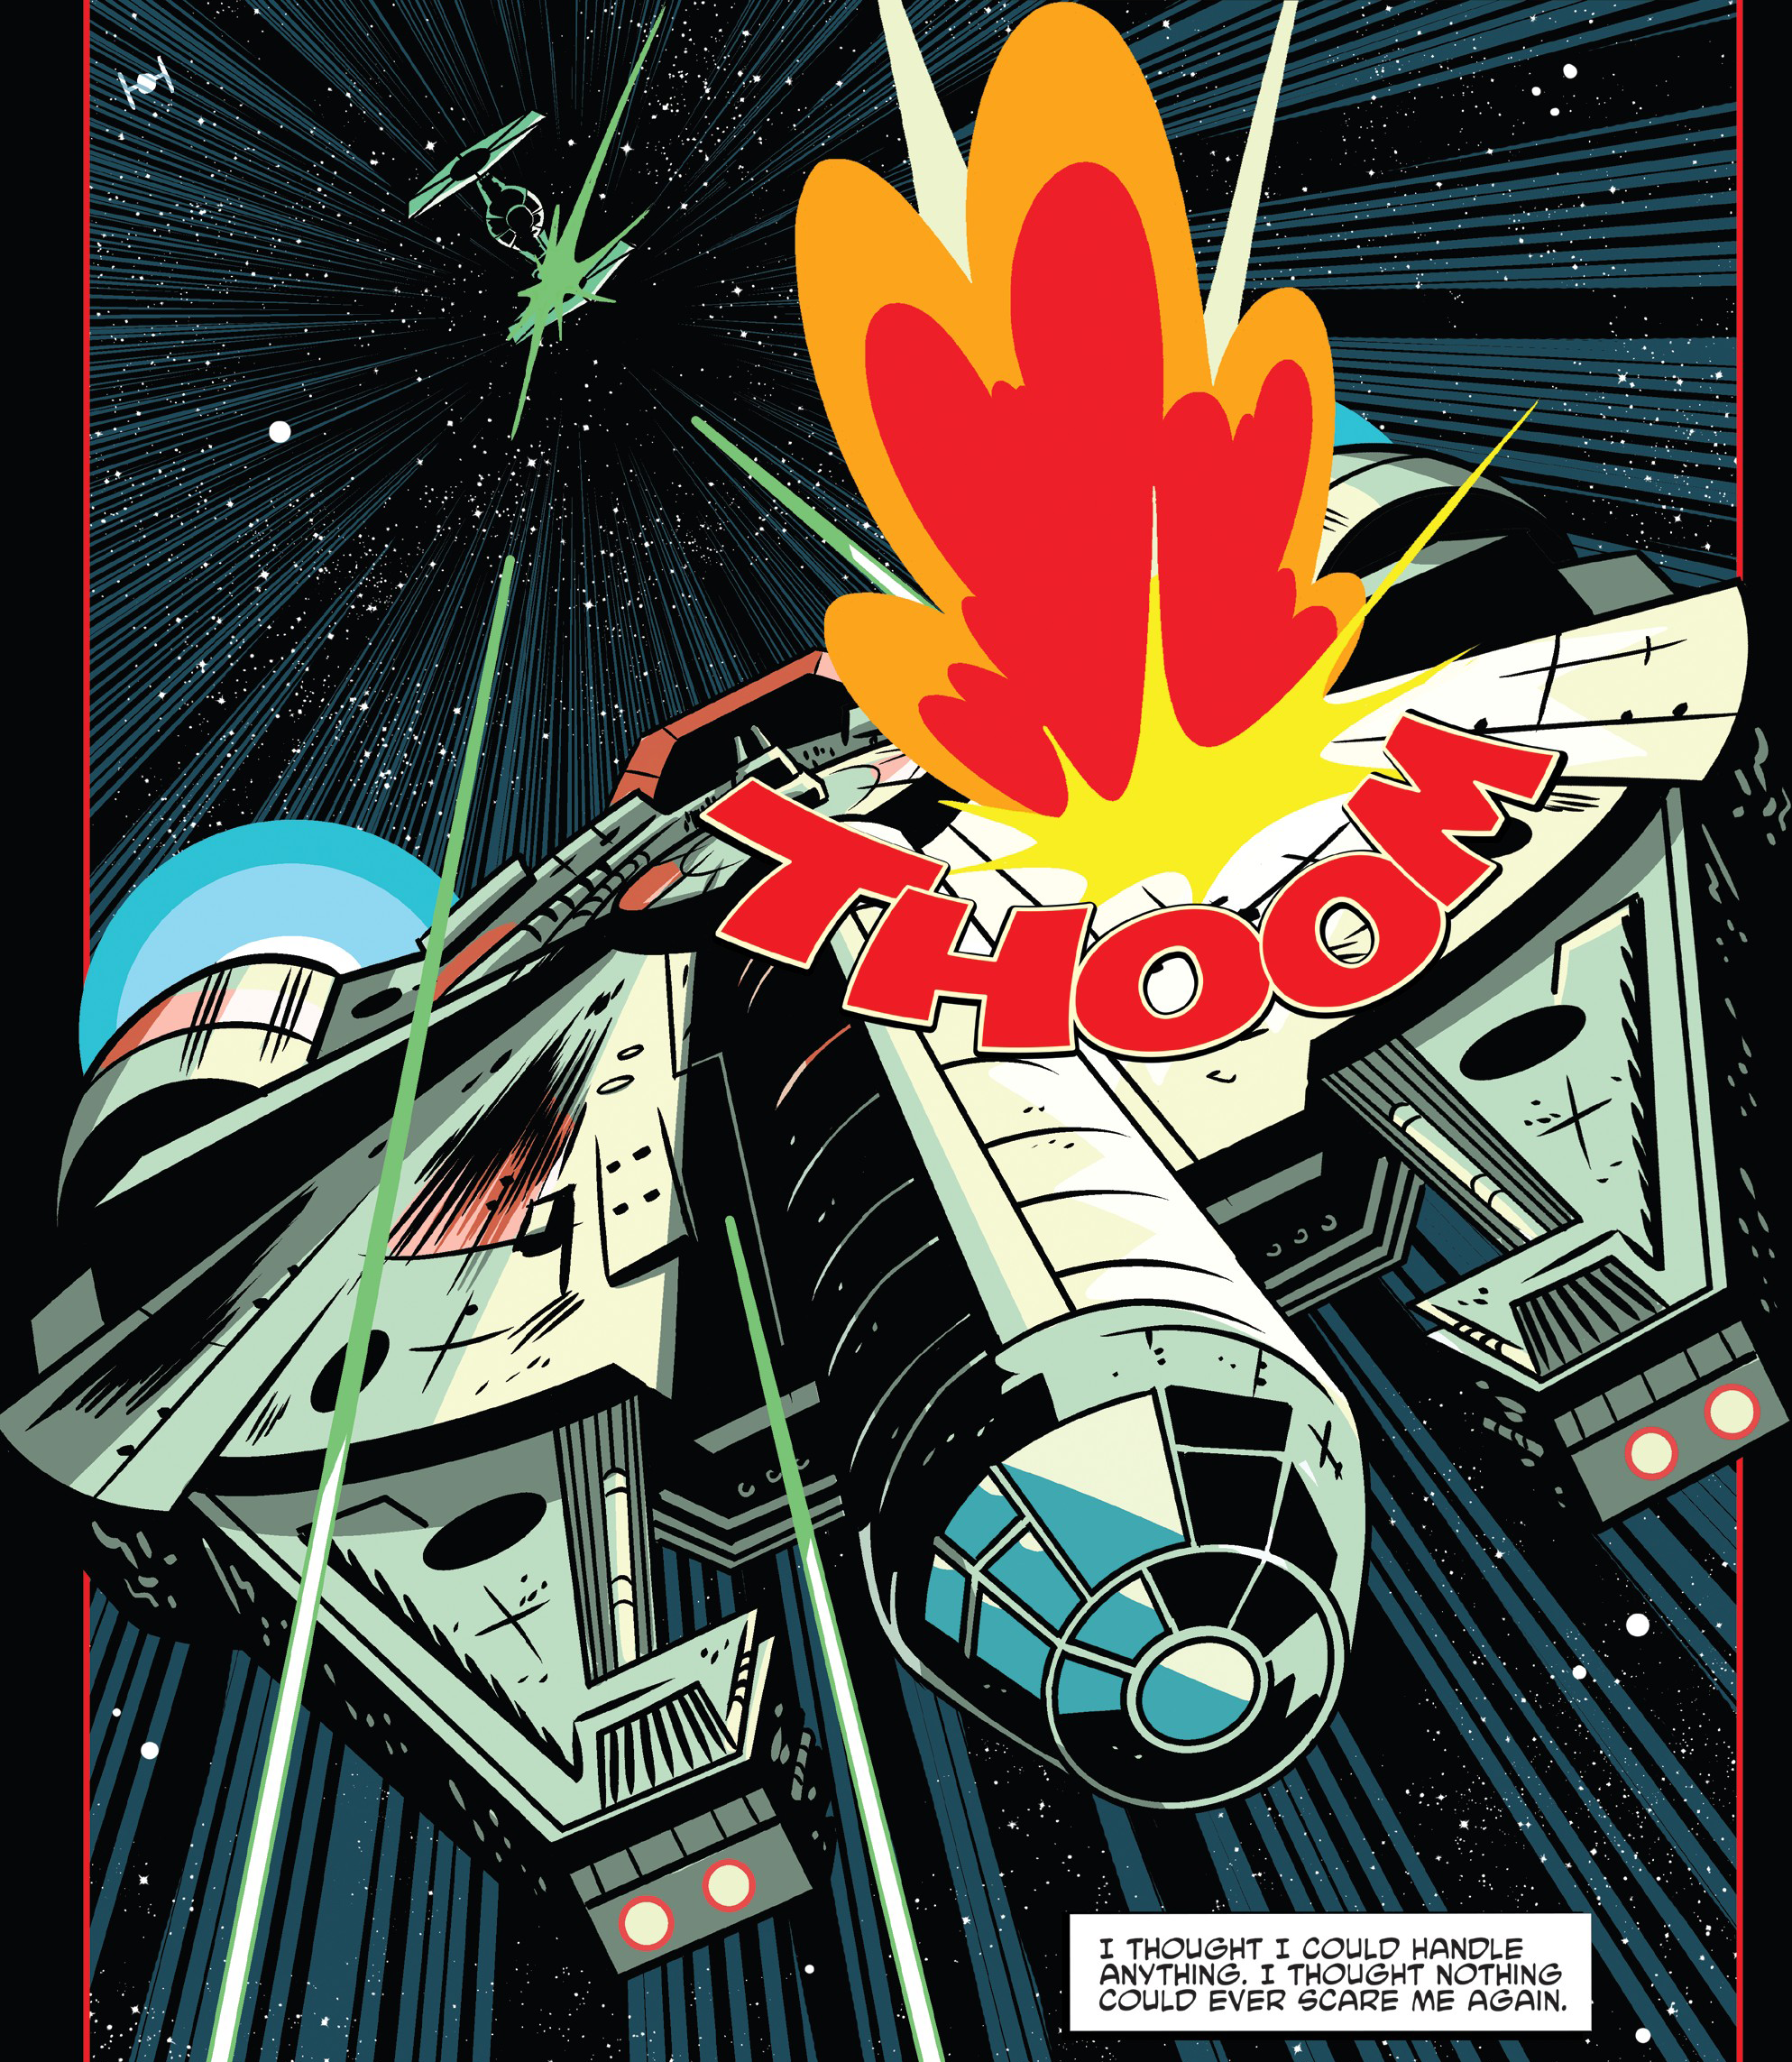
Lina concurs with Skritt and requests that XM-G3 utilize the ship's laser cannon to engage the TIE fighters. The droid succeeds, prompting celebration among the crew, but Lina reminds them that the ship remains in dire condition. She then inquires of another crew member, a droid named CR-8R, about potential landing sites. CR-8R suggests Mustafar as a possibility, despite its heavy Imperial guard.
Upon landing, Lina instructs the crew to disembark to avoid being incinerated within the ship due to engine failure. CR-8R tries to dissuade Lina from sending the crew outside, but the ship's captain overrules him. CR-8R then begins to recount a tale he heard from C1-10P, also known as Chopper, concerning the crew of the Ghost.
Hera Syndulla is attempting to establish contact with an individual named Graysom, who is unresponsive. Hera seeks Kanan Jarrus's input on their next course of action but finds him meditating, attempting to unlock the holocron in his possession and potentially locate other Jedi survivors. Chopper draws the attention of the pair and they realize the droid is trying to get their attention on the starship that is lodged in a nearby asteroid. It appears to be Graysom's ship, the Hoopaloo Nest.
Ignoring Chopper's warning, Hera and Kanan venture outside and onto the ship, but find no trace of Graysom. They observe signs that an escape pod was launched shortly before the ship's crash. Hera examines a section of the ship more closely and appears to receive an electric shock. She dismisses it as residual energy within the power coils.
The pair returns to the Ghost and soon after locate Graysom's escape pod. They bring it aboard and assist the Hoopaloo out of the pod, who claims that his ship is haunted, which caused the crash. Hera and Kanan attempt to calm Graysom, but the lights suddenly extinguish, causing the Hoopaloo to panic further, believing the spirit has followed him onto the Ghost.
First, they hear laughter, and then Hera experiences a shock similar to the one on the Hoopaloo Nest. Hera again dismisses it as an energy discharge, but Graysom insists that everything is about to go awry. Kanan notices the cargo bay doors have opened, and soon the three Rebels are struggling to remain aboard the ship. Hera calls to Chopper to close the bay doors, and the droid manages to do so just in time to save Kanan from being ejected into space.
The crew divides as Hera and Chopper attempt to determine the cause of the ship's issues, while Kanan tends to Graysom. The latter pair relocates to Kanan's cabin for Graysom's safety, but an unseen force pushes them into the room, sealing the door behind them. Back with Hera and Chopper, the pair attempts to communicate with the computer before Chopper is seemingly possessed by the spirit and starts speaking to Hera, warning her of its wrath that will fall upon the ship.
Kanan employs the Force to levitate his lightsaber and cut through the cabin door from the other side, much to Graysom's astonishment. Meanwhile, Hera and Chopper are confronted by the spirit, which reveals itself to be a Force wielder who was separated from their physical body by the Jedi. Hera then tricks the spirit into attempting to open the holocron, which she realizes is still on the floor of the cockpit.
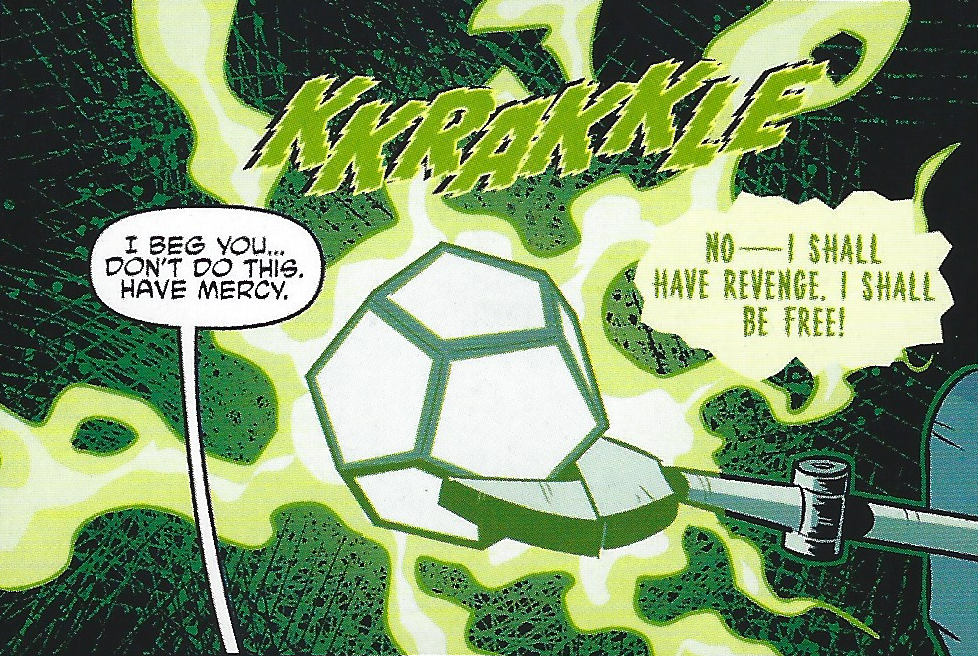
After falsely describing the power contained within the holocron, the spirit falls for the ruse and possesses the holocron instead of Chopper. They realize their mistake too late, and Kanan appears, having escaped from the cabin, to prevent the spirit from escaping the holocron. Kanan fully locks the holocron so the spirit cannot ever escape and the crew celebrates their victory. Though as CR-8R concludes his story, he notes that even a memory wipe may not remove all the scars of the experience for Chopper.
Returning to Mustafar, Thom complains that the story is irrelevant to their situation, as they will perish if they remain inside the melting ship. Lina agrees, and the crew of the Auric exit their ship before it is destroyed by the planet's environment. The crew descends into arguments before Lina puts her foot down and commands that the crew head into the mysterious castle that stands on the planet's surface.
Development
The issue was originally going to be called The Haunting of Hera Syndulla, but the name was changed to The Haunting of the Ghost in reference to Shirley Jackson's 1959 gothic horror novel The Haunting of Hill House.
Media
Editions
- UPC 827714016321; October 3 , 2018 ; IDW Publishing [1] 00111; Cover A; Francesco Francavilla 00121; Cover B; Chris Fenoglio 00131; Retailer Incentive Cover A; Francesco Francavilla 00141; Retailer Incentive Cover B; Derek Charm 00151; IDW Convention Cover; Derek Charm