Star Wars: Dark Empire II
Star Wars: Dark Empire II, a comic book series penned by Tom Veitch and Cam Kennedy, served as the follow-up to Star Wars: Dark Empire. Dark Horse Comics initially published it as a monthly series of six issues during 1994 and 1995, before compiling it into a trade paperback released in August 1995. Time Warner Audio Publishing adapted the comic series into an audio drama titled the Dark Empire II audio drama on cassette in 1995. Mirroring the earlier NPR radio dramas, this adaptation boasted a complete cast of voice actors, selections from John Williams' iconic musical score, and authentic stereo sound effects.
Publisher's summary
Luke Skywalker is on a mission to rebuild the Jedi Order as the Empire falls back. However, before he can resurrect this group of protectors, he must first rebuild himself! He was once under the Emperor's control, and the dark side's influence still lingers in his mind. Can he unite the Jedi and overcome his inner struggles before the New Republic loses its advantage, or will the Empire rise again?
Opening crawl
Plot summary
Following the defeat and presumed "death" of Emperor Palpatine, and the failure of Operation Shadow Hand, the Empire has retreated and is currently inactive. During this relatively peaceful time, Luke Skywalker has initiated the initial steps to re-establish the Jedi Order. Luke, accompanied by the recently redeemed Dark Jedi Kam Solusar, makes his way back to Pinnacle Base.
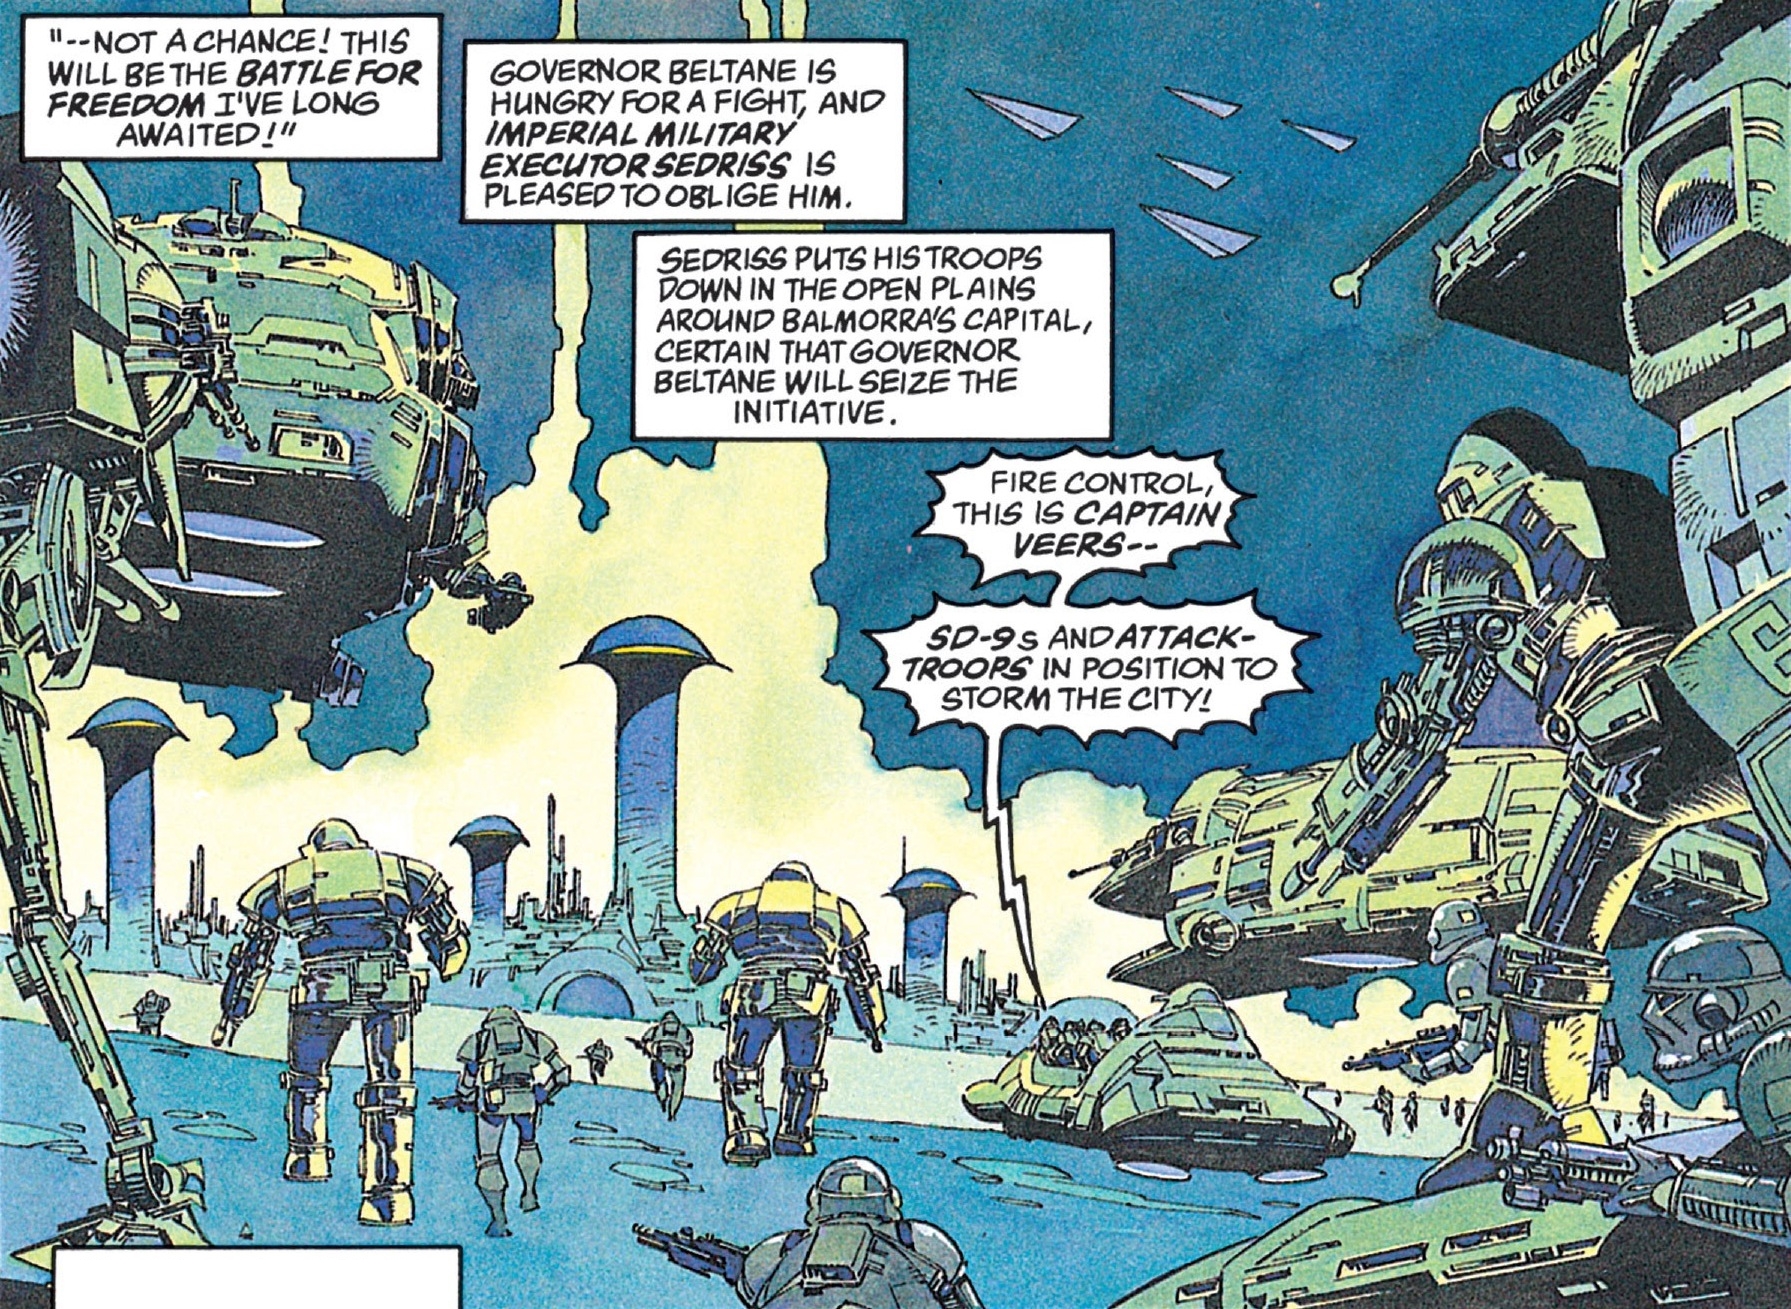
However, Executor Sedriss, the Empire's new leading general, leads an assault on Balmorra. Balmorra, which had been independent since the Battle of Endor, had become the Empire's primary manufacturer of AT-STs after Palpatine's return. Following the Emperor's apparent demise, they have rebelled.
Sedriss deploys AT-STs, stormtroopers, and Umak Leth's SD-9s to Balmorra in an effort to salvage the factories. Governor Beltane dispatches SD-10s containing all of the SD-9s' combat strategies in their memory banks. Sedriss responds by deploying Shadow Droids, starfighters piloted by the minds of deceased Imperial aces empowered by the dark side of the Force. After the SD-10s are destroyed, Beltane unveils his secret project: the X-1 Viper Automadon, droids equipped with a molecular shield capable of absorbing and redirecting enemy fire through the droid's turbolasers.
At Pinnacle Base, Mon Mothma convenes a meeting and reveals that Beltane has arranged for the Rebel Alliance to intercept his droid shipment en route to Byss. Wedge proposes that the Rebels control the shipment as it proceeds to Byss, while Luke suggests using the droids to liberate Imperial-controlled worlds. The group decides to proceed with Wedge's plan. Mothma advises Luke to concentrate on rebuilding the Jedi Knights while the Alliance deals with the Empire. Luke's Holocron reveals the location of Ossus, a planet potentially containing Jedi artifacts. Solo and Leia set off for Nar Shaddaa, hoping to locate Vima-Da-Boda and access her ancient wisdom.
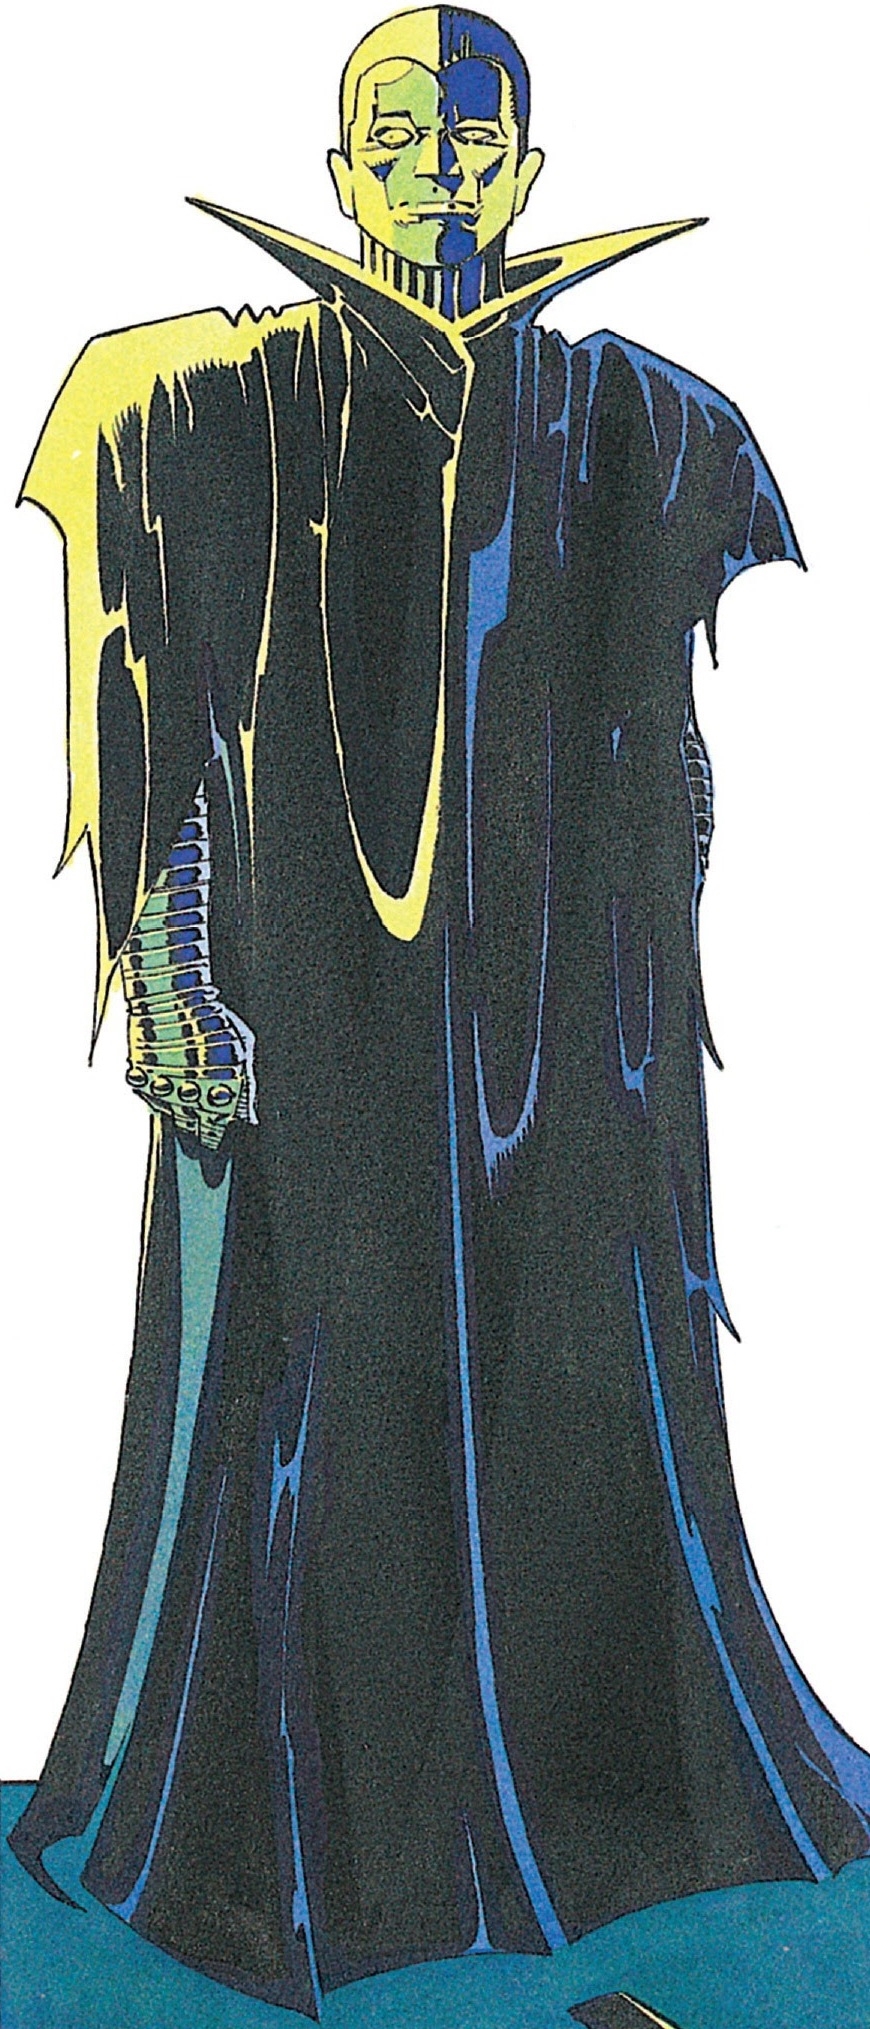
On Byss, Executor Sedriss discovers that Dark Side adepts Nefta and Sa-Di are murdering the remaining Palpatine clones, intending to seize control of the Empire for themselves. Sedriss executes them for treason and discovers that Palpatine has been reborn, exceeding all expectations. Upon his resurrection, the Emperor orders the resumption of Operation Shadow Hand.
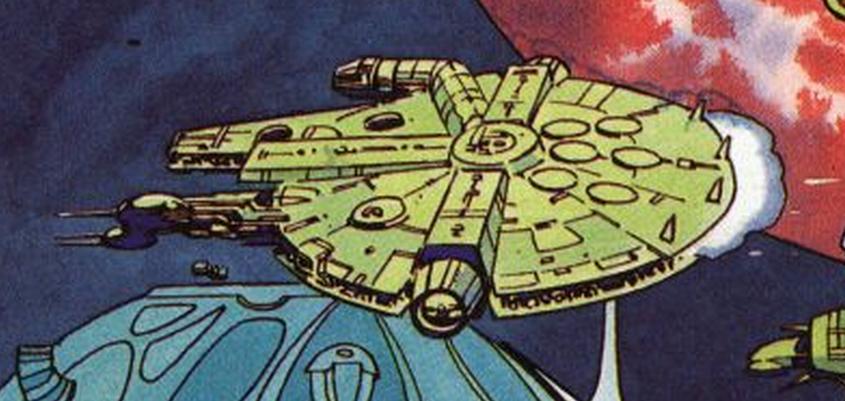
On Nar Shaddaa, Salla Zend, Han's former lover, successfully guides the Millennium Falcon through the Duro sector to evade an Imperial Star Destroyer. Meanwhile, Boba Fett escapes from two Dark Side Elite, Zasm Katth and Baddon Fass. As the Falcon arrives, Salla's secret repair facility, managed by Shug Ninx, is attacked by stormtroopers.
During a fierce battle, one of Shug's "prized cruisers" is destroyed. With only a space truck remaining, Salla and Shrug plan to travel to Byss to retrieve the Starlight Intruder. After facing numerous bounty hunters, including a clan of Gank assassins, and learning that the Hutt clans have doubled the bounty on them, they are forced to descend into the city's lower levels, where Vima-Da-Boda resides. Upon returning to the garage, they find stormtroopers occupying the Falcon and a droid message informing them that Salla and Shrug have "left the moon for good." Using the garage's secret escape route, the Falcon descends into the city's core, where Boba Fett has been patiently waiting for its departure. In the ensuing conflict, Han manages to damage a stabilizer on Slave I, causing Fett to lose control.
After an hour and seven incorrect turns, their second attempt to penetrate the depths proves more successful; they locate Vima-Da-Boda just as Fett attacks again. His assault is thwarted when Chewbacca ignites his jetpack (mirroring Fett's earlier downfall), and the Falcon takes off once more. However, their immediate departure is compromised by Mako Spince, who, from his position in the Traffic Control spire, relays their location to the waiting darksiders aboard the Star Destroyer. The Destroyer locks on with a tractor beam, and the Millennium Falcon is on the verge of being captured. Taunted by Spince, Han devises a clever maneuver: he pilots the Falcon beneath the spire, causing the beams to tear it off and drag it into the Star Destroyer itself, killing Spince and destroying the ISD's engines and engineers. Without engineers and in a decaying orbit, the Destroyer crashes onto the surface of Nar Shaddaa, killing all aboard, as well as millions of Nar Shaddaa's inhabitants.
Palpatine sends Sedriss and Vill Goir to capture Skywalker and Solusar, who have traveled to Ossus in search of ancient Jedi artifacts. There, they discover two young Force-sensitive children, Rayf and Jem Ysanna, tied to a tree. When Luke frees them, the youths continue to believe that Luke intends to kill them and flee to their tribe. The Ysanna employ concussion arrows and the Force in an attempt to defeat the two Jedi, but their clumsy and inexperienced attacks are easily repelled. Recognizing that they are outmatched, the Ysanna Chief Okko gives Luke a "Ysanna bear hug."
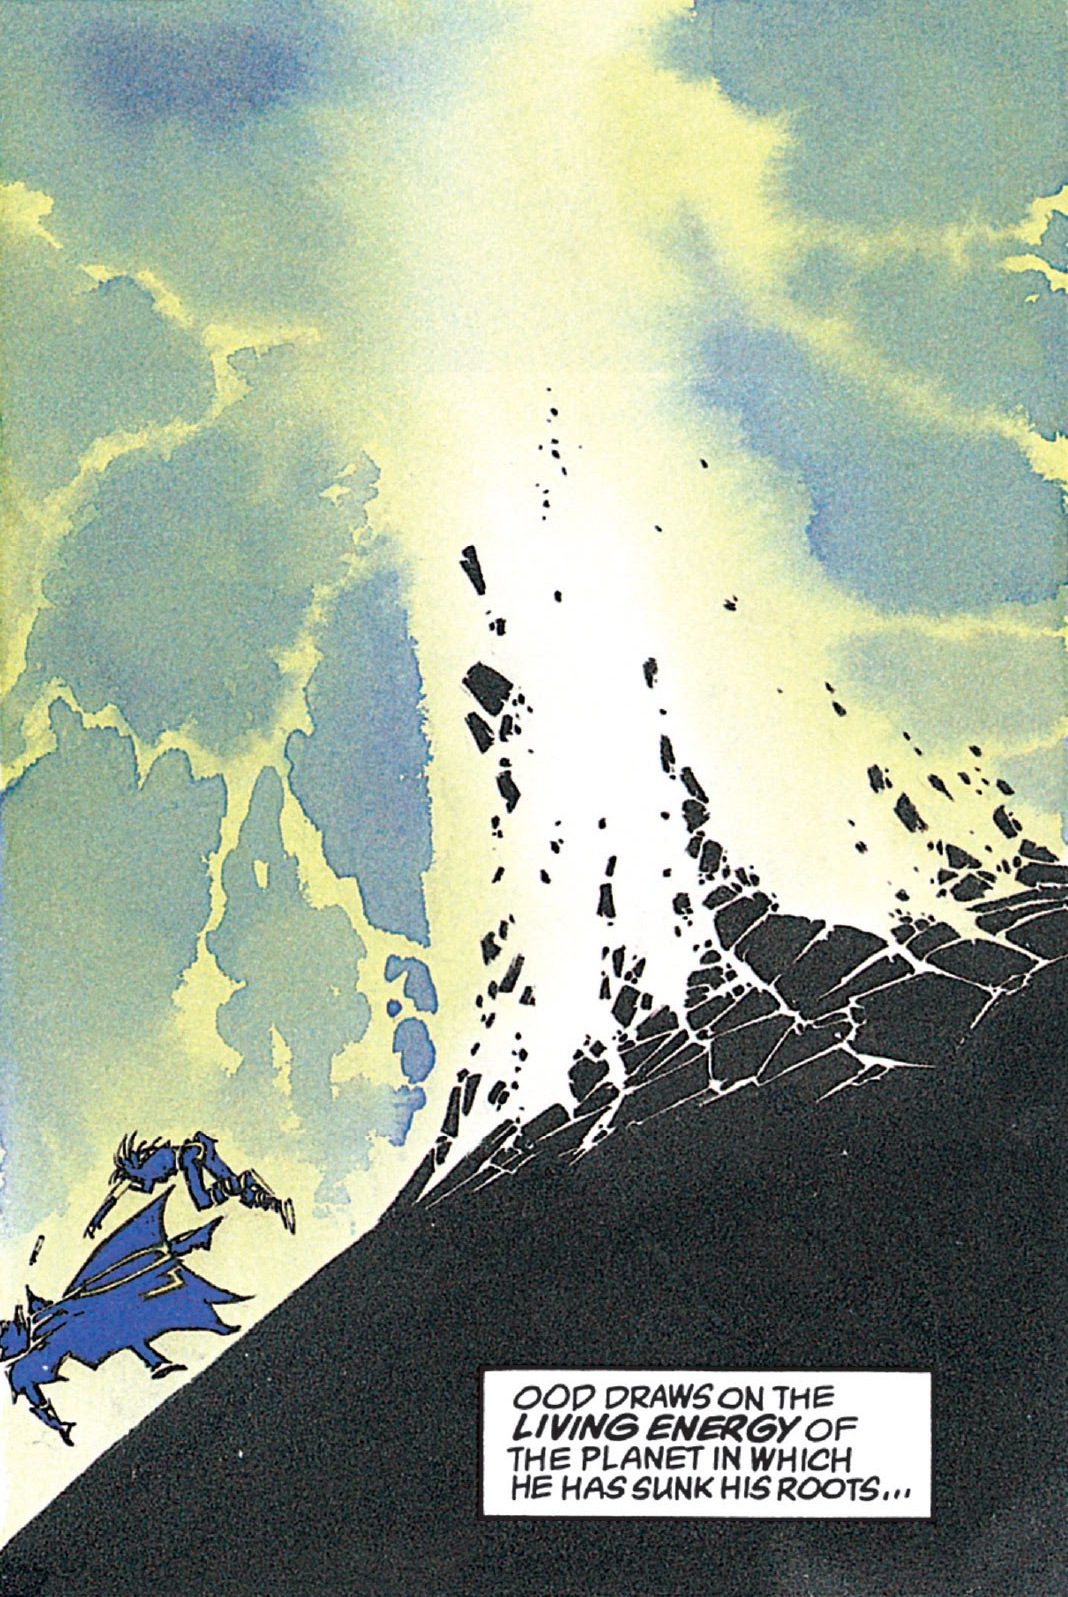
Suddenly, an Imperial Long-range hunter lands and dispatches stormtroopers led by Goir and Sedriss. Solusar swiftly kills Goir, but Sedriss, outmatched by Skywalker, takes Jem hostage, backing against a tree. Sensing her attempt to use the Force against him, he intends to turn her into a darksider. To everyone's surprise, the tree reveals itself to be a millennium-old Jedi Master named Ood Bnar. Sedriss and Bnar engage in combat. The two perish in the resulting explosion of Force energy created by Bnar. However, even in death, Bnar protects his collection of ancient lightsabers—a gift to the future Jedi and a future Neti in his place. With the assistance of the Ysanna, Luke discovers what he had hoped for: an intact Jedi library.
Elsewhere, Lando Calrissian and a team of Rebel commandos are hidden aboard a shipment of War Droids bound for Byss. Meanwhile, the Emperor is impressed by the new superweapon at his disposal, the Galaxy Gun. This weapon, located near Byss, has the potential to destroy anything in the galaxy. Upon receiving news of Sedriss' and Goir's deaths, he replaces them with Xecr Nist and Tedryn-Sha, empowering them with the dark side of the Force.
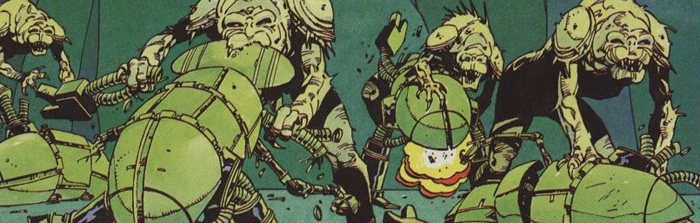
However, the War Droid shipment arrives, and the Rebel commandos use them to attack the Emperor's Citadel. The Rebel assault is initially successful, as the droids prove superior to the Citadel's defenses, but their progress is halted when Palpatine unleashes the Chrysalides; Rancors mutated by Sith alchemy into crazed, nearly invulnerable dervishes of destruction. The Rebel force is decimated and rescued at the last moment by a group of smugglers led by Salla Zend and Shug Ninx.
The Emperor allows them to escape, secretly tracking them, intending to destroy their destination with the now-ready Galaxy Gun. Da Soocha V is ultimately destroyed by the weapon. Luke Skywalker and the other Jedi in Luke's Jedi Explorer narrowly avoid death, as they would have landed there had they not seen the projectile.
Meanwhile, the Millennium Falcon is still attempting to evade the bounty hunters. Unable to effectively retaliate, as Boba Fett destroys one of the Falcon's missile launchers, the Falcon flies through a radioactive gas cloud, stumbling upon the forgotten and nebula-hidden world of Ganath. There, they encounter its ruler, a Jedi Knight named Empatojayos Brand. They repair the Millennium Falcon, equipping it with an antique weapon called the lightning gun, hoping it will be sufficient to defeat Slave I, which still lurks outside the cloud.
The Lightning Gun proves effective, and they defeat Fett again, who falls into the gas cloud and fakes his death. Han Solo and Princess Leia then seek refuge with their infant twins on the planet New Alderaan. There, Luke explains the concept of battle meditation, a powerful Jedi ability. They plan to reunite with Lando and Wedge...if they are still alive. Han and Chewbacca leave the planet to search for them. During the night, Luke experiences a terrible nightmare in which he and Darth Vader are one. Unbeknownst to him, robotic bugs are injecting poison into his veins. He awakens to find two darksiders prepared to kill him. Jem Ysanna and Leia defeat the two darksiders, but Jem is killed. Vima witnesses the event and saves Luke.
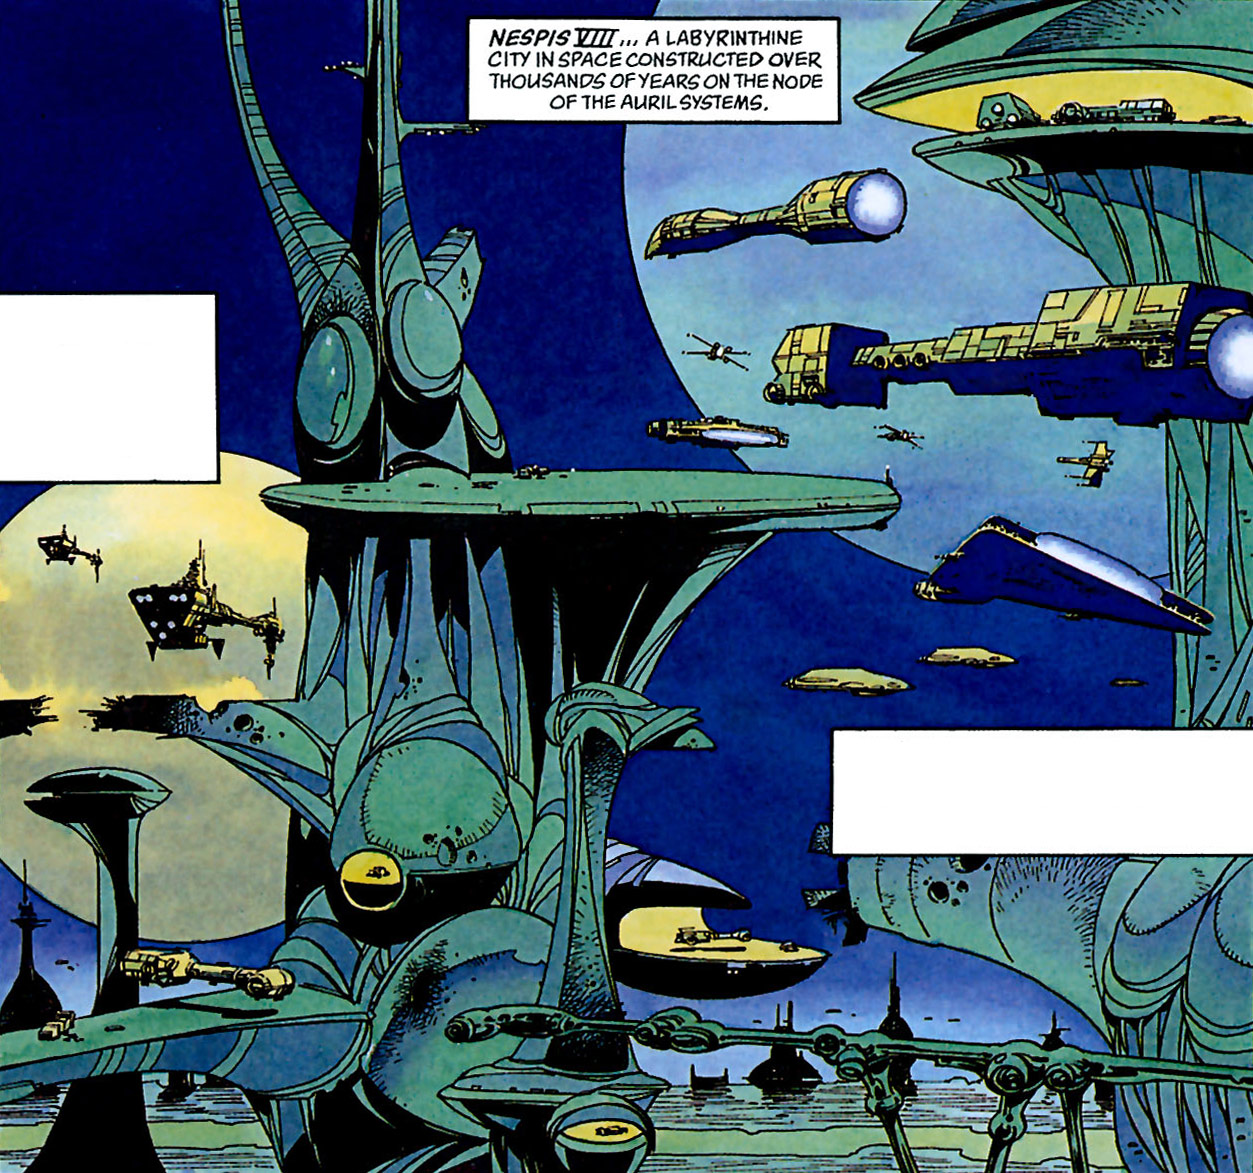
Simultaneously, three other darksiders are kidnapping Leia's twins. Fortunately, Brand, Kam, and Rayf arrive and engage them. After the battle concludes, Jem becomes one with the Force as Rayf mourns her loss. Suddenly, a group of AT-ATs attacks and begins destroying the settlement. Thankfully, Han arrives with Salla, Shug, and an X-wing battle group based in a nearby system. After destroying the AT-ATs and evacuating the village, the four freighters and three X-wings jump into hyperspace. The Rebels have relocated to the space stations above Nespis VIII, where Luke and Kam have their confrontation and learn that the Alliance evacuated Pinnacle Base before its destruction. Anakin Solo is born there, and the Alliance plans the final destruction of the Empire.
Continuity
The entire series makes no reference to the New Republic, with the writers continuing to refer to it as the Rebel Alliance, even though it disbanded approximately 7 years before.
Media
Issues
Sources
- " Star Wars Publications Timeline " — Star Wars Insider 23
- The Secrets of Star Wars: Shadows of the Empire
- Star Wars: The Complete Vader
- Star Wars Year By Year: A Visual History, New Edition
- "Tipping Point" Episode Guide | The Bad Batch on StarWars.com (backup link)
Notes and references
External links
-
Dark Empire II on Wikipedia
-
The Dark Empire Saga on StarWars.com (content now obsolete; backup link)
-
Related categories: